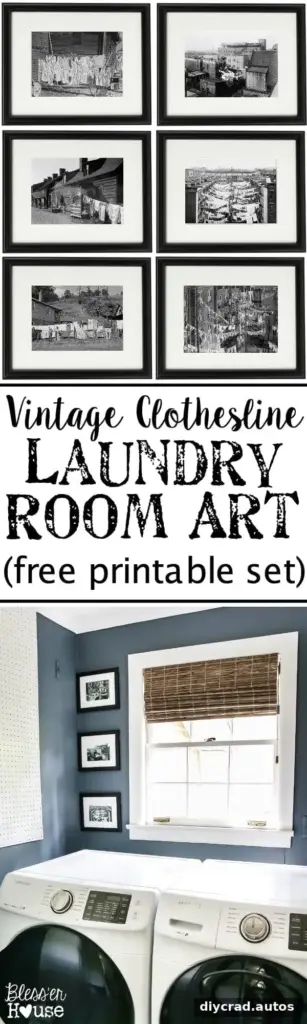
Vintage clothesline prints for a laundry room
Vintage clothesline prints can bring a little history and visual interest to a laundry room without requiring a large decorating budget. A set of six black-and-white photographs—three city scenes and three countryside scenes—creates a coordinated display that suits both classic and casual interiors. With simple frames and careful placement, printable art can make a hardworking room feel more considered and welcoming.
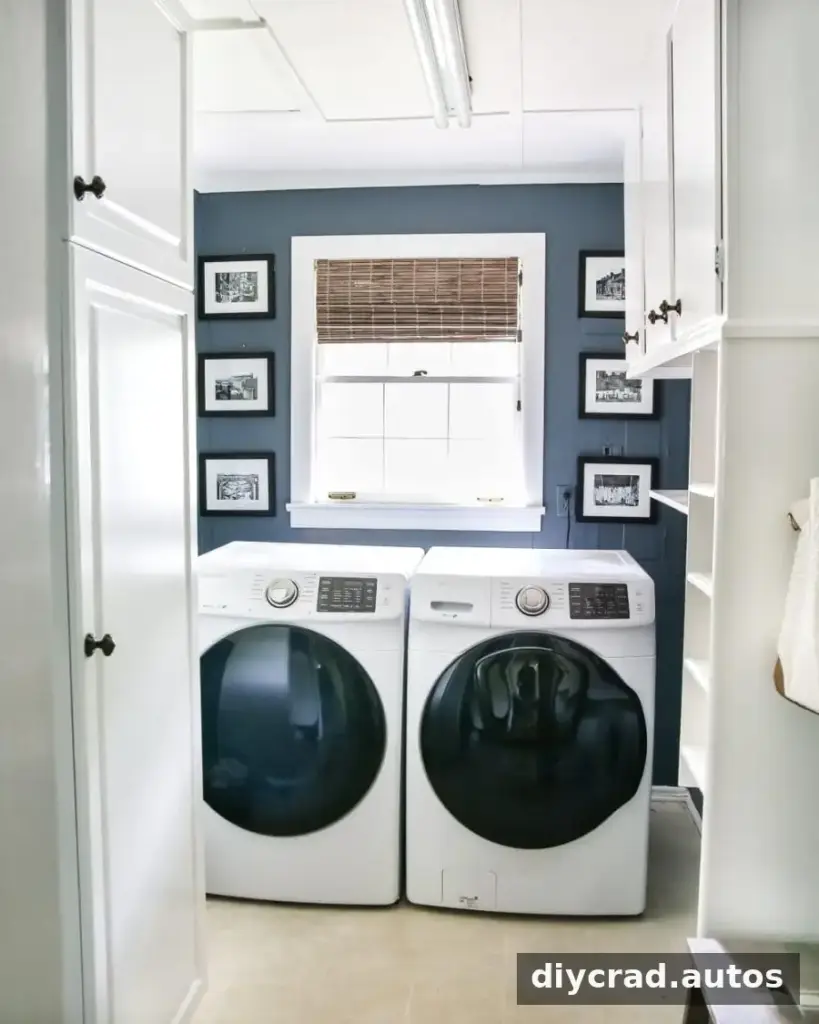
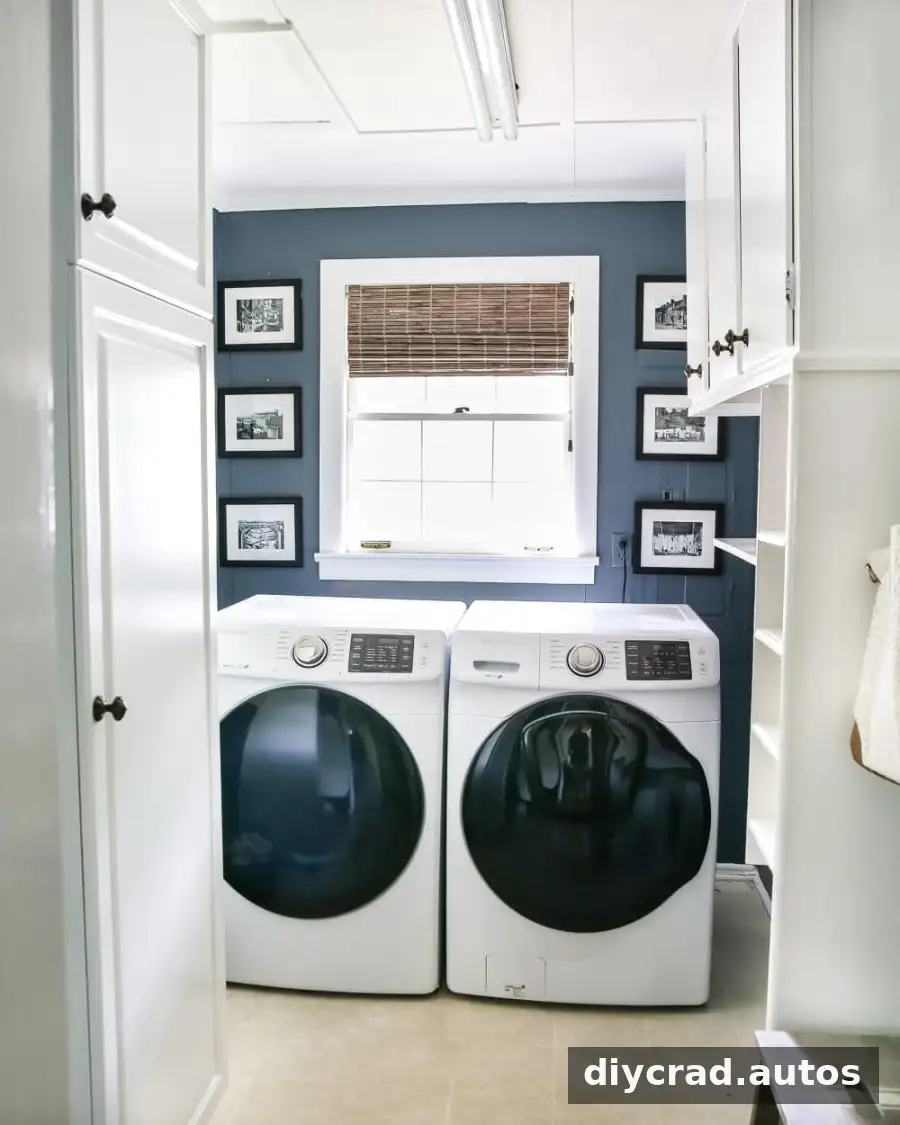
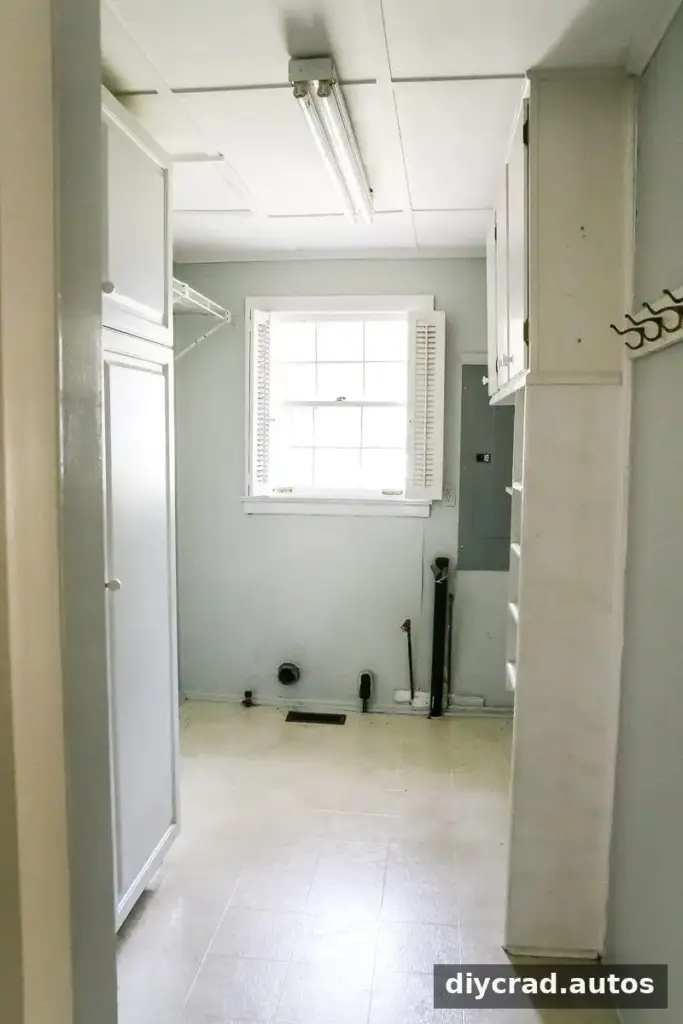
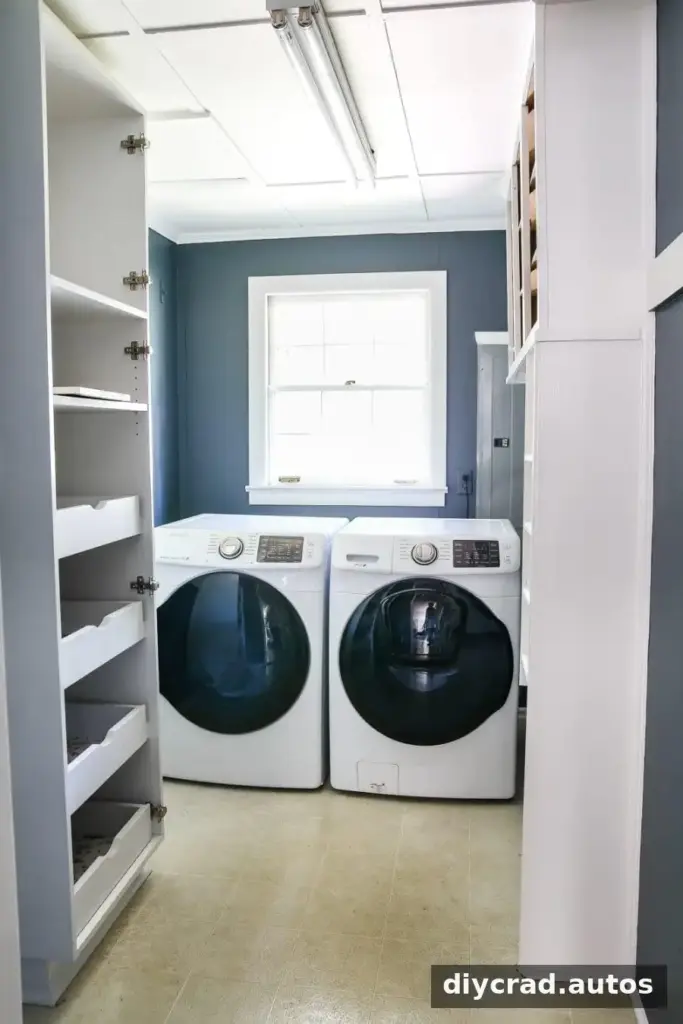
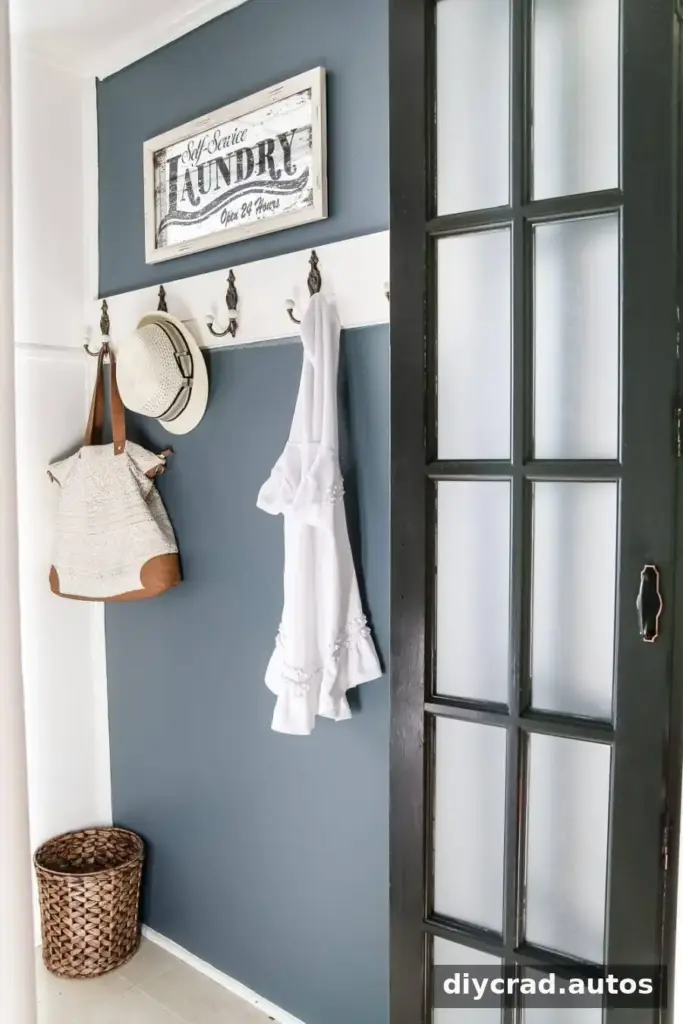
This laundry room was updated in stages. The project included painting the walls Sherwin Williams Slate Tile, refreshing the ceiling and cabinets, and replacing the bifold door and cabinet hardware. Once those changes were in place, the remaining challenge was finding artwork that felt polished without seeming too formal for an everyday space.
Black-and-white photography works well in a room with practical finishes because it adds contrast without introducing another strong color. Before choosing art, consider the wall color, available space, and nearby features such as windows, outlets, and cabinets. A quick paper template can help test the arrangement before anything is mounted.
Finding and preparing vintage clothesline prints
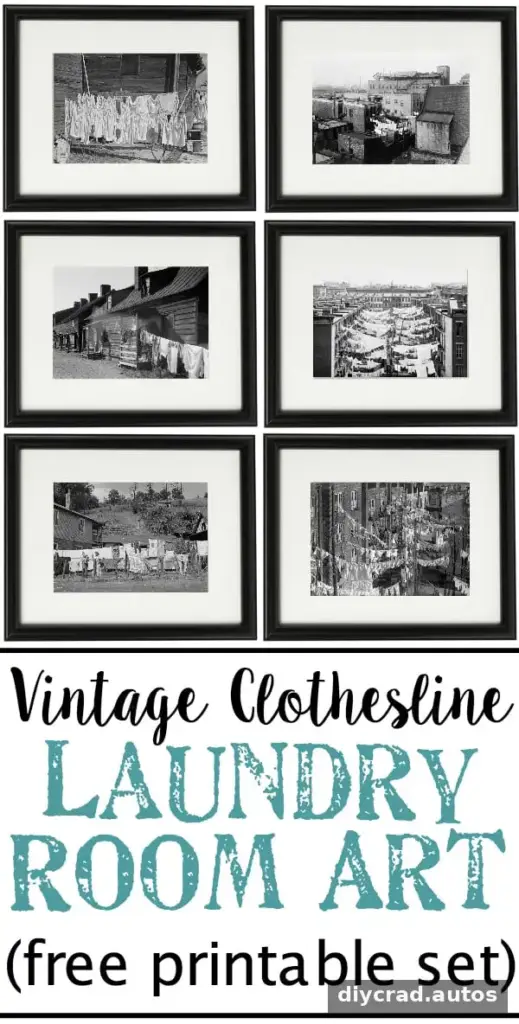
Public-domain archives, including the Library of Congress photo and print collections, can be useful places to look for historical images. Search for photographs with a shared subject or style so the finished group feels connected. Rights and reuse terms can vary by image, so check the information provided with each file before printing or sharing it.
Clothesline scenes are especially fitting for laundry spaces: they show a familiar household task across different places and generations. The images can also add a subtle sense of history without overwhelming a small room. For a balanced collection, choose photographs with similar contrast and visual weight, even if the settings differ.
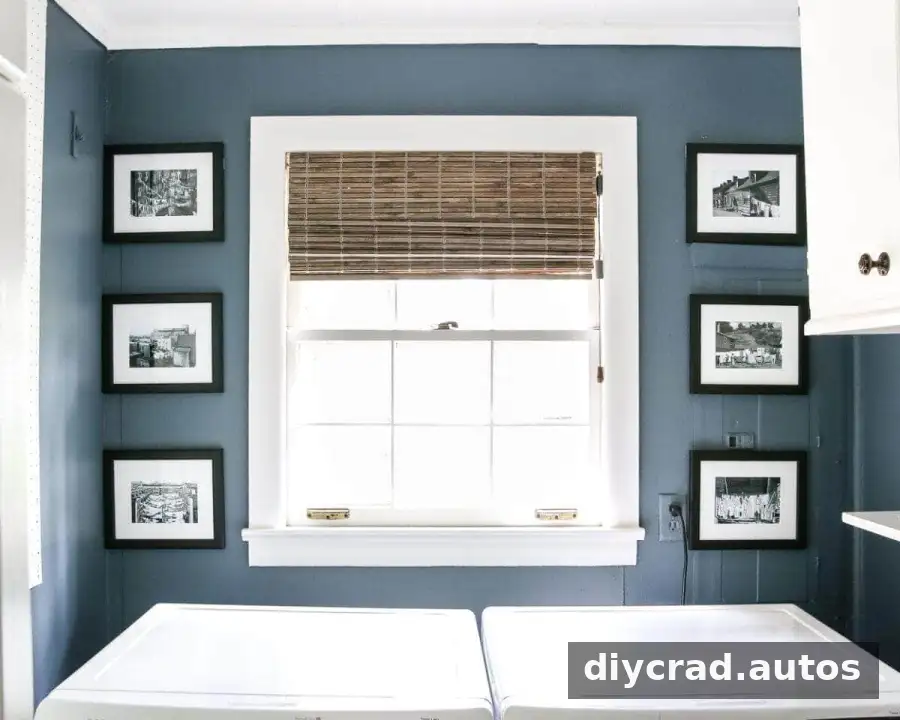
The set described here contains six photographs: three cityscapes and three countryscapes. They were printed on 5×7 photo paper for $8, then placed in matted black frames from IKEA that cost $3 each. The reported total for the six-print display was around $26. Prices and availability may vary, so check local print services and frame sizes before planning a similar project.
Simple tips for a cohesive gallery wall
- Lay the frames on the floor first and try a few arrangements before hanging them.
- Keep the gaps between frames consistent where the wall allows.
- Use matching frames and mats to connect photographs with different compositions.
- Measure the wall and account for windows, outlets, trim, and appliances.
- Confirm that the printed image fits the frame opening before ordering multiple copies.
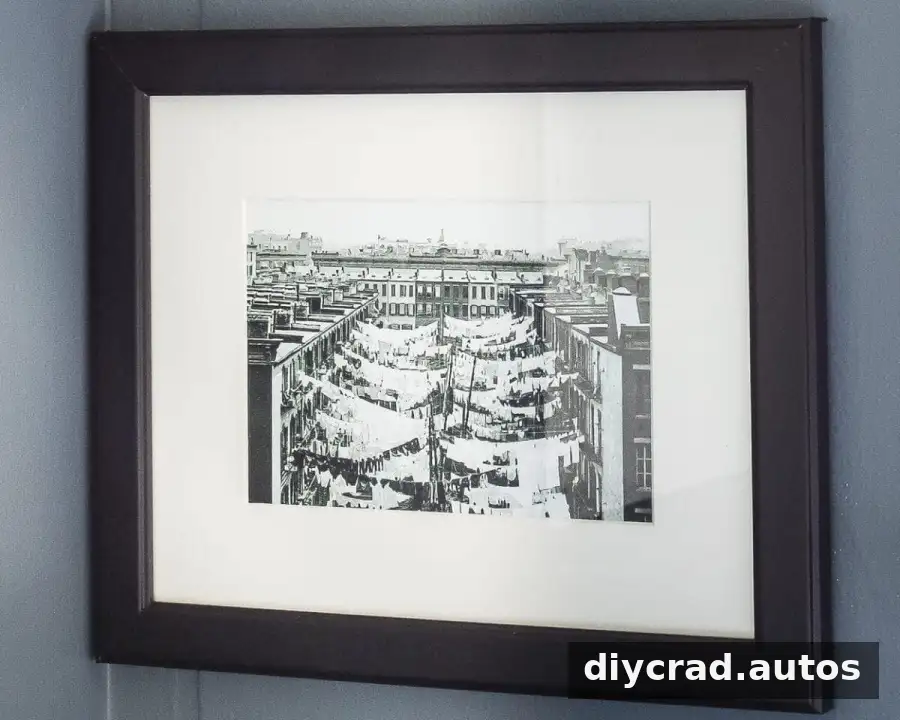
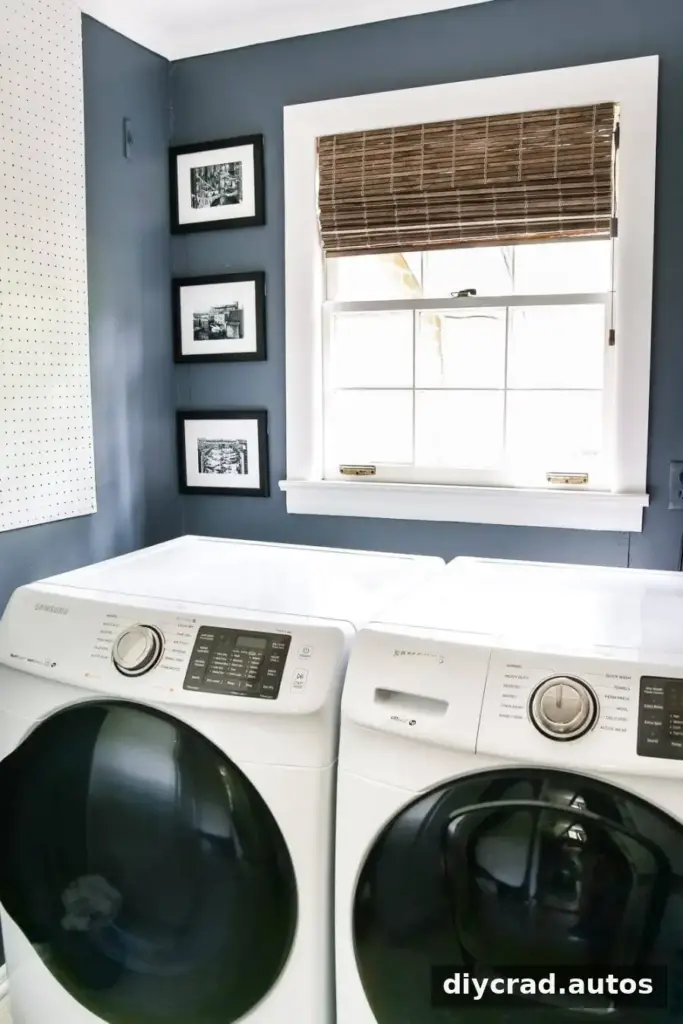
Even when the wall is not perfectly symmetrical, a repeated frame style can help the arrangement look intentional. In this room, the available spaces were uneven, and the layout had to work around a window, an outlet, projecting trim, and an electrical panel. Taking those obstacles into account before hanging the frames can reduce unnecessary holes and adjustments.
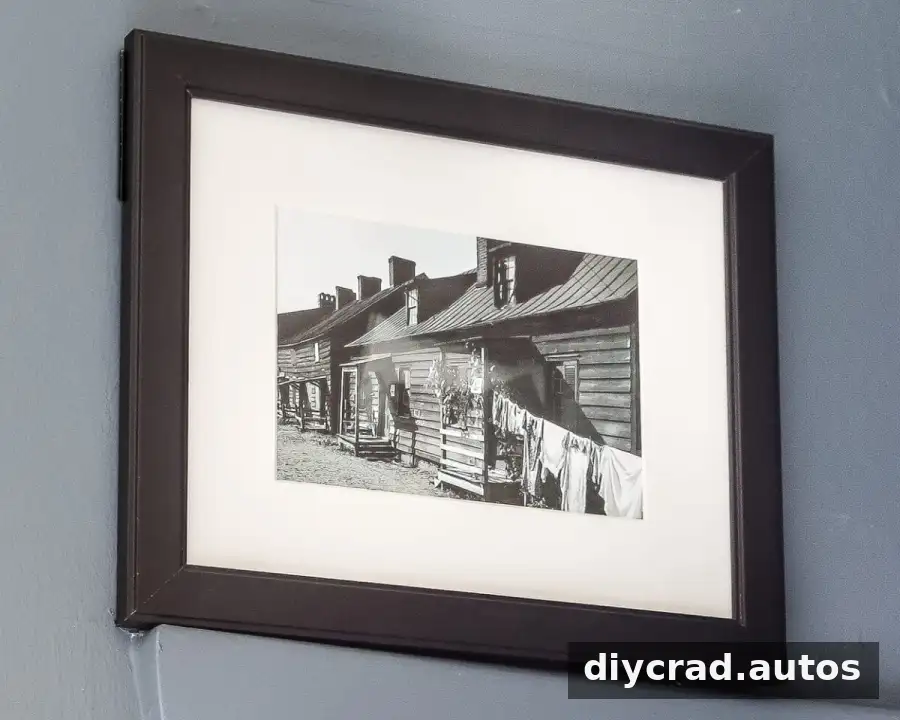
Keep electrical panels accessible
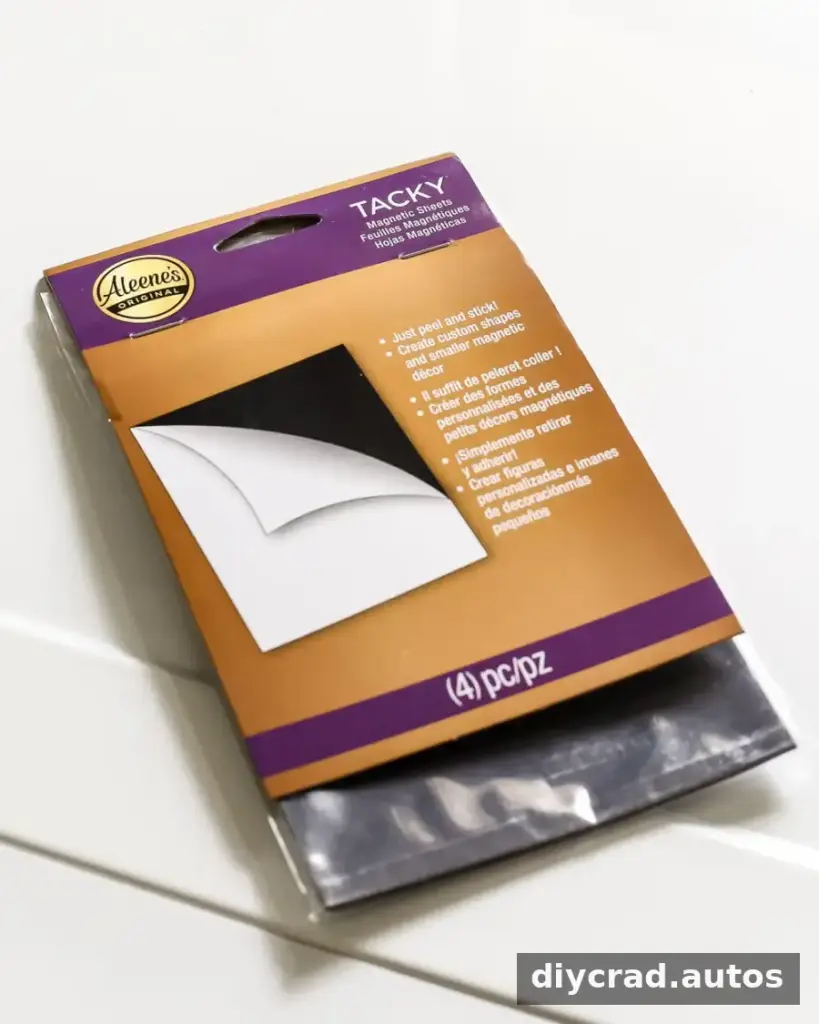
An electrical panel should remain easy to locate and access. Covering it permanently with artwork or furniture can create a safety and access problem, particularly during an emergency. In this room, the panel was painted to match the wall, and two frames were fitted with magnet sheets so they could be removed when access was needed.

If using a similar removable display, make sure the panel door can open fully and that the artwork does not interfere with access. Follow local requirements and consult a qualified electrician if you are unsure what is permitted. Do not attach materials in a way that damages the panel or prevents safe operation.
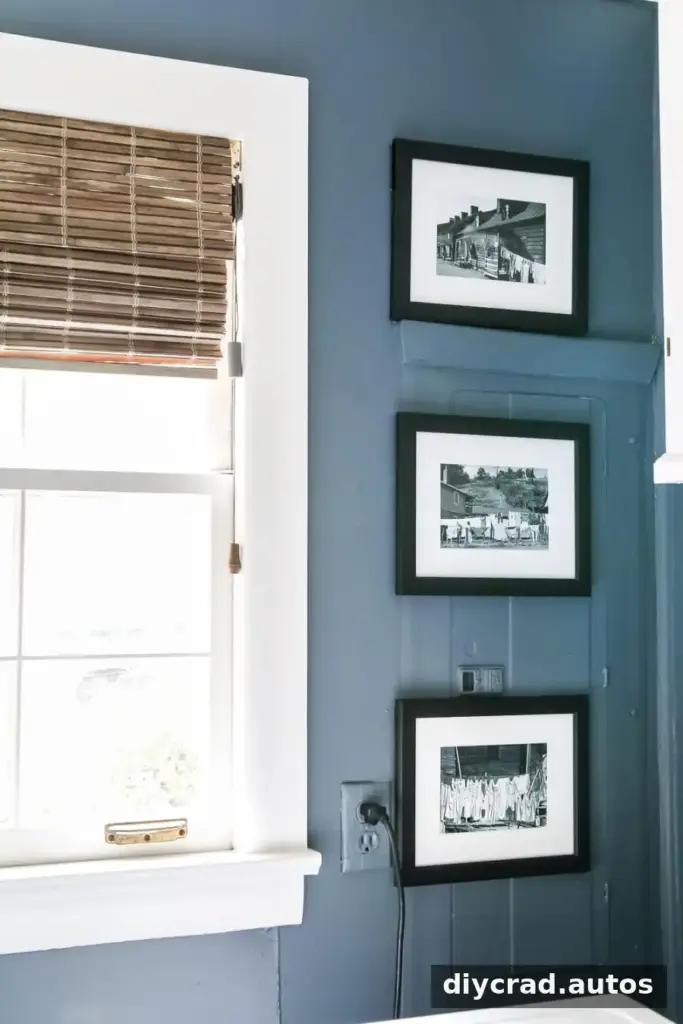
A woven Roman shade added texture near the window, where afternoon sunlight comes through. When choosing a shade for a laundry room, consider moisture, cleaning needs, and whether the fabric will be exposed to direct sun. Keep cords and the shade clear of appliances and work areas.
Where the laundry room update stands
The room’s task list includes both completed updates and remaining projects. The planned work includes painting the walls Sherwin Williams Slate Tile; painting the ceiling, cabinets, and trim Benjamin Moore Simply White; replacing the hooks, cabinet knobs, and bifold door; hanging a woven Roman shade and laundry art; and changing the light fixture. Other planned jobs are painting the vinyl floor, building a drying rack, hanging an ironing board, and organizing the room’s odds and ends and pegboard.
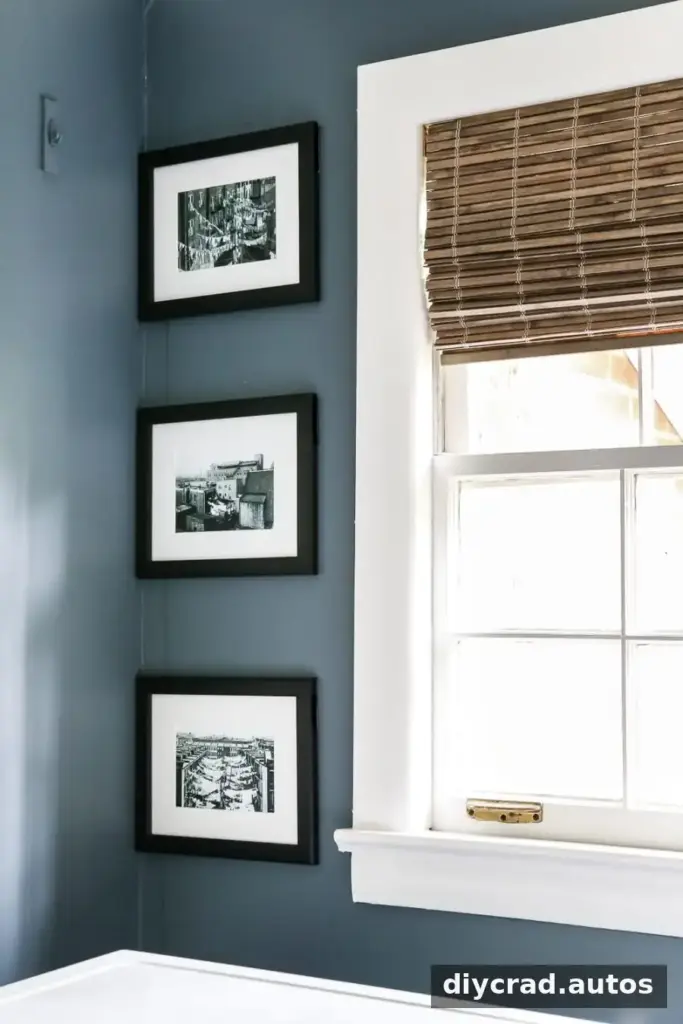
The spacing between the frames may need adjustment when a wall has several interruptions. Stand back and view the display from the room entrance, then make small corrections if the group feels crowded or unbalanced. It is also helpful to leave enough clearance around doors, cabinets, and appliances.
Finish the room one step at a time
A washing machine failure and water on the floor delayed the planned vinyl-floor painting in this project. Before painting any floor, follow the product instructions and make sure the surface is clean, dry, and suitable for the coating. If an appliance leak occurs, address the water and repair the cause before continuing with cosmetic work.
Vintage clothesline prints are a straightforward way to add character while a larger laundry room refresh comes together. Choose images that work as a set, check image-use terms, measure before printing, and keep essential equipment such as electrical panels accessible. Those practical steps help create a display that is attractive as well as functional.