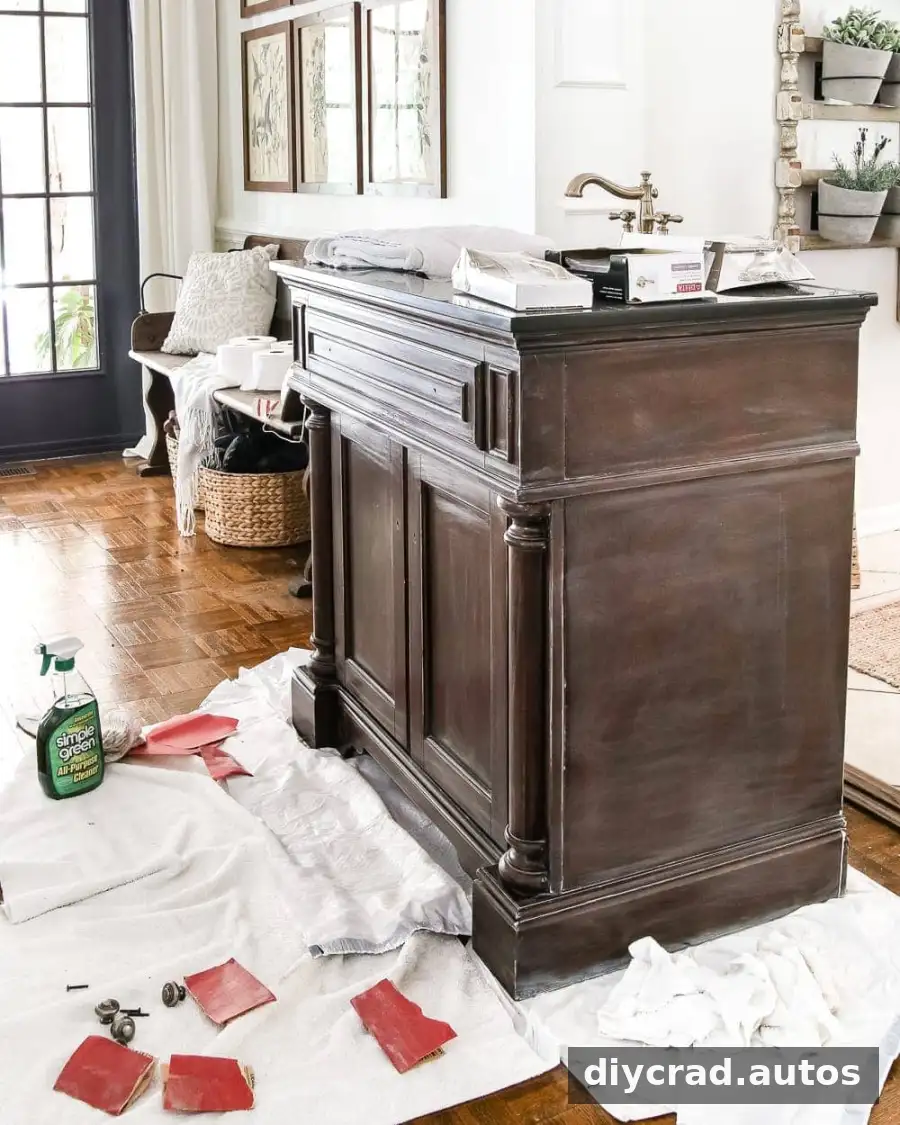
A weathered gray wood look vanity can refresh a bathroom without stripping the existing finish or spending hours staining the wood. This project uses two coats of chalk paint and black wax to create a softly aged appearance, making it a practical option for a vanity with minor scrapes or nicks. The finish works especially well when you want the character of weathered wood without a full furniture-restoration process.
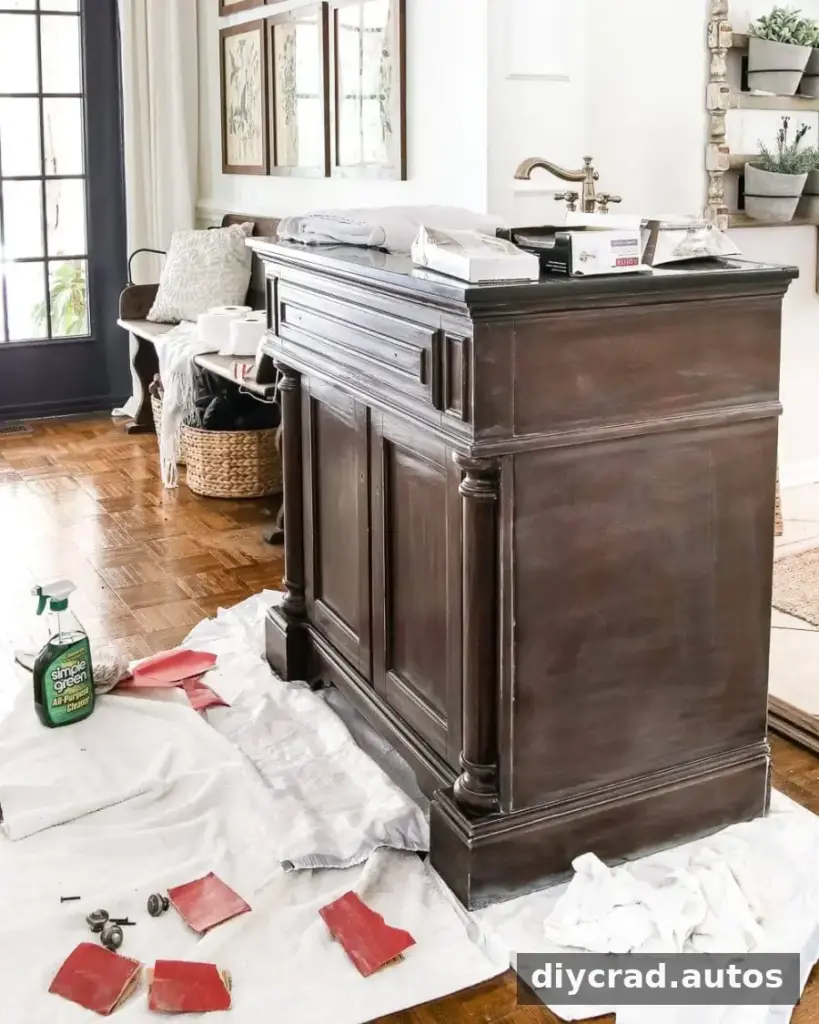
How to Create a Weathered Gray Wood Look Vanity
The vanity used for this makeover was already in reasonably good condition, but small surface marks made a new finish worthwhile. A diluted gray wash was tried first, using one part gray paint to three parts water. Because the vanity did not have raised wood grain for the wash to settle into, the result lacked the desired texture. Chalk paint and wax offered a better way to build visual depth.
Before starting, check that the vanity is sound and that its surface is suitable for painting. Clean away dust, grime, and bathroom residue, then let the surface dry. Lightly sanding a failed wash or a glossy finish can help prepare it for paint; avoid sanding more aggressively than needed. Testing the paint and wax on an inconspicuous spot is a useful way to check the color and finish before covering the whole piece.
Materials
- Chalk paint in a soft gray-beige shade, such as French Linen
- Black furniture wax
- A wax brush
- A clean, dry, lint-free rag
- A household cleaner suitable for the vanity’s surface
Use a cleaner that will not leave an oily residue, and follow its label directions. If you are considering a different paint or wax, confirm that the products are compatible and follow their manufacturers’ preparation and application instructions.
1. Apply two coats of chalk paint
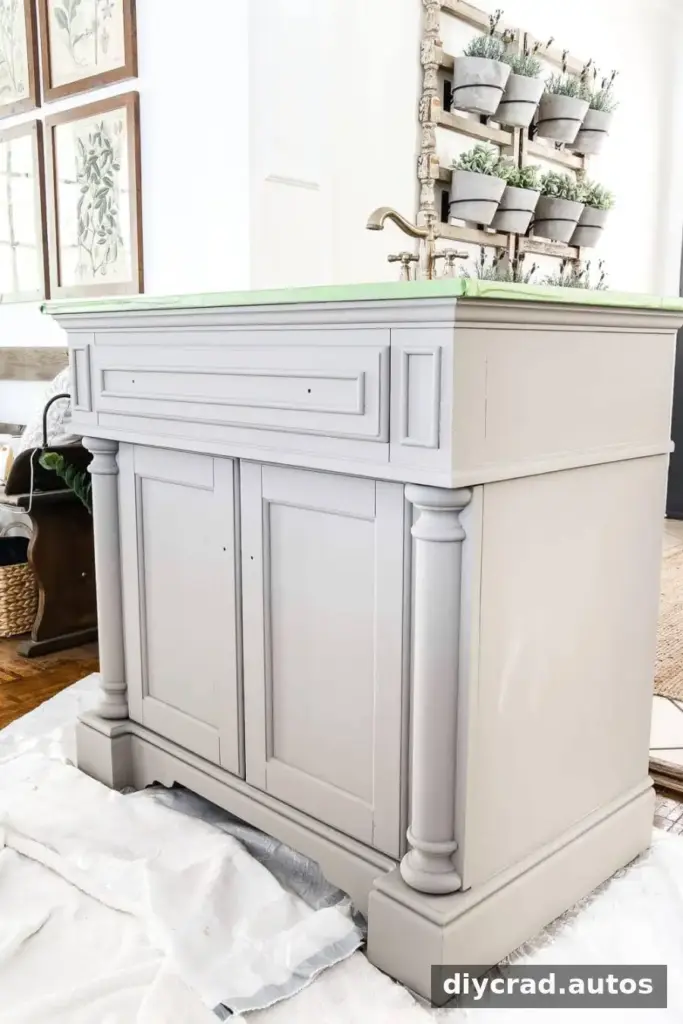
Brush on two even coats of chalk paint, allowing each coat to dry as directed on the product label. Work carefully around corners and hardware, and check the surface from different angles so missed areas are easy to spot. A thin, even application is generally easier to control than a heavy coat.
2. Add black wax in small sections
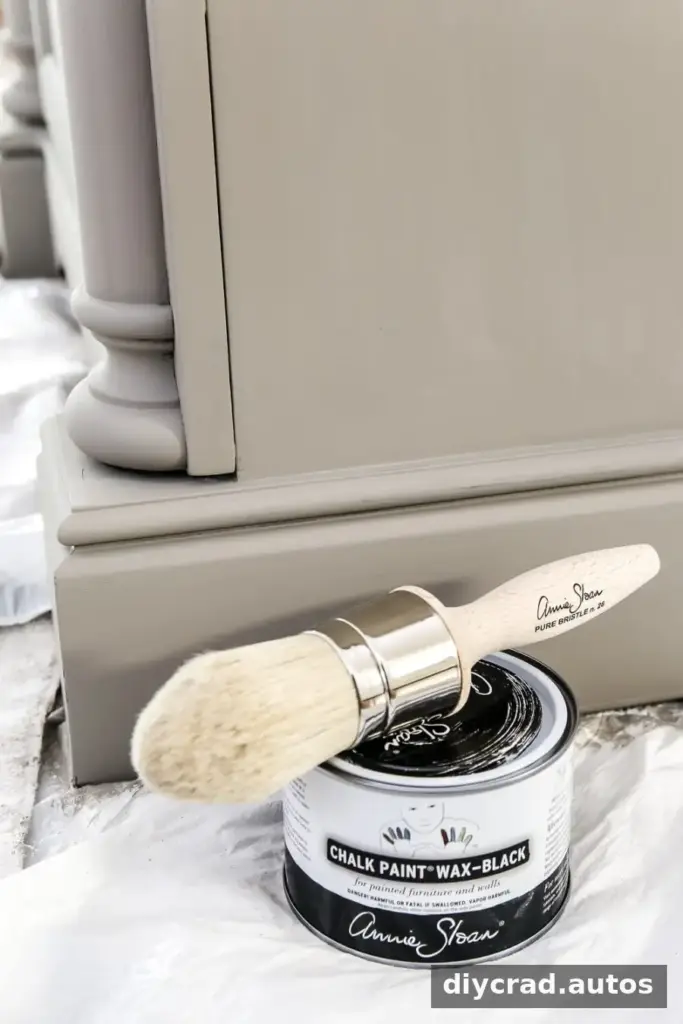
Once the paint is fully dry, work on sections of about 2–3 square feet at a time. Use the wax brush to apply black wax and work it into crevices, edges, and other details. Then lightly wipe away excess wax with a dry, lint-free rag. The aim is to leave a subtle aged effect rather than a thick, uneven layer. If the finish looks too dark, wiping the section while the wax is still workable may remove some excess; follow the wax label for its working time and cleanup instructions.
New to waxing furniture? A visual demonstration can help you see how the brush and rag work together. Marian Parsons has shared a furniture-waxing video that can serve as a reference for the technique.
Practical Tips for a Bathroom Vanity
The painting and waxing steps are simple, but good preparation makes the result more dependable. Remove knobs or other hardware before painting when possible, and keep them together so they are easy to reinstall. Protect the floor and nearby surfaces, and allow the finish to dry and cure for the time stated on the product labels before putting the vanity back into regular use.
- Keep the room ventilated: Follow product safety directions and maintain airflow while painting and waxing.
- Use a light touch: Apply wax in manageable amounts and remove excess rather than leaving a heavy coating.
- Consider bathroom moisture: Waxed finishes are not automatically waterproof. Wipe up standing water and check the product guidance for maintenance and suitability in a bathroom.
- Plan for the hardware: Reattach knobs only after the finish is ready for handling.
The original makeover took about two hours of hands-on work, although drying and curing time may extend the project. It was completed on a tight schedule before the vanity needed to be moved back into the room, so setting aside extra time is a sensible choice when planning your own project.
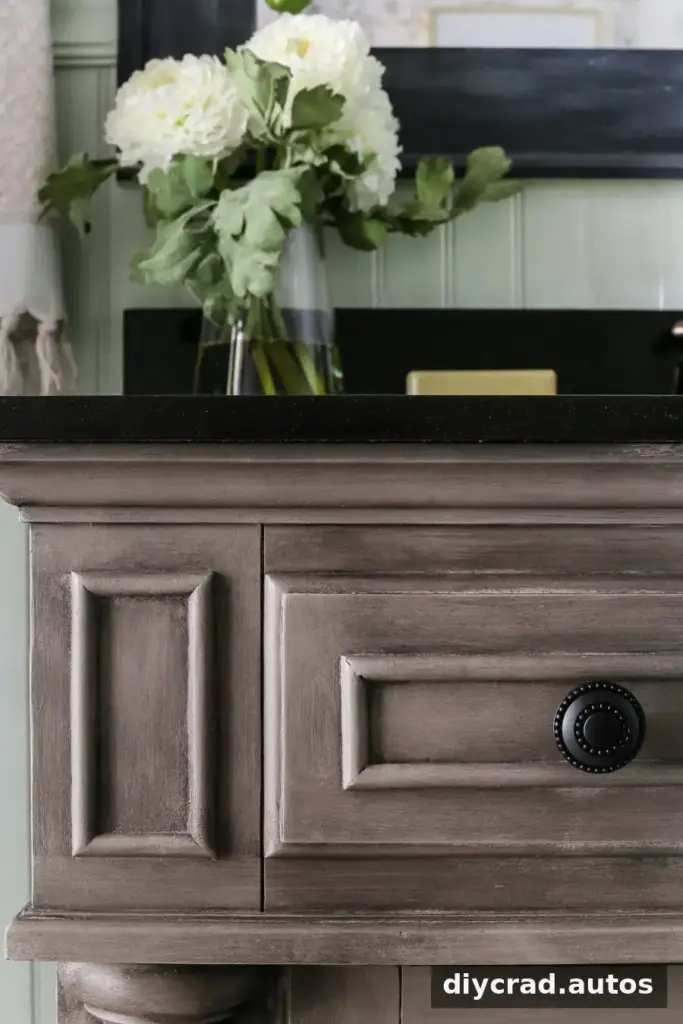
Why This Faux Wood Finish Works
The gray-beige paint provides a muted base, while black wax settles into details and adds contrast. Together, they create the impression of weathered wood without stripping the existing finish or staining bare timber. The result has a cooler gray tone than a brown faux-wood finish, and its appearance can vary with the paint shade, the amount of wax, and the shape of the vanity.
Because the method does not depend on visible raised grain, it can be useful on a vanity with a relatively smooth surface. Keep in mind that it creates a painted effect rather than exposing natural wood. A small test area helps you decide whether the color and level of aging suit the rest of the bathroom.
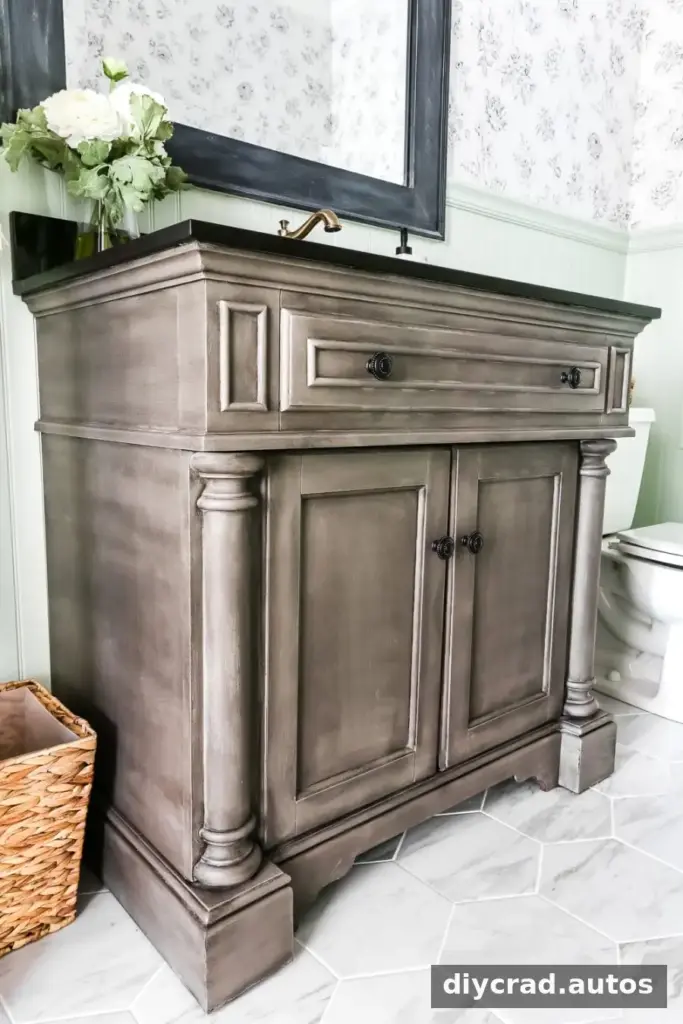
This two-step approach is a straightforward way to update a vanity with minor surface wear. With careful cleaning, two coats of chalk paint, and black wax applied in small sections, a weathered gray wood look vanity can bring a softer, aged character to a bathroom without a lengthy stripping and staining job. Follow product directions, allow adequate curing time, and protect the finish from standing water to help the makeover last.