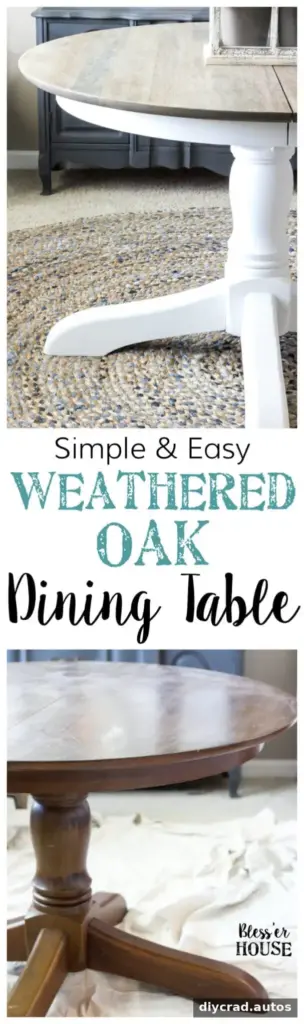
A weathered oak dining table makeover can refresh a tired piece of furniture without replacing it. This project transforms a secondhand table with a light, natural-looking stain and a crisp painted base. The key steps are removing the old finish, applying stain evenly, and adding a protective topcoat suited to how often the table is used.
Planning a Weathered Oak Dining Table Makeover
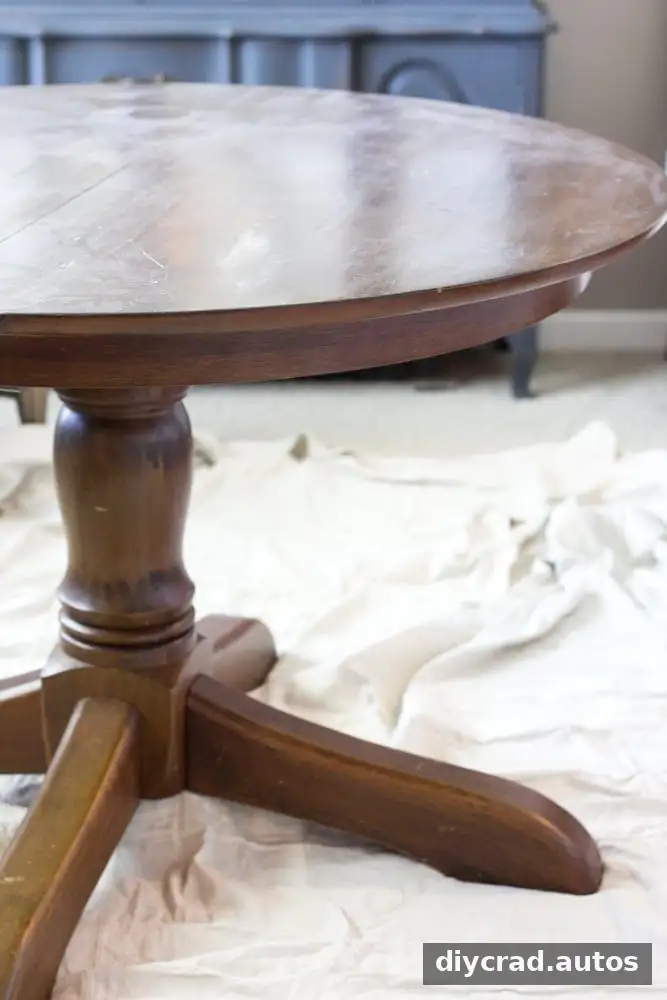
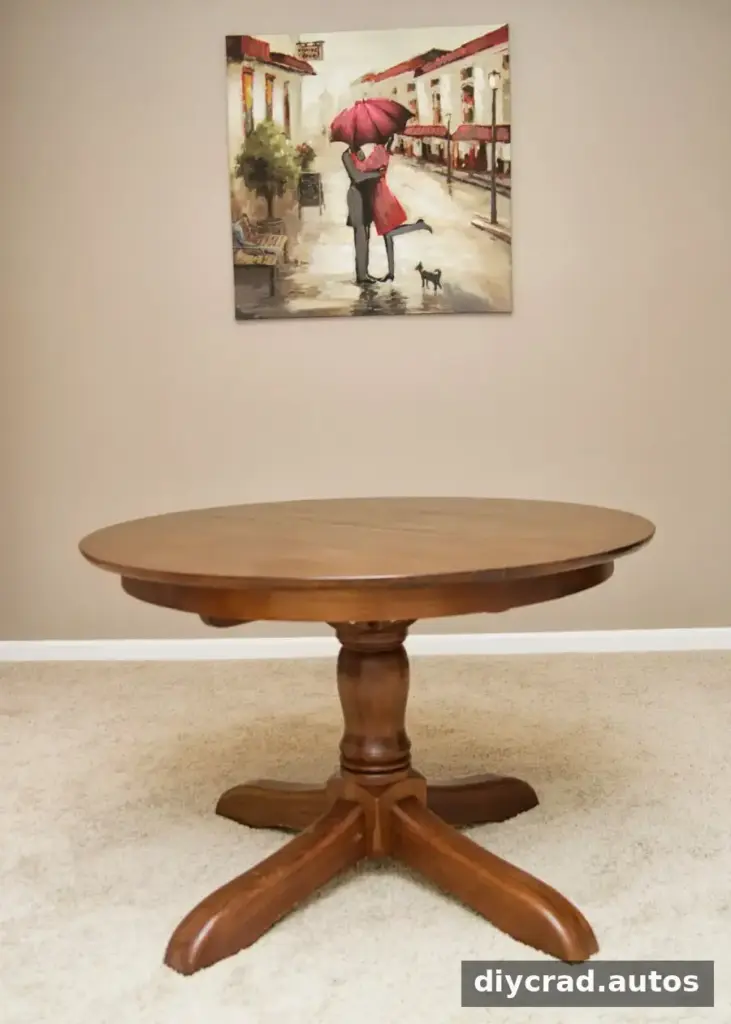
The table was purchased secondhand for $250. Its wood still had attractive natural character, but the surface showed signs of wear. A high-end designer table provided inspiration for a more refined look, without the $1500 price tag.
A light weathered oak stain can bring out subtle brown and gray tones while allowing the grain to remain visible. Before starting, check whether the tabletop is solid wood or veneer. If it is veneer, sand gently and avoid removing too much material; a test area in an inconspicuous spot can help you judge the existing finish and the stain color.
Supplies for the Table Refinishing Project
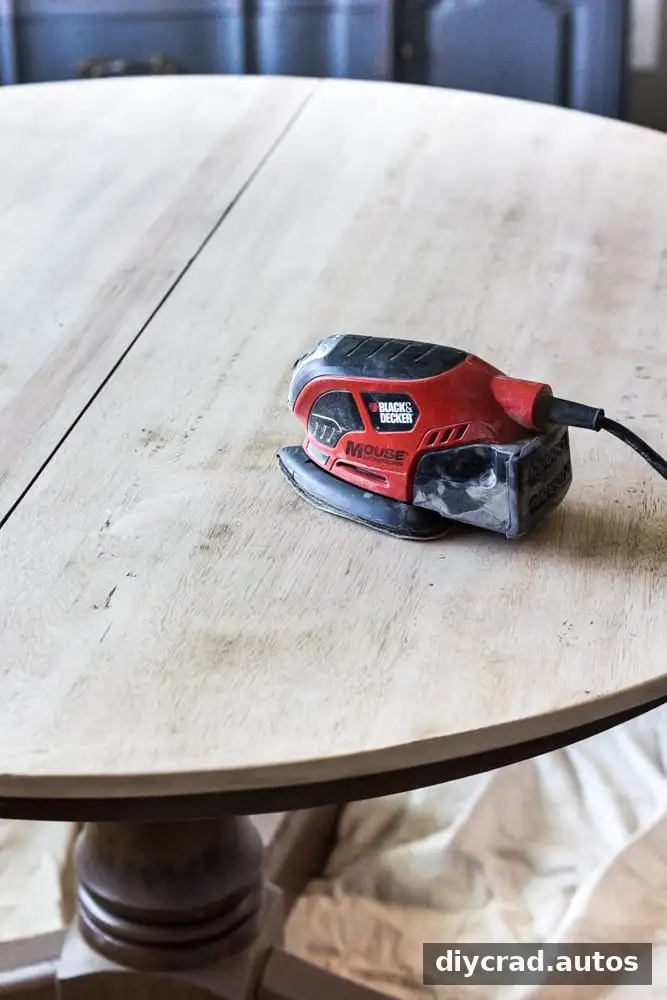
- Mouse sander
- Coarse-grit sanding sheets
- Safety glasses and a sanding respirator mask
- Weathered Oak wood stain
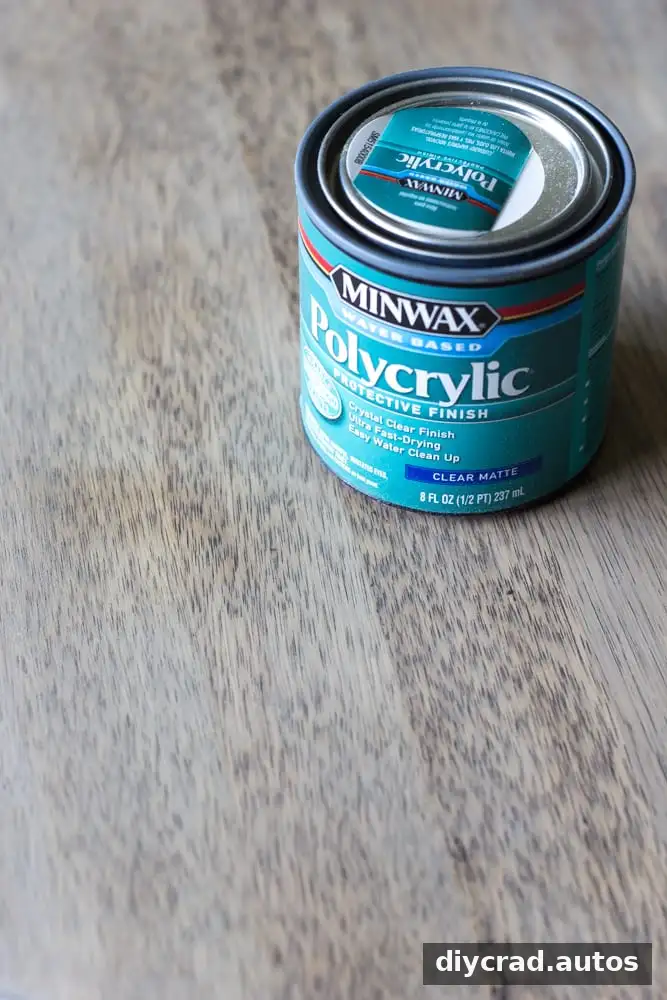
- Matte Polycrylic protective finish
- Two foam brushes, one for stain and one for the protective finish
- Several clean, dry, lint-free rags
- Pure White chalk paint
- An angled paintbrush
Use eye and respiratory protection while sanding, and follow the product labels for application and safety instructions. Work in a well-ventilated area, and keep rags used with stain handled and disposed of according to the label.
How to Refinish the Tabletop
1. Sand away the old finish
Instead of using varnish stripper, the old varnish and stain were removed by sanding. The initial sanding took more than an hour, and the full process took about three hours. The time needed can vary depending on the table’s finish, size, and condition.
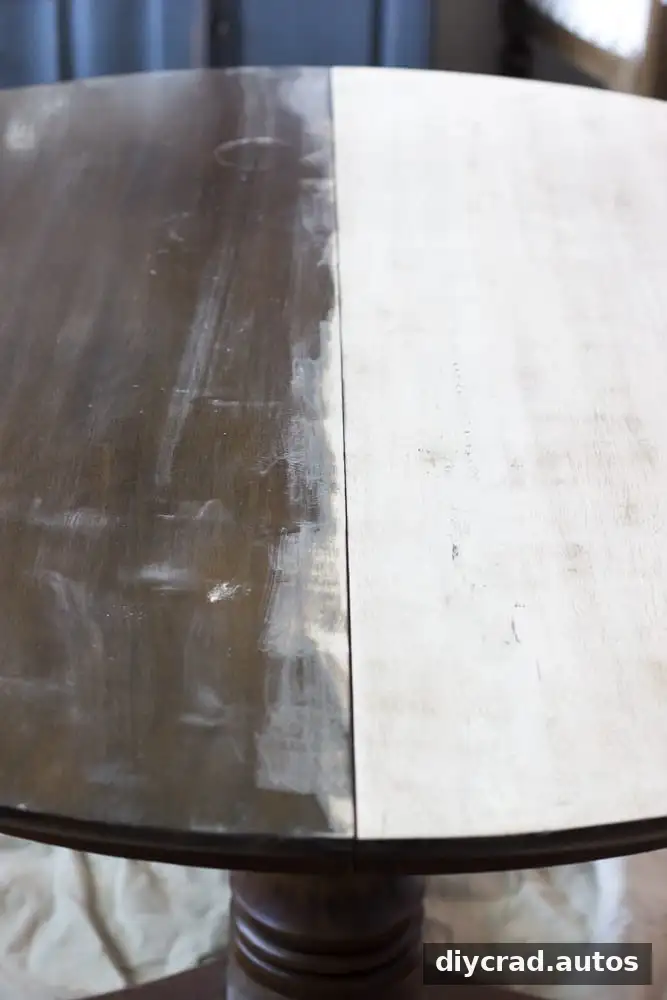
Continue sanding until the old coating is removed and the surface is ready for stain. Keep the sander moving to reduce the chance of creating uneven dips. Sanding creates fine dust, so protect the surrounding area and clean it thoroughly with a vacuum and duster before applying any finish.
2. Apply the weathered oak stain
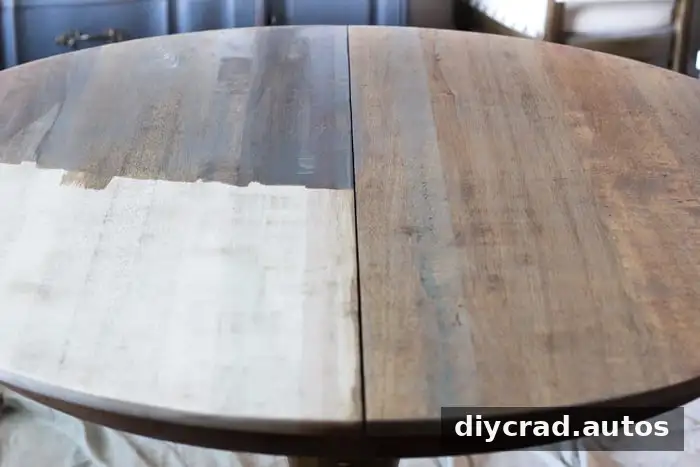
Work in small sections so the stain can be wiped back evenly. Brush stain onto one quarter of the tabletop, wait about a minute, then wipe away the excess with a clean rag. Repeat the process on the remaining sections, keeping an eye on the transitions between them.
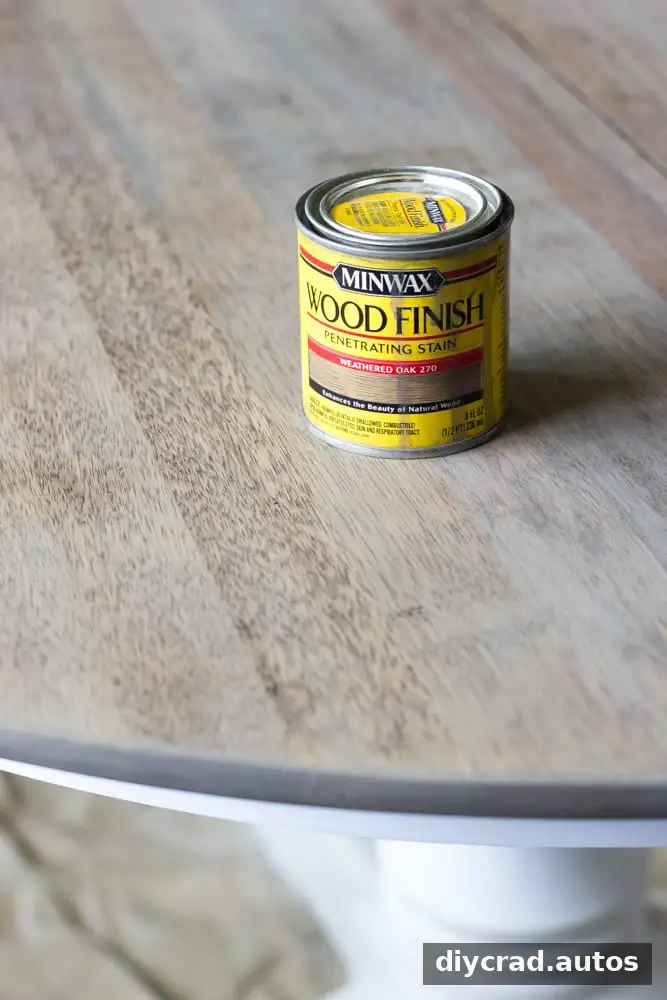
Applying stain in manageable areas makes it easier to maintain a consistent finish. The comparison below shows the surface at different stages: bare wood, freshly brushed stain, and stain that has been wiped back.
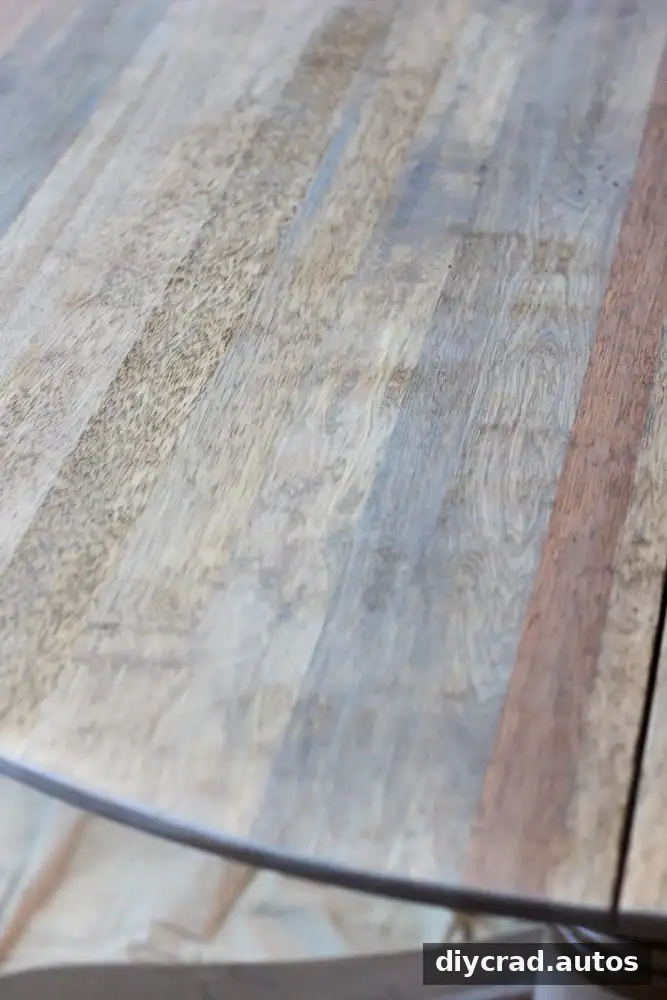
The color looks lighter after drying. In this project, two coats of stain were applied according to the directions on the can. Follow the product’s stated drying and recoating instructions rather than relying only on appearance.
3. Protect the stained surface
The day after staining, three thin coats of matte Polycrylic were applied to protect the tabletop. Thin, even coats help avoid an overly heavy-looking finish; allow each coat to dry as directed on the product label. For a table that sees frequent meals, spills, or heavier daily use, compare protective finishes and choose one that is appropriate for the intended wear and compatible with the stain.
Paint the Table Base
The base received two coats of Pure White chalk paint. It was left undistressed to keep the overall room from looking too weathered, since other pieces already had a distressed finish. If painting a similar base, allow each coat to dry according to its product instructions and check that the paint is suitable for the surface.
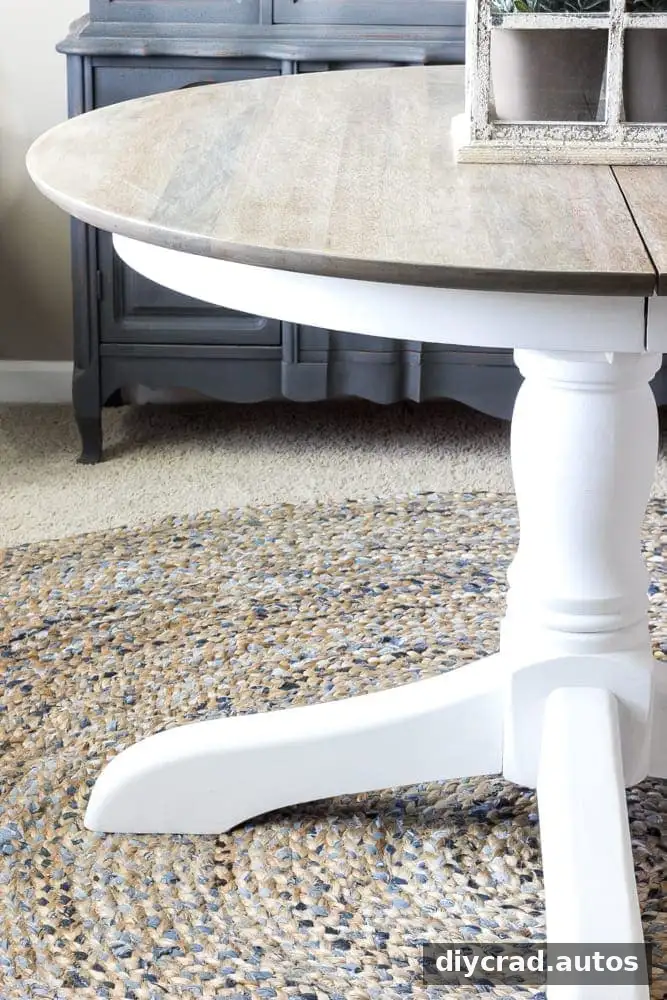
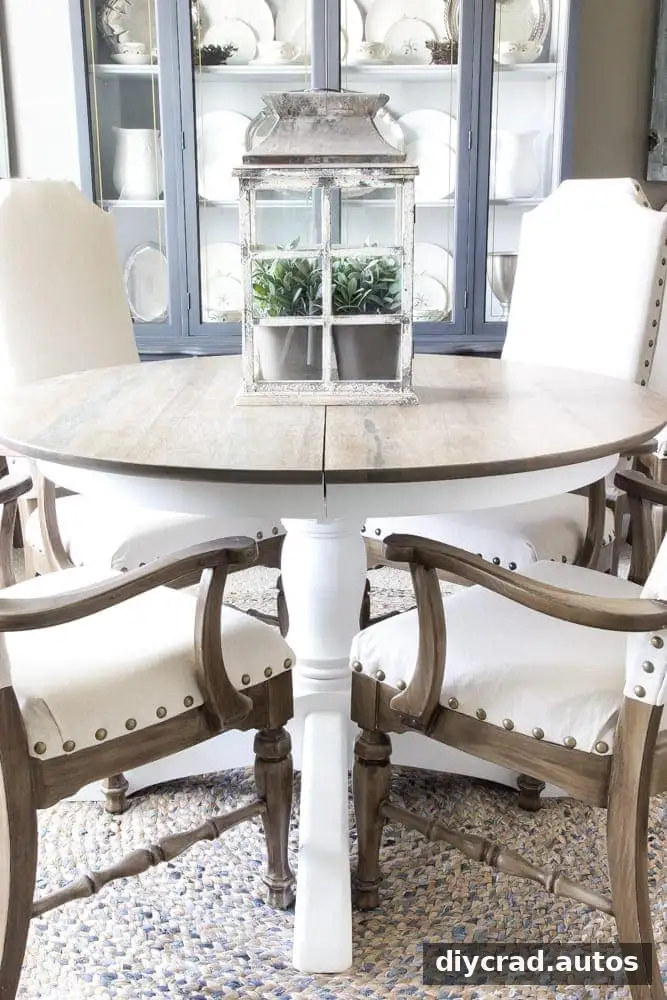
The finished table helped the dining room feel more complete. The light stain keeps the wood grain visible, while the white base creates a clean contrast. A casual jute-and-denim rug softened the room’s more formal furniture. The room’s reported project total at that point was $925.
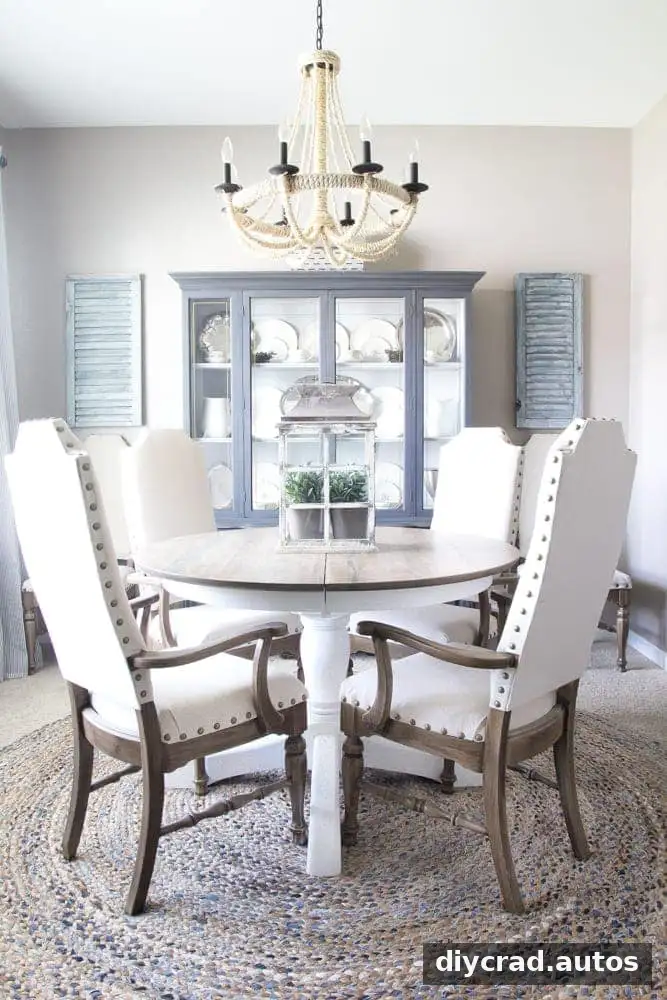
The transformation also shows how a coordinated set of smaller DIY updates can change the feel of a room over time. A table makeover does not need to match every other piece exactly; repeating a few colors and textures can help the space feel connected.
Tips for a Lasting Weathered Oak Finish
- Test the stain first: Try it on an inconspicuous area or a scrap of similar wood, since the final color depends on the wood and its preparation.
- Wipe consistently: Use clean rags and work in sections to reduce visible overlap marks.
- Let the finish dry: Follow the can’s instructions between coats and before putting the table back into use.
- Plan for dust: Sanding can spread fine particles beyond the tabletop, so cover nearby items and clean before finishing.
With careful preparation, a weathered oak dining table makeover can give a worn table a refreshed look while preserving the character of its wood. Take time with sanding, apply stain in controlled sections, and choose a protective topcoat based on how the table will be used.
More Ideas for a Weathered Wood Look
- Choosing a neutral driftwood-style deck stain
- A faux driftwood finish for an outdoor dining table
- A painted weathered wood bed makeover
These finishes can be adapted to different furniture projects, but always test products on the specific surface first and follow their application directions.
As the table is put to use, protect the finish from standing moisture and clean spills promptly using care appropriate for the coating. Small maintenance habits can help keep the refreshed surface looking its best through everyday meals and seasonal gatherings.