Yarn wrapped wire words are a colorful, customizable craft project made by covering craft wire with yarn and shaping it into letters. The finished words can be used as handmade decorations, and the flexible-wire method described here lets you reshape them later. With a few basic supplies and a little patience, you can create a word or short phrase that suits your space or occasion.
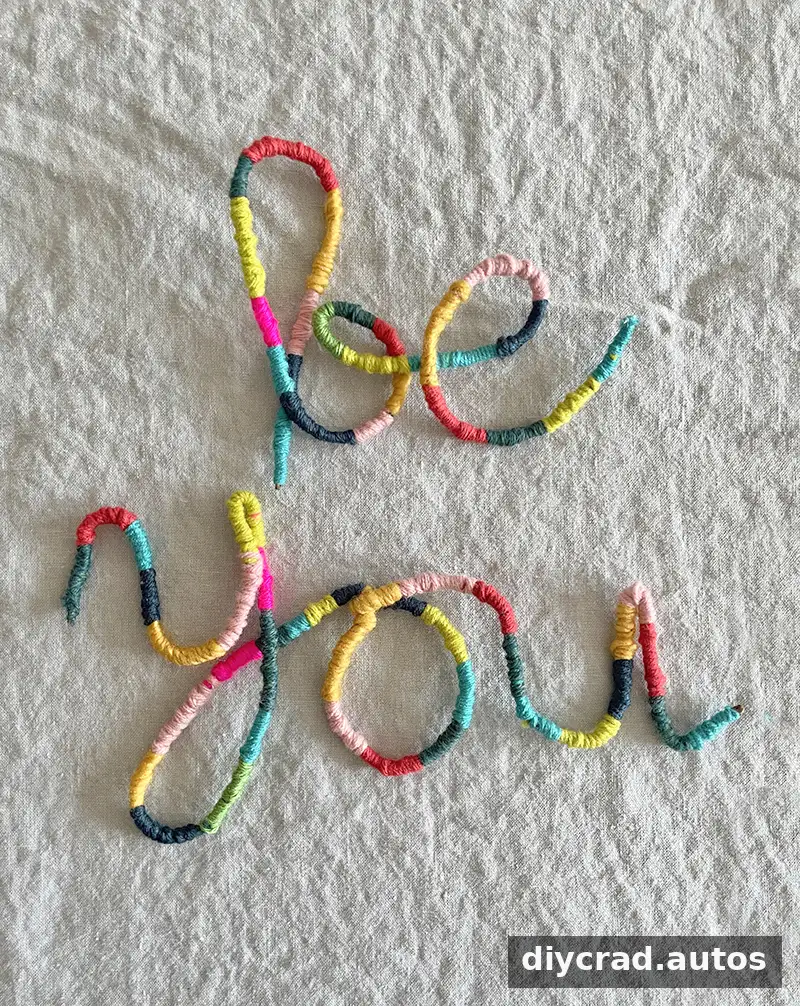
There are two ways to assemble the project. Wrapping the wire first makes it easier to change the shape afterward, while shaping the word before wrapping creates a more permanent design. Choose the approach that best fits how you plan to display and use your finished piece.
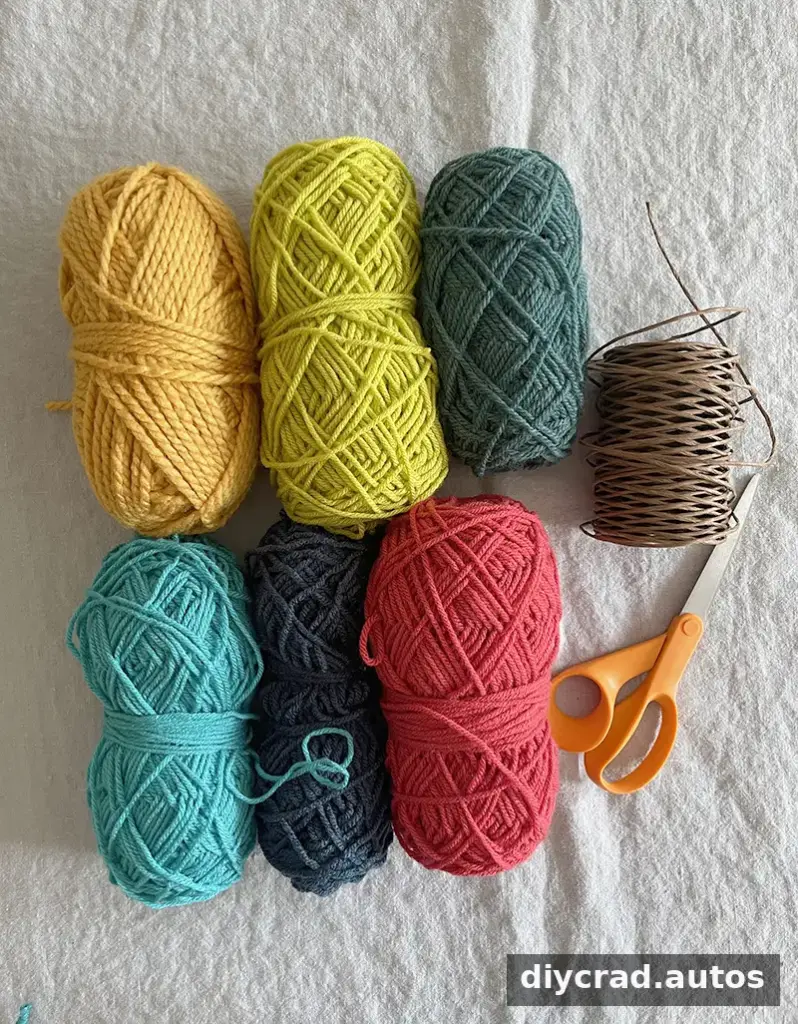
Supplies for Yarn Wrapped Wire Words
Gather these materials before you start:
- Paper-covered craft wire
- Yarn in your chosen color
- Scissors
- A mini glue gun
Before wrapping, check that the wire bends easily enough to form letters but holds its shape when you let go. Select yarn that can cover the wire without making the finished letters too bulky. If you are making several words, measure each one separately so you have enough wire for every design.
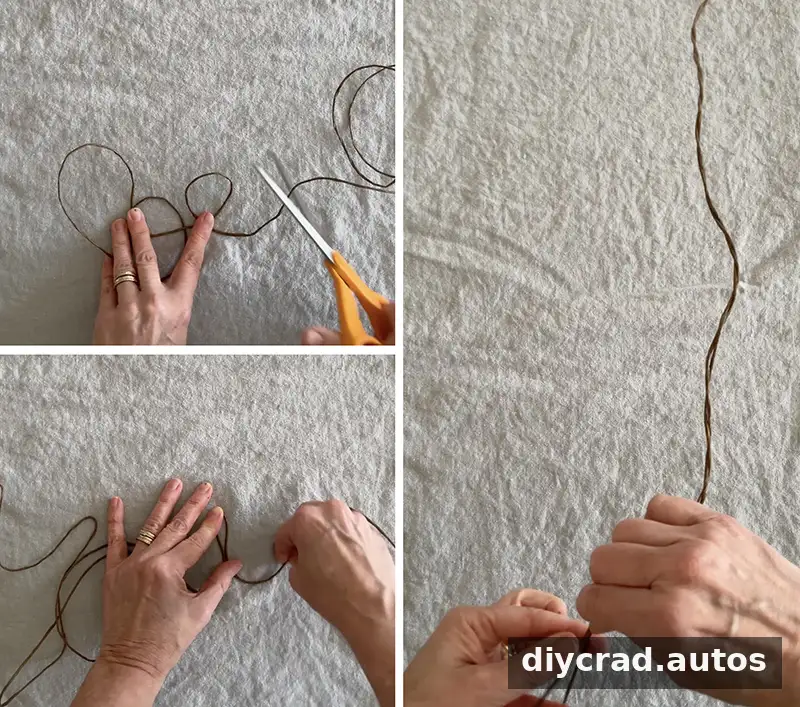
How to Make Yarn Wrapped Wire Words
- Plan the word and measure the wire. Shape a length of wire into each word to estimate how much you need. For a thicker, sturdier form, double each measured length and twist the two strands together before wrapping.
- Wrap the yarn around the wire. Wind the yarn around the wire, keeping the wraps close together so the base is covered. You do not need to glue the yarn along the full length; wrapping it around the ends can help keep it in place as you work.
- Secure the yarn end. When you reach the end, use a small dot of hot glue to fasten the yarn. Let the glue cool before handling that section. Take care when using a glue gun, as its tip and melted glue can cause burns.
- Shape the letters. Bend each wrapped wire into the planned word. Adjust the curves and corners gradually, then gently move the letters until the word lies flat. Avoid sharp, repeated bends in one spot, which can make shaping more difficult.
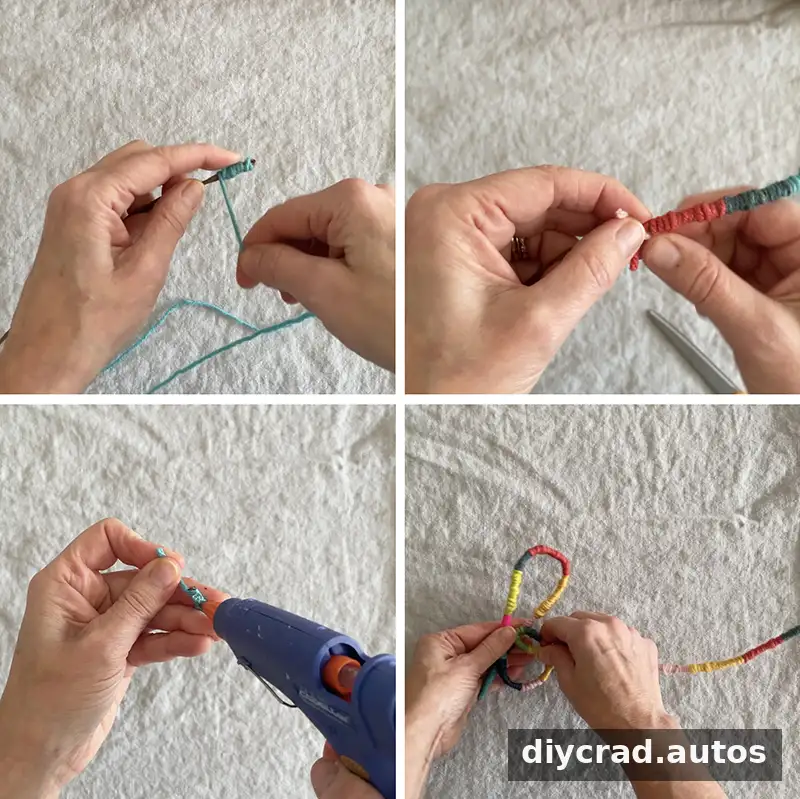
If you want to rearrange the wire into different words later, wrap it before twisting it into letters. For a design that should keep its shape, form the word first and then wrap the yarn around it. In either case, work slowly around tight curves and leave enough room between letters for the word to remain easy to read.
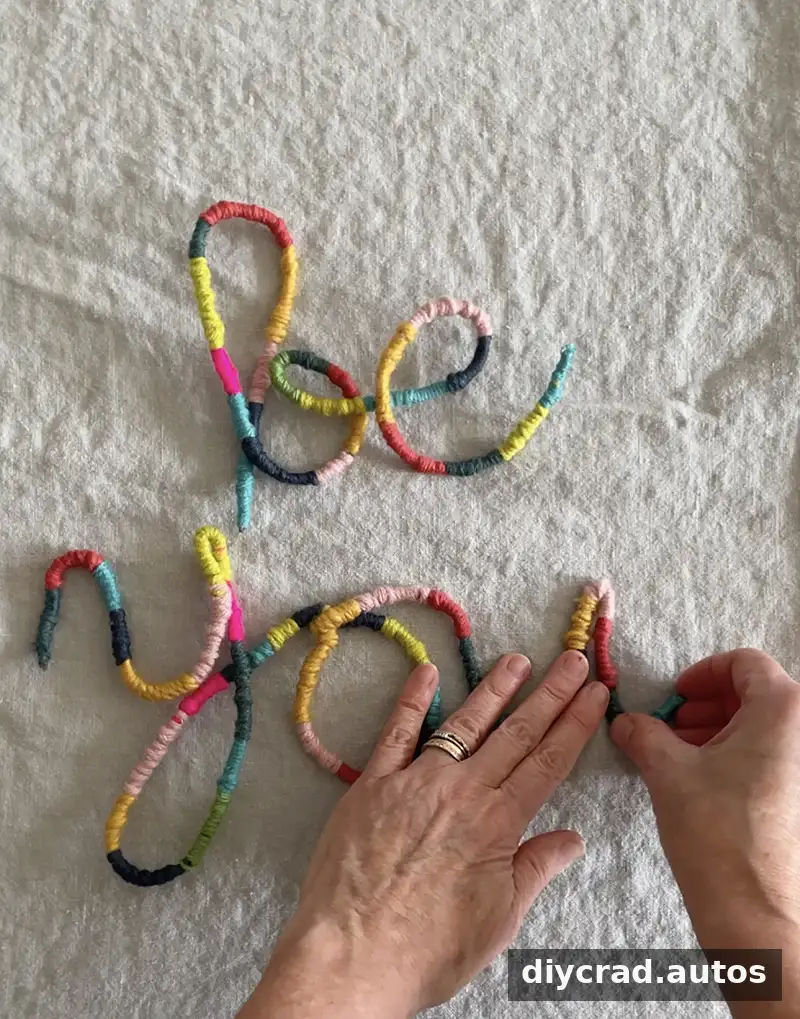
Ideas for Personalizing Your Wire Words
Short words such as “hello,” “explore,” “kind,” “brave,” “dream,” “love,” and “hooray” can work as decorative accents. Consider the length of the word and the space available before you begin; longer words need more wire and may be harder to shape evenly. You can also choose a yarn color that complements the room or the occasion.
When the project is complete, place it where the wire will not be bent accidentally. If you share your finished craft on social media, include a clear photo that shows the full word and its shape.
— Bar
More Yarn DIY Ideas
If you enjoy working with yarn, these other craft ideas offer different ways to use it:
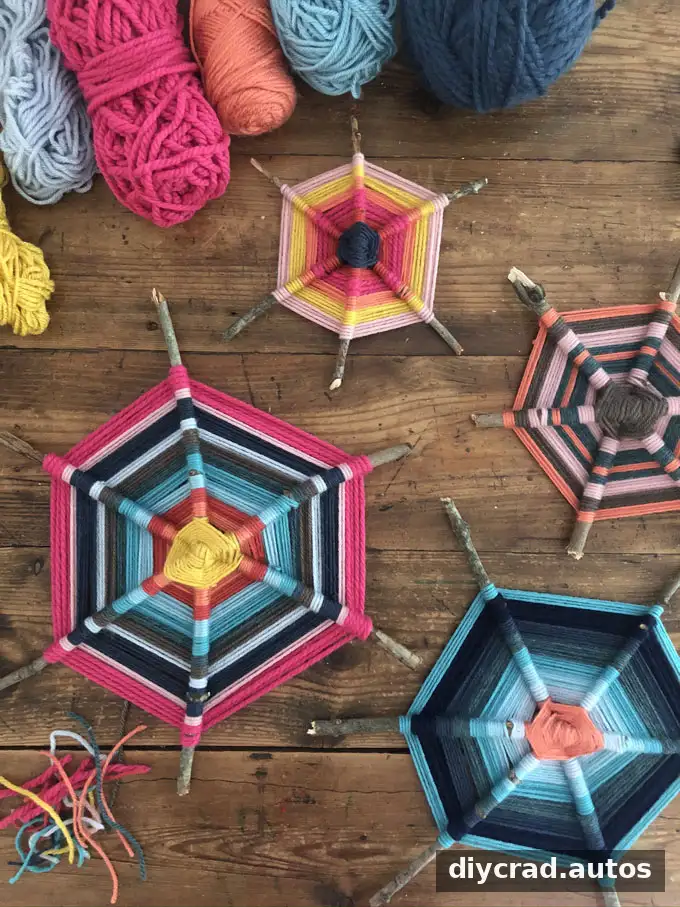
- Five-point God’s Eyes
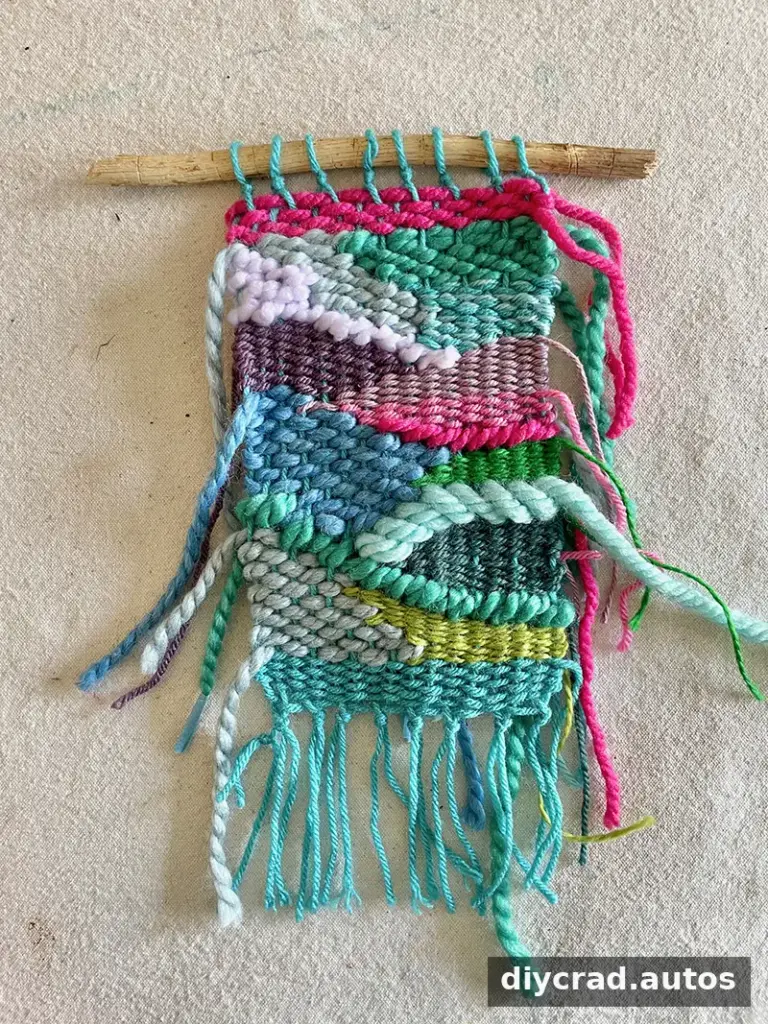
- Doodle Weaving
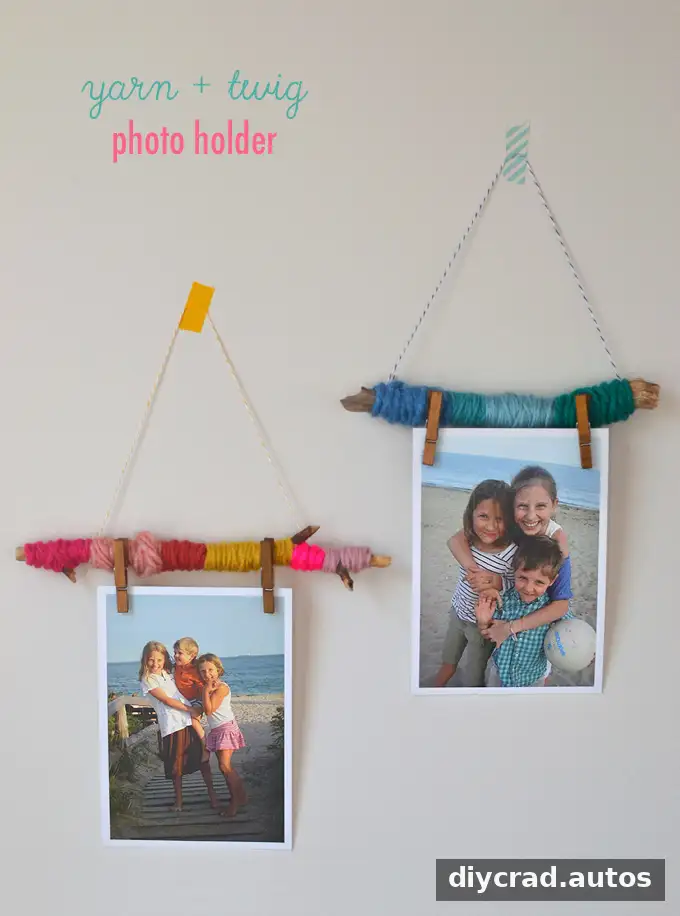
- Yarn & Twig Photo Holders
Yarn wrapped wire words are a simple way to turn a few everyday craft materials into personalized lettering. Choose whether you want a flexible or more permanent result, wrap the yarn neatly, and shape the wire with care for a finished design that fits your space.