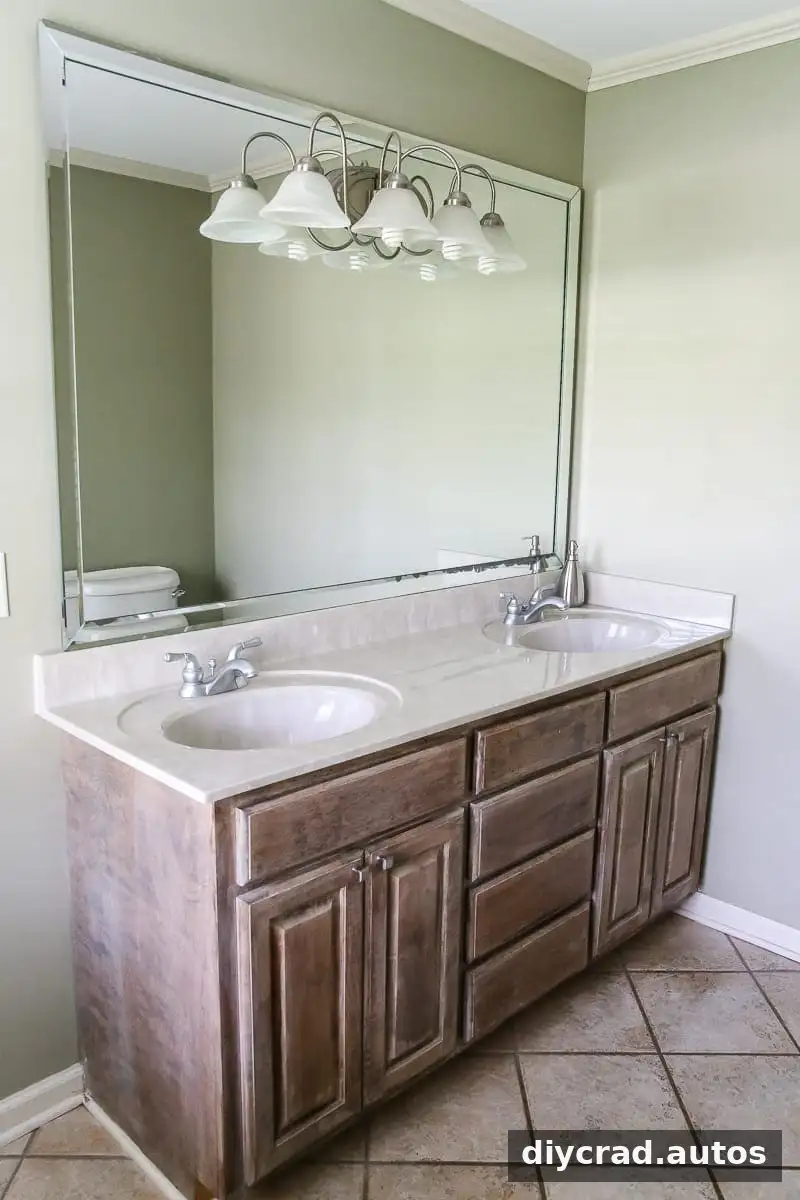
A budget master bathroom refresh can make an outdated room feel calmer and more useful without beginning a full demolition. Paint, improved storage, updated lighting, and a few practical DIY changes helped modernize this bathroom while a larger renovation remains a future project. The planned full renovation was estimated at around $10,000, so the interim updates focused on making the existing space work better.
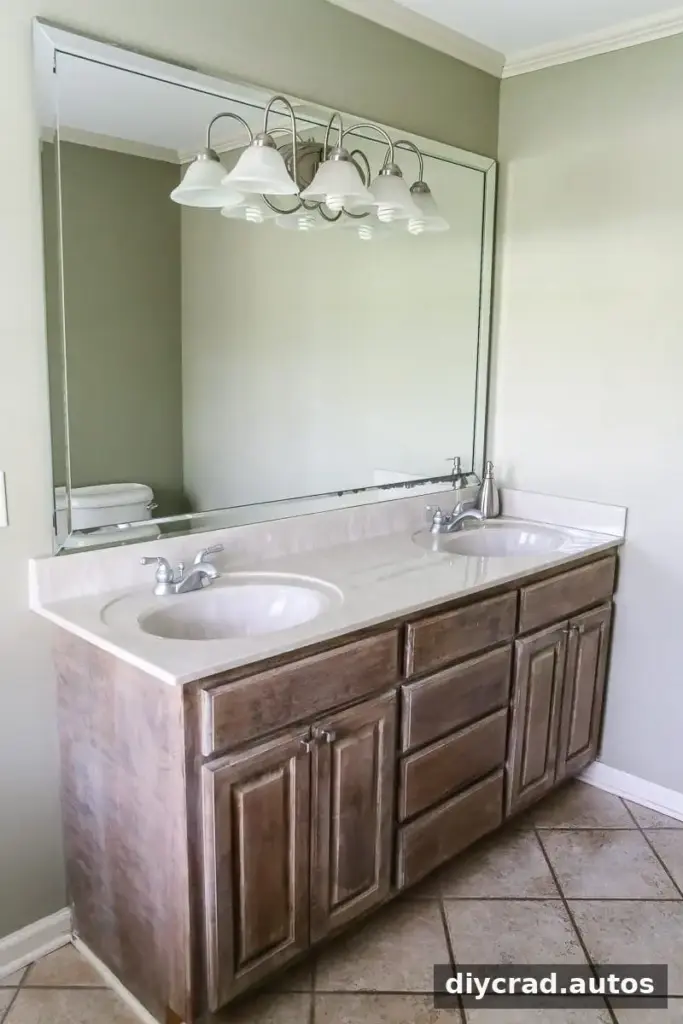
Budget Master Bathroom Refresh: Start with What You Have
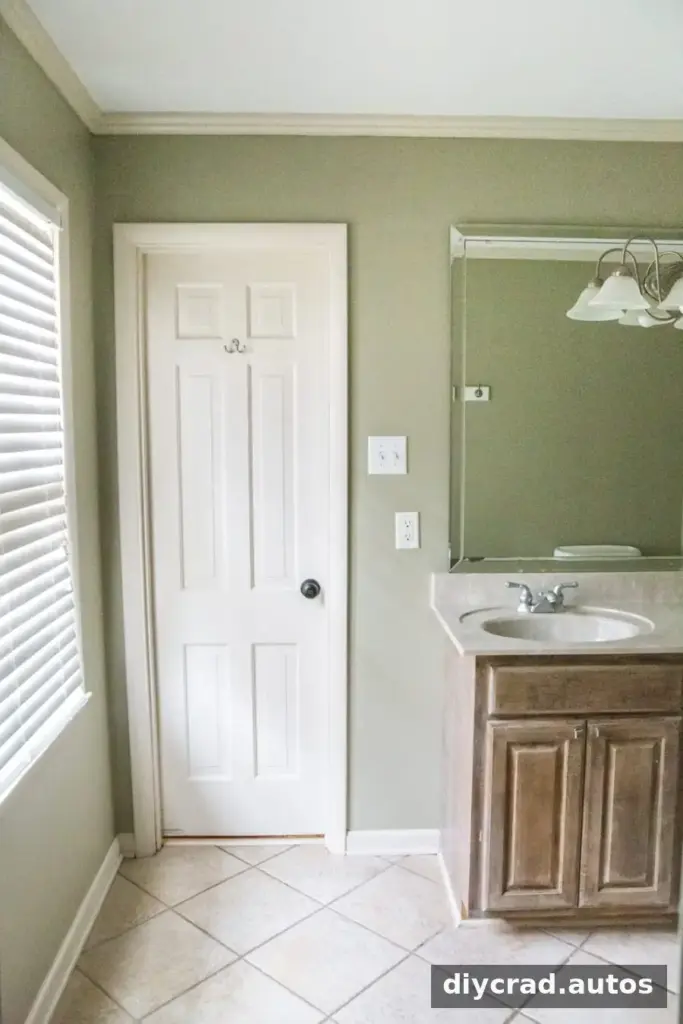
Rather than replacing every surface, the refresh kept several existing features, including the beige countertop and ceramic floor underneath the new covering. Working with the room’s existing finishes helped limit the scope and avoid turning a temporary update into a major construction project.
Before starting a similar project, list what is still functional and what causes the most frustration. Prioritizing visible, high-impact changes can help keep costs and disruption under control.
Painted Vanity and Updated Hardware
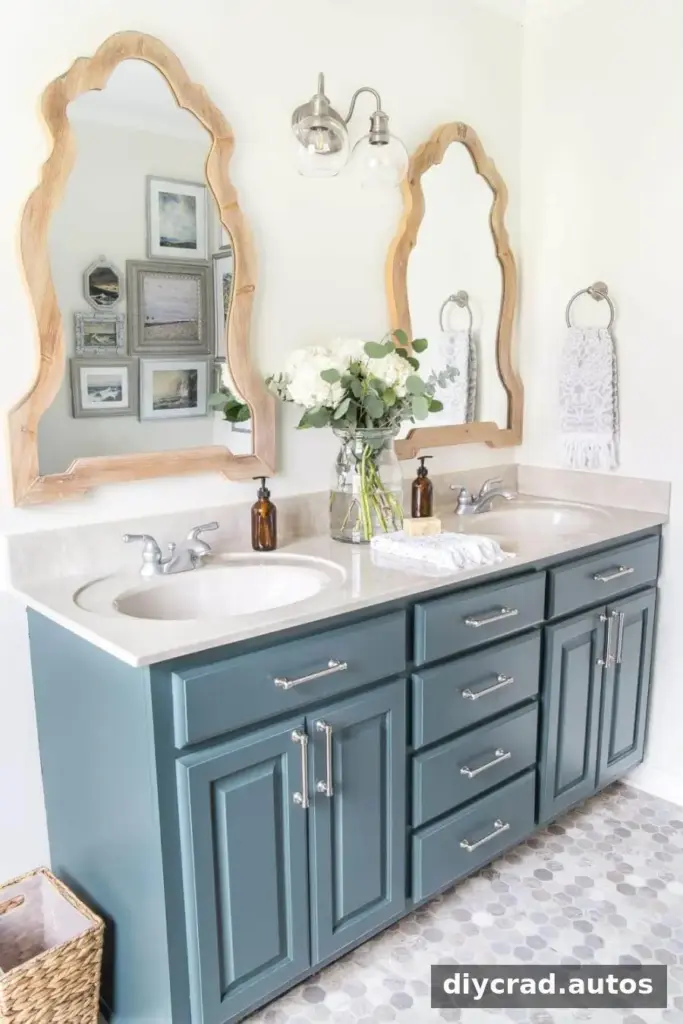
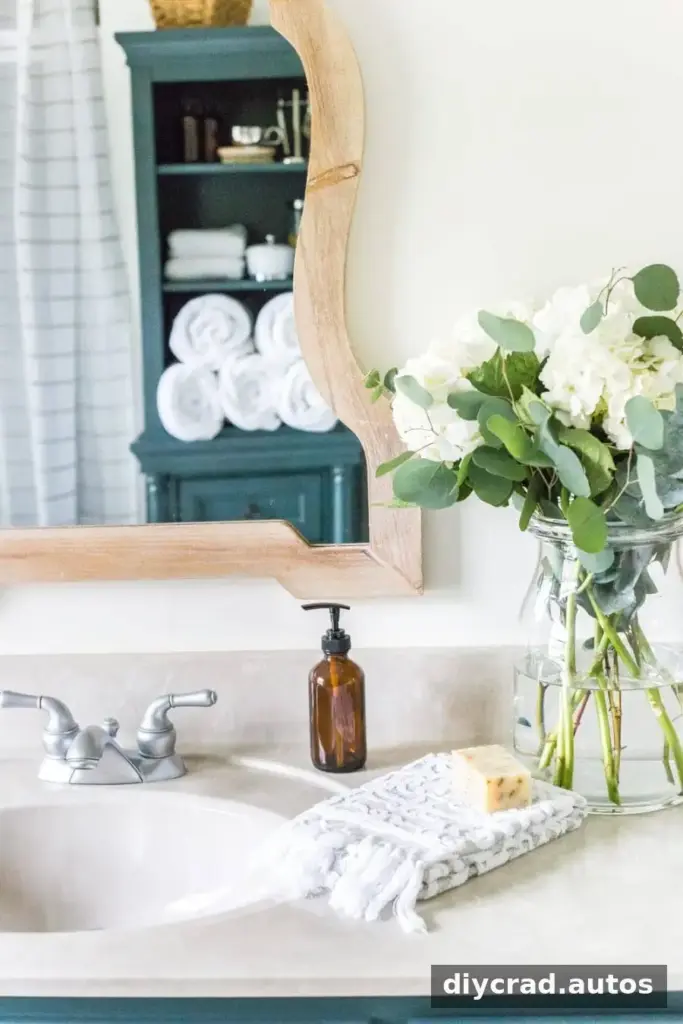
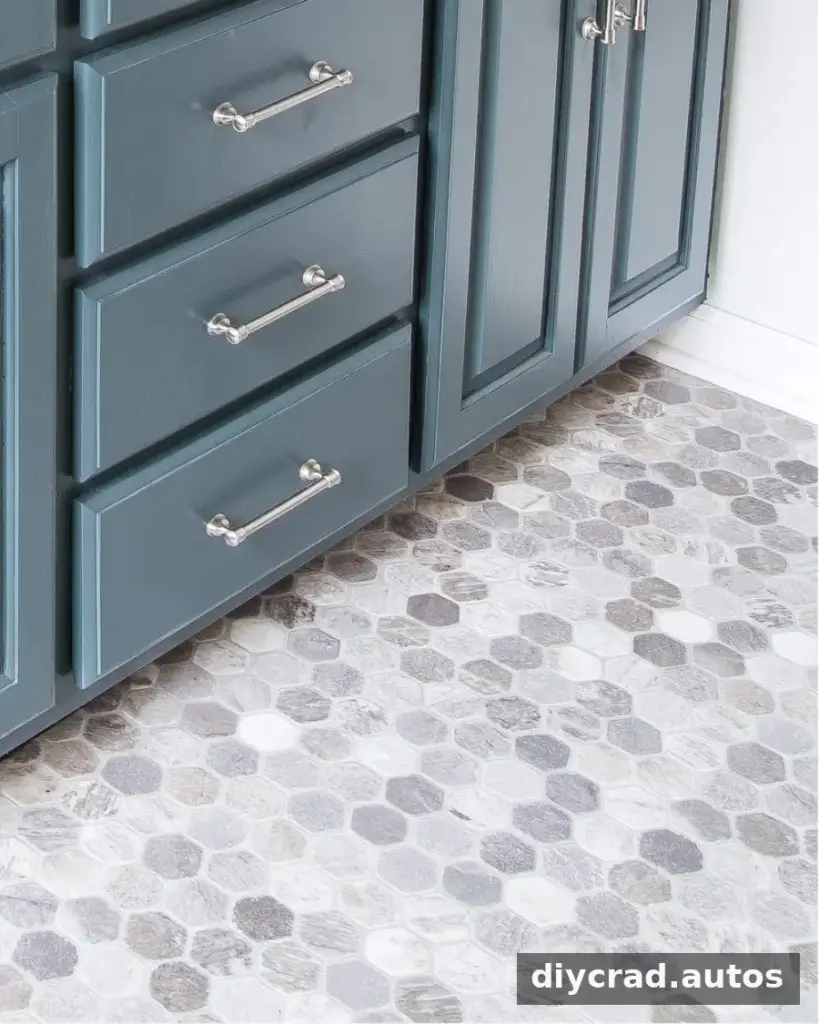
The vanity’s rough wood finish was painted in a custom color matched to the linen cabinet. New brushed nickel drawer pulls made the previously hardware-free drawers easier to open and coordinated with the existing faucets.
For a lasting result, use a paint system suitable for cabinets and follow the manufacturer’s preparation and curing instructions. Clean and prepare the surfaces carefully, and allow painted doors and drawers to cure before putting them back into regular use.
Wall Color to Work with the Countertop
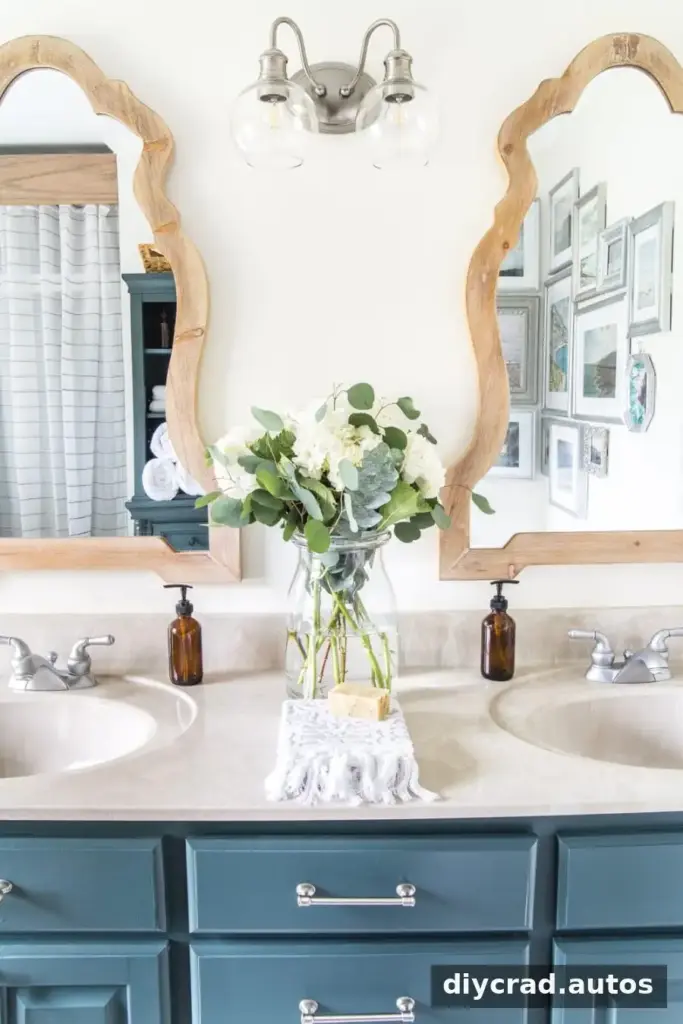
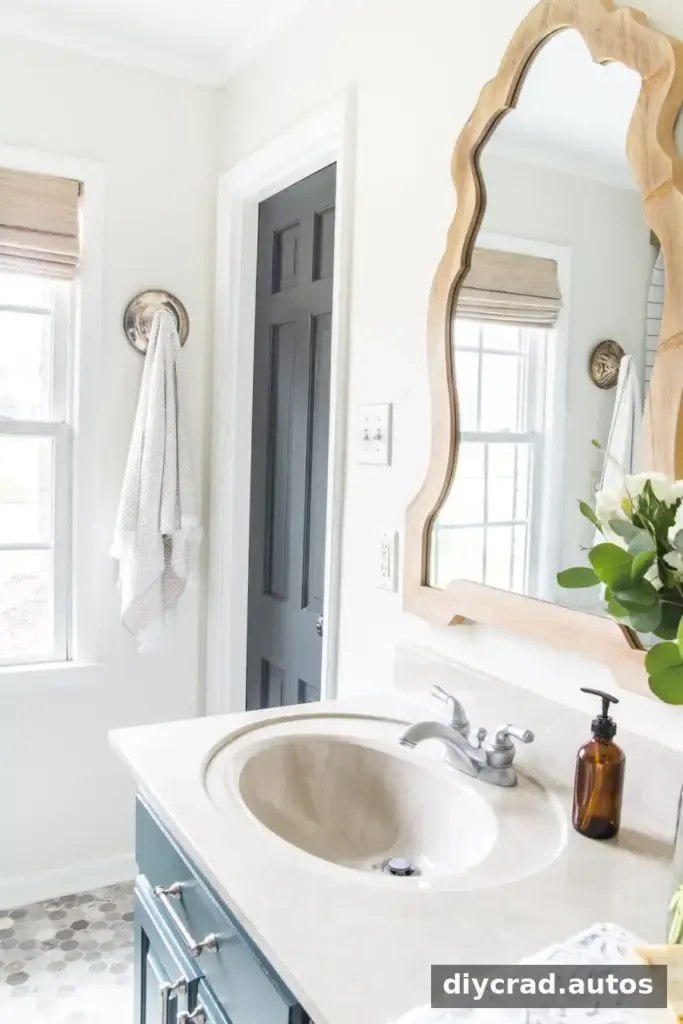
Because the beige countertop stayed in place, the walls were painted White Dove, a warm white that helps the existing tone feel more intentional. The trim color is Simply White, while the door was painted Wrought Iron to match other doors in the home.
When keeping a fixed finish such as a countertop, test paint samples nearby and view them in both daylight and artificial light. This makes it easier to choose a shade that complements the undertones already in the room.
Mirrors and Lighting
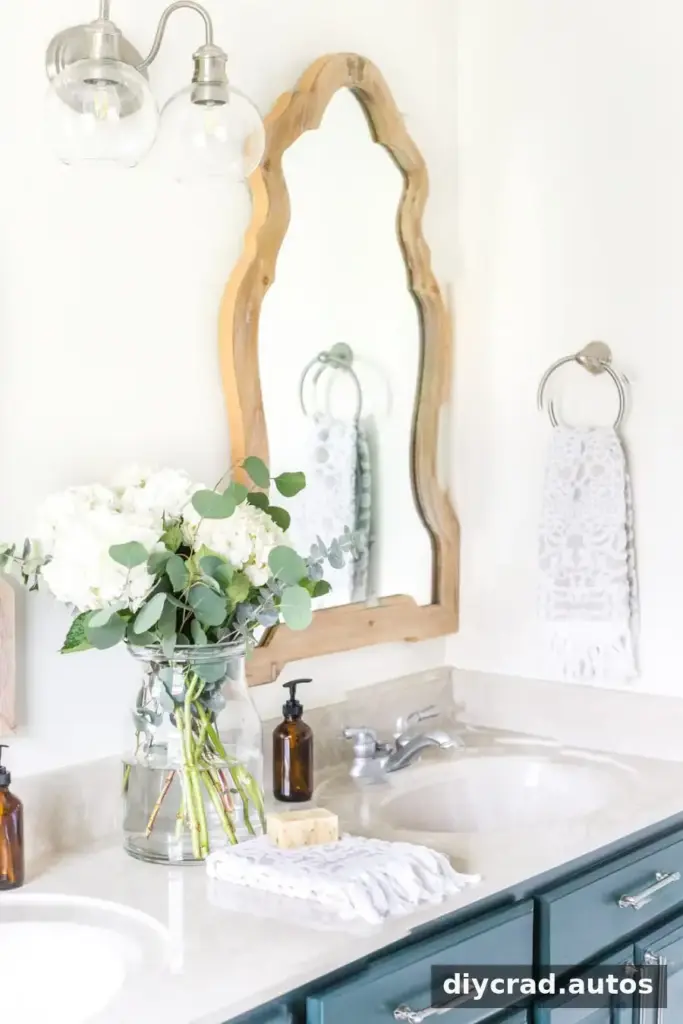
The damaged wall mirror was replaced with a pair of arched wooden mirrors, changing the look of the vanity without altering its layout. A broken vanity light was also replaced with a smaller two-light sconce that suits the updated space and existing faucets.
Mirrors can noticeably affect how open a bathroom feels. Take care when removing a large mirror: secure it before loosening its fasteners, and use appropriate protective equipment. Electrical work should be completed safely, with power switched off at the breaker; consult a qualified electrician if needed.
Organizing the Vanity
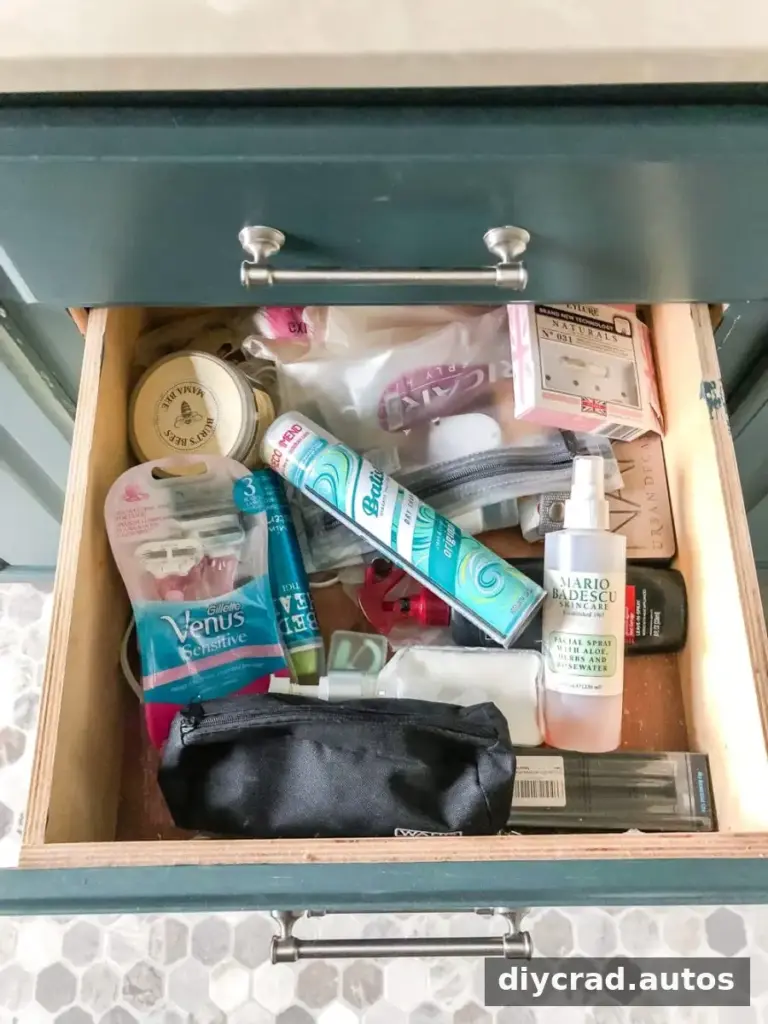
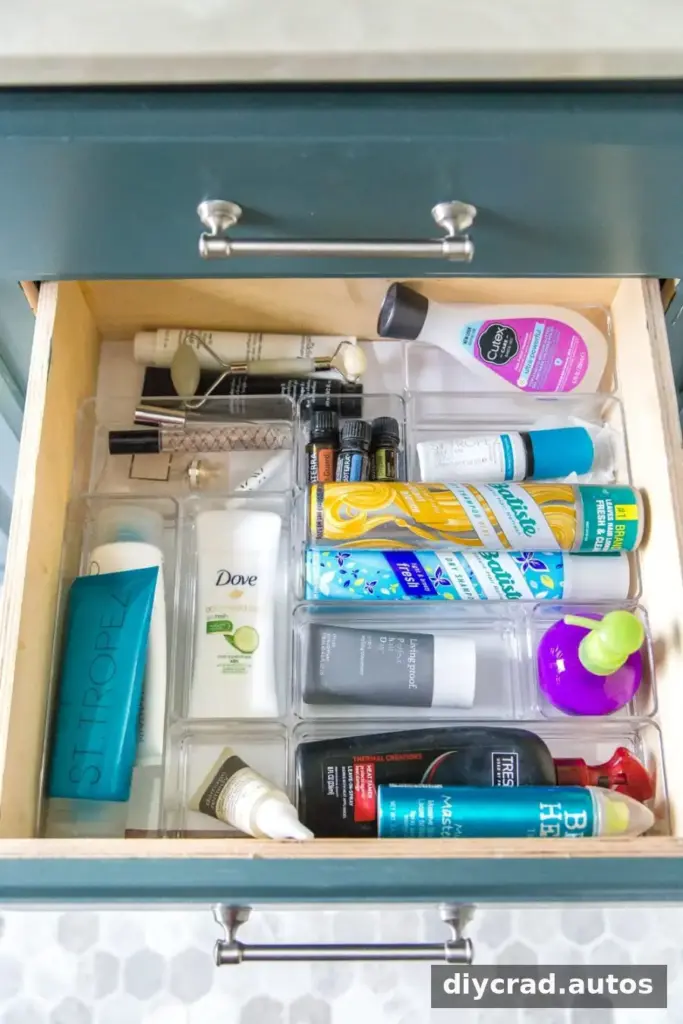
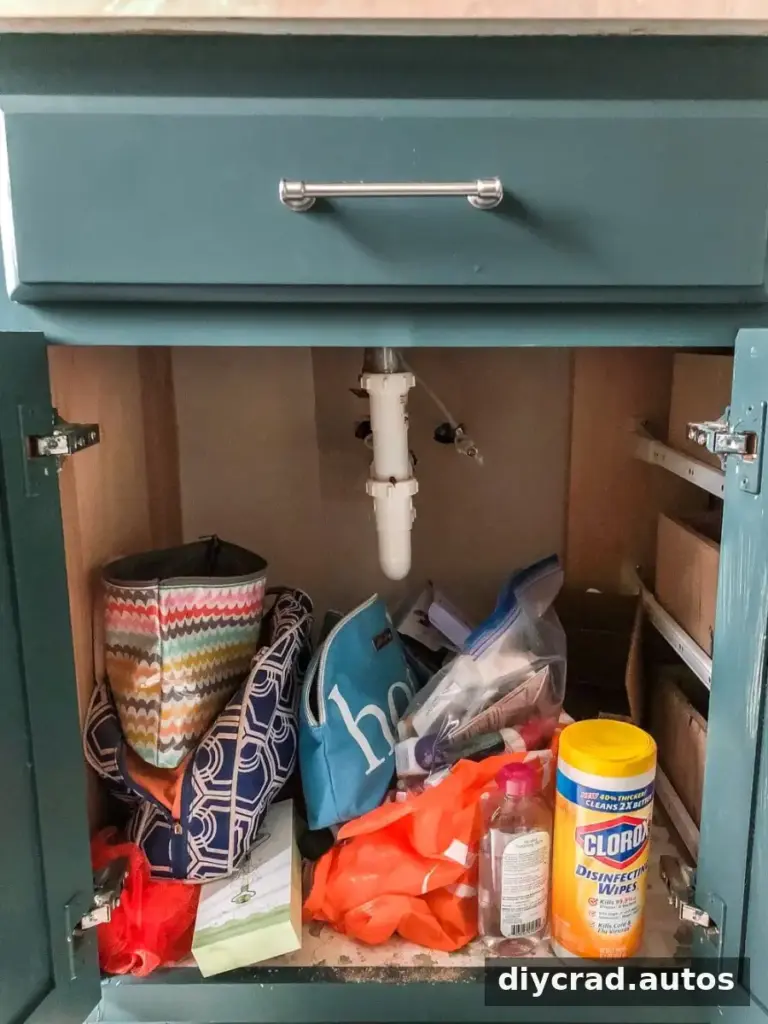
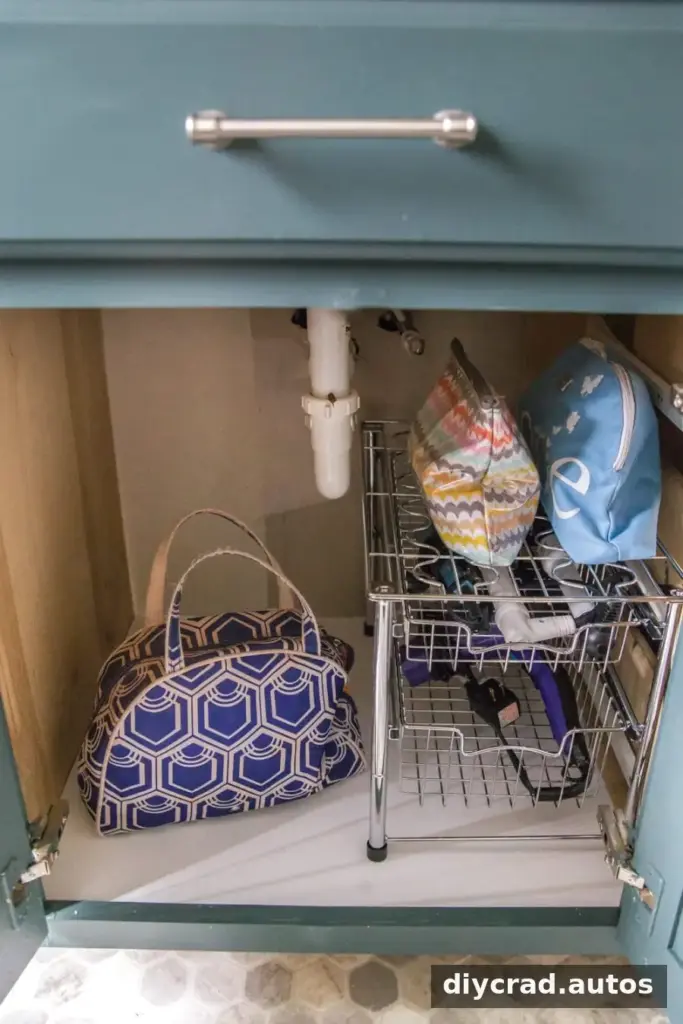
The vanity was emptied, unnecessary items were removed, and the remaining supplies were sorted into clear plastic drawer organizers. Under the sinks, stackable basket drawers and white contact paper made the storage area easier to use and maintain.
Measure the cabinet interior before buying organizers, and leave room around plumbing and shutoff valves. Keeping frequently used items within easy reach also makes daily routines simpler.
Shower Curtain and Cornice
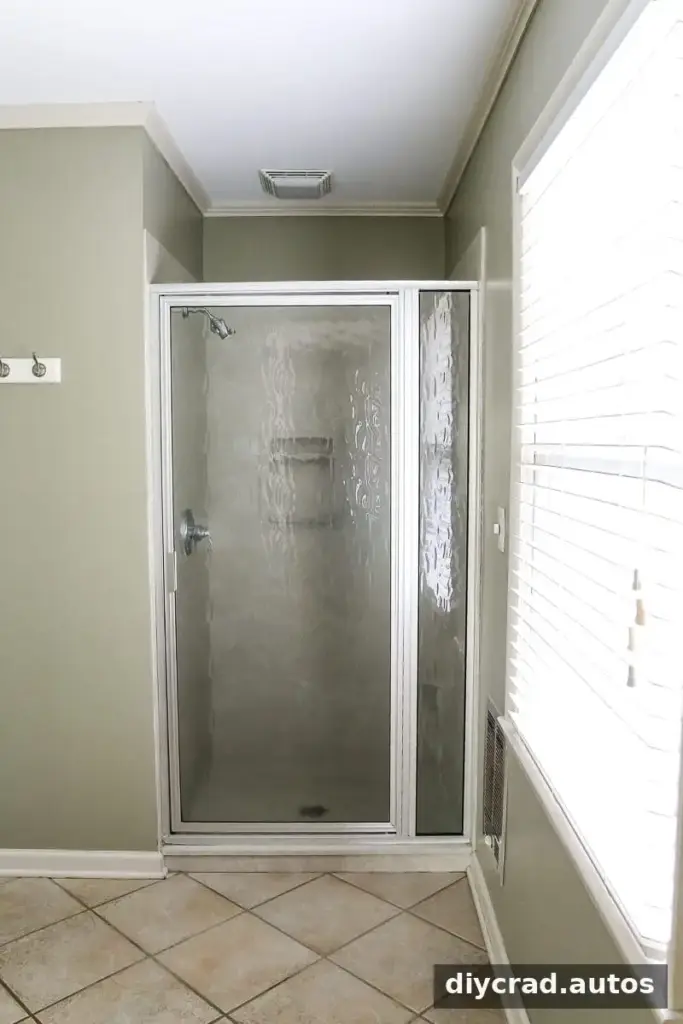
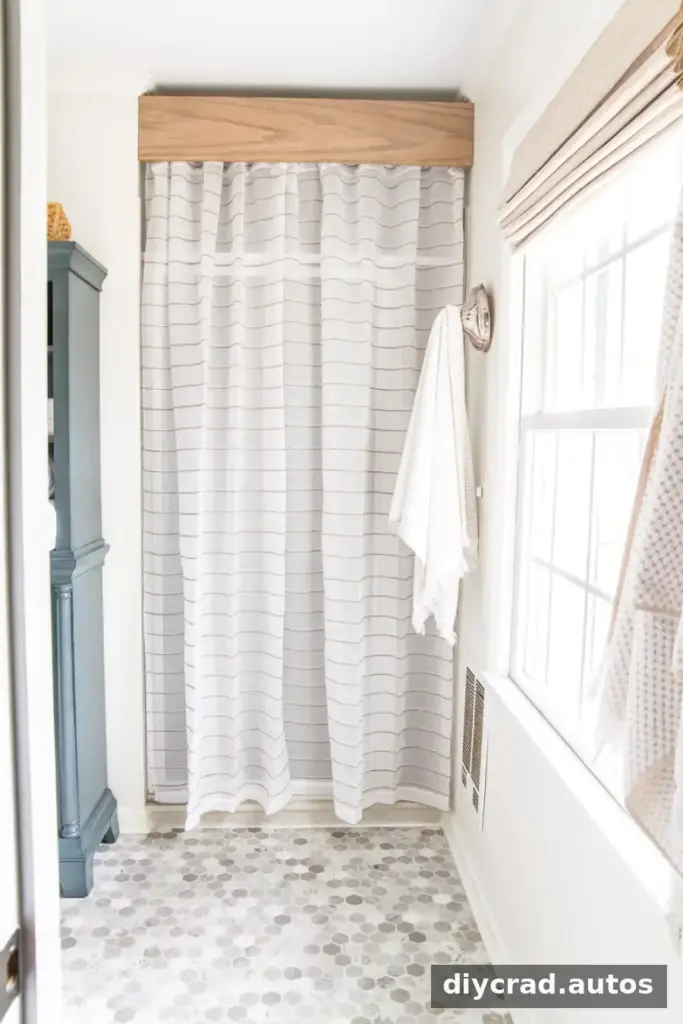
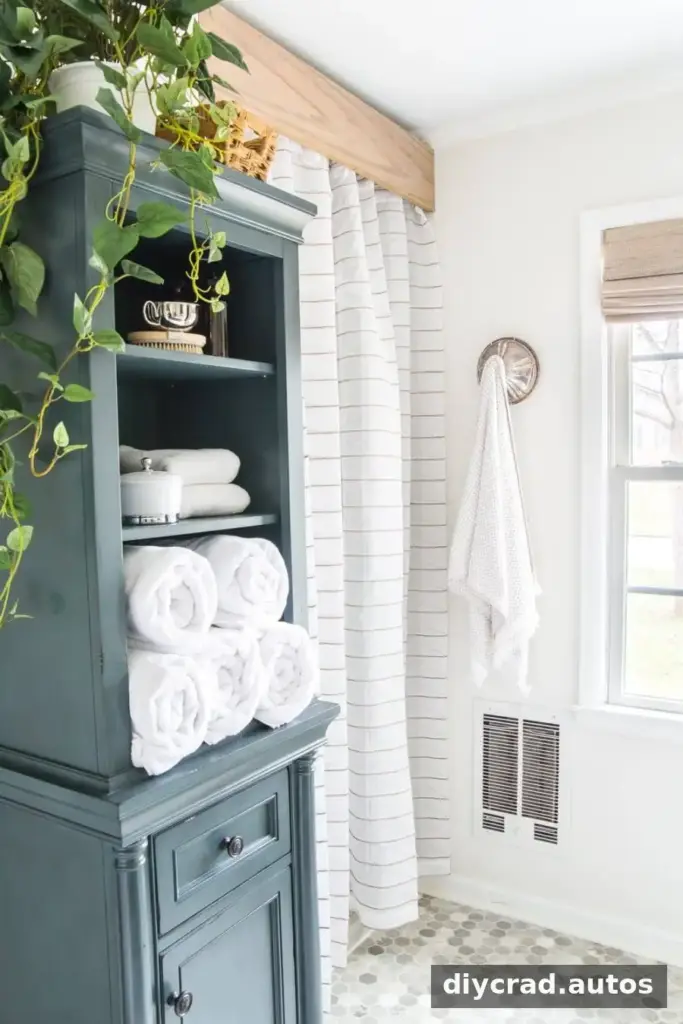
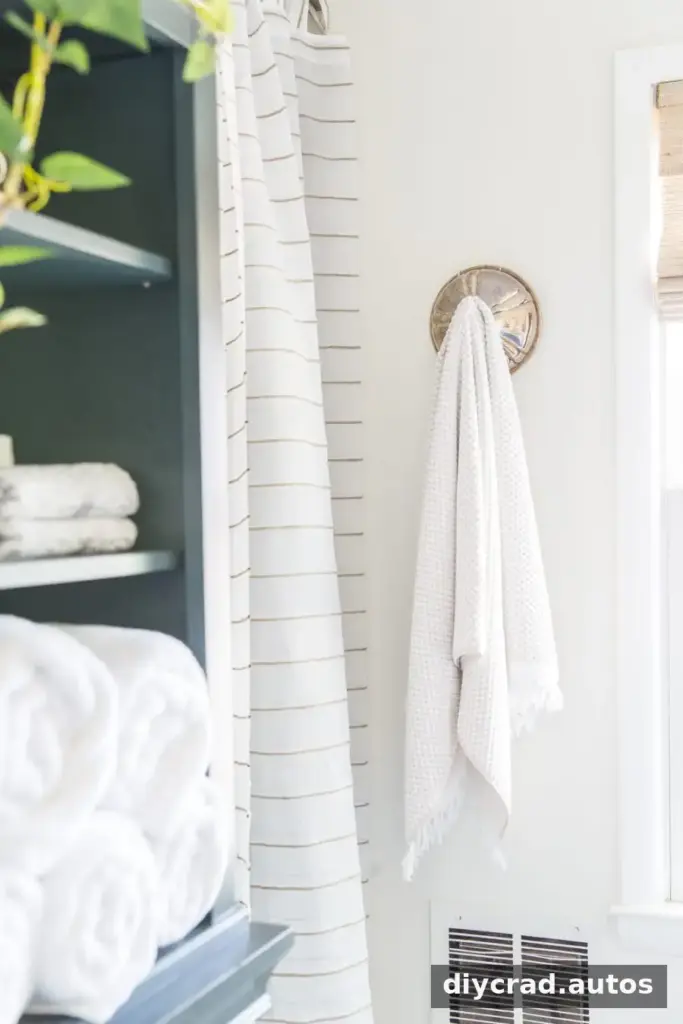
A semi-sheer curtain was hung in front of the existing shower door to soften its appearance while still allowing some natural light through. A cornice made from a wooden board conceals the tension rod. The board was stained and sealed with polyurethane for added protection from bathroom humidity.
Choose materials and finishes that can tolerate moisture, and ventilate the bathroom well to help limit condensation. Make sure the curtain and rod are installed securely and do not interfere with the shower door.
Affordable Wall Art
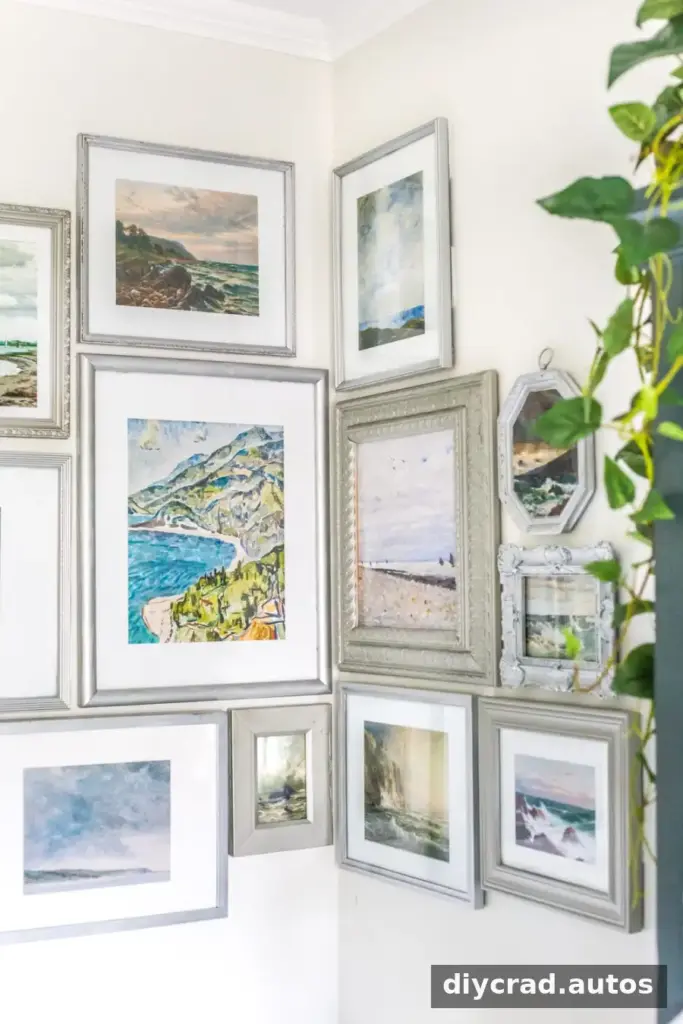
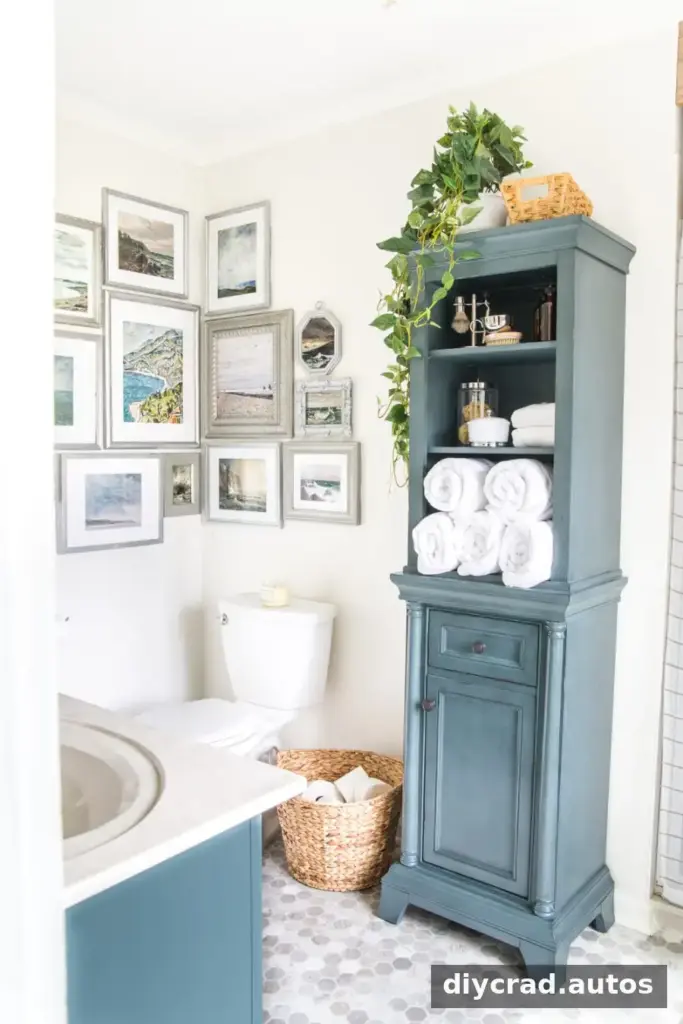
A blank corner was filled with thrifted frames, mats cut from inexpensive poster board, and public-domain coastal artwork. The project cost around $50 and introduced blue and green accents that complement the vanity color.
For a coordinated display, repeat a few colors already present in the room and arrange frames on the floor before hanging them. In a bathroom, keep paper artwork away from direct splashes and areas with heavy condensation.
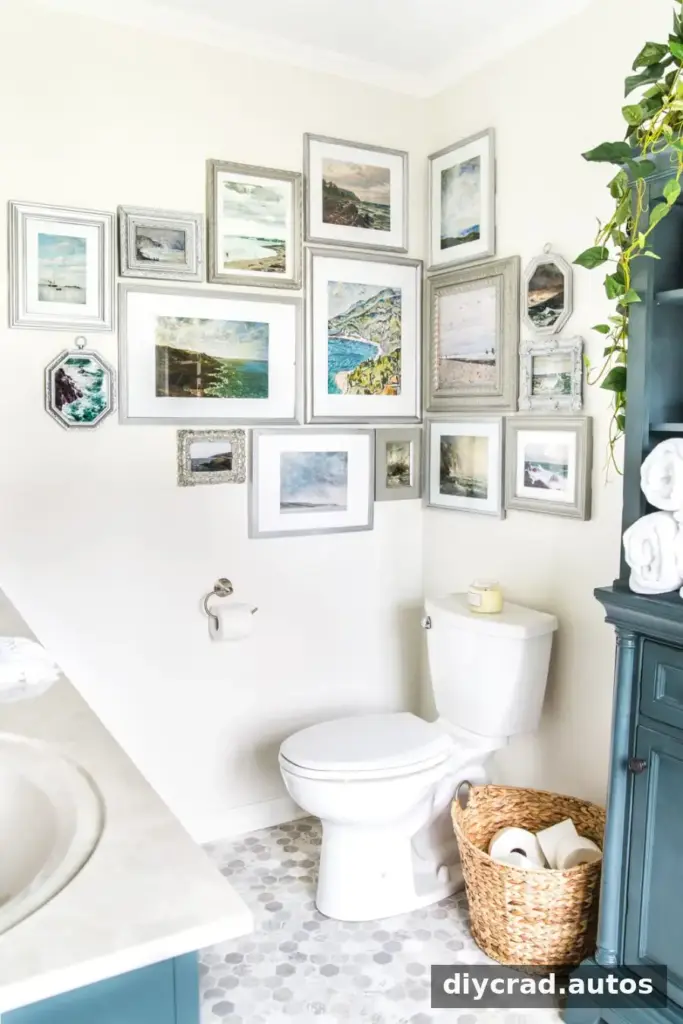

The artwork adds character to the room and connects the wall colors with the vanity.

Linen Cabinet and Vertical Storage
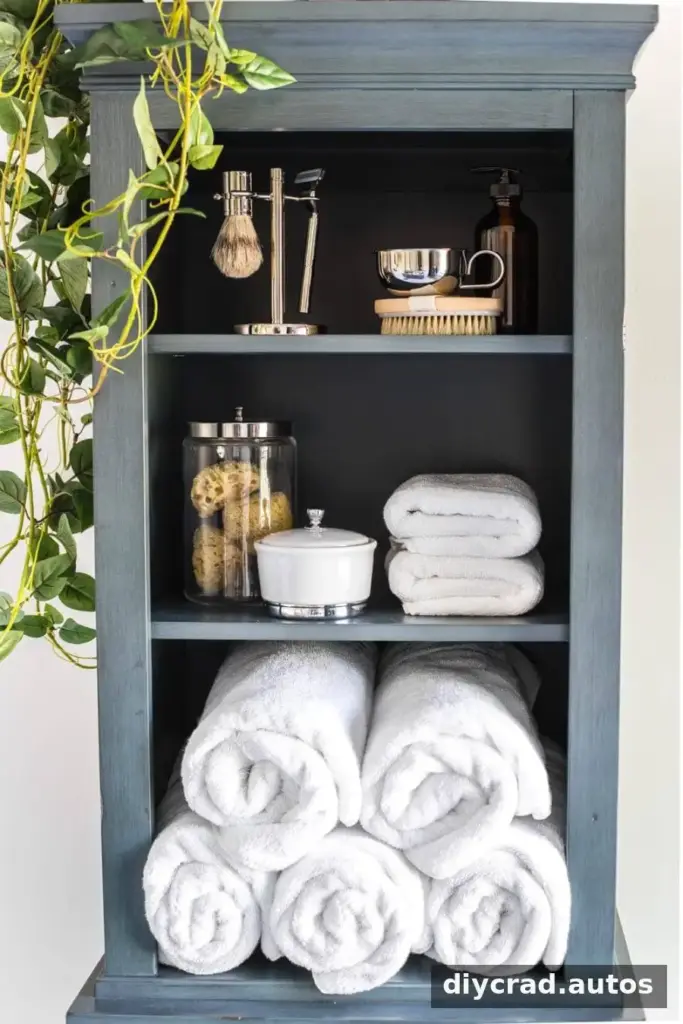
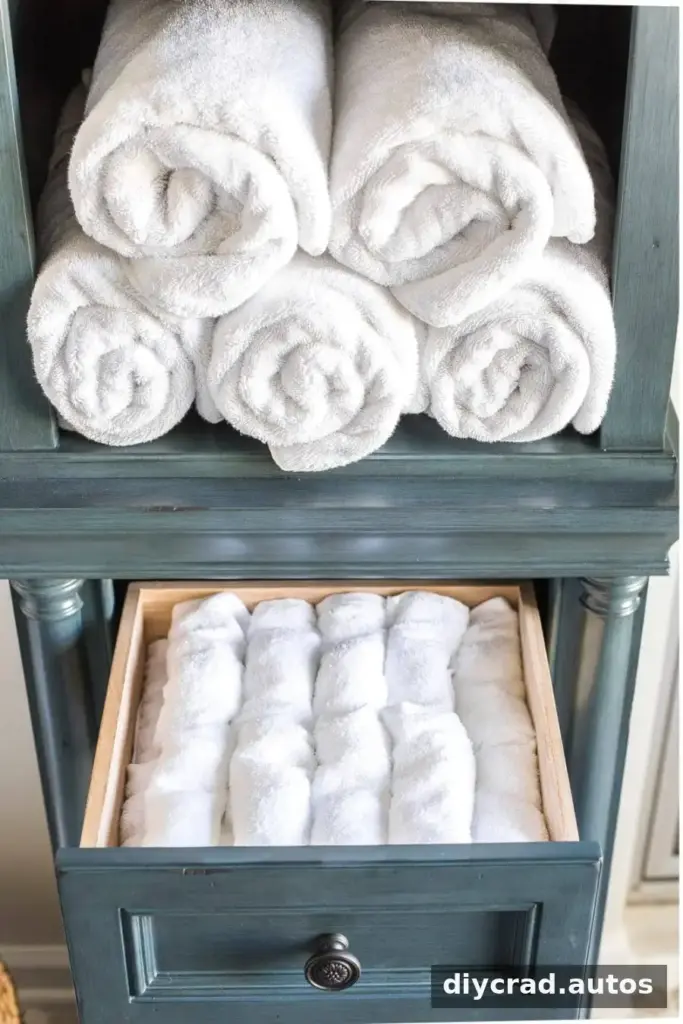
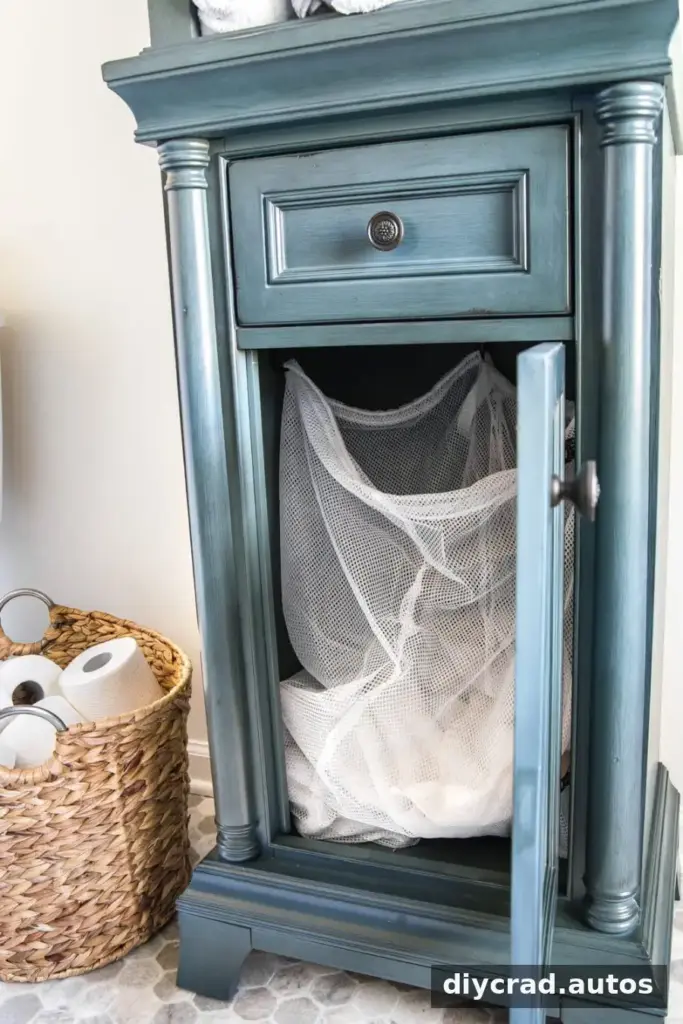
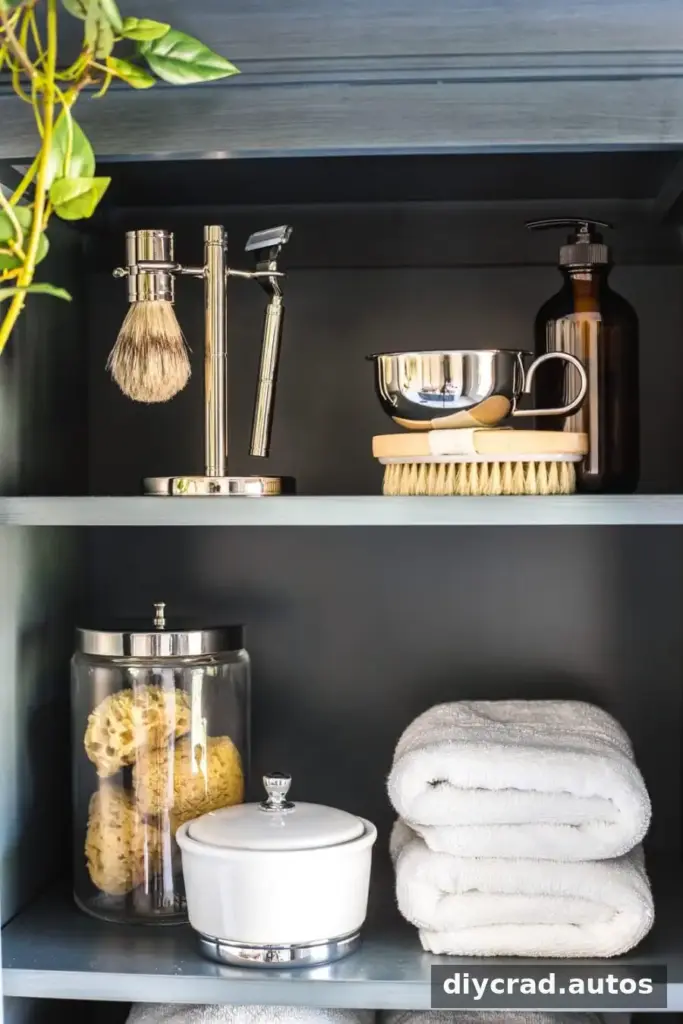
A linen cabinet bought on sale added vertical storage and provided the color inspiration for the room. It holds towels and everyday essentials, including cotton swabs, exfoliating sponges, and shaving supplies. A drawer stores washcloths, while a laundry bag inside the cabinet serves as a hamper.
Use a cabinet’s shelves and drawers for separate categories of items, and keep heavier objects on lower shelves. Check the cabinet’s stability and secure it according to its installation instructions, especially in a home with children.
Privacy Shade and Repurposed Hooks
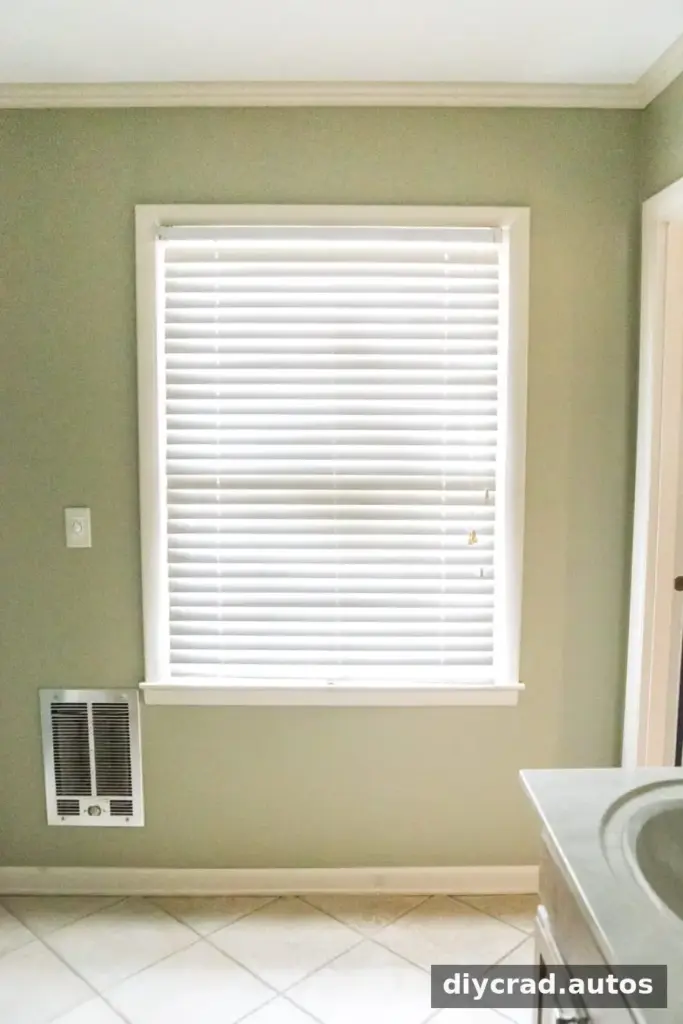
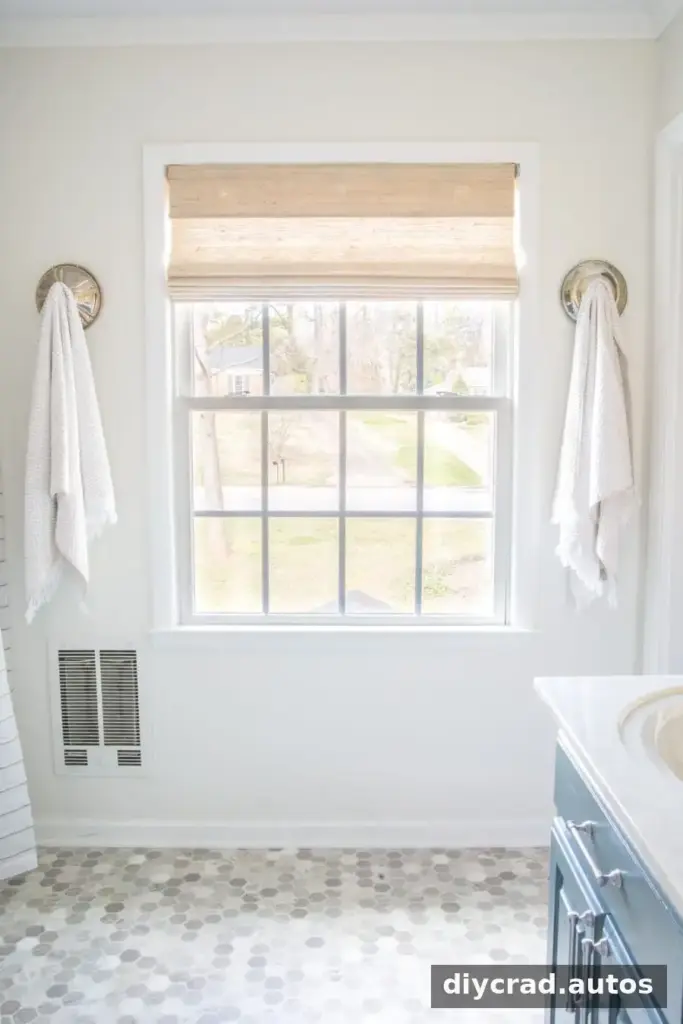
The front-facing window needed a shade with a substantial privacy liner. Choosing a lined option helps prevent the interior from being visible from outside, particularly when the bathroom is lit at night. Old chafing-dish lids were also repurposed as decorative towel hooks.
Check privacy from outside after installation, both during the day and after dark. Before reusing objects as hooks, confirm that they are securely mounted and can support the weight of damp towels.
Temporary Vinyl Floor
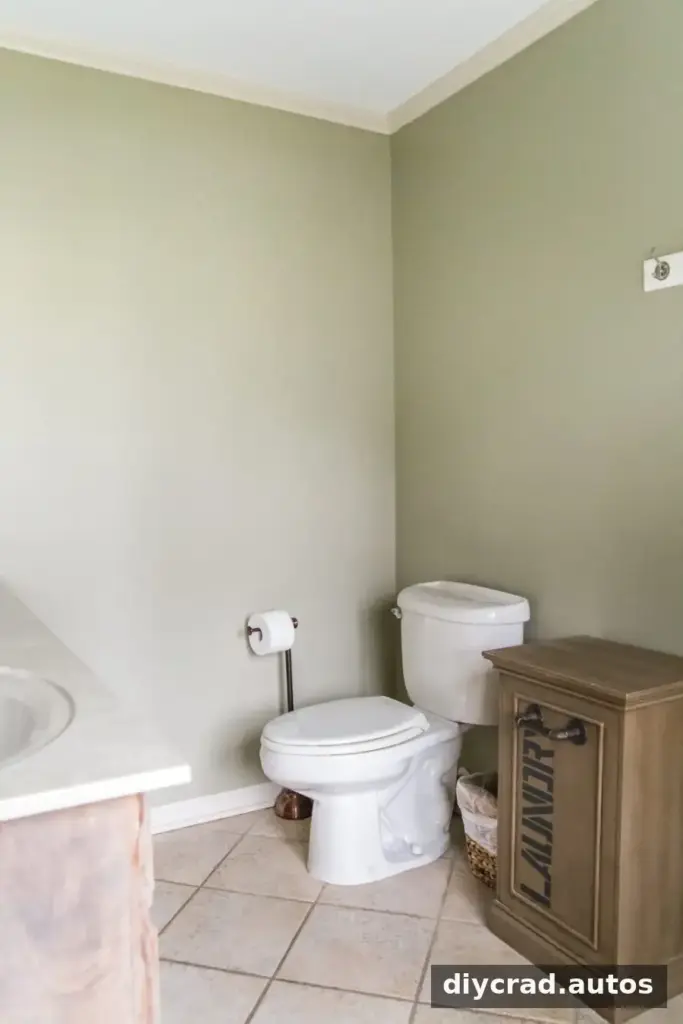
The worn floor was difficult to improve with a grout pen, so a hexagon-pattern vinyl covering was placed over the existing beige ceramic tile. It offered a less disruptive, temporary alternative while the room awaits a complete tile replacement.
Before covering an existing floor, check the new flooring instructions for approved substrates and installation requirements. The underlying surface should be suitable, clean, and in good condition; address moisture or loose tiles before proceeding.
A Coordinated Door Finish
Painting the bathroom door Wrought Iron brought it in line with the home’s other doors and added contrast against the lighter walls. Repeating a finish used elsewhere can make a refreshed room feel connected to the rest of the house.
Conclusion: A Budget Master Bathroom Refresh Can Make a Difference
This budget master bathroom refresh used paint, better organization, updated mirrors and lighting, a privacy shade, and a temporary floor covering to make the room more comfortable for everyday use. The changes did not replace the need for a future full renovation, but they made the existing bathroom feel more organized and welcoming in the meantime.
A room does not have to remain stressful while a major renovation is postponed. Start with the problems that affect daily use, reuse functional materials where possible, and choose updates that suit the room’s existing finishes and conditions.