

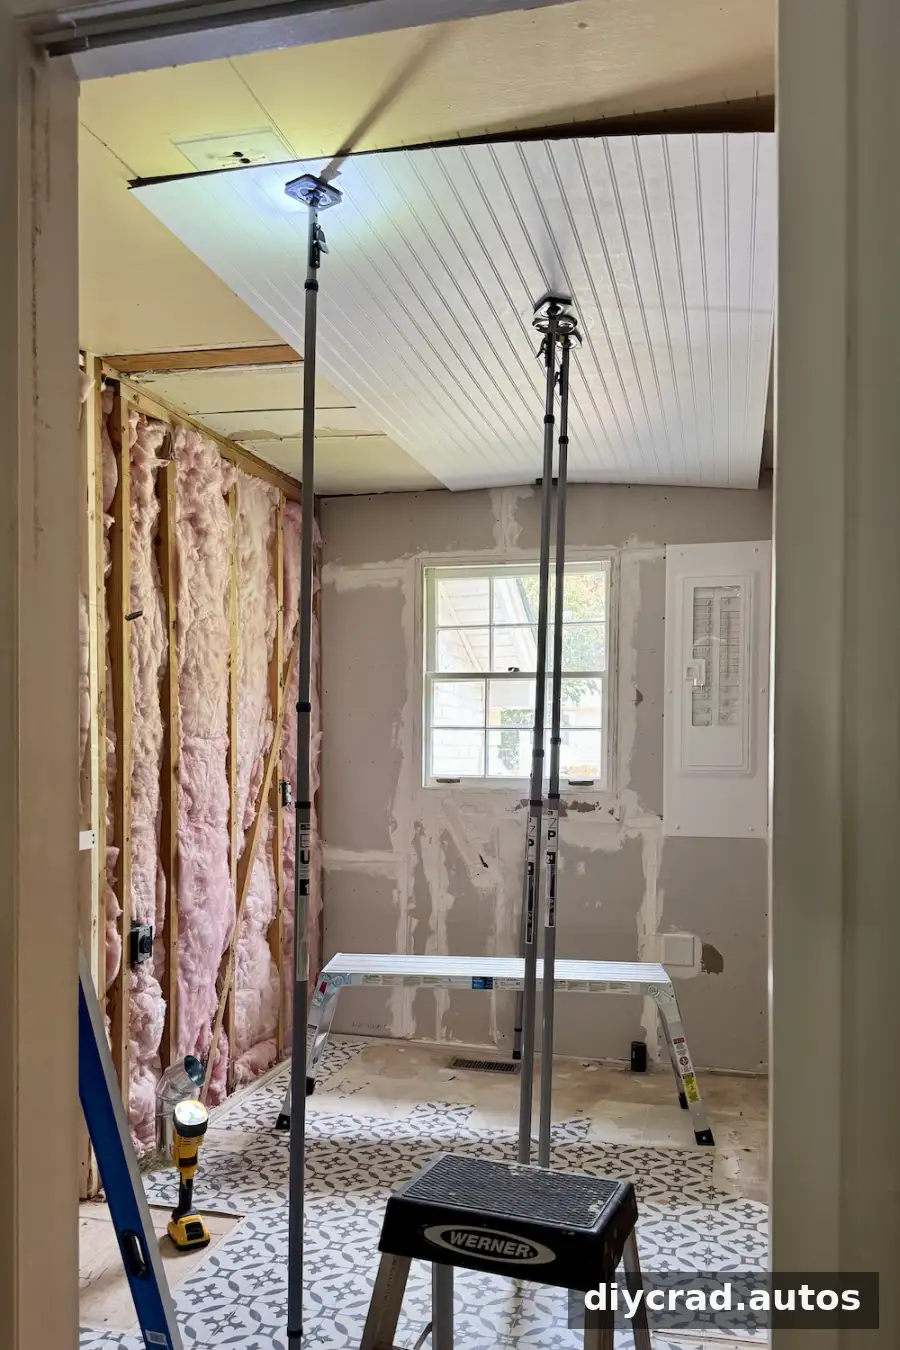
DIY beadboard wall paneling can be a practical alternative to drywall in a compact laundry room, especially when preserving cabinet space and avoiding extensive sanding are priorities. Beadboard adds a traditional, cottage-style finish while covering exposed framing, but it still requires careful measuring, secure fastening, and attention to local building requirements.
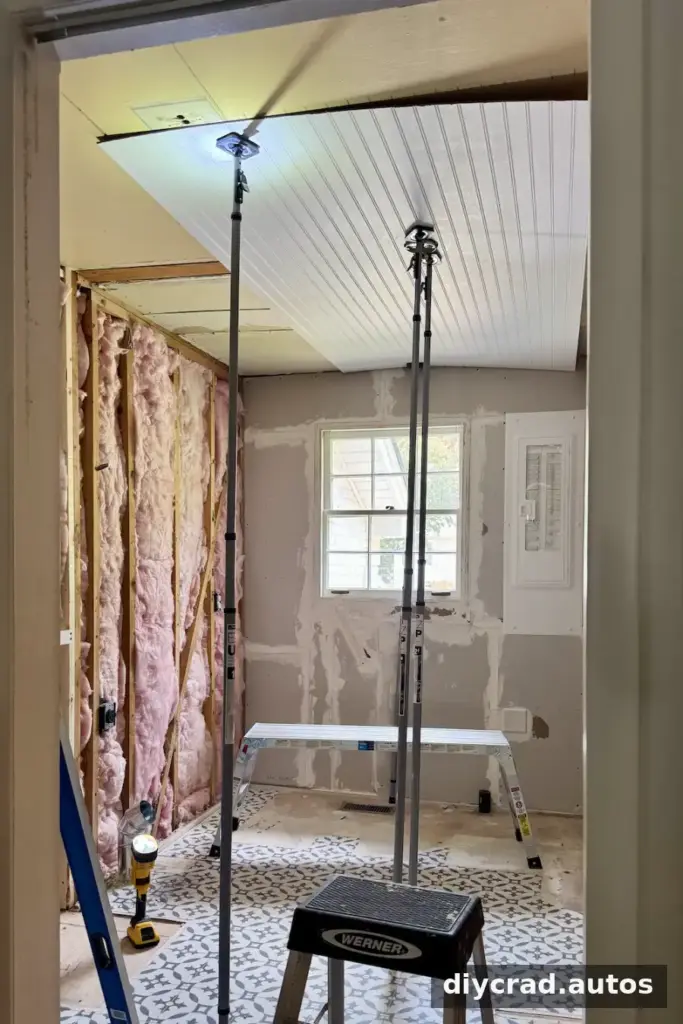
In a narrow room, the thickness of a wall finish can affect how much space remains for cabinets and appliances. The project described here used beadboard instead of drywall to keep the wall assembly slimmer. It also avoided the taping, joint compound, and sanding that typically follow drywall installation.
Beadboard may suit a project when:
- Keeping as much usable room space as possible is important.
- A quicker installation with less drywall finishing is preferred.
- Vertical grooves and a classic decorative look fit the room’s style.
Before choosing panels, confirm that the product is appropriate for the room and complies with local codes. Check the manufacturer’s installation instructions, especially for areas exposed to moisture or heat.
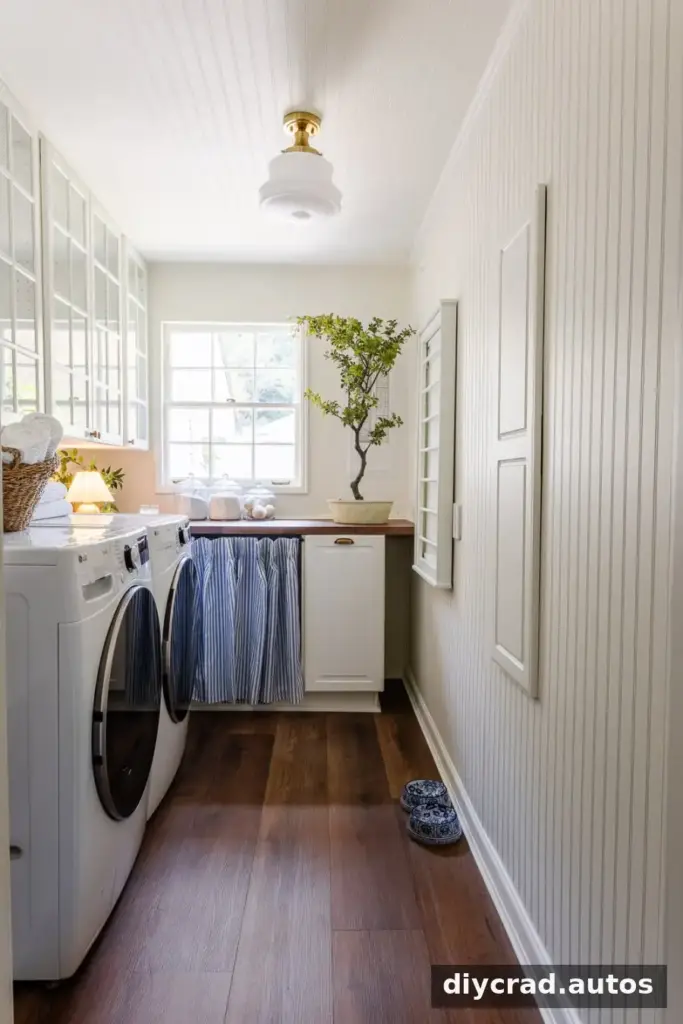
DIY Beadboard Wall Paneling: Installation Steps
Safety and code note: Use fire-rated MDF or PVC beadboard as specified for the project, and check local building codes before starting. Follow product instructions and use appropriate eye and hearing protection when cutting panels.
1. Measure and cut the panels
Measure the wall height and mark each panel before cutting. A circular saw can handle longer, straight cuts, while a jigsaw is useful for shaping openings around outlets. Measure carefully and check each cut against the wall before installation; accurate sizing helps reduce gaps and unnecessary waste.
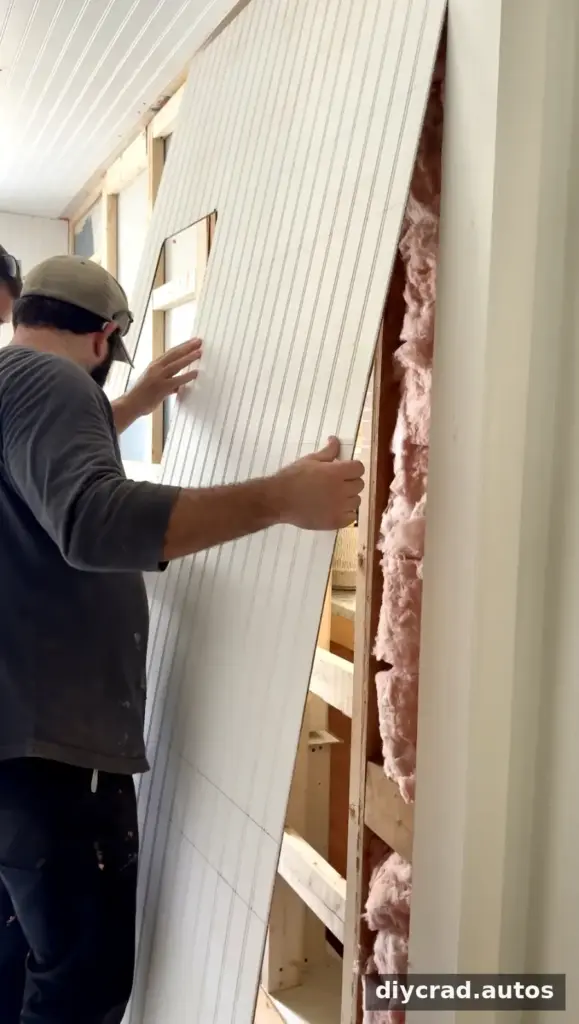
2. Mark the wall studs
Use a stud finder to locate the framing behind the wall, then mark the stud positions with a pencil. This makes it easier to place nails into solid wood rather than relying on the panel or wall surface alone. Check the marks as you work so the fasteners stay aligned with the studs.
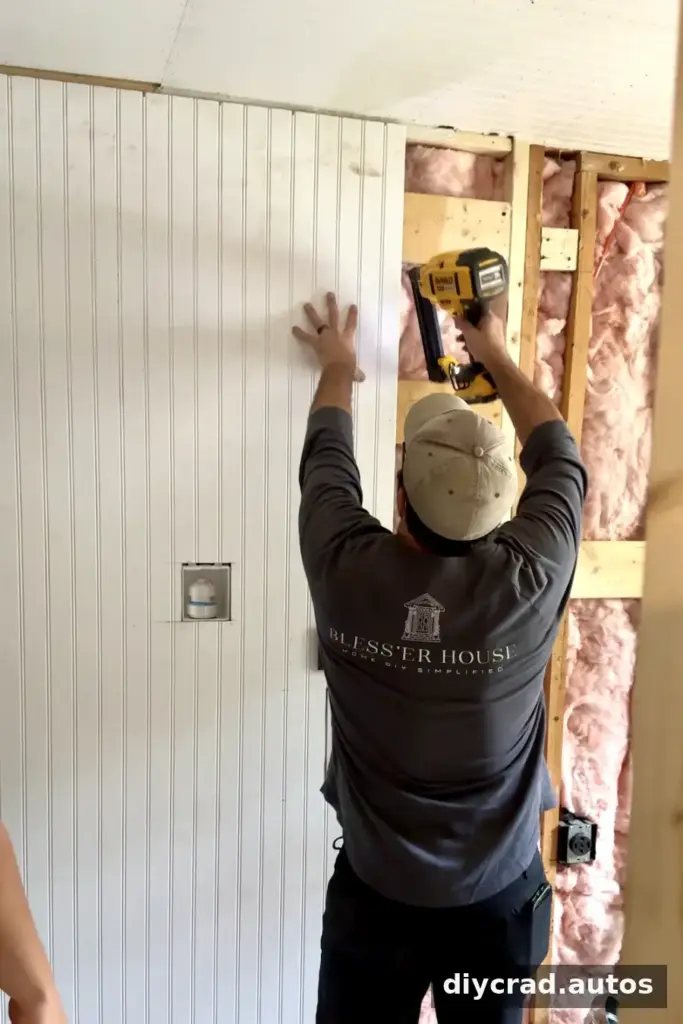
3. Attach the beadboard panels
Apply construction adhesive to the back of a panel, press it into position, and secure it with finishing nails along the marked stud lines. Follow the adhesive maker’s directions for application and curing. Take extra care to keep the first panel straight: its alignment can affect how neatly the remaining panels meet.
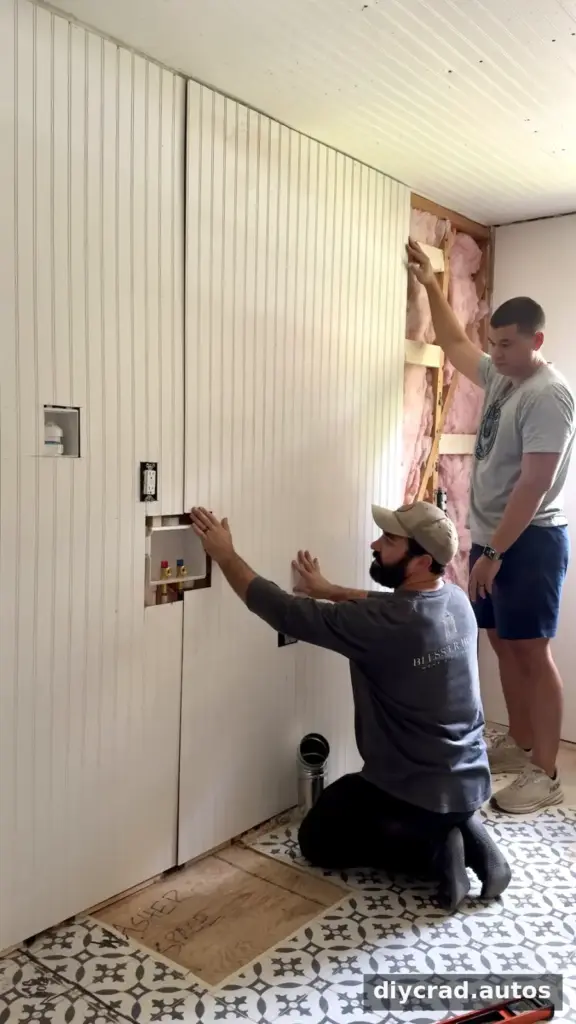
4. Fill seams and nail holes
Apply caulk at inside corners and where panels meet, then smooth the bead for a clean transition. Once the caulk is ready for finishing, fill the nail holes with wood filler and sand the repaired spots smooth. A careful finish at seams and fastener locations helps the paneling look cohesive rather than pieced together.
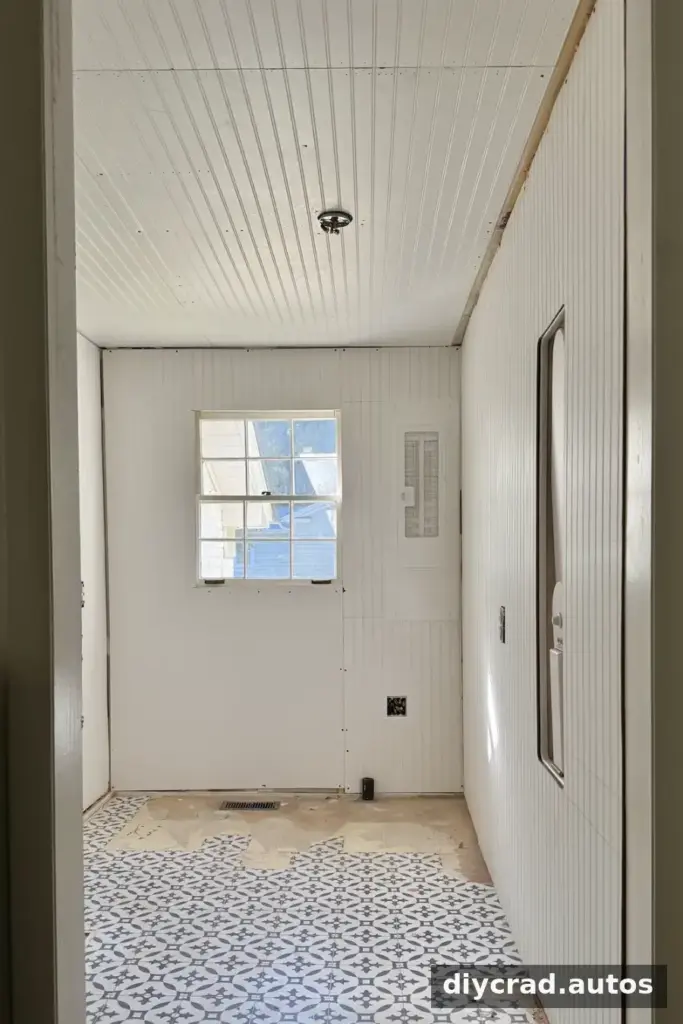
5. Paint the finished wall
After the caulk and filler are dry and prepared according to their instructions, apply paint to coordinate with the room’s trim. The paneling’s vertical lines can add visual height and texture. For an even finish, use a paint and application method suitable for the beadboard material.
Why Choose Beadboard Instead of Drywall?
For this laundry-room project, beadboard offered three useful advantages: it took up less room than the planned drywall finish, required less drywall-related cleanup, and provided a decorative surface. The thinner profile helped preserve space for the cabinet layout, while skipping drywall mudding and sanding reduced the amount of finishing work.
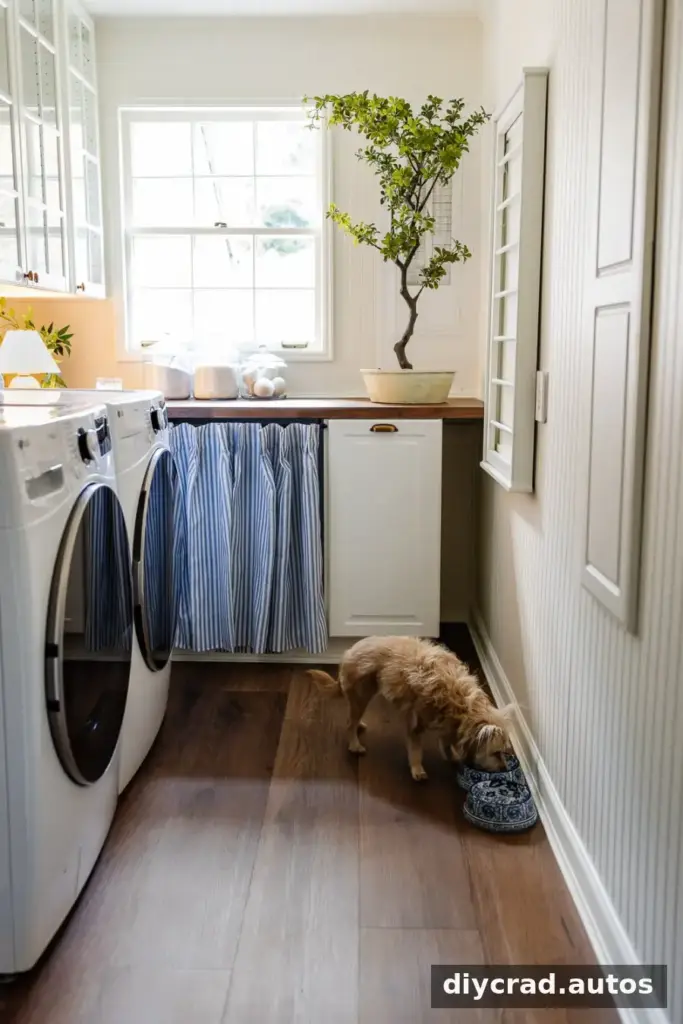
Beadboard is not automatically the right choice for every wall. Compare the panel thickness, finish, durability, and code requirements with the needs of the room before deciding. When those details fit the project, DIY beadboard wall paneling can be a space-conscious way to add character without the full drywall finishing process.

