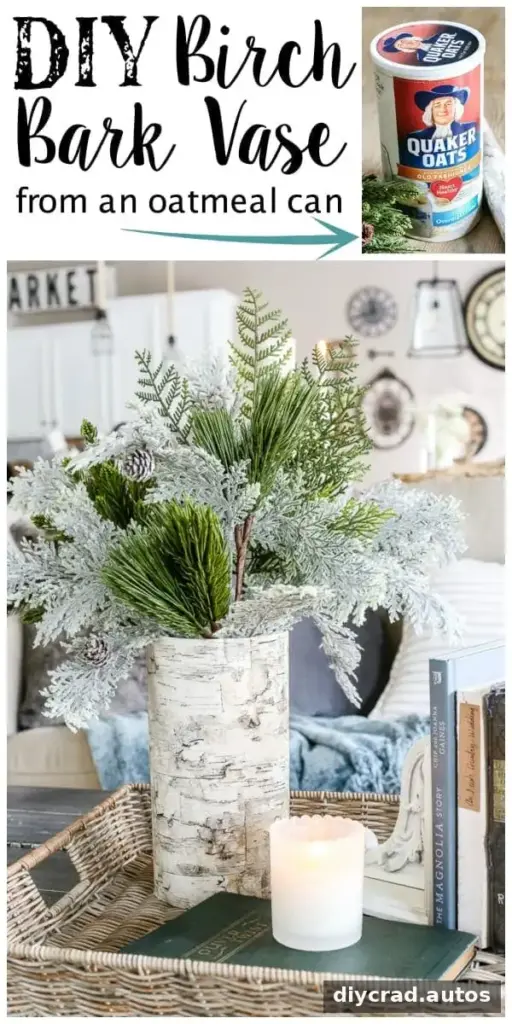
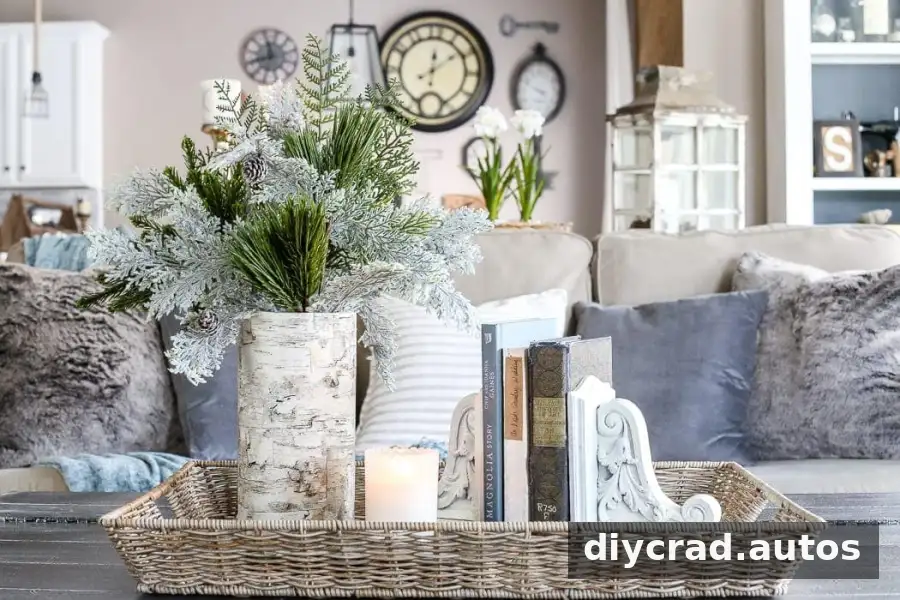
A DIY birch bark vase is a quick way to turn an empty oatmeal can into attractive seasonal decor. With birch bark-patterned wrapping paper, scissors, and double-sided tape, you can cover a plain cylinder in about five minutes. The finished piece suits a winter mantel or other display, and the same simple method works with different cylindrical containers.
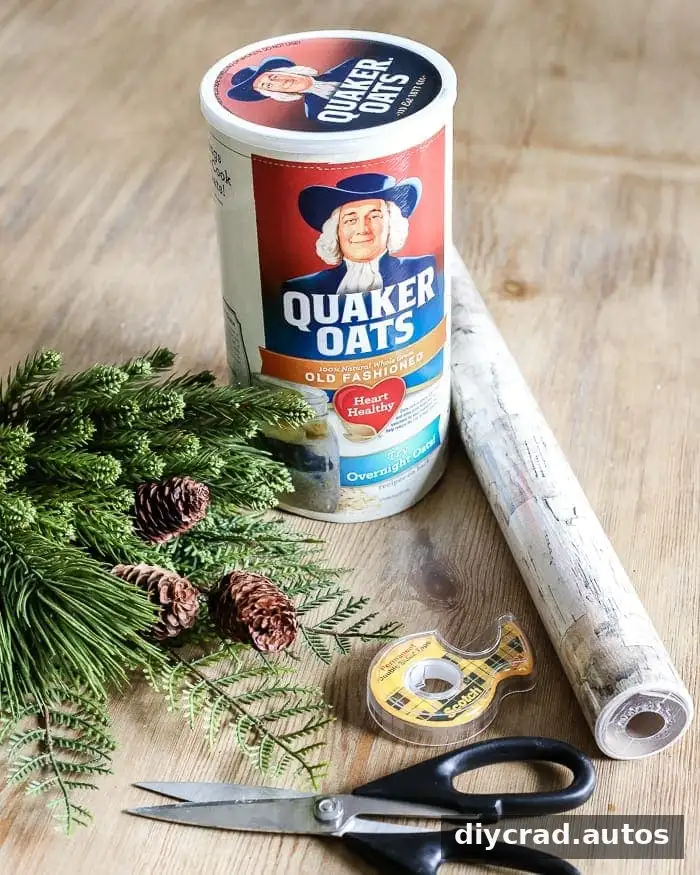
DIY Birch Bark Vase Materials
Gather a few basic supplies before you start. A clean, dry container and paper measured to fit will make the covering process easier and help the finished vase look neat.
- Birch bark-patterned wrapping paper
- An empty oatmeal can, or another cylindrical container such as a snack or coffee can
- Scissors
- Double-sided tape
Choose paper that is long enough to wrap around the container with a small overlap at the seam. If you are making several vases for an event or display, measure each container first so the pieces of paper are consistent.
How to Make the Vase
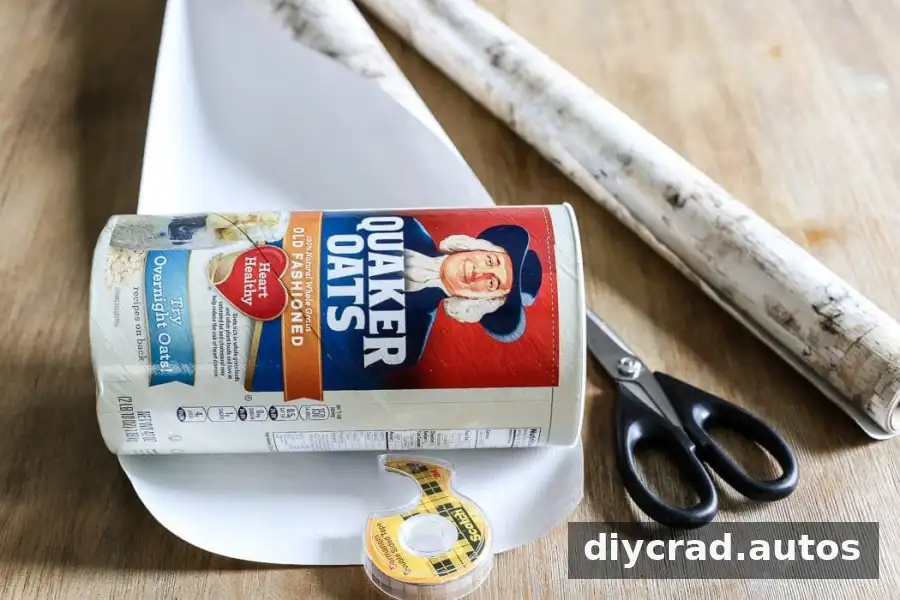
1. Measure and cut the paper
Lay the can on its side on the wrapping paper. Cut a piece that reaches all the way around the can, leaving enough paper to overlap slightly where the edges meet. Make the piece about half an inch wider than the can’s length so there is extra paper to fold neatly around the opening.
Check the fit before attaching anything. The paper should cover the outside without being stretched tightly or leaving a large gap at the seam. Trim it if necessary, while keeping a little overlap for fastening.
2. Attach the first edge
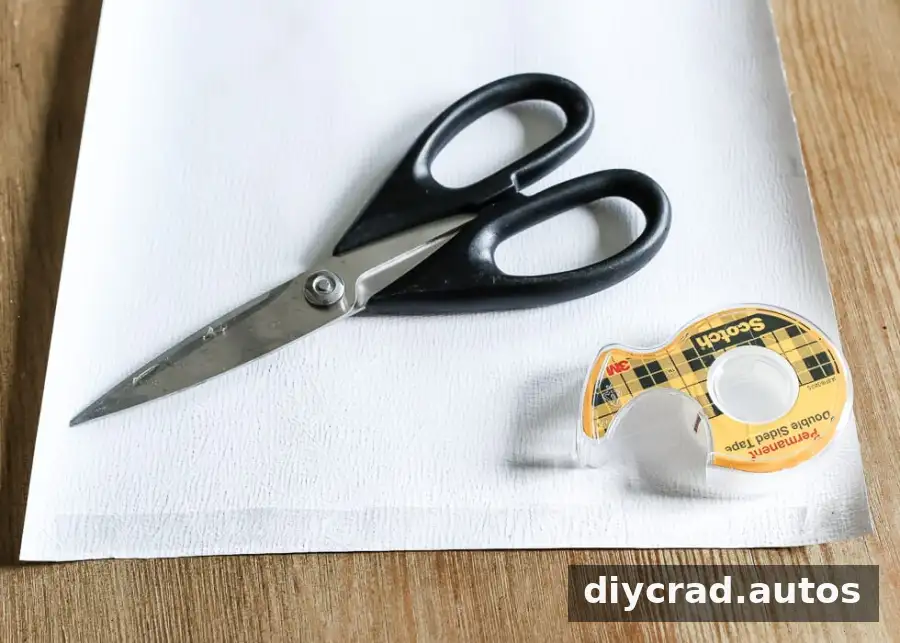
Place a strip of double-sided tape along one edge of the paper. Align that edge with the can and press it down firmly. Keeping the paper straight at this stage helps prevent a crooked seam as you wrap the rest of the container.
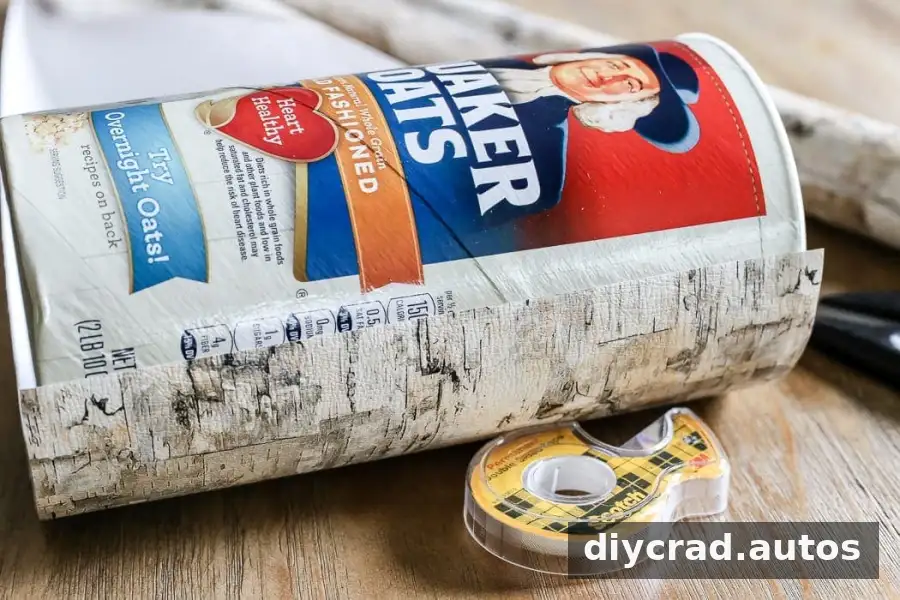
3. Wrap and secure the can
Roll the can along the paper, pressing the paper onto the surface as you go. Smooth it with your hand to reduce wrinkles, taking care not to pull so hard that the paper tears. When the paper meets the starting edge, use another line of double-sided tape to secure the overlap.
The result is a simple covered cylinder with a birch bark look. If the seam is visible, position it toward the back of the display or adjust the overlap before pressing the tape firmly in place.
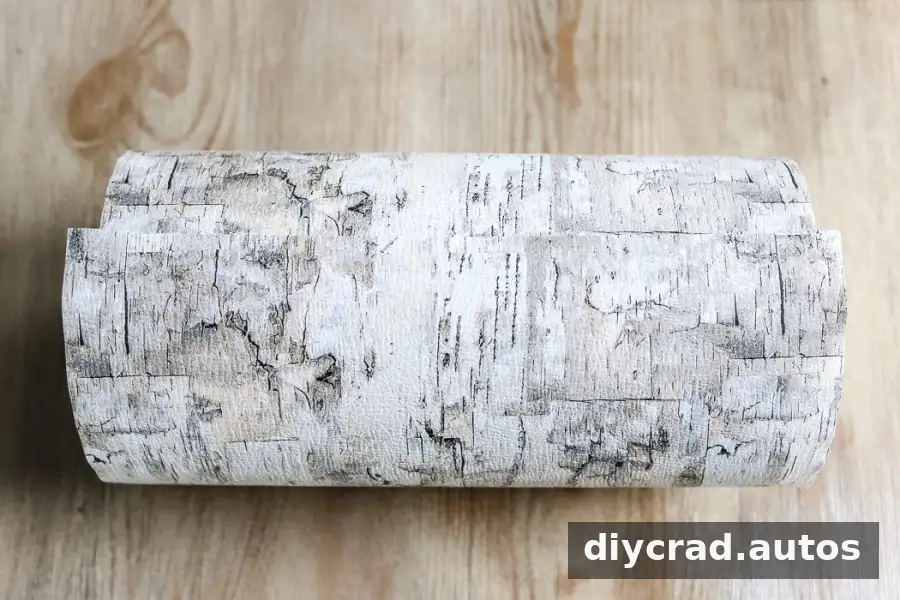
4. Tidy the top and bottom edges
Trim any excess paper at the bottom so the can sits flat. At the top, fold the extra paper inward around the opening and secure it with small pieces of double-sided tape. Make neat folds rather than forcing one large piece of paper into place.
This project is decorative rather than waterproof. For fresh flowers, place a separate watertight glass vase inside the paper-covered can. Alternatively, use artificial flowers or display the vase as a standalone accent. Keep the paper away from water and open flames.
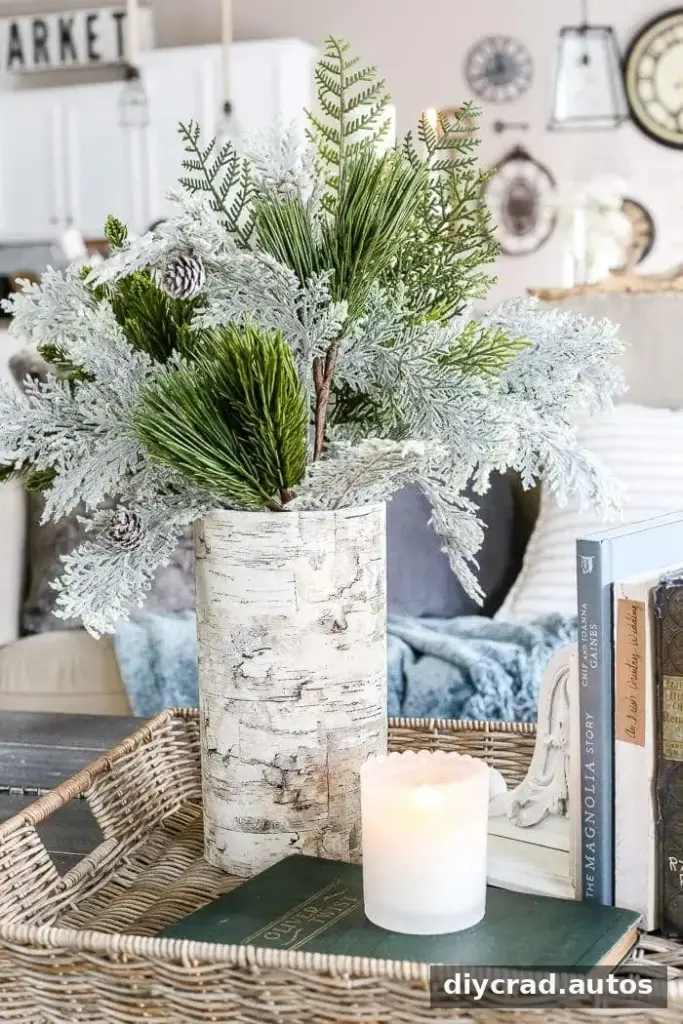
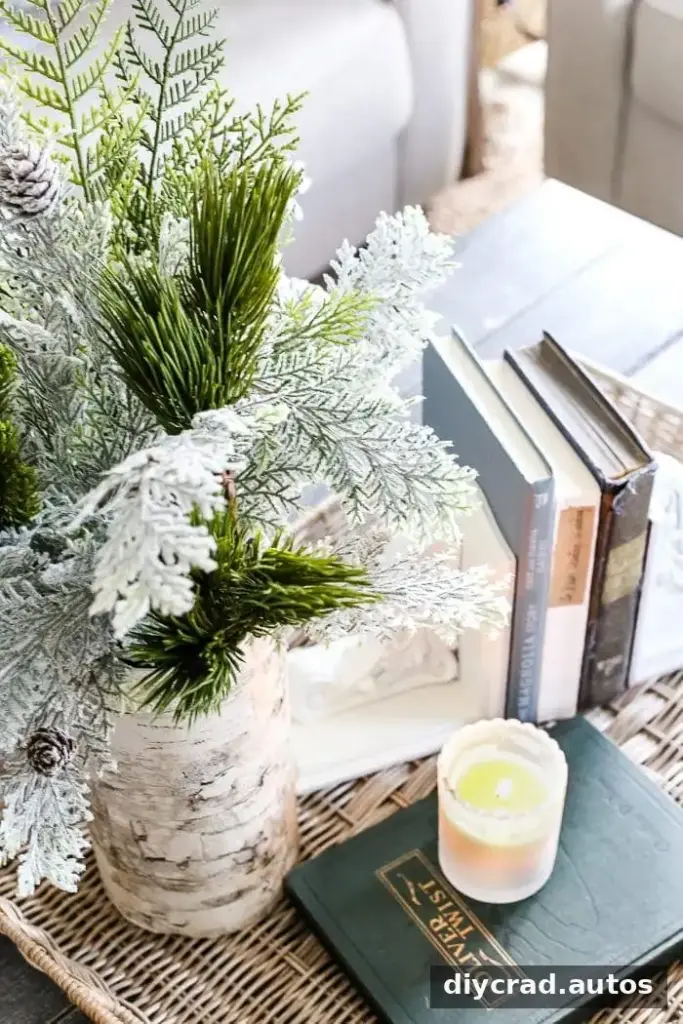
Ways to Use and Customize It
The birch bark pattern works especially well with winter arrangements, but the neutral finish can also complement year-round home decor. Try covering containers of different heights to create a coordinated group, or use the same wrapping technique with another paper pattern to match a room or event.
For a cleaner result, use a straight-sided can and check that it is completely empty and dry before covering it. If the can has a sharp rim, handle it carefully while folding paper near the opening. A small amount of extra paper and a careful test fit can make the final wrap look more even.
Conclusion
This DIY birch bark vase is an easy upcycling project that gives an ordinary can a fresh decorative purpose. The materials are simple, the steps take only a few minutes, and the finished piece can be styled with artificial stems or used to disguise a glass vase holding fresh flowers. Measure carefully, secure the paper at the seam, and keep the paper covering dry for the best result.