

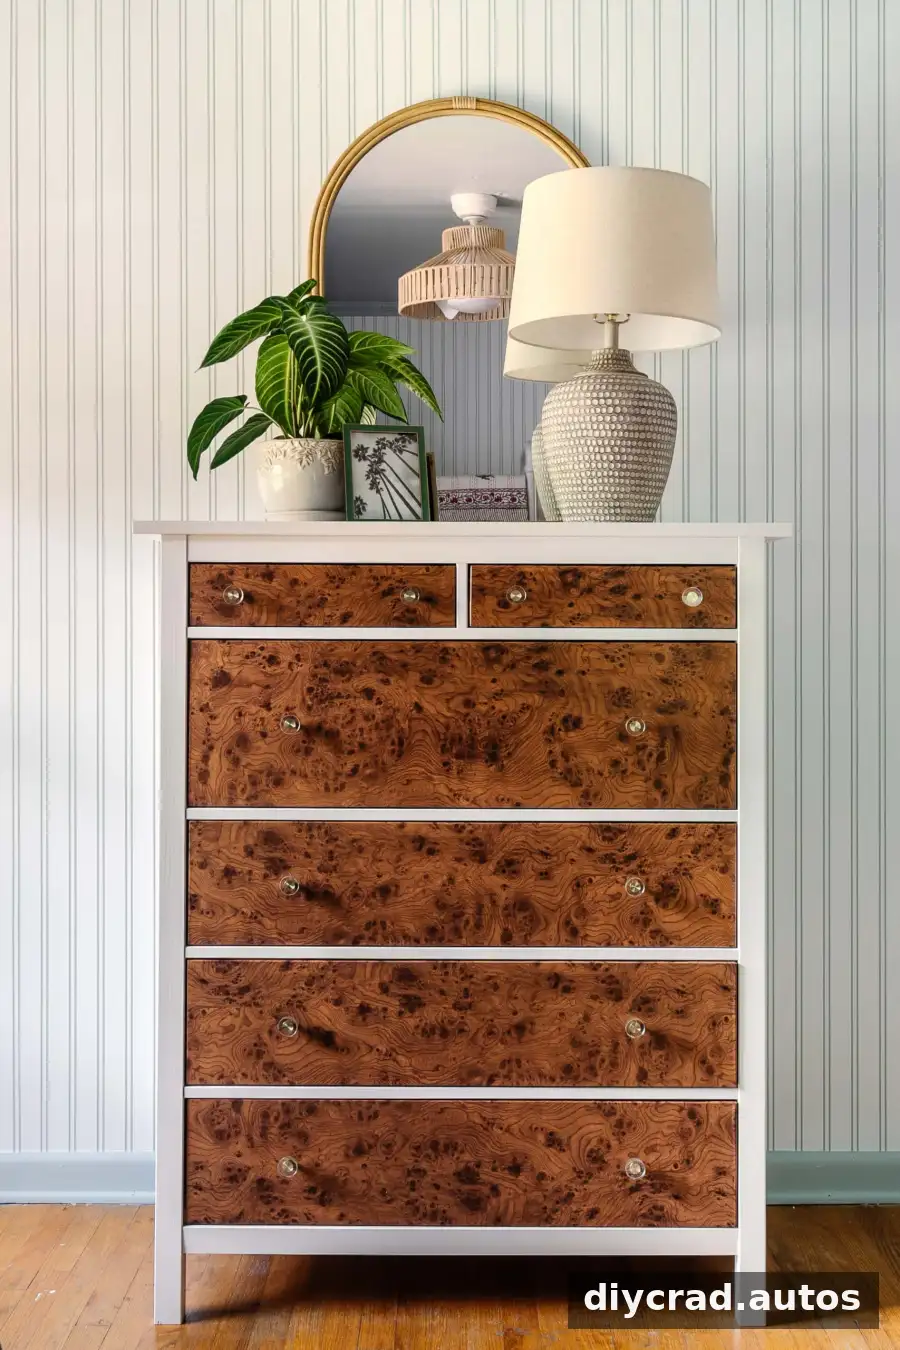
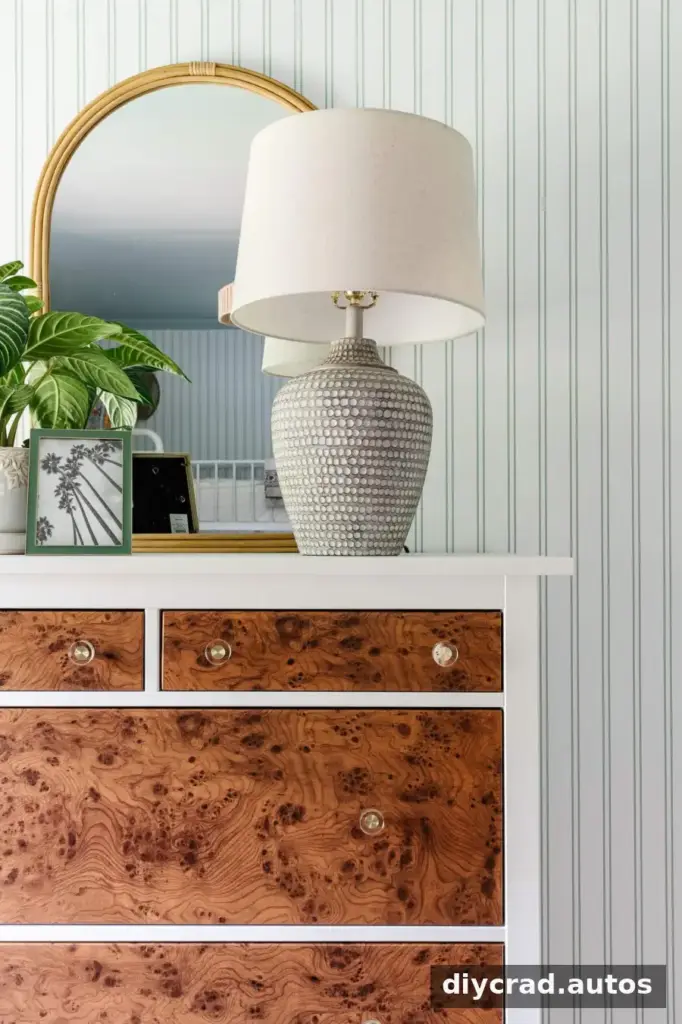
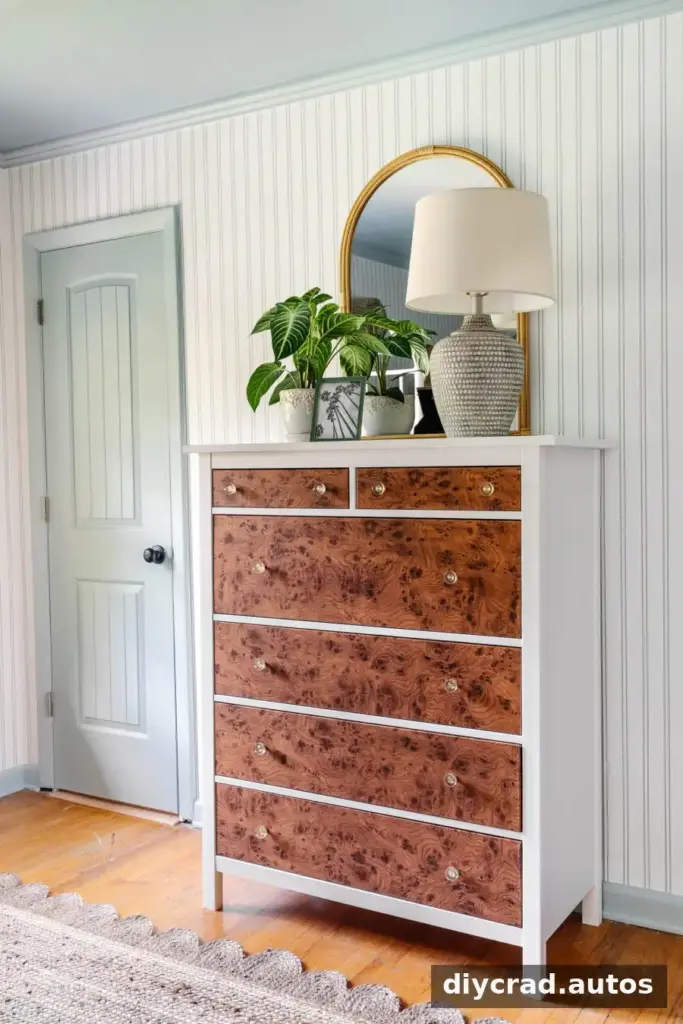
A burl wood IKEA dresser hack can give a simple piece of furniture a vintage-inspired, high-end look without the cost of a solid burl wood dresser. This project uses about $30 worth of contact paper and takes roughly one hour to apply. The full cost for the dresser, contact paper, and knobs was $405, compared with an inspiration dresser priced at $2,495.
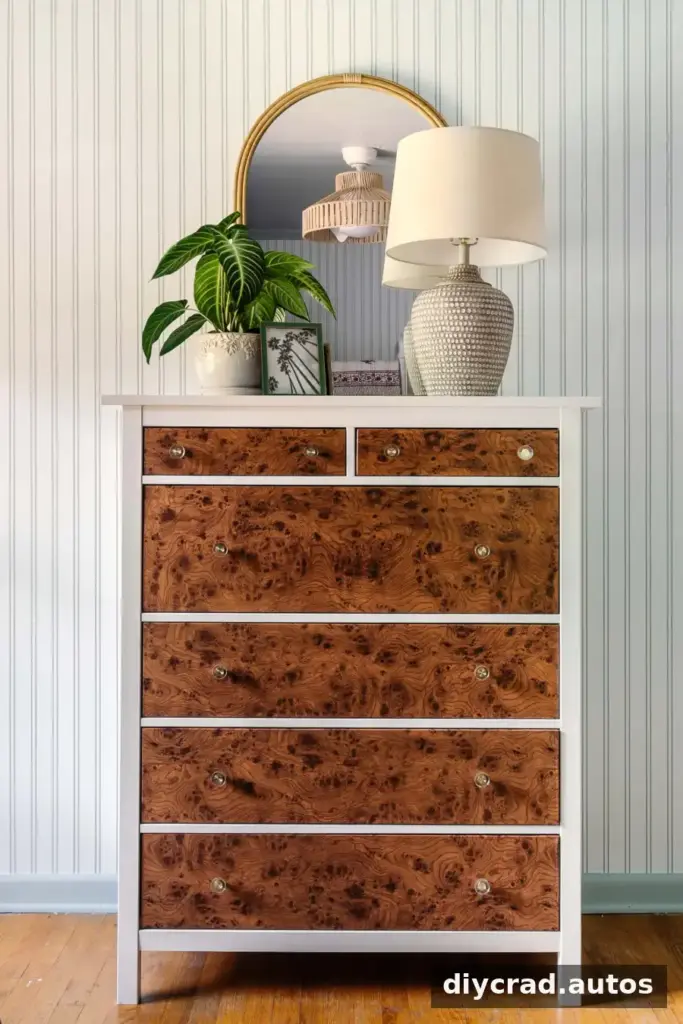
The finished piece has a distinctive wood pattern and a refined, slightly rustic feel. It can suit a bedroom with beachy or vintage details, but the same technique also works in other rooms where a plain storage piece could use more visual character.
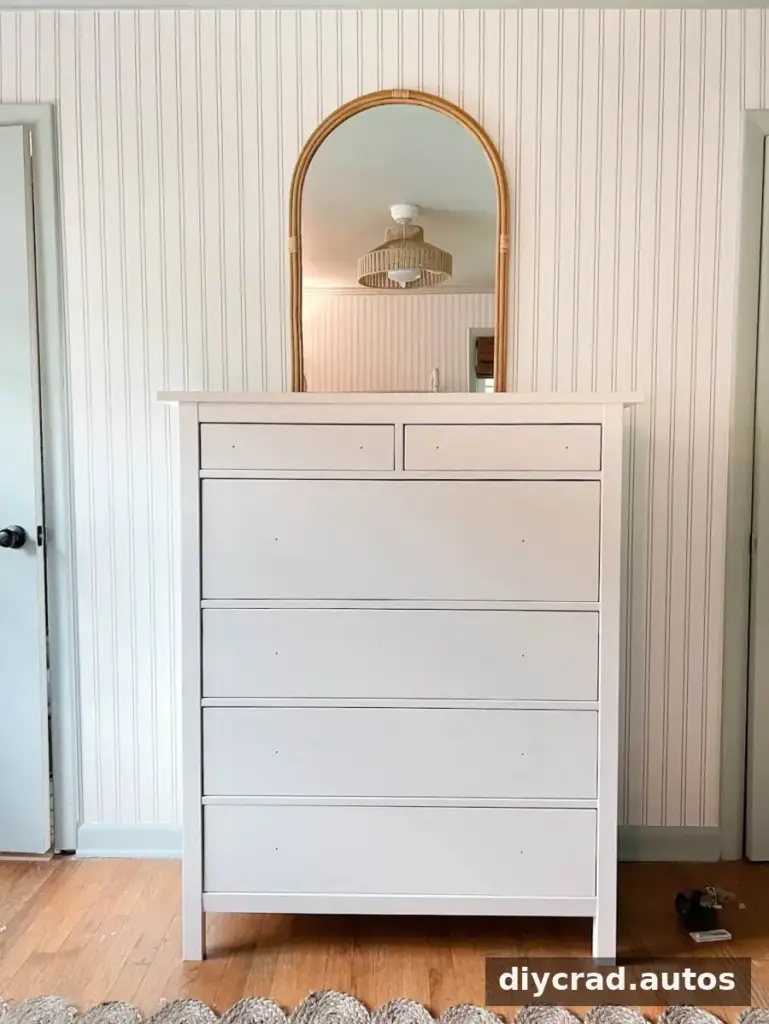
Burl Wood IKEA Dresser Hack: Suitable Furniture
This project was made with an IKEA Hemnes chest of drawers. Any dresser with flat drawer fronts may be suitable, including pieces from the IKEA MALM line. Smooth, simple surfaces are generally easier to cover than fronts with deep grooves or raised details.
The same approach can be adapted to other flat-front furniture, such as an IKEA PAX wardrobe door, an IKEA LACK side table, or an IKEA BESTA storage cabinet. Secondhand furniture can also be a budget-friendly option. Before starting, check that the contact paper is suitable for the surface and test a small, inconspicuous area if you are unsure how well it will adhere.
Supplies for the DIY Burl Wood Finish
- A dresser with flat drawer fronts; this project uses an IKEA Hemnes chest of drawers
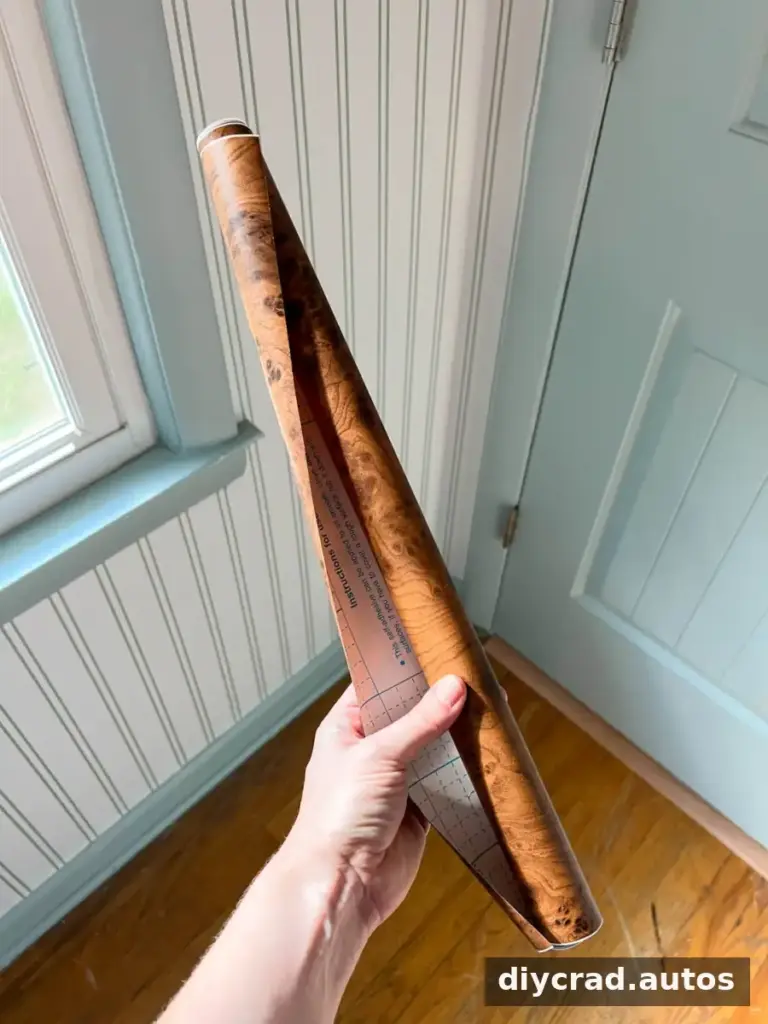
- Burl wood print contact paper
- An old credit card, gift card, or wallpaper smoothing tool
- Scissors
- A pen or pencil
- Optional replacement knobs, such as gold and glass knobs
Work with a clean, dry drawer front so dust or moisture does not get trapped under the adhesive. Keep the grain pattern in mind as you cut each piece, especially if you want the drawers to look consistent when closed.
How to Apply Burl Wood Contact Paper
1. Measure and mark the drawer front
Unroll the contact paper and cut a section large enough to cover one drawer front, leaving an extra 1–2 inches around the edges. Place the drawer front face down on the paper and mark the outline with a pencil, keeping that margin around the perimeter.
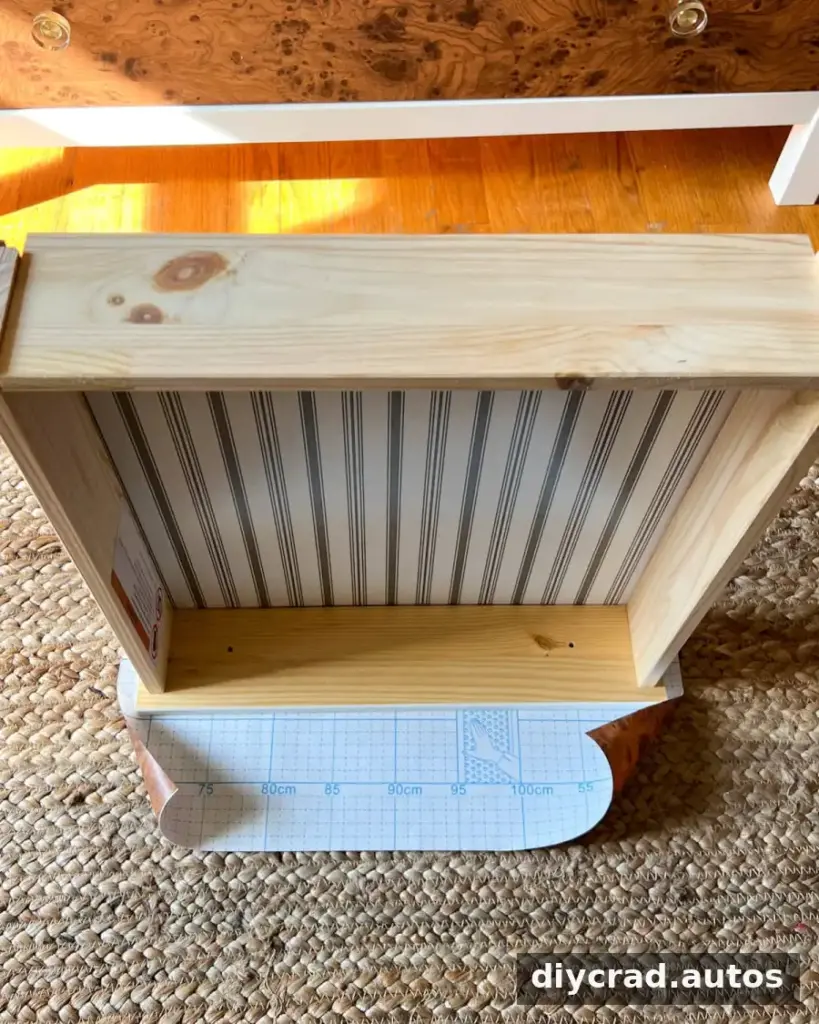
2. Trim the contact paper
Use scissors to cut along the marks. The extra paper will wrap around the sides of the drawer front, helping cover its edges. Check that the piece is large enough before removing any backing.
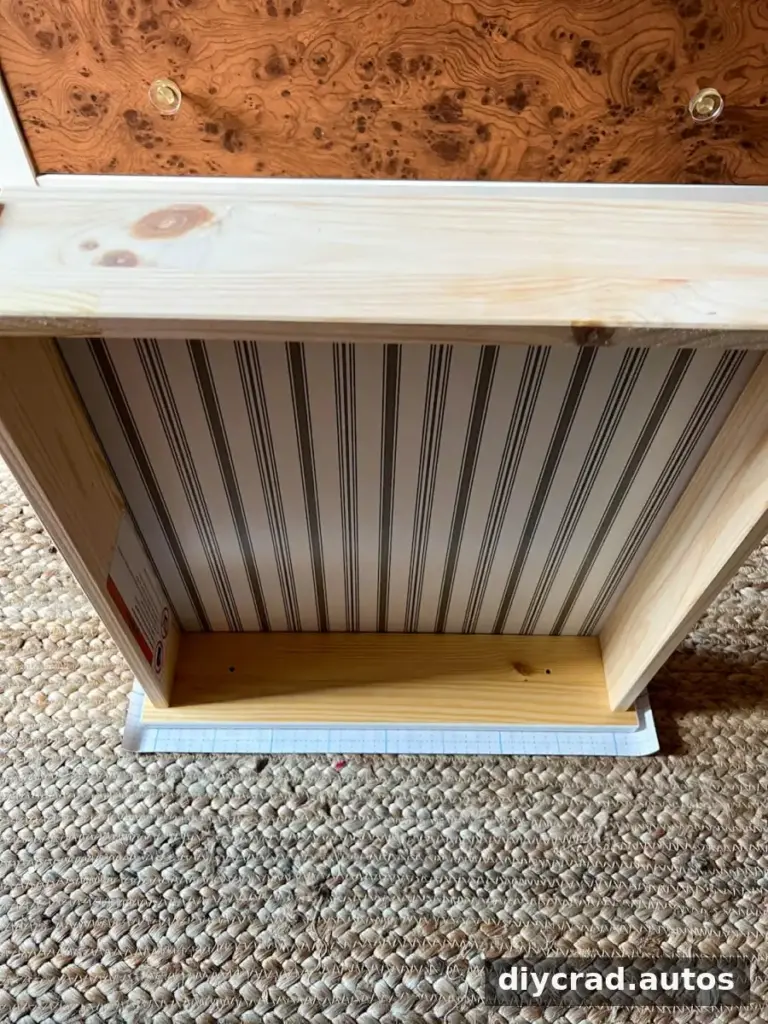
3. Align the paper and begin applying it
Peel away 3–4 inches of the backing and fold it down. Turn the contact paper over, line it up with the drawer front, and press the exposed adhesive onto the surface. Starting with a small section makes it easier to adjust the alignment before the rest is attached.
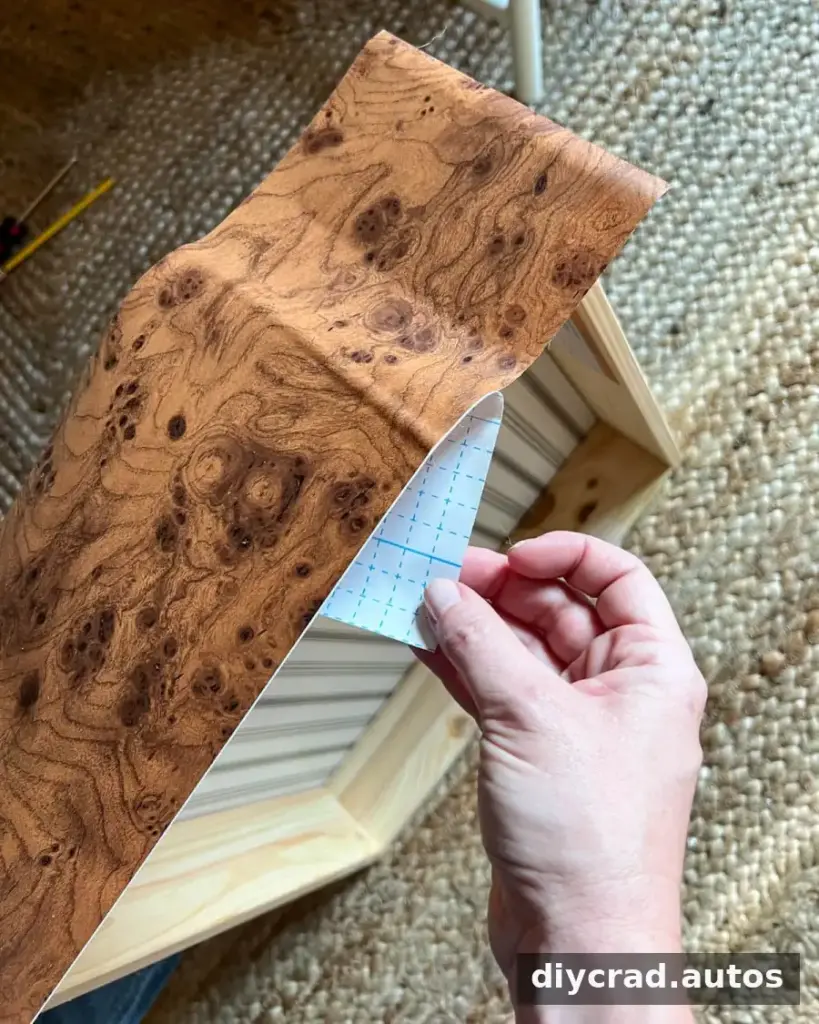
4. Smooth out air bubbles
Slowly pull away more of the backing while pressing the paper onto the drawer. Use a wallpaper smoothing tool or an old gift card in short, firm strokes, moving from the attached area toward the edges to push out air bubbles. Continue until the front is covered and the contact paper is firmly pressed down.
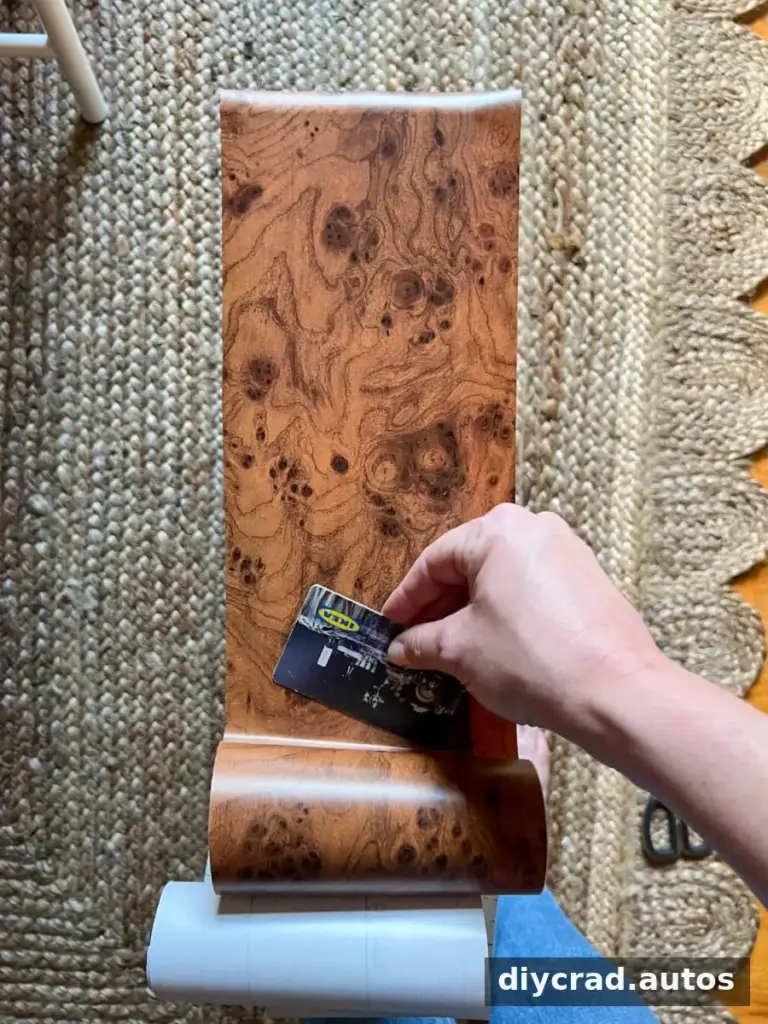
5. Make small cuts at the corners
With the excess paper still around the sides, cut a small slit at each corner of the drawer front. These cuts create flaps that can be folded around the edges. Avoid cutting past the corner, as a longer slit may leave part of the drawer edge uncovered.
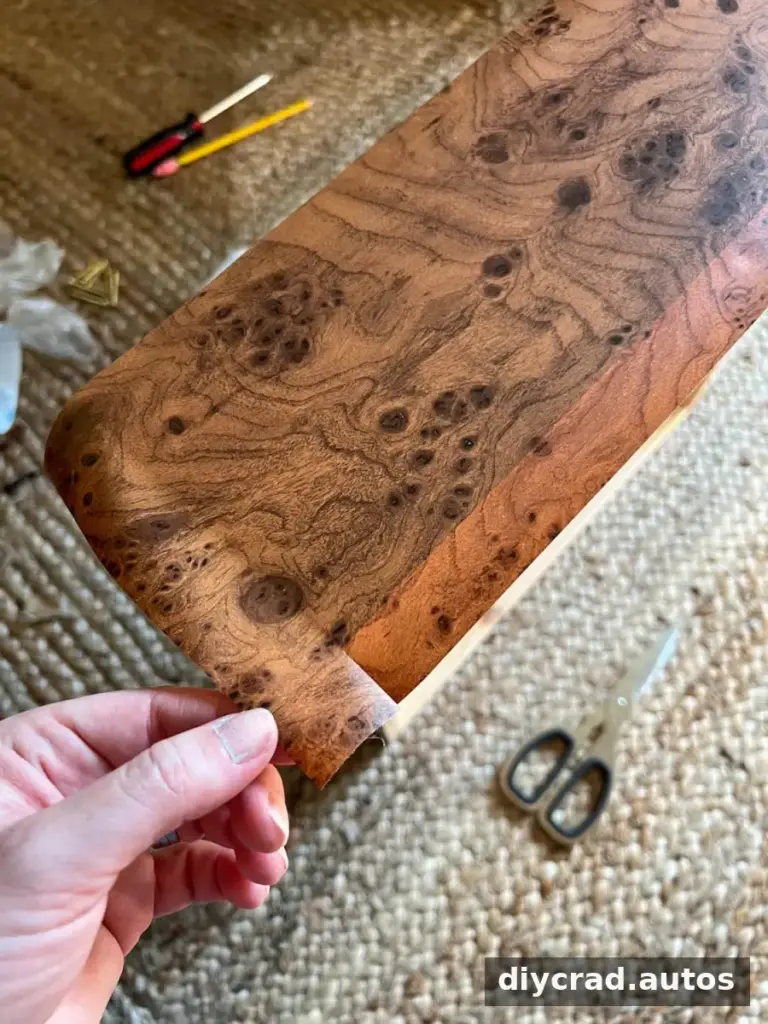
6. Fold and tuck the side flaps
Smooth one side flap around the edge, as you would when wrapping a present. Tuck the small corner flap beneath the flap on the adjacent side. Repeat the process on the opposite side, keeping the paper smooth as you work.
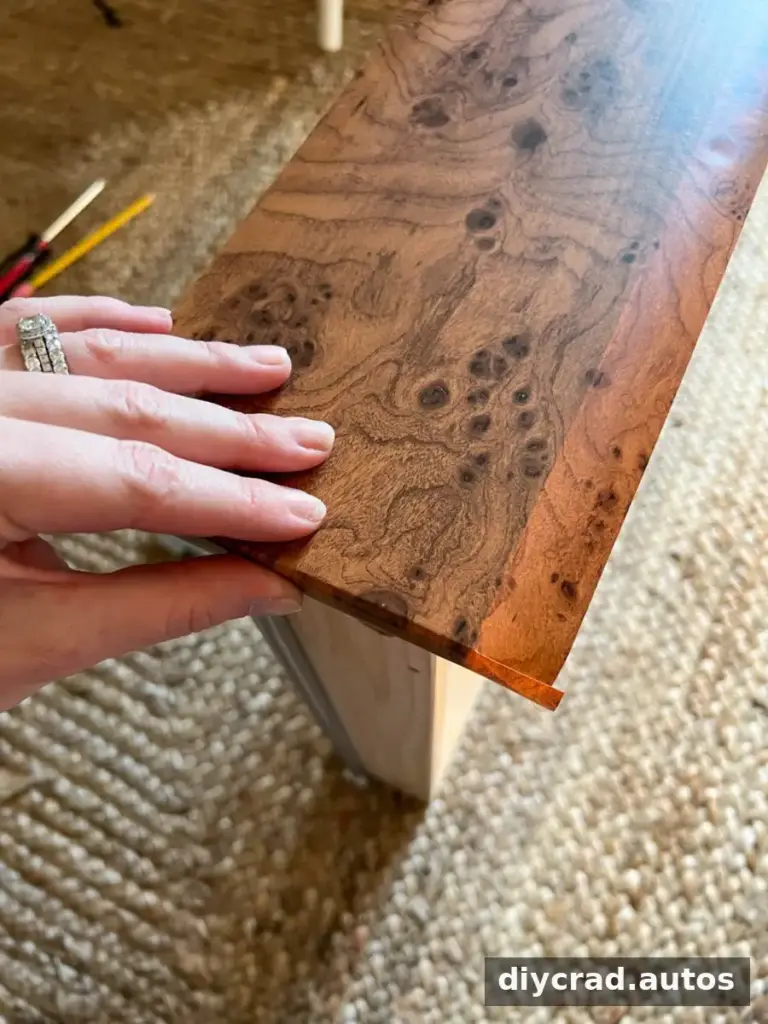
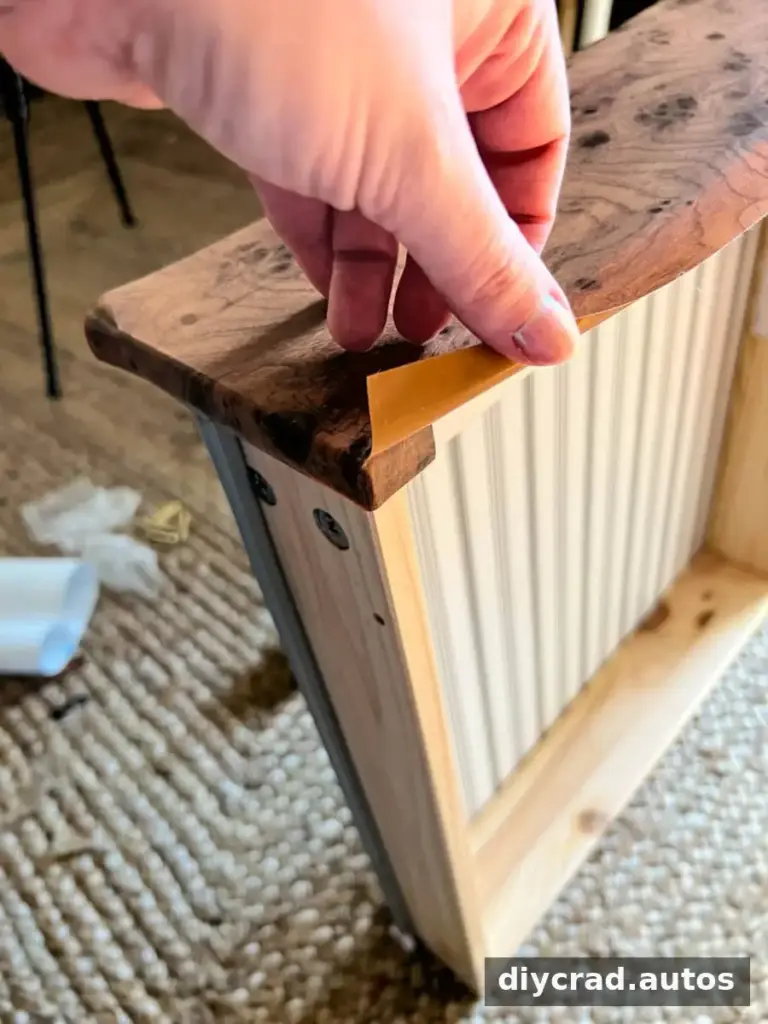
7. Finish the top and bottom edges
Fold the top and bottom flaps over the side flaps and press them down firmly. Check the corners and edges for loose areas or bubbles, then smooth them with the card or tool.
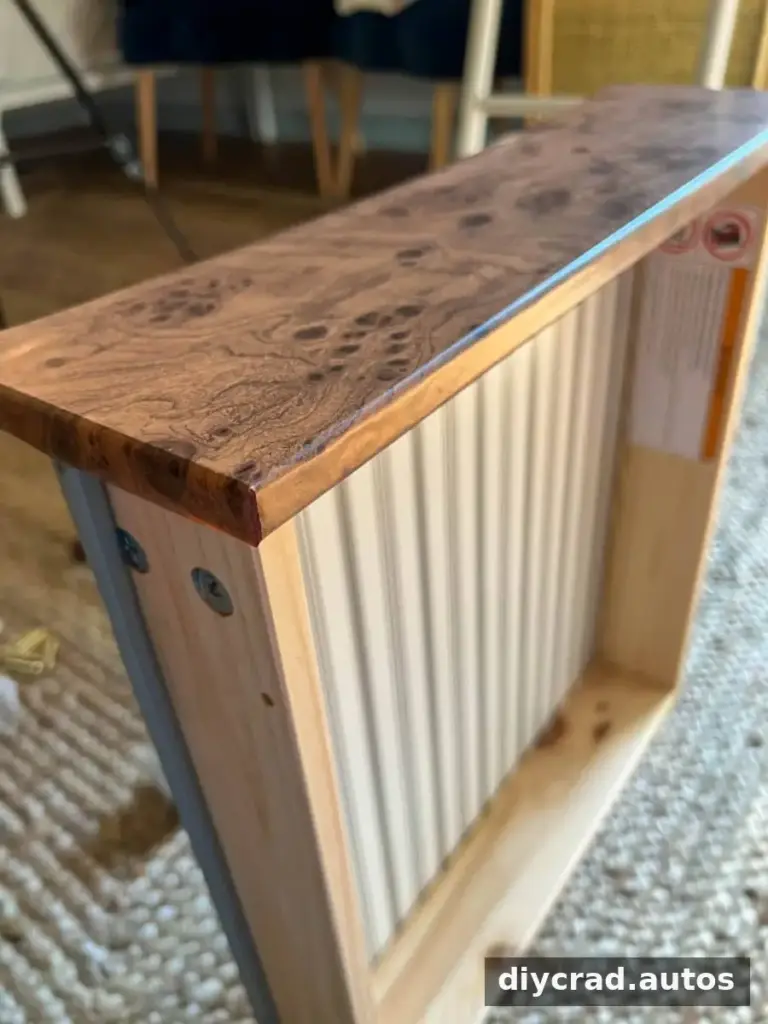
8. Add knobs or pulls
Keep the existing hardware or replace it with knobs or pulls that suit the room. If you choose hardware that requires different hole placement, measure carefully before drilling. Gold and glass knobs can add a lighter, decorative detail to the burl wood pattern.
Project Cost and Styling
The contact paper cost about $30. Including the dresser and knobs, the complete project came to $405. For comparison, the high-end dresser that inspired the look was priced at $2,495. The final amount for a similar project may differ depending on the furniture and hardware selected.
A table lamp, rattan mirror, picture frame, and plant can help connect the dresser to the rest of a bedroom. Consider repeating materials or colors already in the room so the patterned furniture feels balanced rather than competing with other decorative details.
The completed dresser has a vintage, art deco-inspired appearance while retaining the simple shape of the original furniture. Contact paper also comes in other patterns, so the same method can be used to explore different looks.
Other Contact Paper Styles for Furniture
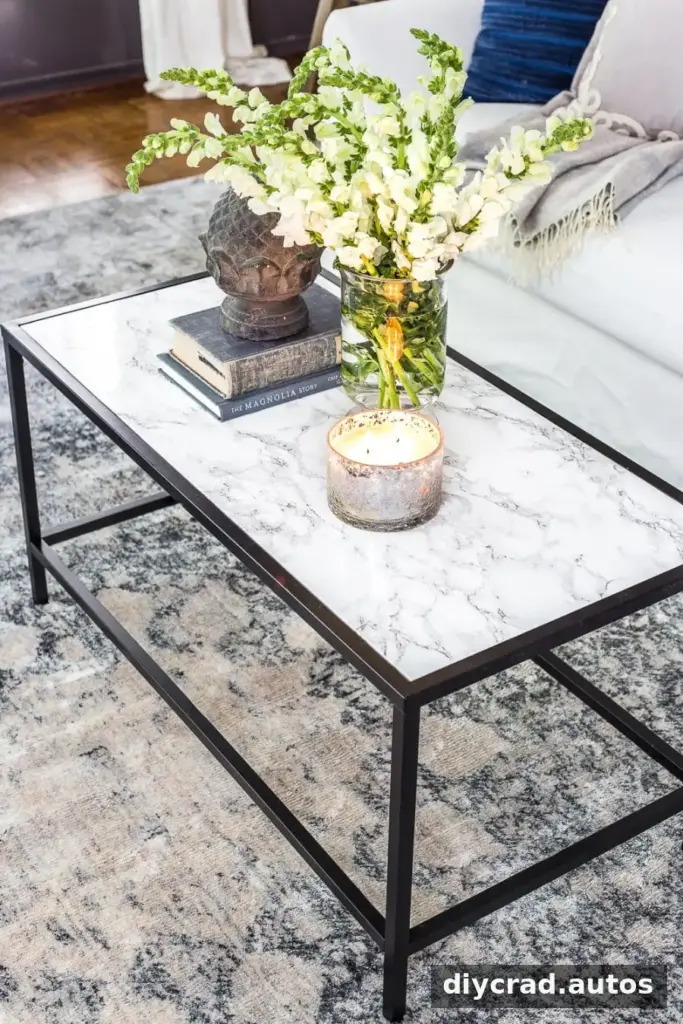
If burl wood is not the right fit, consider another finish that works with the room’s palette and existing textures. Options include:
- White marble contact paper
- Black wood grain contact paper
- Gray linen contact paper
- Beige wood grain contact paper
- Brown wood grain contact paper
- Blue marble contact paper
- Black marble contact paper
- Grasscloth contact paper
For the best result, choose a flat-front piece, measure carefully, and apply the paper gradually to keep the pattern aligned and reduce bubbles. This burl wood IKEA dresser hack is a practical way to add a custom-looking finish using contact paper, with the stated material cost at about $30.

