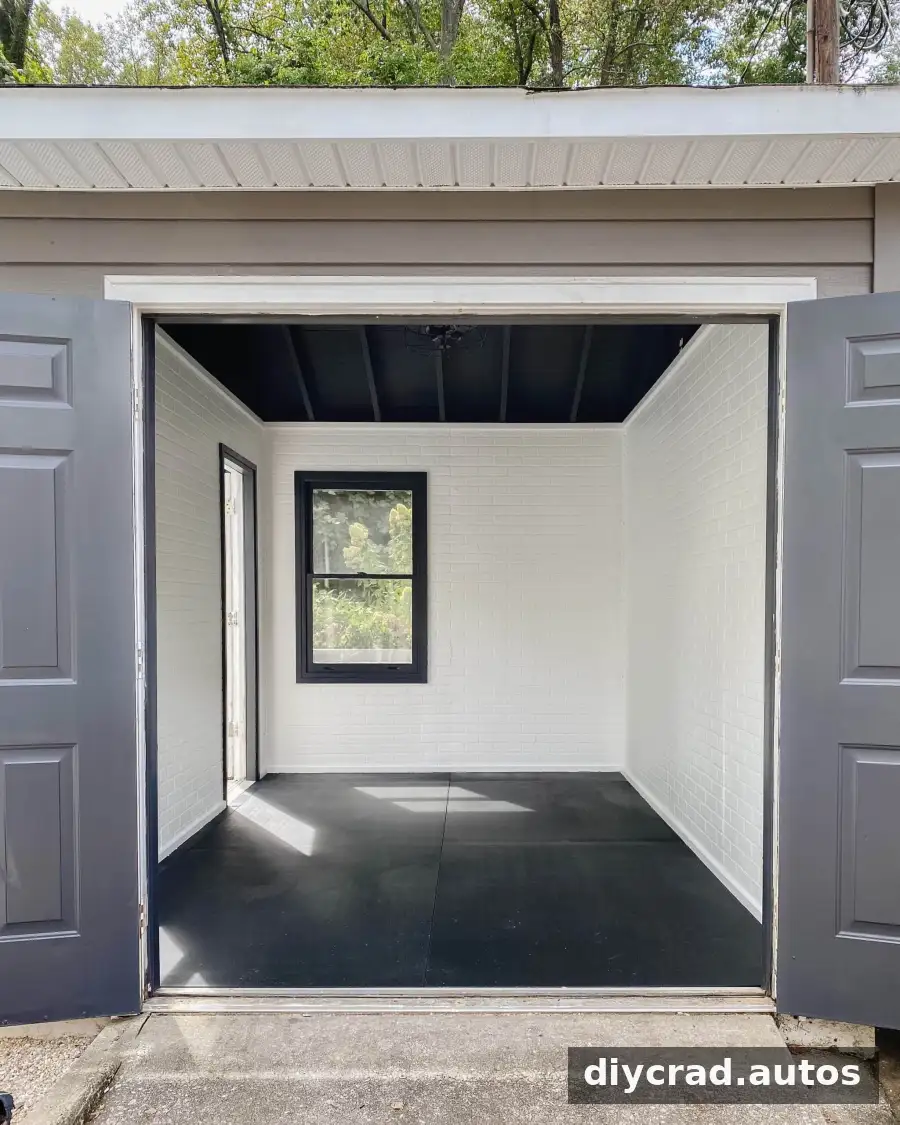
DIY faux brick walls can give a shed a modern industrial look without the time and expense of building a brick wall. In this project, faux brick panels helped transform a shed into a home gym, with the full makeover’s materials costing less than $700. The wall work took about two days, including preparation and finishing.
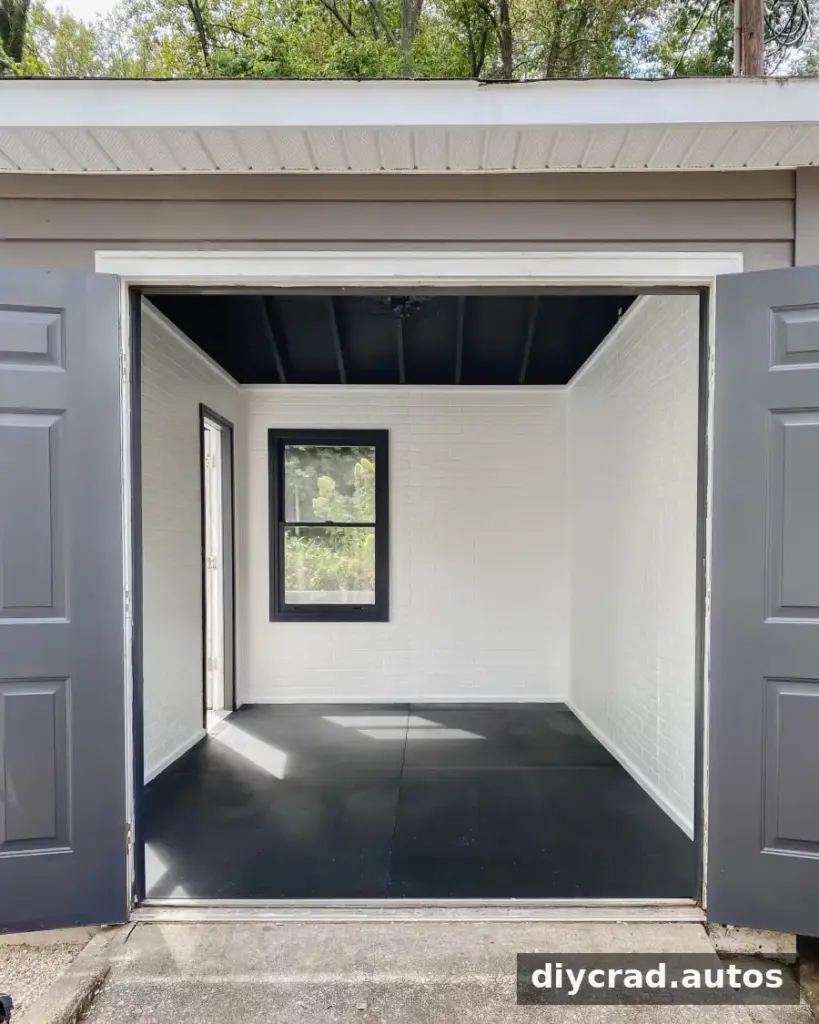
The before-and-after difference came from more than the new wall finish: the ceiling and protruding wall sections were also removed, and the space was prepared for its new purpose. A shed makeover can be done in stages, so plan the wall installation around any larger demolition or structural work.
DIY Faux Brick Walls: Before and After
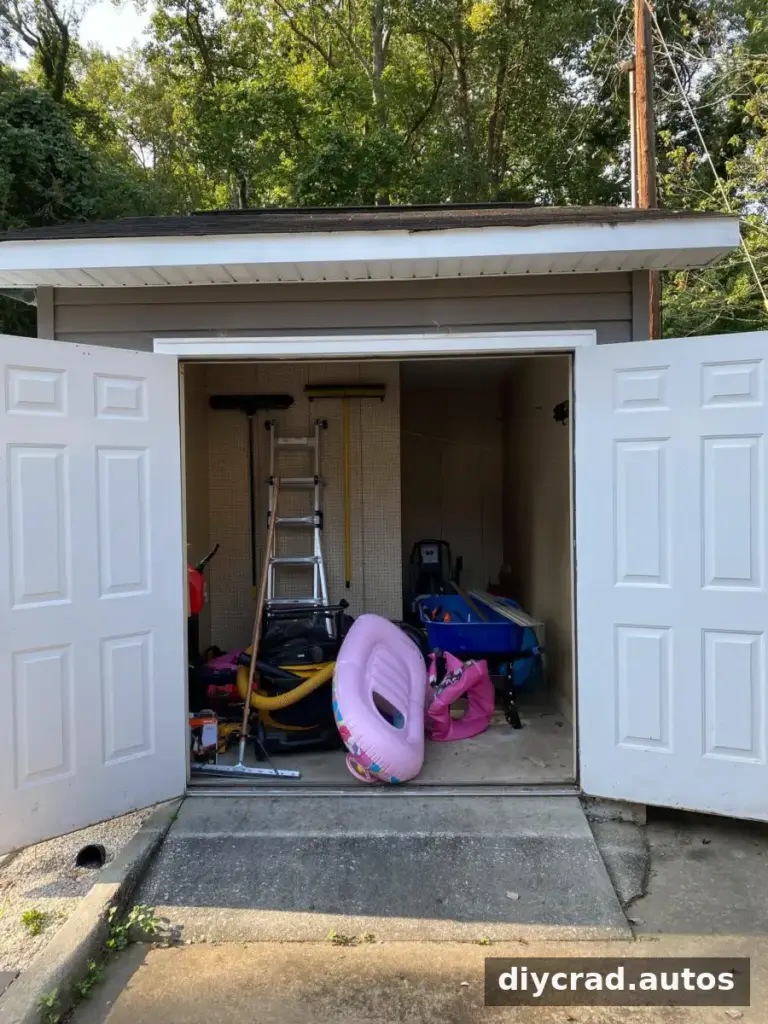
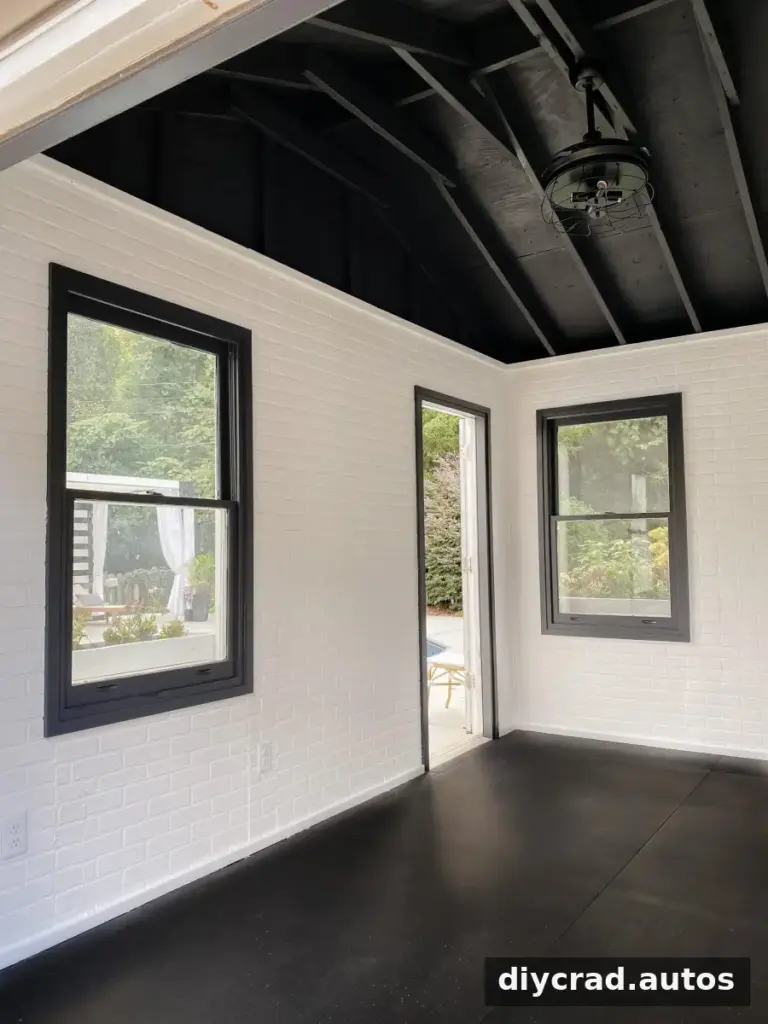
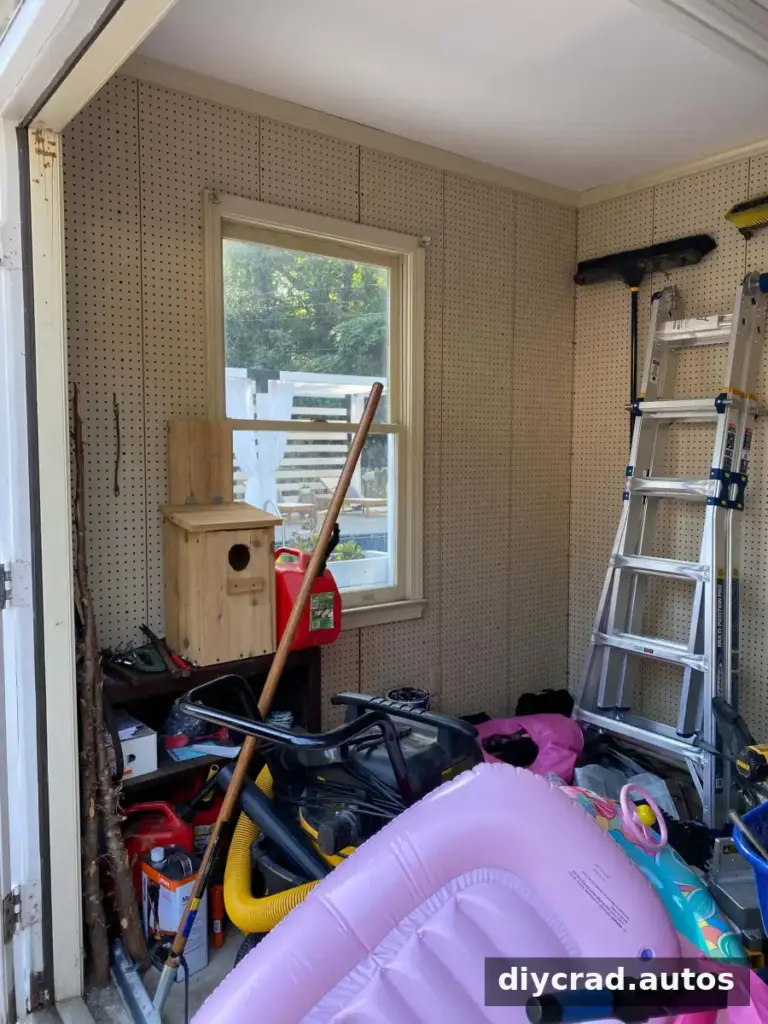
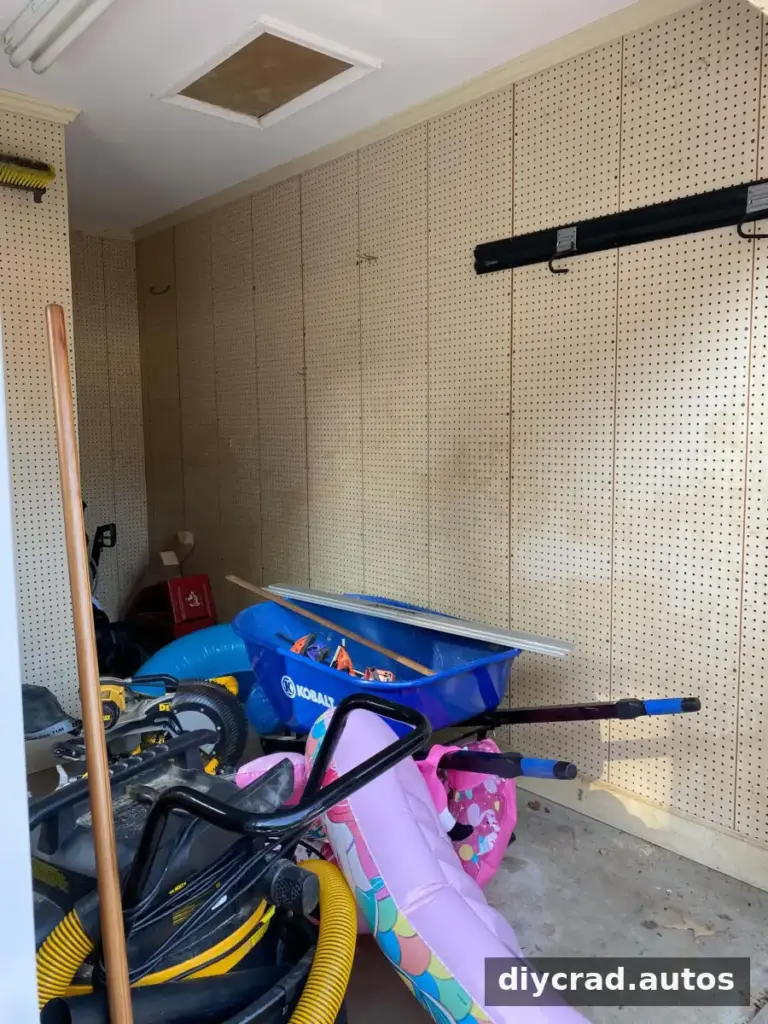
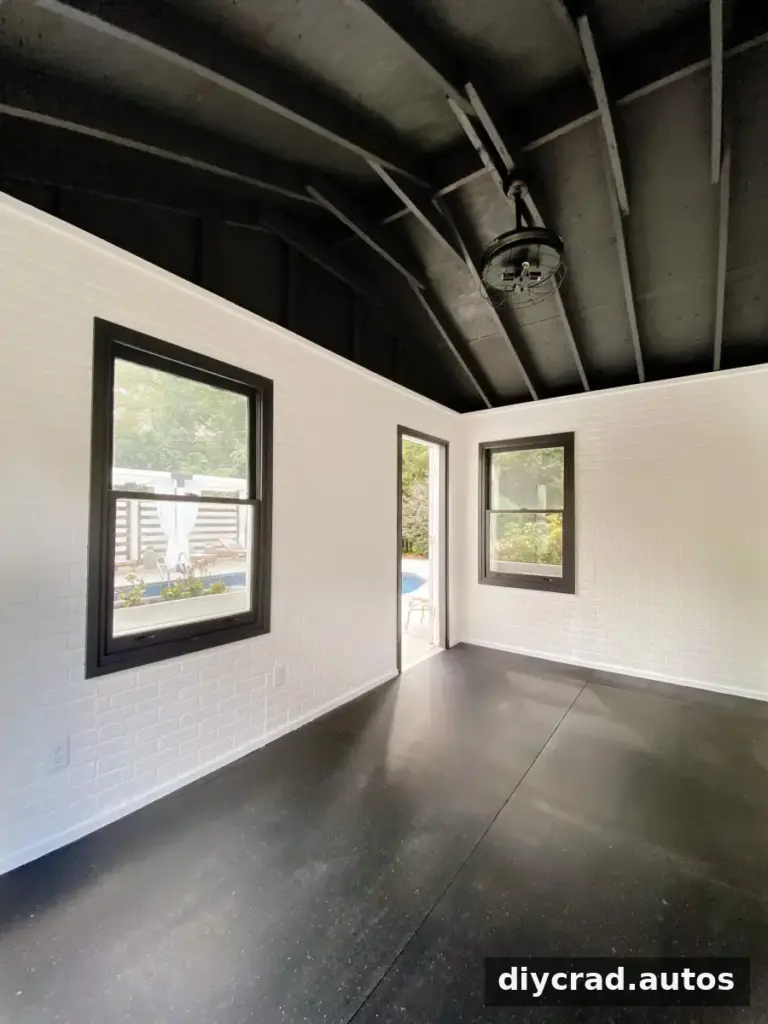
Replacing the old pegboard and changing the ceiling helped the white brick-pattern walls brighten the room. The makeover materials cost under $700 in total. Costs for an individual project can vary depending on the panel type, wall area, and supplies already on hand.
Materials and Tools for Faux Brick Walls
Gather the supplies before starting so you can measure, fit, and finish the panels without unnecessary interruptions.
Materials
- Faux brick panels
- 1×2 boards
- Corner molding
- Level
- #8 wood screws
- Liquid Nails
- Spackle
- Caulk
- Paint
- Rollers, brushes, and paint trays
Tools
- Circular saw or table saw
- Jigsaw
- Drill
Check the panel manufacturer’s installation guidance before beginning. Also inspect the wall and locate any wiring or other obstacles before cutting or fastening panels.
How to Install DIY Faux Brick Walls
1. Prepare the wall
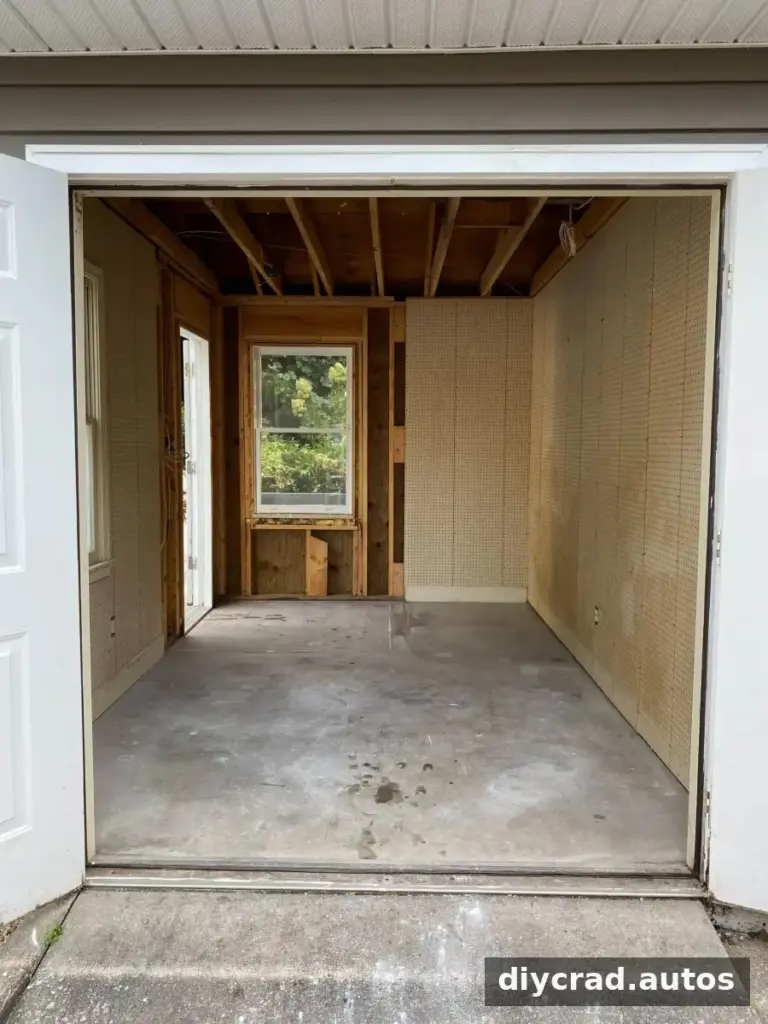
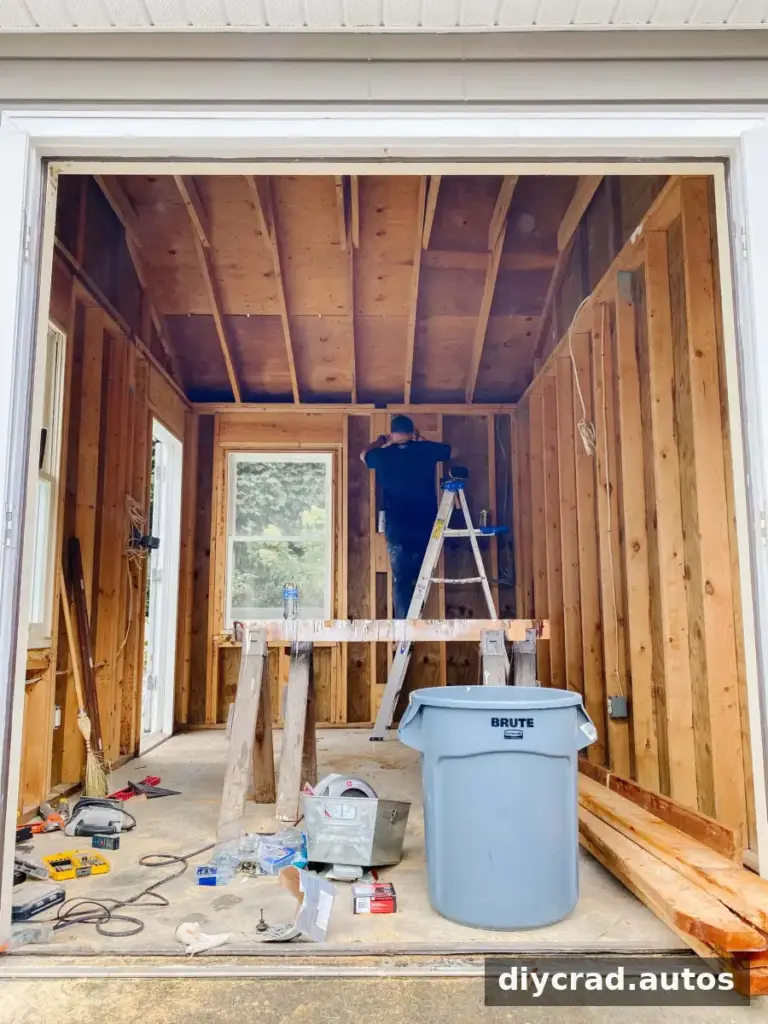
In this project, the old pegboard, ceiling, and protruding wall sections were removed before the panels went up. That level of demolition is not necessary for every faux brick installation. If you plan to alter a ceiling or wall, confirm that the work is safe and that the structure has suitable support before proceeding.
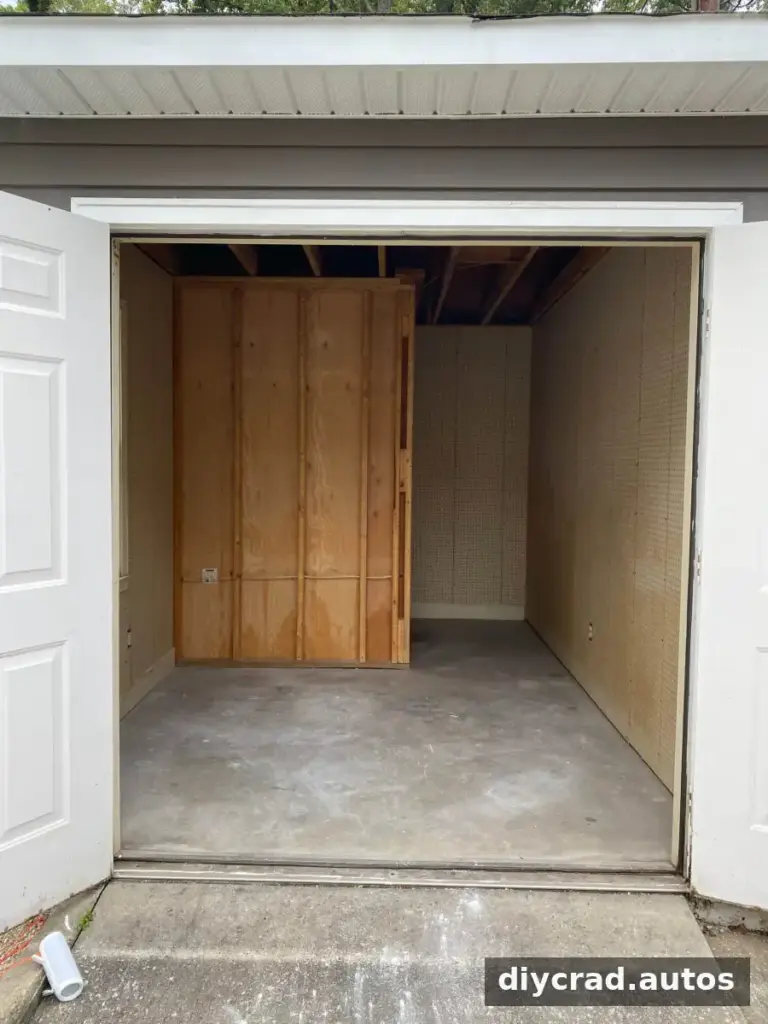
Clearing the surface and making any planned repairs first gives the panels a more secure, even base.
2. Attach the first panel
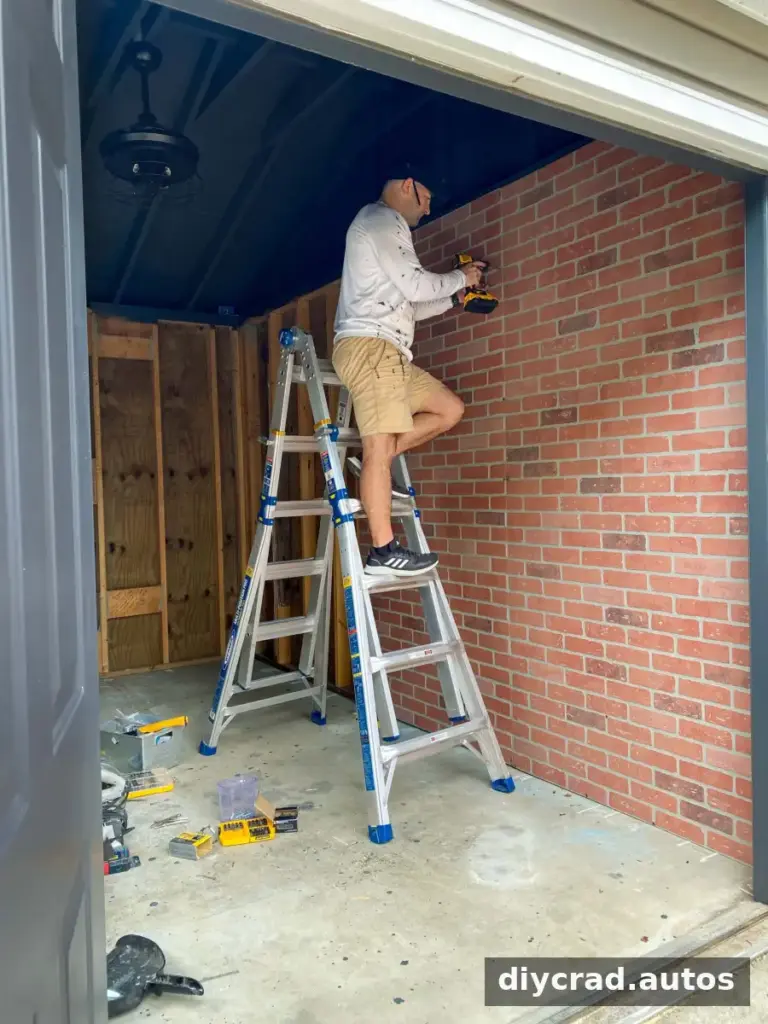
For panels installed over drywall, the project used finish nails and Liquid Nails. Here, the panels were installed directly over studs, so #8 wood screws were used to fasten them to the framing. Use a level to make sure the first panel is straight; its position helps guide the alignment of the panels that follow.
3. Measure and cut around edges
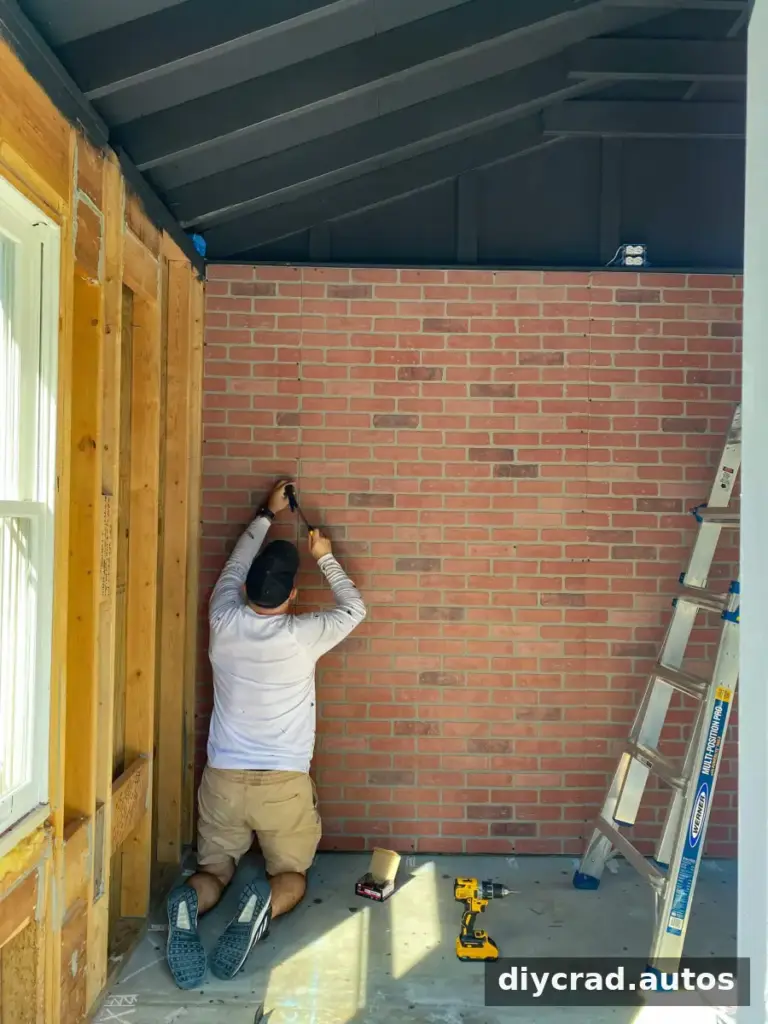
Measure the remaining spaces and cut panels to fit with a circular saw or table saw. Before cutting, check how the brick pattern meets the previous panel so the design can continue as naturally as possible. A jigsaw can also be used to make zigzag cuts along the mortar lines, which may make some seams less noticeable but takes more time.
4. Fit around windows and outlets
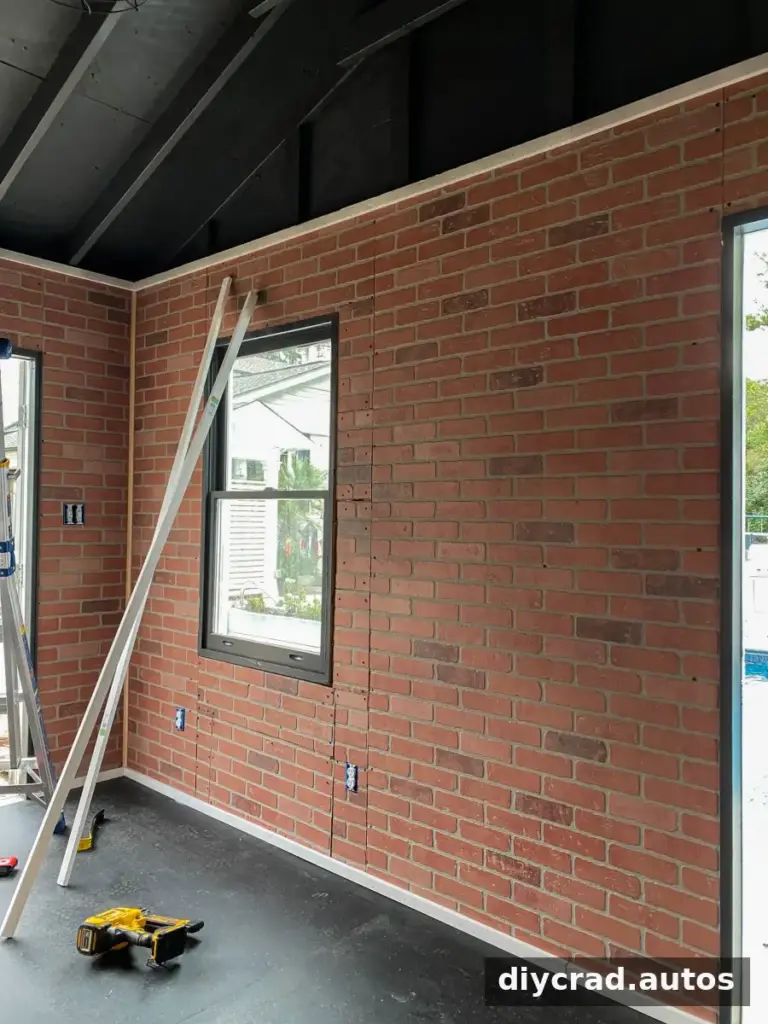
Use a jigsaw to cut around obstacles such as windows and outlets, then fit the pieces together carefully. Turn off power before working near electrical outlets, and avoid cutting into hidden wiring. Test-fit each cut piece before fastening it in place.
5. Finish the edges and seams
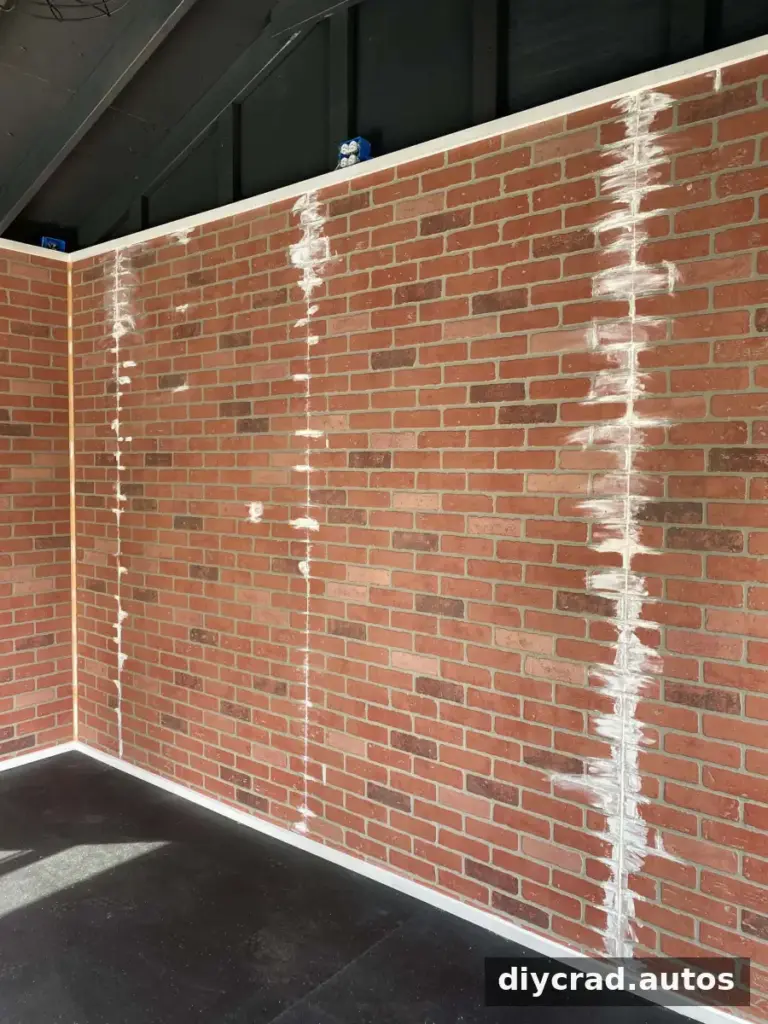
Add 1×2 boards along the top and bottom of the wall for a finished border, then attach corner molding at the corners. Caulk the seams and use spackle to fill screw holes or other small imperfections. Let the filler and caulk dry according to their product directions before painting.
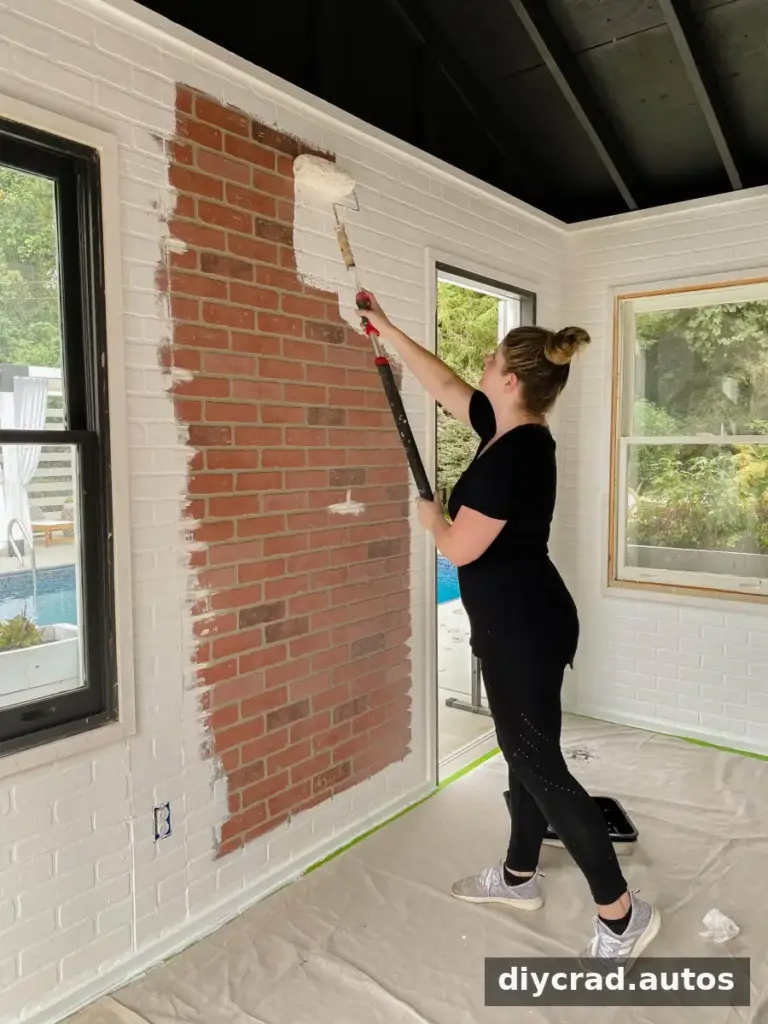
6. Paint the panels
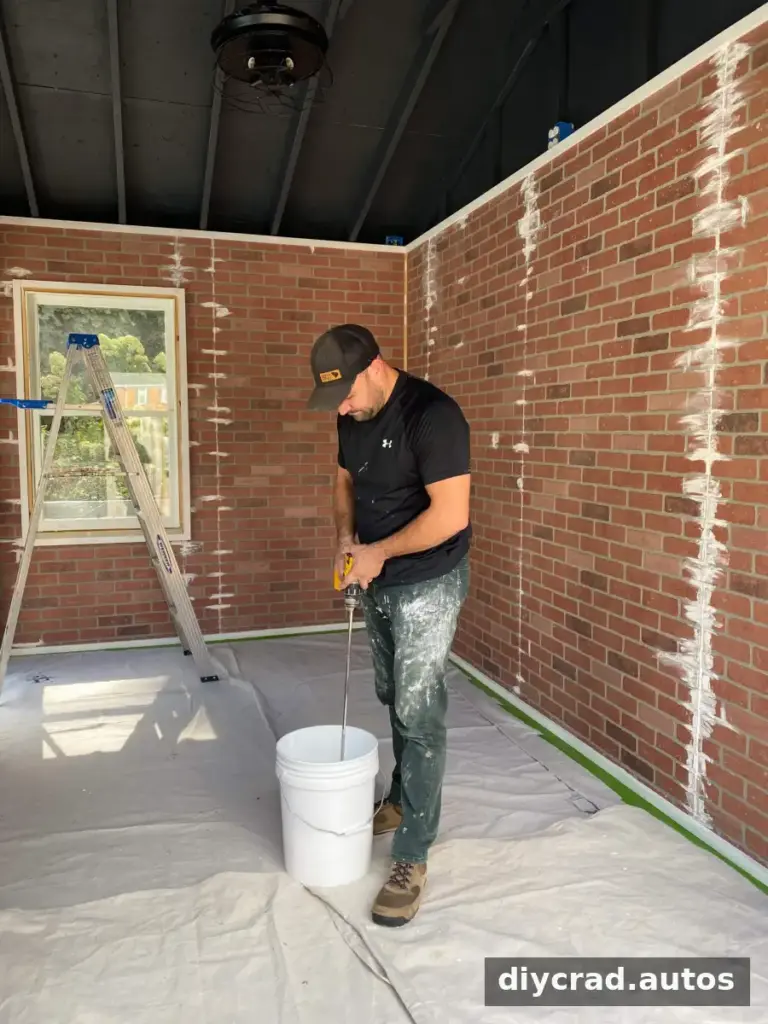
Paint brings the wall together and can help unify the surface. Leftover white paint from several cans was mixed together for this shed, making use of paint that was already available. If mixing paint, combine enough for the planned area at once and stir it thoroughly so the color stays consistent.
Finishing the Home Gym Shed
Once the walls were painted, the shed was ready for the remaining home gym details. Mirrors were planned for the long wall to make it easier to check workout form, and a ceiling fan with retractable blades was added to keep air moving.
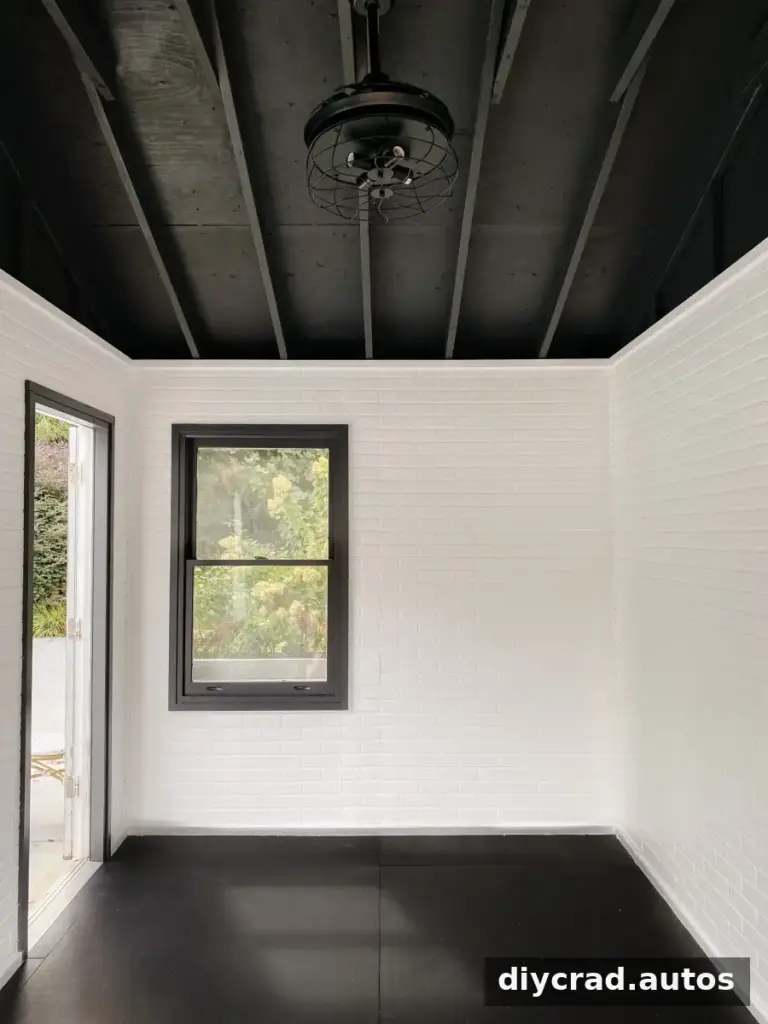
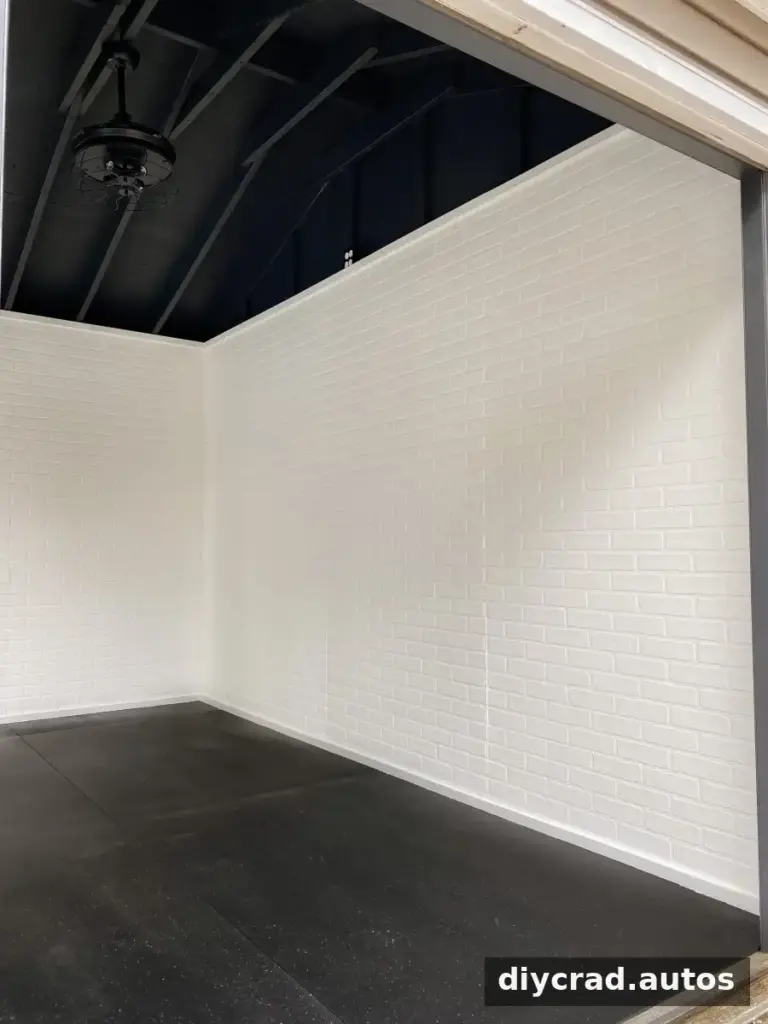
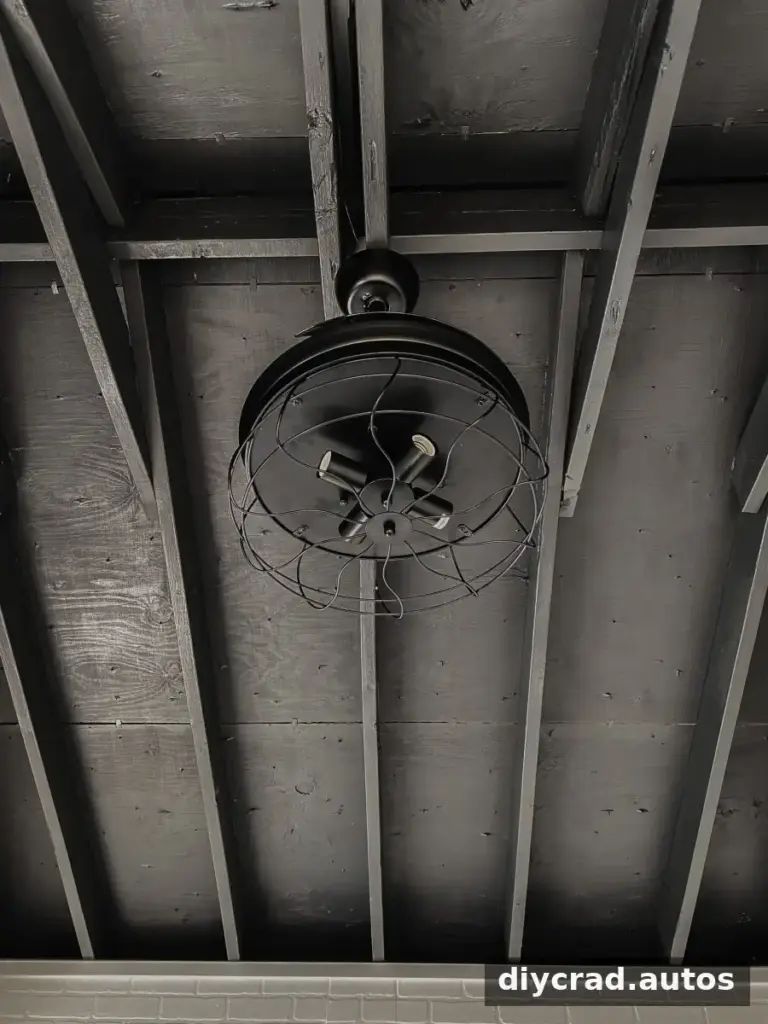
Heavy-duty rubber gym floor mats were also added. In a workout space, floor mats can provide a more comfortable surface and help protect the floor; make sure they sit flat and do not create trip edges.
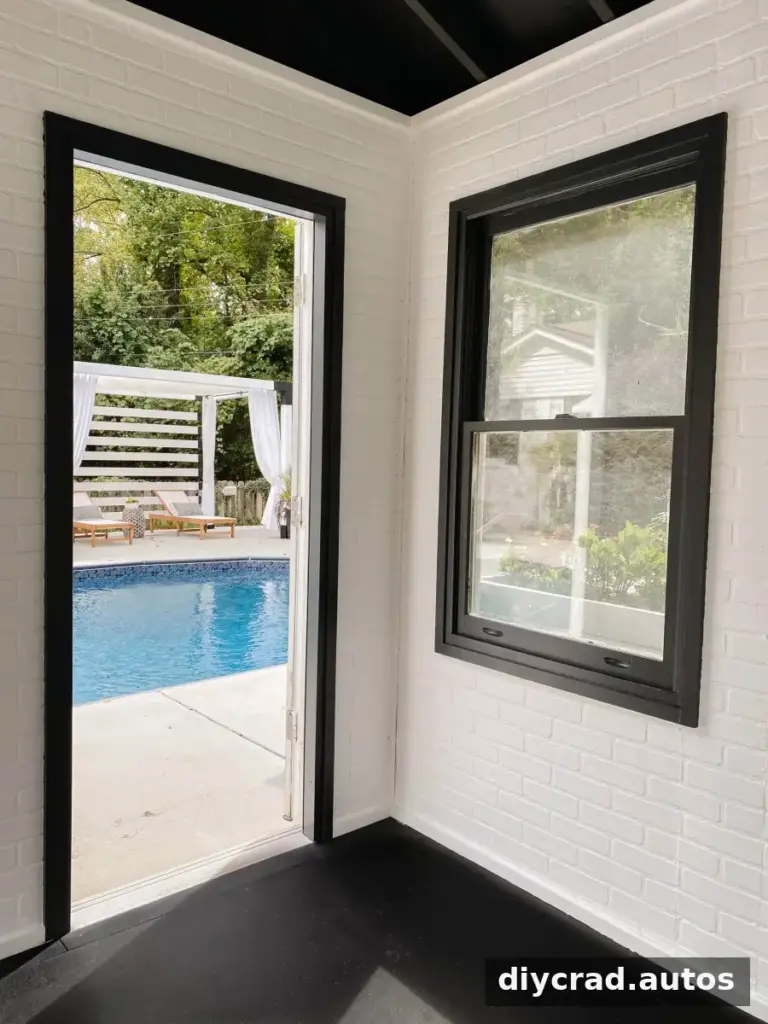
The finished shed became a dedicated home gym, with equipment still to be brought in after the renovation. The transformation shows how faux brick panels, careful fitting, and a coat of paint can change the feel of a practical outbuilding.
Is a DIY Faux Brick Wall Right for Your Shed?
DIY faux brick walls are a practical option when you want the look of brick without installing masonry. Measure the wall carefully, choose a panel installation method suited to the surface, and take time to align the first panel and plan cuts around obstacles. With those steps in place, faux brick panels can help turn a basic shed into a more polished and useful space.