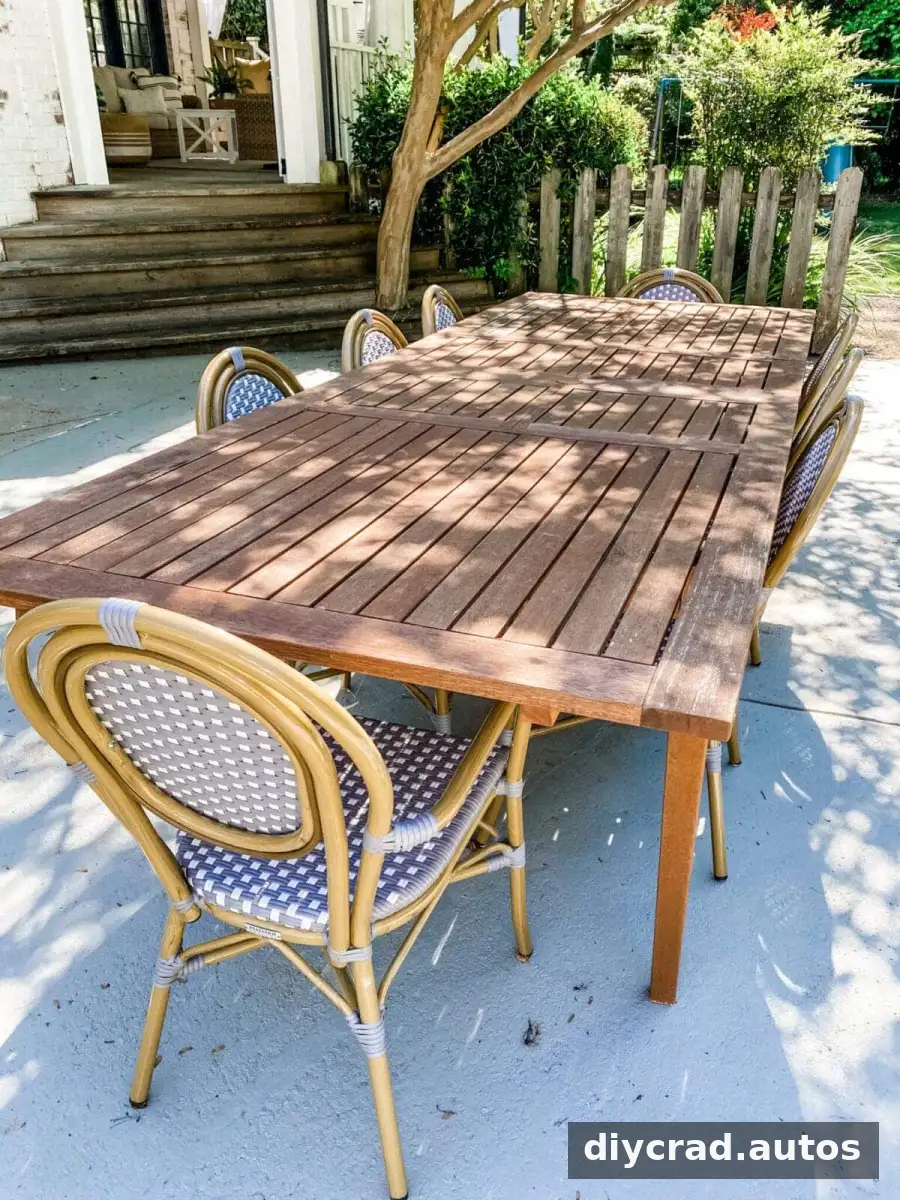
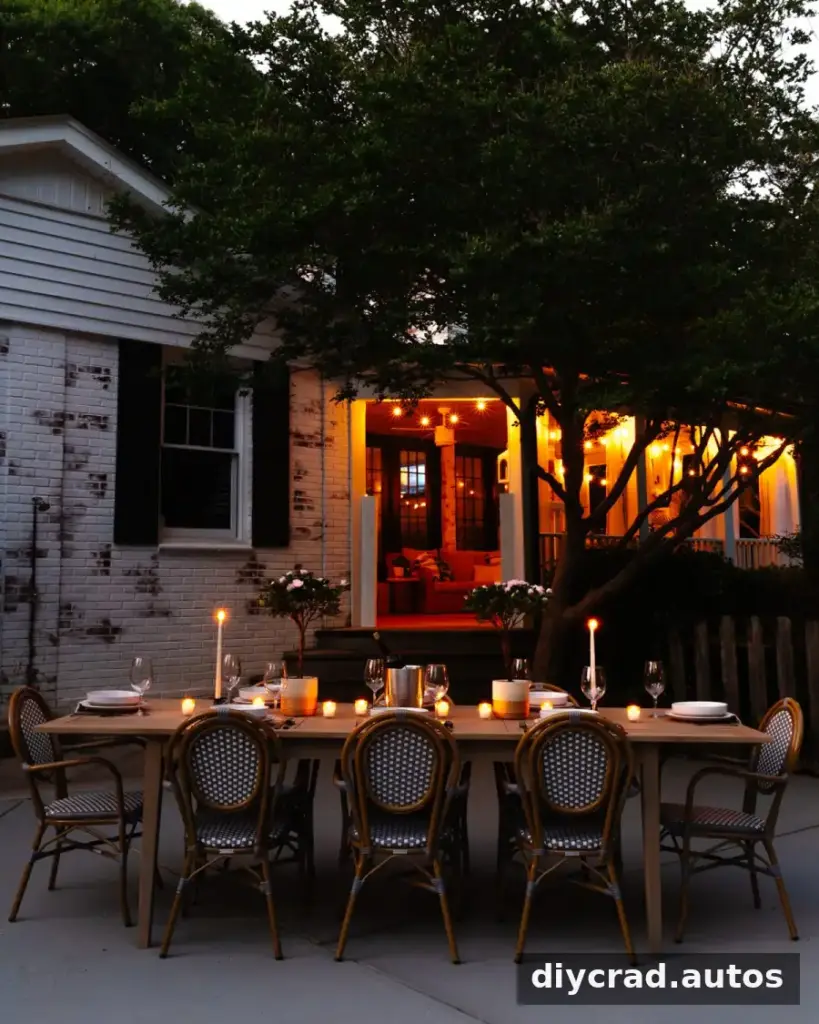
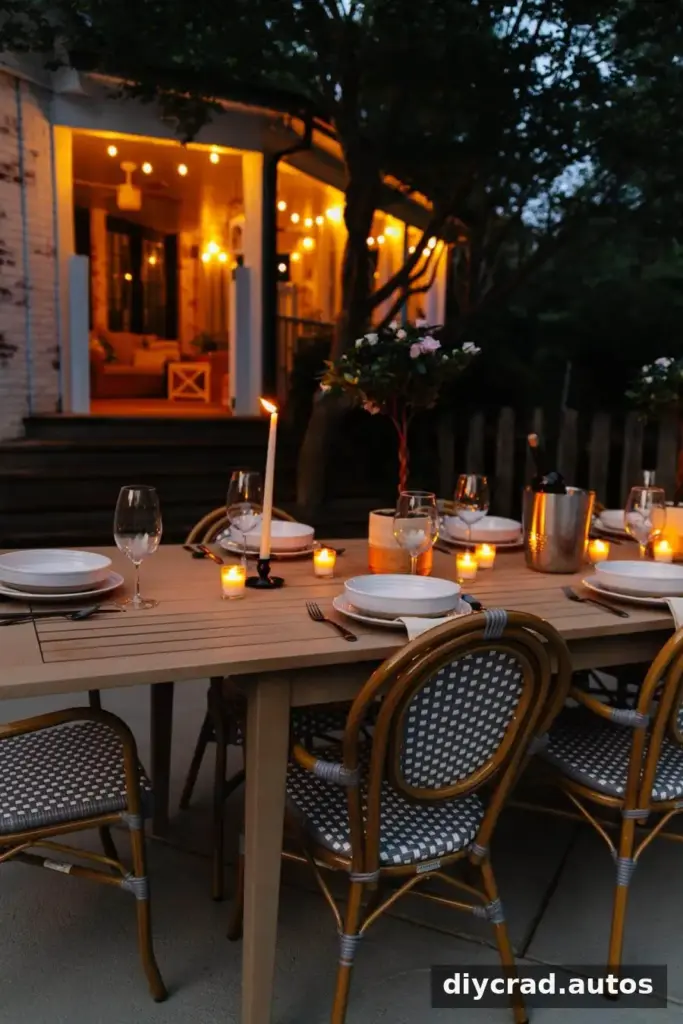
A DIY faux driftwood outdoor dining table makeover can refresh a worn patio centerpiece without replacing it. With light sanding, primer, and several complementary spray-paint shades, an old table can take on a softly varied, weathered-wood look. This project uses a khaki base with subtle sand and nutmeg accents to create more depth than a single flat coat.
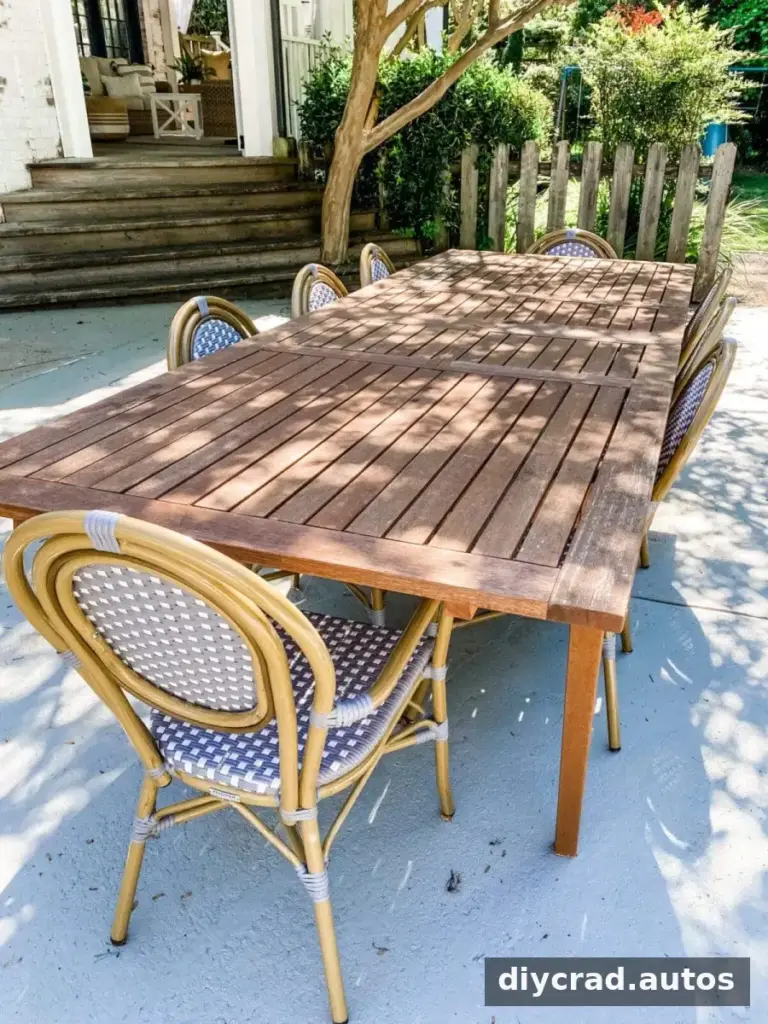
DIY Faux Driftwood Outdoor Dining Table: Supplies
Before starting, gather the materials and check that the primer and paints are suitable for the table’s surface and outdoor use. The quantities below were used for this project; the amount you need may vary depending on the table’s size and condition.
- Fine-grit sandpaper, or an orbital sander with sanding pads if already available
- Drop cloth
- Original spray primer: 4 cans
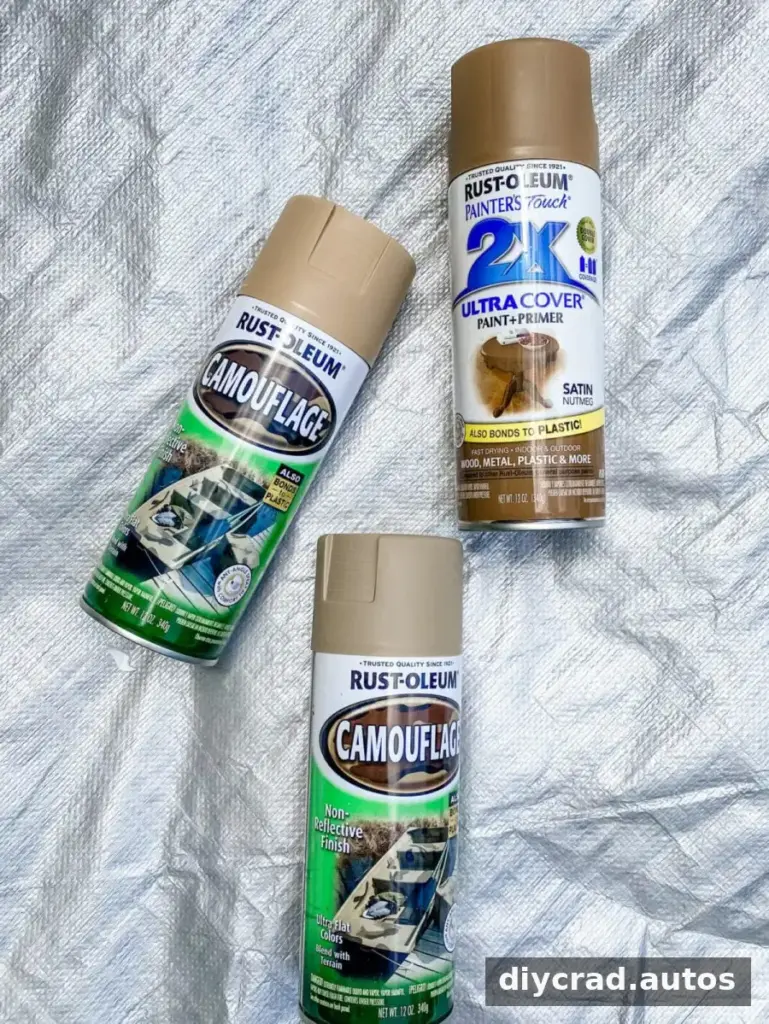
- Ultra-flat khaki camouflage spray paint: 4 cans
- Ultra-flat sand camouflage spray paint: 1 can
- Satin nutmeg spray paint: 1 can
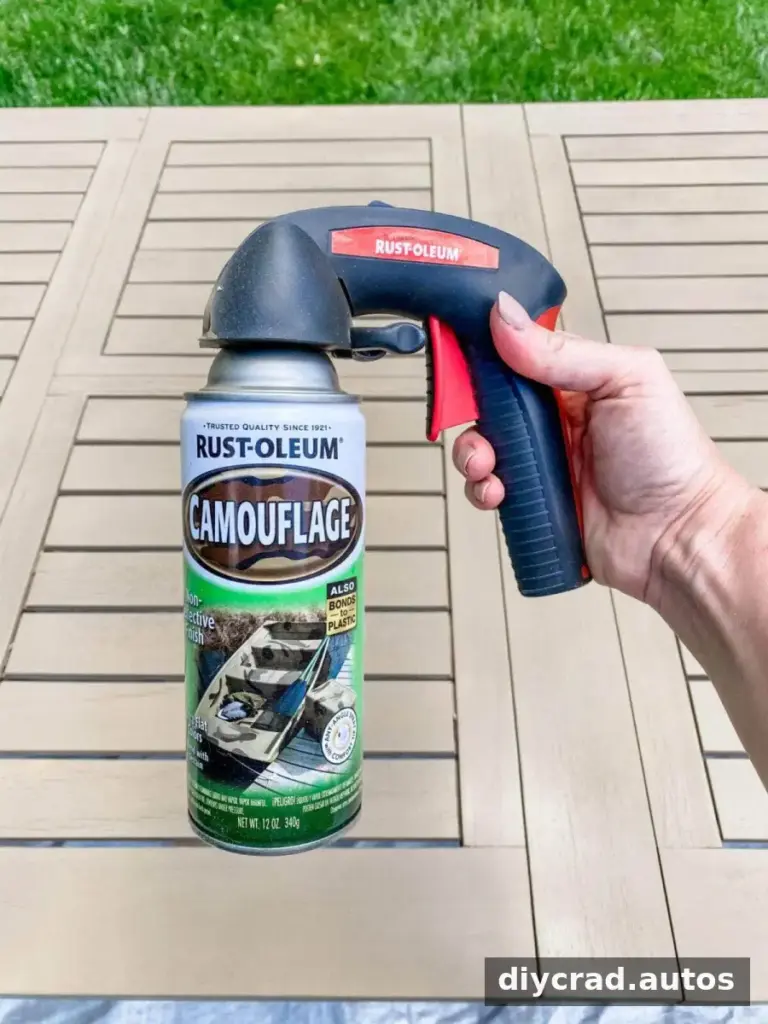
- Spray-paint comfort grip, optional but useful for larger surfaces
The three brown-toned colors help produce visual variation, while the primer creates a base intended to help cover old staining. If you are choosing alternatives, look for compatible products and follow each can’s instructions for the material, application, and drying time.
How to Create a Faux Driftwood Finish
1. Prepare the table
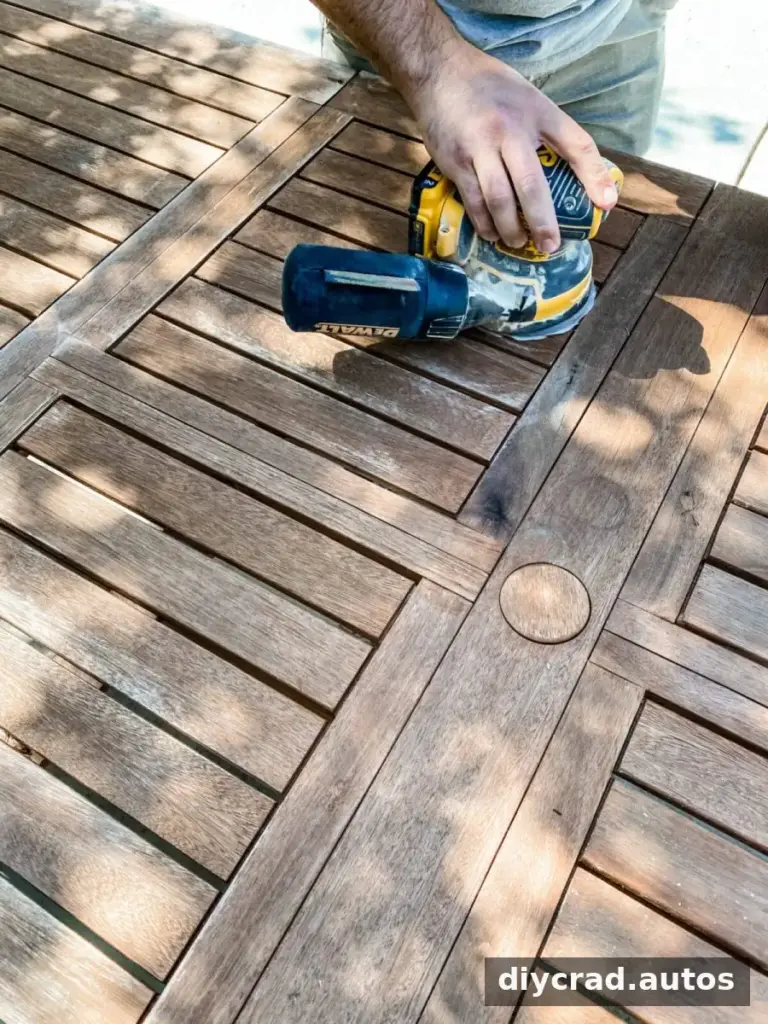
Lightly sand rough areas and remove any loose, flaking finish from the tabletop. The goal is to smooth unstable spots, not necessarily to strip every part of the old coating. Wipe away sanding dust before painting so it does not become trapped beneath the primer.
2. Apply primer
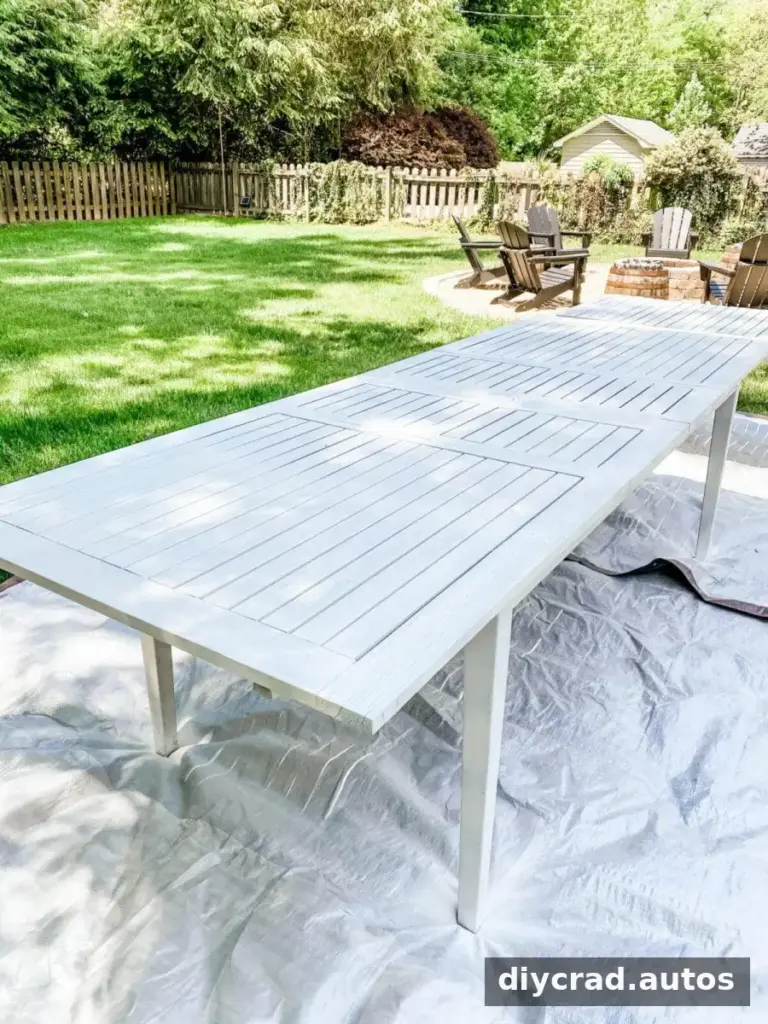
Spray an even coat of primer over the table. Primer can help prevent an existing stain from showing through the new paint. Allow it to dry according to the product label before moving on; rushing this step can affect how the next coats adhere.
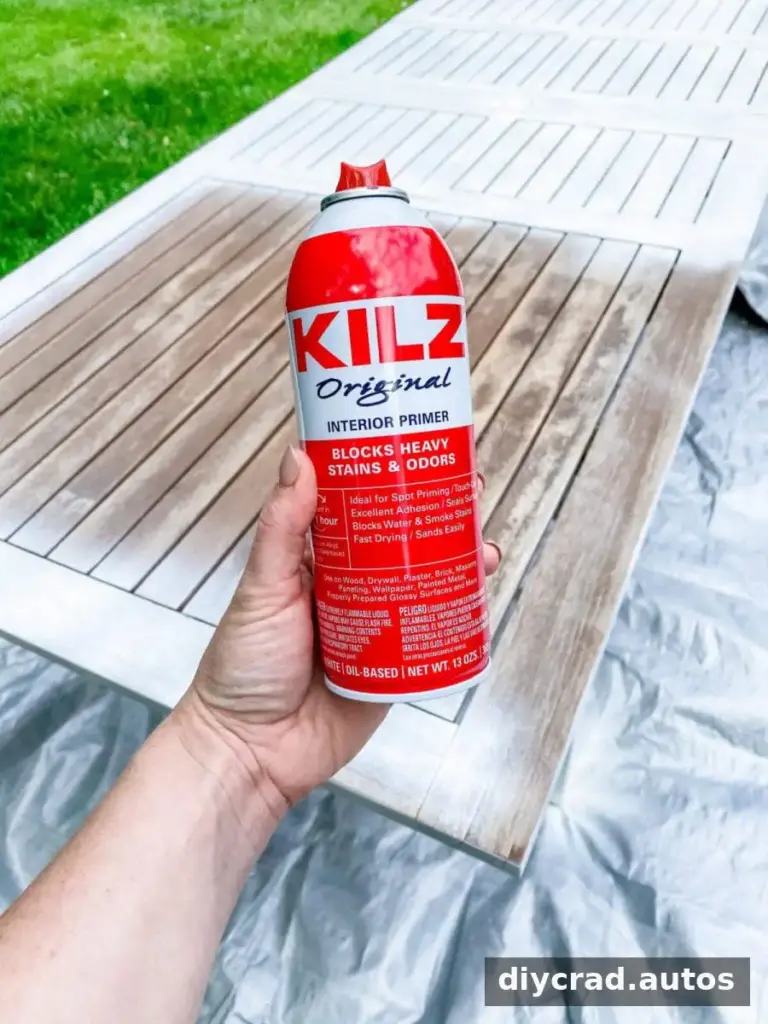
A light brown wood-inspired finish can be a practical alternative to white outdoors, where dirt and everyday marks may be more noticeable. The layered color also adds warmth alongside gray or white elements in a patio or poolside setting.
3. Build the khaki base
Apply two light coats of khaki spray paint across the table. Keep the can moving in a steady, sweeping motion rather than stopping over one spot. Several thin passes help create a more even finish and reduce the chance of drips. A comfort grip can make it easier to maintain consistent movement over a broad surface.
4. Add subtle color variation
After the khaki layer has dried, hold the sand-colored paint about 20 inches from the surface and lightly dust it over the base. Use a restrained amount so the khaki remains visible. Repeat with the nutmeg shade, applying only a very light layer. Test the spray on a hidden area or spare material first if you want to check the effect before working across the tabletop.
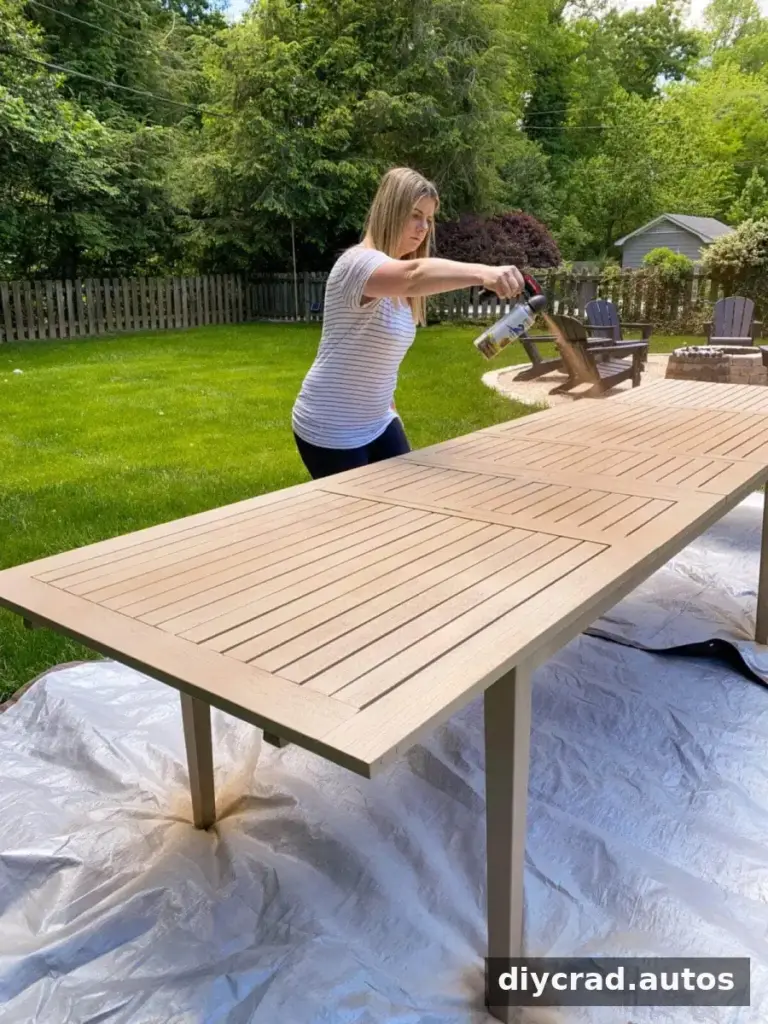
Let the finish dry fully before putting the table back into use. Drying and curing times vary, so use the guidance on the paint labels. For outdoor furniture, also check whether a compatible protective topcoat is recommended; applying an incompatible coating could change the appearance or performance of the finish.
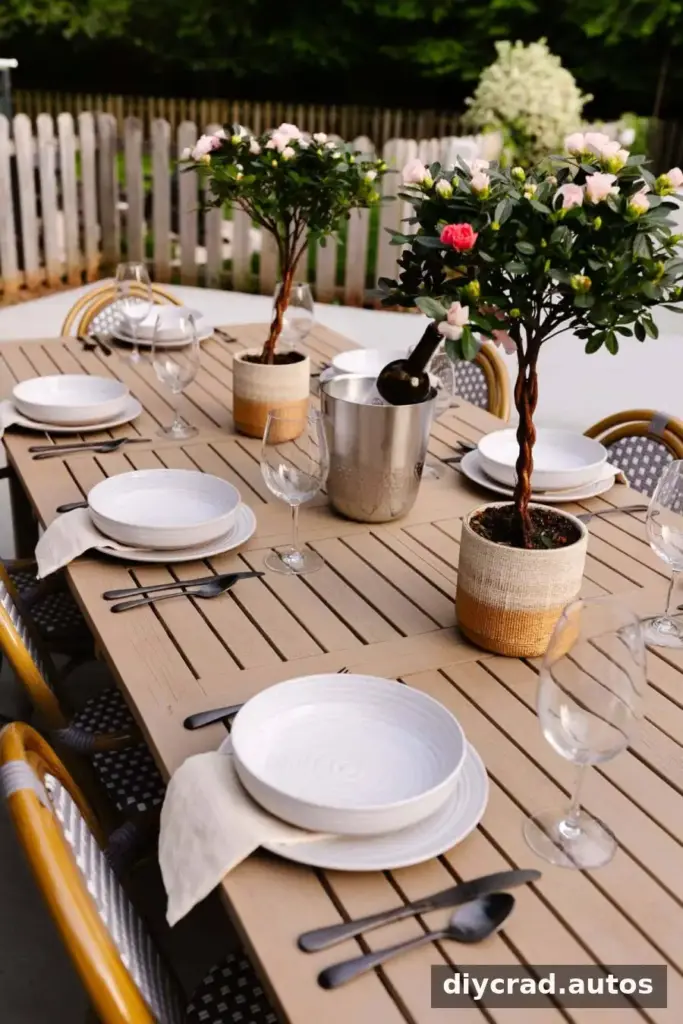
Finishing and Outdoor Care
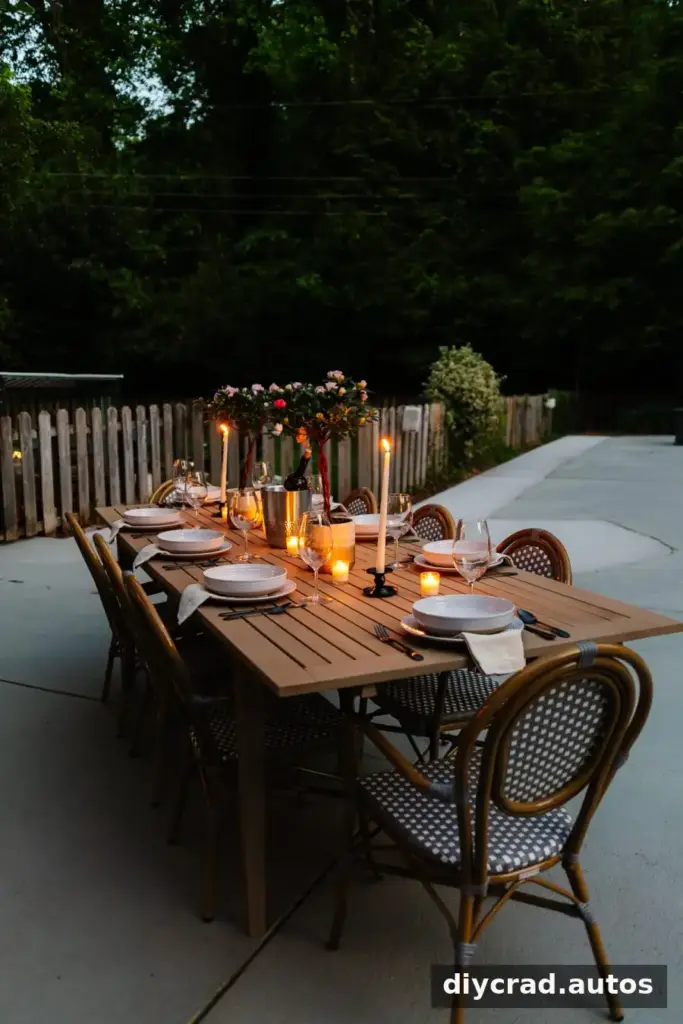
The layered spray-paint treatment gives the table a more dimensional look than one solid color. An optional glaze may emphasize existing cracks in the wood, but it is not necessary to achieve the painted driftwood effect. Consider testing any additional finish on an inconspicuous spot first.
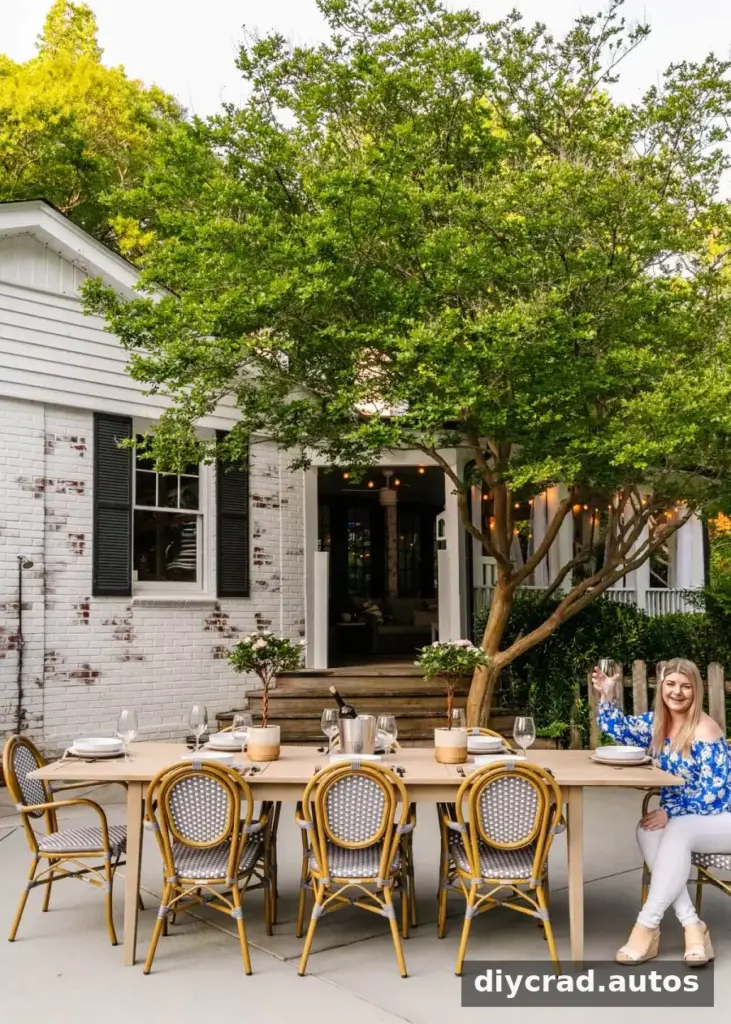
The same general approach can be used to refresh other outdoor tables, provided the primer and paint are appropriate for their materials. For best results, work in a well-ventilated area, protect nearby surfaces with a drop cloth, and avoid painting in conditions that conflict with the product directions.
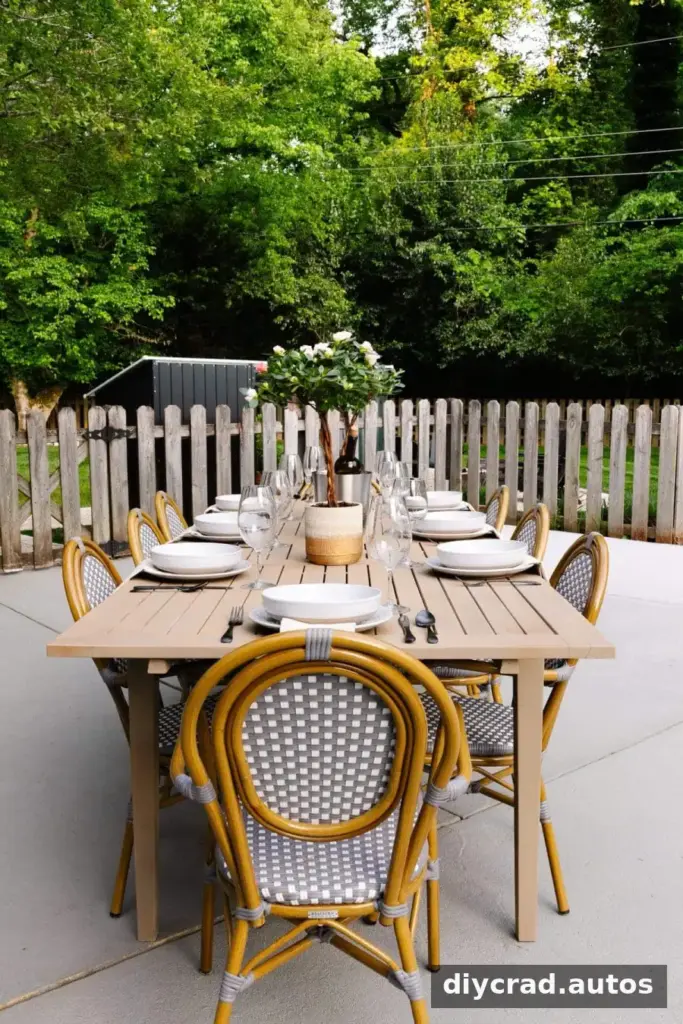
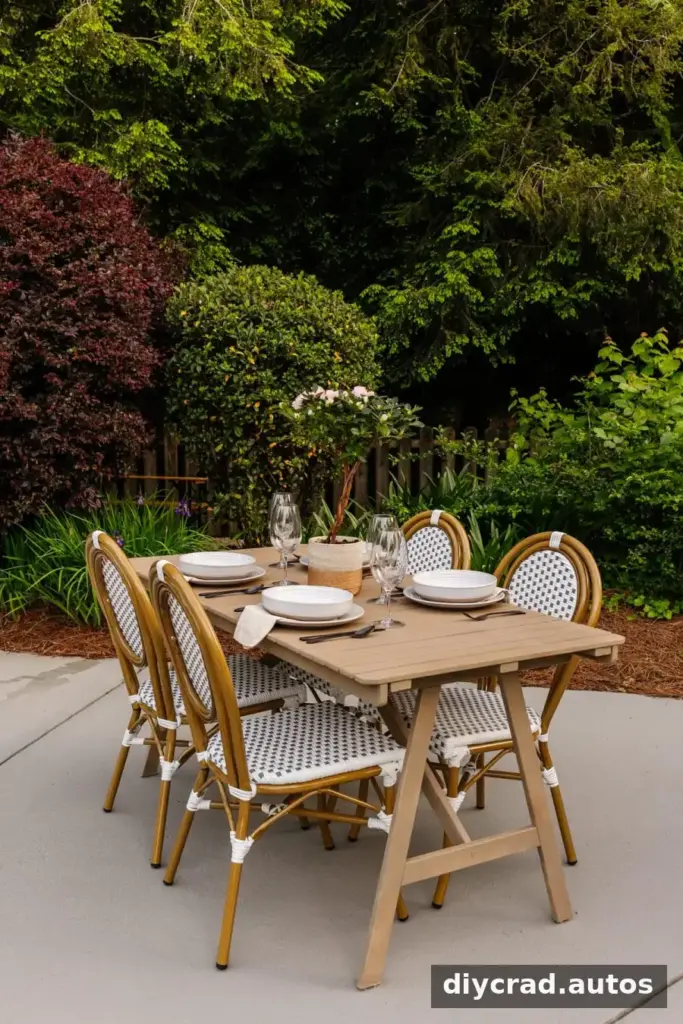
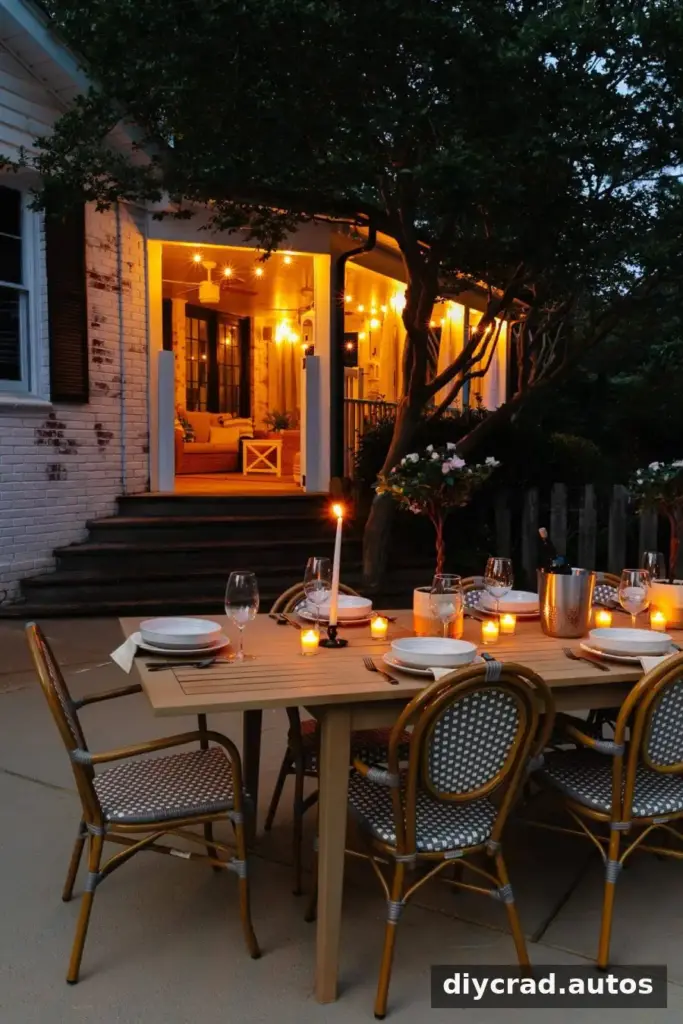
Once the table is completely dry, arrange it with outdoor chairs and tableware as needed. Keeping the painted surface clean and following the coating manufacturer’s care instructions can help preserve its appearance through regular outdoor use.
Outdoor spaces often come together gradually, so refreshing an existing table can be a useful step while other landscaping or renovation plans are still in progress.
- Our Limewashed Brick
- Back Porch Makeover
- Painted Concrete Pool Deck
Is a Faux Driftwood Table Makeover Right for You?
This project is suited to a table with a stable structure and a surface that can be safely prepared for repainting. Sand away loose finish, use compatible primer and paint, and build the color gradually with light coats. A DIY faux driftwood outdoor dining table makeover offers a simple way to give an older patio table a fresh, wood-inspired appearance while making use of furniture you already own.
More furniture makeover ideas
- Unfinished Work Table Makeover
- Hale Navy Cabinet Makeover
- Footed Grasscloth Buffet Makeover
- DIY Caned Nightstand
- How to Restore Wood Outdoor Furniture