A DIY pea gravel backyard fire pit can create a comfortable outdoor gathering spot without the time and expense of laying a full brick patio. This project used a circular gravel seating area, a fire pit stone kit, and landscape fabric. The work took about nine hours in total, spread over two days because the gravel delivery arrived the following day.
Pea gravel is a practical surface for a simple patio, but good planning matters. Choose a level area that does not usually collect standing water, check local fire regulations, and follow the fire pit kit’s installation instructions. Before digging, also confirm the locations of underground utility lines.
A gravel patio can simplify the surface work compared with setting individual pavers. It still requires preparation, lifting, and hauling, so plan for enough time and ask for help with heavy materials if needed.
Site Conditions for a Pea Gravel Patio
The project area was cleared and graded before construction. A firm, level surface helps the gravel and edging sit more evenly, while a location that drains well can help prevent puddles after rain. If the ground is uneven or holds water, address those conditions before spreading gravel.
Leave enough room around the fire pit for chairs and people to move comfortably. Keep the fire pit and seating area away from structures, fences, overhanging branches, and other combustible materials, and follow local clearance requirements.

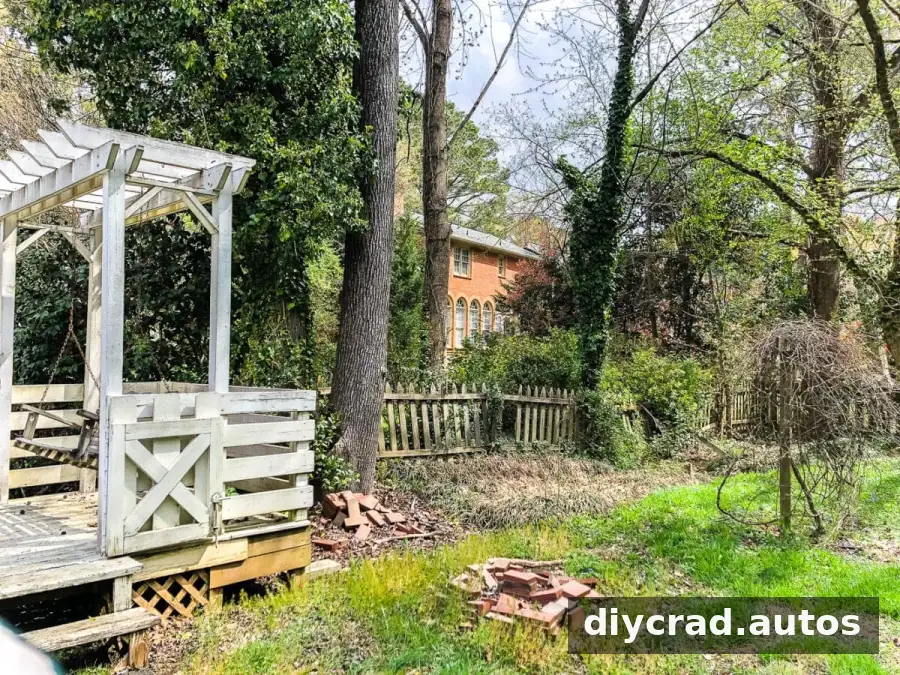
The earlier yard included a deteriorating fence and pergola, scattered bricks, and overgrown shrubs. The fence and pergola were removed, and tree and shrub removal and grading were completed before the patio was laid out.
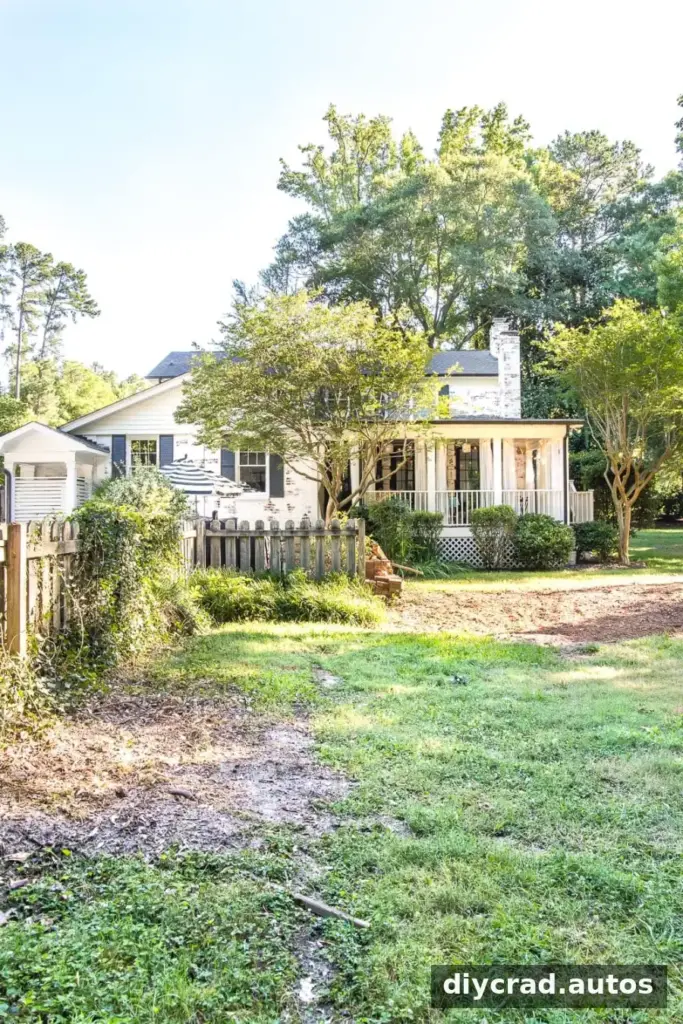
The lawn was still establishing itself when the patio was built. Grass growth can take time, so avoid disturbing newly seeded areas while preparing the fire pit space.

DIY Pea Gravel Backyard Fire Pit: Finished Space
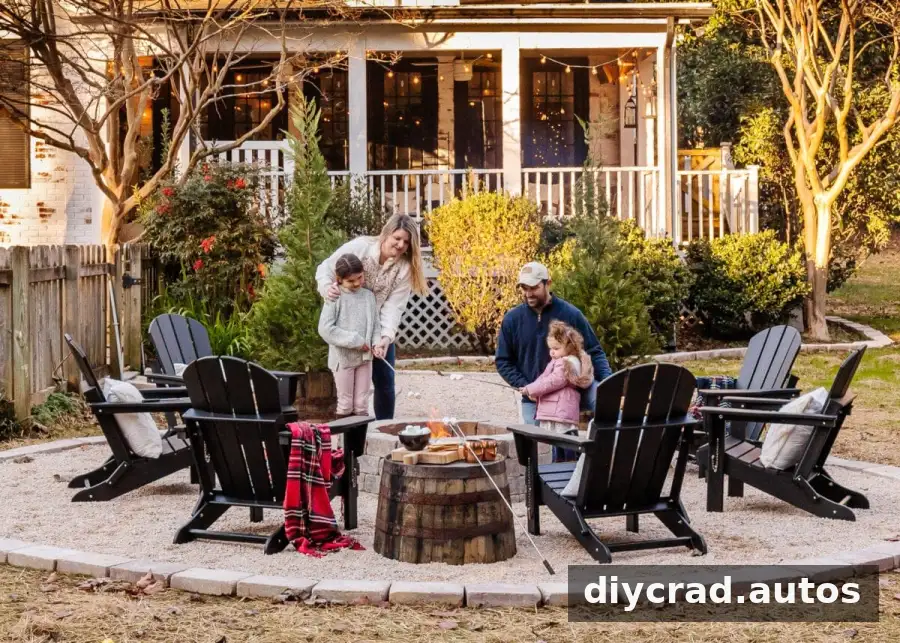
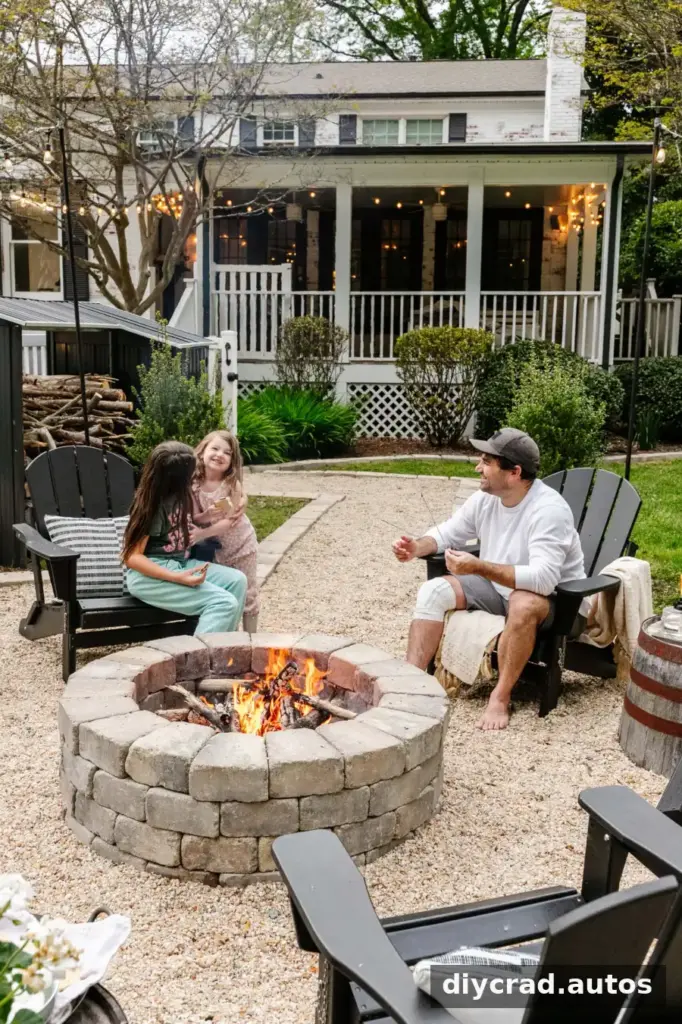
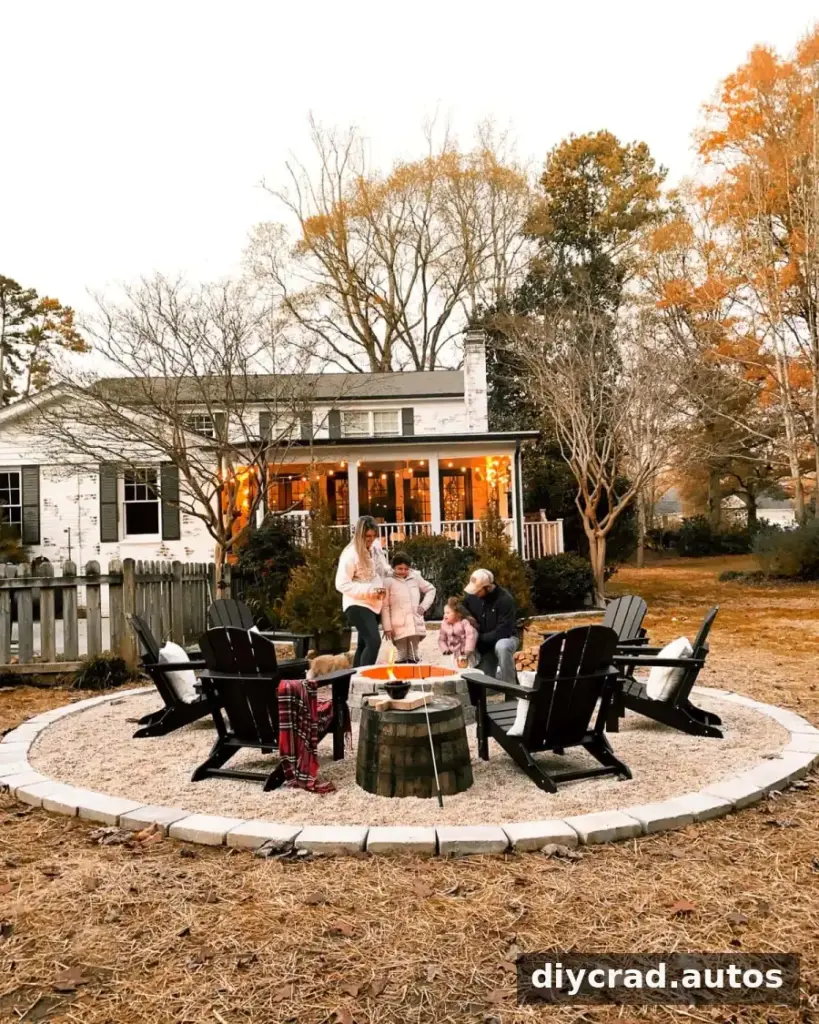
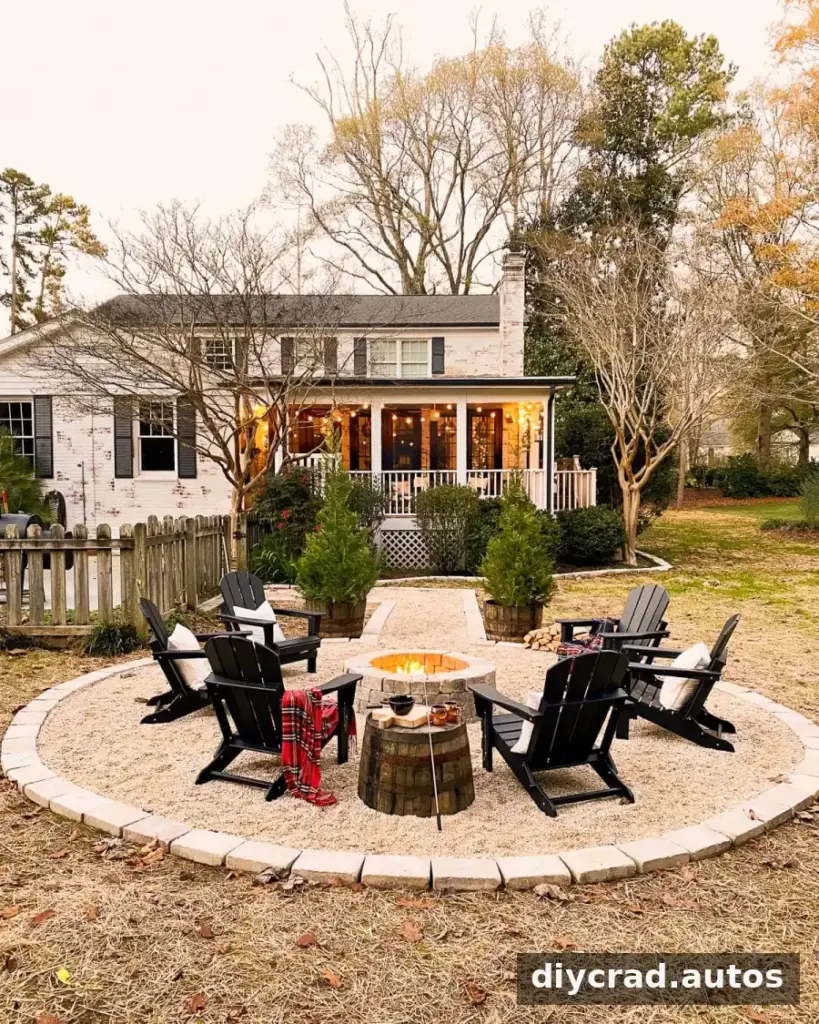
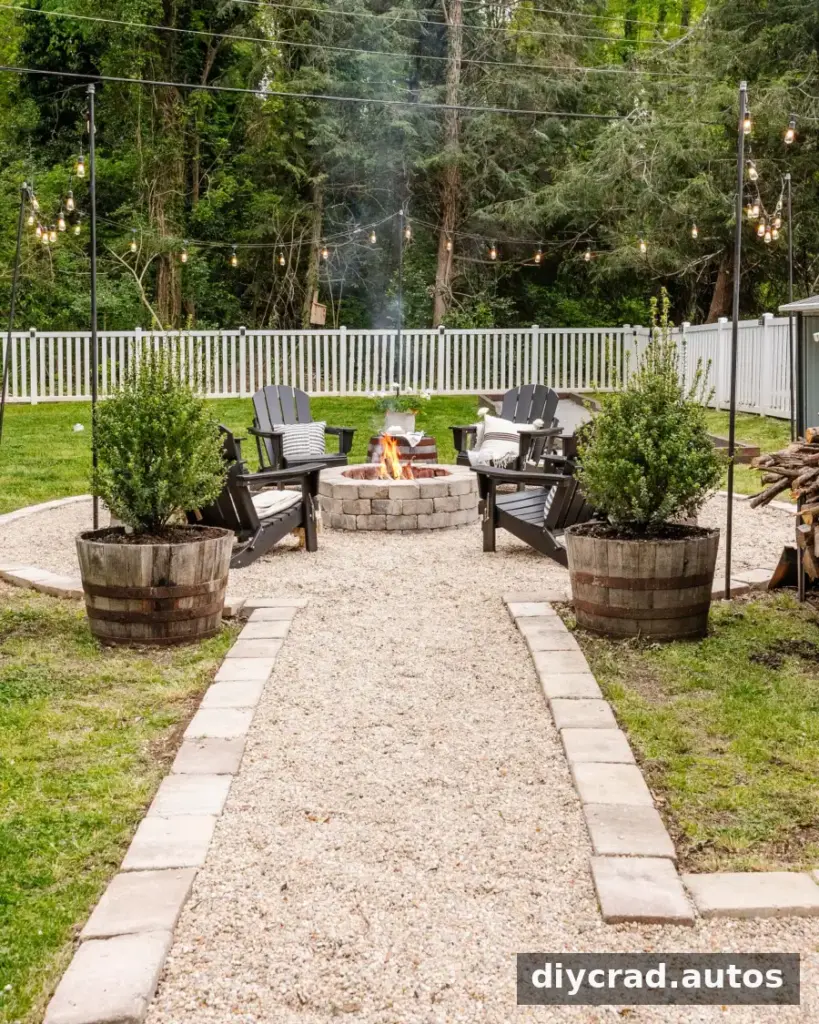
The finished patio created a defined place for seating and outdoor gatherings. Three years later, the grass had filled in around the area, and string lights were added later to make the space more inviting.
Keep decorative items and furniture a safe distance from the fire. Check that any materials placed near the pit are suitable for outdoor use and are not exposed to excessive heat.

Backyard Fire Pit Tutorial
This is a manageable project for a beginner who is comfortable with basic landscaping tasks. The main work involves marking the layout, removing grass, securing the fabric, positioning the stones, and spreading gravel.
Materials
- Tape measure
- Spray paint
- Flag markers
- Heavy-duty weed barrier fabric
- Landscape fabric staples
- Mallet
- Scissors or utility knife
- Wooden stake and string
- Heavy-duty construction adhesive and caulk gun
- Landscape edging (recommended, though not used in this project)
- Tremron Munich fire pit stone kit in Sand
- Tremron Munich Sand wedge edging blocks
- Colonial Grits pea gravel
Tools
- STIHL Yard Boss
- STIHL Yard Boss Edger Attachment
- STIHL Bolo Tines Cultivator Attachment
- Large shovel
- Wheelbarrow
- Rake
- Leaf blower
Step 1: Plan and Mark the Perimeter
Flag the planned patio and pathway to check the layout before starting work. The example patio was a 20-foot-diameter circle measuring 314 square feet. The edging stones were 6 inches long, so the layout was planned to avoid cutting stones at the walkway edges.
Tip: Measure the available space and account for the chairs and walking room, not just the fire pit itself.
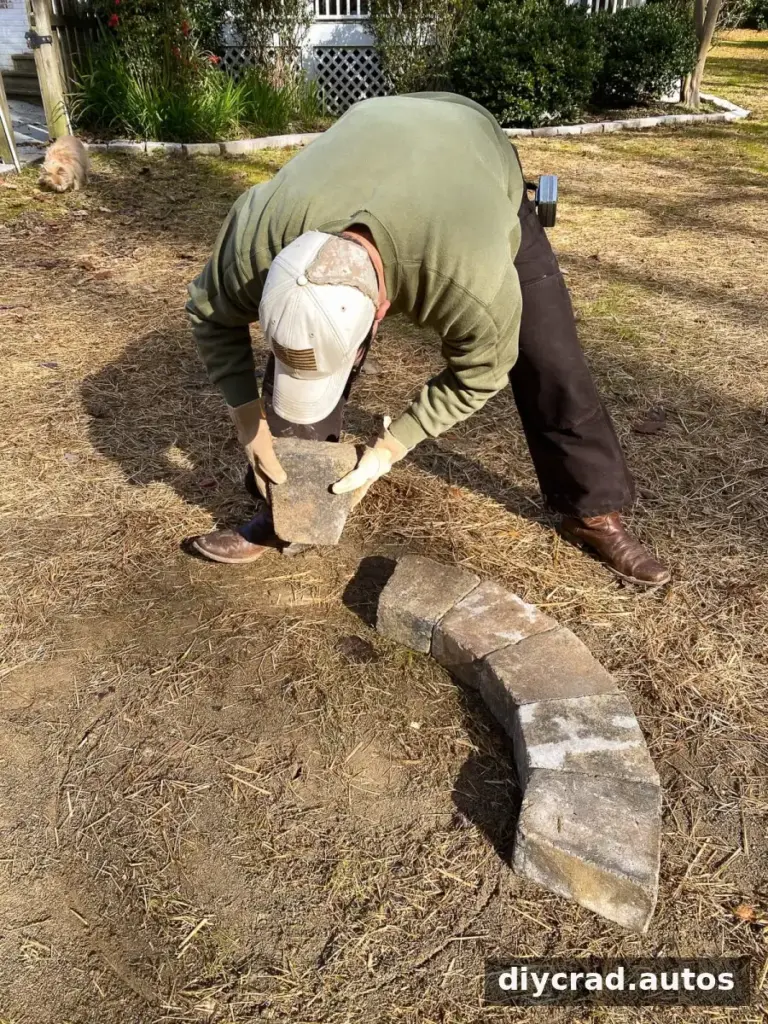
Step 2: Dry-Fit the Fire Pit Kit
Arrange the fire pit stones without adhesive to confirm the location and check that the surrounding area can accommodate seating. The fire pit in this project measured 4 feet in diameter. Follow the kit instructions when deciding how its stones should be assembled.
Step 3: Mark the Seating Circle
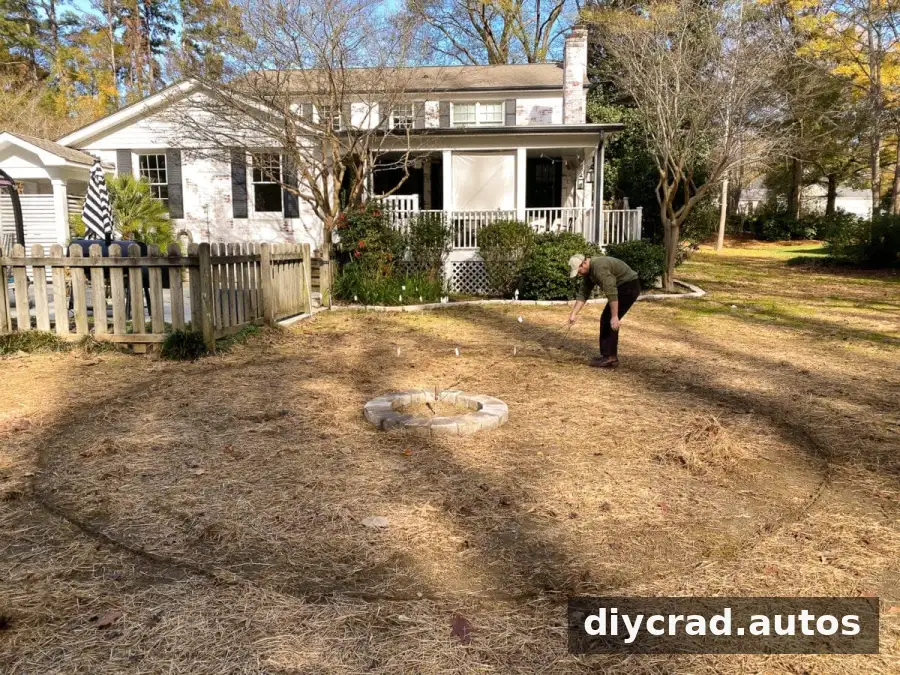
Push a wooden stake into the ground at the center of the planned circle. Tie a string to the stake and use it to guide the placement of flag markers around the perimeter. Keeping the string taut helps maintain a consistent radius.
Step 4: Paint the Outline
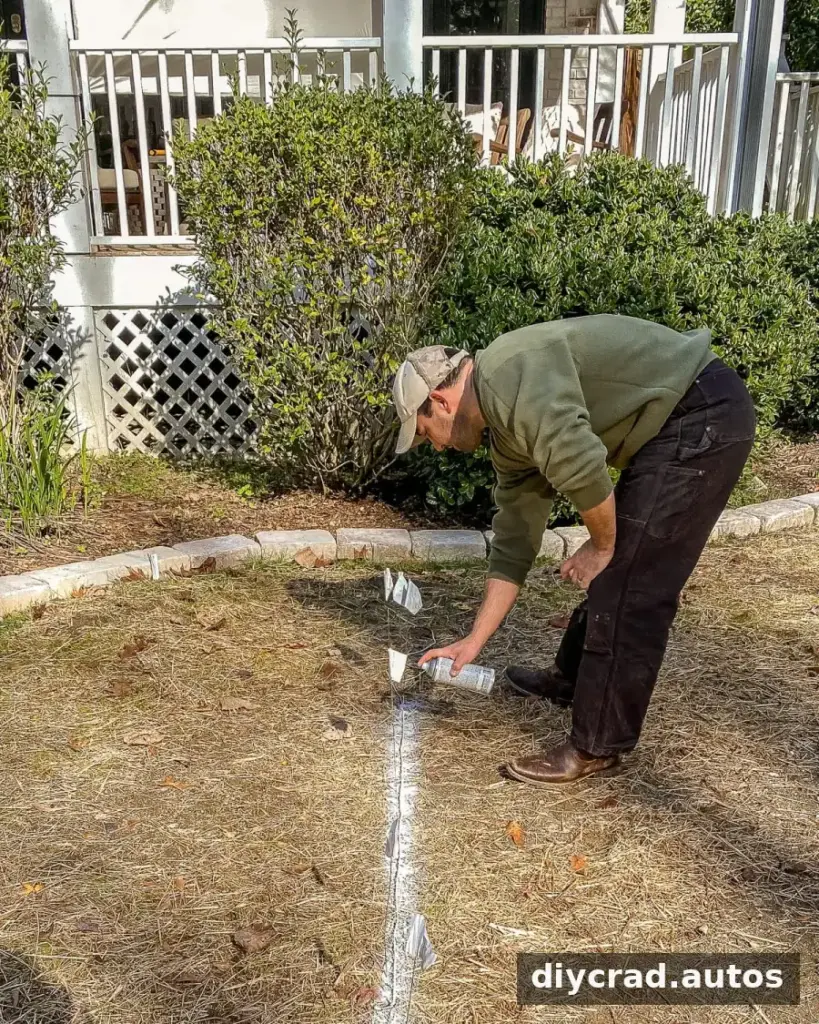
Once the layout is set, mark the perimeter with spray paint and remove the flags. Check the outline from several angles before moving on; small adjustments are easier to make at this stage.
Step 5: Edge the Marked Lines
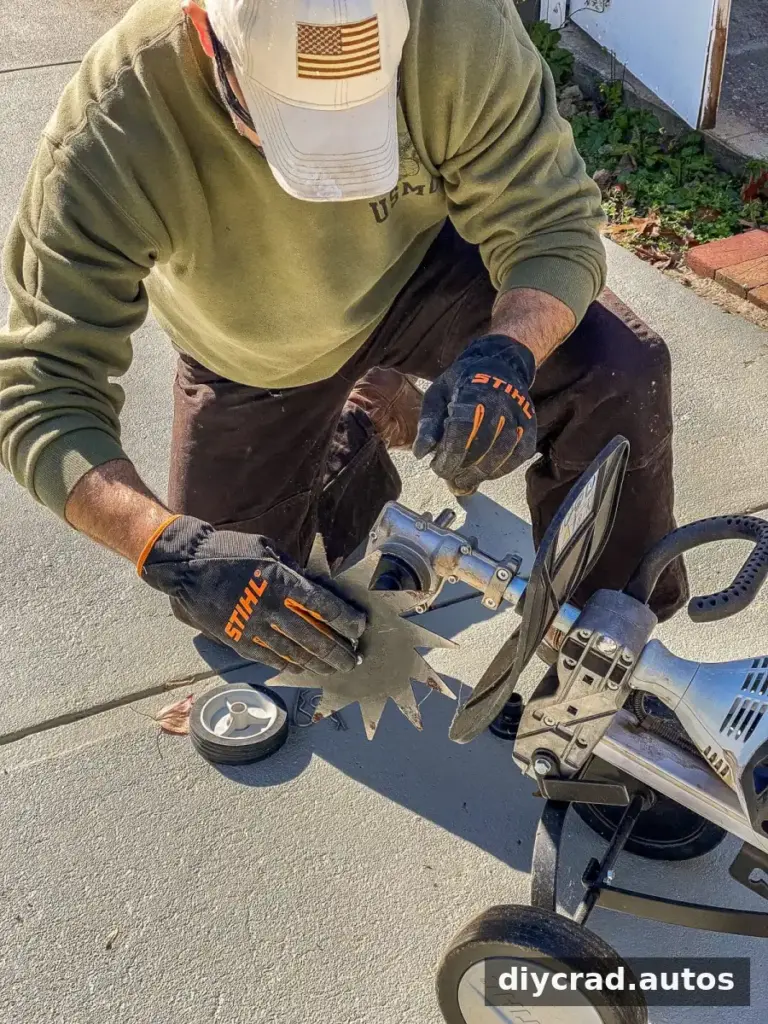
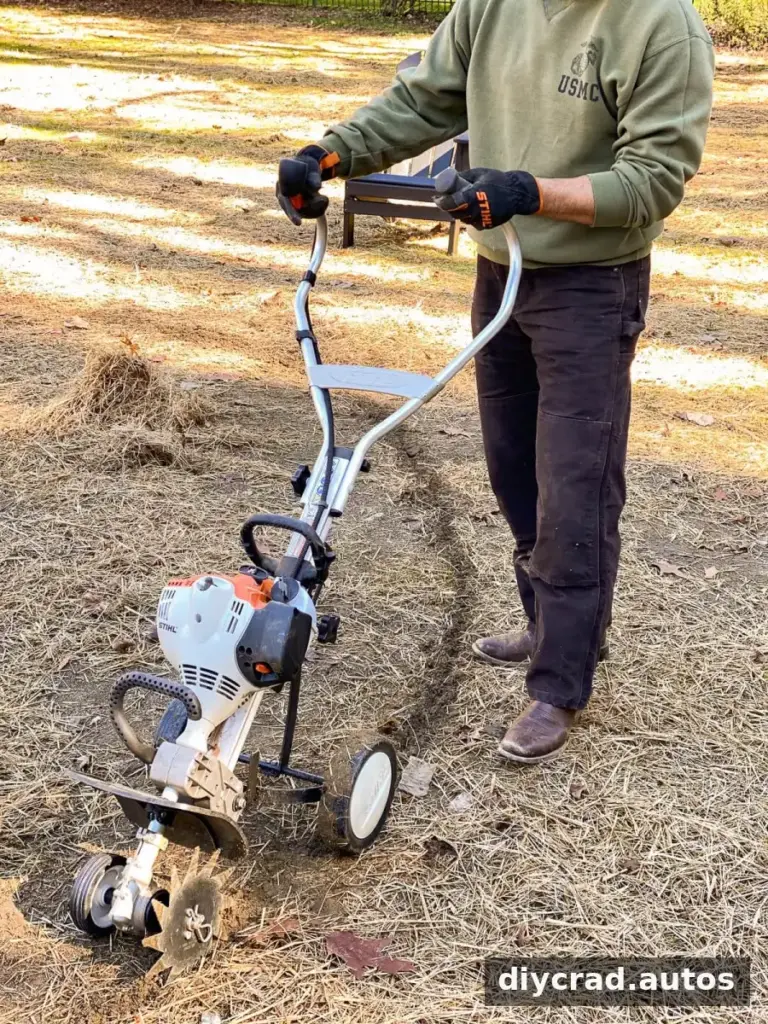
Cut along the painted perimeter to create a clear boundary for the patio. An edger attachment was used for this step. Use equipment only as directed in its manual and wear the recommended protective gear.
Step 6: Remove the Grass
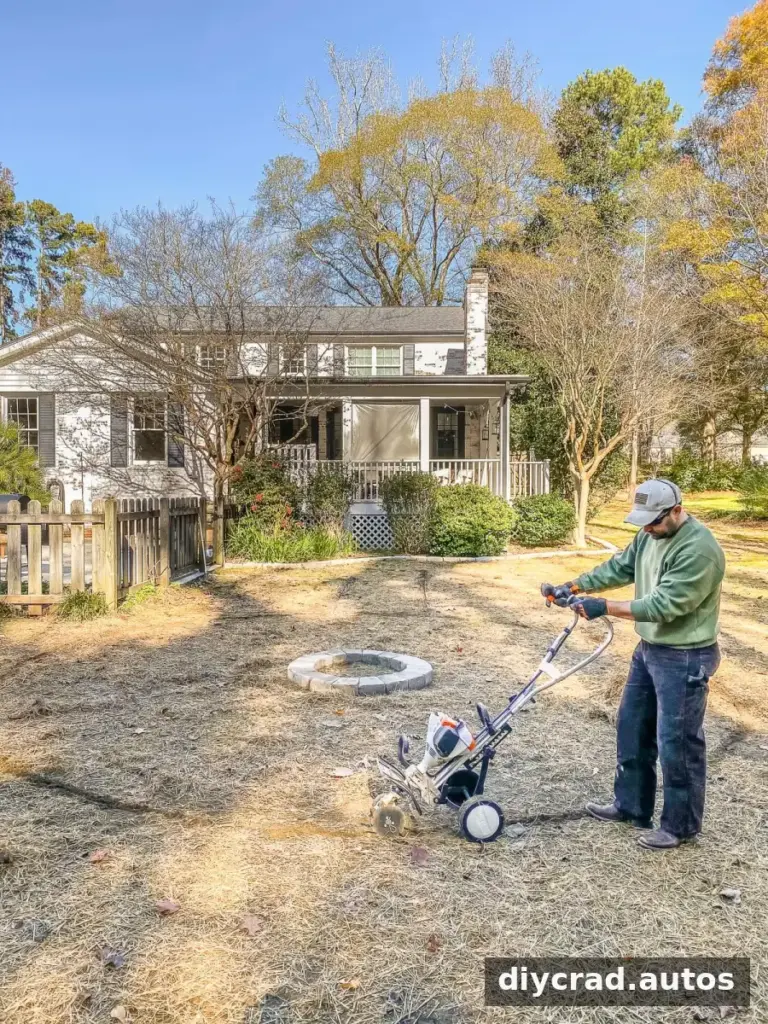
Use a cultivator to loosen the grass and top layer within the marked area, then clear the removed material to expose a smooth dirt surface. Work carefully around the perimeter so the patio shape remains defined.
Before operating power equipment, read the instruction manual and wear all required protective equipment.
Step 7: Lay and Secure Landscape Fabric
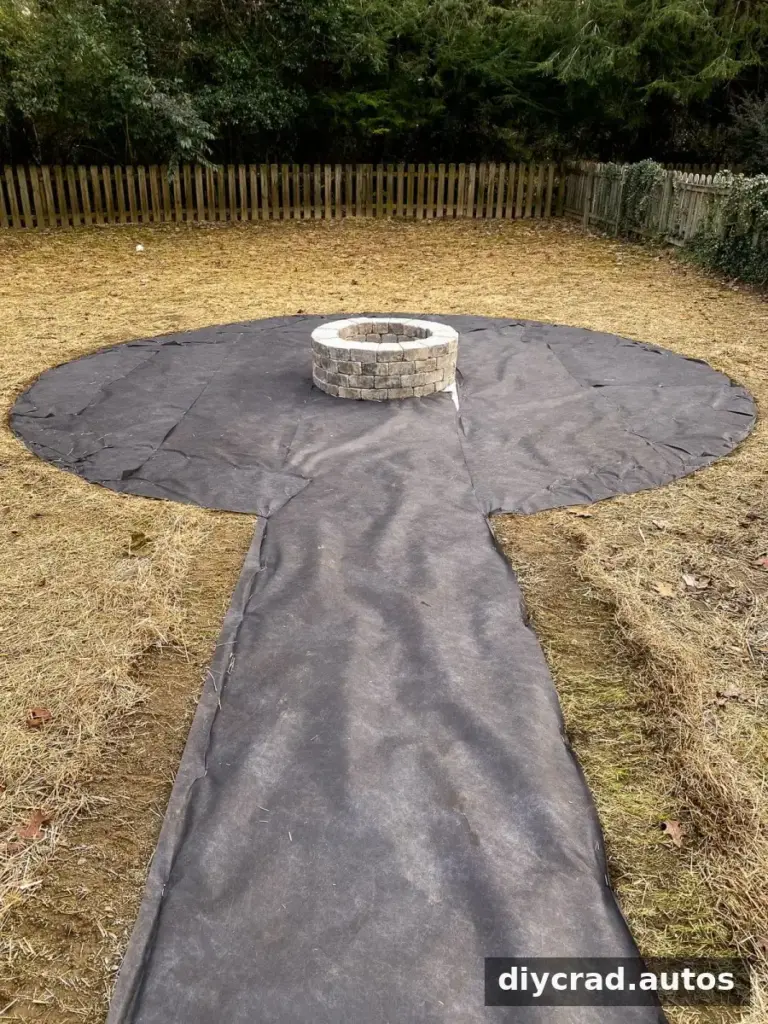
Cut the landscape fabric to fit the prepared area and secure it to the soil with landscape staples and a mallet. Leave an opening in the center for the fire pit installation. The project also used an old canvas painting tarp underneath the fabric as an additional barrier.
Use materials and installation methods appropriate for the fire pit kit, especially in the area directly beneath or around the fire feature.
Step 8: Position the Edging Stones
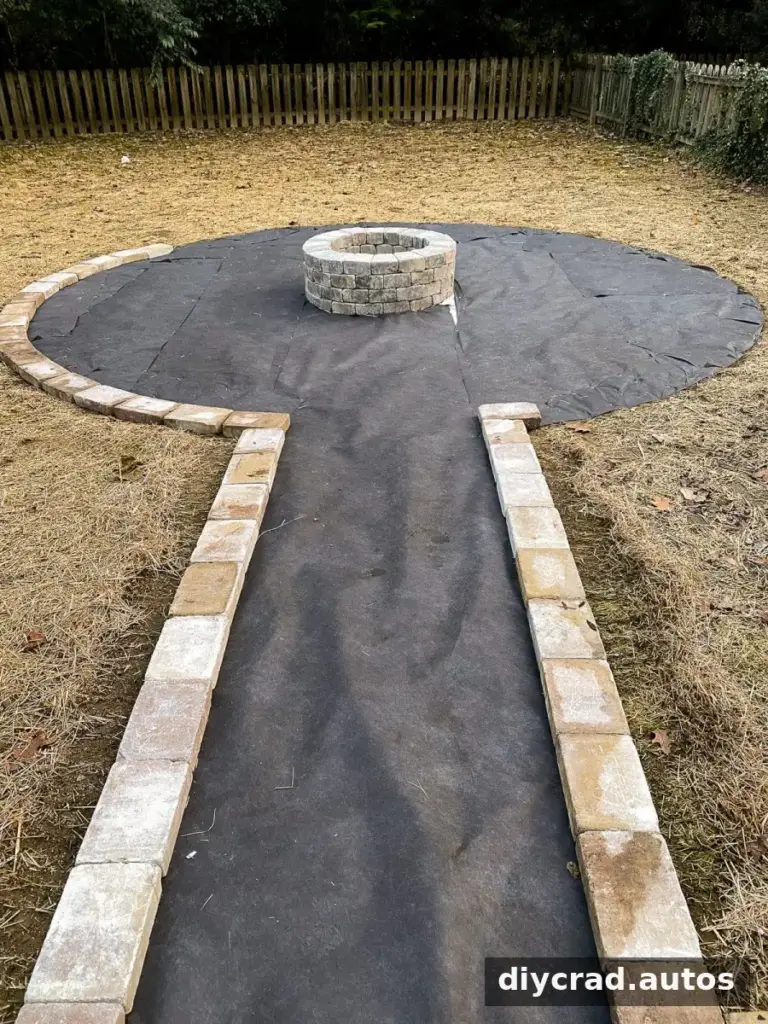
Place the edging stones around the outside of the seating area and adjust them until the arrangement looks even. Construction adhesive was used to join the stones and fire pit kit pieces after the layout was checked.
Metal landscape edging is recommended to help limit stone movement over time. It was not installed in this project, and the stones may shift without a more secure edge.
Step 9: Spread the Pea Gravel
Move the gravel into the patio with a wheelbarrow and rake it across the fabric. The target depth was approximately 2.5 inches. A 20-foot-diameter area required 2.5 cubic yards of pea gravel.
Gravel quantities depend on the area and desired depth. Ask a local landscape supplier to confirm the amount or use a gravel calculator, then spread the material evenly to avoid thin spots.
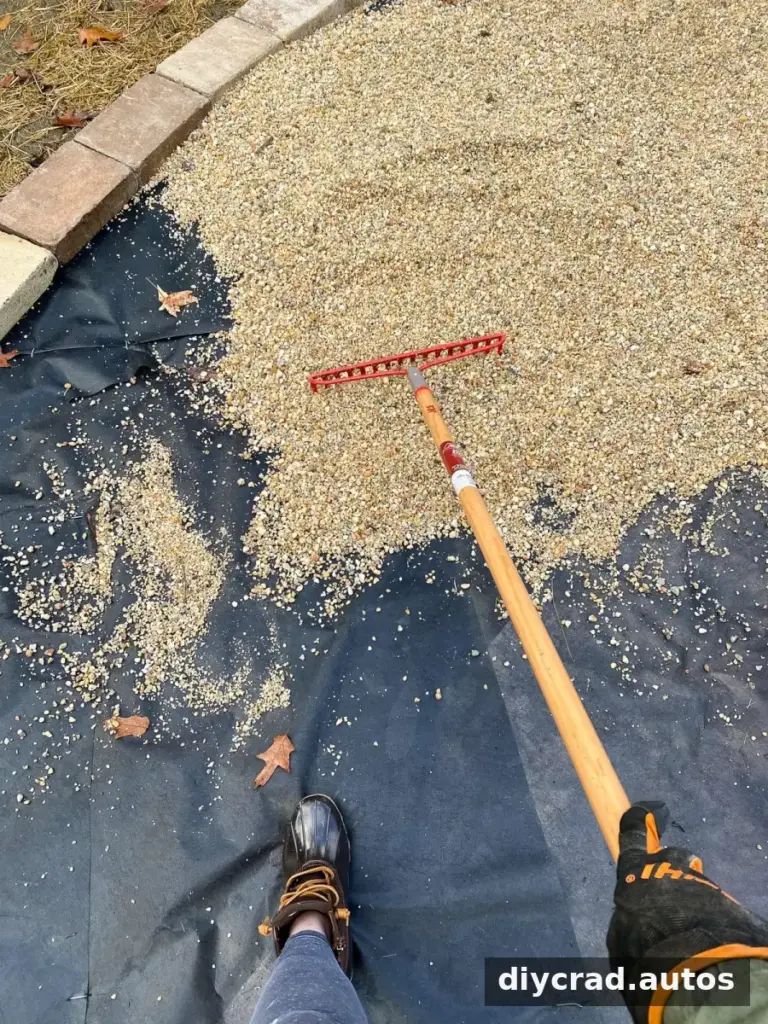
Step 10: Set Up the Seating Area
Once the stones and gravel are in place, arrange the seating and check that there is clear access around the fire pit. Before lighting a fire, review local rules and the fire pit kit instructions. Keep a suitable means of extinguishing a fire nearby and never leave a fire unattended.
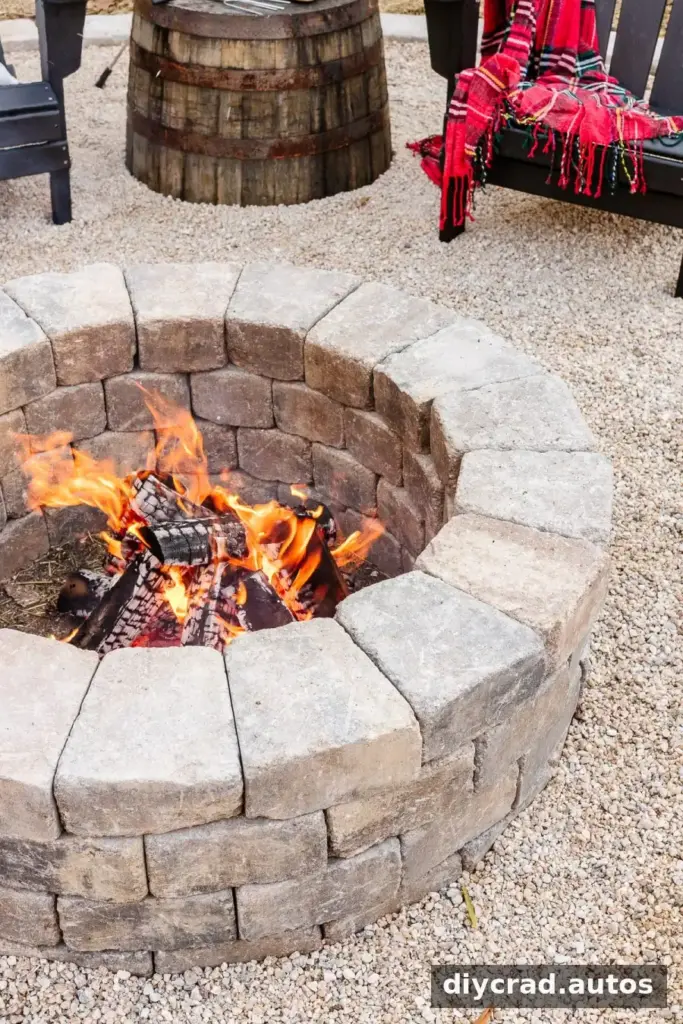
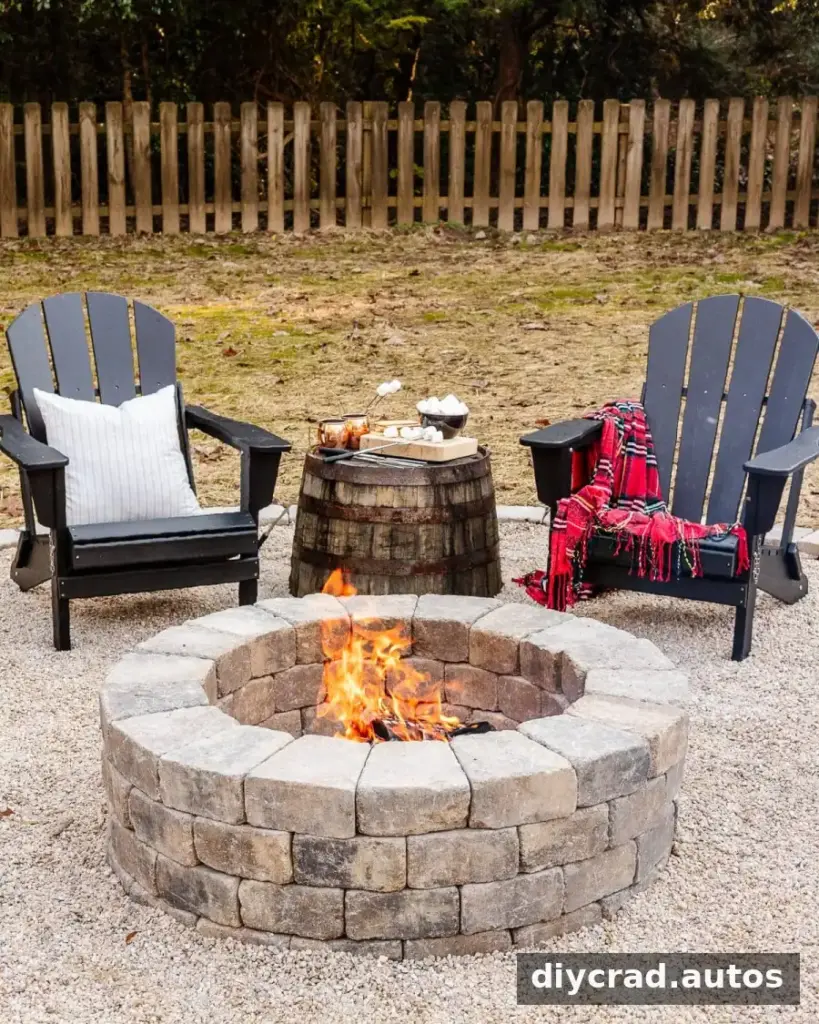
Fire Pit Seating and Decor
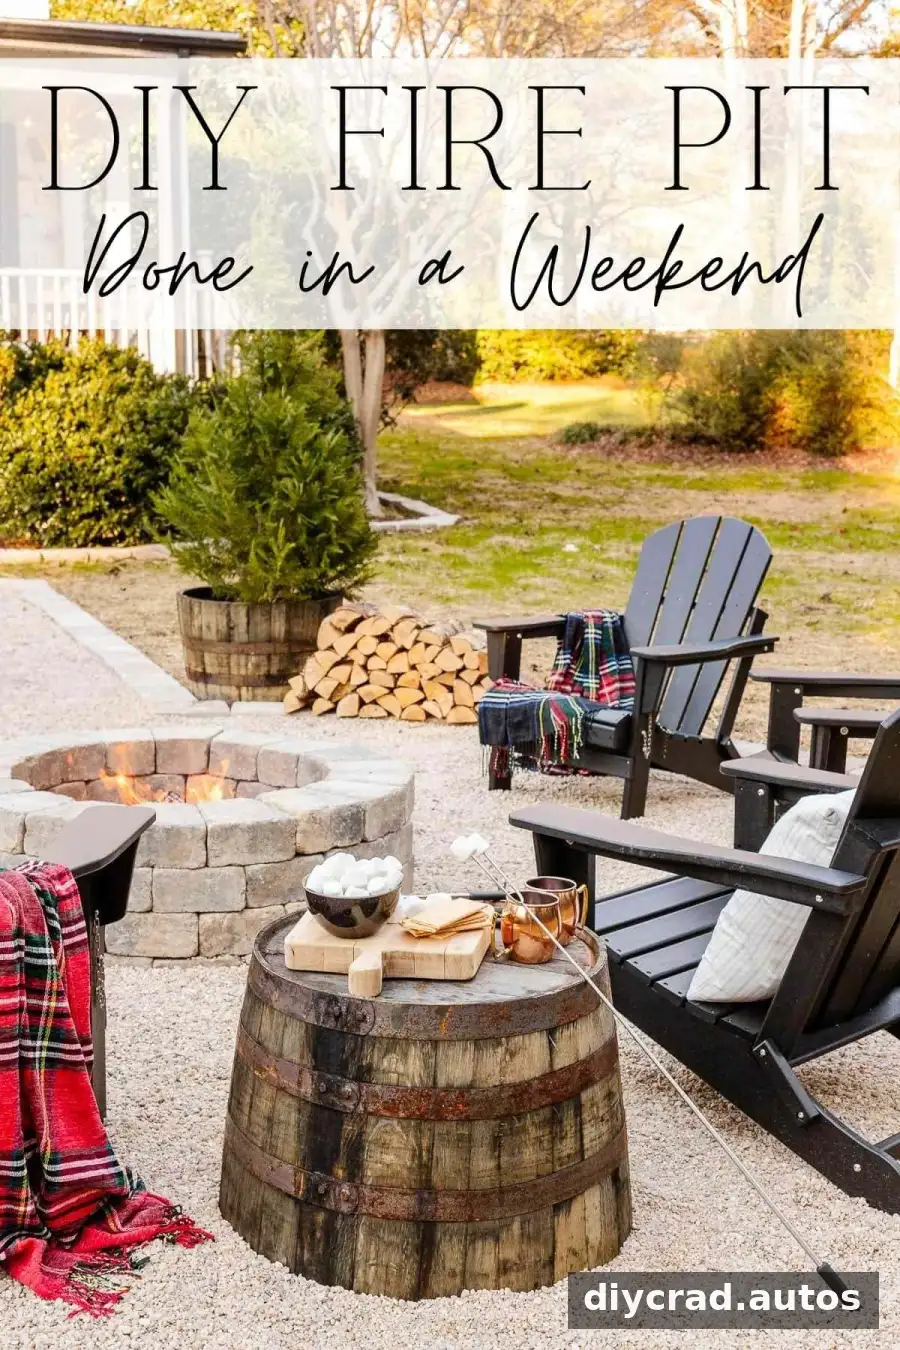
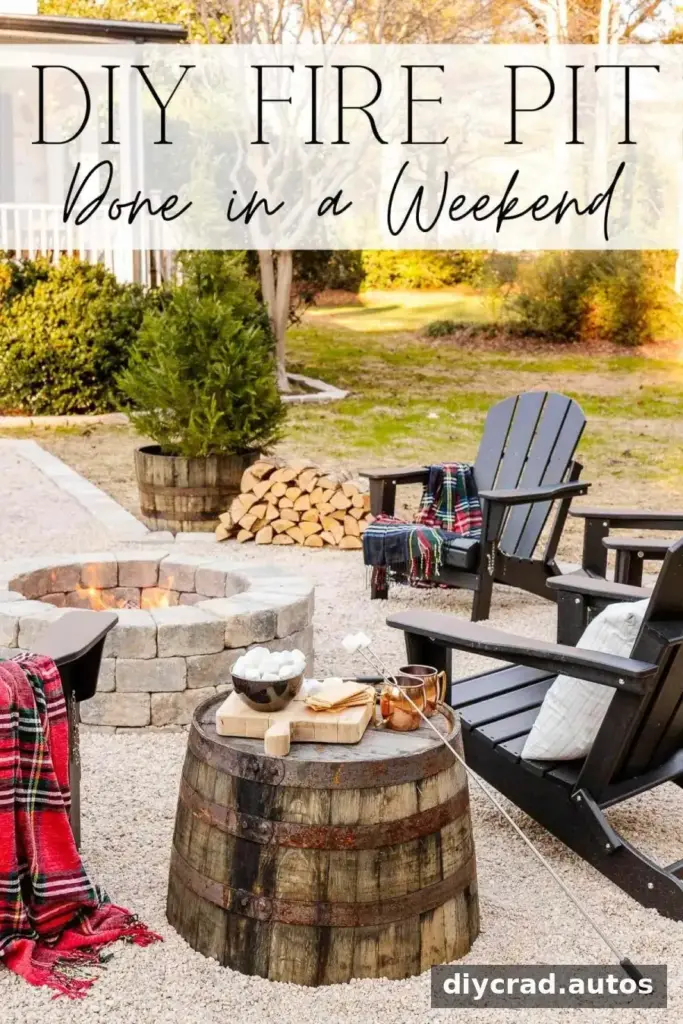
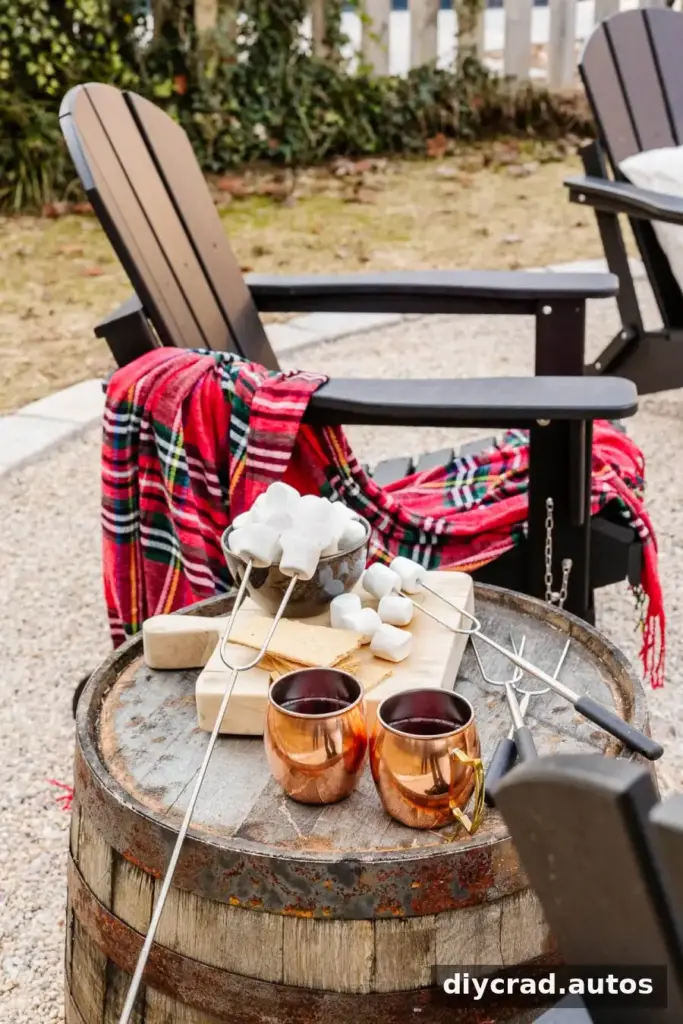
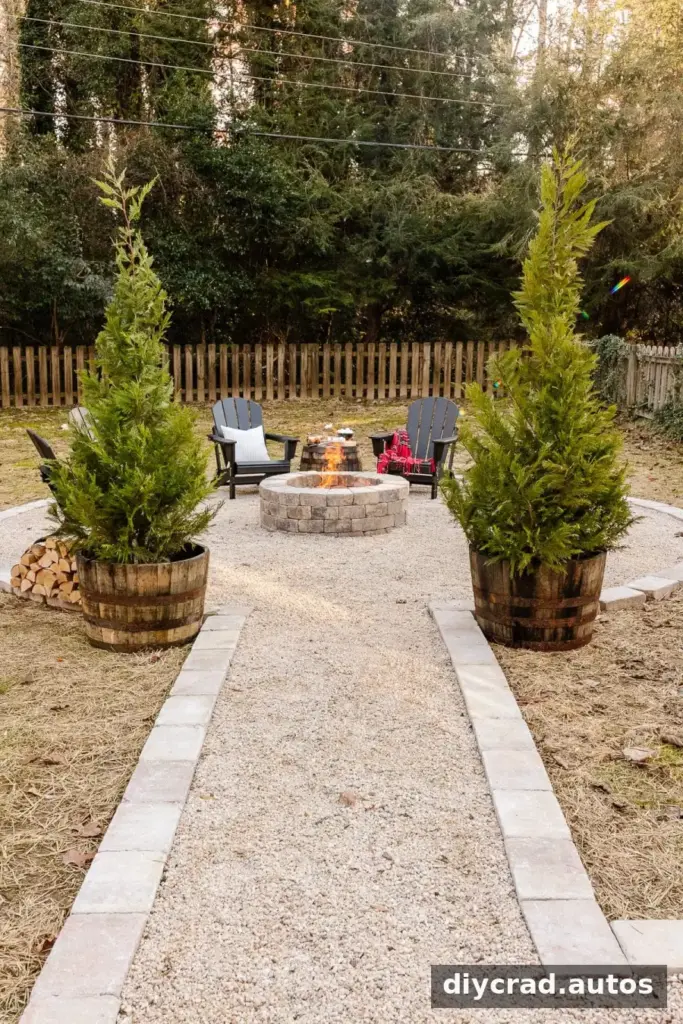
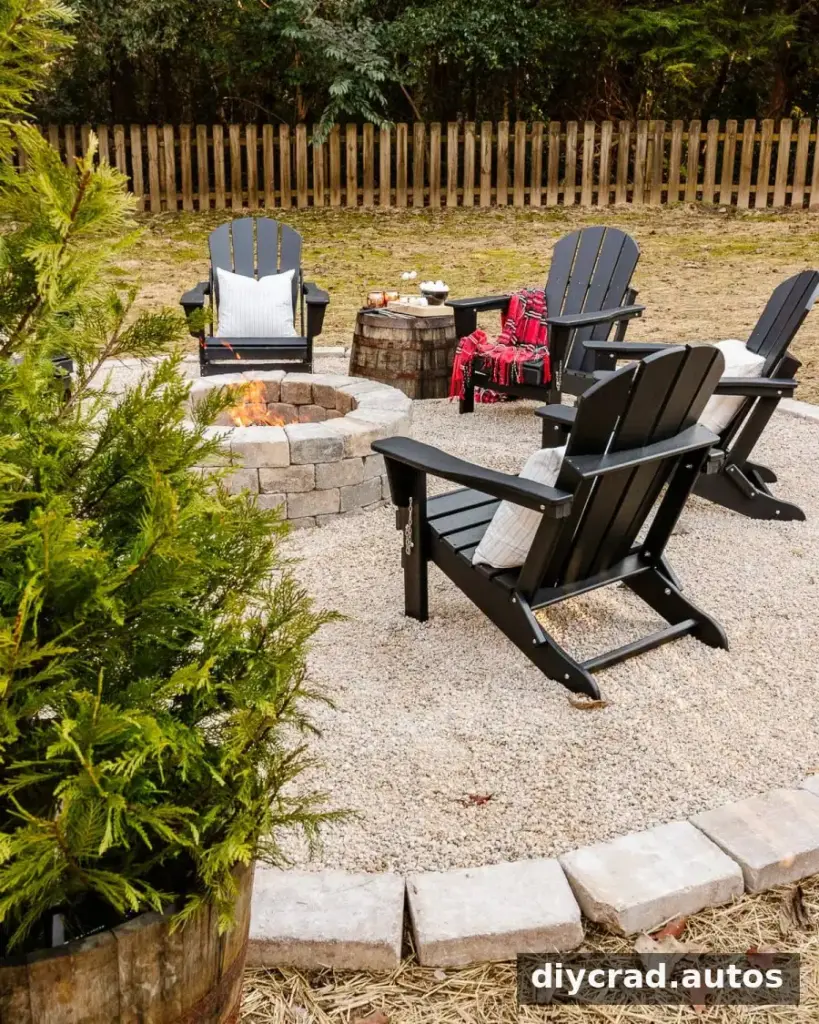
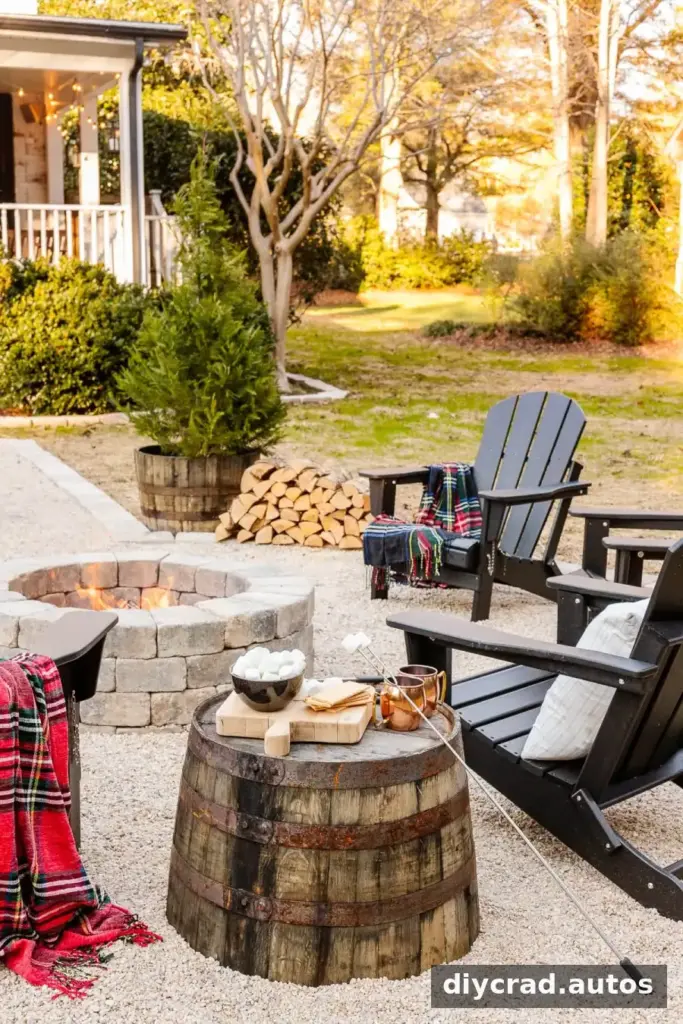
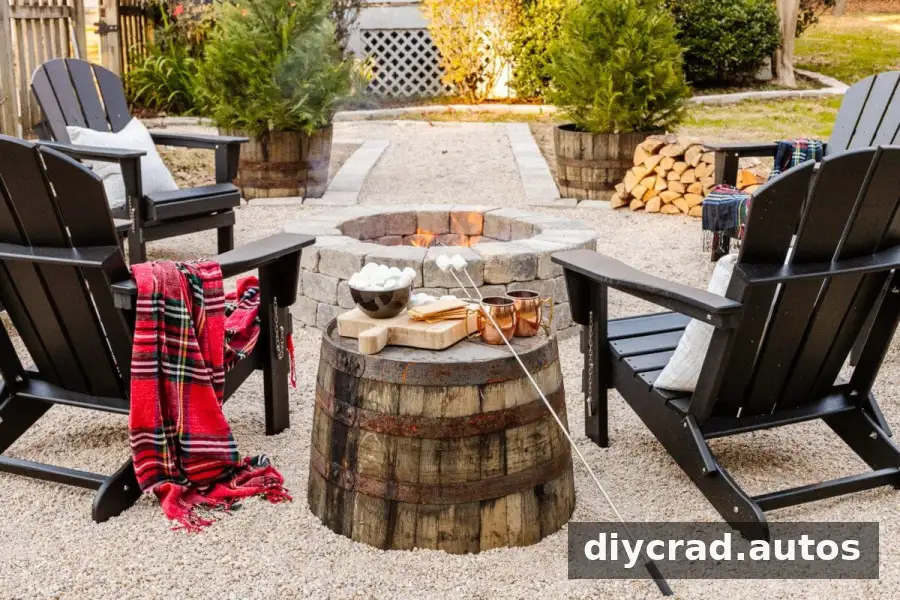
Black Adirondack chairs were placed around the pit, with an overturned wooden barrel planter serving as a small table for s’mores supplies. Keep tables, planters, and other items far enough from the fire to avoid heat or sparks.
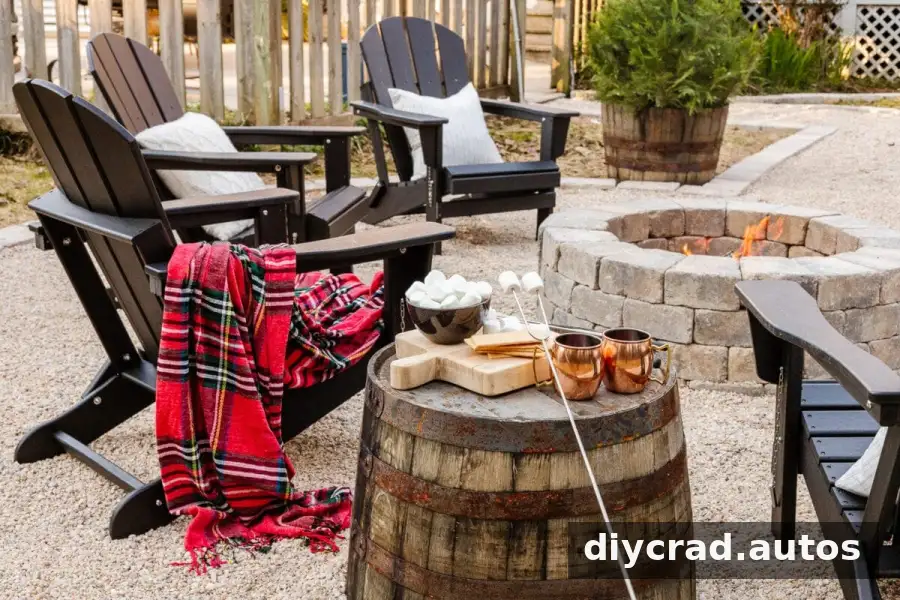
Small Christmas trees were displayed in wooden barrel planters. For seasonal decorations, choose stable containers and move anything that could dry out or become a fire hazard away from the fire pit when it is in use.
The pea gravel patio and fire pit were also shown after three years of use.
Pea Gravel Patio Maintenance
After three years, the patio required little routine upkeep. A few simple checks can help keep the surface tidy and the seating area usable.
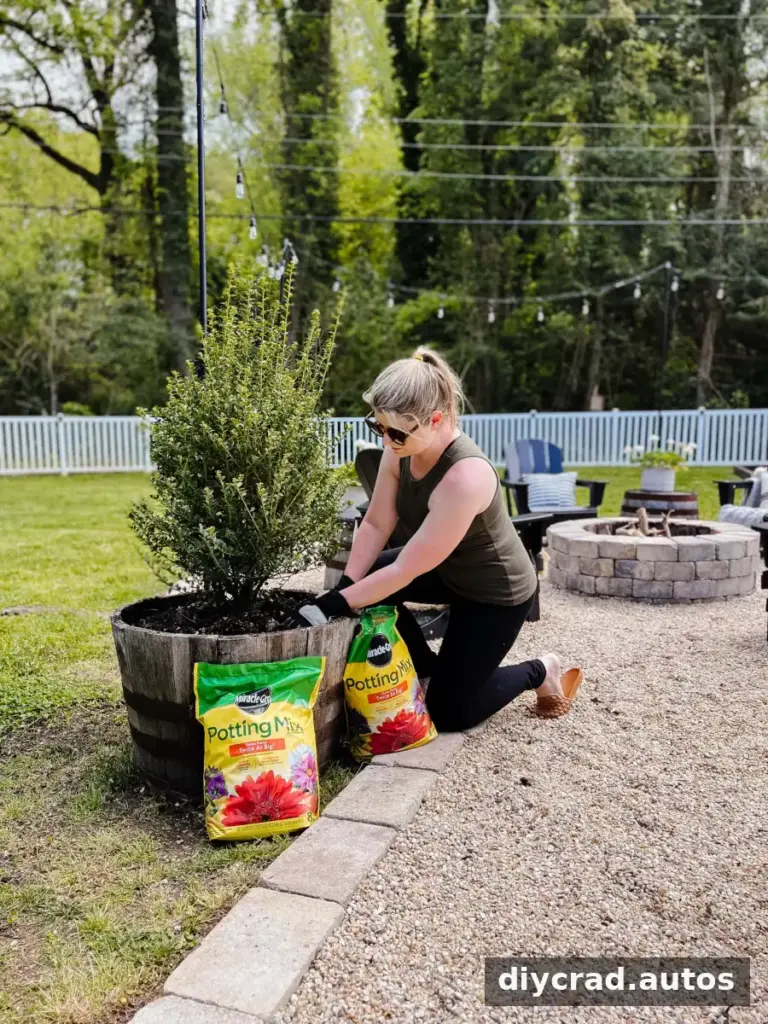
Remove Leaves and Debris
Leaves were cleared from the gravel with a leaf blower in fall, and the stones generally stayed in place. Use a setting that does not scatter the gravel, and direct debris away from the fire pit.
Manage Weeds Carefully
Weeds can appear in gravel over time. The original maintenance routine included a spring application of weed killer. If using any herbicide, follow its label, keep it away from flames, and allow the treated area to dry as directed before using the fire pit.
Check Gravel and Edging
Some gravel may get kicked onto the lawn. This patio did not need additional gravel during the first three years, but check the surface and edges periodically. Replace or redistribute gravel if bare patches develop, and reposition edging stones if they shift.
The rounded pea gravel was comfortable to walk on barefoot in this project, though comfort can vary depending on the stone size and individual preference.
Frequently Asked Questions
What are the dimensions of the fire pit and patio?
The fire pit is 4 feet in diameter. The circular seating area is 20 feet in diameter, covering 314 square feet.
How much pea gravel does the project require?
The 20-foot-diameter patio used 2.5 cubic yards of pea gravel at an approximate depth of 2.5 inches. Your quantity will vary with the patio dimensions and chosen depth, so confirm your estimate with a local landscape supplier.
Where can pea gravel and fire pit stones be purchased?
Landscape supply yards and local stone suppliers are options to consider. Ask about delivery, available stone sizes, and whether the gravel quantity can be calculated for your measured area.
Conclusion
A DIY pea gravel backyard fire pit can be completed over a weekend when the site is prepared, materials are ready, and the layout is planned in advance. The key details are a level, well-drained area, a stable edge, an even gravel layer, and safe placement of the fire pit. Follow local fire rules and the kit instructions so the finished gathering space is both practical and safe.