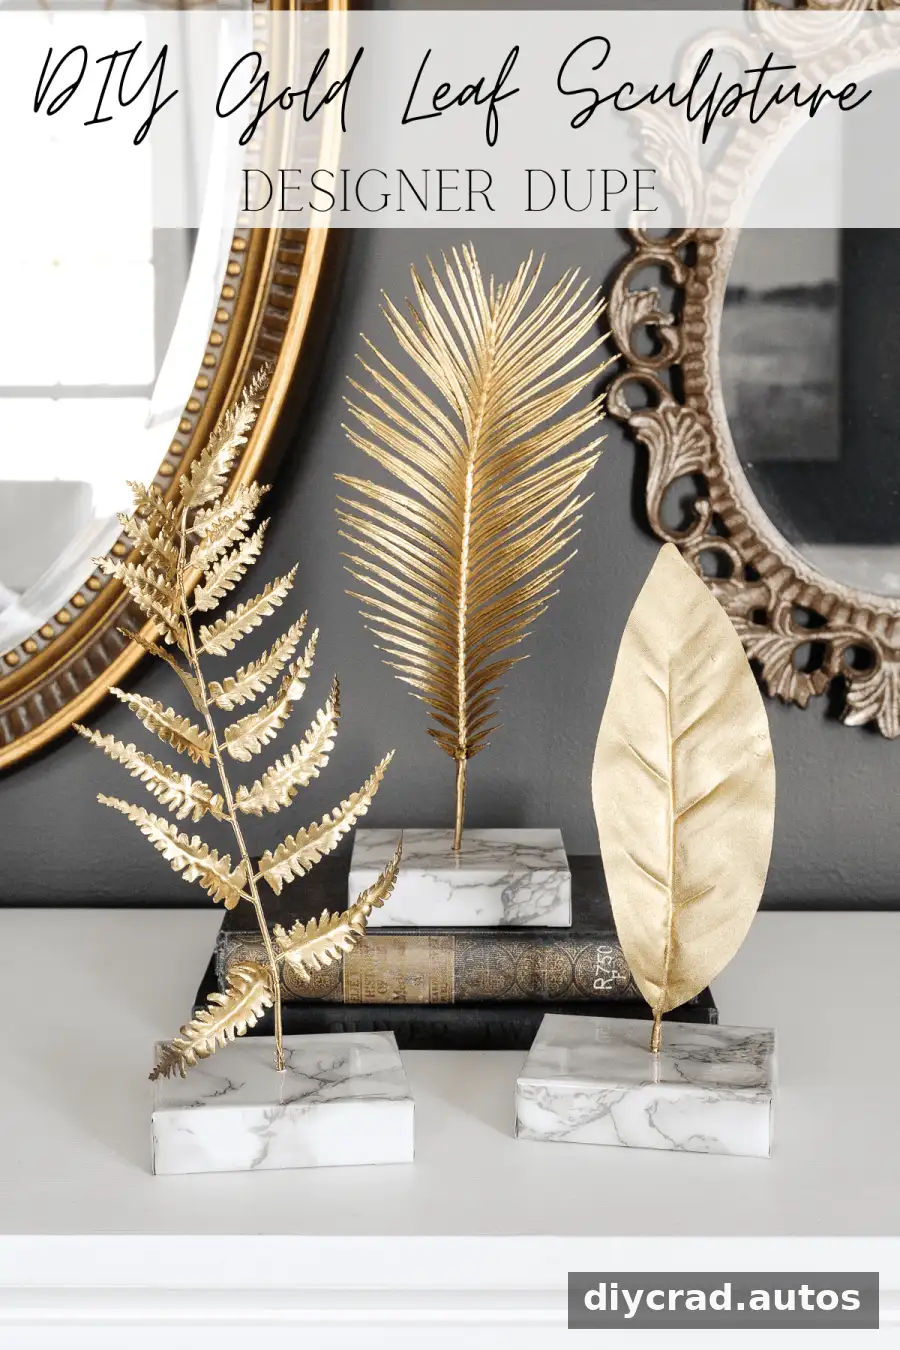
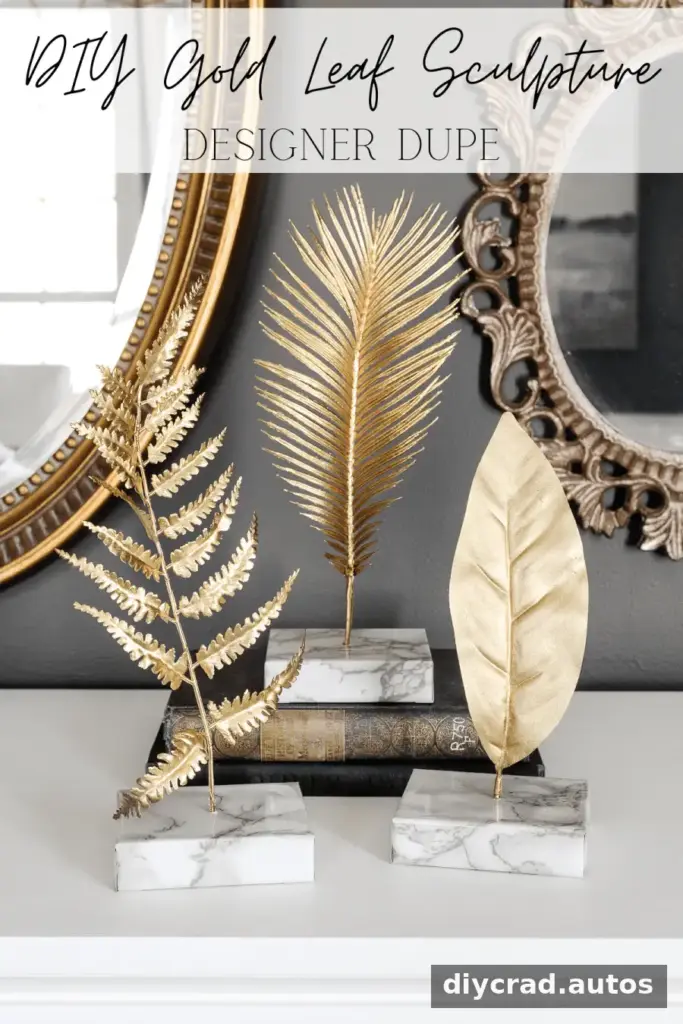
A DIY gold leaf sculpture can add a polished metallic accent to a dresser, buffet, or tabletop without the weight or cost of a metal piece. This simple project uses faux leaves, scrap wood, gold spray paint, and marble-look contact paper. The assembly takes about 45 minutes, plus the time needed for the paint to dry. The finished pieces are designed for display rather than handling and can cost about $65 less than the comparable store-bought sculptures described for this project.
DIY Gold Leaf Sculpture Supplies
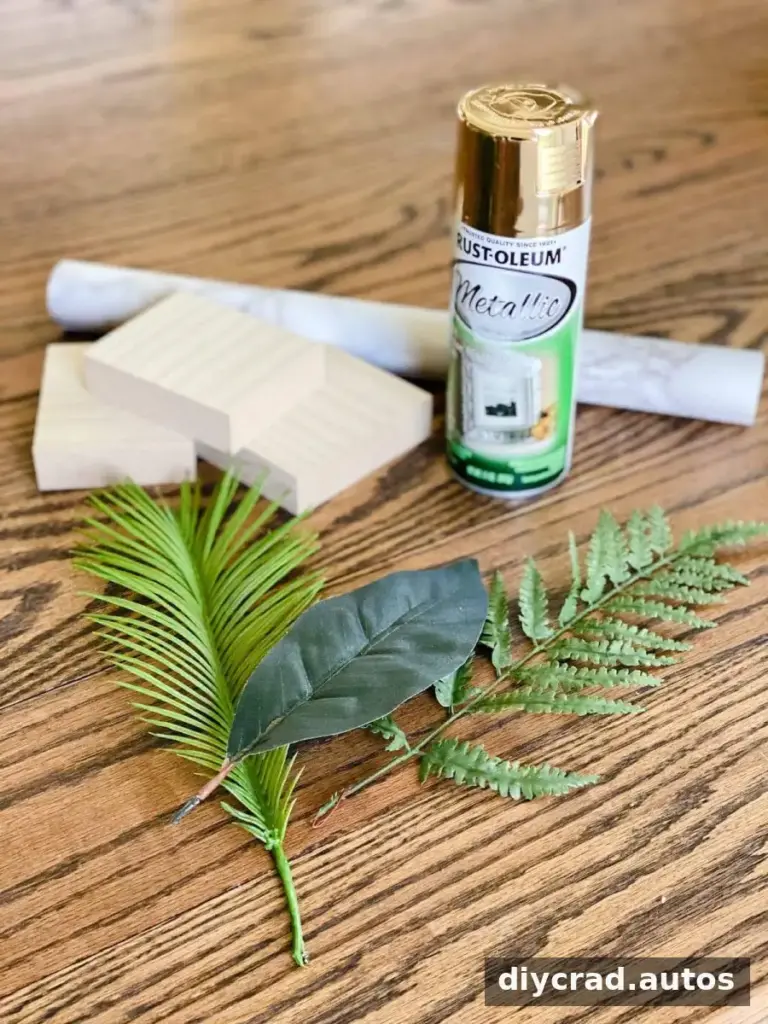
Gather the materials before starting so the leaves can dry while you prepare their bases. Use faux leaves with stems that are sturdy enough to stand in a drilled hole. The wood blocks do not need to be identical; the original project used scraps measuring about 3 inches by 3 inches.
- Faux leaves, either from a new stem or pieces already on hand
- Metallic gold spray paint
- Scrap wood blocks, approximately 3 inches by 3 inches
- Marble contact paper
- Scissors
- Drill and a drill bit sized to fit the leaf stems
- Super glue
Practical tip: Check that each block sits flat and that its stem will fit securely before applying glue. If you are using several leaves, test the fit of each stem because their thicknesses may vary.
How to Make a Faux Gold Leaf Sculpture
1. Paint the faux leaves
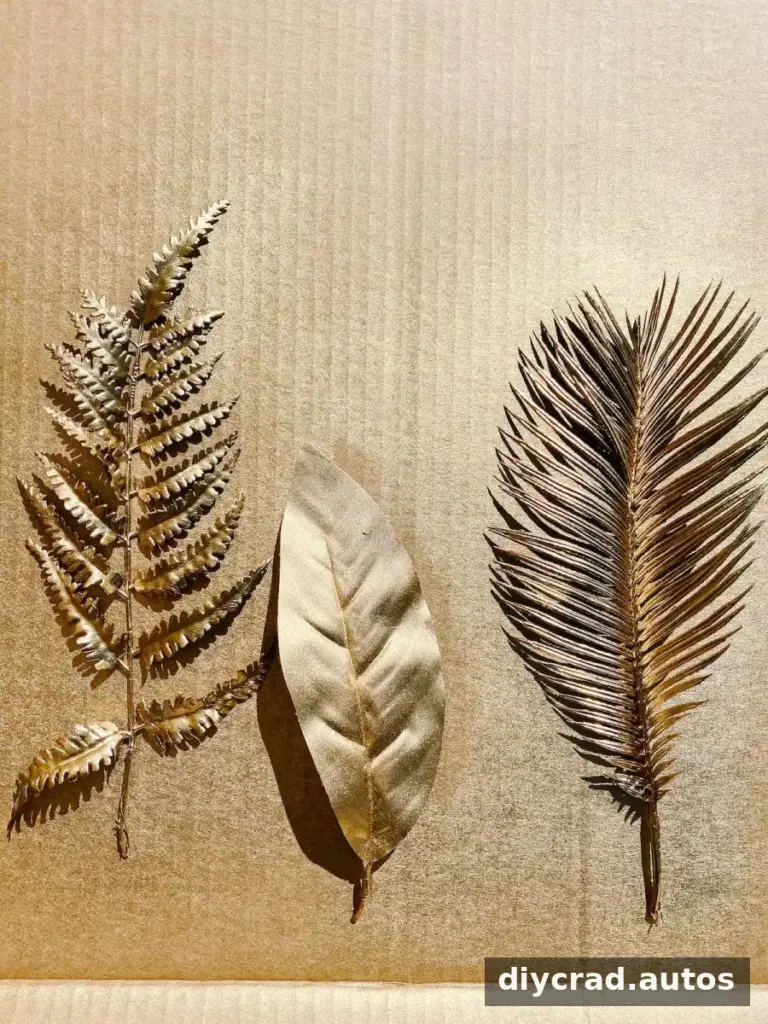
Apply metallic gold spray paint to both sides of the leaves. Work in a well-ventilated area and follow the directions on the paint can, including its recommended distance, drying time, and any protective equipment. Let the paint dry fully before handling the leaves so it is less likely to smudge during assembly.
2. Cover the wood blocks
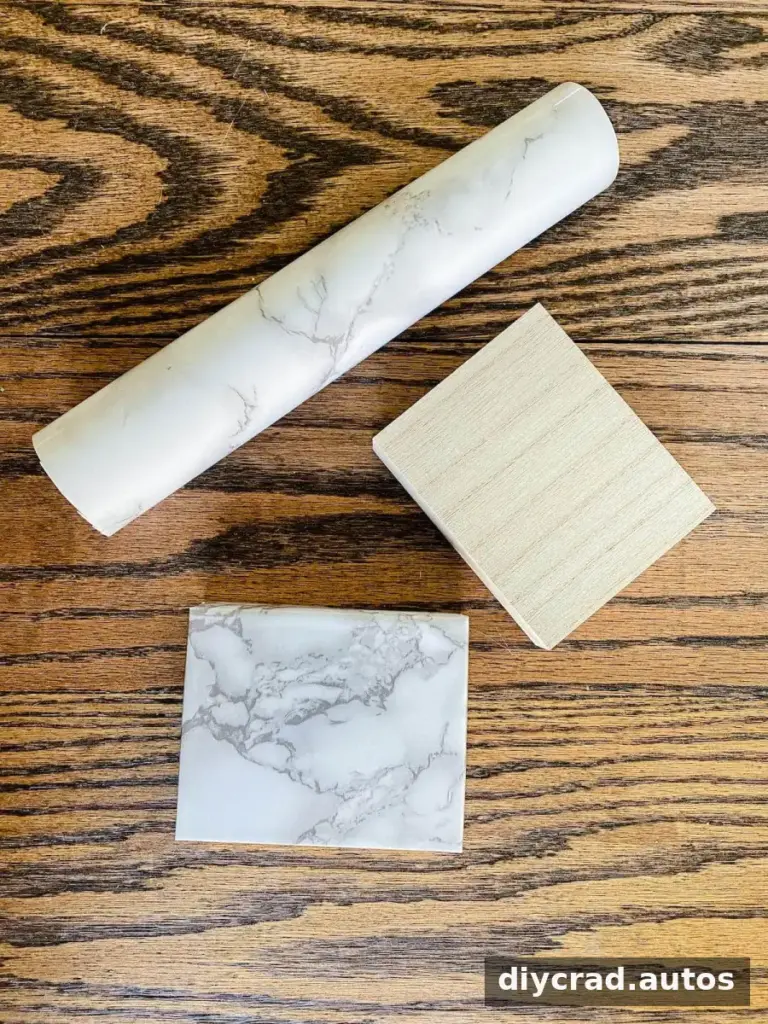
While the leaves dry, wrap each scrap wood block in marble contact paper as you would wrap a small box. Smooth the paper over the surfaces and trim excess material at the corners with scissors. Keeping the cuts neat helps reduce visible seams and gives the base a cleaner finish.
3. Drill a hole for each stem
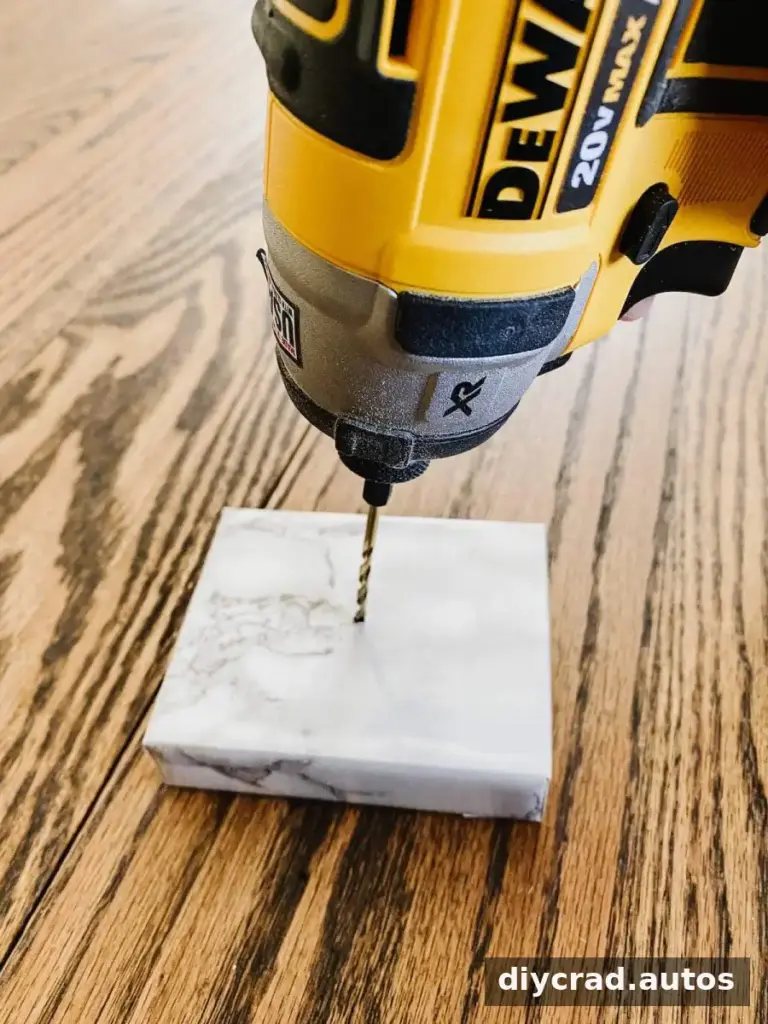
Find the center of the covered block and drill a hole deep enough to hold the stem upright. Choose a drill bit based on the stem’s thickness: the hole should be large enough to accept it, but not so wide that the stem wobbles. Drill carefully and keep fingers clear of the bit; contact paper can catch or tear if the drill shifts.
4. Attach the painted leaf
Add one or two drops of super glue inside the hole, then insert the painted leaf stem. Hold it in position until it stays upright, and allow the adhesive to set according to its package directions. Avoid using too much glue, which can squeeze out around the stem and mark the marble-look surface.
Once assembled, place the sculptures on a stable, level surface. Their lightweight, faux-material construction is suited to decorative display, but they will not have the heft or feel of a metal sculpture. Keep them away from areas where they could be easily knocked over, and dust gently to protect the painted finish.
Finishing Tips and Display Ideas
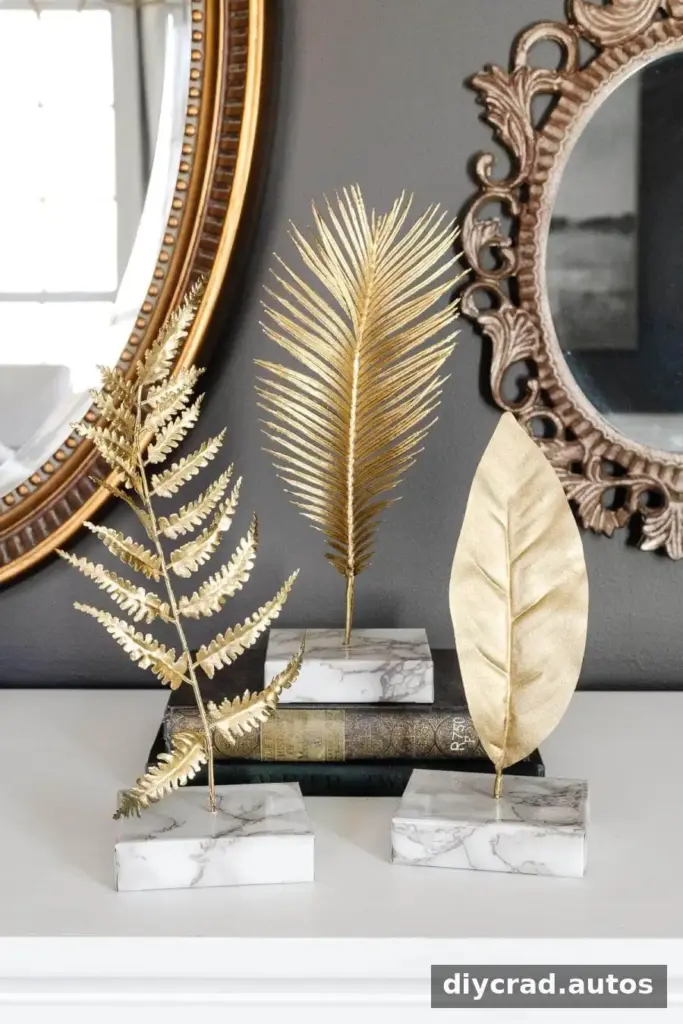
Varying the leaf shapes or heights can make a small group look more natural, while matching bases create a coordinated arrangement. Before drilling, consider where the sculpture will sit and orient the leaf so its most attractive side faces outward. If the base feels unstable, choose a wider scrap block rather than adding weight that could damage the contact paper.
This DIY gold leaf sculpture is a straightforward way to create a metallic-looking accent from basic craft and household materials. With careful painting, a well-fitted stem, and tidy contact-paper edges, the result can bring a decorative touch to a tabletop for considerably less than the original comparison price.