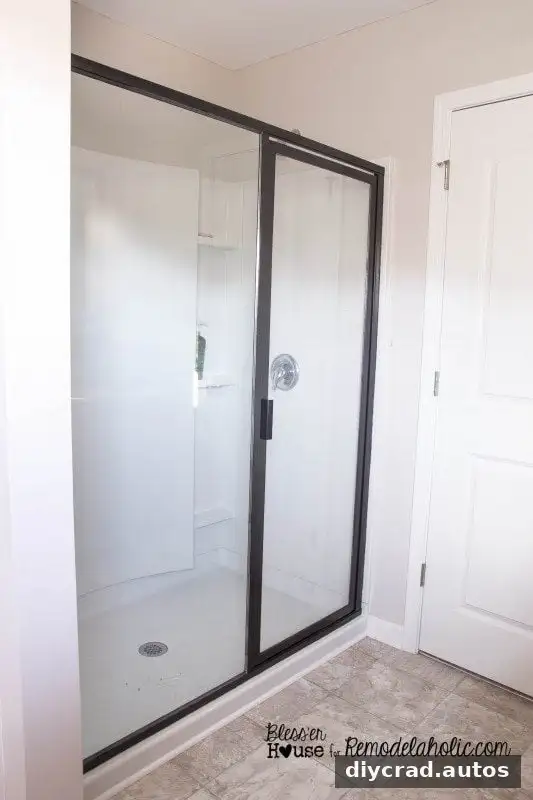
A DIY industrial shower door can give a standard framed glass enclosure a factory-window look without replacing the door or undertaking major bathroom renovations. This project uses black spray paint and lightweight polystyrene moulding to create a grid across the glass. The original project cost was under $60, not including tools already on hand, and took about three days, mostly because of paint-drying time.
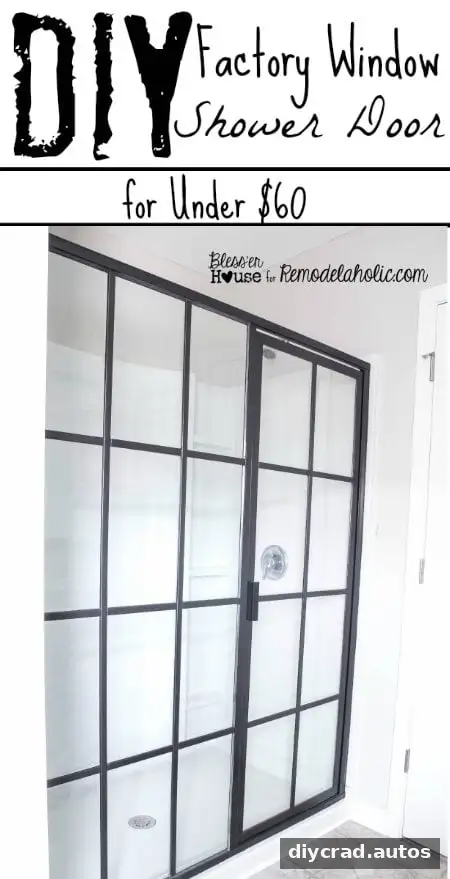
Materials and tools for a DIY industrial shower door
Before starting, check that your existing shower door has a framed, hinged design and that the moulding can be attached securely to its glass. The project used:
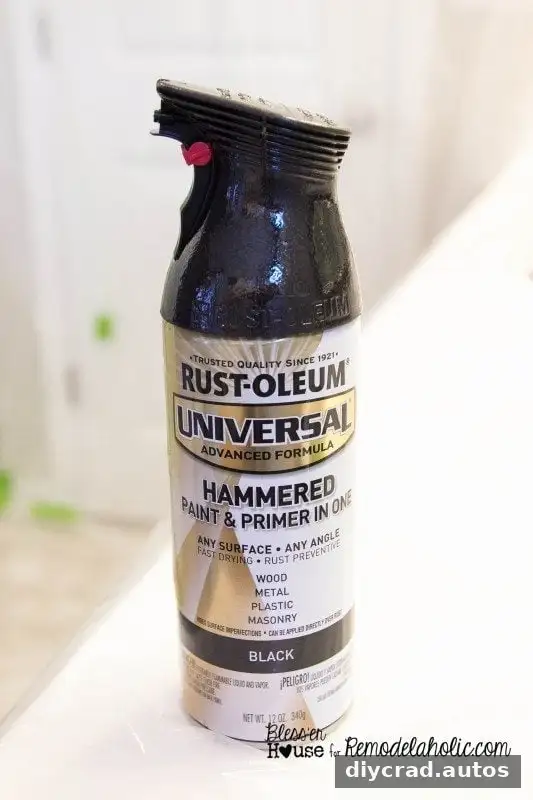
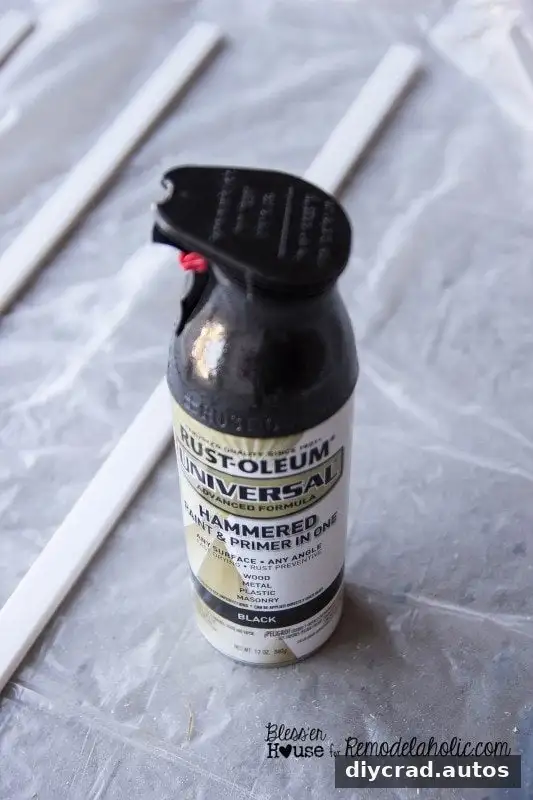
- Approximately 3 cans of hammered black spray paint
- Painter’s tape and a plastic drop cloth
- A respirator mask
- A putty knife
- 5 lengths of 1/4″ x 3/4″ x 96″ polystyrene lattice moulding
- A tape measure, level, and black permanent marker
- Strong, clear-drying adhesive suitable for the intended materials and humid conditions
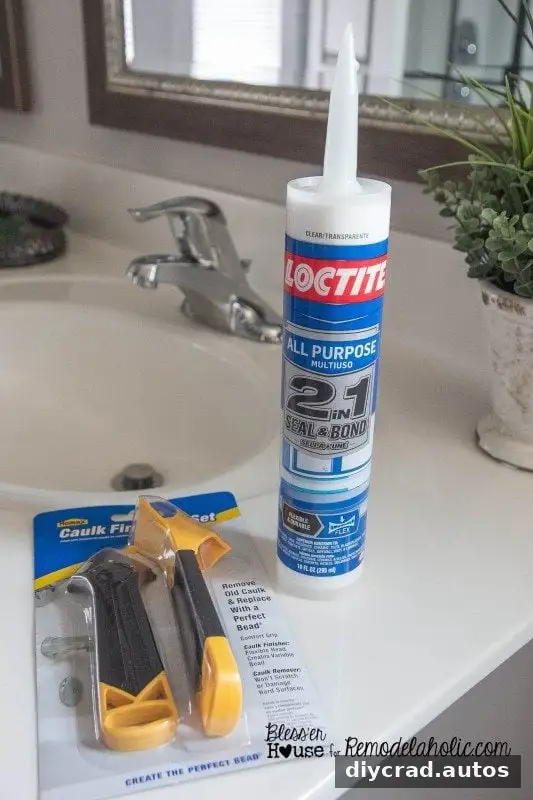
- Clear latex window-and-door caulk, a caulk gun, and a caulk finishing tool
The project instructions used about $2 per length of moulding. Prices can vary, so treat the under-$60 total as the cost at the time of the original project rather than a current price estimate. Read product labels before buying to confirm that the paint, adhesive, and caulk are appropriate for your surfaces and bathroom conditions.
Prepare the shower door and protect the bathroom
Step 1: Clean and dry the shower. Remove soap scum and rinse the glass and frame thoroughly. A mixture of vinegar and dish soap can help with cleaning, but rinse away all residue. Allow the door to dry completely; the original project left the shower unused for 48 hours to ensure moisture had evaporated.
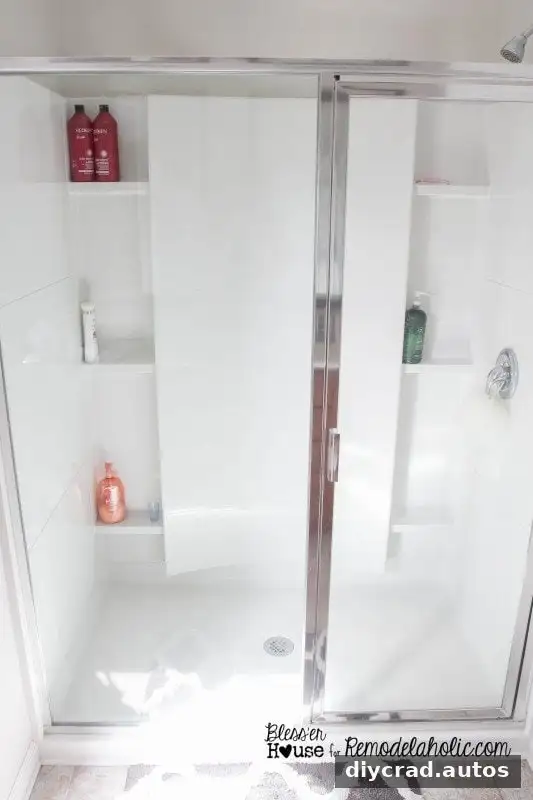
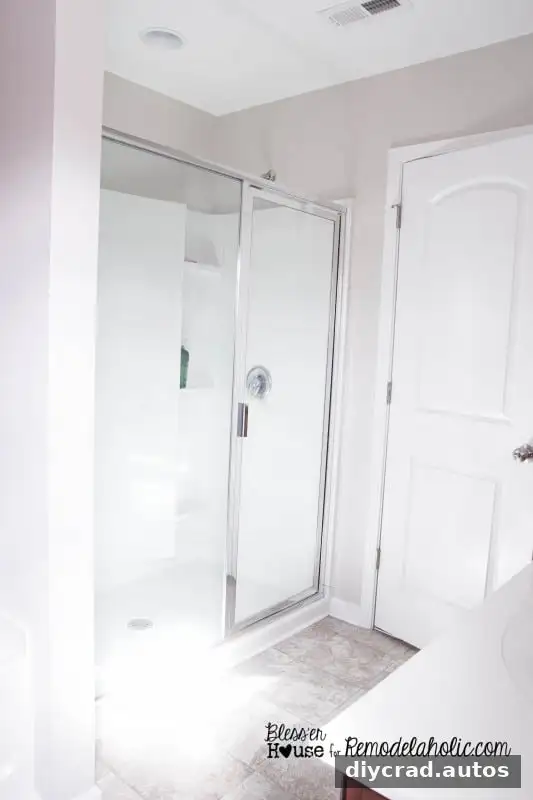
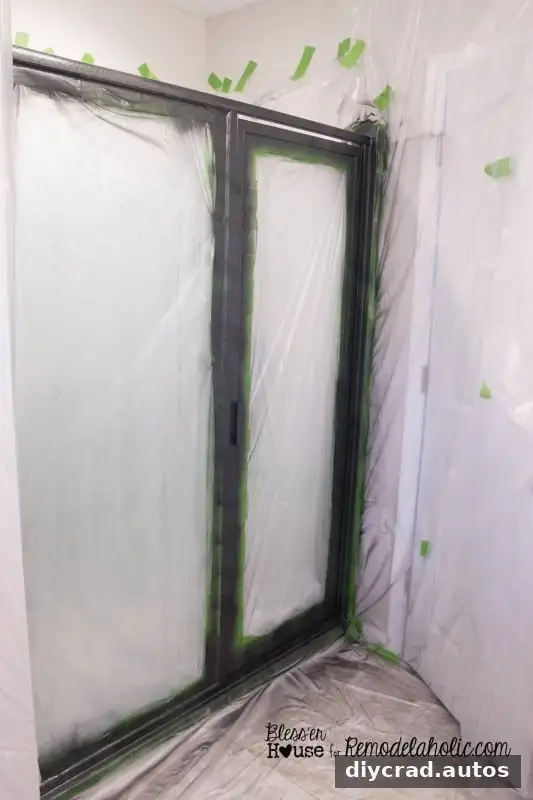
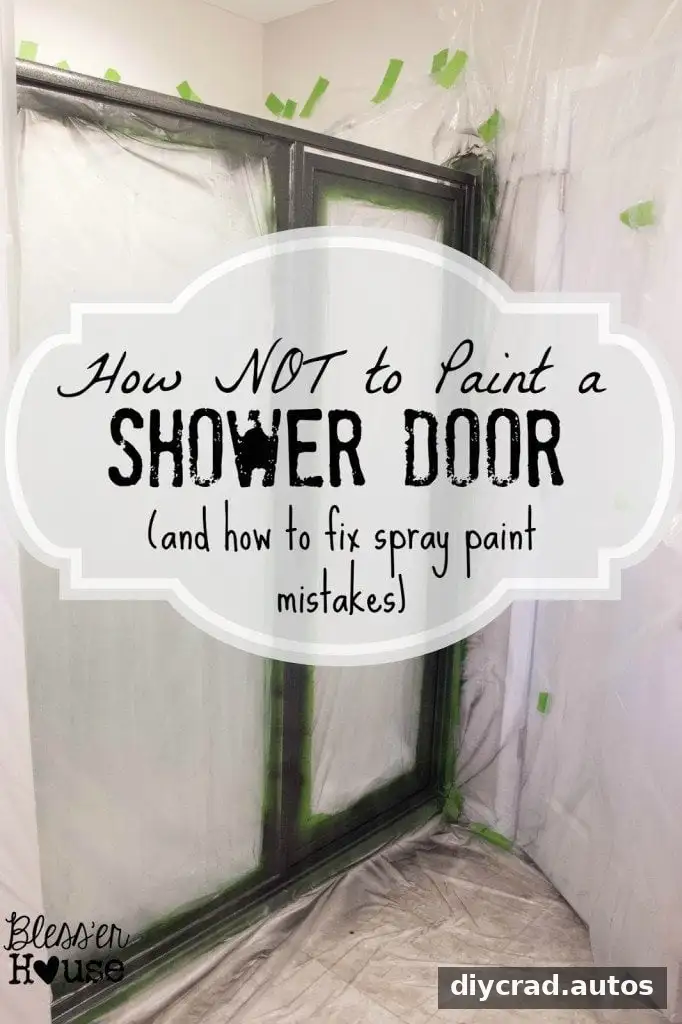
Step 2: Mask the area. Cover the glass, shower interior, floor, walls, and any other surfaces that should not be painted with plastic sheeting and painter’s tape. Take time to seal the edges of the covering, since overspray can travel beyond the frame.
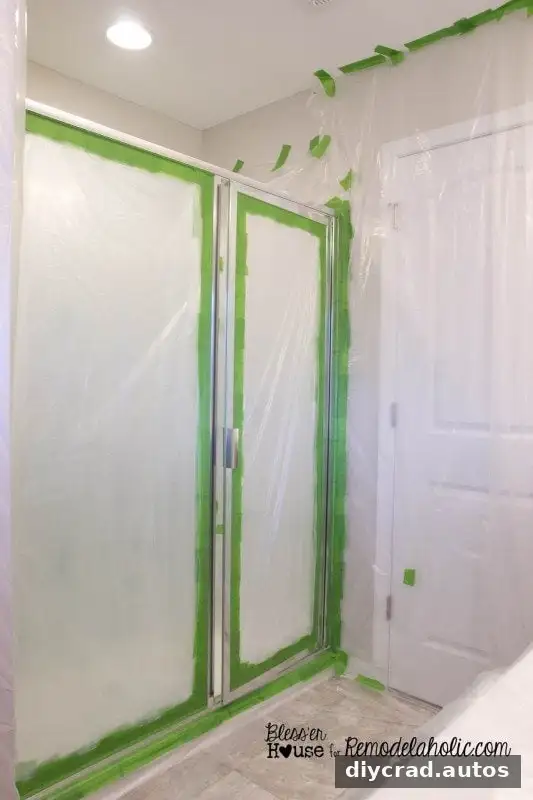
Step 3: Ventilate and paint the frame. Open windows where available and wear a suitable respirator. Spray three thin, even coats of hammered black paint on the inside and outside of the frame, keeping the spray can moving to reduce runs. Let each coat become touch-dry before applying the next; the original instructions allow about an hour between coats. If a spray nozzle clogs, stop and follow the product’s directions rather than forcing it.
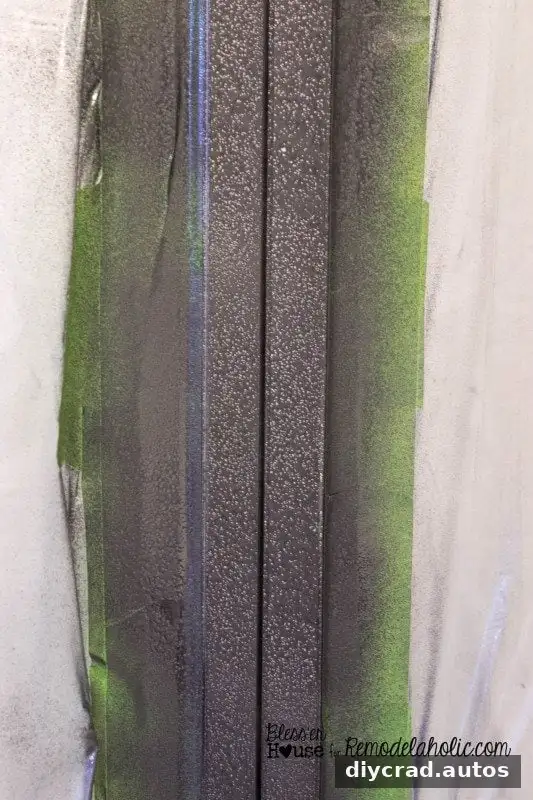
After the final coat, allow the paint to dry thoroughly for 24 hours before removing the masking. Use a putty knife to score along the tape edges first. This can help prevent the paint from lifting as the tape is peeled away.
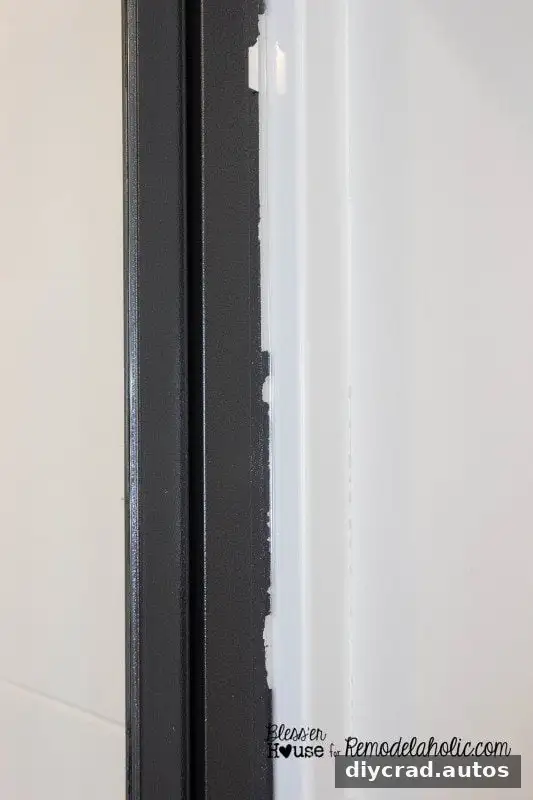
If paint does lift or an edge looks uneven, assess the spot and follow the paint manufacturer’s repair guidance. Avoid using solvents on the glass or frame unless their labels confirm they are safe for those surfaces.
Measure and paint the factory-window grid
Step 4: Cut the vertical moulding. Measure the glass panels before cutting. The planned design had five panes across and four rows vertically. For the two door sections, the original layout used three vertical moulding pieces on one side and one on the other. Polystyrene lattice moulding was selected because it is lightweight and moisture-resistant, qualities that are useful in a bathroom.
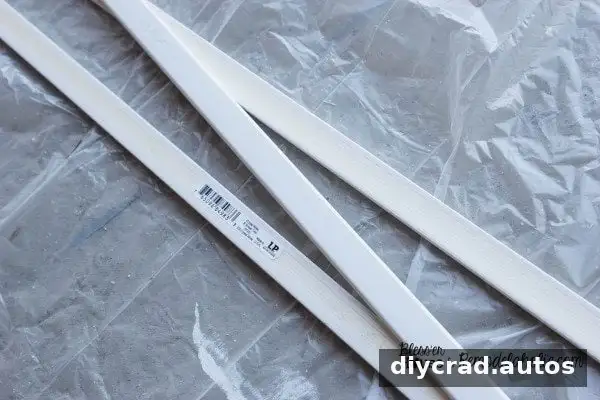
Step 5: Paint the cut pieces. Spray the three vertical moulding pieces with three thin coats on each side, allowing the paint to dry between coats. Painting the backs first can help keep the more visible front surfaces smooth if the pieces touch the drop cloth.
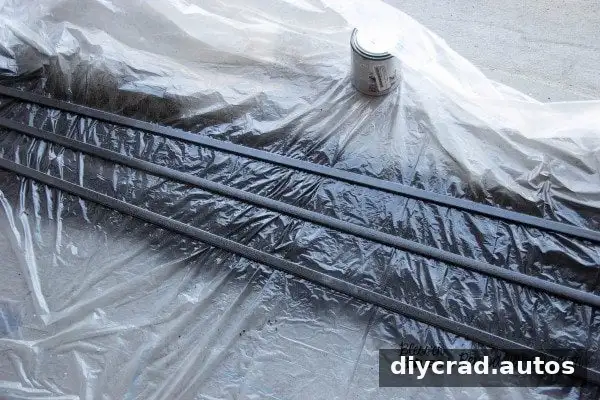
Step 6: Mark the grid positions. Divide the width of each glass section by the number of spaces planned across it to determine where the vertical strips should go. Divide the door height by four to mark the horizontal rows. Use a tape measure and level for accurate, consistent spacing. A black marker is less noticeable beneath black moulding; test any marker-removal method on a small area first.
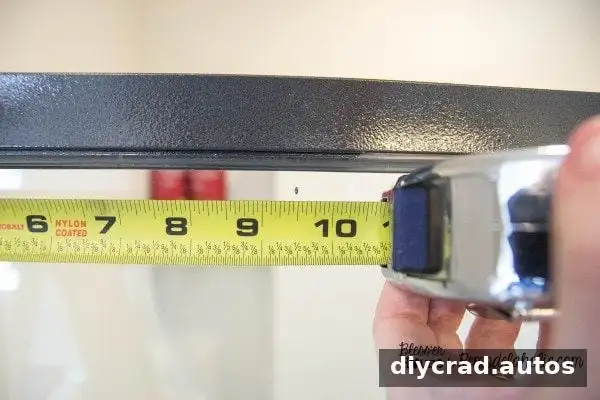
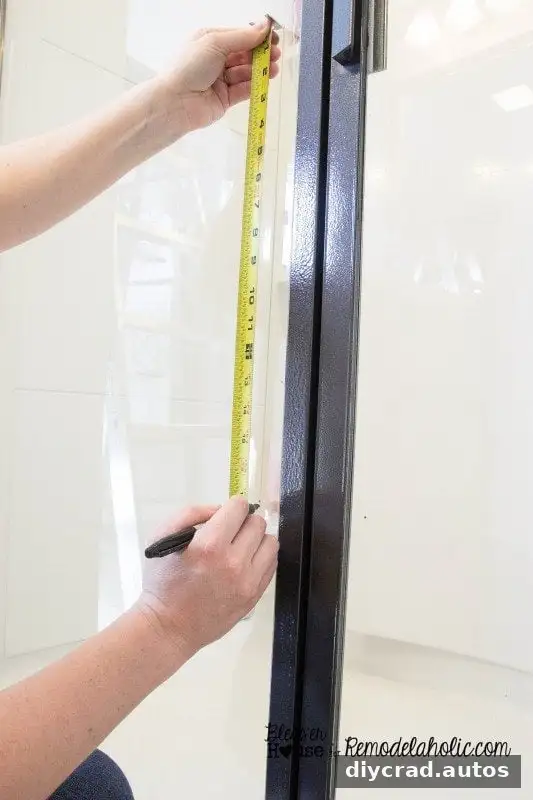
Attach the moulding and seal the edges
Step 7: Install the vertical strips. Apply adhesive to one moulding piece at a time, following the adhesive label for application and curing instructions. Position each strip over its marks, check that it is straight with a level, and make any adjustments promptly. Press it into place as directed by the product instructions.
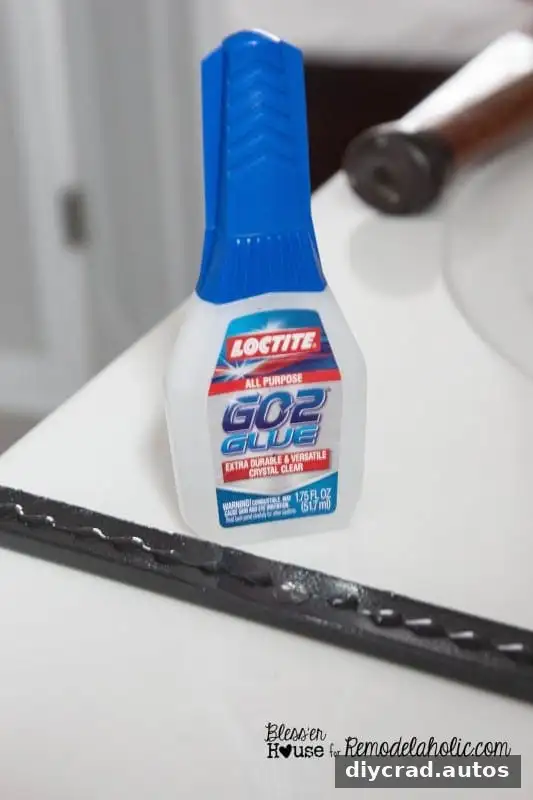
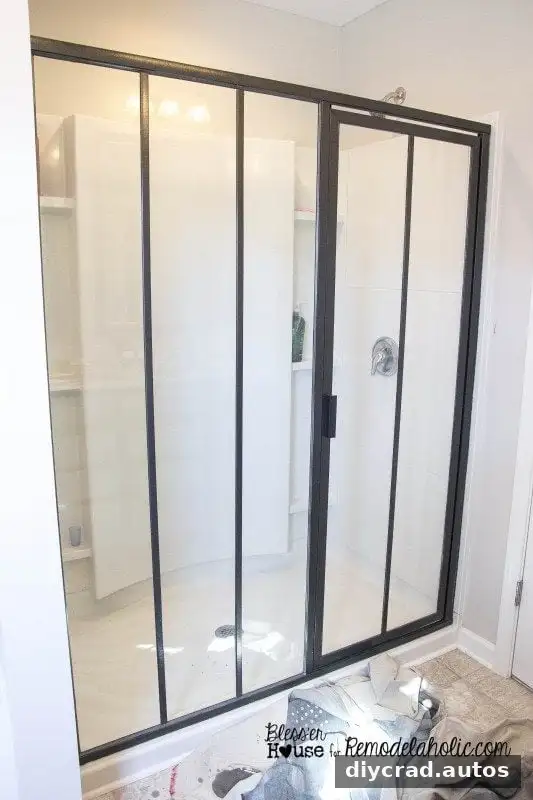
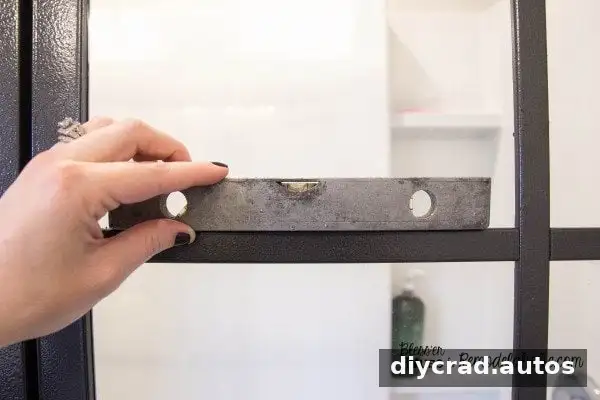
Step 8: Measure and fit the horizontal strips. Measure the spaces between the vertical sections and cut 15 horizontal moulding pieces to fit. Paint them, let them dry, then attach them one at a time over the marked lines. Check each piece with a small level before the adhesive sets.
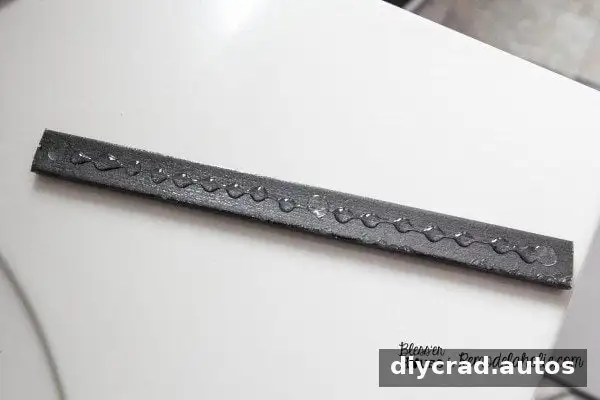
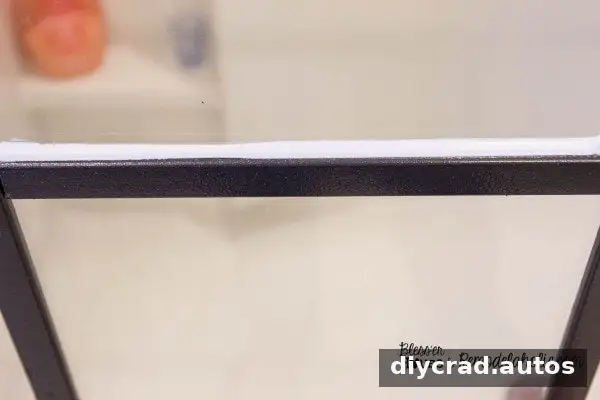
Step 9: Seal the moulding edges. Apply clear latex caulk along both sides of each strip to seal gaps where moisture could collect. Work in manageable sections and smooth the bead with a caulk finishing tool. Follow the caulk label for drying and curing times before exposing the door to water.
Drying time, maintenance, and durability
Wait at least 24 hours after painting before using the shower, and follow the longer curing time if required by any product label. The original project reported that the door was still in use after a month without chipping or peeling, while recommending against aggressive scrubbing with abrasive materials. A later project update noted wear on the lower inside part of the frame and suggested using automotive primer before the black paint, followed by spray lacquer, to help protect the finish.
For routine care, use a non-abrasive cleaner and a soft cloth, and avoid scraping or scouring the painted frame and decorative strips. Inspect the caulk periodically, especially in areas that receive frequent splashes, and repair any gaps according to the product directions.
This DIY industrial shower door approach offers a way to add a factory-window-style grid to an existing framed shower enclosure. Careful masking, precise measurements, proper ventilation, and enough drying time are key to a neat finish. Confirm that all materials are compatible with your door and suitable for bathroom use before beginning.