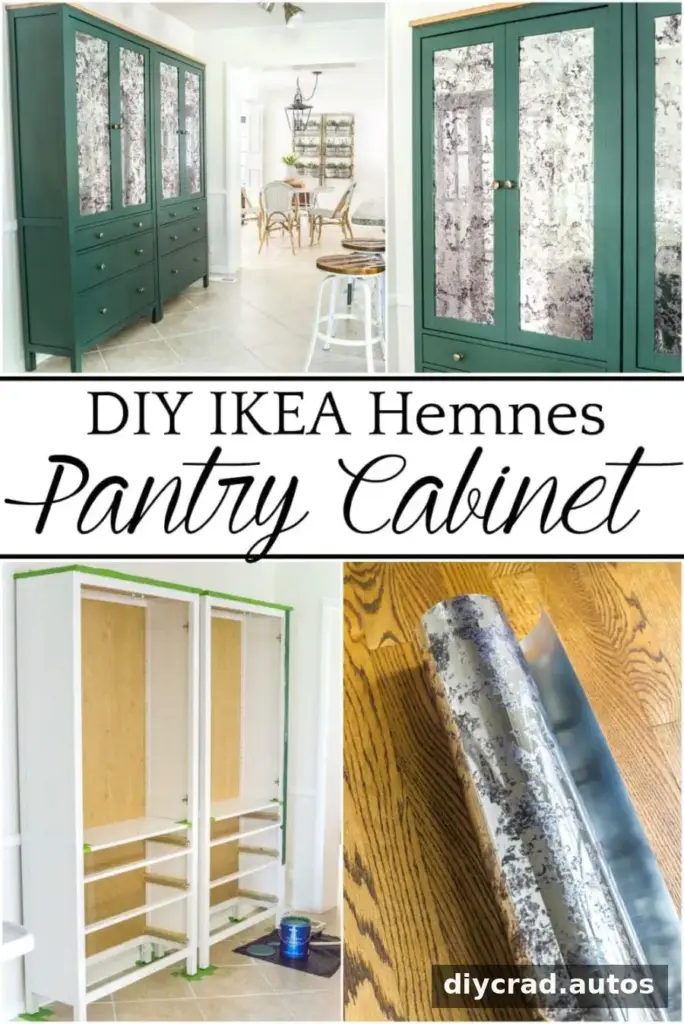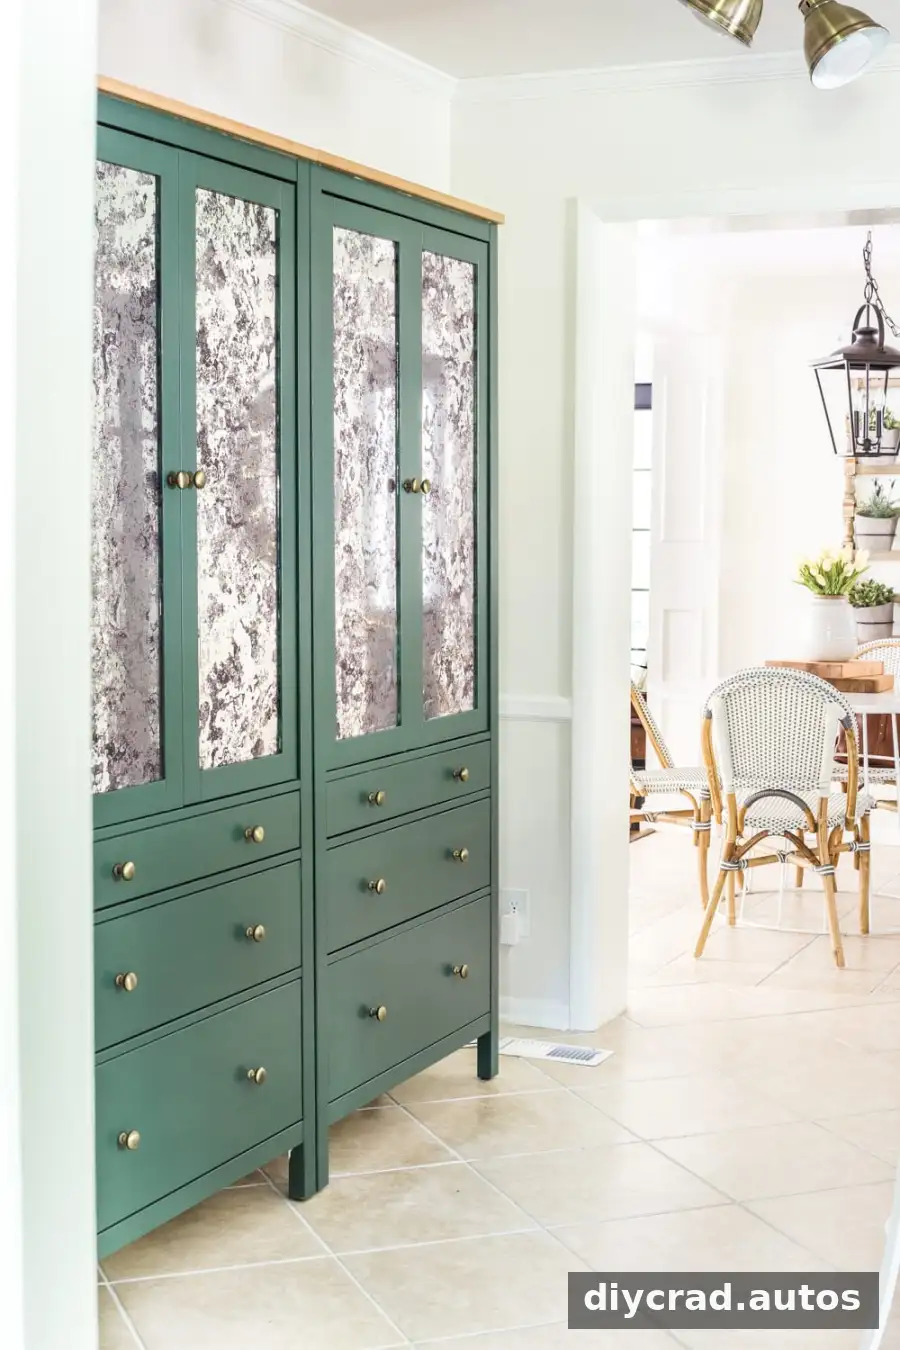
A DIY IKEA pantry cabinet can add practical food storage to a kitchen without the cost or permanence of built-in cabinetry. This project combines two IKEA Hemnes glass-front cabinets, cabinet paint, and antique mirror window film to create a freestanding pantry with a custom look. It can work well when existing cupboards are full or a kitchen does not have a dedicated pantry.
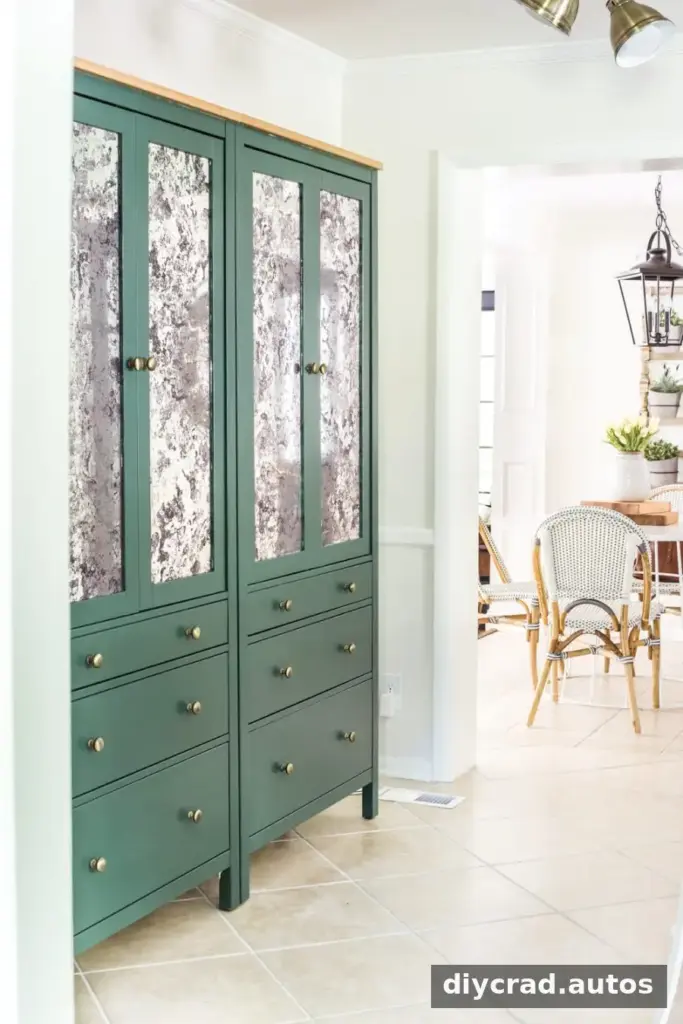
Adding a separate storage zone also makes it easier to keep pantry items together instead of spreading them across kitchen cupboards, shelves, or another room. Before starting, measure the intended location and check that the cabinets will not block walkways, doors, or appliances.
Why Choose a DIY IKEA Pantry Cabinet?
A dedicated pantry cabinet can help make everyday ingredients easier to find, especially in kitchens with limited cabinet space. In this project, food had been stored in several places, including a small laundry-room cabinet and an upper kitchen cupboard. A freestanding pantry brought those supplies into one central area.
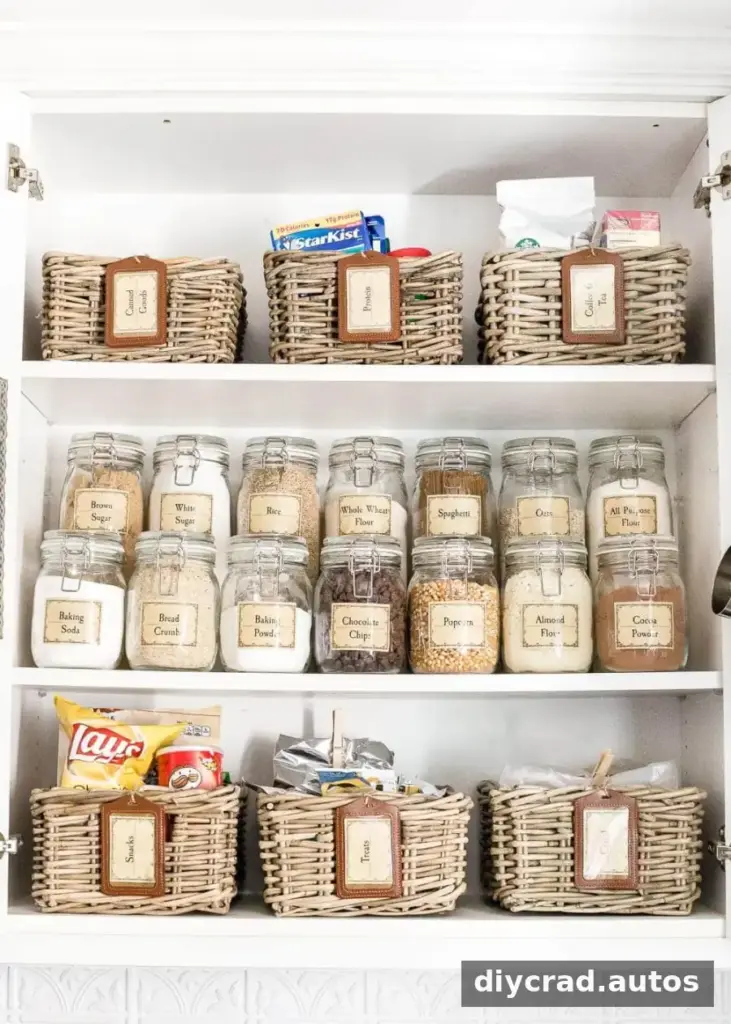
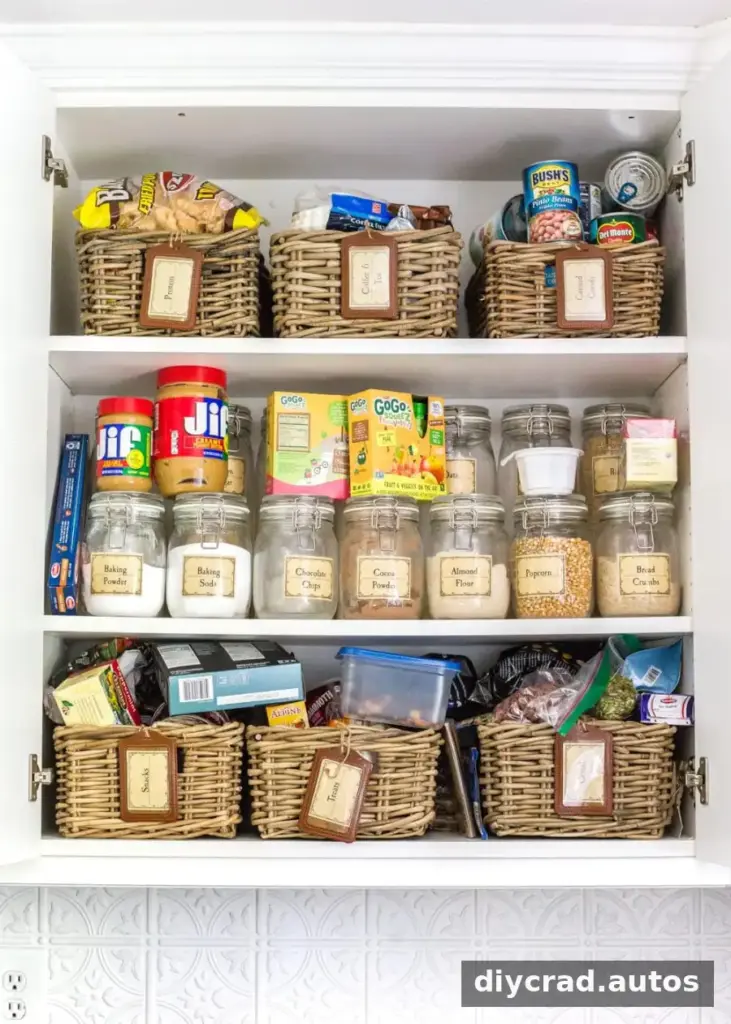
Organizers inside regular kitchen cabinets can help, but they may not solve a storage shortage if the available space is too small. Consider how much food you keep, how often you cook, and whether you need room for cans, snacks, baking ingredients, or small appliances before choosing a cabinet location.
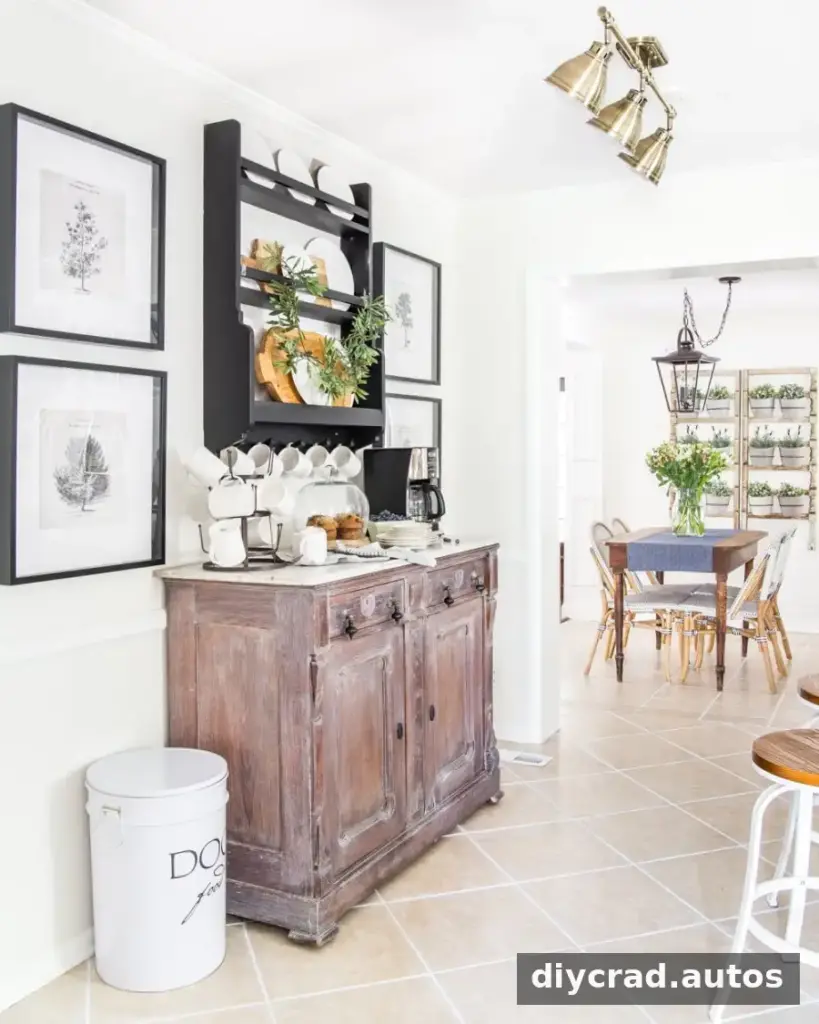
The cabinet can also make better use of an underused section of the kitchen. A helpful planning tip is to assess how the room functions before committing to a layout: useful storage and clear access are more important than keeping a furniture arrangement that does not suit daily needs.
DIY IKEA Pantry Cabinet Supplies
The project uses two Hemnes cabinets with glass-front doors. The finish and window film can be adapted to suit the kitchen, but use a primer suitable for the cabinet surface so paint has a better chance of adhering.
- 2 IKEA Hemnes glass front cabinets
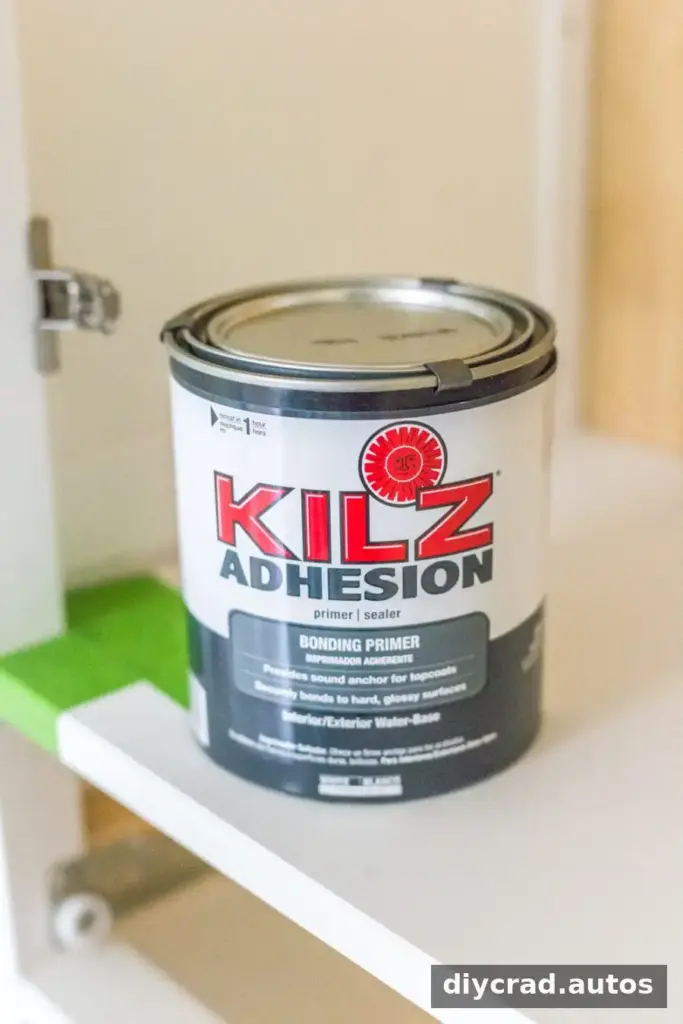
- Kilz Adhesion Primer
- Cabinet/trim enamel paint in the color of your choice; this project used Behr Marquee enamel satin paint in Sherwin Williams Billiard to match the lower kitchen cabinets
- Paint brush; a 1 1/5-inch angled Purdy brush was preferred for this project
- Masking liquid, optional but recommended for protecting glass while painting
- Antique mirror window film
- Spray bottle with water and 8 drops of dish soap
- Scissors, a Sharpie, and a credit card or squeegee
- X-acto knife
- Paper towels or clean, dry rags
How to Make the IKEA Hemnes Pantry
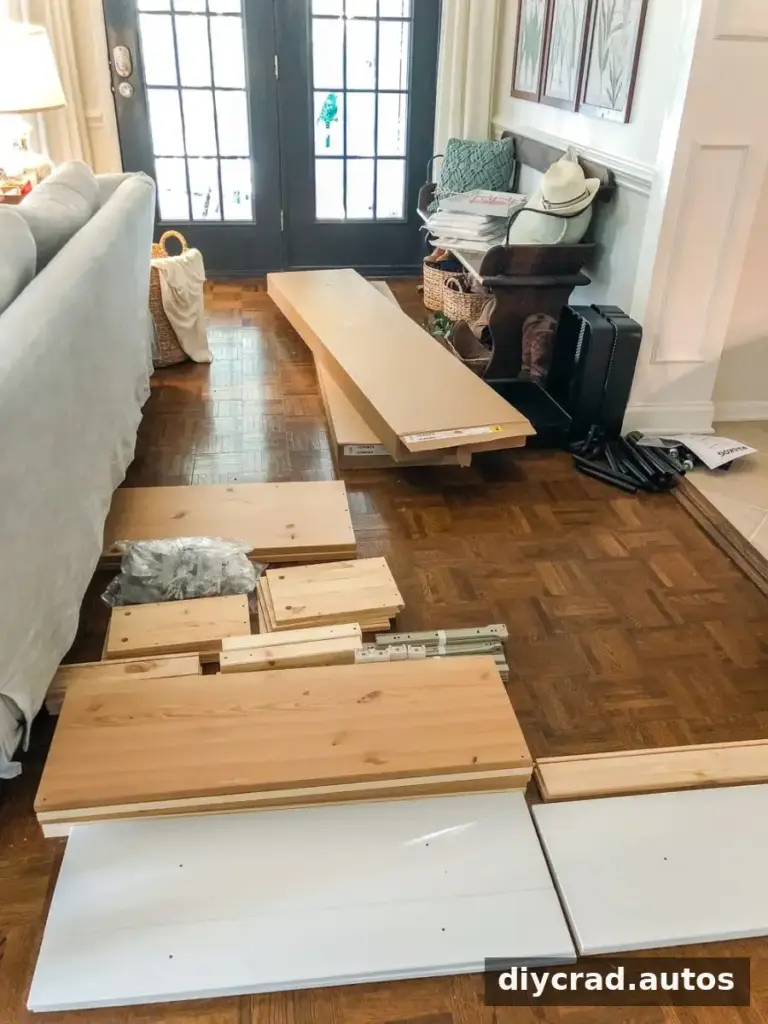
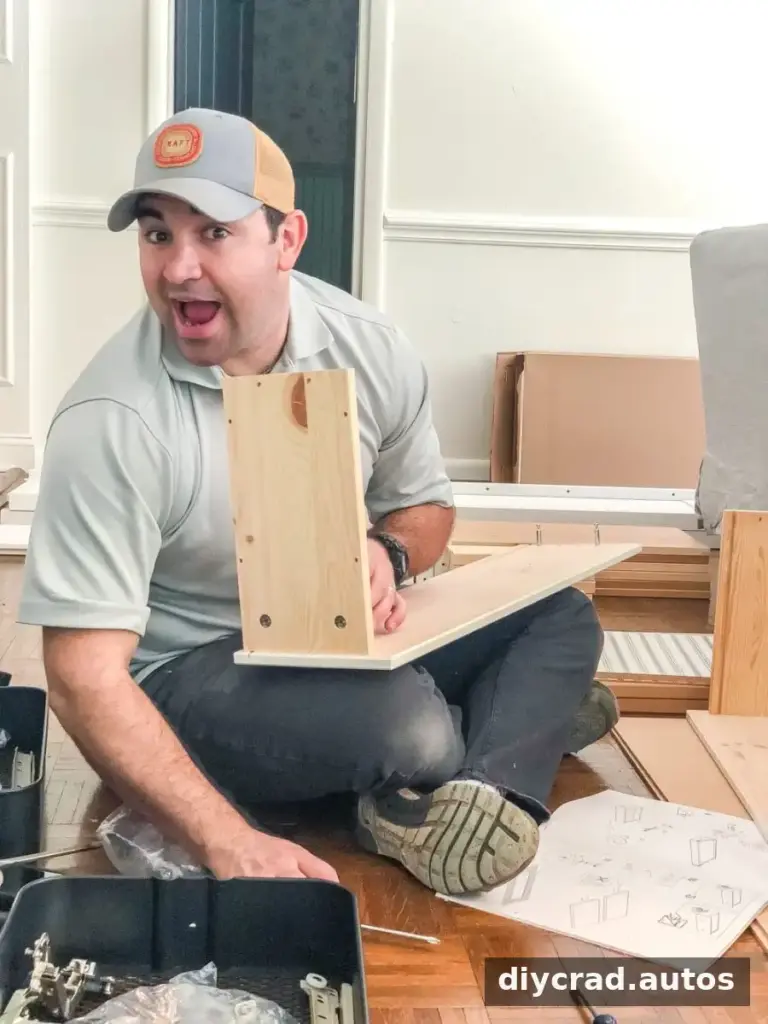
1. Assemble and prepare the cabinets
Assemble both cabinets according to their instructions. Before painting, prepare the surfaces using a method appropriate for the cabinet finish. Laminate can be challenging to paint, so do not skip the preparation or adhesion primer. Work in a ventilated area and follow the product labels for application and drying guidance.
2. Prime and paint the cabinets
Apply Kilz Adhesion Primer and allow it to dry as directed. Then apply the cabinet/trim enamel paint. Use suitable brush strokes and avoid heavy coats that could leave drips. Let the finish dry fully before handling or reassembling painted parts.
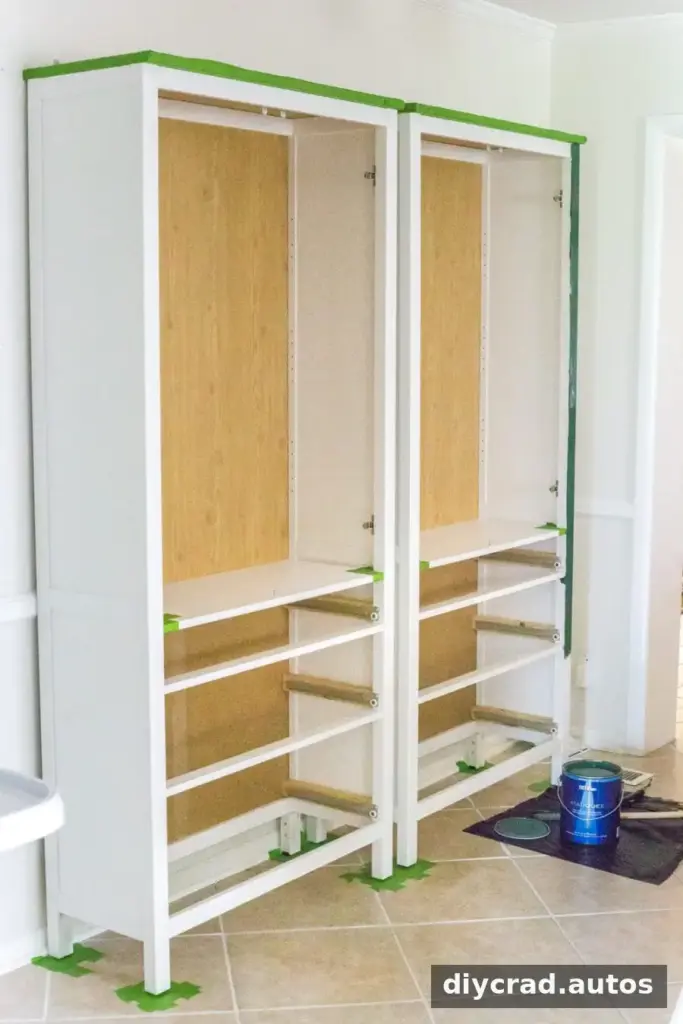
A good adhesion primer is especially important on slick or laminated surfaces. Skipping primer can lead to paint scraping or chipping, so take the extra preparation step for a more durable finish.
3. Protect the glass while painting
Apply masking liquid to the glass before painting the door frames. Once it has dried, peel it away to lift off paint that landed on the glass. This is generally easier than trying to scrape dried paint from the panes afterward. If masking liquid is not used, protect the glass carefully and clean any paint according to the paint manufacturer’s guidance.
Install Antique Mirror Window Film
Antique mirror film gives the glass a reflective appearance while making pantry contents less visible. It can also help connect the cabinet visually with stainless steel appliances and reflect light across a darker part of the room.
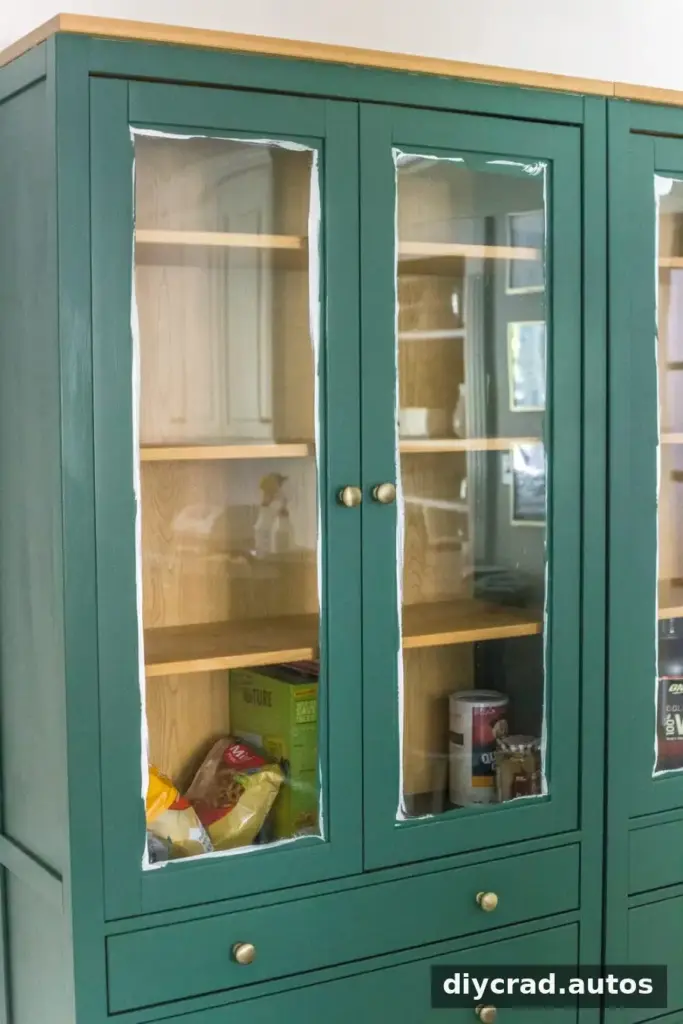
Measure the width and height of each glass panel, adding 1 inch to both measurements. Mark the dimensions on the back of the film with a Sharpie and cut it with scissors. The extra material allows for trimming after installation.
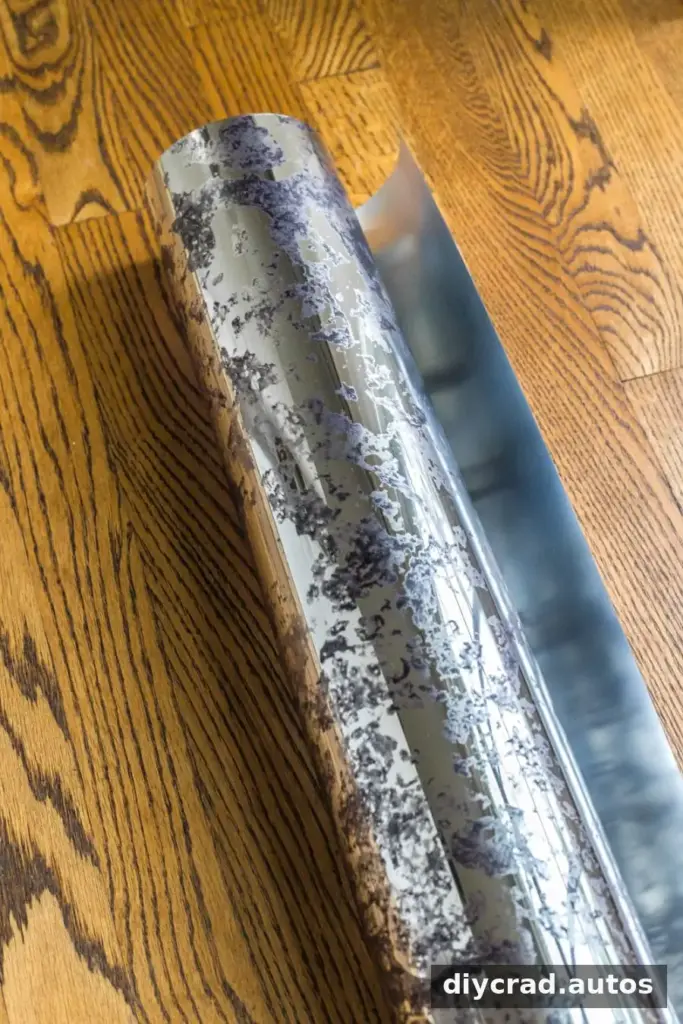
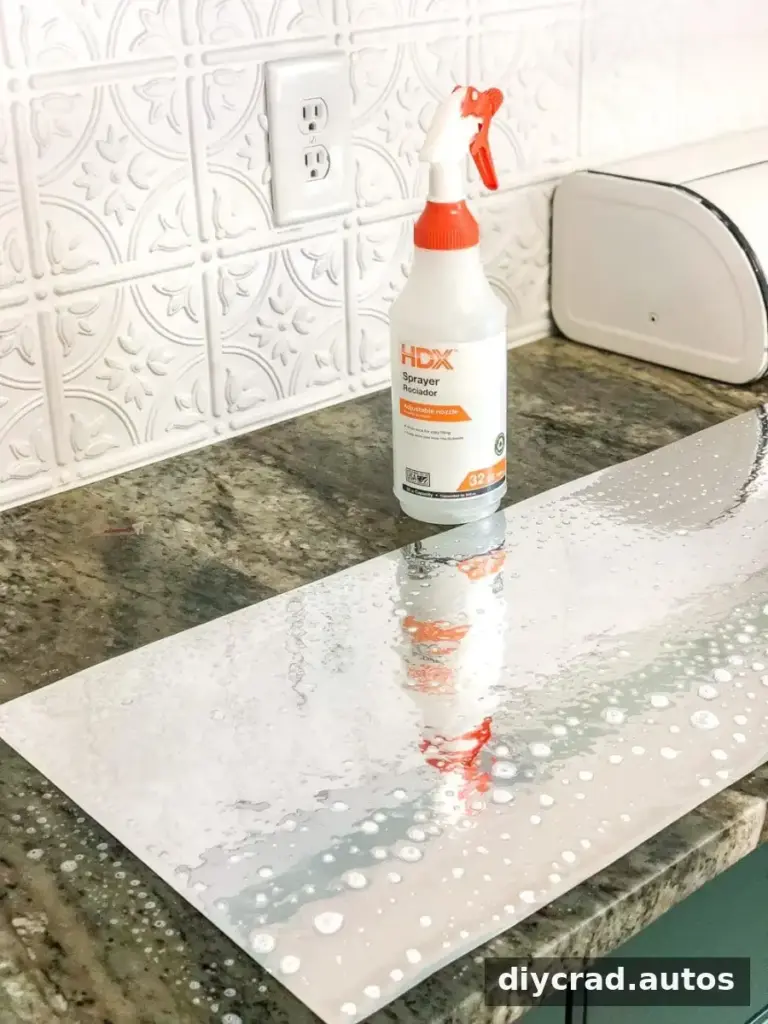
- Place the film on a flat surface. Slowly peel away its backing while spraying the adhesive side with the water-and-dish-soap solution. Saturate the film.
- Spray the cabinet glass with the same solution.
- Position the film on the glass. Starting in the center, smooth bubbles toward the edges with a credit card or squeegee.
- Trim excess film carefully with a sharp X-acto knife, taking care not to damage the glass or surrounding finish.
- Wipe away remaining water and soap with a clean towel.
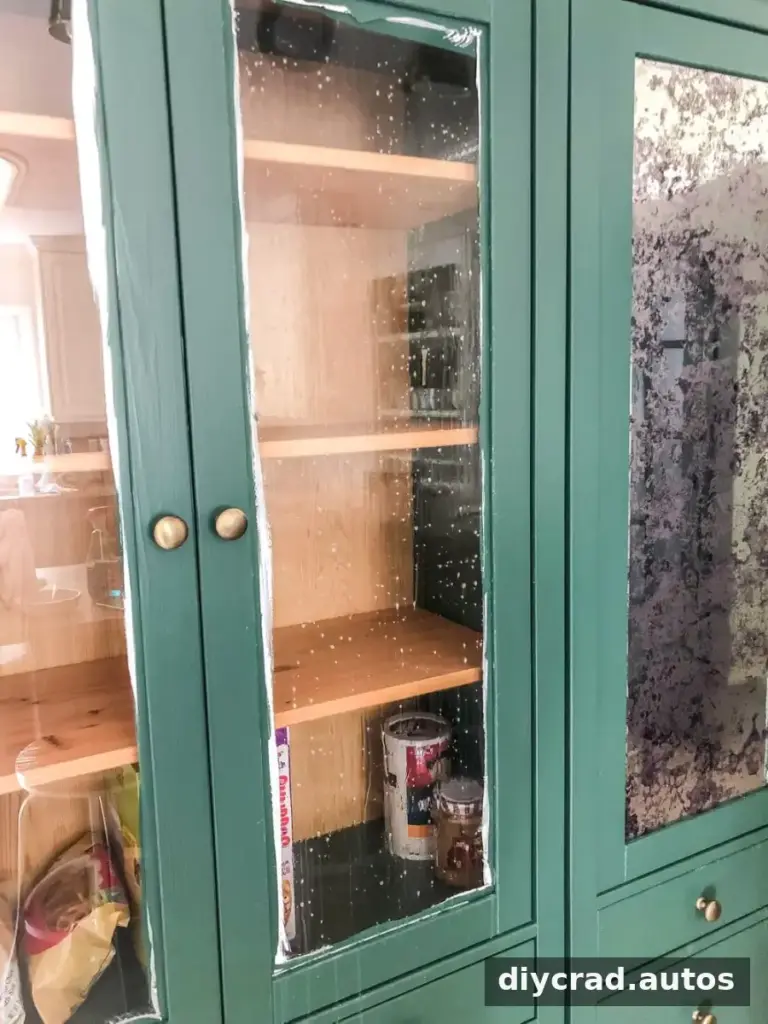
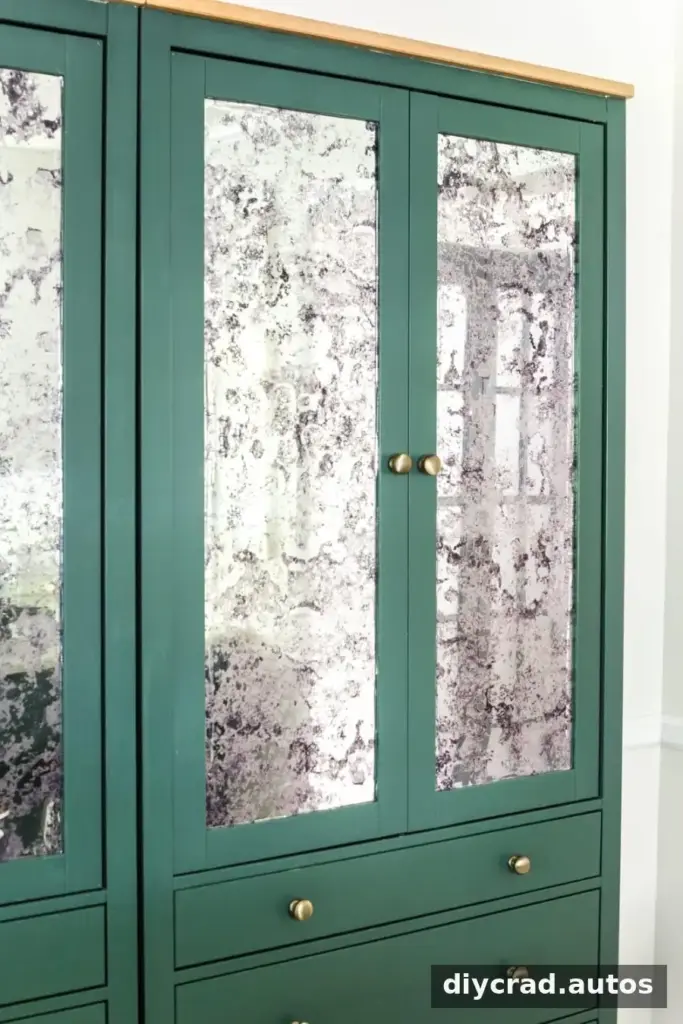
Work slowly when positioning the film. The soapy solution helps the film move into place, while smoothing from the middle outward helps push trapped air toward the edges.
Organizing the Pantry Cabinet
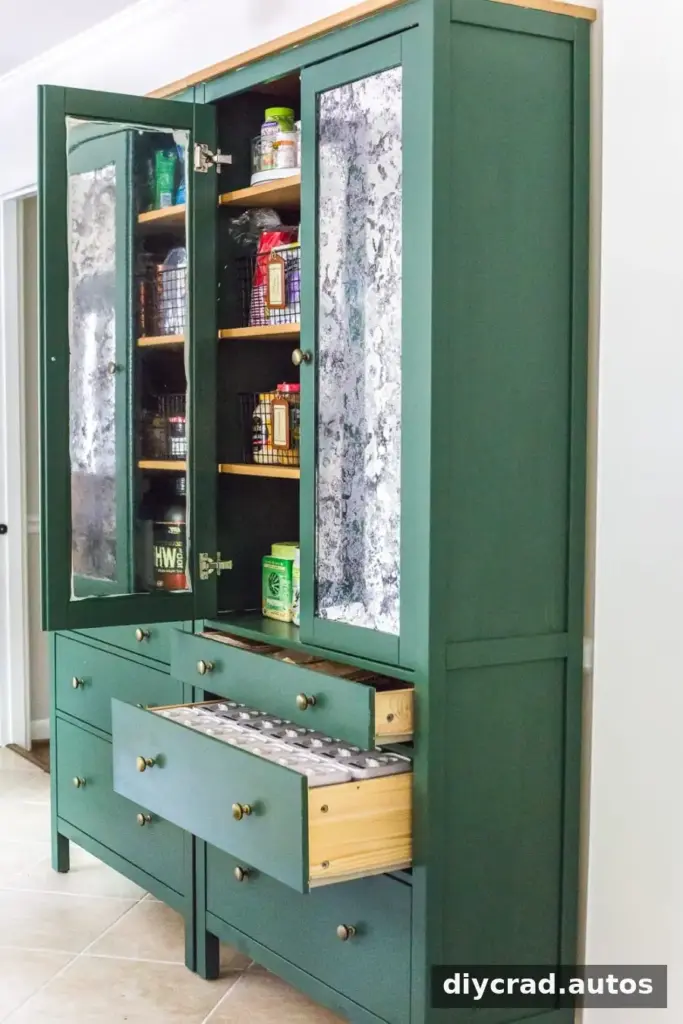
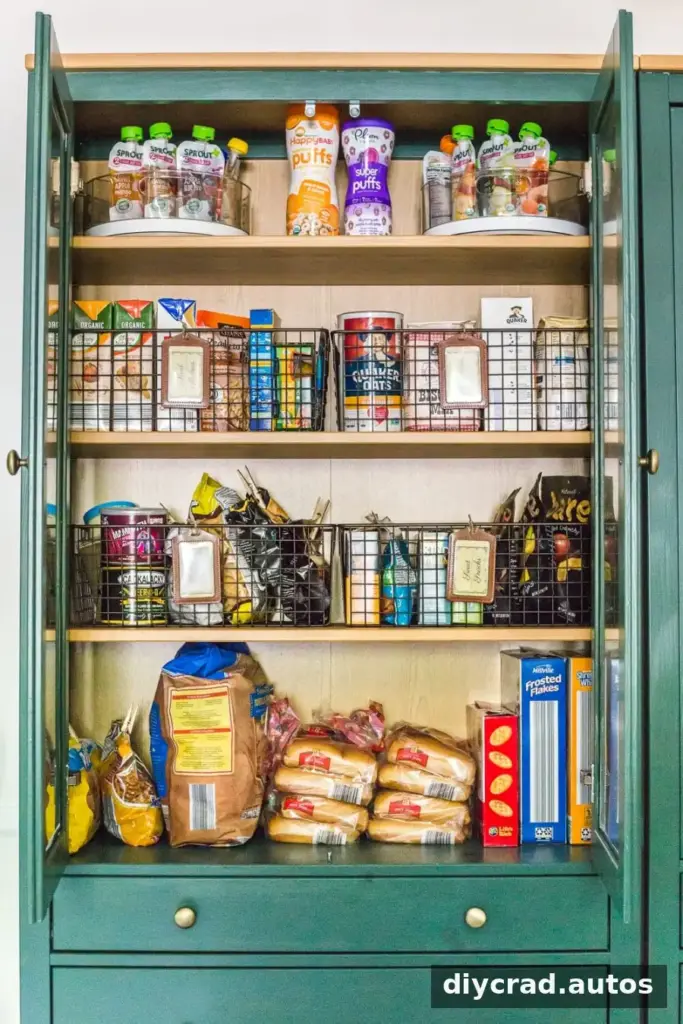
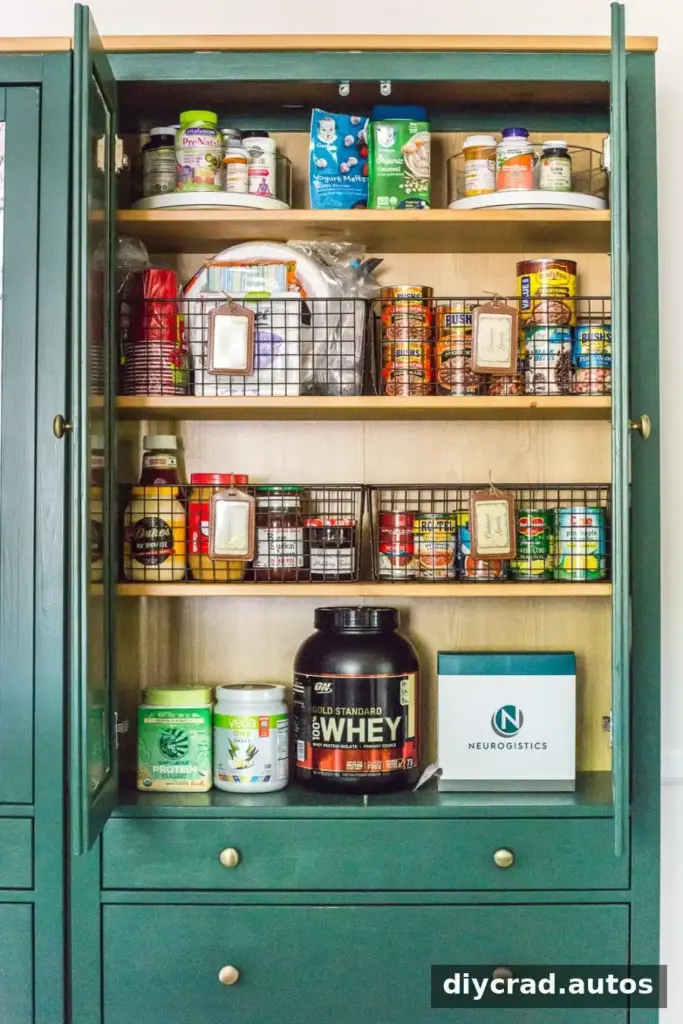
Once the cabinets are in place, group food by category so frequently used items are easy to reach. For example, keep snacks, canned goods, and baking ingredients in separate sections. Use containers only where they make items easier to see or access, and label them if contents are not obvious.
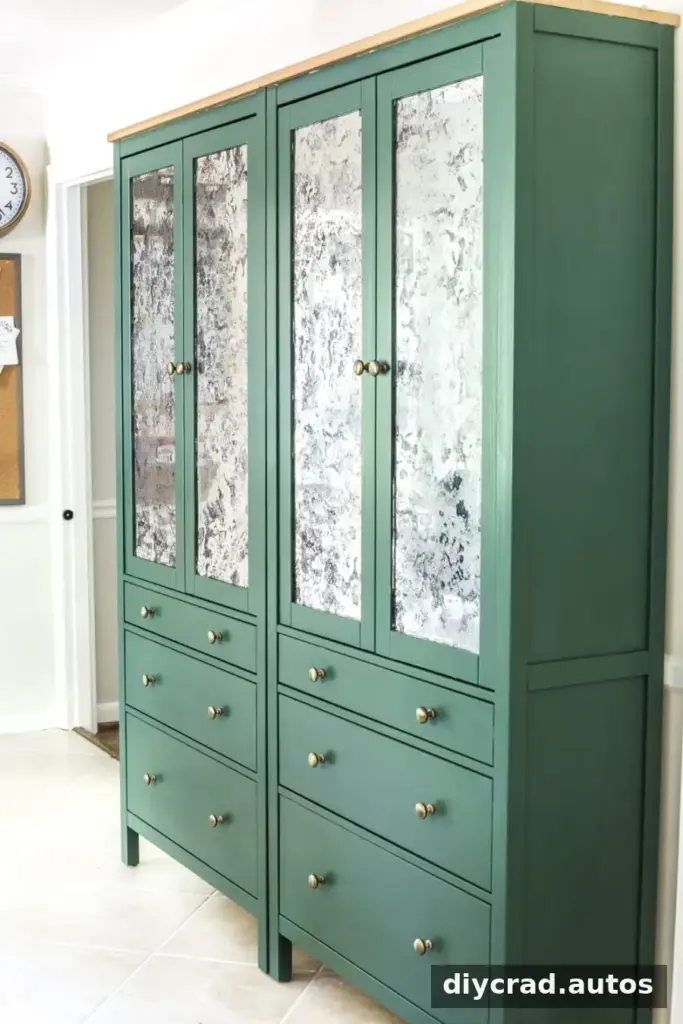
A useful first step is to move pantry goods from their existing storage areas and take stock of what you have. Leave some room for new groceries rather than filling every shelf immediately; that makes it easier to maintain the arrangement over time.
Final Result and Safety
The painted Hemnes cabinets create a coordinated pantry while remaining freestanding, which can make future room changes easier than removing built-in units. However, freestanding cabinets should be anchored securely to the wall to reduce the risk of tipping. Follow the cabinet instructions and use appropriate hardware for the wall type.
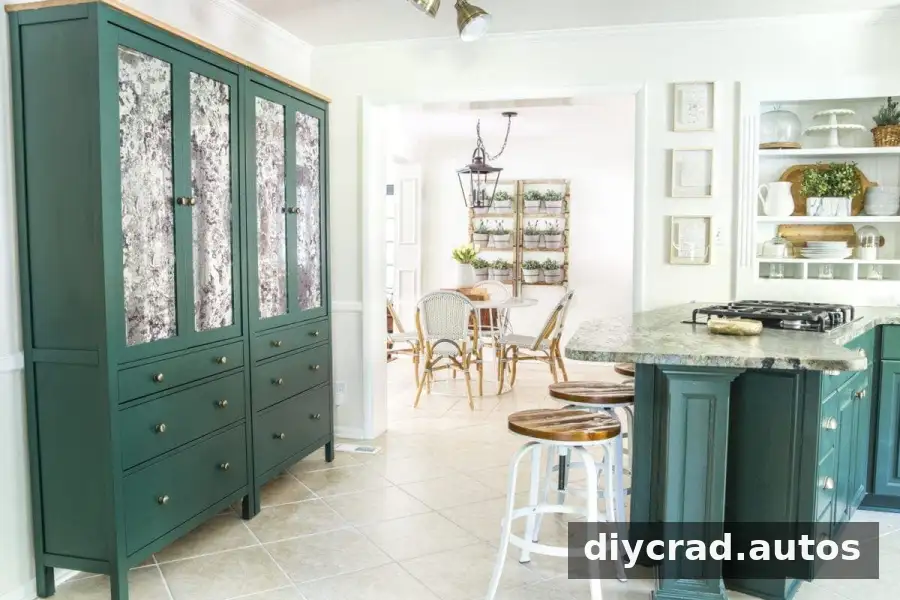
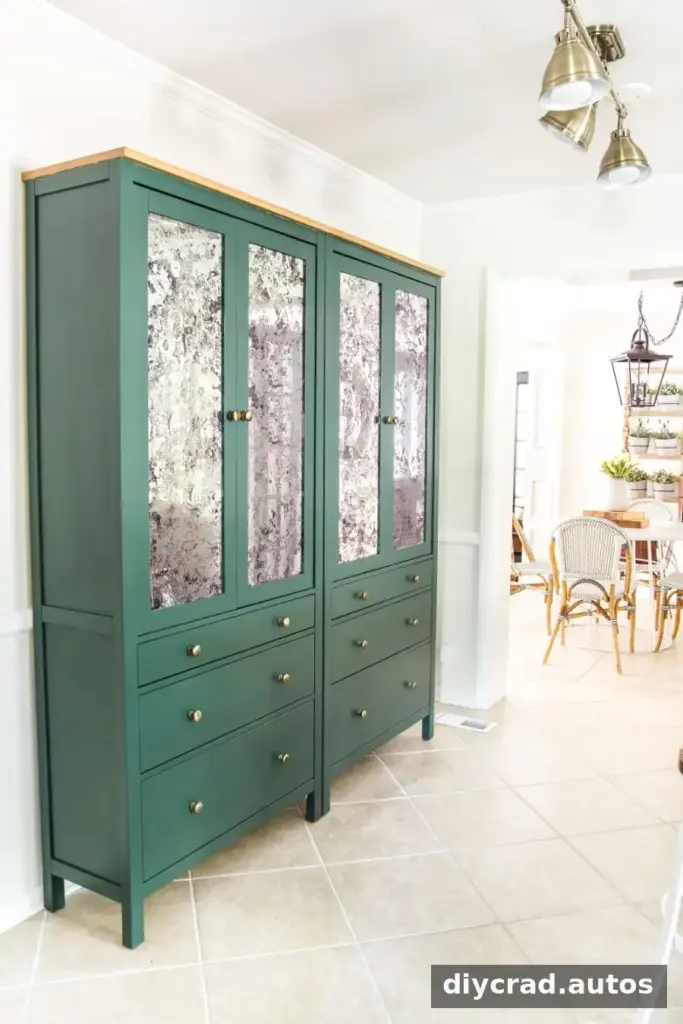
Before loading the pantry, check that the doors and drawers open freely and that the cabinet is stable. Place heavier items on lower shelves where practical, and avoid exceeding the cabinet’s stated weight limits.
DIY IKEA Pantry Cabinet FAQs
How do you paint IKEA furniture?
Prepare the surface, use an adhesion primer suited to the material, and apply cabinet or trim paint according to its label. Because finishes vary, check the cabinet care instructions and the primer and paint manufacturers’ recommendations before beginning.
How does the painted pantry cabinet hold up?
In this project, the antique mirror film had remained in good condition after two years. Painted areas that received liquid sandpaper and adhesion primer held up well, while some areas painted without primer showed scraping. The practical takeaway is to prepare the surface consistently and avoid skipping primer.
How can a freestanding pantry cupboard be organized?
Sort items by type and frequency of use, keep everyday products within easy reach, and review the arrangement after using it for a while. Small adjustments can help the system suit changing household needs without requiring a full reorganization.
A well-planned DIY IKEA pantry cabinet adds accessible storage while keeping the kitchen flexible. With careful surface preparation, a durable paint finish, neatly installed mirror film, and secure wall anchoring, Hemnes cabinets can serve as a practical freestanding pantry.