

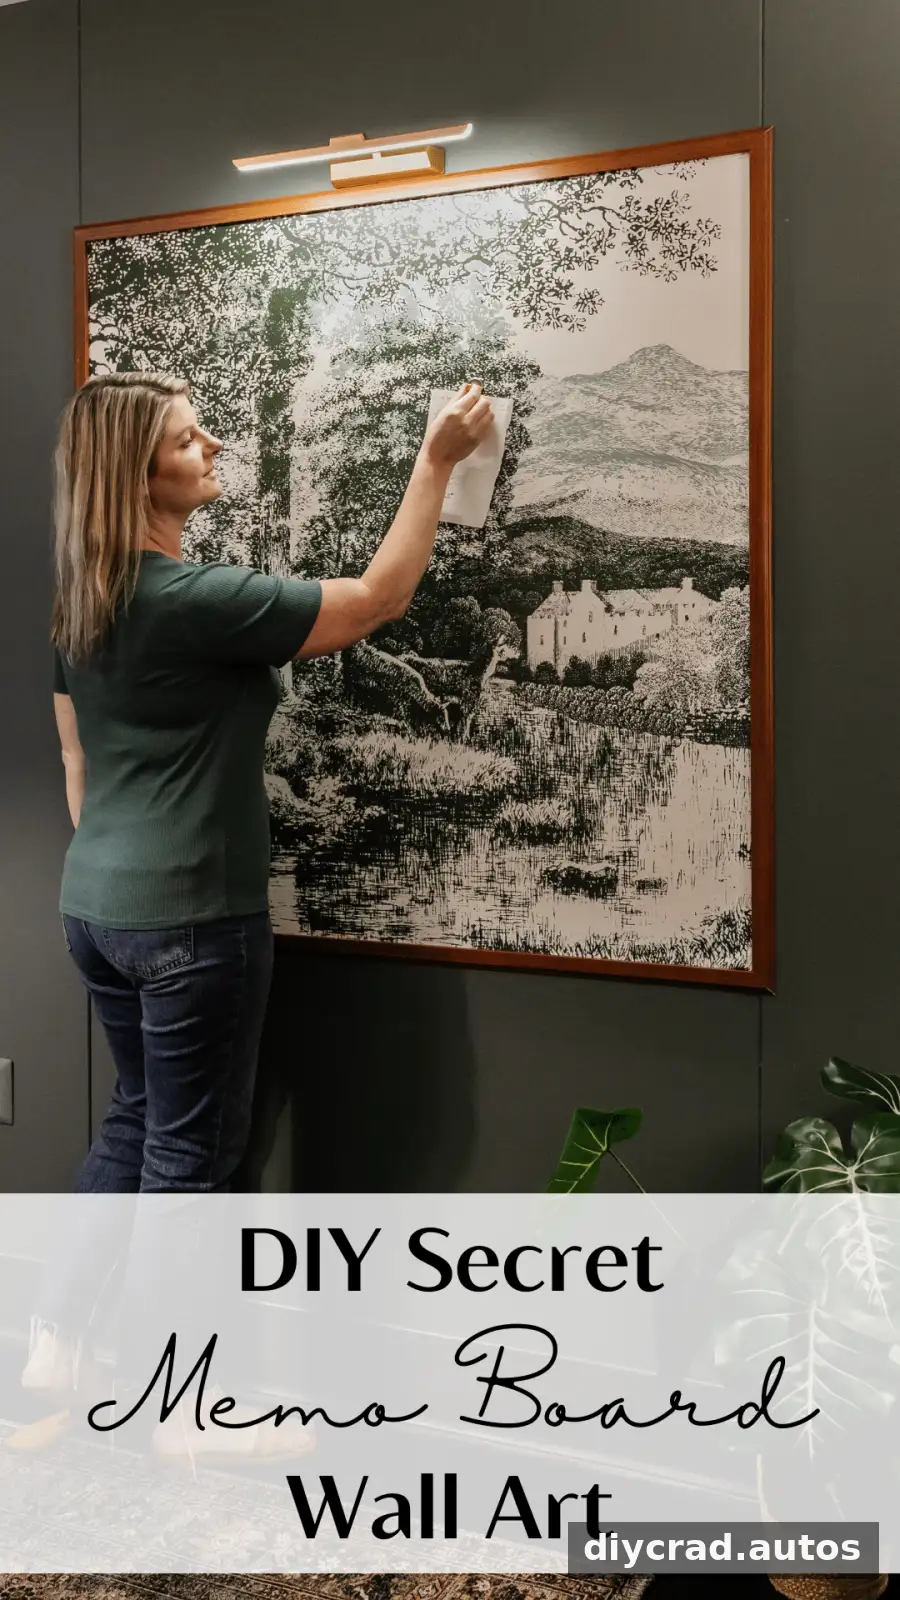
A DIY magnetic memo board can combine everyday organization with the look of framed vintage wall art. Made with sheet metal, a mural or wallpaper, and simple trim, this project creates a useful place for notes, invitations, and photos without making the wall feel like a typical bulletin board. Adjust the size and artwork to suit an entryway, office, kitchen, or another room.
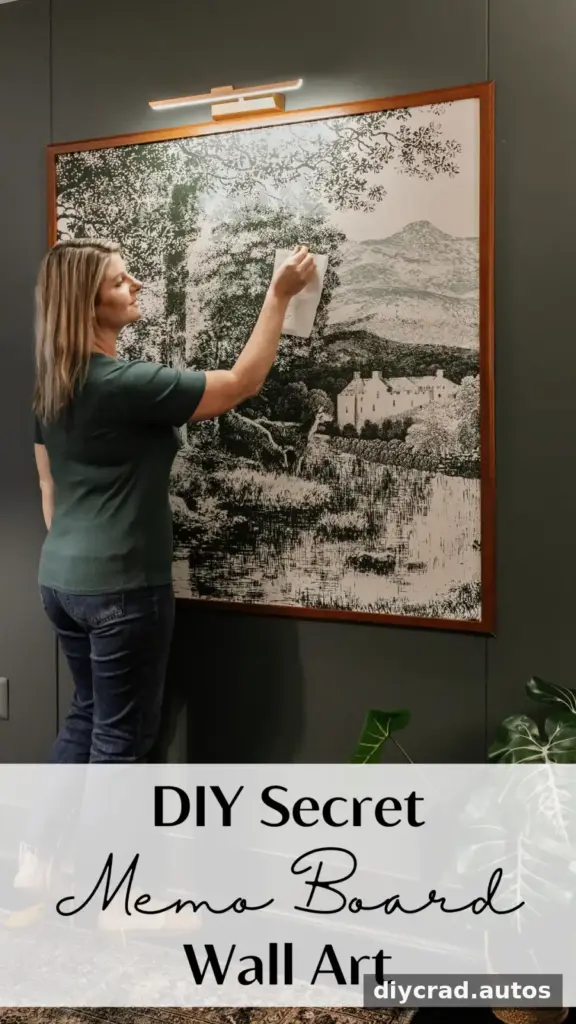
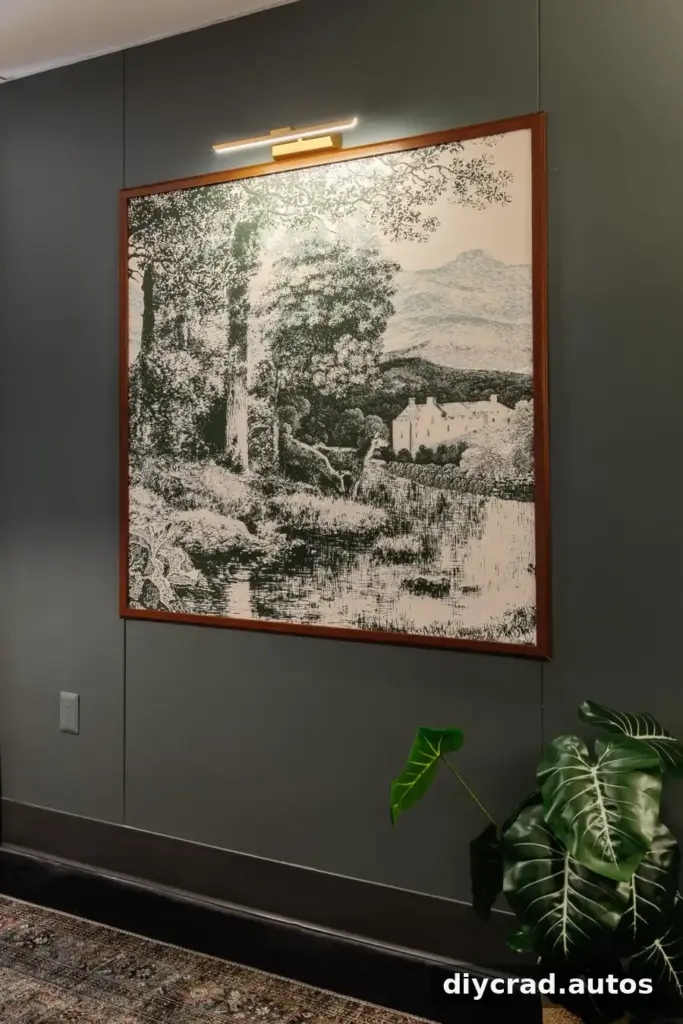
Without magnets or clips attached, the finished board can resemble a large framed print. Add magnetic clips when you need to display reminders and papers, then remove them when you want the artwork to take center stage.
Where to Use a DIY Magnetic Memo Board
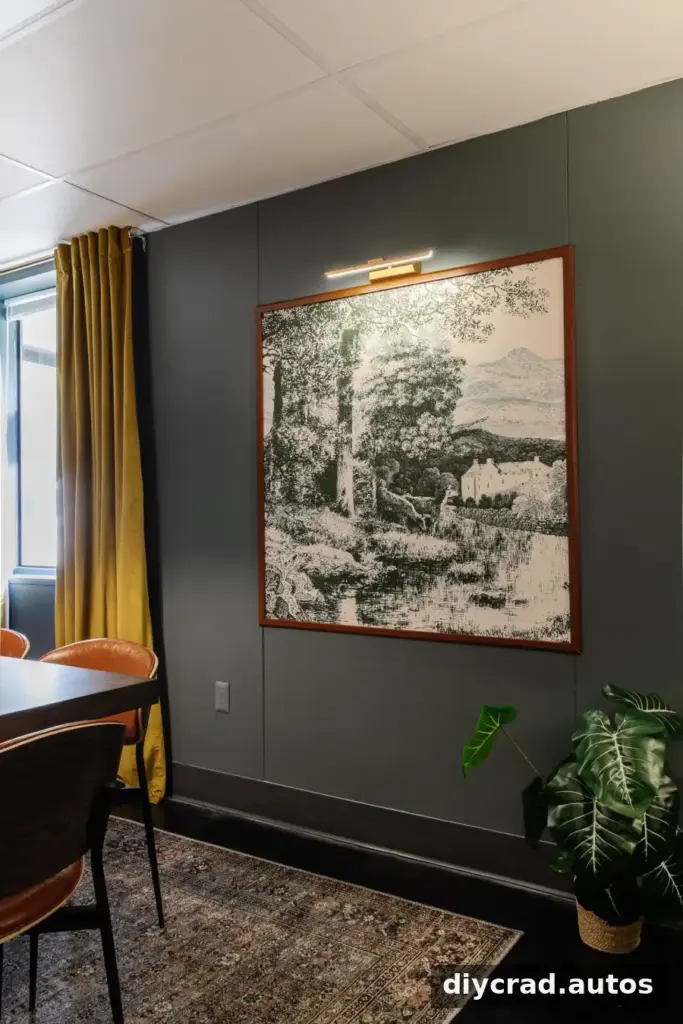
A magnetic memo board can help keep frequently used information visible in a home office, entryway, kitchen, playroom, or child’s bedroom. It can hold children’s artwork, invitations, shopping lists, bills, photographs, and brief notes.
Choose a mural, poster, wallpaper, or art decal that suits the room, and plan the board dimensions around the available wall space. Before buying materials, measure the intended area and consider what you expect to display so the finished board is both practical and visually balanced.
How to Make DIY Magnetic Memo Board Art
Materials
- 26-gauge zinc-plated sheet metal. The example uses two 24-by-48-inch sheets side by side to create a 48-by-48-inch board.
- A mural, poster, wallpaper, or art decal of your choice.
- PVC composite molding for the frame.
- Construction adhesive and a caulking gun, especially useful when joining multiple sheets.
- A putty knife, fine-grit sandpaper, paintbrush, and oil-based primer if using pasted wallpaper.
- Heavy-duty spray adhesive for attaching the artwork.
- Heavy-duty work gloves and multipurpose 1 1/2-inch #8 self-drilling screws.
- An optional wireless picture light.
Tools
- Power drill and driver bits, a large level, pencil, and tape measure.
- Scissors and a wallpaper smoothing tool.
- A miter saw and brad nailer, or a hand saw with a miter box and a hammer with brad nails.
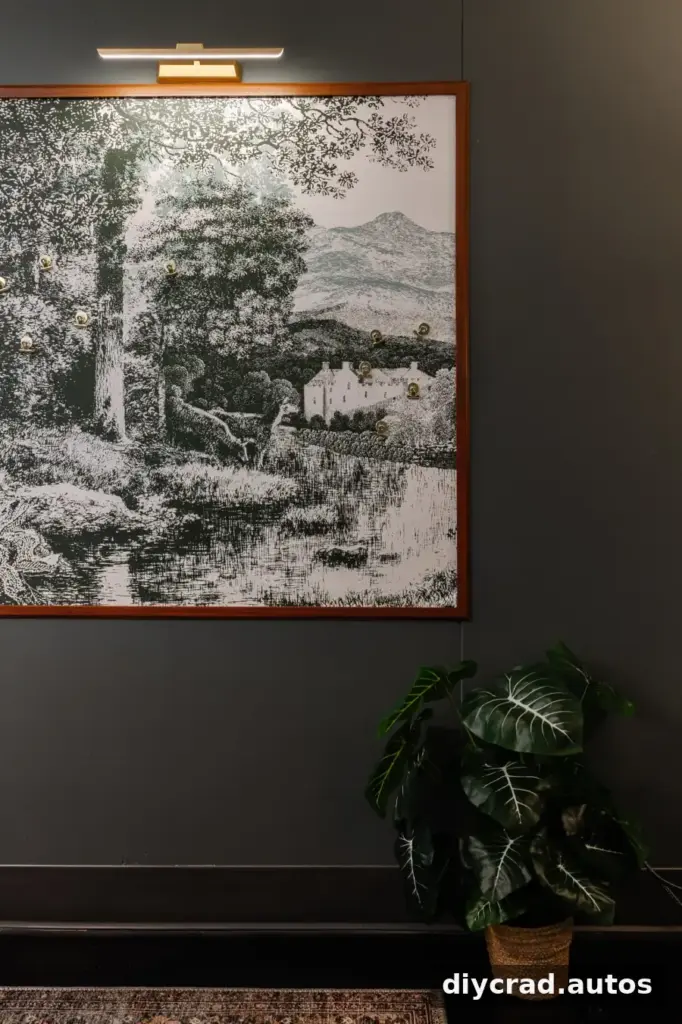
Step 1: Mark the Board’s Position
Use a level and pencil to mark the placement of the metal sheet or sheets. Securing the board to wall studs can provide support, particularly because the metal assembly can be heavy. A common height guideline is to position the board’s center about 60 inches from the floor. Check the measurements against the room and the people who will use it.
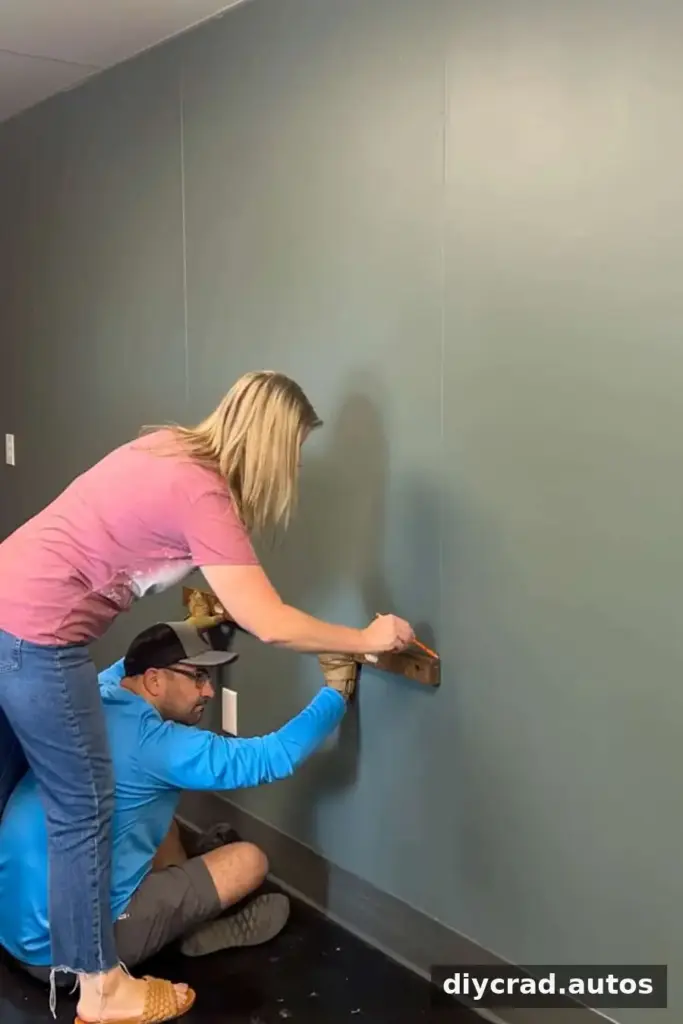
Step 2: Drill Pilot Holes
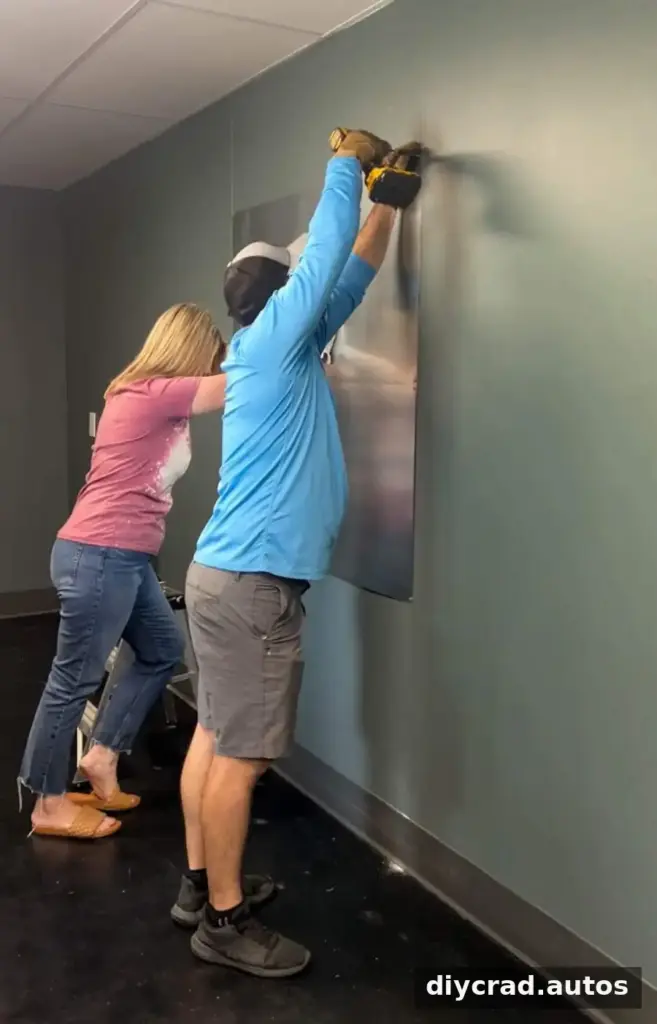
Before lifting the sheet into place, drill pilot holes at the corners or at points that align with studs. If you cannot fasten the board to studs, use suitable heavy-duty drywall anchors and follow their installation instructions.
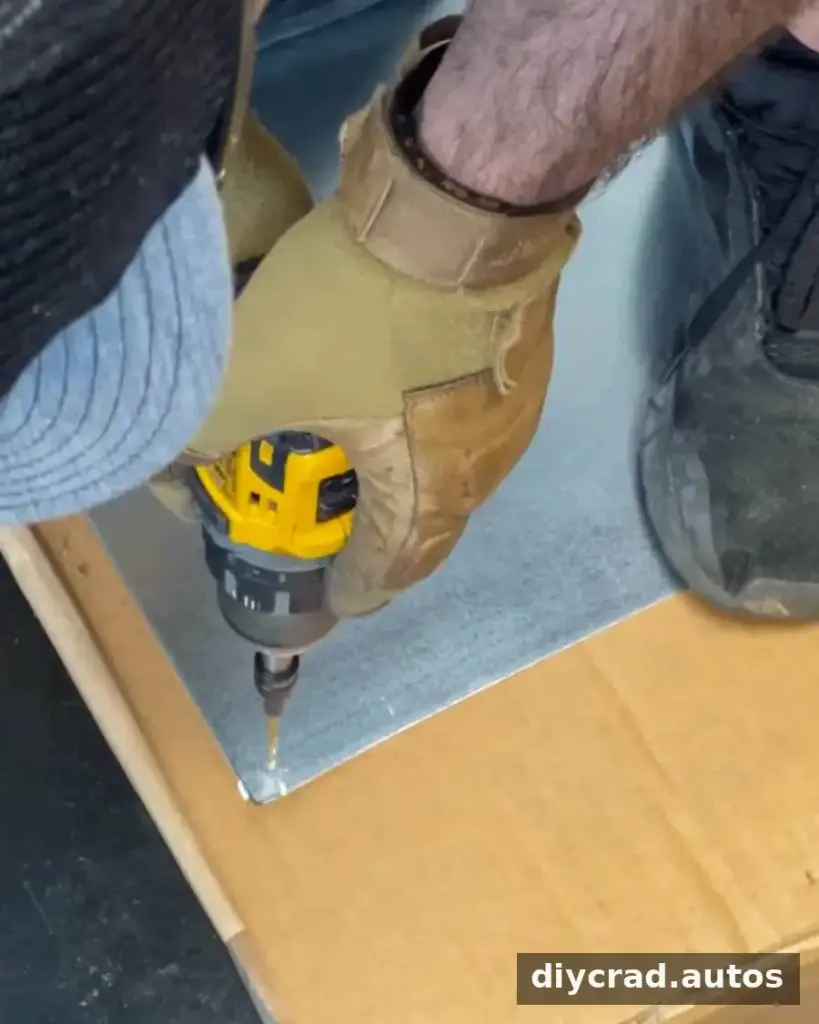
Step 3: Fasten the Metal Sheets
Wear heavy-duty gloves whenever handling sheet metal; its edges can cause cuts. Align the metal with your marks and secure it with screws through the pilot holes into the studs. If the design uses two sheets, position and fasten the second one alongside the first.
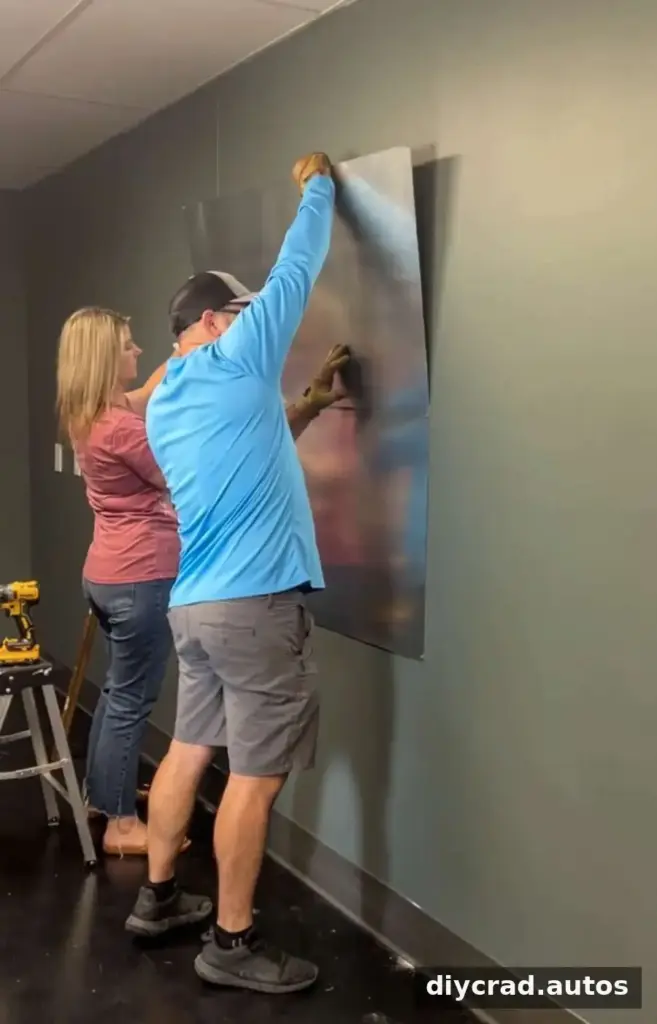
Step 4: Secure the Seams
Adjacent sheets may not sit perfectly flush and can bow away from the wall. Apply a line of heavy-duty construction adhesive along the sheet edges, press them into place, and remove excess adhesive with a putty knife and rag. Allow it to dry fully according to the product directions.
Applying adhesive across the entire back is another option, but it can make the installation difficult to remove and may damage drywall later. Consider how permanent you want the project to be before using adhesive over the full surface.
Step 5: Prepare the Surface
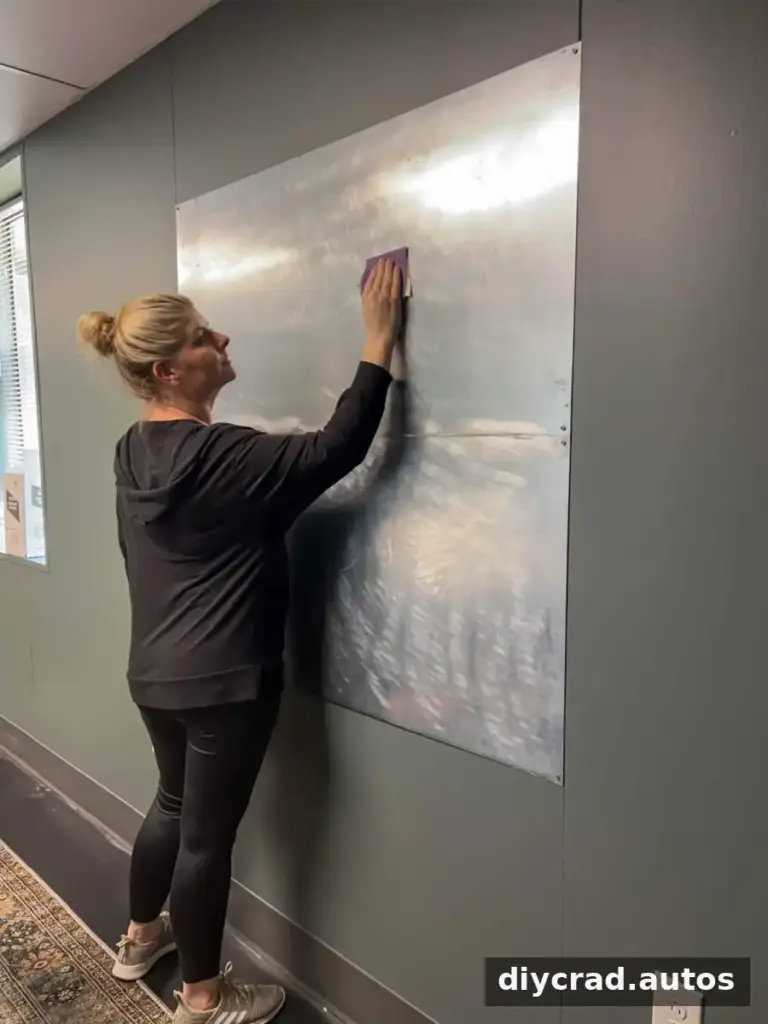
Lightly scuff the smooth metal with fine-grit sandpaper to help the covering adhere. Smooth any rough, dried adhesive as well, then remove dust before moving on. A clean, even surface helps reduce bumps beneath the artwork.
Step 6: Prime if Using Pasted Wallpaper
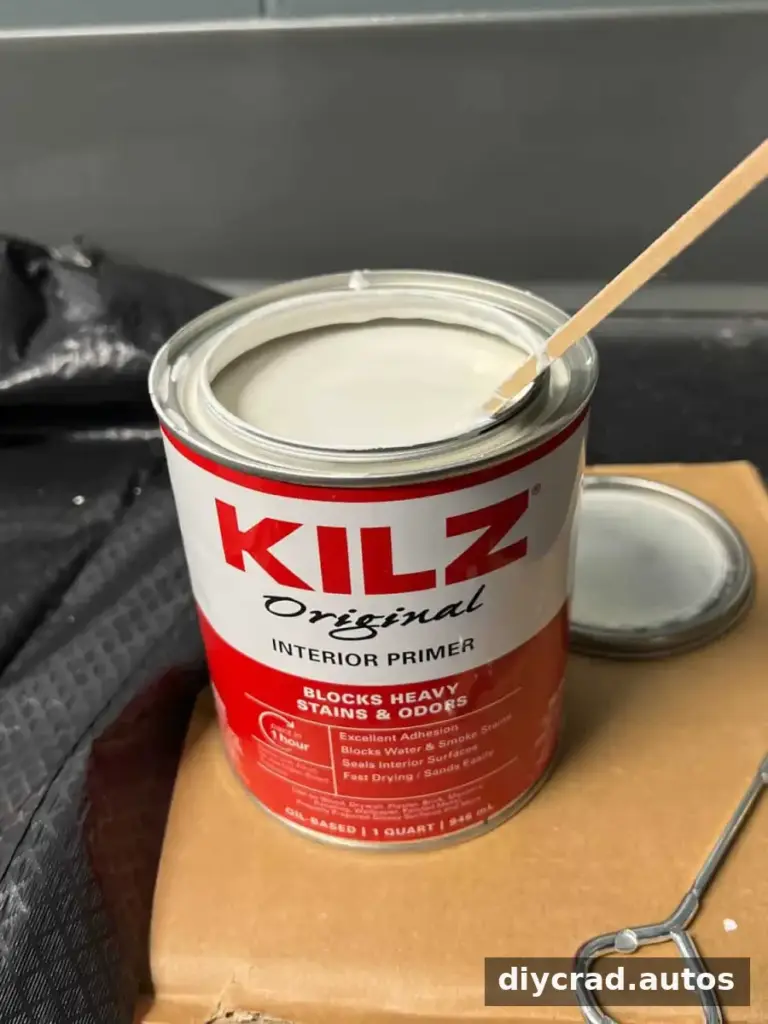
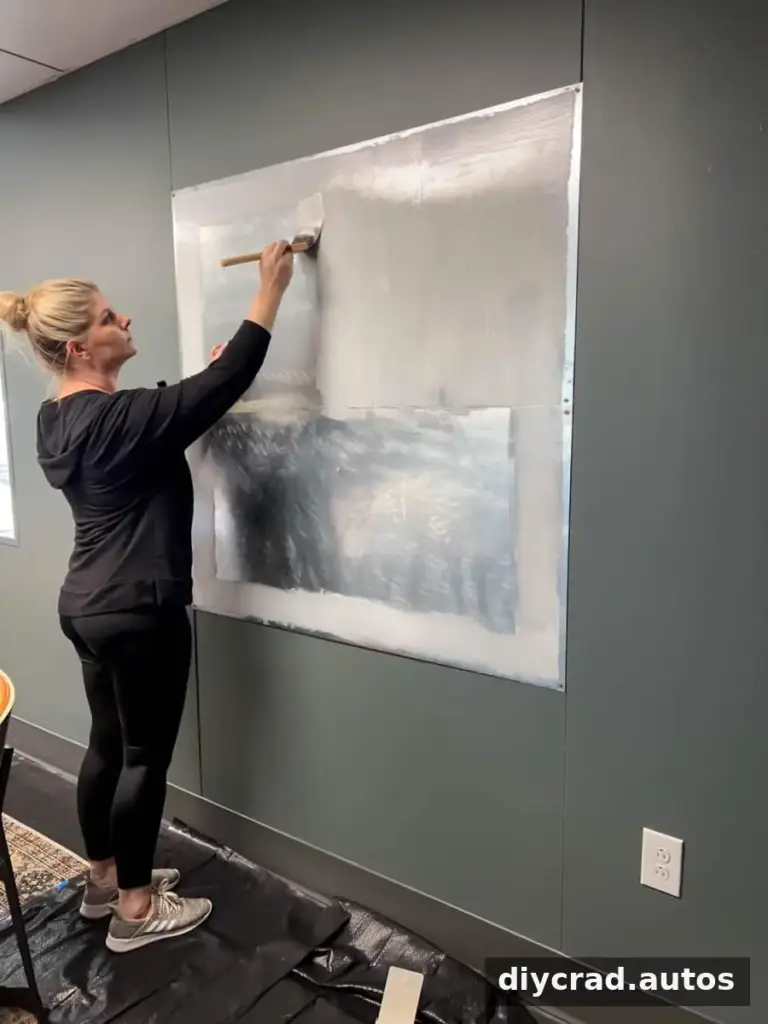
For pre-pasted or paste-the-wall wallpaper, apply one even coat of oil-based primer to the metal and let it dry. Primer helps prepare the surface for pasted wallpaper. Follow the primer label for application and drying guidance. Peel-and-stick wallpaper or decals do not require this priming step.
Step 7: Measure and Cut the Artwork
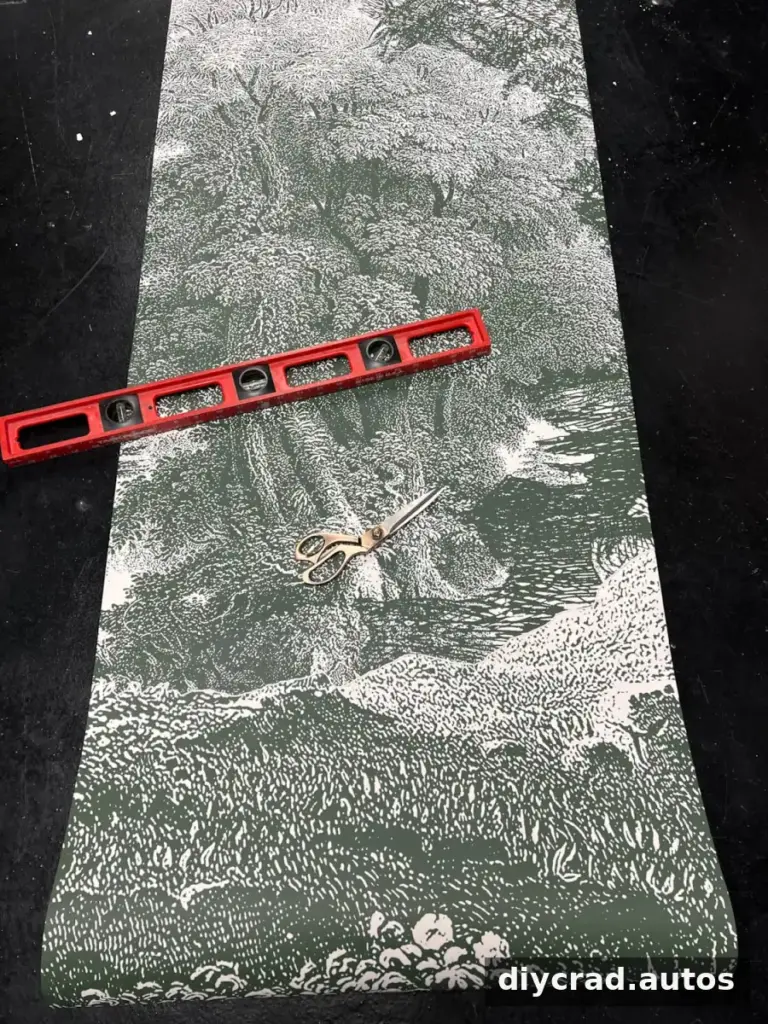
Measure the sheet metal, then subtract one inch from both the width and height of the covering. Mark and cut the mural or poster so about half an inch of metal remains exposed around the perimeter. Before cutting, check the direction and order of the panels so the image will align correctly.
Step 8: Apply Spray Adhesive
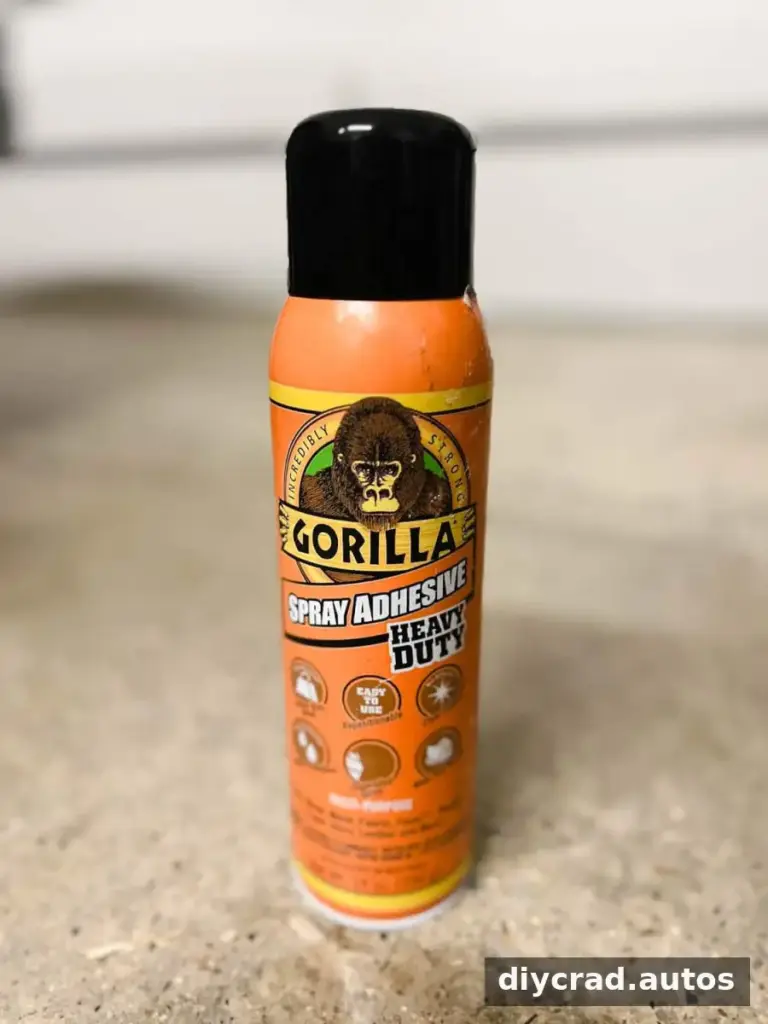
Apply a generous, even coat of spray adhesive to the metal, following the product’s instructions. Protect nearby surfaces and use the adhesive in a well-ventilated area.
Step 9: Attach the Mural or Poster
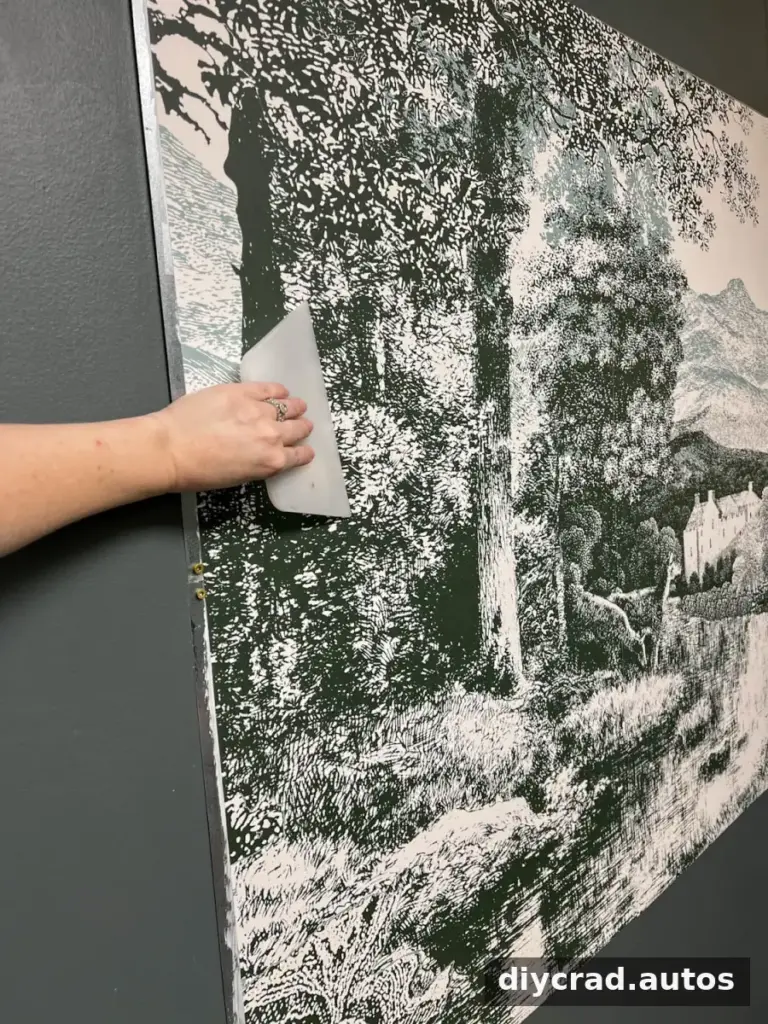
Having another person assist can make it easier to handle a large panel. Align one edge of the artwork with the metal and smooth that edge into place. While a helper holds the remaining section away from the surface, gradually press the artwork down with a wallpaper smoother, working out air bubbles as you go.
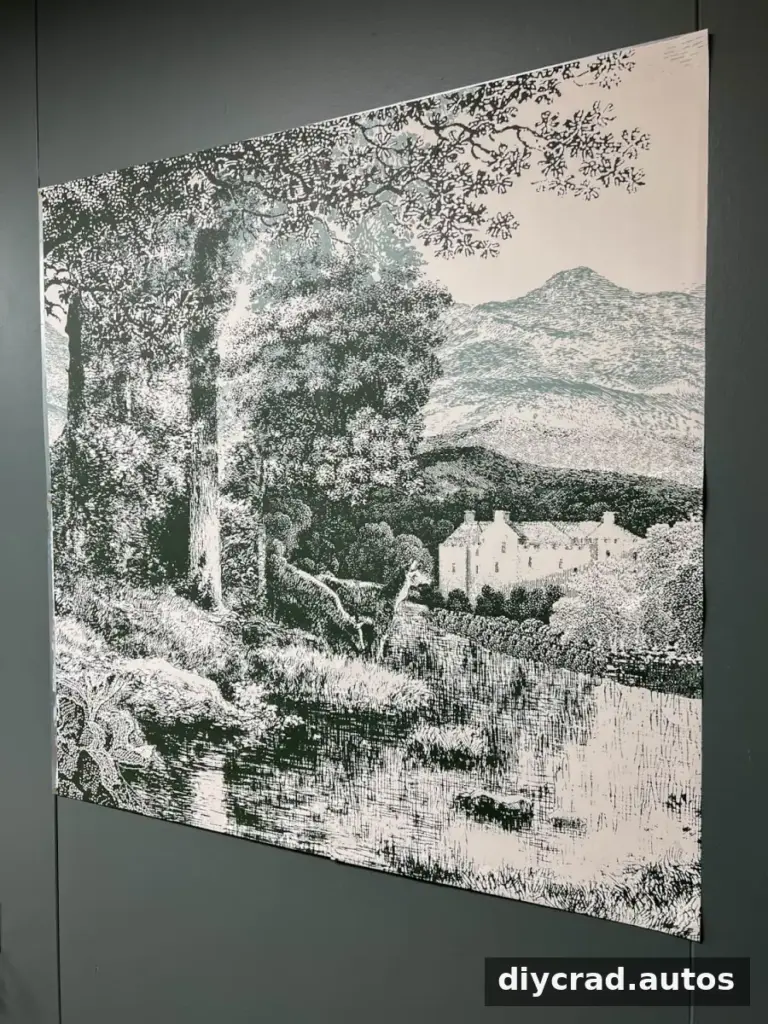
Repeat with additional panels, carefully matching the pattern where their edges meet. Take your time at the seams; small alignment errors can be noticeable across a large image.
Step 10: Add the Frame
Measure each side of the covered metal and transfer the dimensions to the PVC molding. Cut the corners at 45-degree angles to create a picture-frame effect, then attach the molding around the perimeter with a brad nailer. A hand saw and miter box can be used instead of power tools.
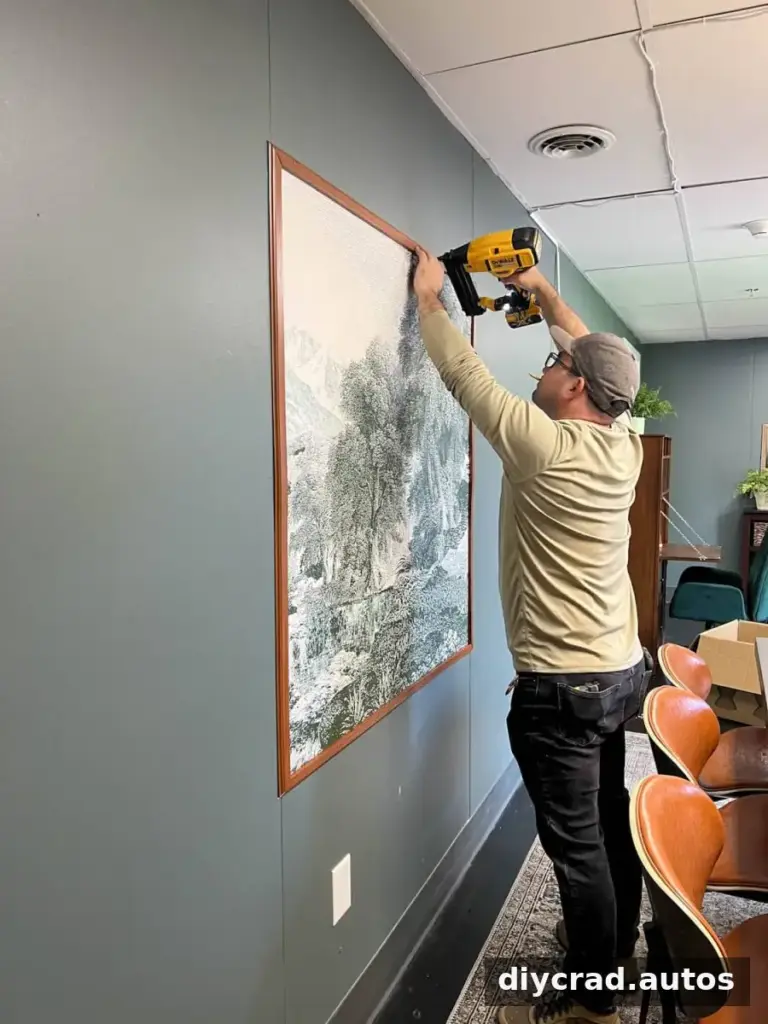
Step 11: Add an Optional Picture Light
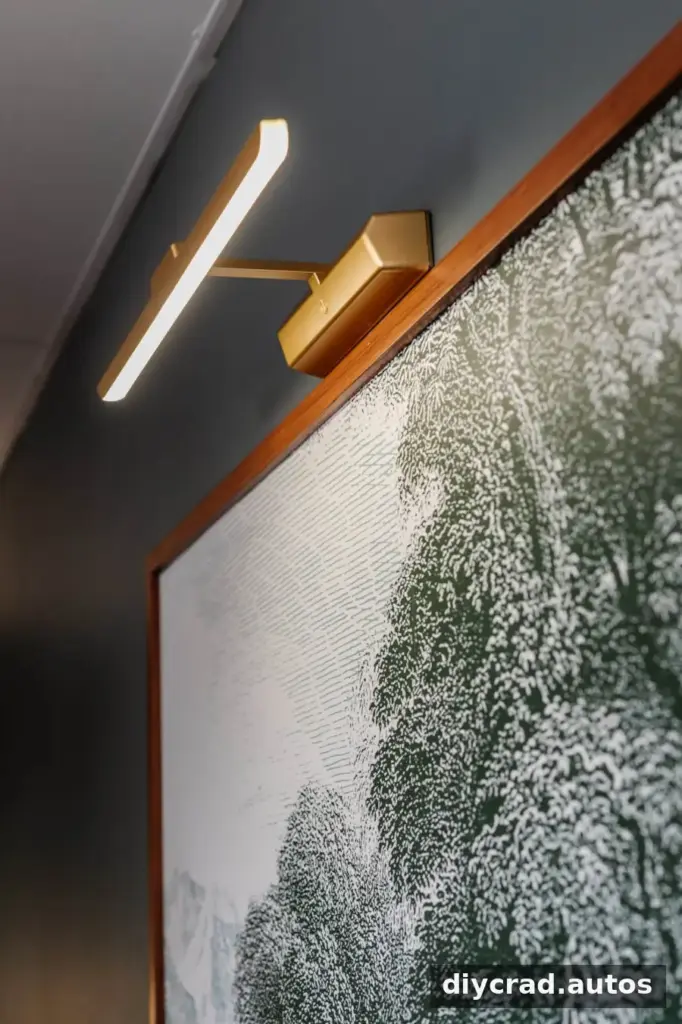
A picture light can give the finished board a more polished appearance and make displayed notes easier to read. A wireless light avoids a visible cord; if using a corded light, cord covers can help keep the cable tidy. Choose a placement that does not interfere with the frame or the items you plan to display.
A Faster Option: Peel-and-Stick Wall Art
For a simpler finish, use peel-and-stick wall art instead of pasted wallpaper. Apply the self-adhesive covering to the prepared metal, or use it to refresh an existing memo board. This approach can avoid the priming and wallpaper-pasting steps, though it is still important to follow the covering’s instructions and smooth it carefully.

Once the frame is in place, add magnetic clips to display papers without covering the artwork permanently. The result is a large, functional display that can be updated as needs change. With thoughtful measuring, secure mounting, and careful application of the covering, a DIY magnetic memo board can bring practical organization and vintage-inspired style to the same wall.

