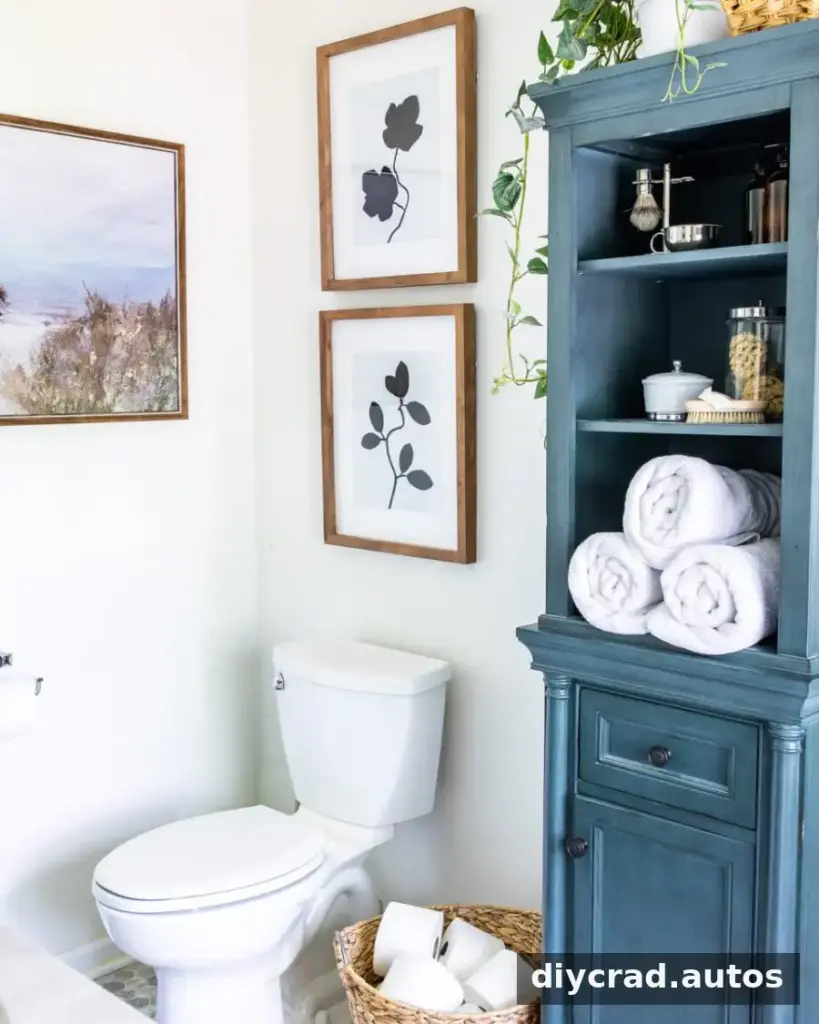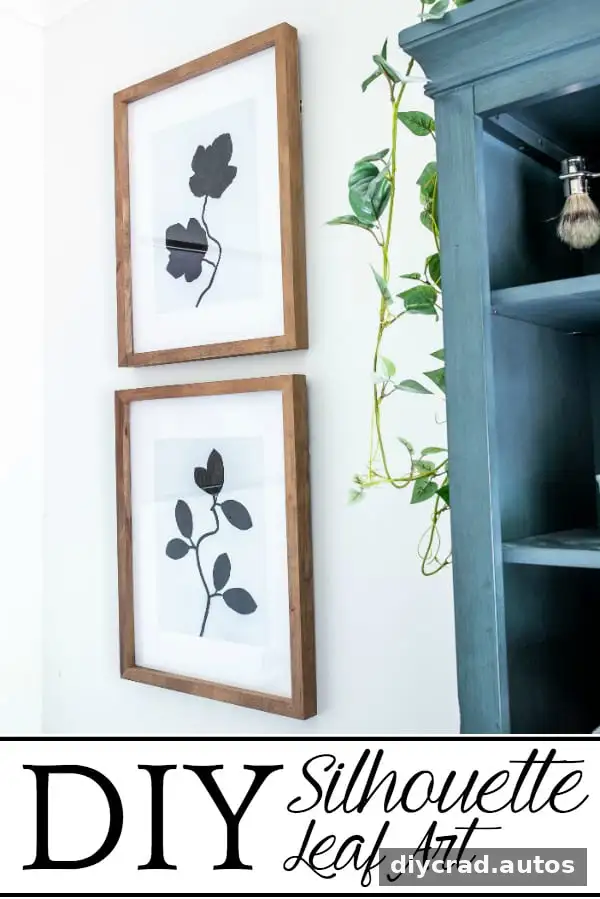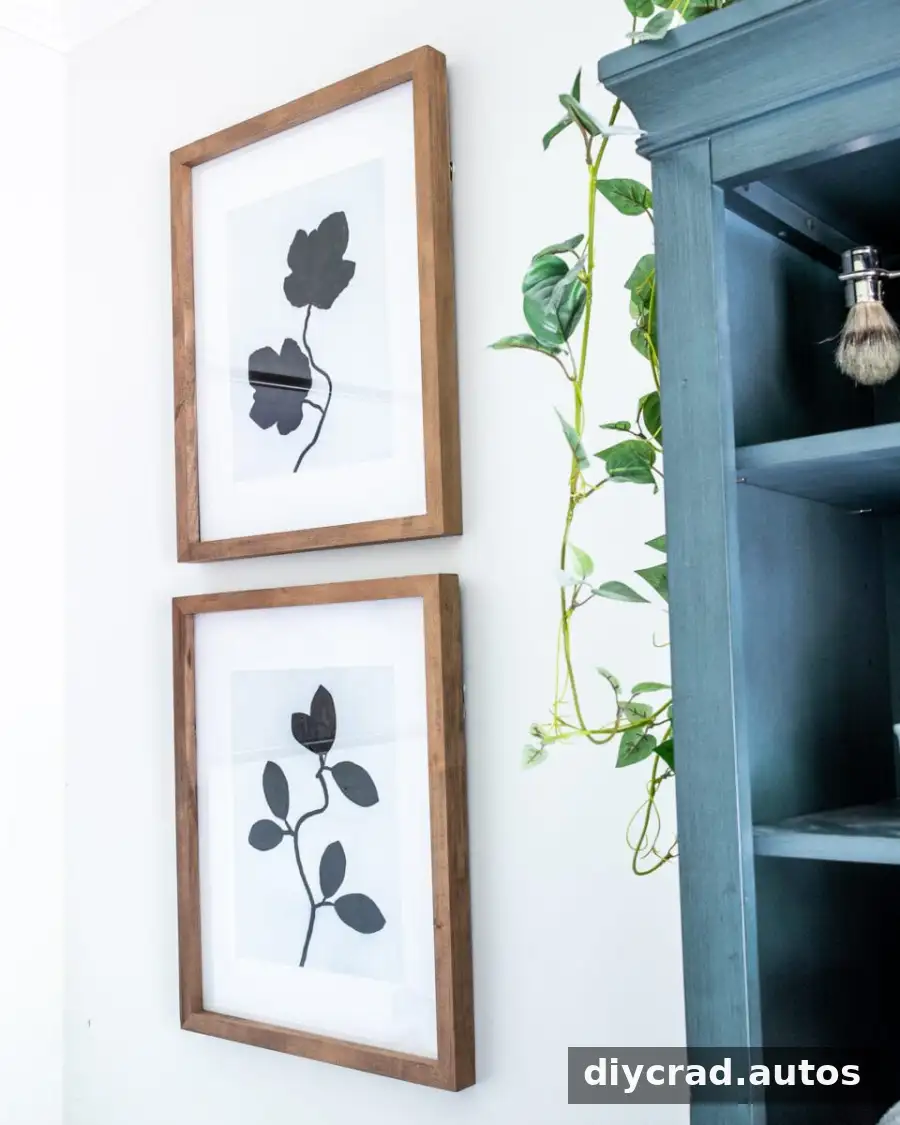
DIY silhouette leaf art is an easy way to create modern botanical wall decor using leaves, spray paint, and paper. Choose leaves with distinct shapes, arrange them into a simple composition, and paint over them to leave a contrasting outline. The method is beginner-friendly, and small adjustments—such as securing the leaves and choosing which side faces the paper—can help produce a cleaner result.
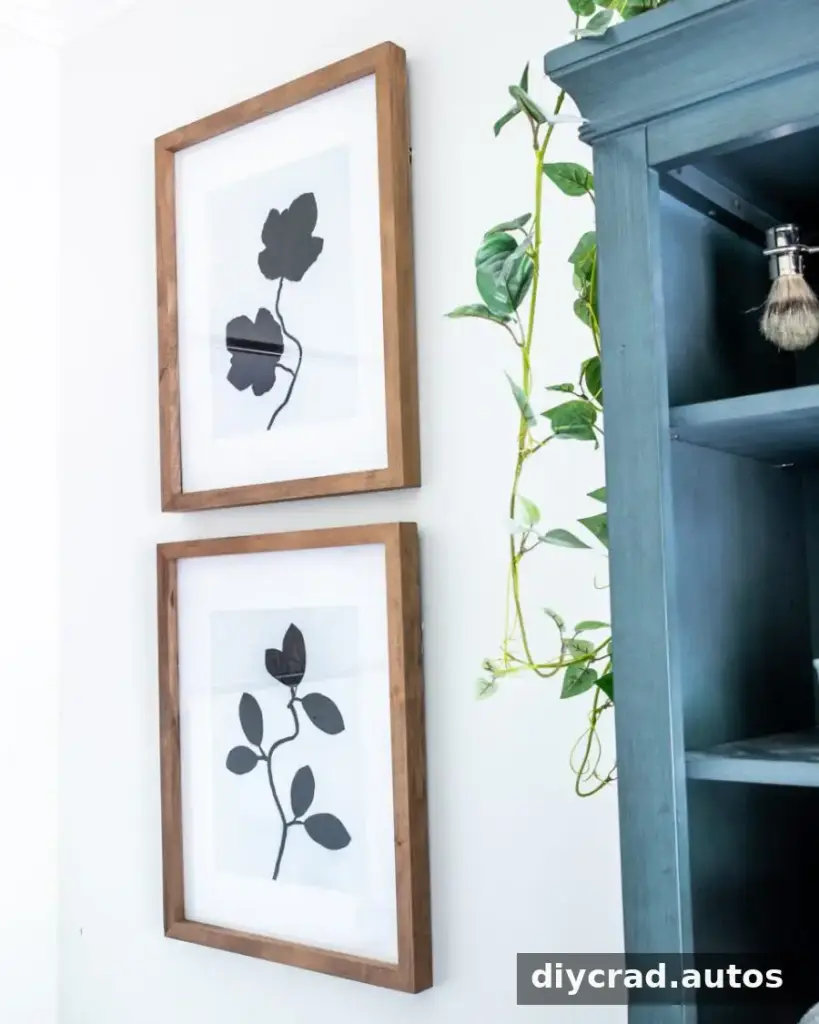
DIY Silhouette Leaf Art: Supplies and Preparation
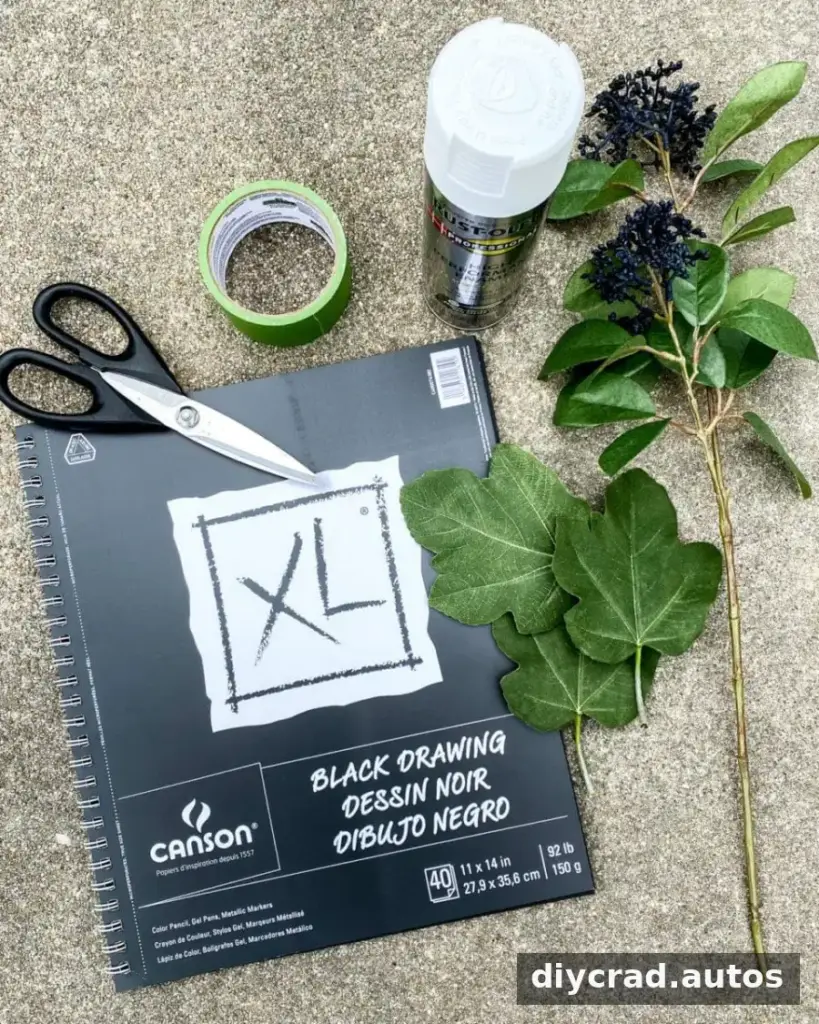
Gather the materials before you begin so the leaves stay in place while you work. You will need:
- Extra-large sketch paper, including black paper if you want a dark background
- Real or artificial leaves and stems
- Spray paint in a color that contrasts with the paper
- A small or medium artist’s brush
- Acrylic or mineral paint for refining the leaf shapes
- Painter’s tape or temporary spray adhesive
- A drop cloth
- A frame in a suitable size
Use a drop cloth to protect the work surface, and spray paint outdoors in a well-ventilated area. Follow the paint label for handling and drying instructions. If you are unsure how the paint will look on your paper, test it on a small scrap first.
How to Make Leaf Silhouette Art
1. Arrange the leaves
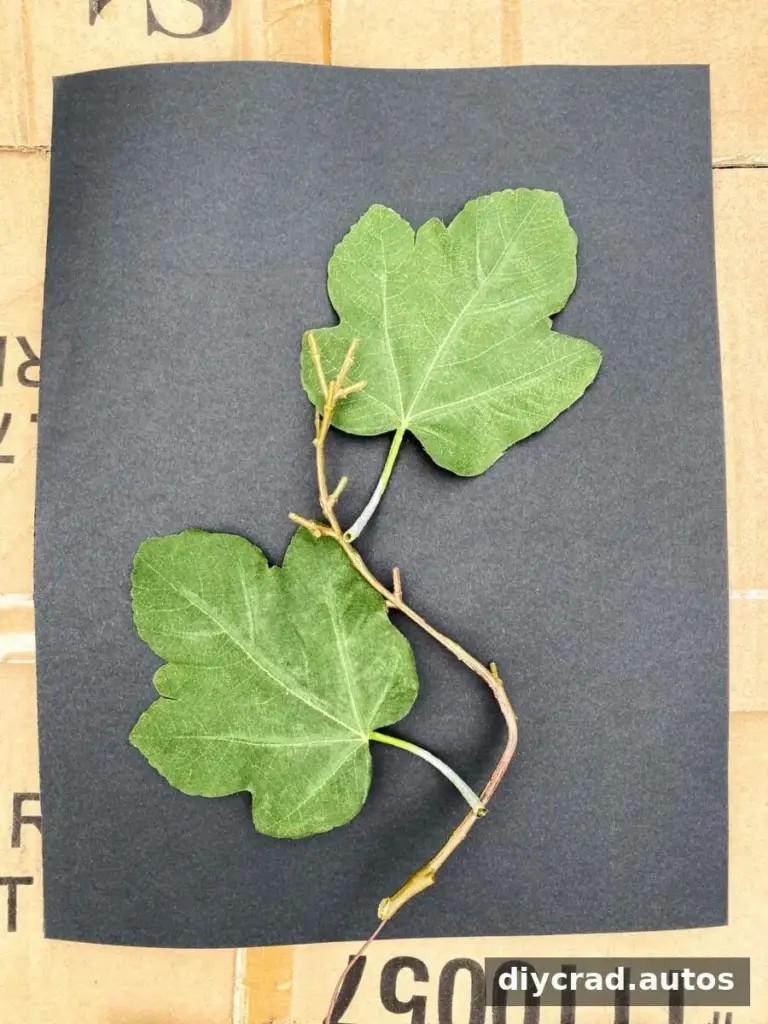
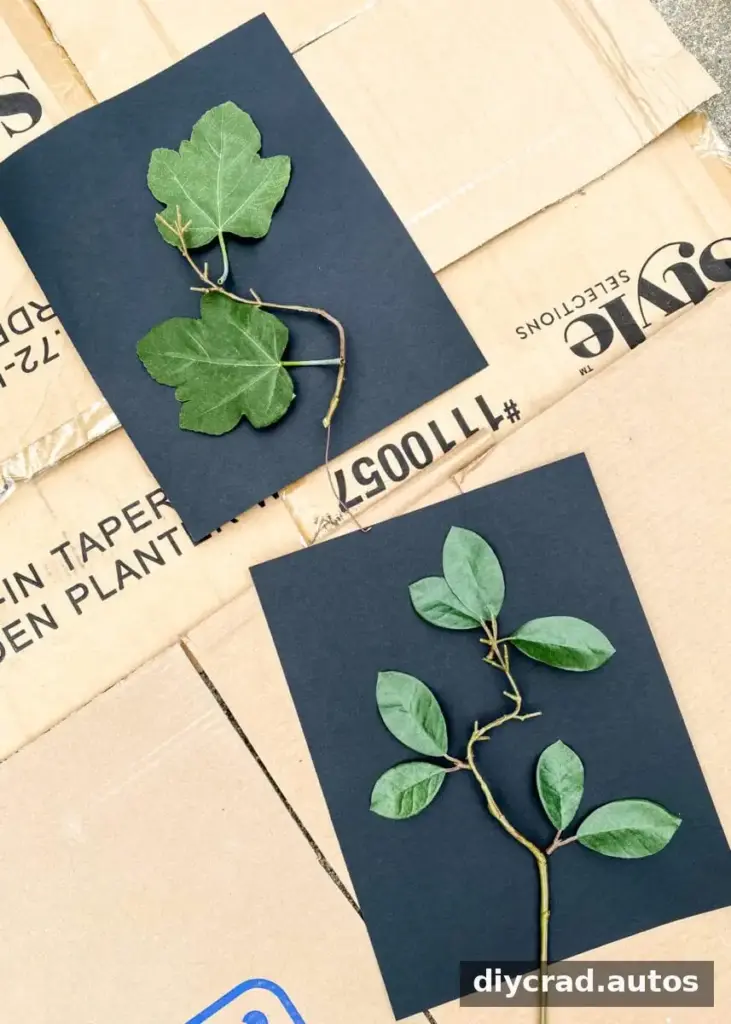
Place the paper on the drop cloth outside. Arrange the leaves and stems on top in a composition you like. Try turning the leaves upside down so they sit more closely against the paper; better contact can help create a more defined silhouette. Before painting, check the spacing and direction of each stem.
2. Secure the design
When the arrangement is ready, hold the leaves in place with temporary spray adhesive or small pieces of painter’s tape. Adhesive can help keep edges flat, while tape is a convenient alternative if you do not have spray adhesive. Use only enough to prevent movement, and avoid covering the areas you want to paint.
3. Apply the spray paint
Spray an even coat over the paper and leaves. Keep the can at the distance recommended on its label, and use light passes rather than concentrating paint in one spot. This can reduce pooling and help the background dry more evenly. Let the paint dry as directed before handling the paper.
4. Lift away the leaves
Carefully remove the leaves and tape or adhesive to reveal the shapes underneath. Peel slowly to avoid tearing the paper. If a leaf has shifted or its outline looks soft, do not worry: the design can often be improved with a small amount of paint and a brush.
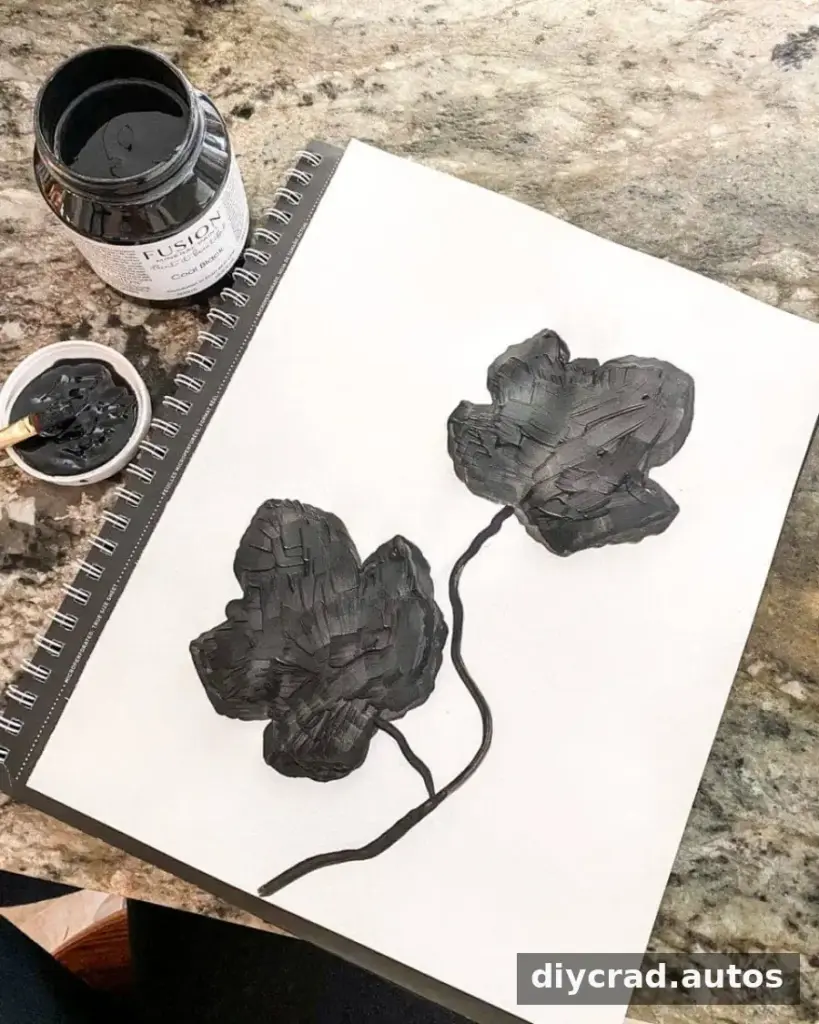
5. Refine the silhouettes if needed
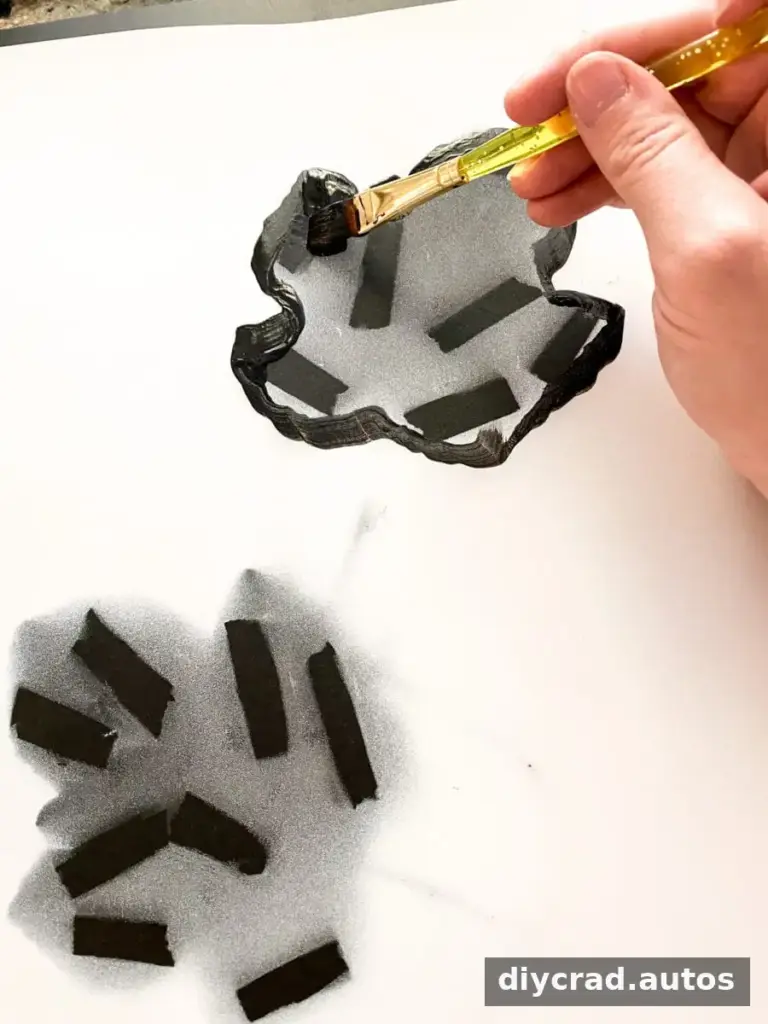
Use an artist’s brush and a little acrylic or mineral paint to outline or fill areas where the leaf shapes are faint. Work gradually, following the natural edges of each leaf. A fine brush is useful for narrow tips and stems; step back occasionally to check that the whole composition still looks balanced.
6. Dry and frame the artwork
Allow any touch-ups to dry fully before placing the paper in a frame. Choose a frame that fits the paper without pressing against wet paint. A simple frame can keep the focus on the botanical shapes and make the finished piece easy to coordinate with other room decor.
Tips for a Neater Finish
- Choose leaves with clear, recognizable outlines, such as ferns or broad leaves.
- Keep the layout simple if the paper or frame is small; overlapping shapes can be harder to distinguish.
- Use contrasting paint and paper colors so the silhouettes are easy to see.
- Secure delicate or curled leaves carefully, since raised edges may allow paint to spread underneath.
- Let each layer dry before adding paint by hand or framing the finished print.
This project can be adapted with different leaves, stems, paint colors, and frame styles. Similar silhouette artwork can sometimes cost around $300 per piece, while making your own lets you customize the size and palette. With a little care during placement and painting, DIY silhouette leaf art can become a simple, personal addition to a bathroom, bedroom, or gallery wall.