A DIY sunburst mirror light fixture can turn a simple flush mount into a distinctive ceiling feature. This project pairs a sunburst mirror frame with a basic light to create a larger, decorative look without buying a designer fixture. The makeover described here took about two hours and was planned for a playroom where a flush mount offered more flexibility than a pendant light.
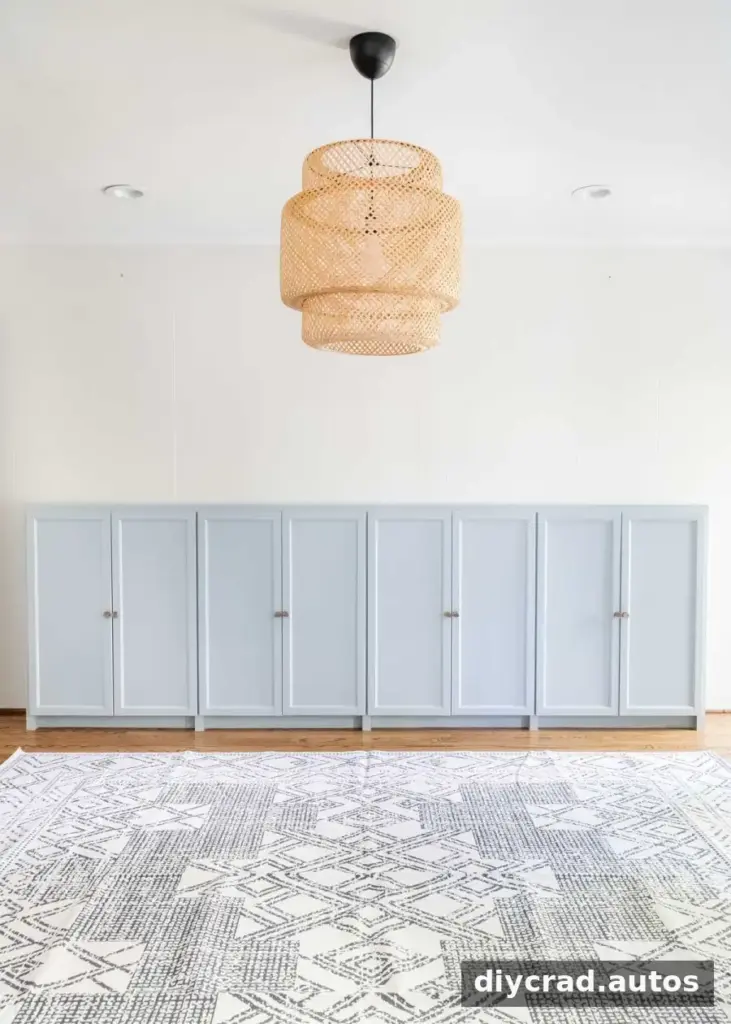
The room’s furniture layout was changing, so a table would not always sit beneath the light. A flush mount made more sense for the space, while the existing woven pendant did not suit the style planned for the room. The built-in cabinets had also been updated with doors and painted Romabio Carolina Sky, a blue-grey color.
DIY Sunburst Mirror Light Fixture: Supplies
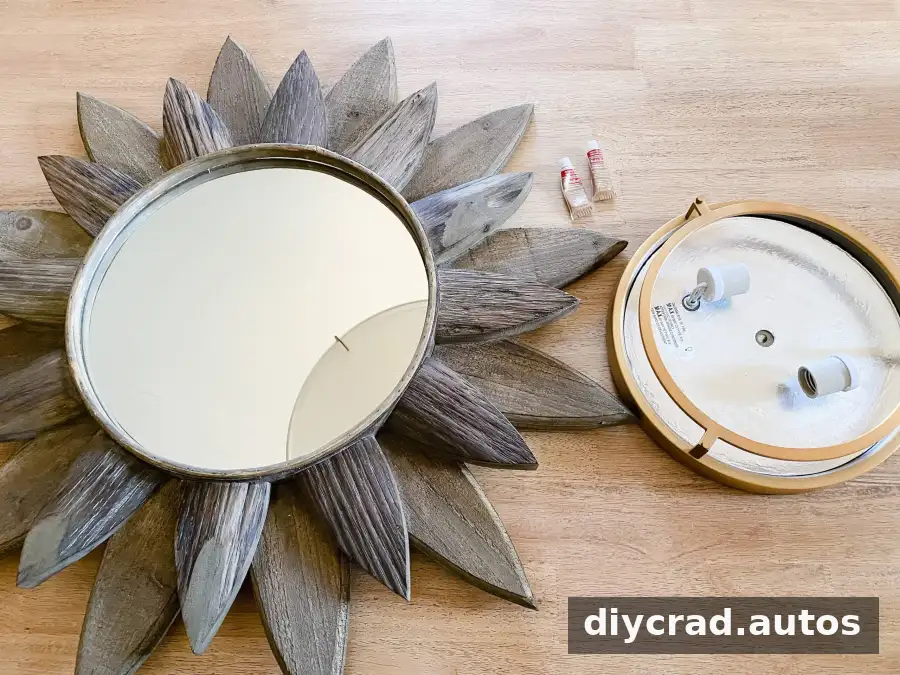
Choose a sunburst mirror frame that can be separated from its glass and a flush mount fixture that is slightly smaller than the mirror glass. This size relationship leaves space for the frame to surround the light. Before purchasing, check that the frame can be safely attached to the ceiling and that the light is suitable for the location.
- Sunburst mirror
- Flush mount light fixture, slightly smaller than the diameter of the mirror glass
- Screwdriver
- Gold spray paint, if the mirror frame needs painting
- Rub n Buff Antique Gold
- Small paint brush
- Stud finder
- 2-inch drywall screws; use fasteners suitable for the frame, ceiling, and overhead installation
How to Make the Sunburst Mirror Light
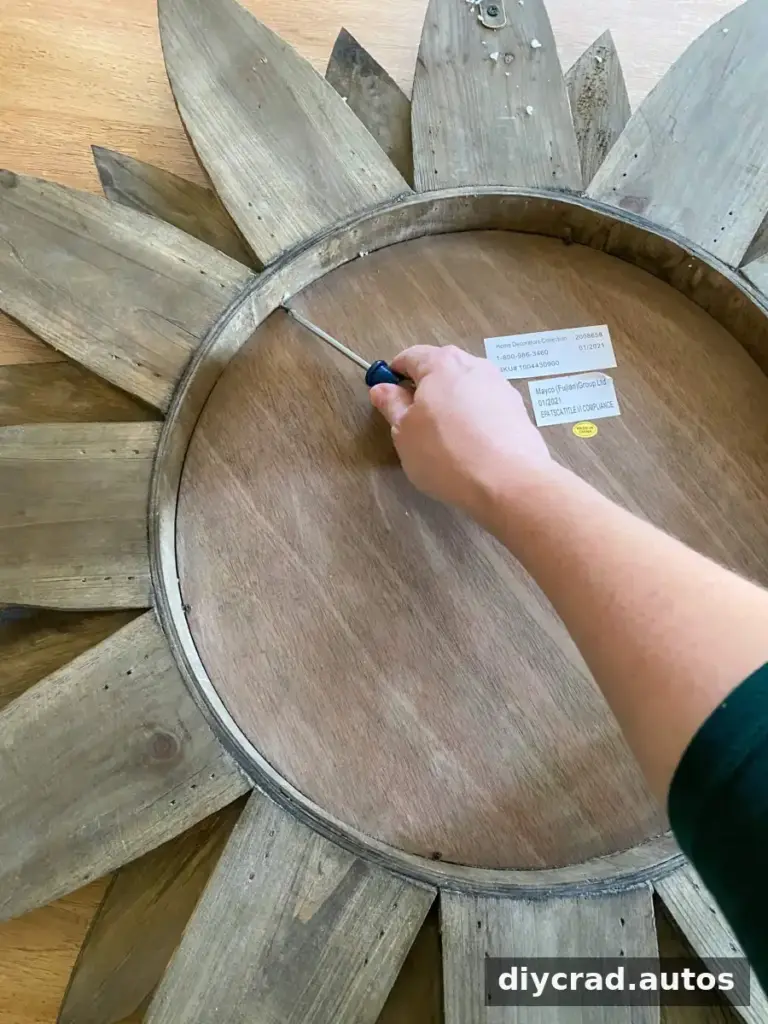
- Remove the mirror glass. Turn the sunburst mirror over and loosen the screws on its back with a screwdriver. Set the glass aside carefully so it does not get damaged.
- Finish the frame. If the frame needs color, apply gold spray paint. Once it is dry, add Rub n Buff Antique Gold with a small brush if you want extra depth. A wooden frame was treated with both finishes for fuller coverage; an already-gold frame may not need spray paint.
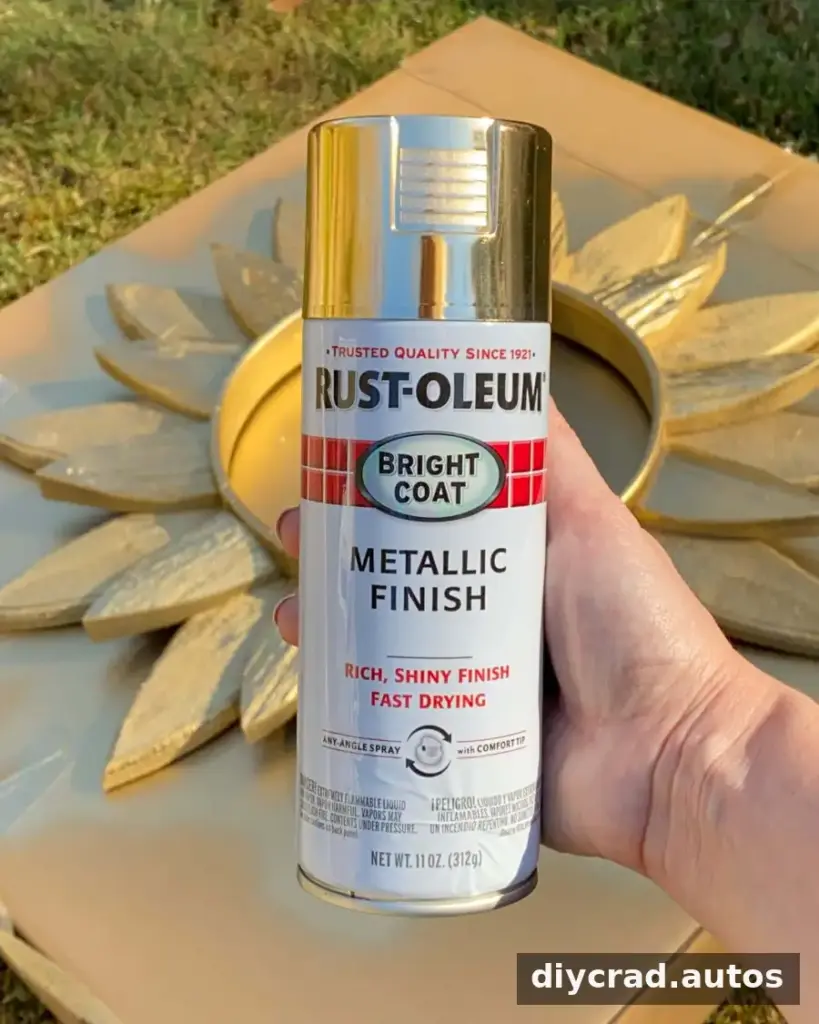
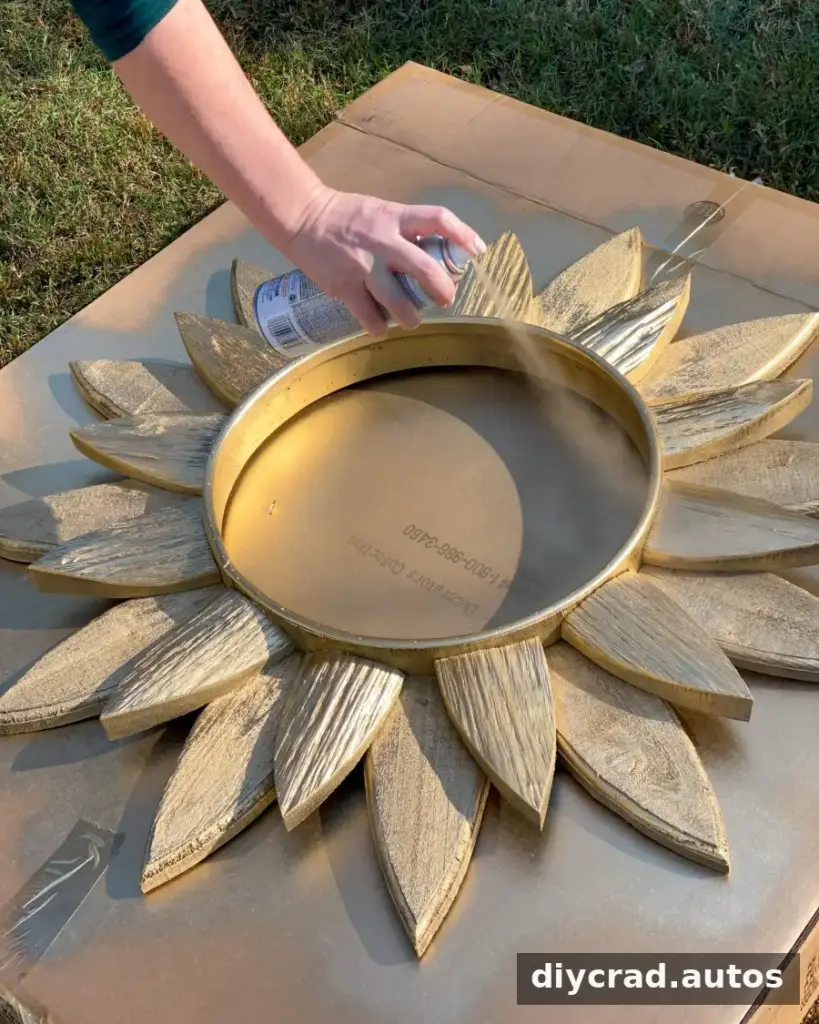
Follow the paint product directions, including any drying time, before mounting the frame. Applying finishes before installation also makes it easier to reach the edges evenly.
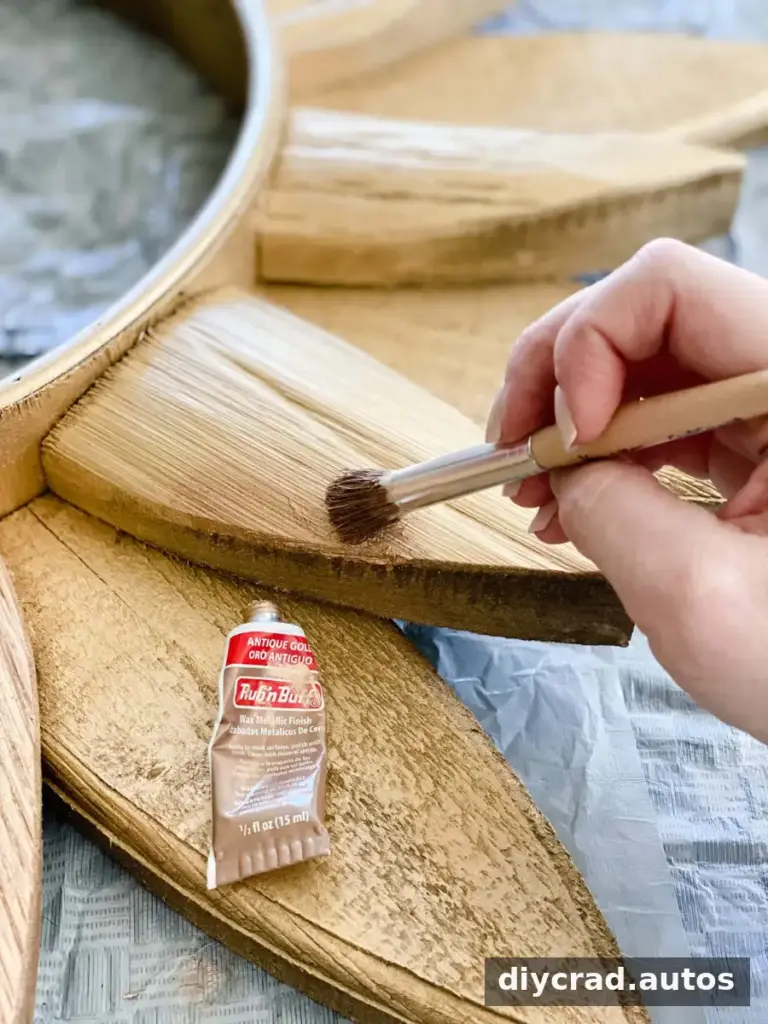
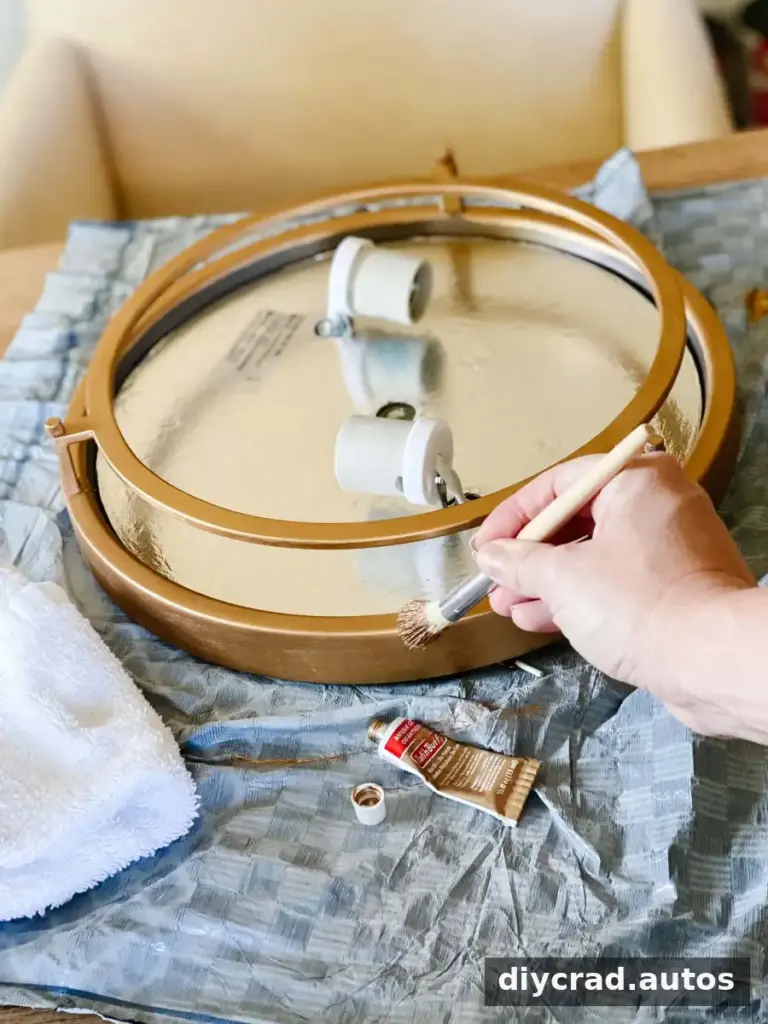
- Coordinate the light’s visible metal. Apply Rub n Buff Antique Gold to any metal parts that will remain visible, so the flush mount and mirror frame have a more cohesive appearance. Keep paint and finish away from electrical parts and the light source.
- Install the flush mount. Turn off power at the circuit breaker before working on the ceiling. Install the fixture according to its manufacturer’s instructions. If you are unsure about wiring or the fixture’s compatibility, have a qualified electrician do this step.
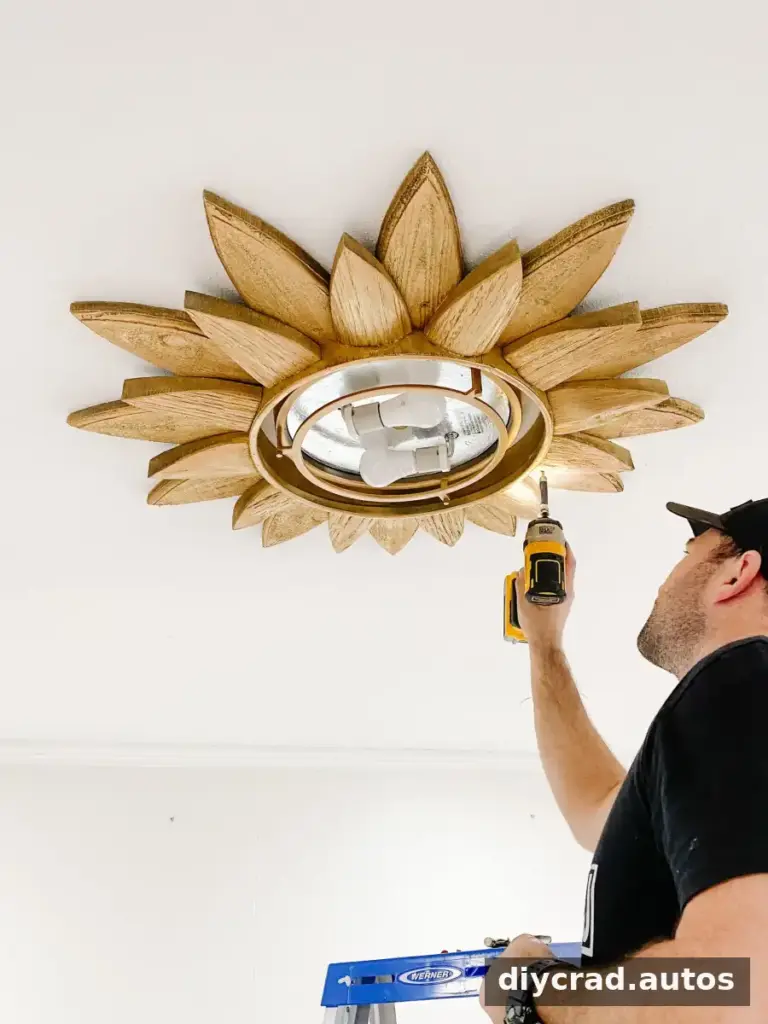
- Attach the mirror frame. Use a stud finder to locate ceiling framing, then position the frame around the installed light. Secure it to the ceiling with appropriate fasteners anchored into the framing. Make sure the frame does not obstruct the fixture or its access points.
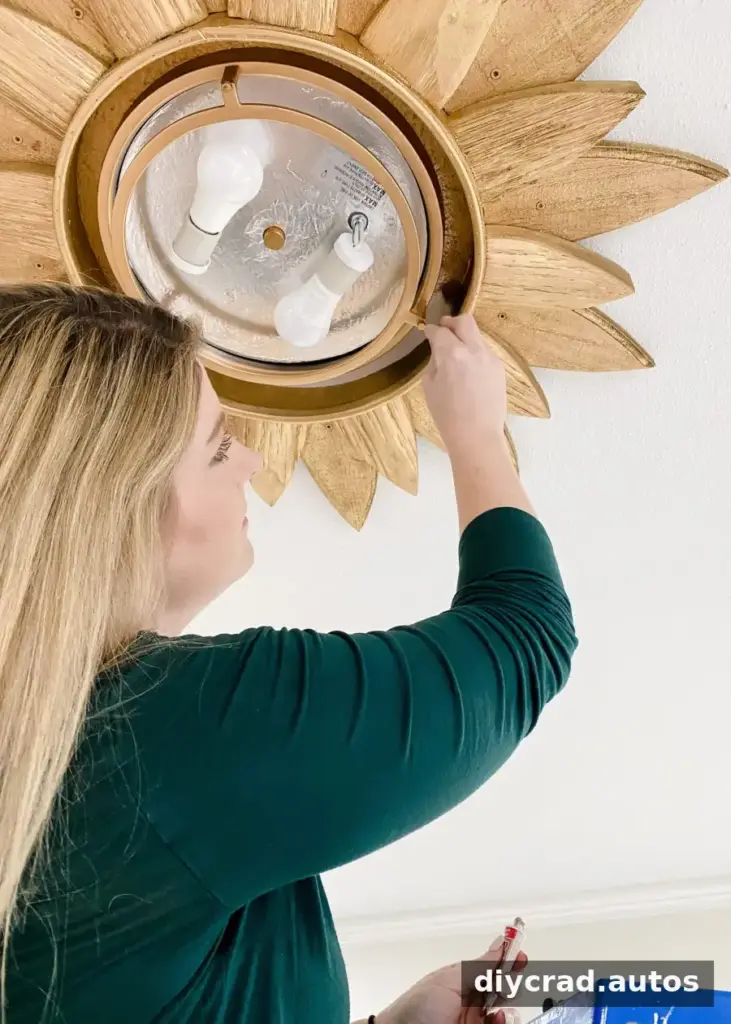
- Blend the gap. If the ceiling shows between the light and the mirror frame, use a small brush to apply a little more Antique Gold Rub n Buff to that area. Work carefully and keep the finish off the fixture.
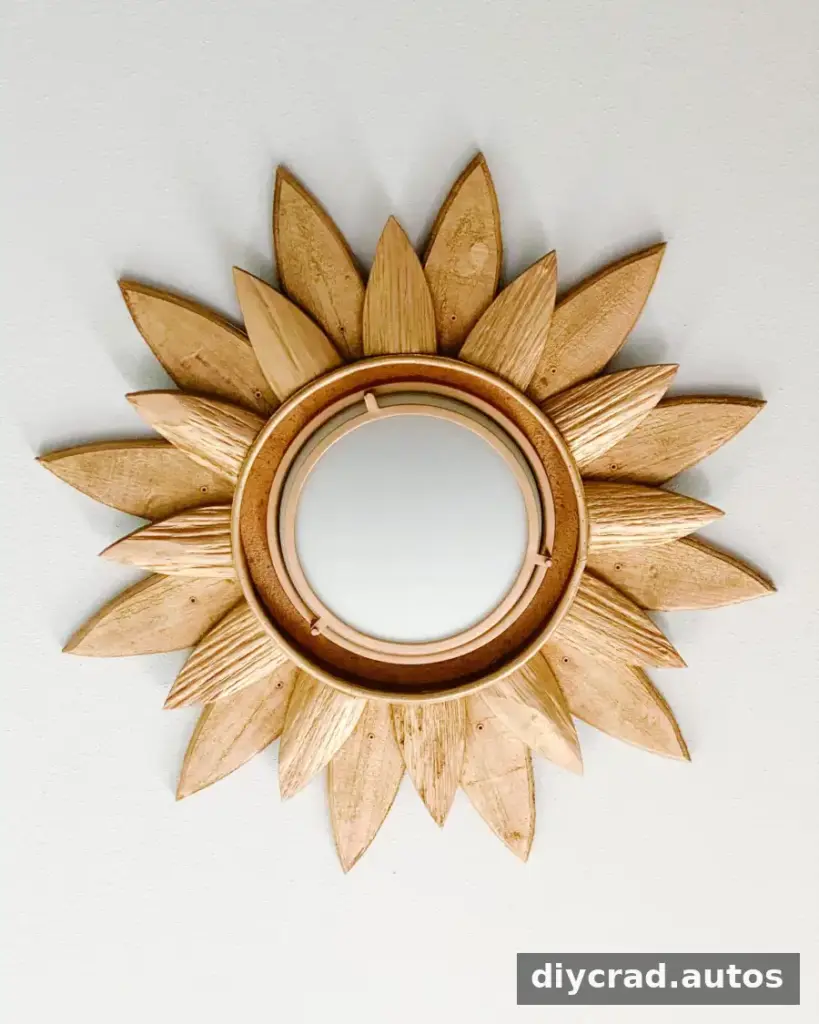
The Finished DIY Light Fixture
Once the frame is secure and the finish is complete, the flush mount and sunburst surround read as one decorative feature. In the playroom, the finished design brought a whimsical, golden accent to the ceiling. Its flower-like appearance was compared to the magical golden flower in Rapunzel, fitting the room’s planned woodland fairytale and Renaissance-princess theme.
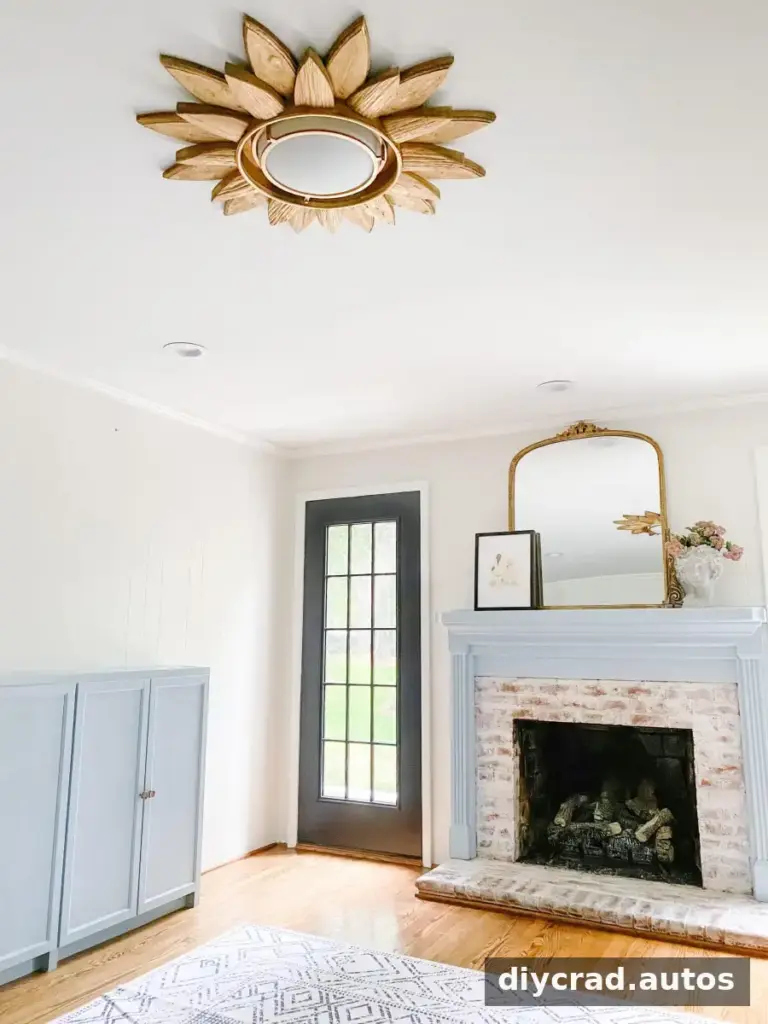
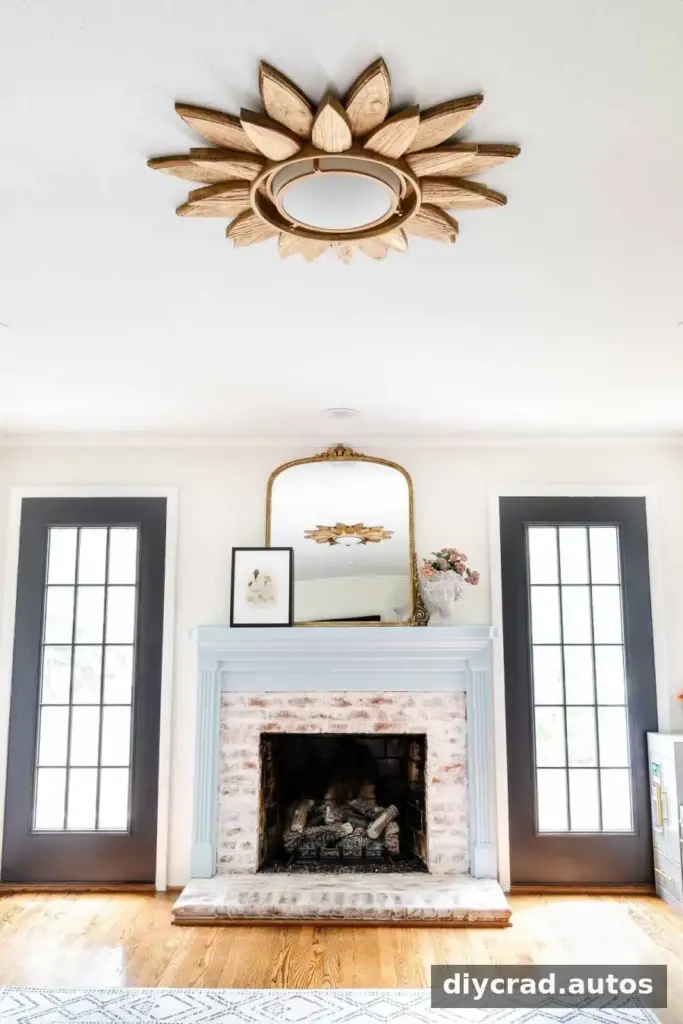
This project is most suitable for a mirror frame that can be separated from its glass and securely supported overhead. Take time to check the frame’s condition, measure the light against the mirror opening, and use ceiling fasteners appropriate to the materials and weight. Most importantly, keep the power off during electrical work and seek professional help if installation is outside your experience.
Conclusion
A DIY sunburst mirror light fixture is a way to give a basic flush mount a larger, custom look using a repurposed mirror frame. With careful sizing, coordinated finishes, and secure installation, it can become a playful focal point without the cost of a high-end statement light.