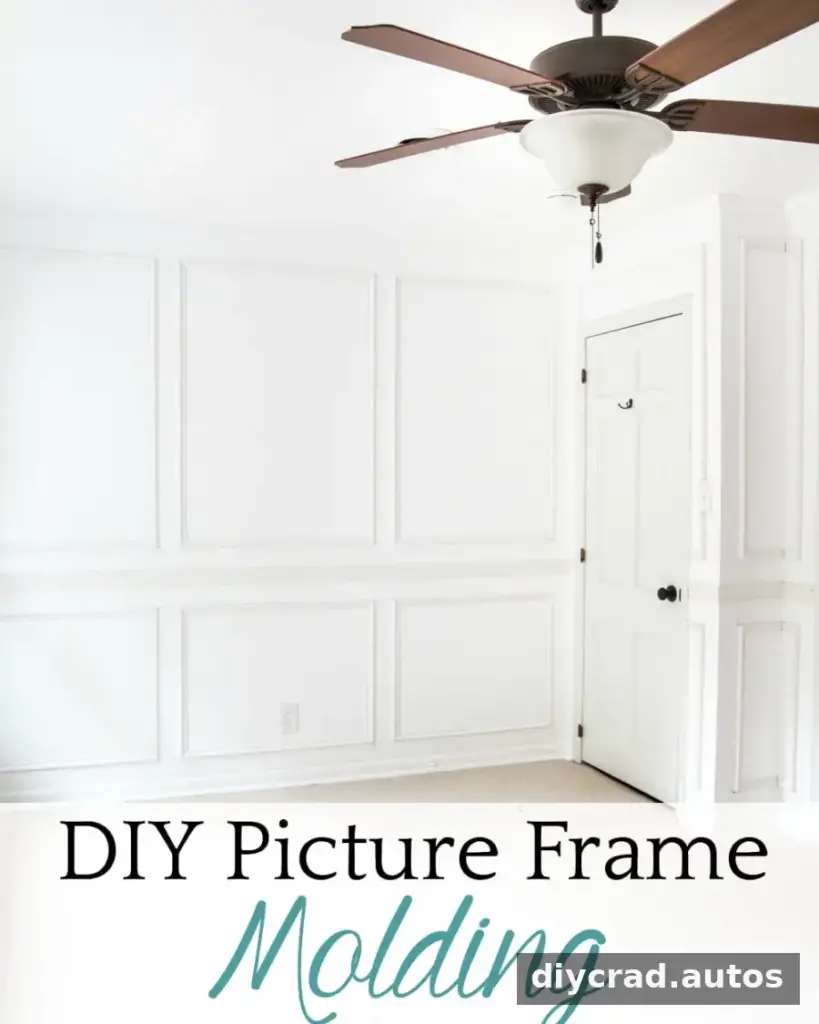
DIY picture frame molding can add classic wainscoting detail to a room without covering the entire wall. With careful measuring, a level, and a consistent spacer, you can plan evenly arranged frames and install them alongside a chair rail. This guide explains the materials, layout, cuts, and installation steps, plus a measurement check to help prevent errors before you start cutting.
DIY Picture Frame Molding: Materials and Tools
Gather the tools and materials before marking the walls. The project described here used:
- A long and a short level for different wall lengths
- A carpenter pencil and tape measure
- A 3/8″ x 4″ x 2′ board as a spacer; its actual width is 3.5″
- Chair rail molding in the desired width
- 11/16″ x 1 3/8″ finger-jointed molding for the frames
- A miter saw and coping saw
- Construction adhesive, such as Loctite
- 1 1/4″ brad nails and a pneumatic brad nailer
Check the molding dimensions and the spacer’s actual width before planning the layout. A small difference in spacer size can affect the spacing and frame measurements across a wall.
Install the Chair Rail
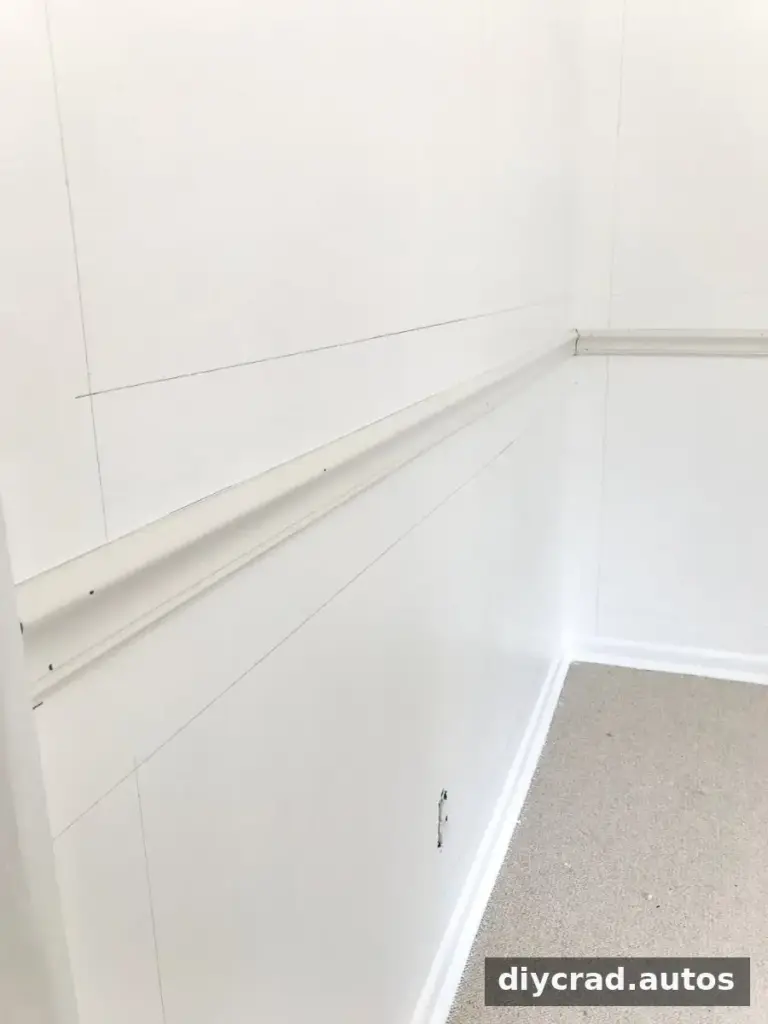
Measure the width of each wall first. To set the chair rail height used in this project, mark a point 36″ above the floor. Use a level to draw a continuous horizontal guide around the room at that height.
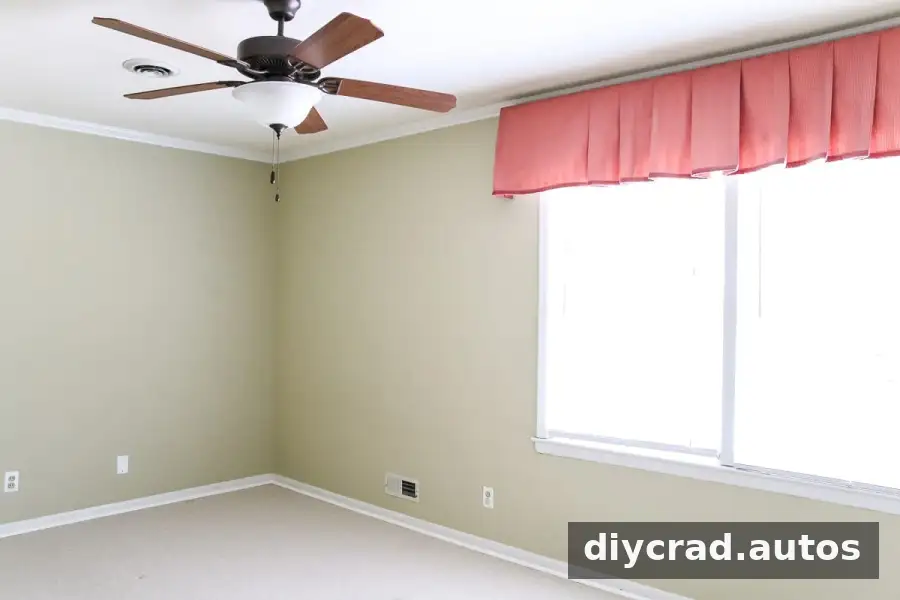
Cut the first chair rail piece to the width of its wall. Apply construction adhesive to the back, position it along the level guide, and press it into place. Secure it with 1 1/4″ brad nails.
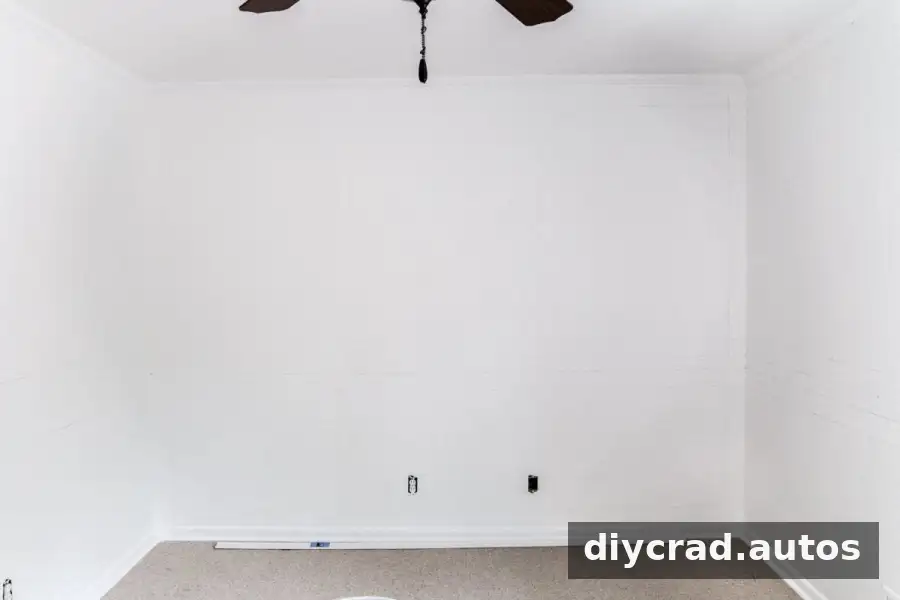
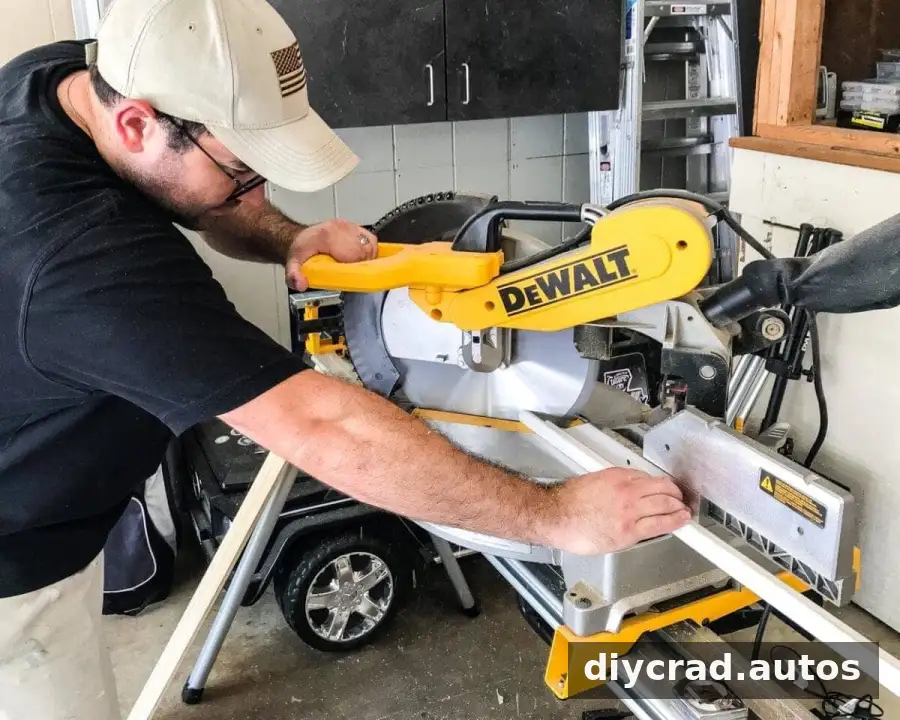
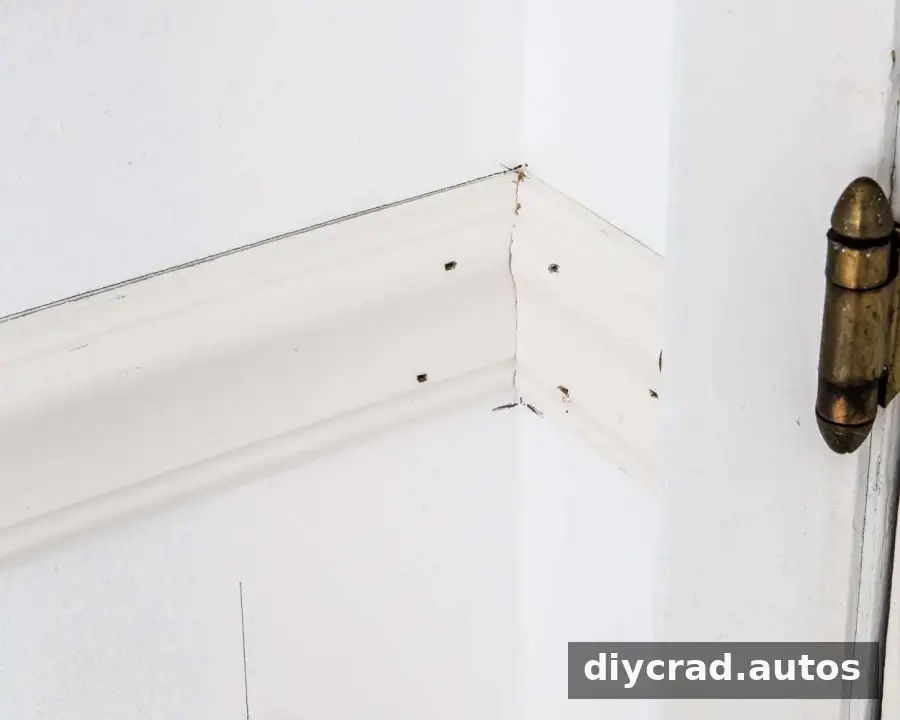
At adjoining walls, cut the next piece with a 45-degree miter. Use a coping saw to shape the cut so it fits snugly against the profile of the installed molding. Continue measuring, cutting, coping, gluing, and nailing around the room. Test-fit joints before applying adhesive so you can adjust the cut if needed.
Plan the Picture Frame Layout
Decide how many frames will fit on each wall, then calculate the width of each frame. Frames on different walls do not have to be identical in width, but keeping the frames consistent within each individual wall creates a more balanced appearance.
For a layout with equal gaps only between frames, use this formula:
Frame width = (total wall width − (gap width × number of gaps)) ÷ number of frames
If you also want matching gaps at the ends of the wall, include those spaces in the total number of gaps. Decide which layout you are using before doing the arithmetic, and write down the measurements for each wall.
The project notes describe a 123″ wall with three frames and 3.5″ gaps, and list each frame as 36.3″ wide. They also list 35.25″ frames for an 81″ wall with two frames, and 41.75″ frames for a 94″ wall with two frames. Those example widths do not reconcile with the stated wall widths and 3.5″ gaps under the formula above. Recalculate the dimensions for your own room and verify the layout on the wall before cutting.
Mark the Frames on the Walls
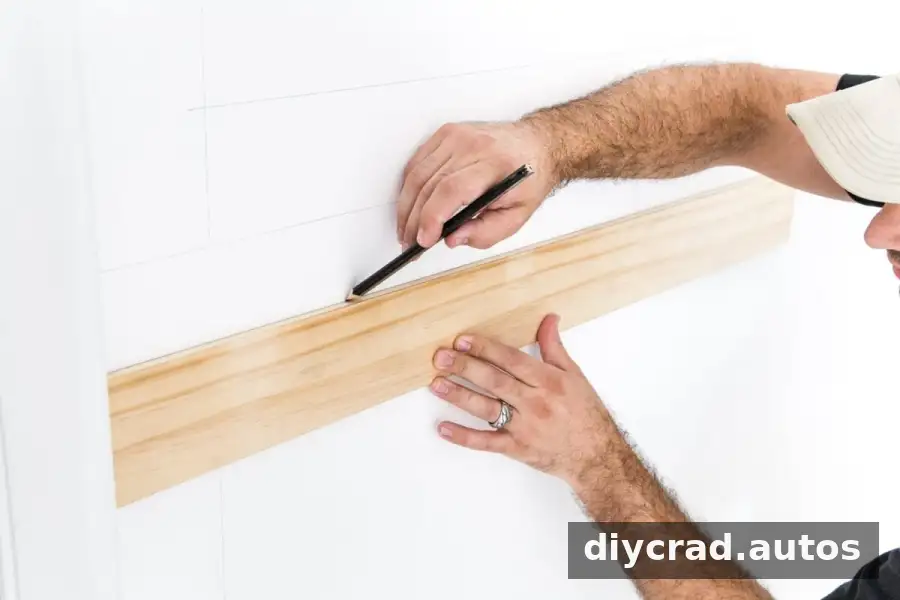
Use the 3.5″-wide spacer board to mark consistent gaps next to the chair rail, baseboard, crown molding, and room corners. Hold the spacer in position and make light pencil marks. Confirm that the planned frames have a visually consistent height and do not conflict with trim or wall features.
For the spaces between frames, divide the wall width by the number of frames to locate the layout points. For example, 123″ divided by three frames gives 41″. Mark 41″ and 82″, then use the center of the spacer at each mark to establish the gaps. Draw the frame outlines with a level so the sides are vertical and the top and bottom lines are horizontal.
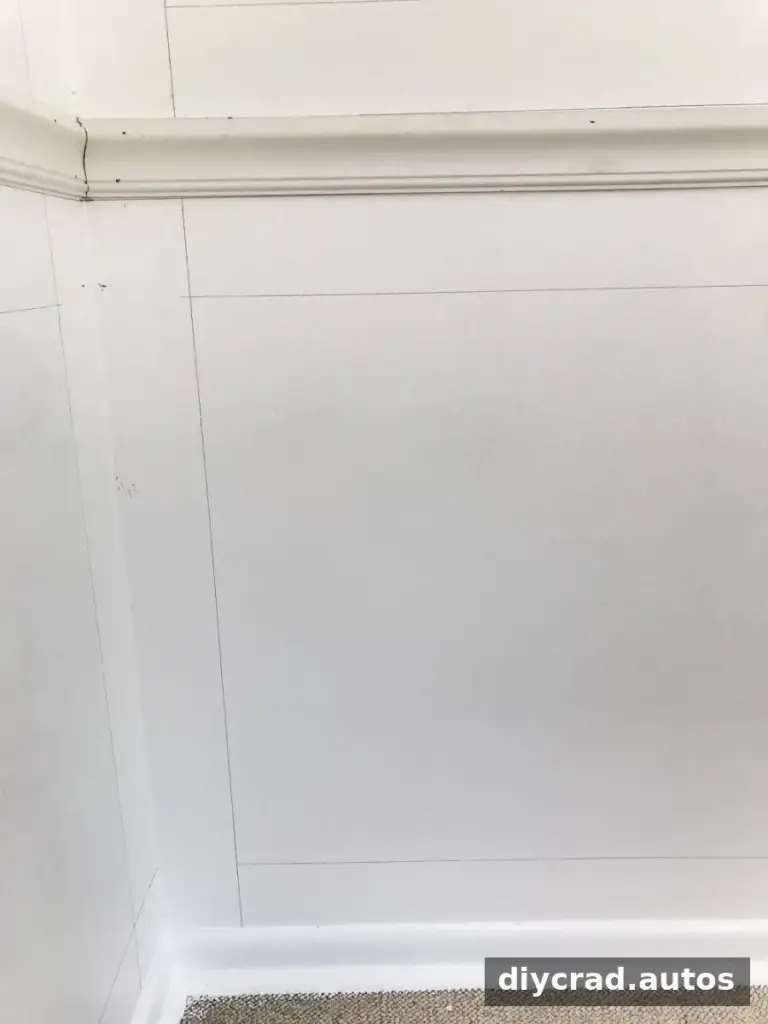
Before cutting, measure each outlined frame separately. Walls and corners may not be perfectly square, so relying only on a repeated measurement can lead to gaps at the joints.
Cut and Attach the Frame Molding
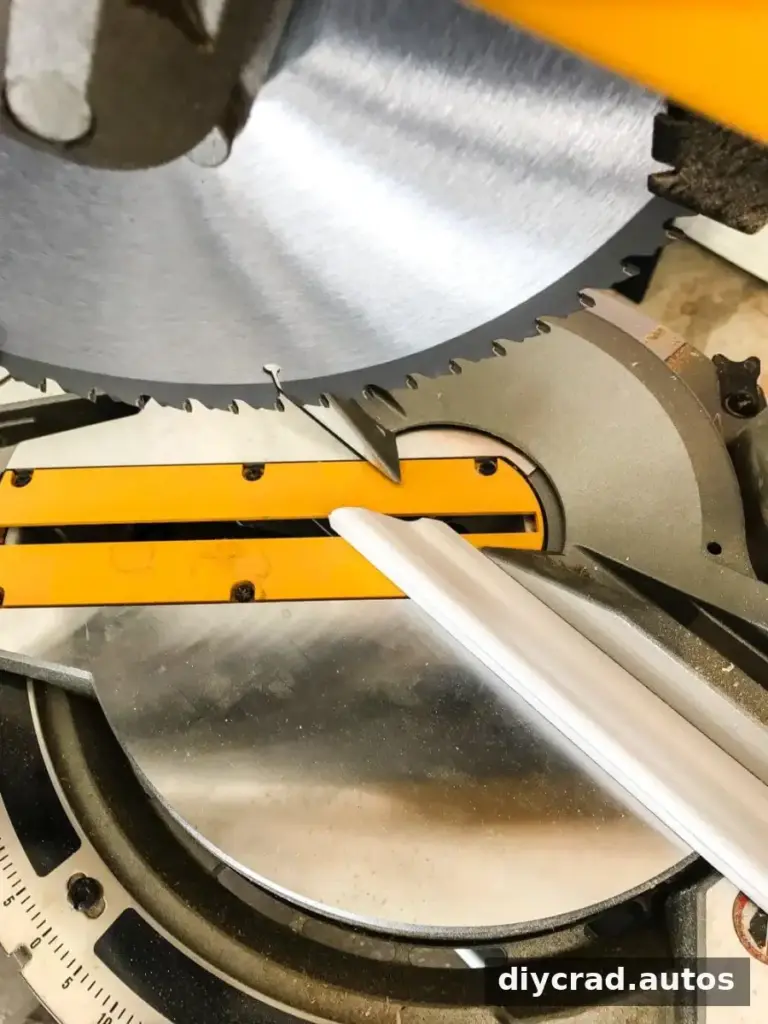
Cut the top and bottom pieces of the 11/16″ x 1 3/8″ finger-jointed molding to the measured lengths, using 45-degree miters at the corners. Cutting the horizontal pieces in batches can help keep the work organized, but label each piece by wall and frame so similar lengths are not mixed up.
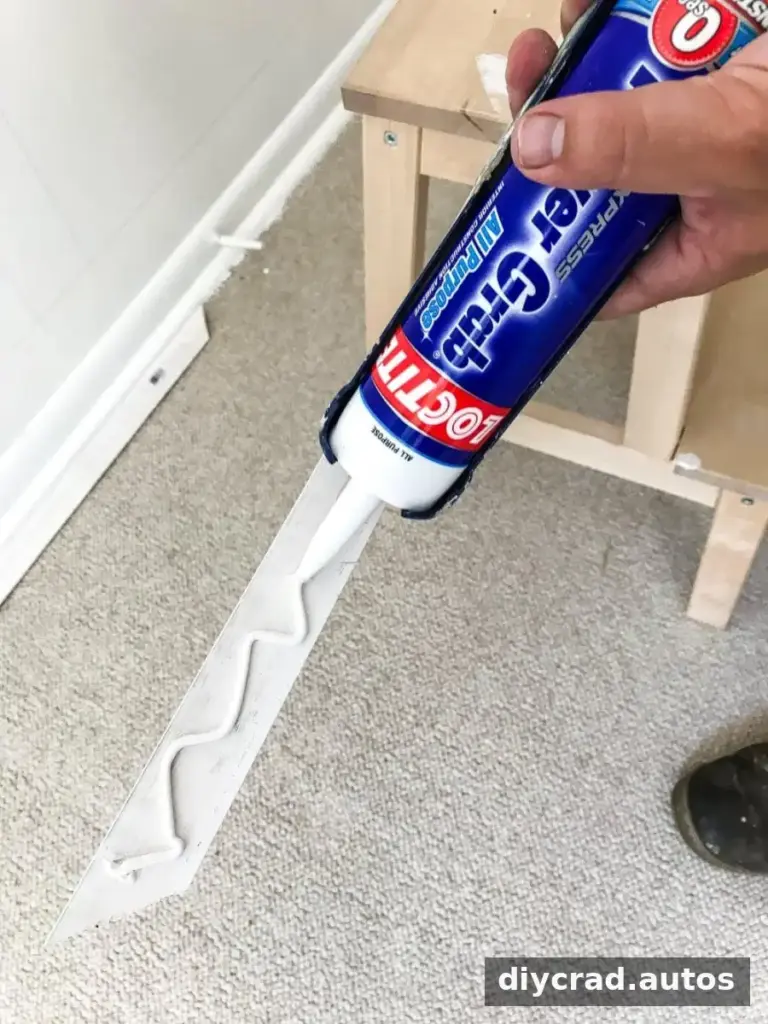
Apply construction adhesive to each piece, align it with the pencil guide, and secure it with the brad nailer. Once the horizontal pieces are attached, measure the vertical sides for each frame. Cut those pieces with 45-degree ends, then glue and nail them into place.
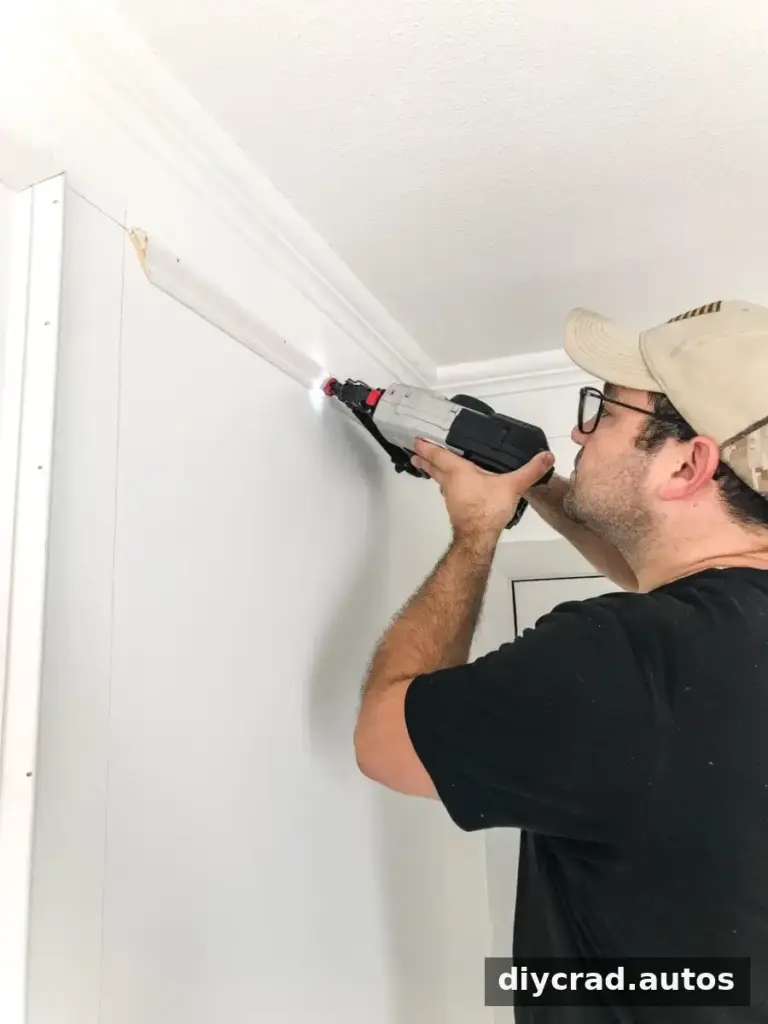
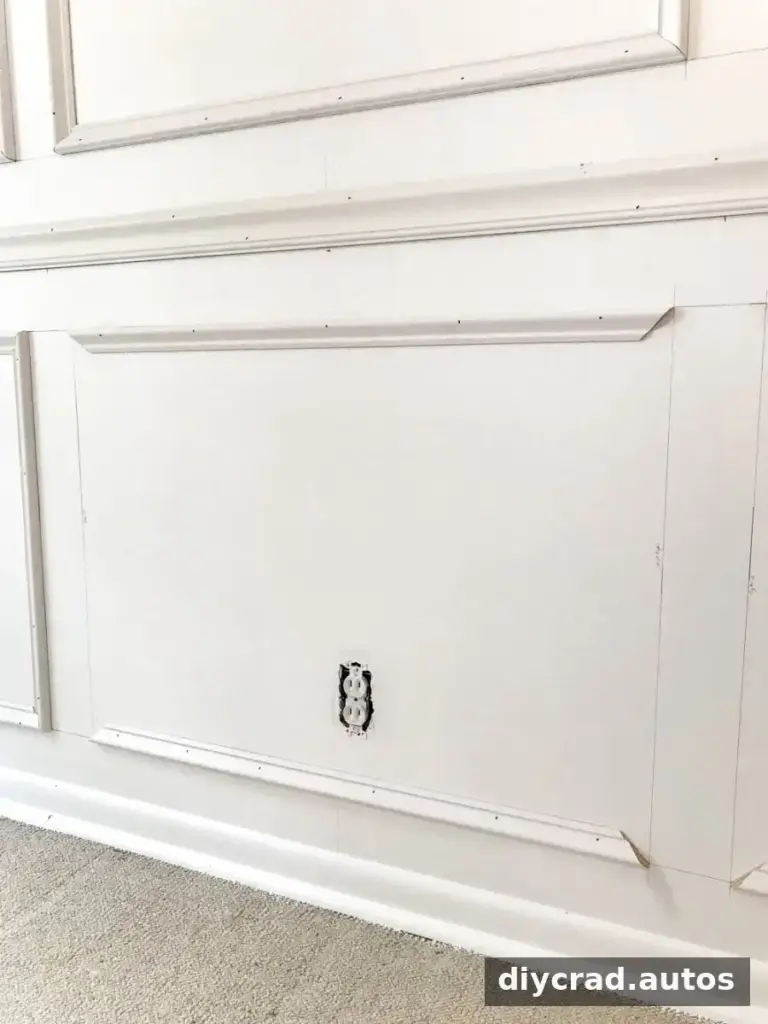
Work carefully around corners and check each frame with a level as you install it. Follow the adhesive and nailer manufacturers’ instructions, and take care when using power tools. A test fit is especially useful when joining mitered corners.
Finishing the Wainscoting
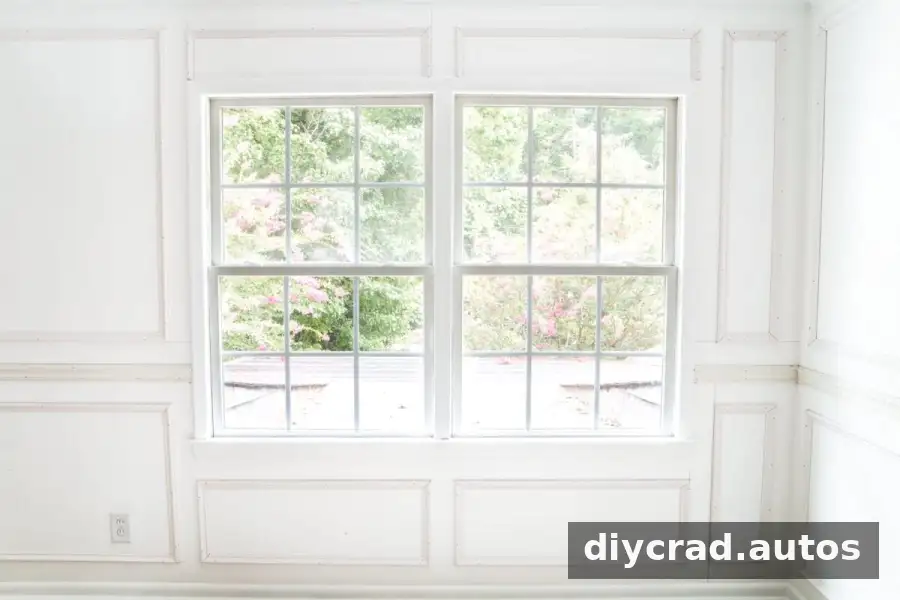
Installing picture frame molding involves repeated measuring and cutting, but a spacer can make the gaps more consistent and reduce the need to measure each one from scratch. Once all the molding is in place, the next finishing steps are to caulk the joints and paint the trim and wall as planned.
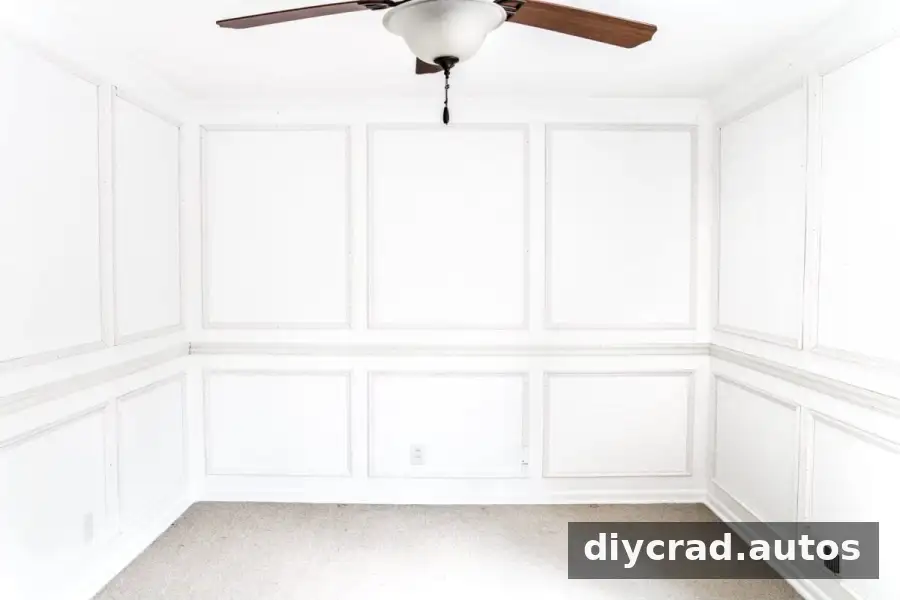
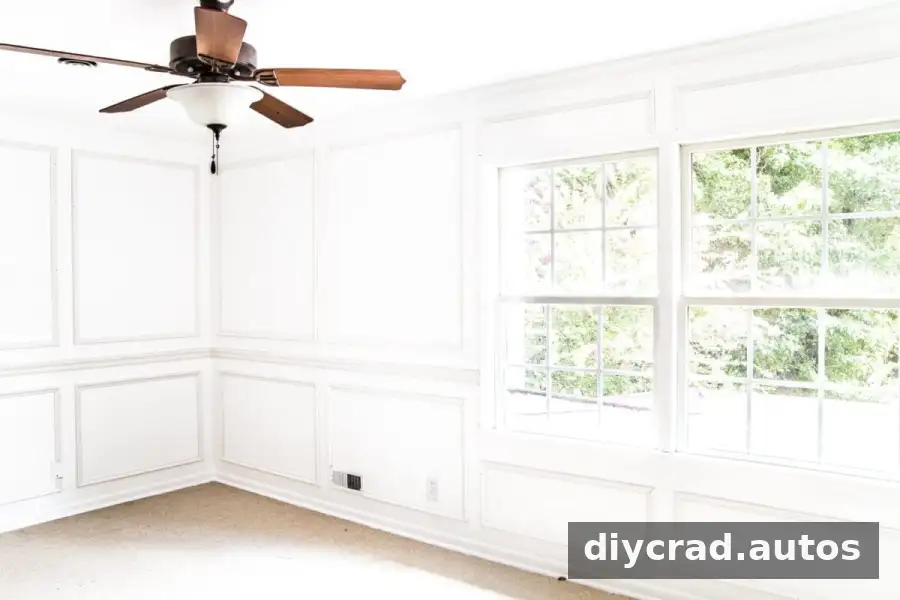
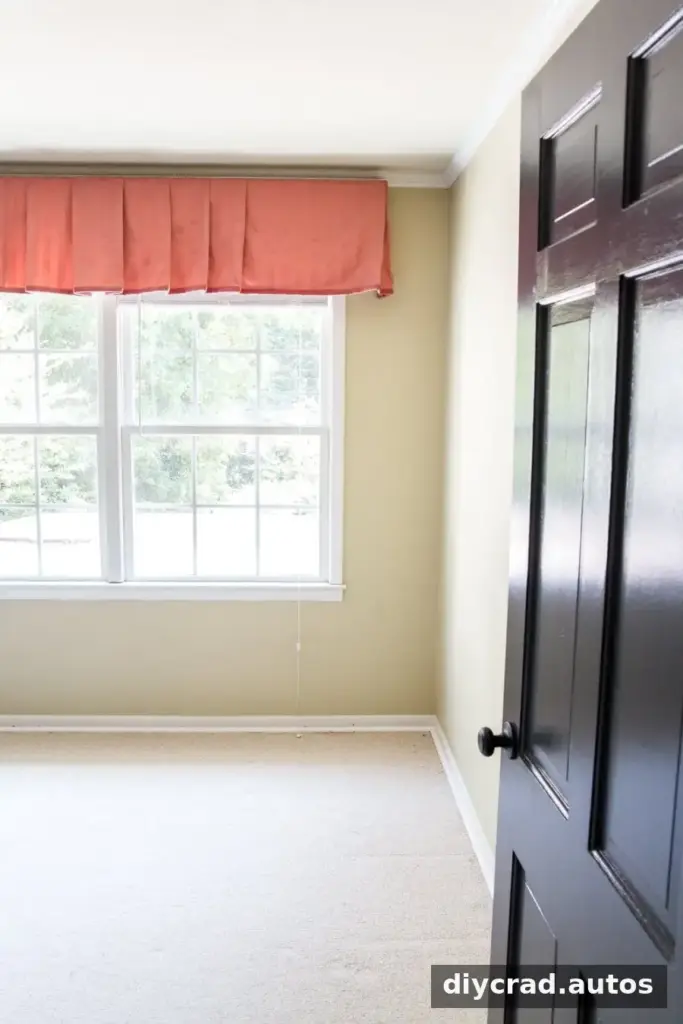
The room’s makeover plan also included removing the old carpet to refinish the existing hardwood floors and replacing the ceiling fan. Complete any floor or fixture work with appropriate care, and protect finished molding and walls while other renovation tasks are underway.
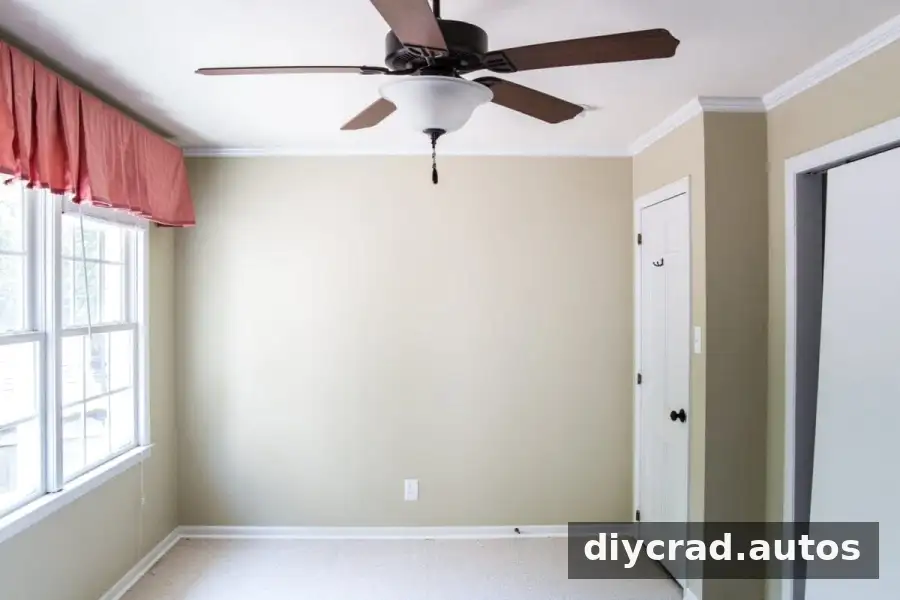
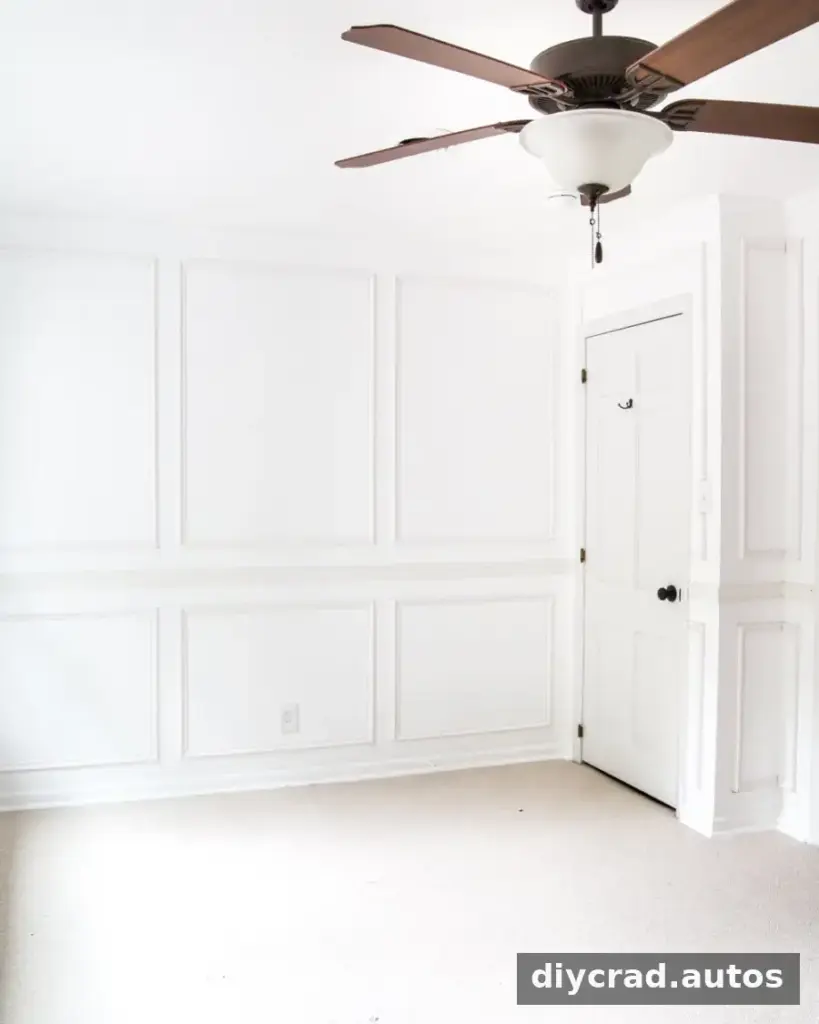
Conclusion
DIY picture frame molding is manageable when the layout is planned before installation and every frame is measured on the wall. Use a level, keep spacer measurements consistent, test-fit mitered joints, and double-check the math—particularly when adapting example dimensions to your room. These steps help create a neat wainscoting finish that is ready for caulk and paint.