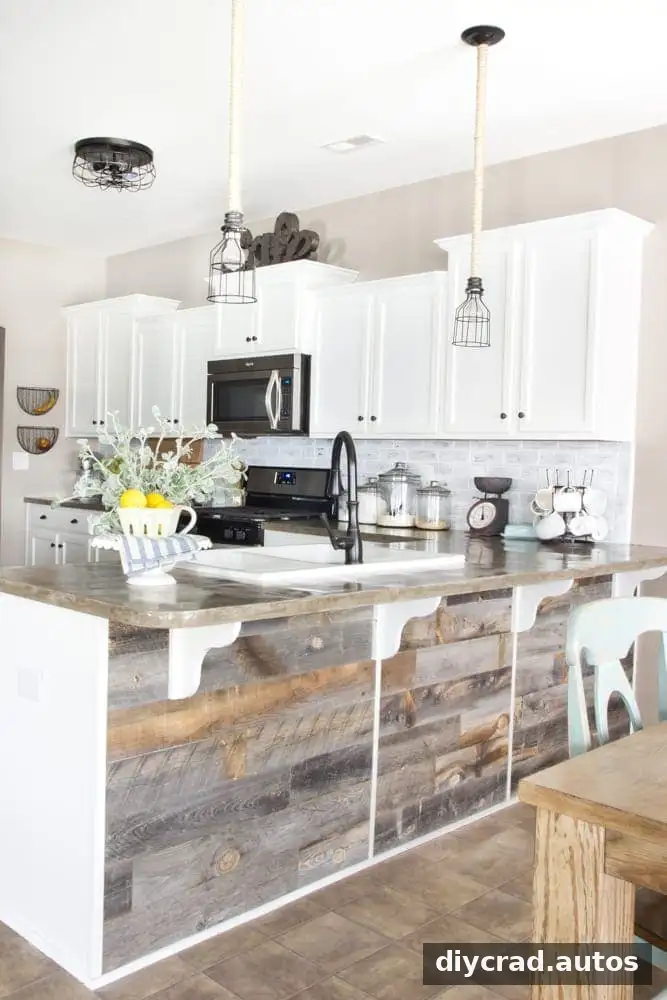
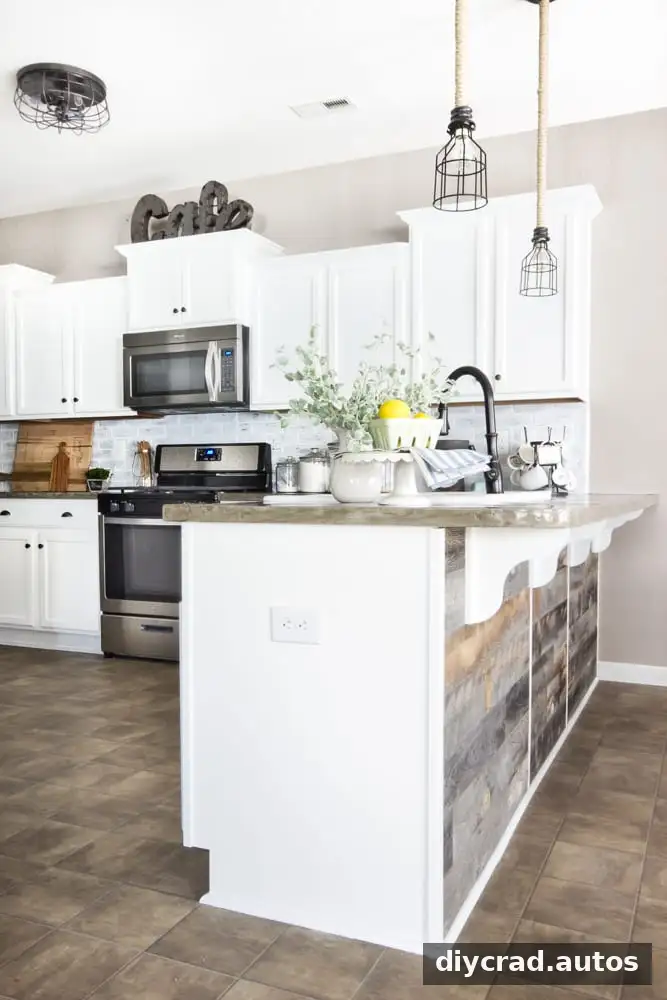
A DIY reclaimed wood bar can add warmth and texture to a kitchen while helping protect a painted peninsula from everyday scuffs. This project uses real reclaimed wood planks with peel-and-stick adhesive, so it does not require nails or a complicated installation. Alternating the boards’ colors and planning the cuts before sticking them in place can help create a more balanced finish.
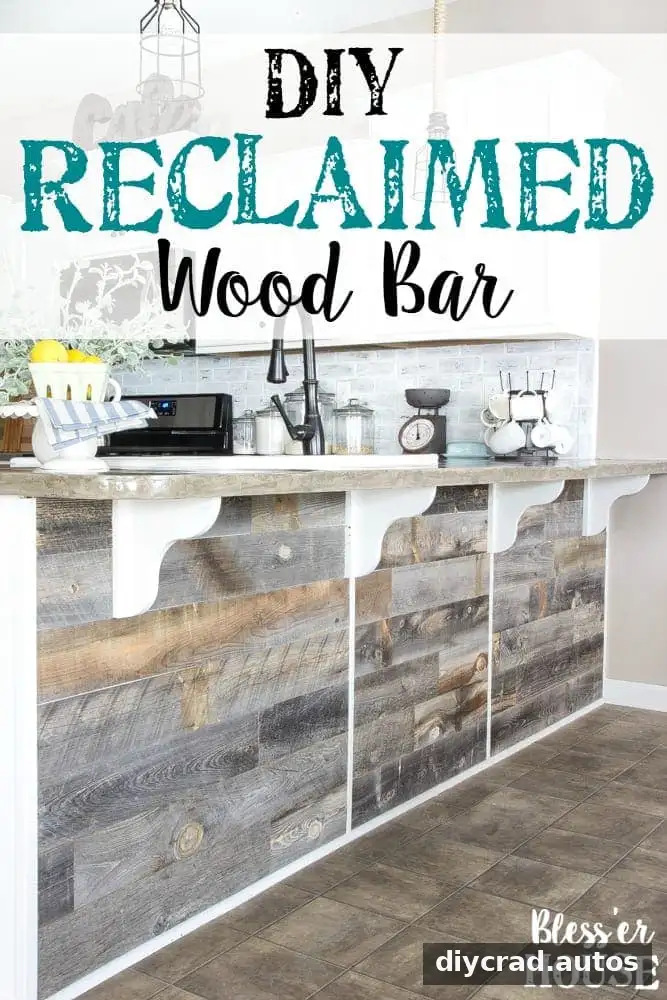
Why Add Reclaimed Wood to a Kitchen Bar?
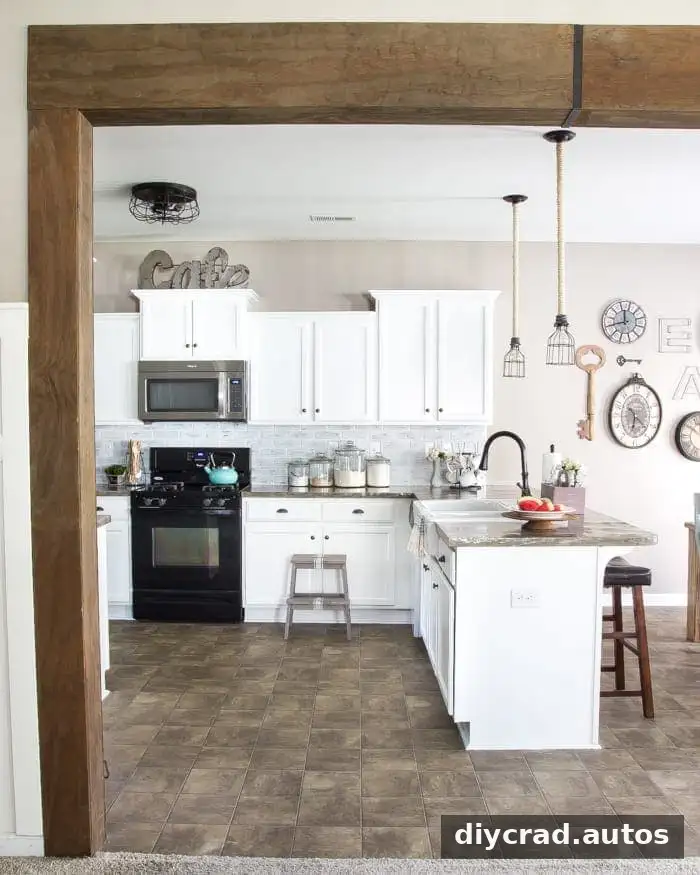
A wood-covered bar creates contrast in a bright kitchen and can connect with other natural wood details, such as a beam or doorway. It also adds a rustic surface to an area where people may rest or swing their feet, helping shield the painted cabinet finish from routine contact.
Before starting, decide how the wood will relate to nearby finishes and furniture. Laying out the boards first makes it easier to distribute lighter and darker pieces rather than ending up with a cluster of similar tones in one area.
Materials and Tools for a DIY Reclaimed Wood Bar
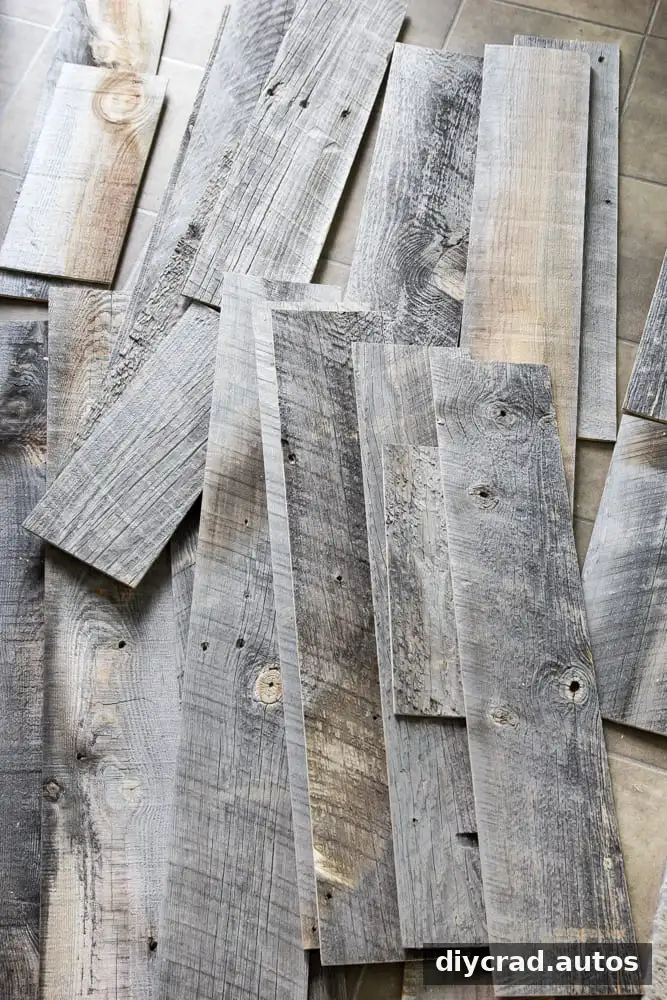
The project uses reclaimed wood boards with peel-and-stick adhesive. Gather the tools below before beginning so you can measure, trim, and press each piece into place without interrupting the installation.
- Reclaimed wood in a weathered finish
- Jigsaw
- Square tool
- Rubber seam roller
- Tape measure
- Pencil
- Level
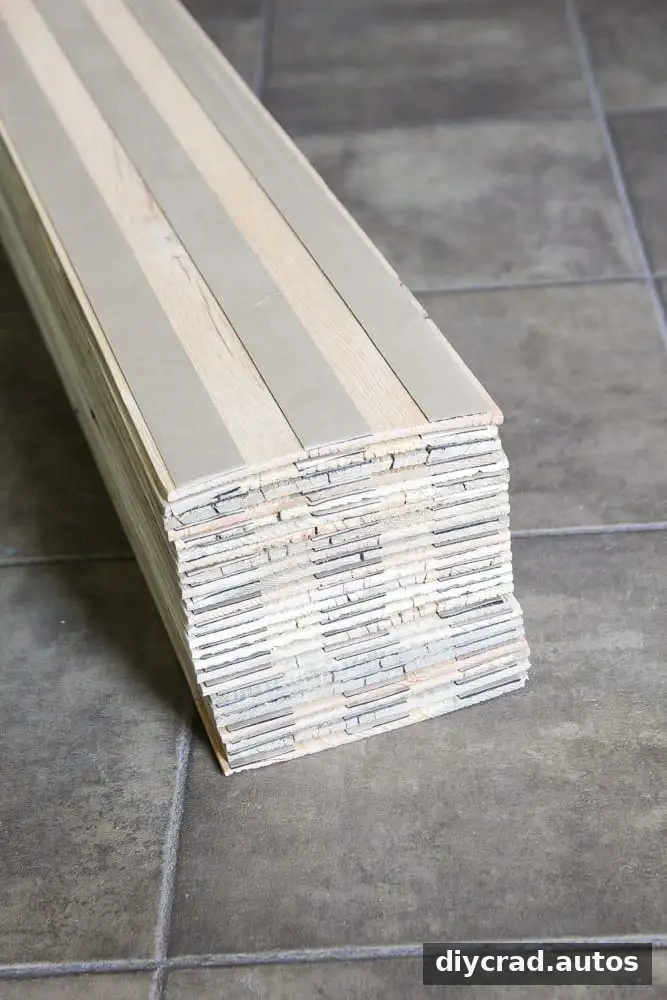
Measure the surface and check the board layout before removing any adhesive backing. A square tool helps mark straight cut lines, while a level can help keep the rows aligned. Take care when using a jigsaw and follow the tool’s safety instructions.
How to Install the Reclaimed Wood Planks
1. Plan the board arrangement
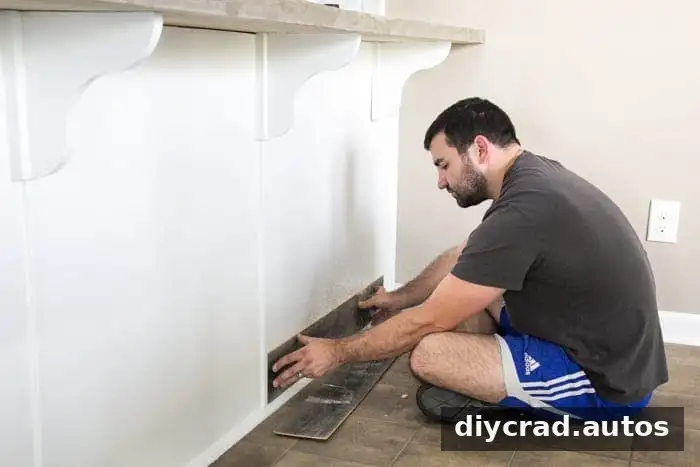
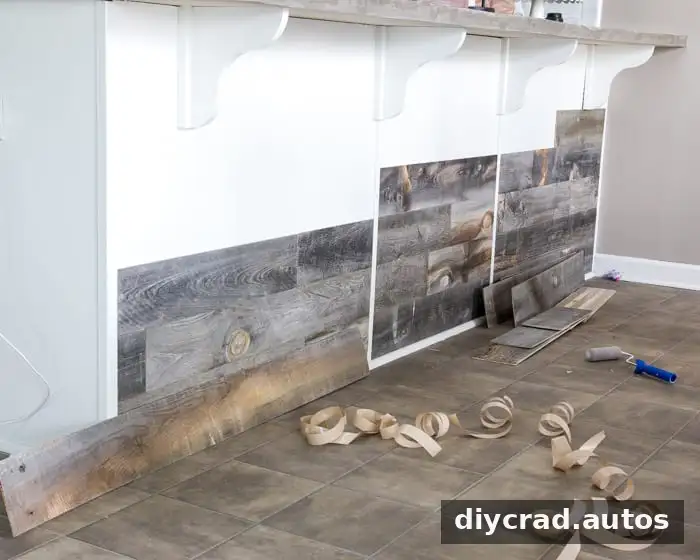
Arrange the boards across the bar before attaching them. Alternate lighter and darker tones, and vary the cuts where possible to avoid a repetitive pattern. This dry layout also helps you identify which boards need trimming and where each piece will go.
2. Measure and cut the boards
Measure each section that needs a shorter plank, then use a pencil and square tool to mark a straight cut. Trim the board with a jigsaw. Recheck the fit before peeling off the backing; measuring twice can reduce unnecessary cuts and wasted material.
3. Peel, position, and press
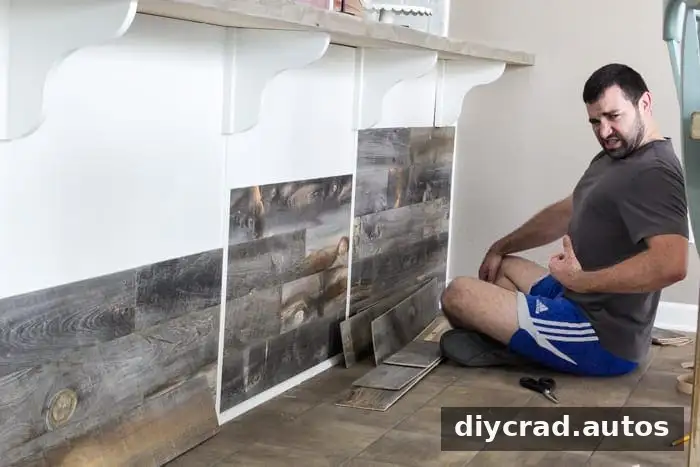
Remove the paper backing from the adhesive strips and carefully position the plank. Once it is in the right place, press it firmly against the surface. Work one piece at a time and keep checking the layout as you go, since small alignment adjustments are easier before the next boards are attached.
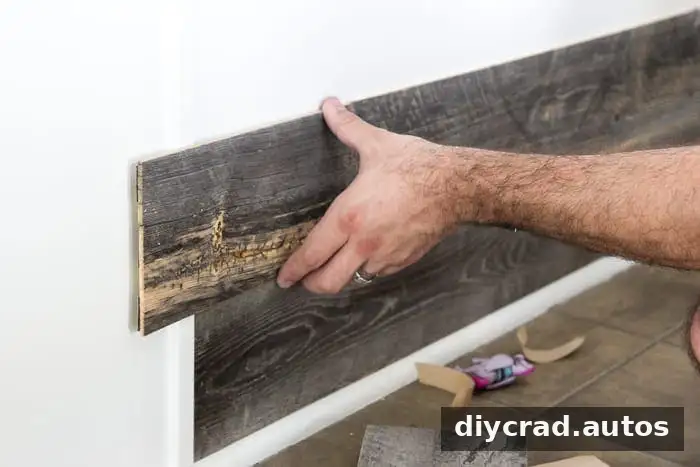
Use a rubber seam roller to press the adhesive down evenly. A paint roller was used for this project, but a rubber seam roller is the more suitable tool for pressing along the boards and their seams. Follow the product instructions for the specific adhesive and surface, and make sure the boards are firmly seated.
Finishing the Bar and Planning for the Future
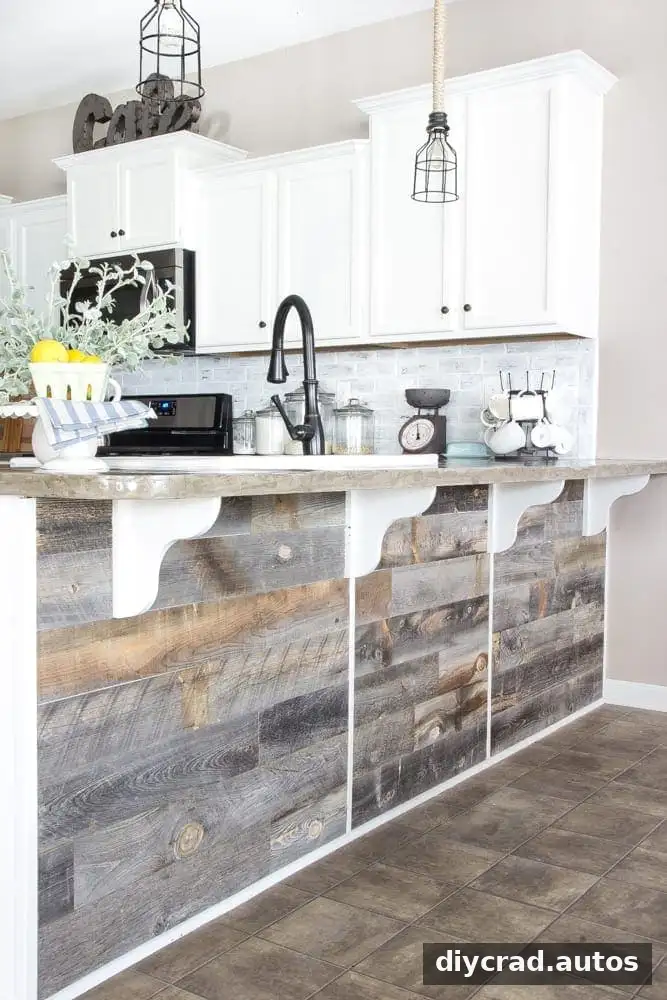
Once installed, the reclaimed wood adds visible grain and variation to the bar. The finished surface gives the kitchen a more rustic appearance and helps protect the area from everyday contact. Because this installation uses adhesive rather than nails, the boards can be pried off later if the finish needs to change. Removal may still require care to avoid damaging the surface underneath.
Keep any leftover pieces for a small accent project rather than discarding them. Store them safely and consider their length and finish when planning a future use. If the kitchen has other updates planned, such as flooring or seating, compare samples and finishes so the wood continues to work with the rest of the room.
For a smoother project, the most useful steps are simple: gather the tools first, lay out the boards, alternate the tones, and check each cut before applying the adhesive. These details help make a straightforward DIY reclaimed wood bar more polished and cohesive.