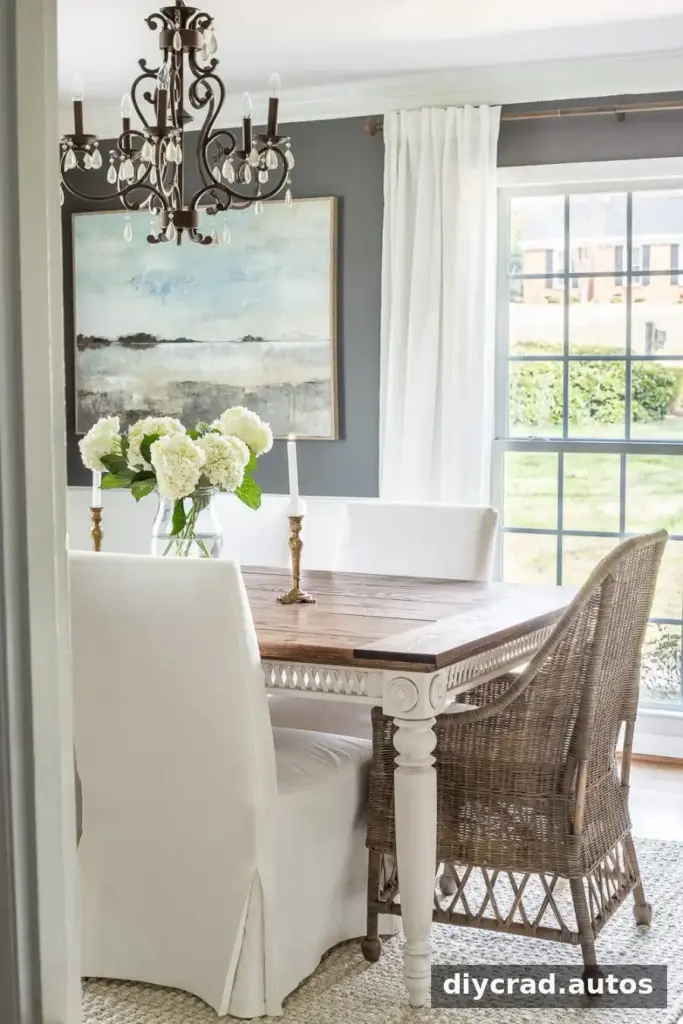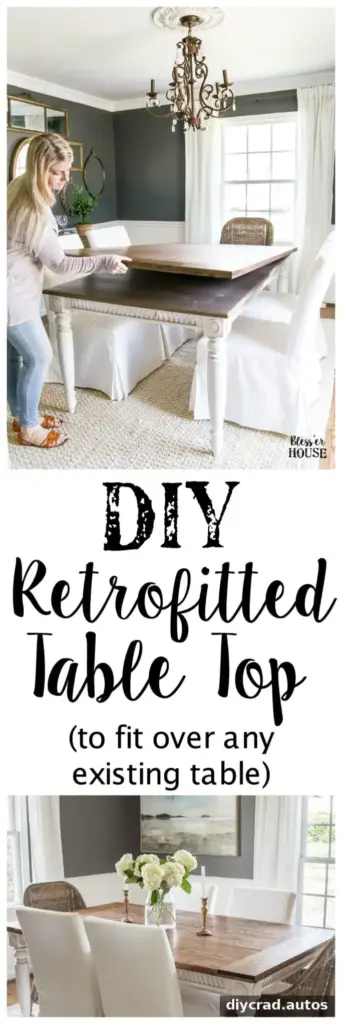
A DIY retrofitted dining table top can refresh a worn or unattractive table without requiring you to dismantle or permanently alter its base. This project creates a new wood surface that sits over the existing tabletop, with a lip underneath to help it fit in place. The board sizes below were used for one table, so measure your own furniture before purchasing materials.
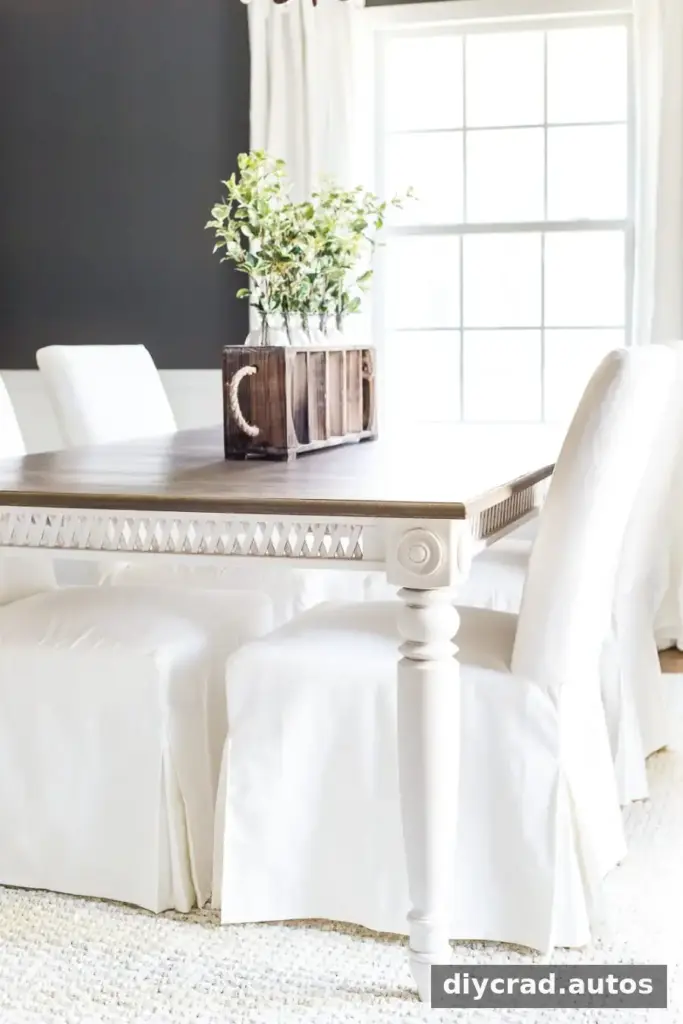
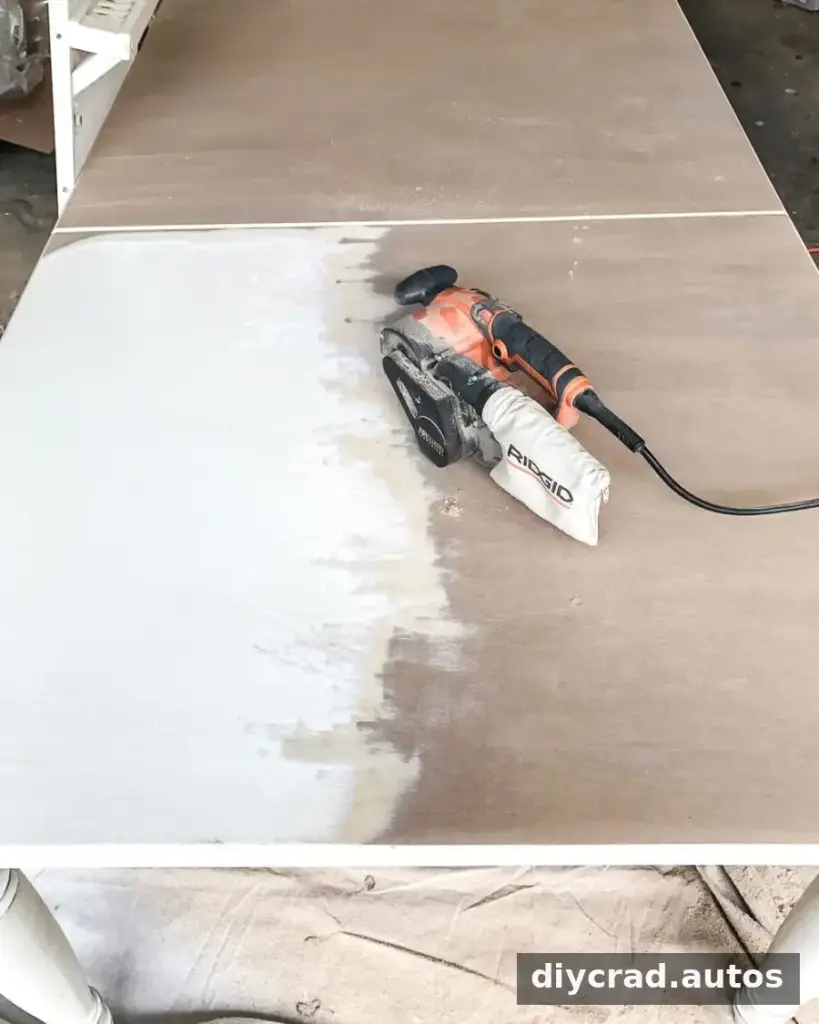
In this project, sanding the original surface revealed damaged MDF rather than the attractive wood grain that had been expected. Instead of trying to repair or replace the entire table, the solution was to build a separate wood top to cover it.
Why build a DIY retrofitted dining table top?
A fitted cover is a practical option when the existing tabletop is unattractive but the table base is still useful. Because the new top is built separately, the original surface does not need to be taken apart or damaged. The same general approach can also work for suitable coffee tables, end tables, nightstands, and dressers.
Before building, check the size and thickness of the original top. The new surface needs to cover it, while the underside lip should be sized to fit around its edges. Measure carefully in more than one place, especially if the old tabletop is not perfectly square.
Materials and tools
The following quantities were used for the table in this project. Adjust the number and lengths of boards to match your measurements.
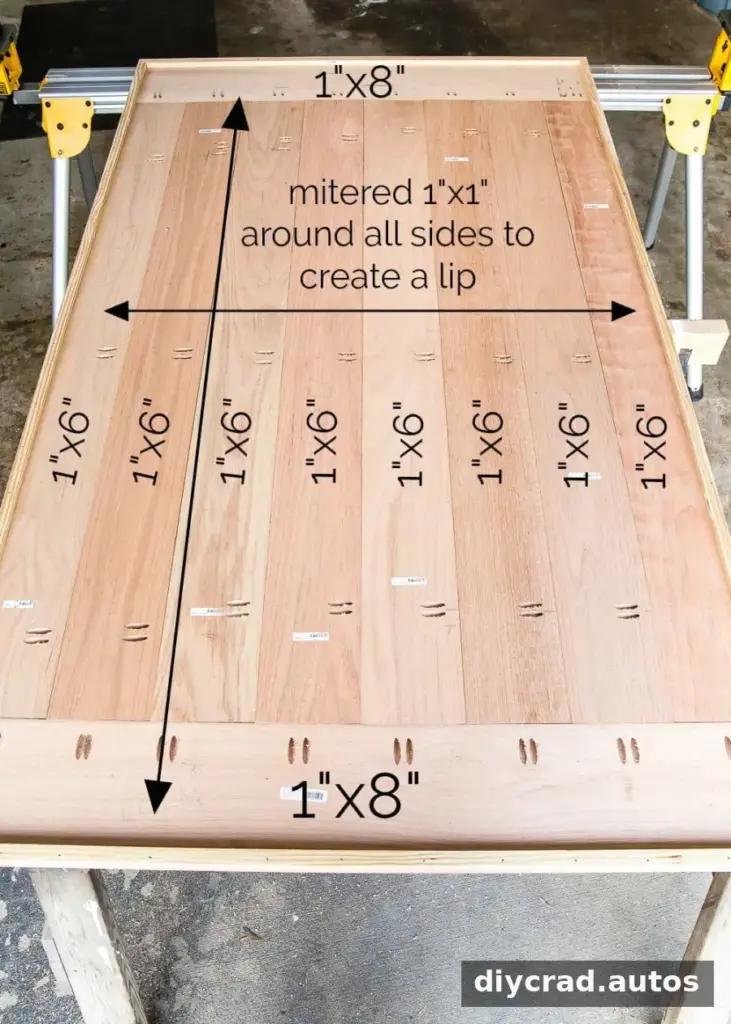
- 8 boards, 1″ x 6″ x 6′; red oak was used, but another wood species can be chosen
- 2 boards, 1″ x 8″ x 6′
- 2 boards, 1″ x 1″ x 6′
- 2 boards, 1″ x 1″ x 8′
- Miter saw
- Nail gun and 1 1/4″ finishing nails
- Pocket-hole jig and 1 1/2″ pocket-hole screws
- Power drill and palm sander
- Sandpaper: 80-, 120-, 180-, and 220-grit pads
- Tape measure, pencil, hand clamps, and 2–3 bar clamps
- Stainable wood filler and putty knife
- Clean, dry rags and a stain brush
- Large foam brush, pre-stain wood conditioner, wood stain, and clear satin polyurethane
The original plan was to use 1″ x 2″ boards for the lip, but 1″ x 1″ boards were used instead. Either size may work, depending on the thickness of the existing tabletop and the clearance needed for the fitted cover.
Build the tabletop panel
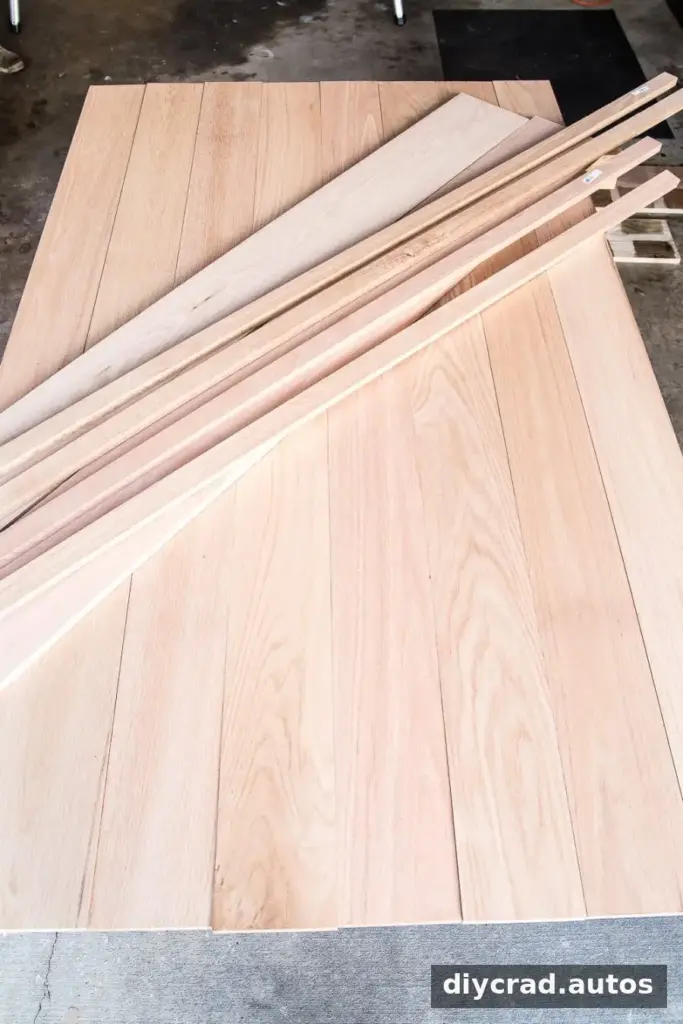
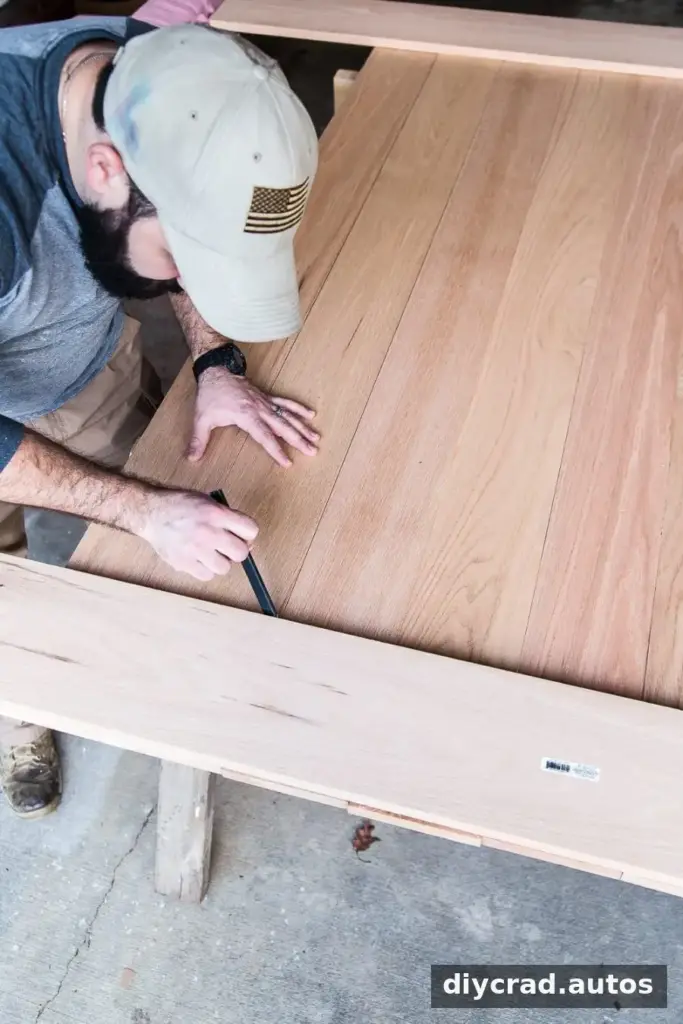
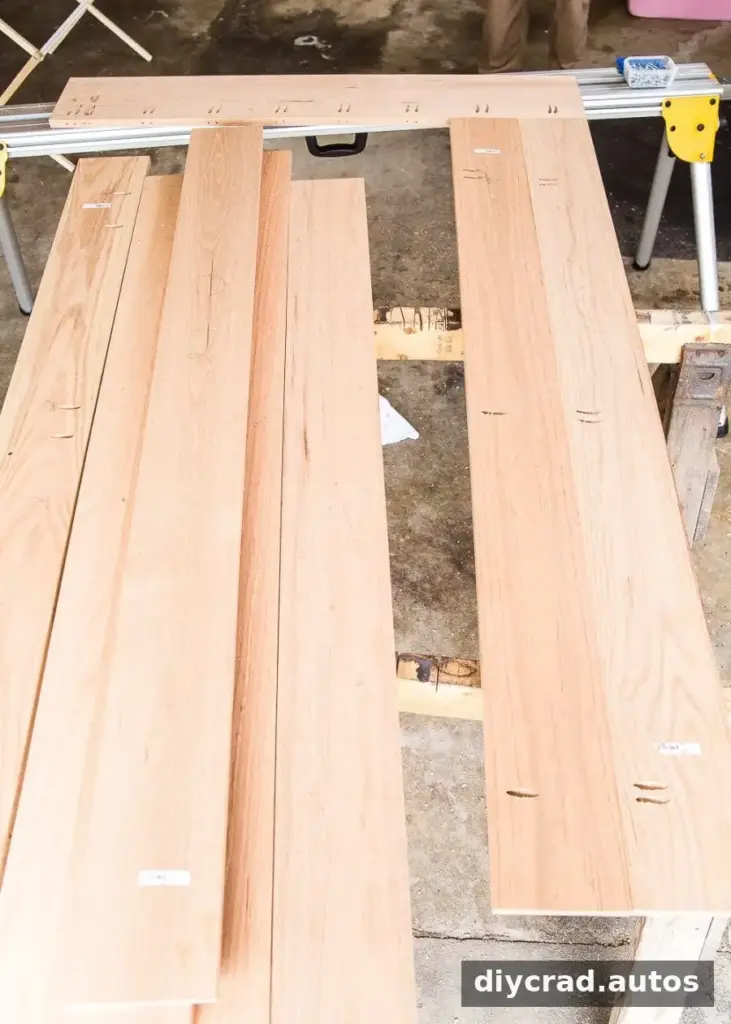
- Arrange the 1″ x 6″ boards side by side to form the main panel.
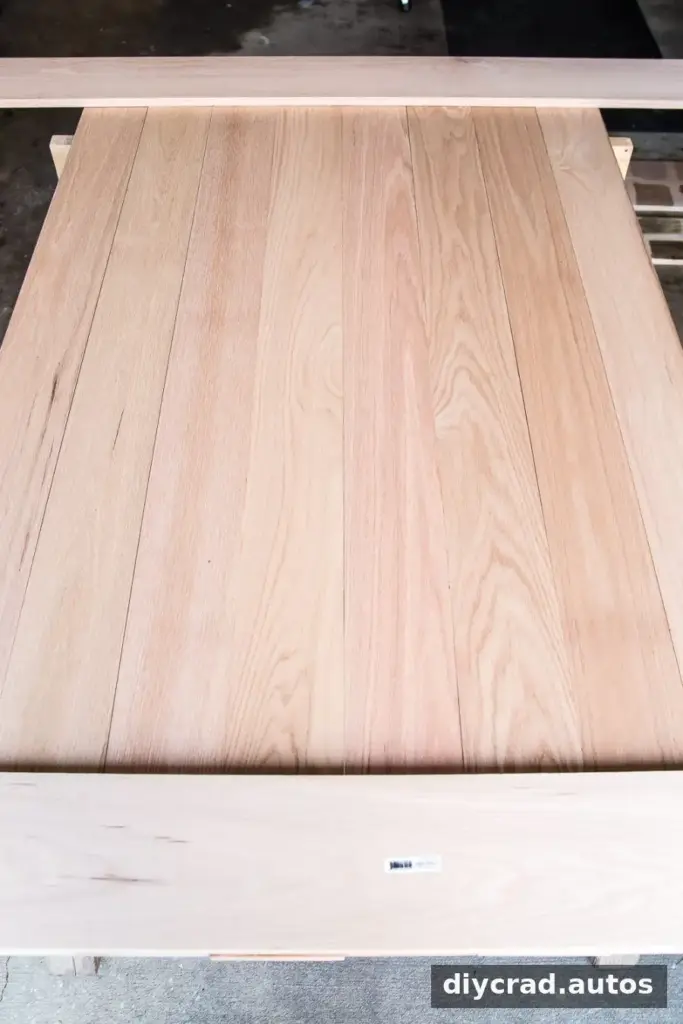
- Place a 1″ x 8″ board at each end of the arrangement. Mark the edges so the 1″ x 6″ boards can be cut to the correct length.
- Cut the 1″ x 6″ boards to the marked length. Check that their ends line up with the 1″ x 8″ boards.
- Measure the assembled width, then mark and cut the 1″ x 8″ boards to fit across the ends.
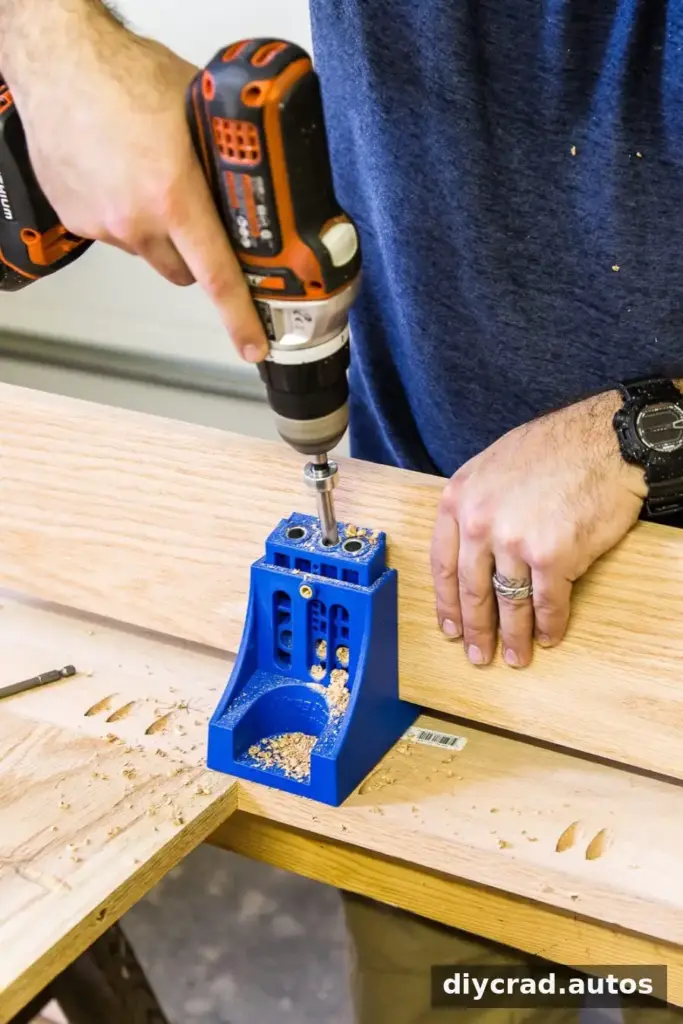
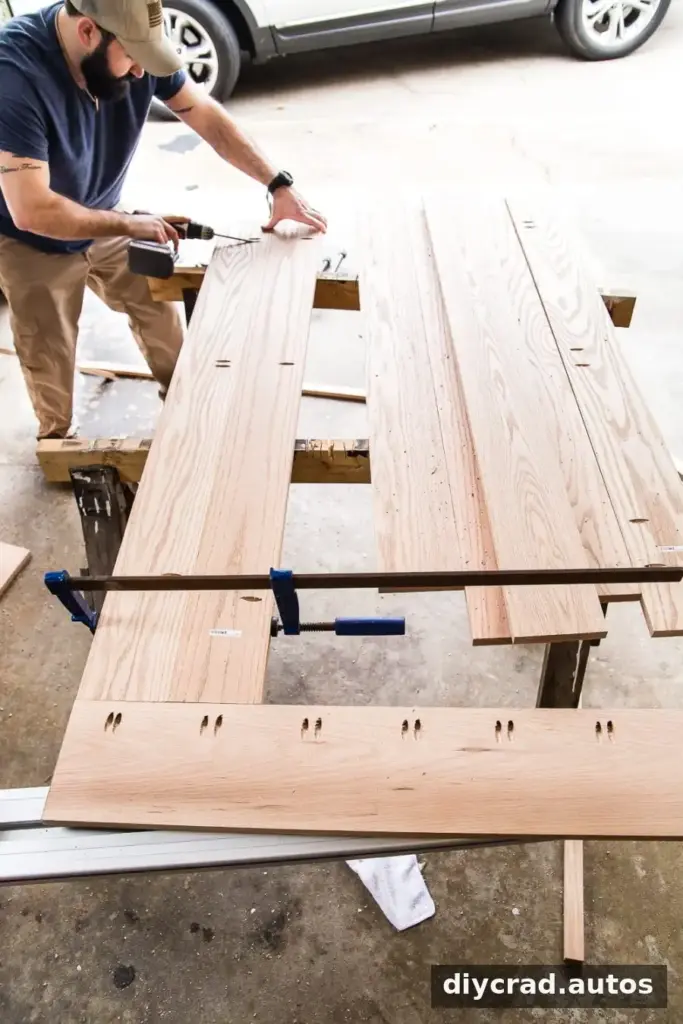
- Set the cut boards back in position. Mark where pocket holes are needed to join the boards.
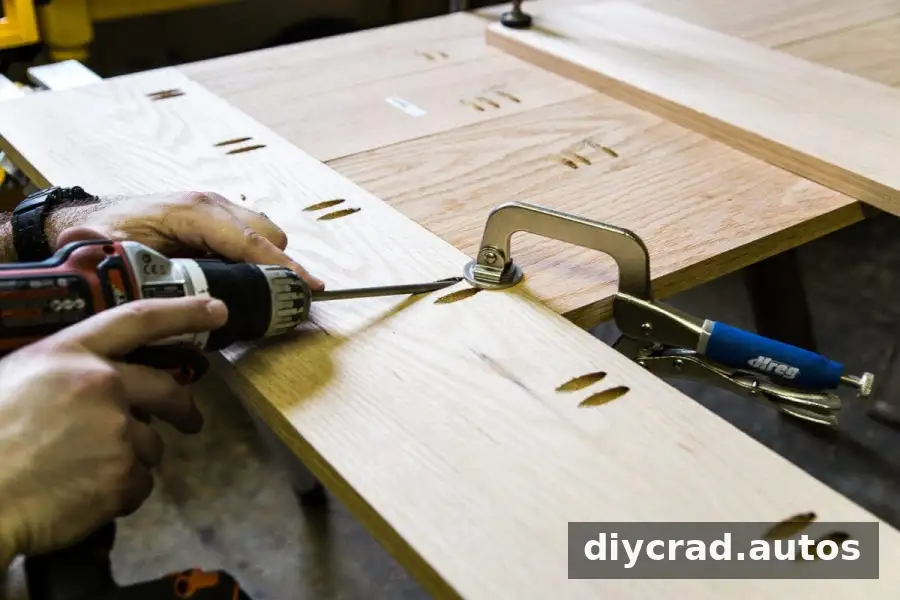
- Use a pocket-hole jig to drill holes that will connect the 1″ x 8″ boards to the 1″ x 6″ boards. Add holes to join the 1″ x 6″ boards to one another.
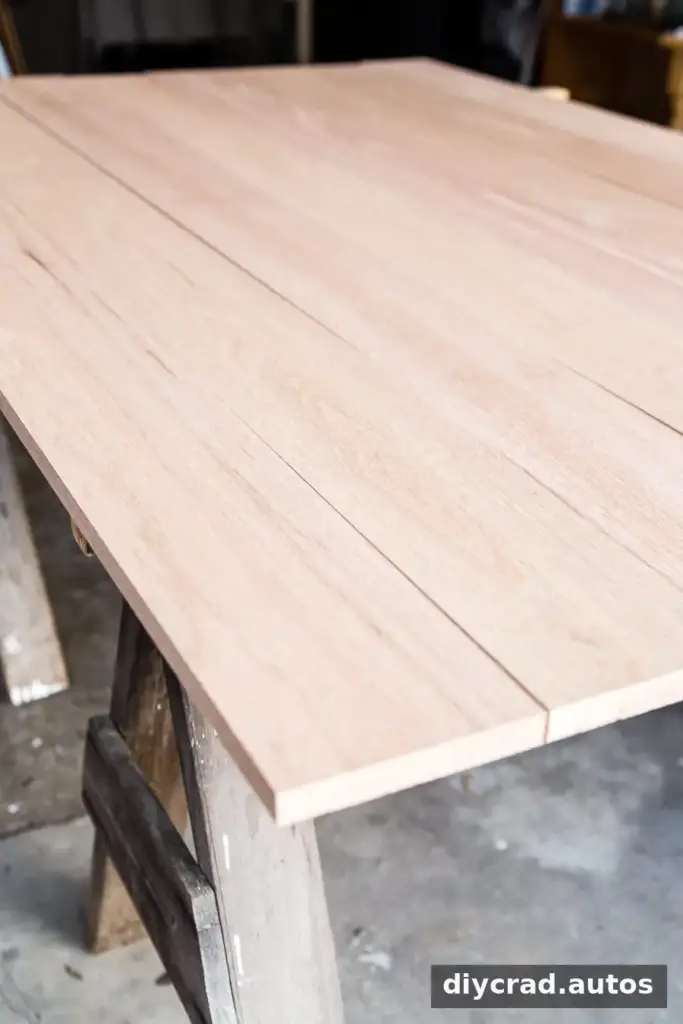
- Clamp the 1″ x 6″ boards together with bar clamps. Drive 1 1/2″ pocket-hole screws into the prepared holes to connect them.
- As you assemble the panel, attach each end to the perpendicular 1″ x 8″ board with pocket-hole screws. Use a hand clamp to hold the pieces steady while fastening.

Add the fitting lip
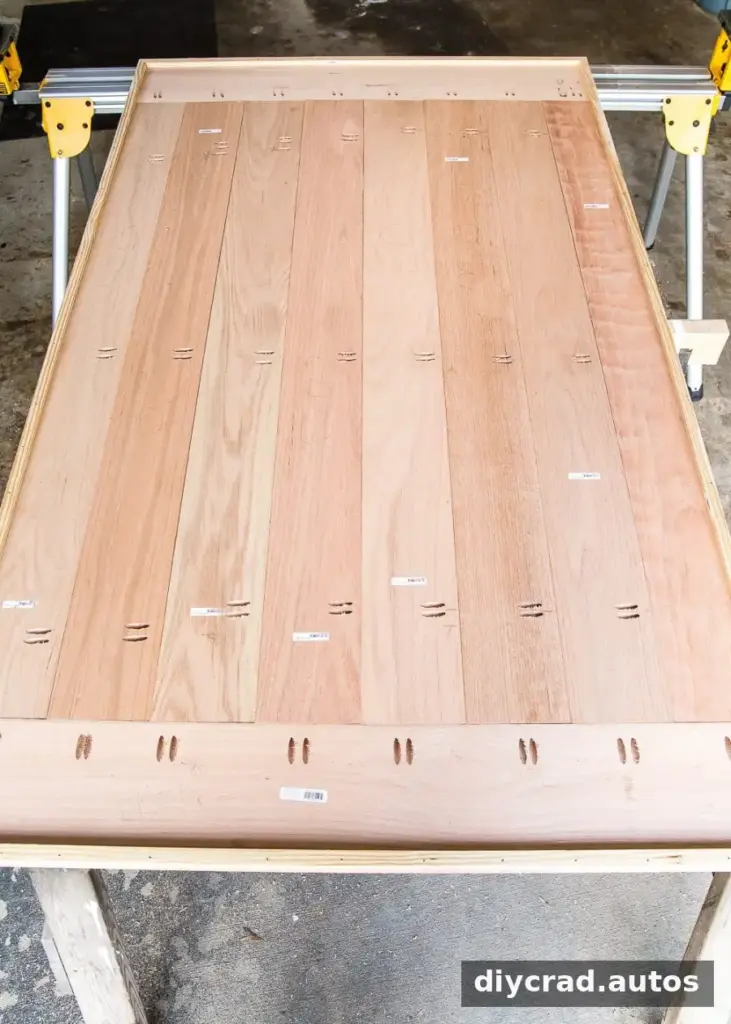
Once the flat panel is assembled, measure the underside perimeter and cut the 1″ x 1″ boards to suit. Miter the ends to form corners, then attach the pieces around the perimeter with 1 1/4″ finishing nails. Keep the lip as flush as possible with the edges of the panel.
Test the fit over the existing tabletop before sanding or applying a finish. A careful test now can reveal whether the lip needs adjustment while the parts are still easy to work on.
Fill, sand, and prepare the wood
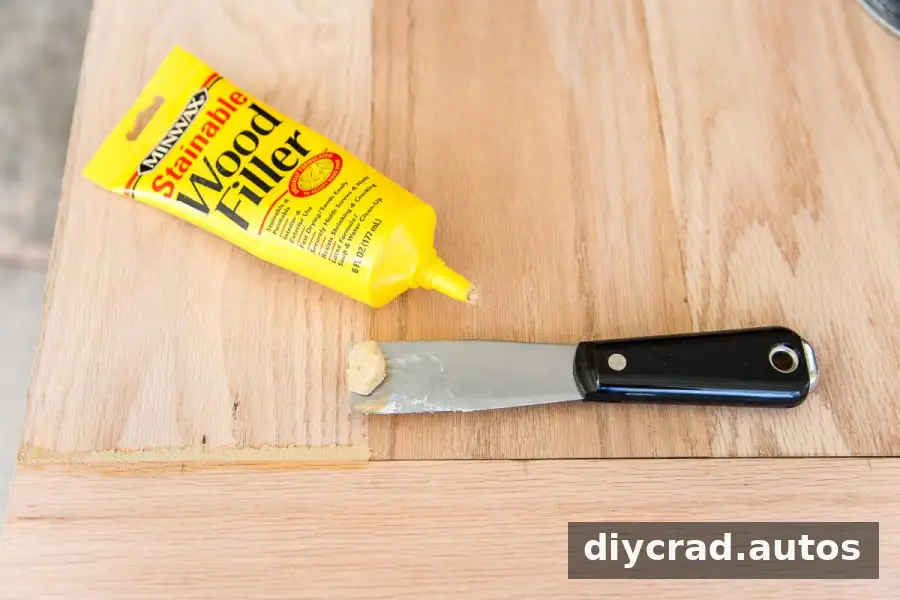
Turn the new top over so the pocket holes face down. If small gaps remain, press stainable wood filler into them with a putty knife and allow it to dry as directed.
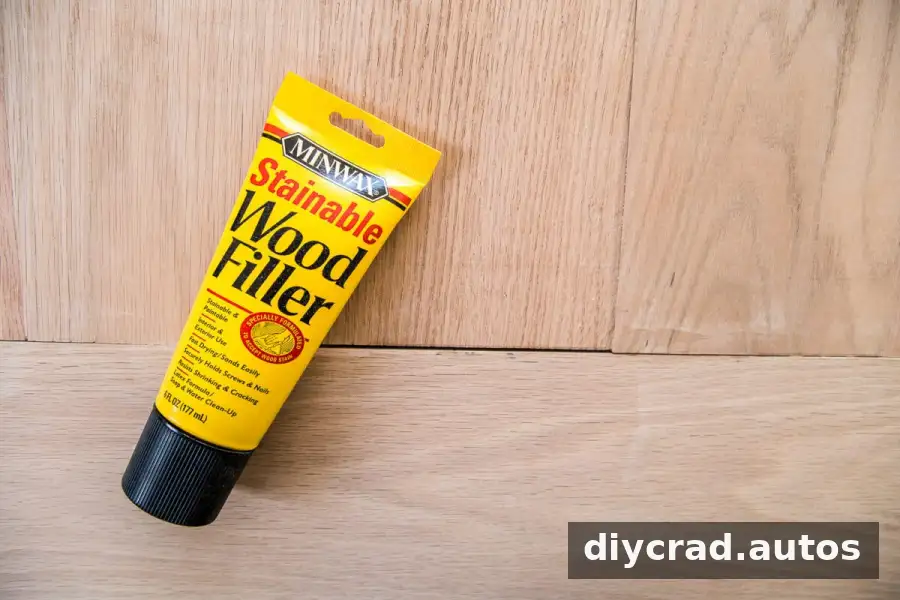
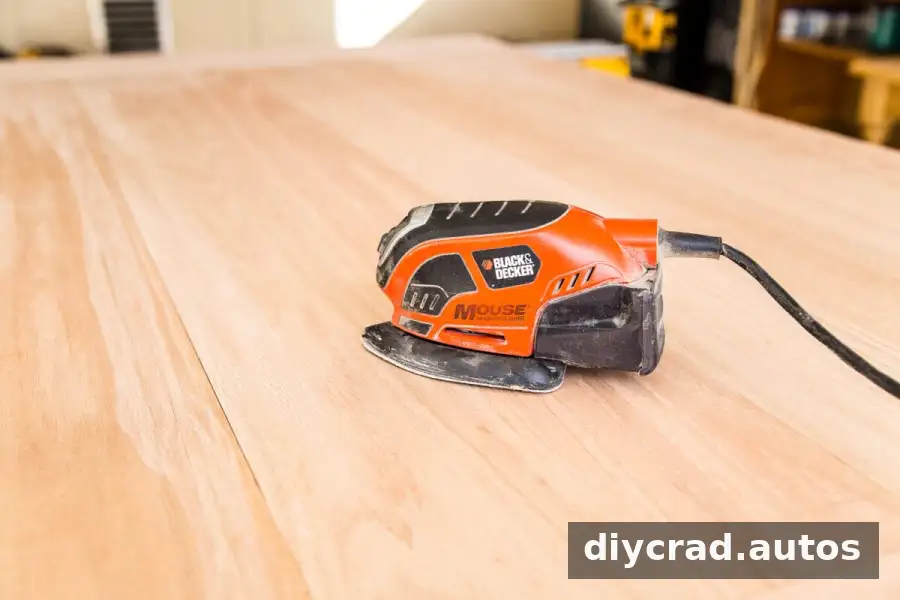
Sand the surface with a palm sander, moving through 80-, 120-, 180-, and finally 220-grit sandpaper. Smooth the dried filler as well, blending it level with the surrounding wood. Remove sanding dust with a brush or tack cloth before conditioning the surface.
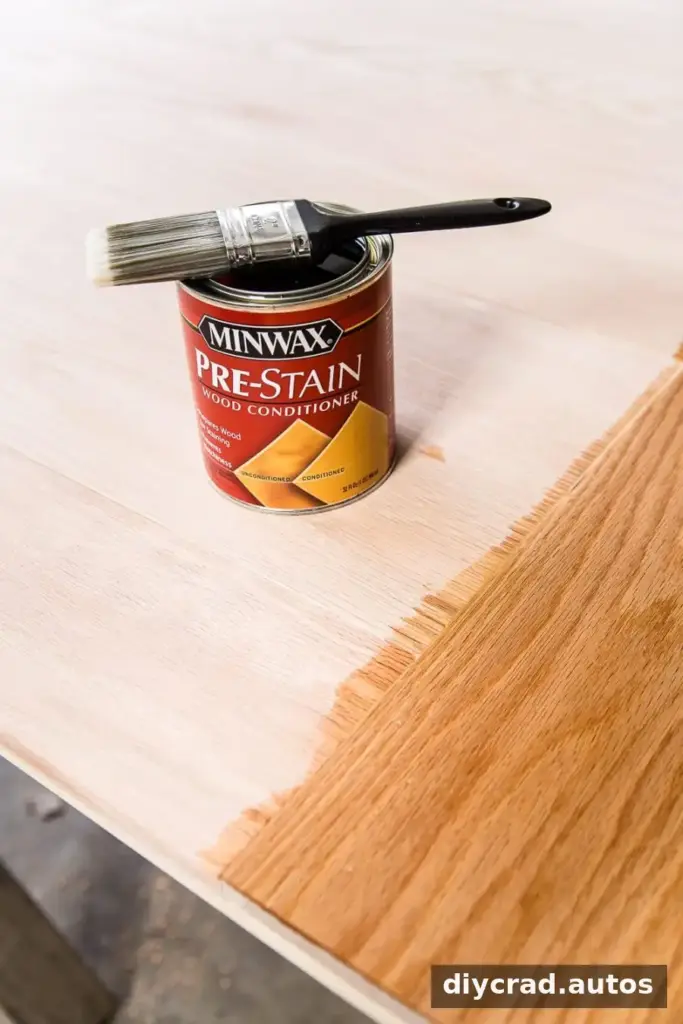
Apply pre-stain wood conditioner according to its label to help the wood absorb stain more evenly. In this project, the conditioner was left to soak in for at least 5 minutes and no longer than 30 minutes. Wipe away excess with a clean, dry rag just before staining, while following the instructions for the product you use.
Choose a wood and stain color
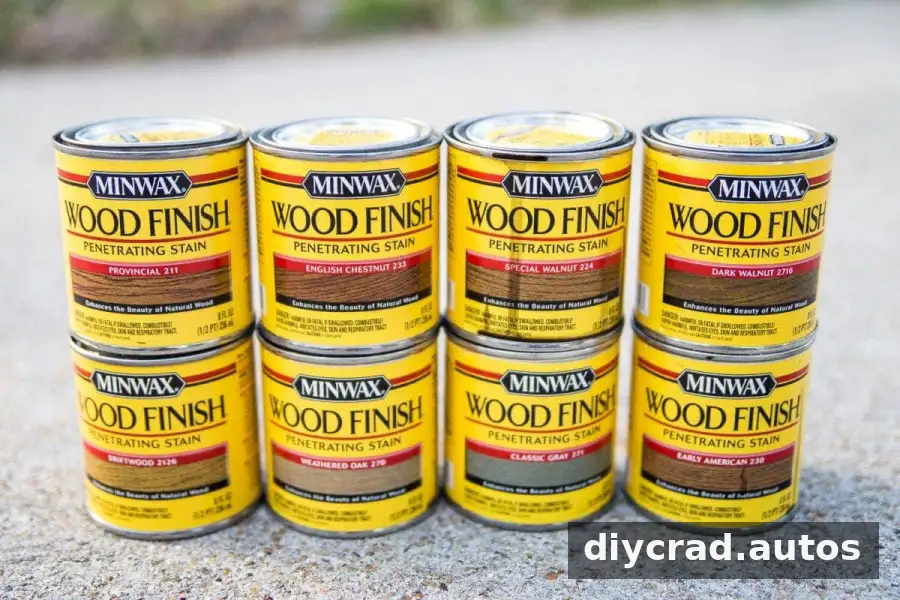
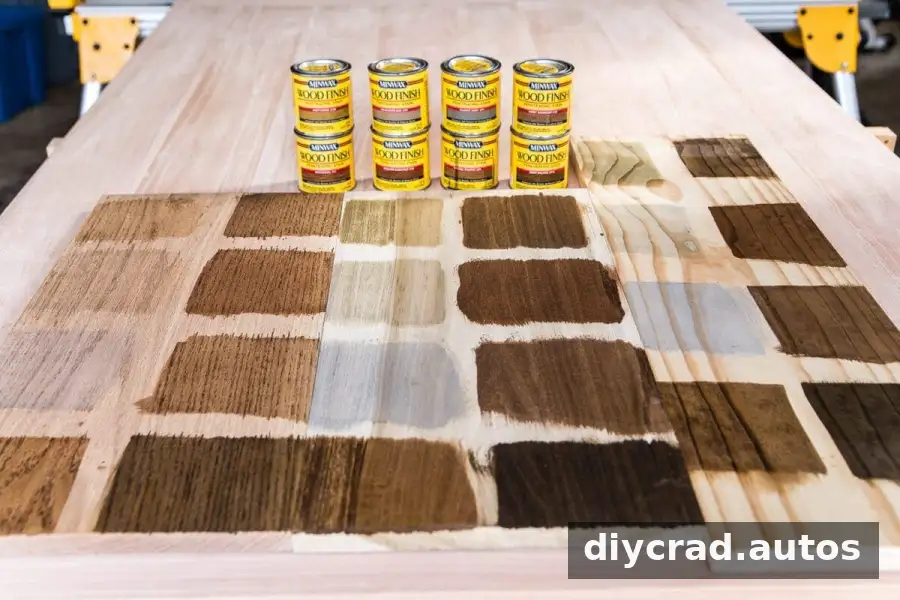
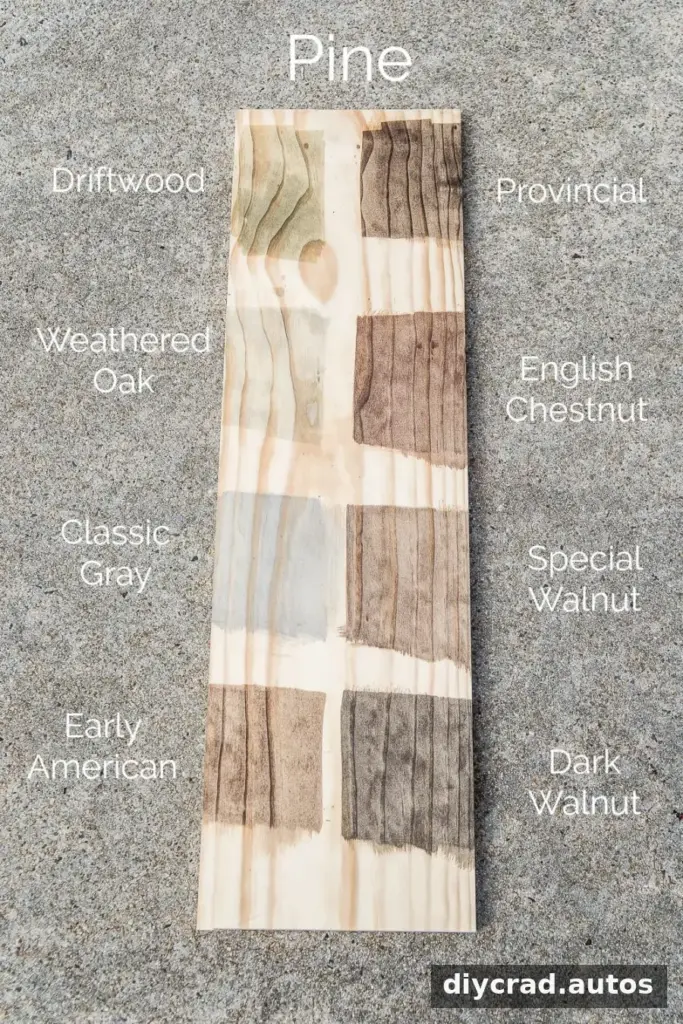
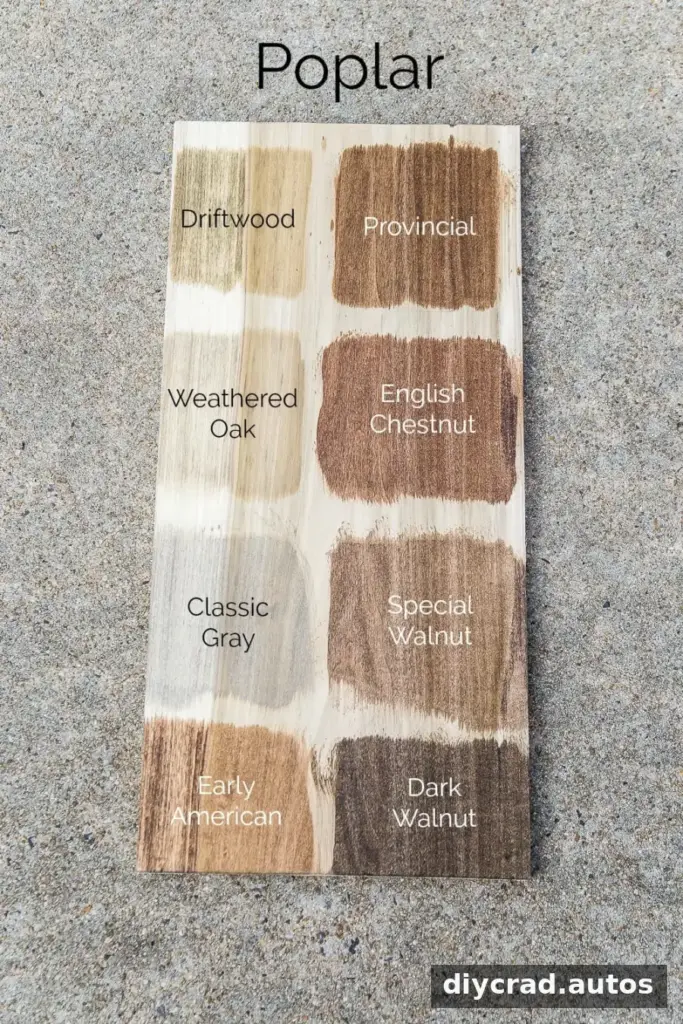
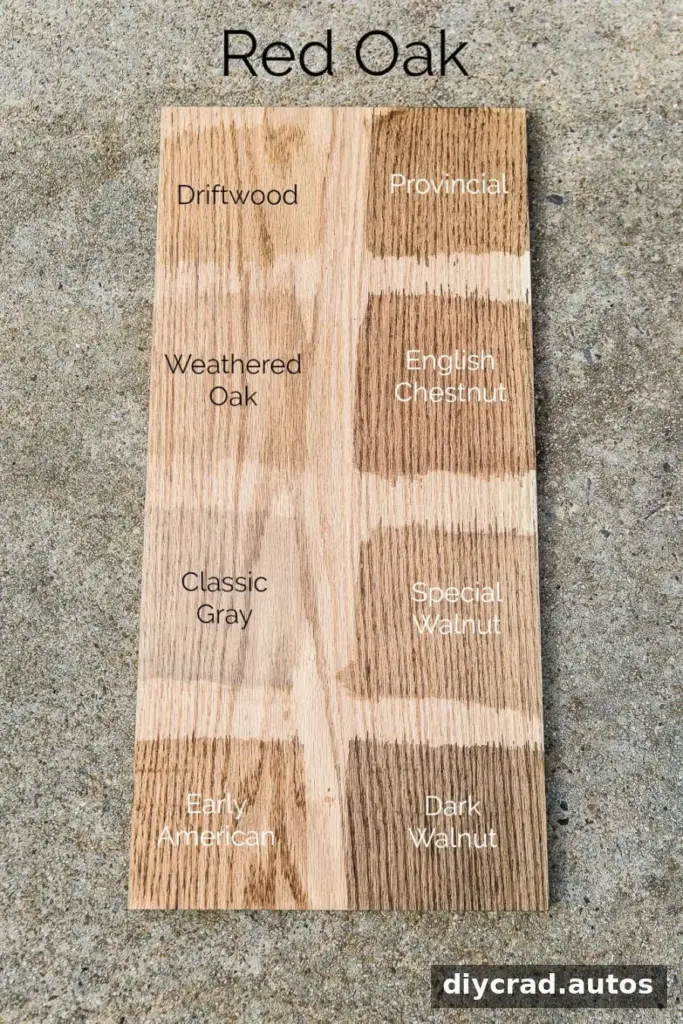
Wood species can affect the finished appearance, so testing stain on offcuts before treating the tabletop is a useful step. In the original comparison, eight stain colors were tested on three different wood species. Pine showed a more uneven, blotchy result without conditioner, while poplar was considered as a less expensive alternative.
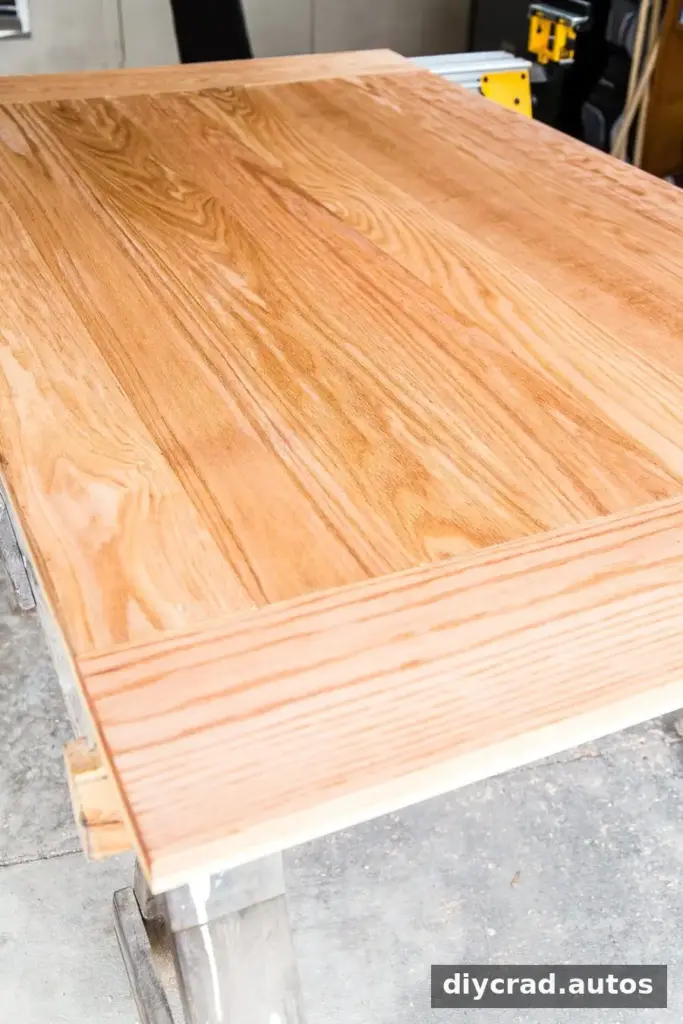
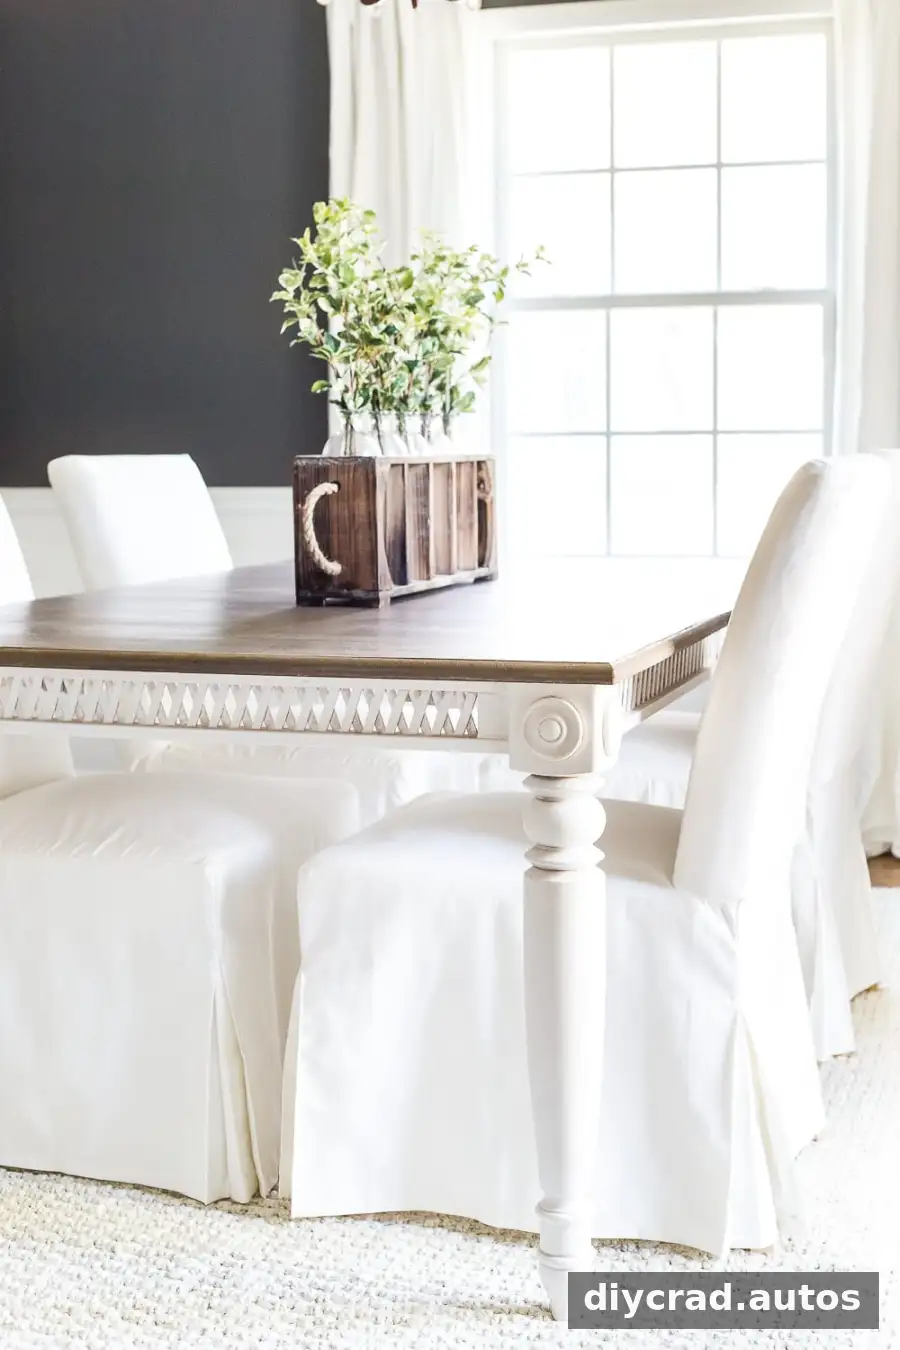
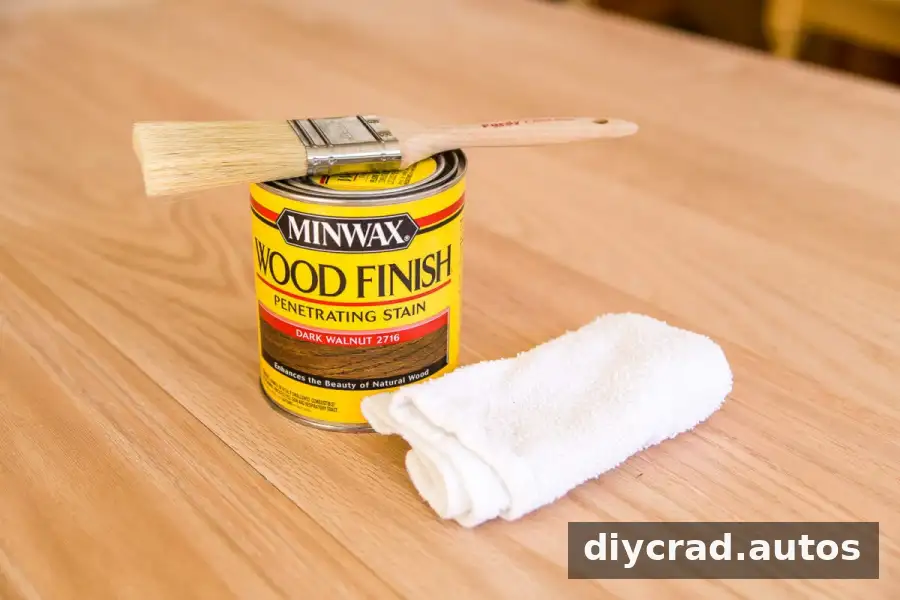
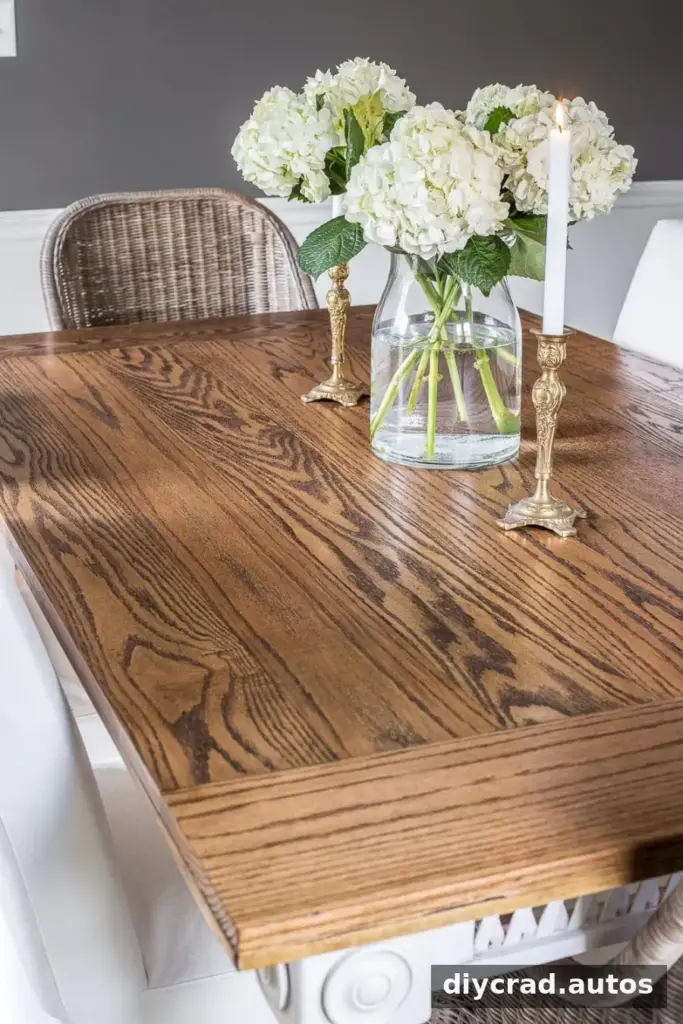
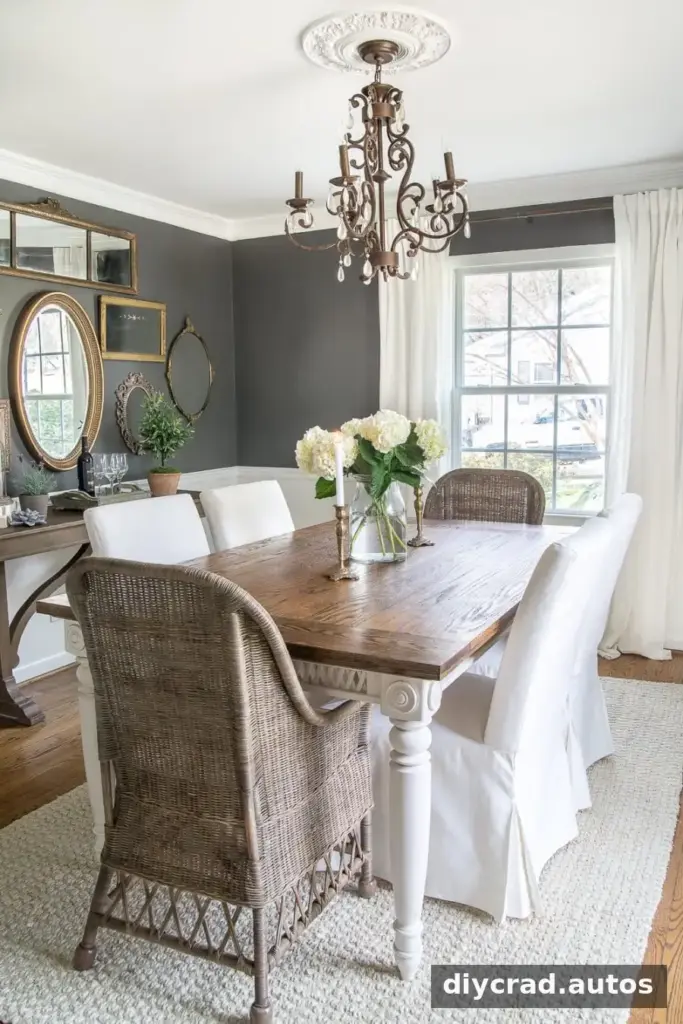
Red oak was selected for its grain and durability as a hardwood. The chosen finish was Dark Walnut, which created contrast with the white table base. Your result will depend on the wood and stain, so a sample test can help you choose a combination before committing to the full surface.
Apply stain and protective finish
Apply wood stain according to the product directions. One coat was used for this tabletop; additional coats can produce a darker result, depending on the stain and wood. Allow the stain to dry fully before applying a clear protective finish.
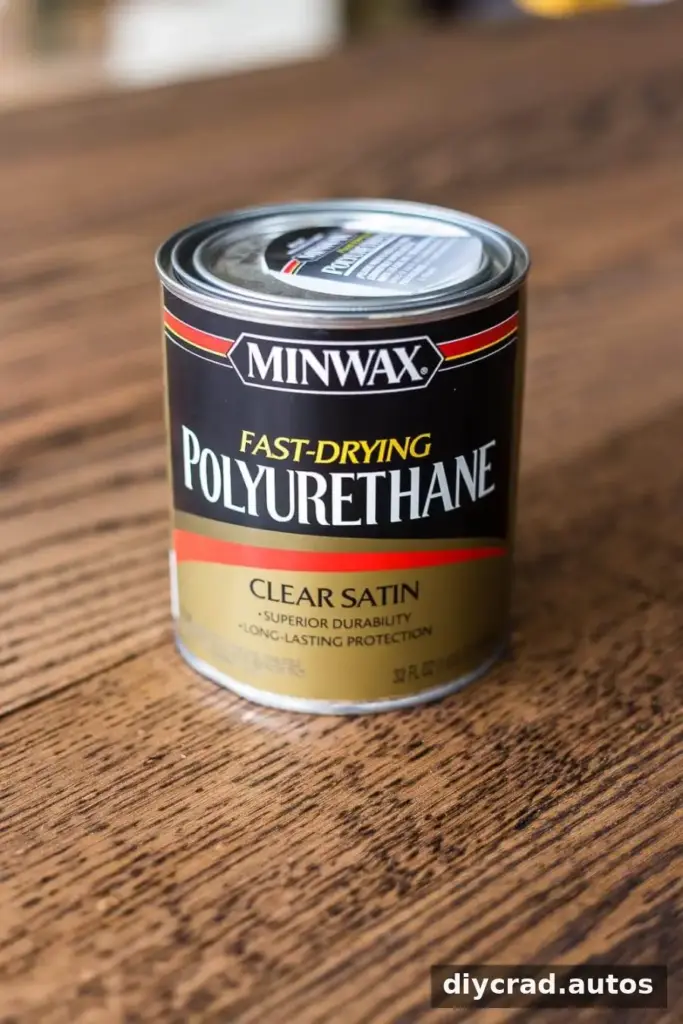
After a 24-hour drying period, a clear, fast-drying polyurethane in satin was applied with a foam brush. Two to three coats were recommended to help protect the tabletop from regular wear, including drink condensation and food spills. Follow the finish manufacturer’s directions for drying times and recoat intervals, and work in a well-ventilated area.
Set the new top in place
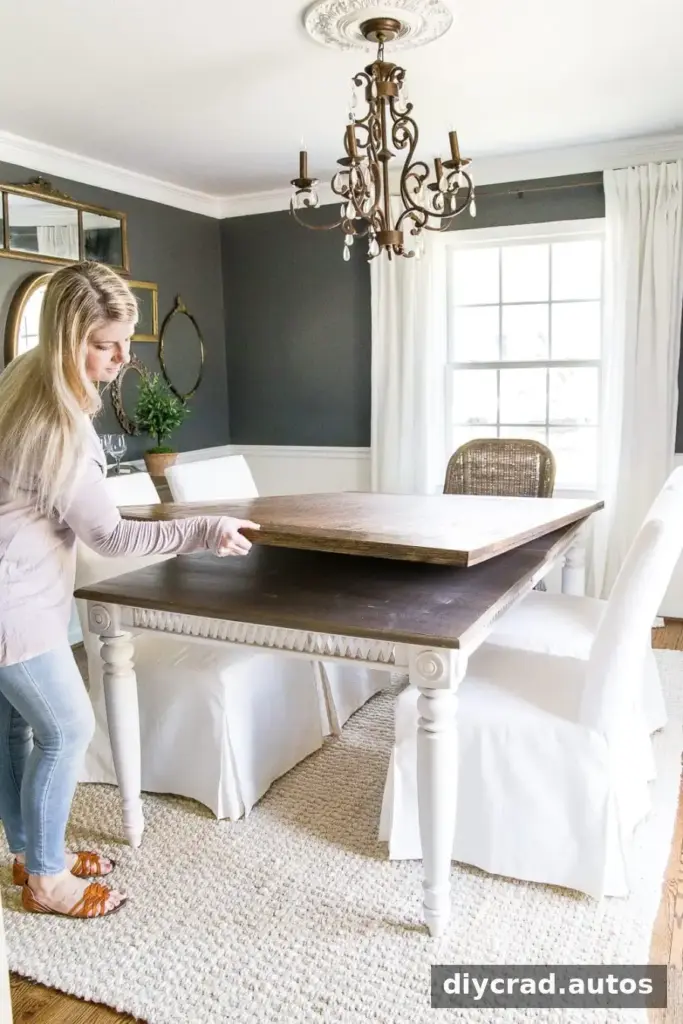
When the finish has dried as directed, place the completed top over the existing table and check that it sits evenly. The fitted lip helps locate the cover around the original surface. Avoid dragging the finished top across the base, which could scratch either piece.
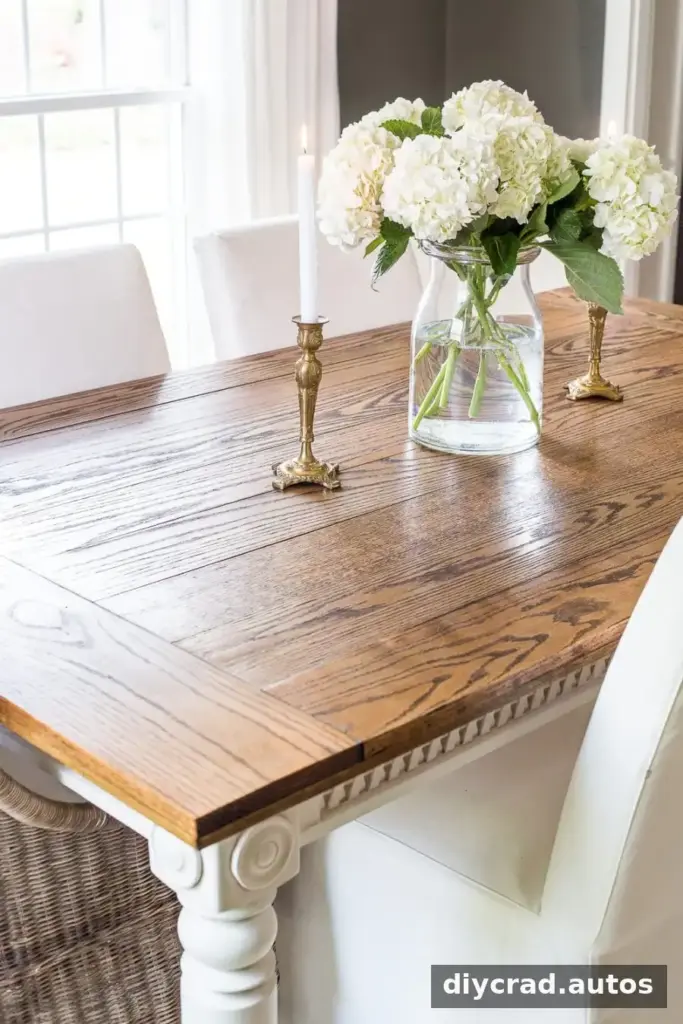
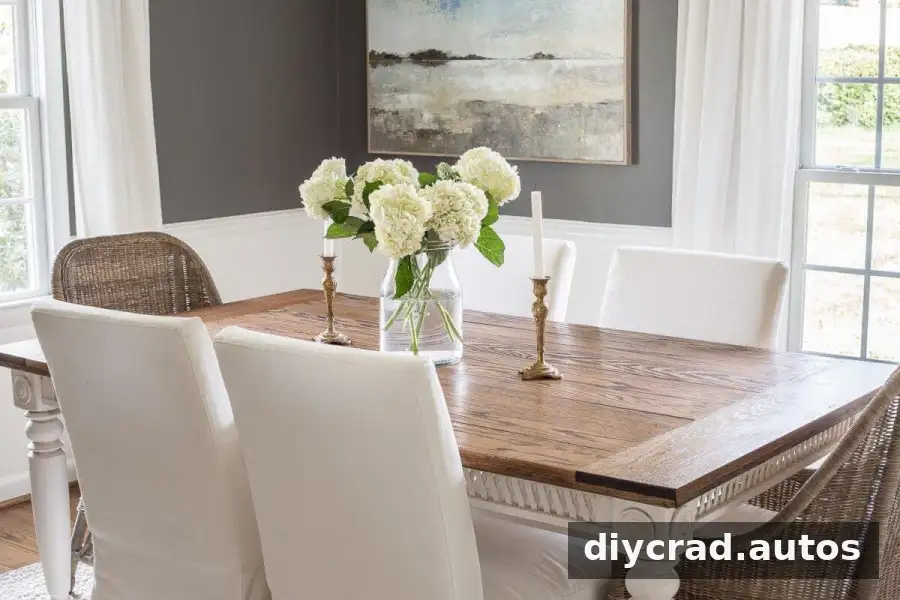
The red oak grain and satin finish give the dining area a warmer look while leaving the original table intact underneath.
Final thoughts on a DIY retrofitted dining table top
This DIY retrofitted dining table top offers a way to give a serviceable table a fresh wood surface without rebuilding its base. Accurate measurements, a careful fit test, gradual sanding, and a sample stain test all help improve the final result. With the same basic method, a fitted cover can also be adapted to other furniture surfaces that need a new finish.