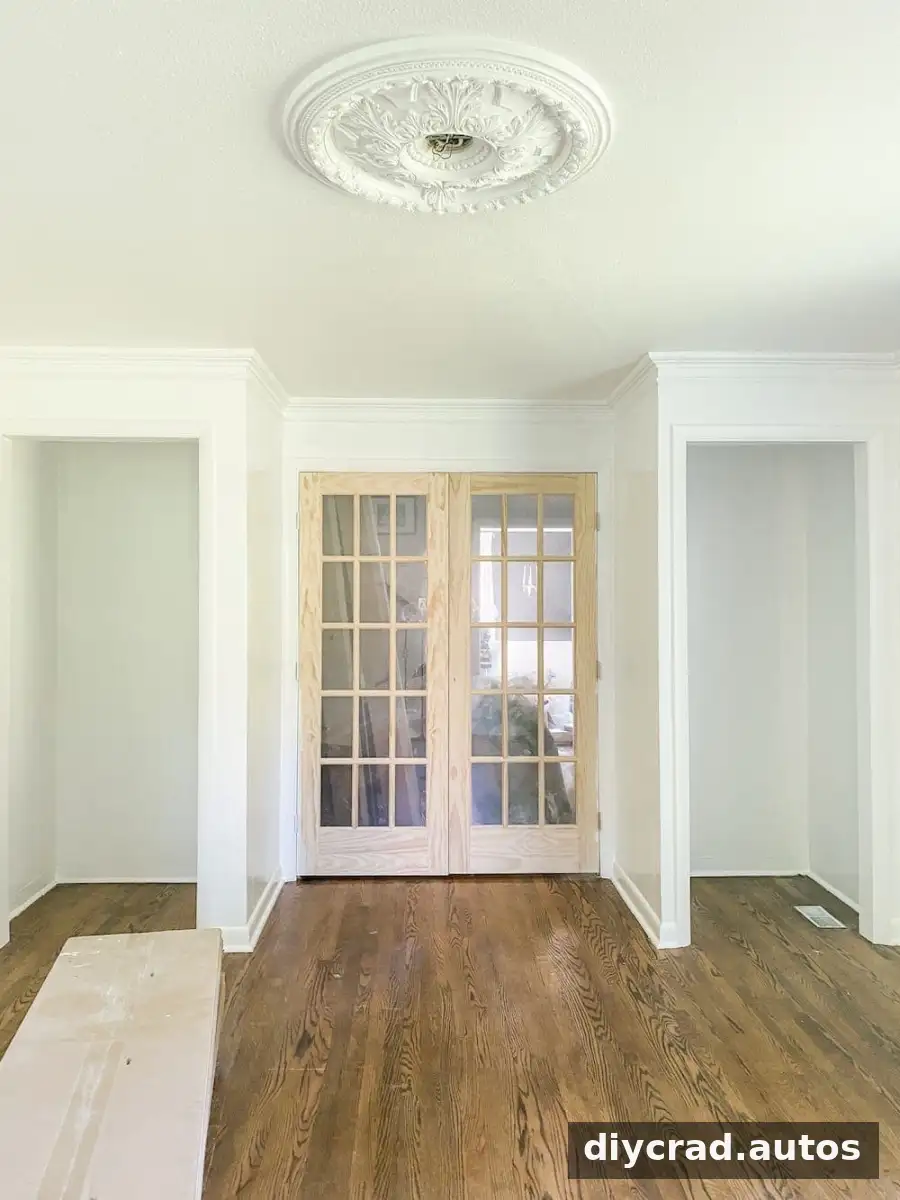
DIY closet shelves can make a home office closet more useful without requiring complicated construction. With 1/2-inch plywood, 1×2 boards, and basic tools, you can create simple shelves sized to your space. A related upgrade is converting bifold doors into French doors for a more traditional look.
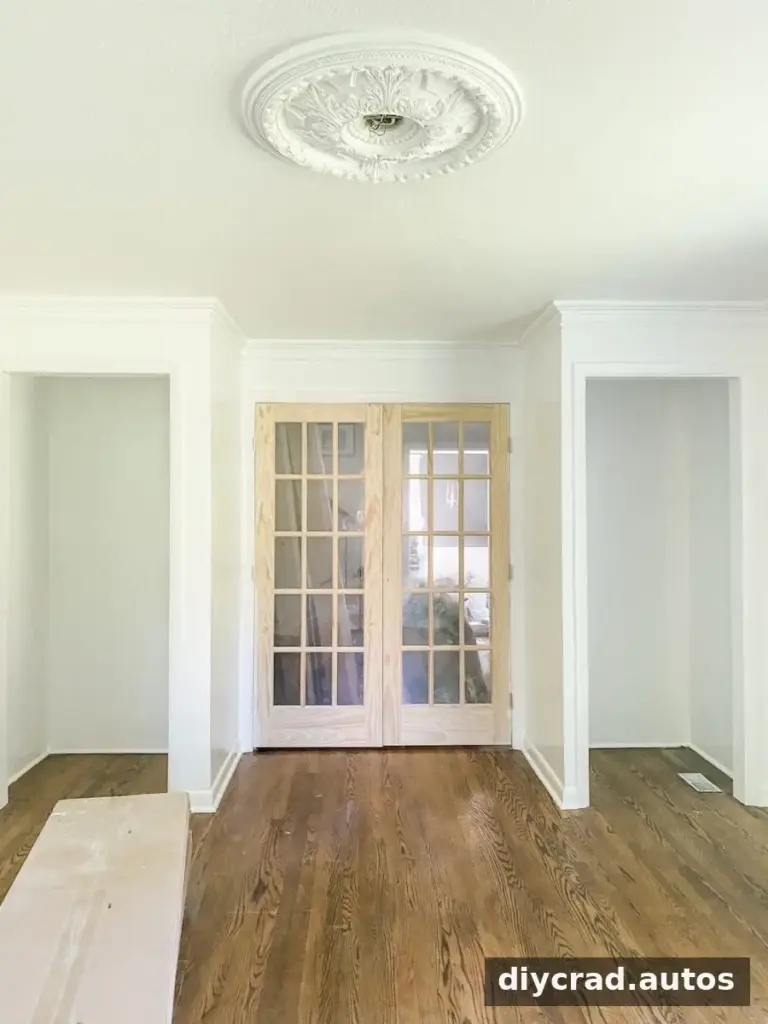
Planning the shelf positions and door swing before you begin helps prevent avoidable adjustments later. Measure the closet carefully, and check that the doors can open fully without hitting nearby furniture or walls.
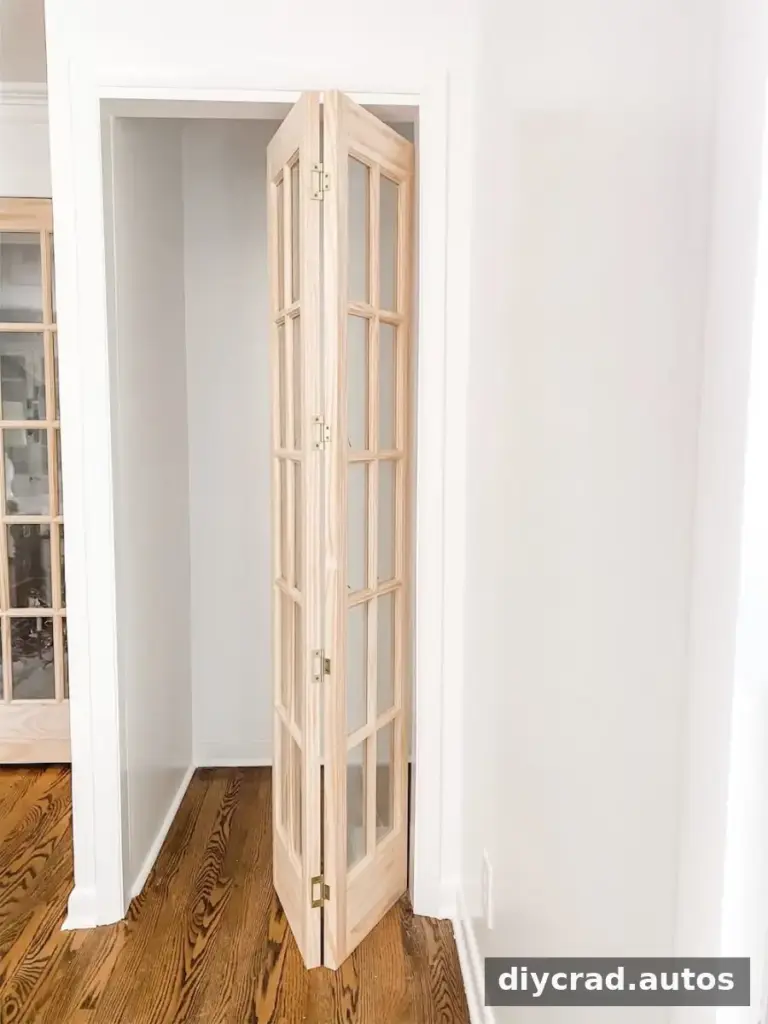
How to Convert a Bifold Door to French Doors
A bifold door can be separated into two individual doors and rehung as a pair. The conversion described here uses four hinges on each door, for eight hinges total. Before removing the existing hardware, check the door frame and make sure the doors can be supported securely.
- Unscrew and remove the hinges connecting the two panels of each bifold door.
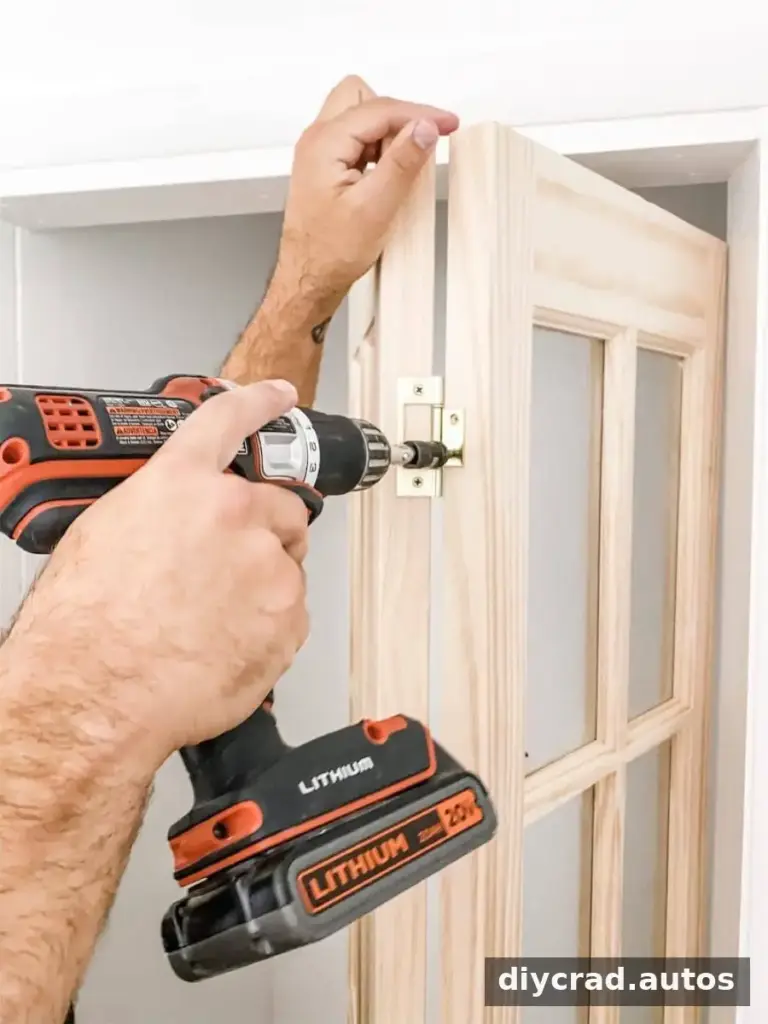
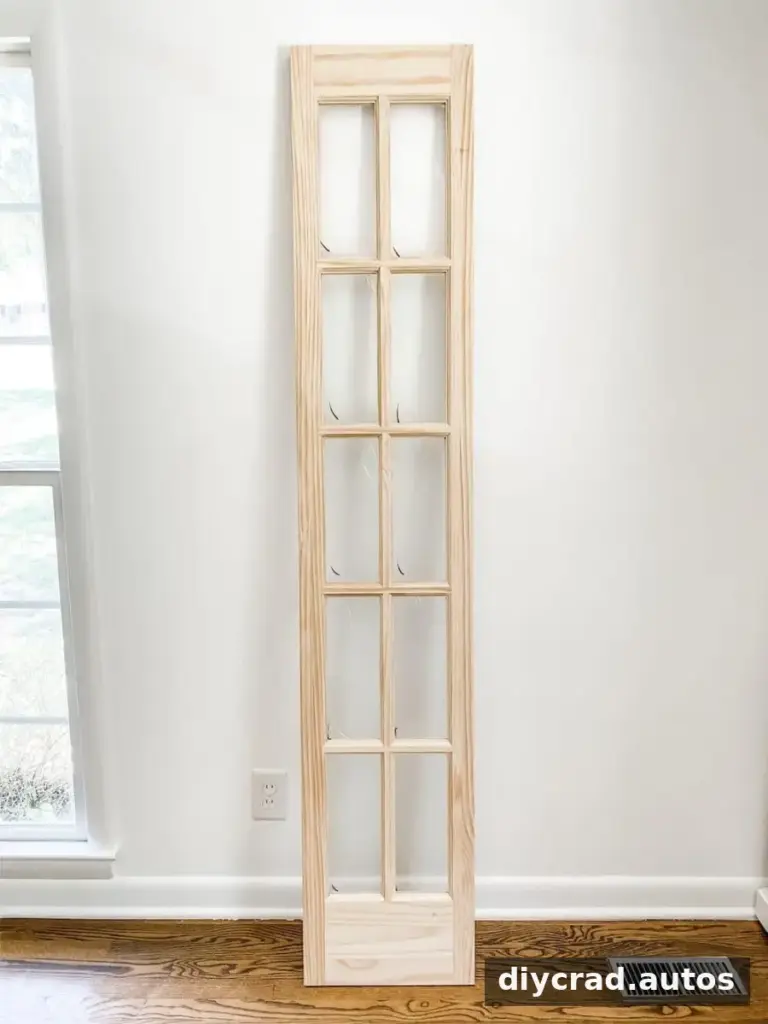
- Attach four hinges along one side of each individual door. Space them evenly and use suitable screws for the door material.
- Fasten the hinges to the door frame, positioning them at matching heights so the pair hangs evenly.
Before tightening everything fully, check that each door swings in the intended direction and that the edges do not bind against the frame. A quick test fit can catch a hinge-direction mistake before the installation is complete. The original installation took about 10 minutes, though your timing may vary depending on the doors and frame.
How to Build Basic DIY Closet Shelves
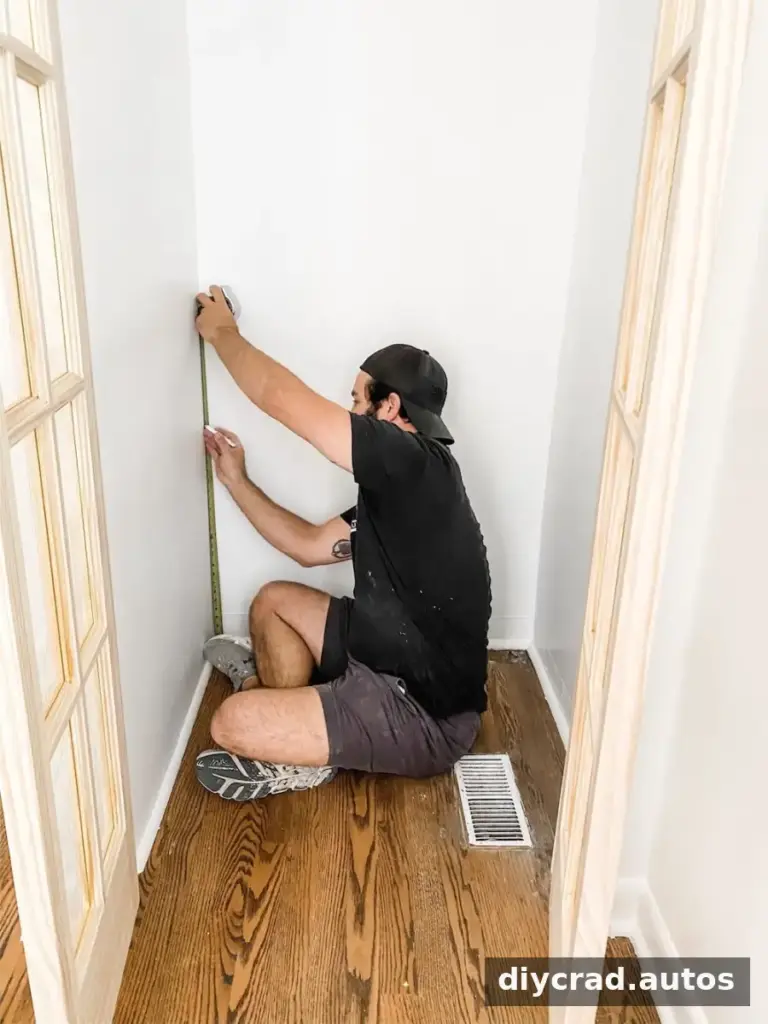
These basic shelves use plywood resting on 1×2 supports fastened to the sides and back of the closet. If wire shelving is already installed, a wood overlay may also help create a cleaner-looking surface, provided the existing shelving can safely support the added weight.
Materials and tools
- 1×2 boards
- 1/2-inch plywood
- Stud finder
- Power drill and drill bits
- Tape measure and pencil
- Level
- Wood screws
- Circular saw
Step-by-step instructions
- Measure the closet and mark the planned shelf locations. The shelves in this project were spaced 24 inches apart. Adjust the spacing to suit the items you plan to store.
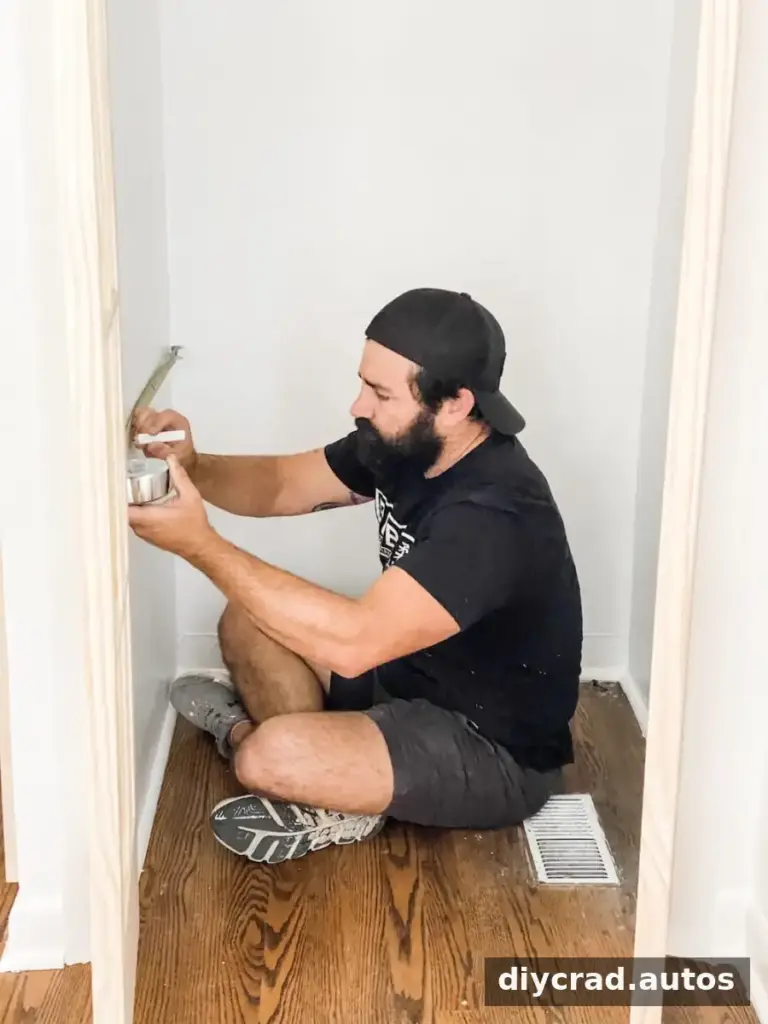
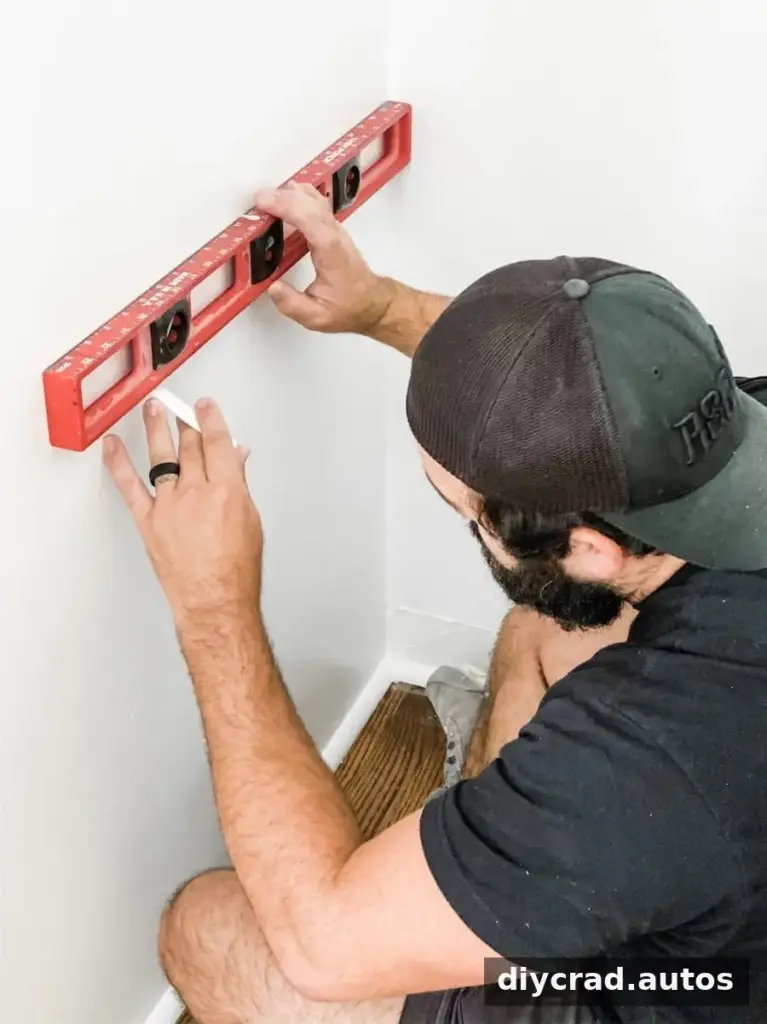
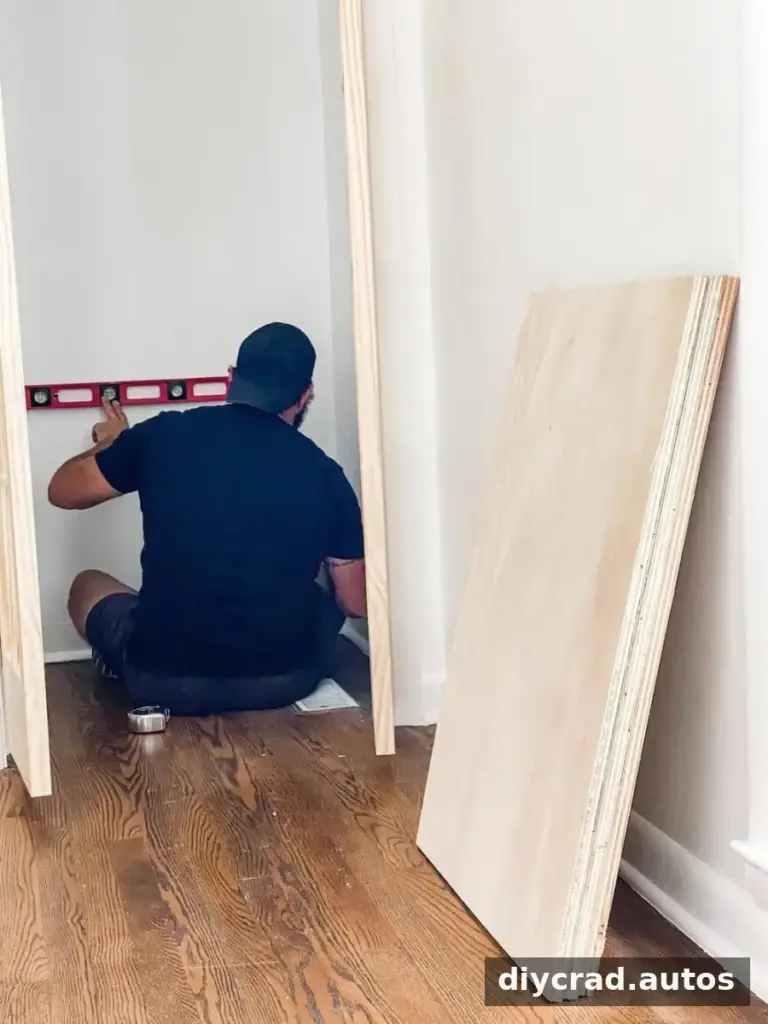
- Use a level to draw a straight guide line for each shelf. Locate the wall studs with a stud finder and mark their positions so the supports can be secured firmly.
- Measure and cut the plywood to the required shelf depth and length. Work on a stable surface and follow the saw manufacturer’s safety guidance.
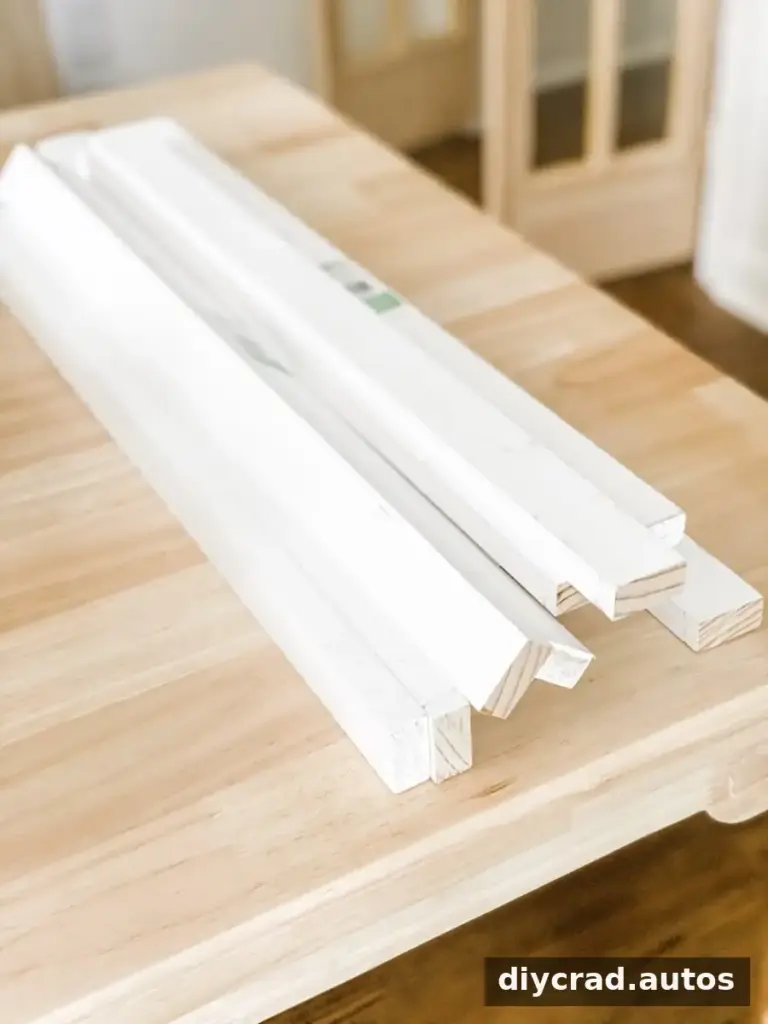
- Cut the 1×2 boards to fit along the sides and back of the closet at each marked shelf height.
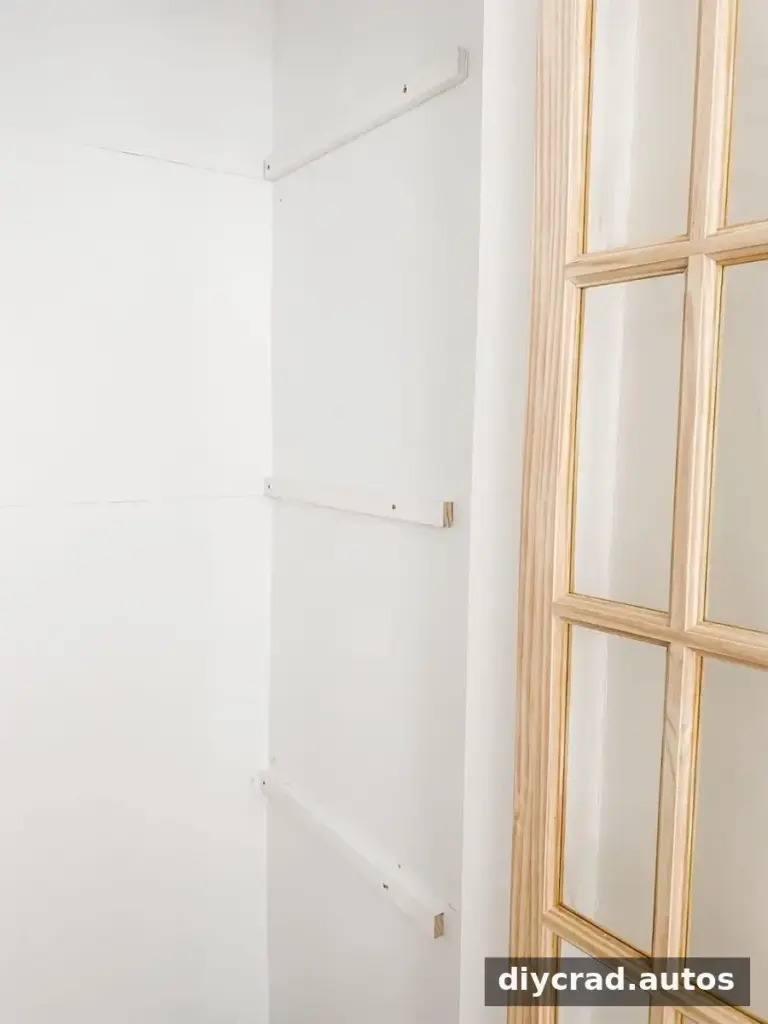
- Use wood screws to fasten the 1×2 supports to the wall along the guide lines. Where possible, drive the screws into the marked studs. Check the supports with a level before moving on.
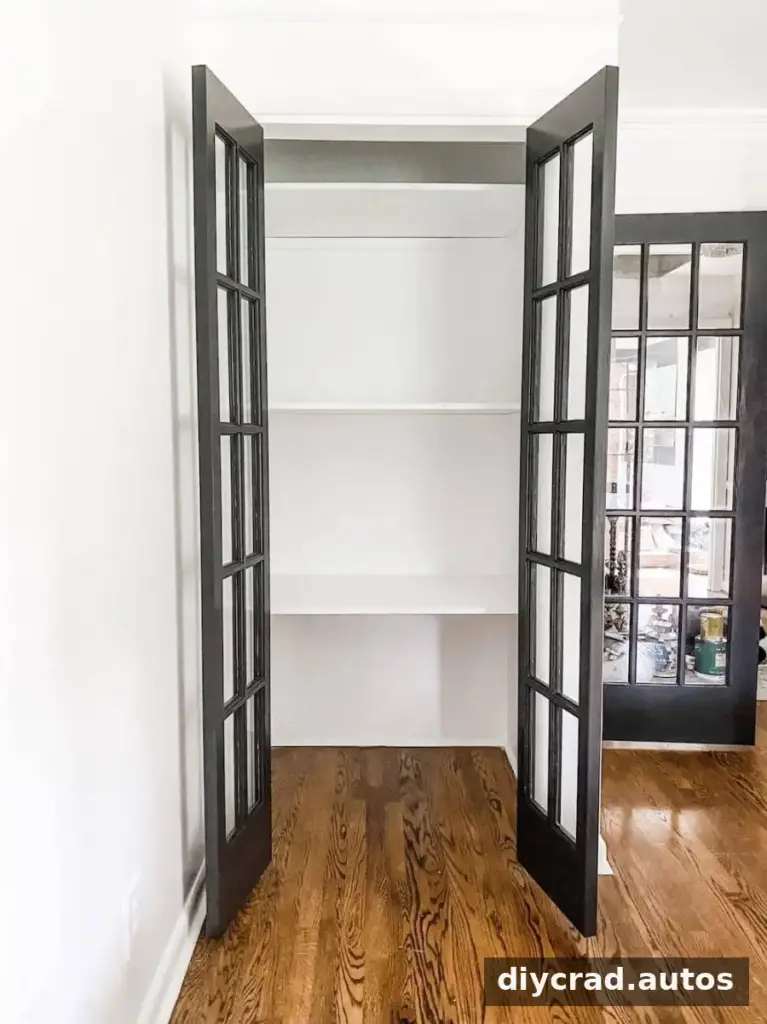
- Trim the plywood as needed so it rests neatly on the supports. Test the fit, then paint the shelves and surrounding surfaces if desired. In this project, the shelves were painted white to match the walls.
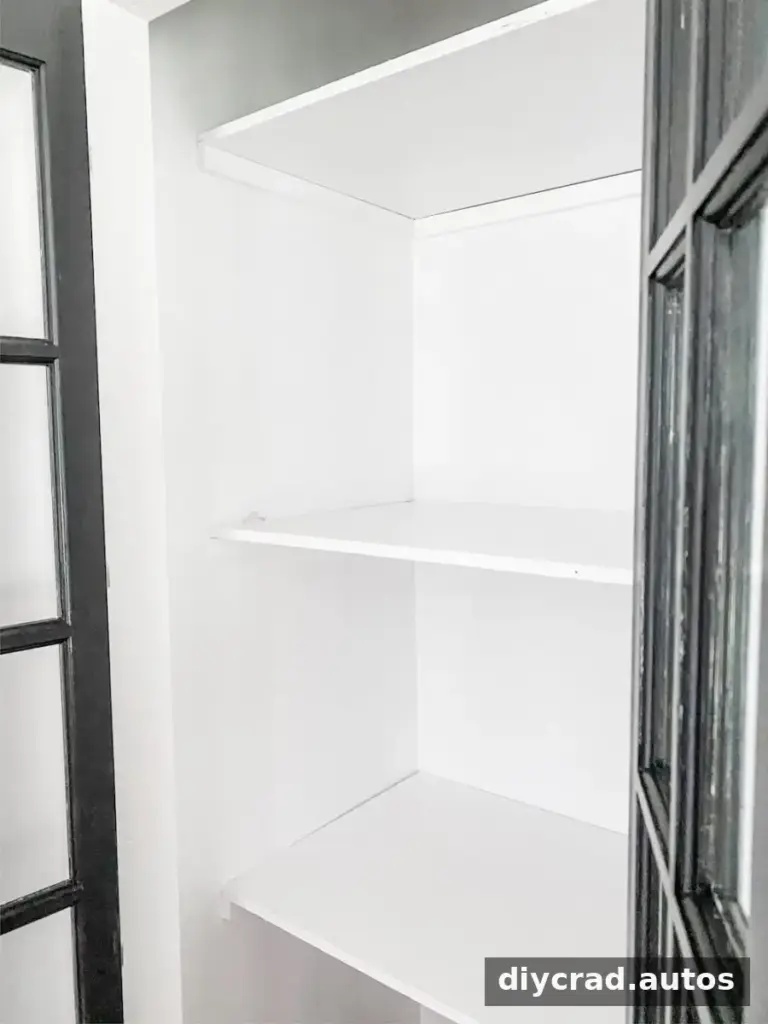
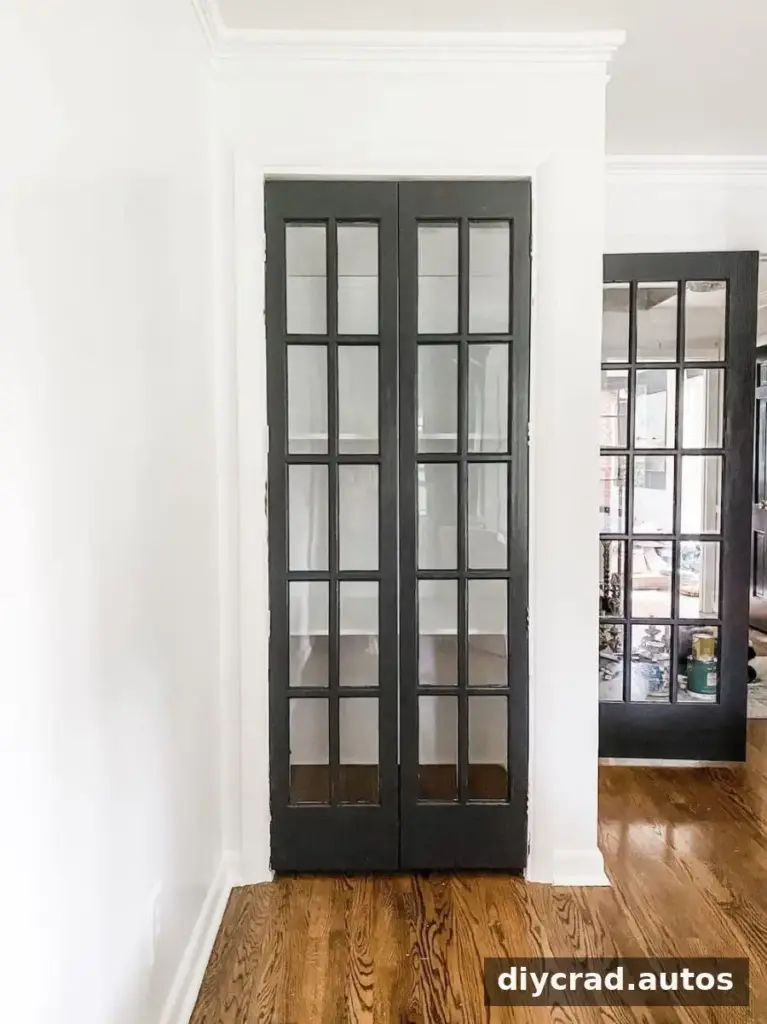
The doors were painted a dark charcoal color to contrast with the lighter walls. If painting doors with glass or other areas that should remain unpainted, protect those surfaces first and follow the directions for the masking products you use. Allow paint to dry fully before rehanging or using the doors.
Finishing and Organizing the Closet
Once the shelves and doors are in place, sort items by how often they are used. Keep everyday supplies within easy reach and reserve higher shelves for lighter, less frequently needed items. For seasonal decorations such as floral stems, simple compartments can help keep pieces separated and easier to retrieve.
A home office renovation can temporarily make other rooms feel less organized, so it helps to plan where tools and supplies will go while work is underway. Finish one area at a time when possible, and leave clear access to the closet during installation.
Home Office Project Checklist
A checklist makes it easier to track the remaining work and avoid overlooking finishing details:
- Build the pair of closets
- Install the double French doors
- Paint the walls and ceiling
- Install the closet doors
- Build the closet shelving
- Move the air vent
- Paint the doors
- Install lighting
- Hang art and curtains
- Assemble furniture
- Paint the cabinets
- Decorate and style the room
For a practical storage upgrade, DIY closet shelves offer a straightforward way to use closet space more effectively, while converting bifold doors can give the opening a different look. Measure carefully, anchor the supports securely, and check the door swing before calling the project finished.