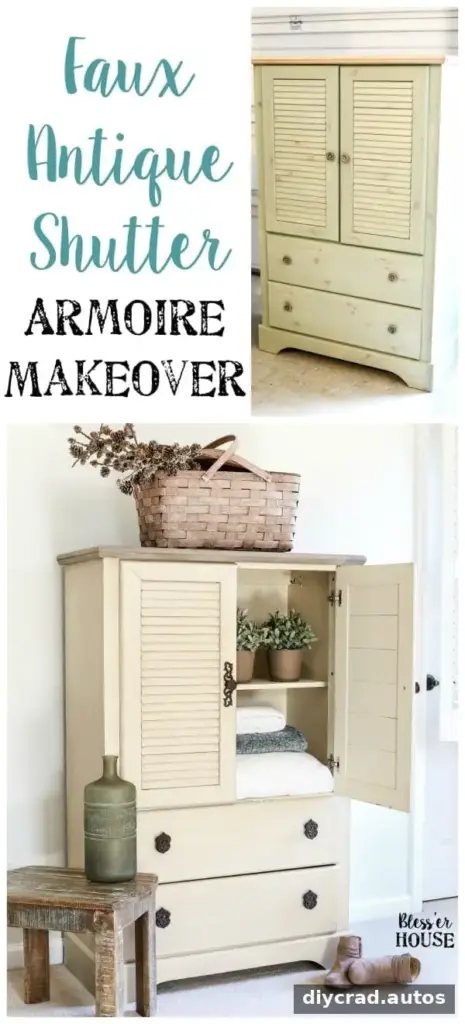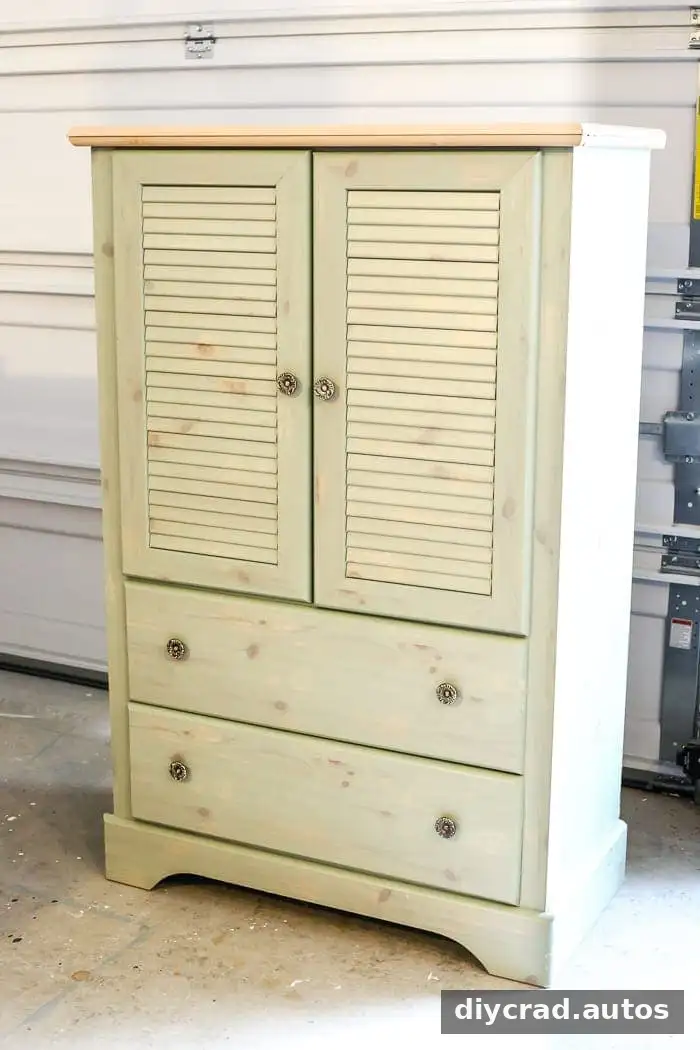
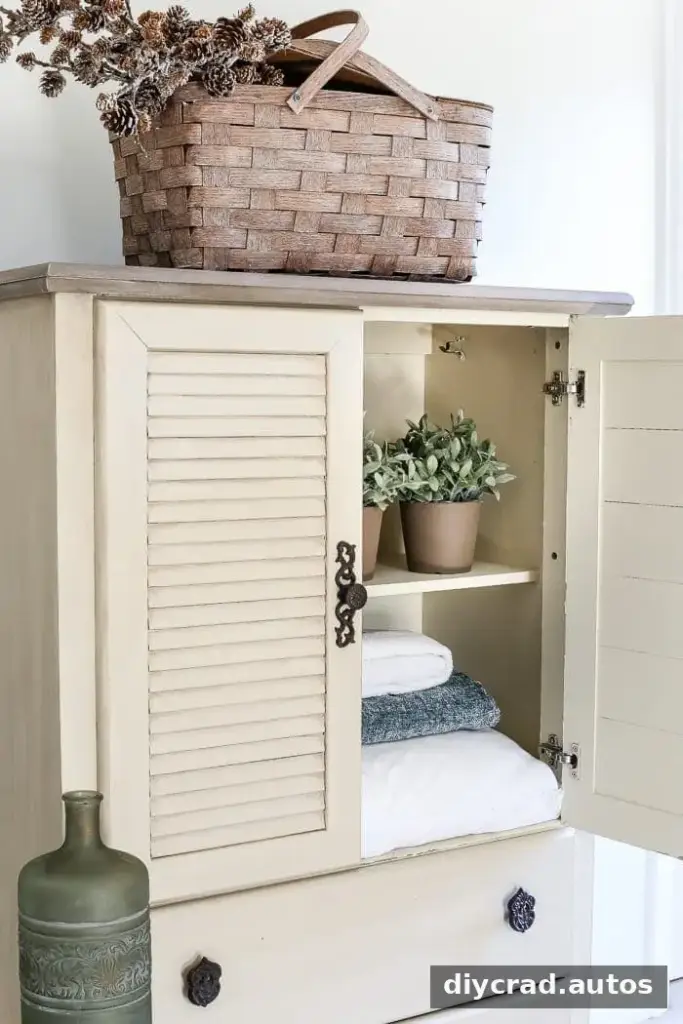
This antique armoire makeover shows how paint, a little contrast, and updated hardware can give a simple cabinet a more aged, collected look. The green shutter-front armoire cost $40 and was chosen to add practical storage to a guest bedroom, where it could hold children’s toys, books, and guest linens.
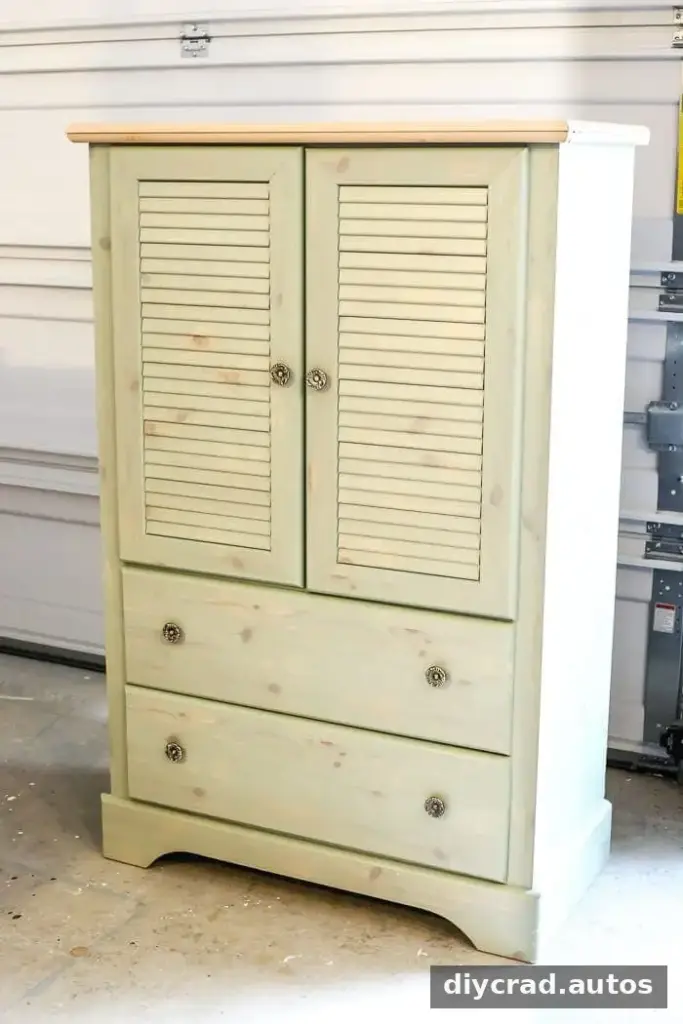
Choosing an armoire for a guest bedroom
The cabinet’s size and shutter-style doors made it a useful fit for the room. Its lower drawers could conceal toys, while the shelves offered space for books and extra bedding. The original green finish was attractive, but it did not suit the blue tones planned for the bedroom, so the cabinet was updated rather than replaced.
When choosing a secondhand cabinet for a similar project, consider both its storage layout and the condition of its surfaces. Drawers and shelves can serve different purposes, and a piece that fits the room well may be worth refreshing even if its existing color is not right.
Paint and materials for the antique armoire makeover
The makeover used three paint colors, dark wax, and new cast-iron hardware. The cabinet body was painted in Plaster, while Linen and Casement were layered on the top to create a wood-inspired effect.
- Furniture paint in Plaster
- Furniture paint in Linen
- Furniture paint in Casement
- Espresso-colored wax
- Cast-iron hardware
- A paintbrush and a clean rag
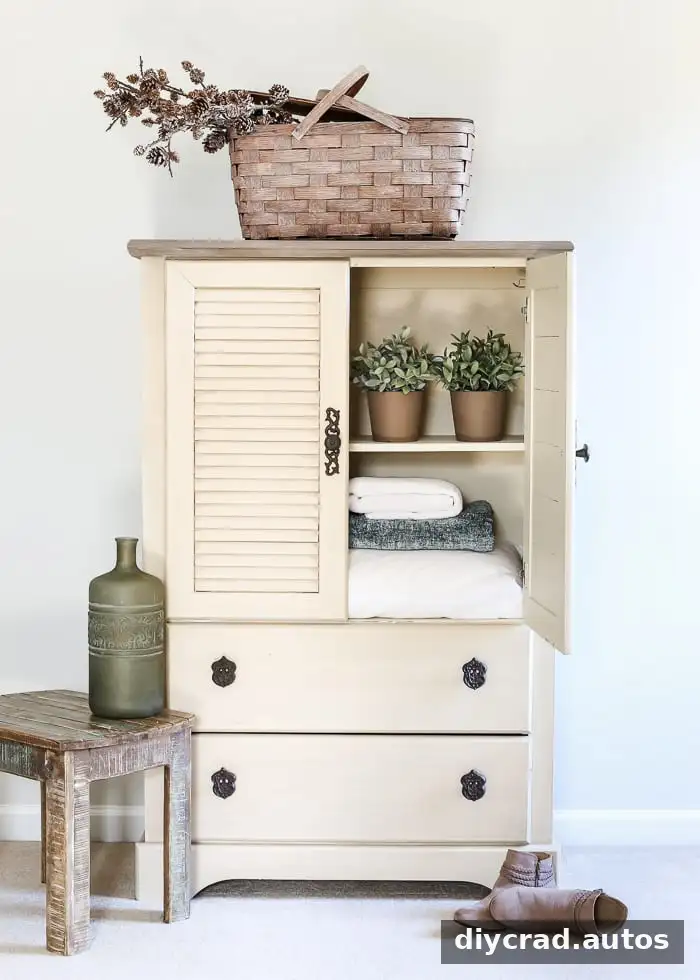
This was a low-cost veneer cabinet, possibly originally used in a motel room. The goal was to make it look more like a characterful antique than a plain, inexpensive piece. For any veneer furniture project, check that the surface is stable and follow the paint manufacturer’s preparation instructions. A small test in an inconspicuous spot can also help confirm that the finish behaves as expected.
How the cabinet was painted and aged
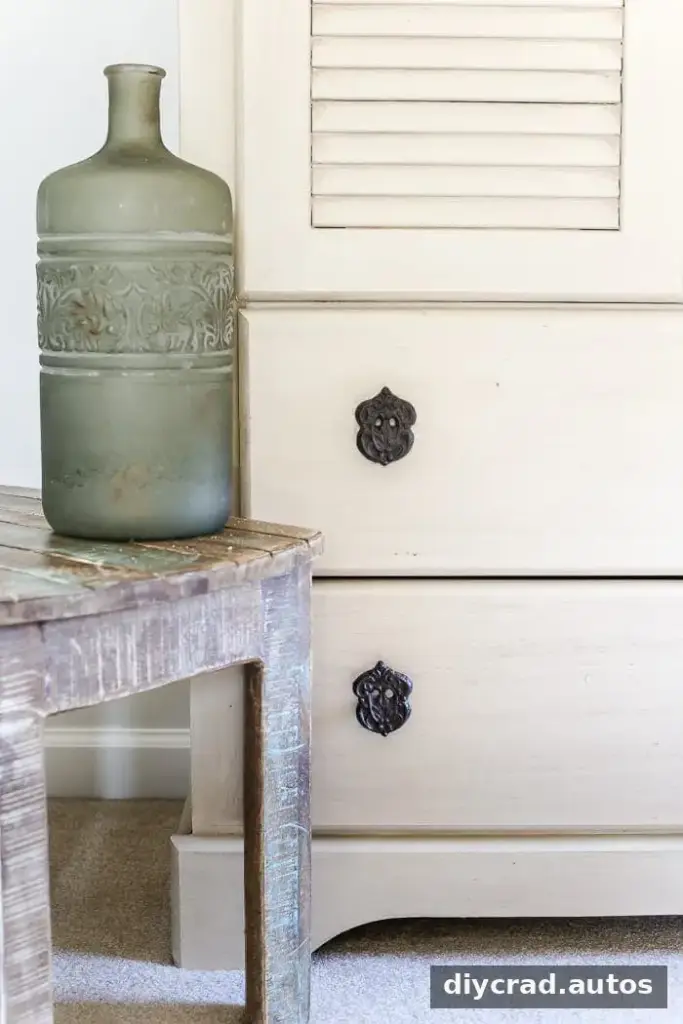
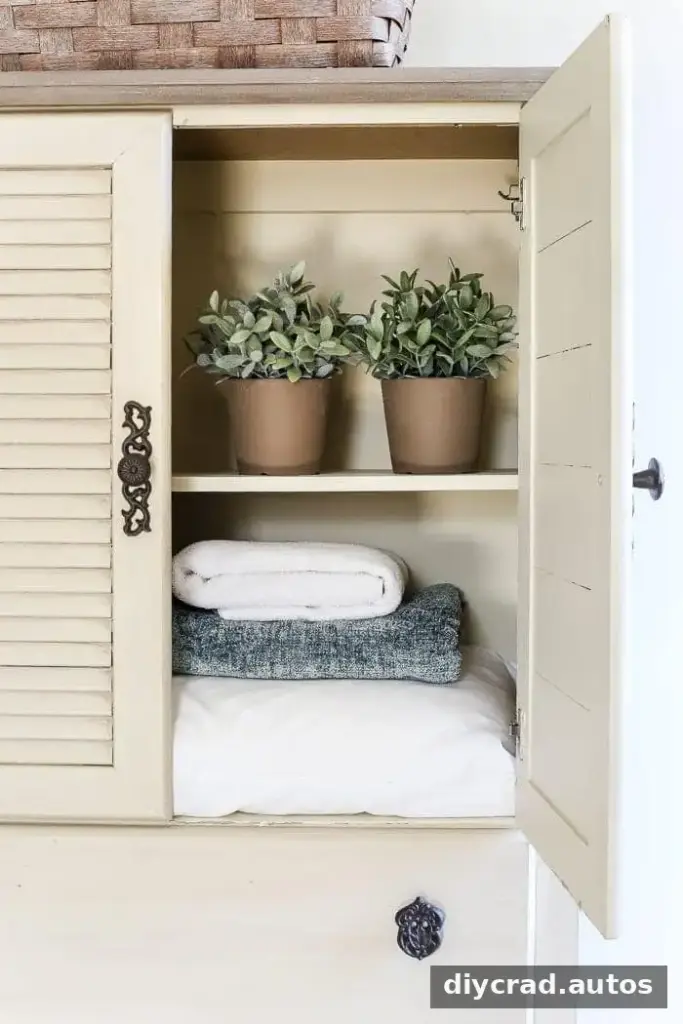
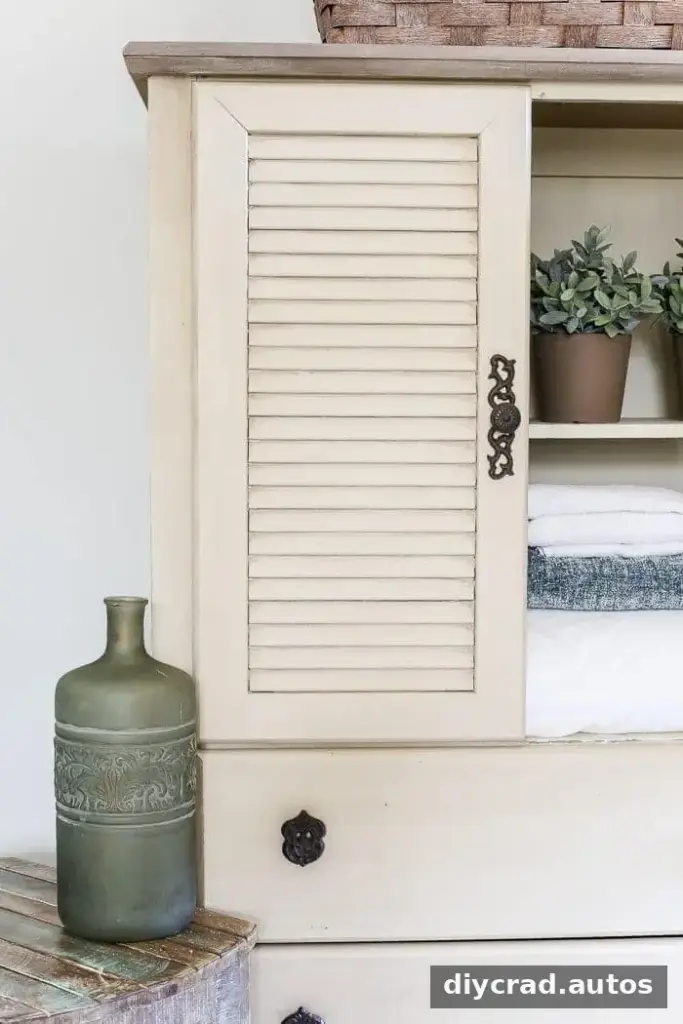
The armoire was given two coats of Plaster paint, leaving the top untouched during this part of the project. Once the paint was ready for the next step, Espresso wax was applied to add depth and an aged appearance. A small amount was left in the corners and along the edges of the slats on the shutter doors, emphasizing their shape without covering the entire light finish.
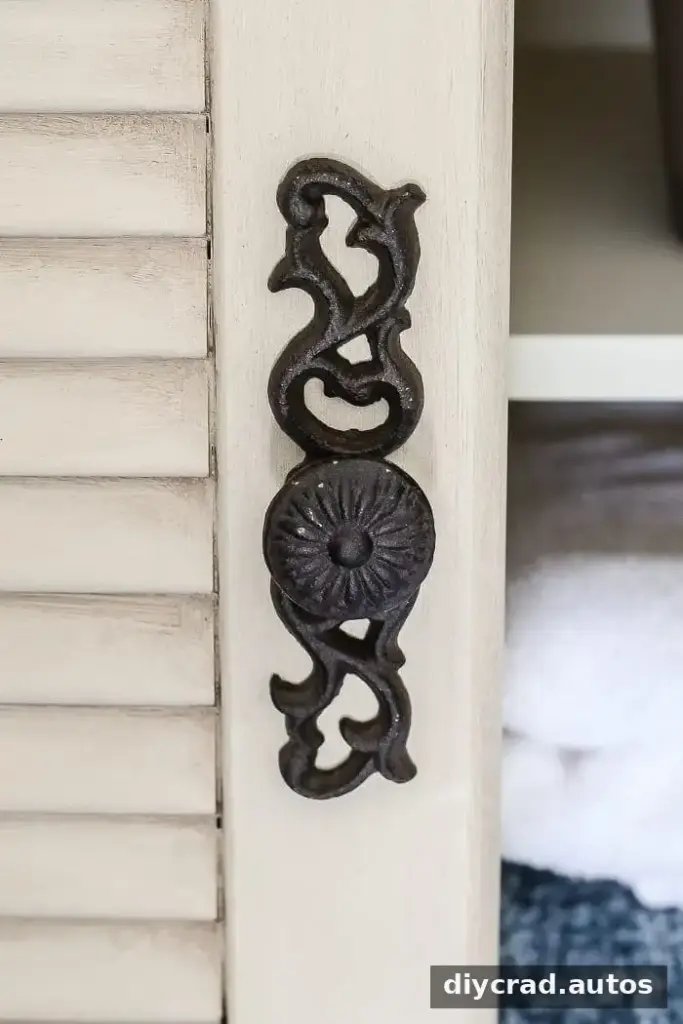
The dark cast-iron hardware provides a clear contrast against the creamy paint. Changing knobs or pulls is a straightforward way to alter the character of a cabinet, but check that replacement hardware fits the existing holes before buying it. If the spacing differs, filling and drilling may be needed.
Creating a wood-inspired top
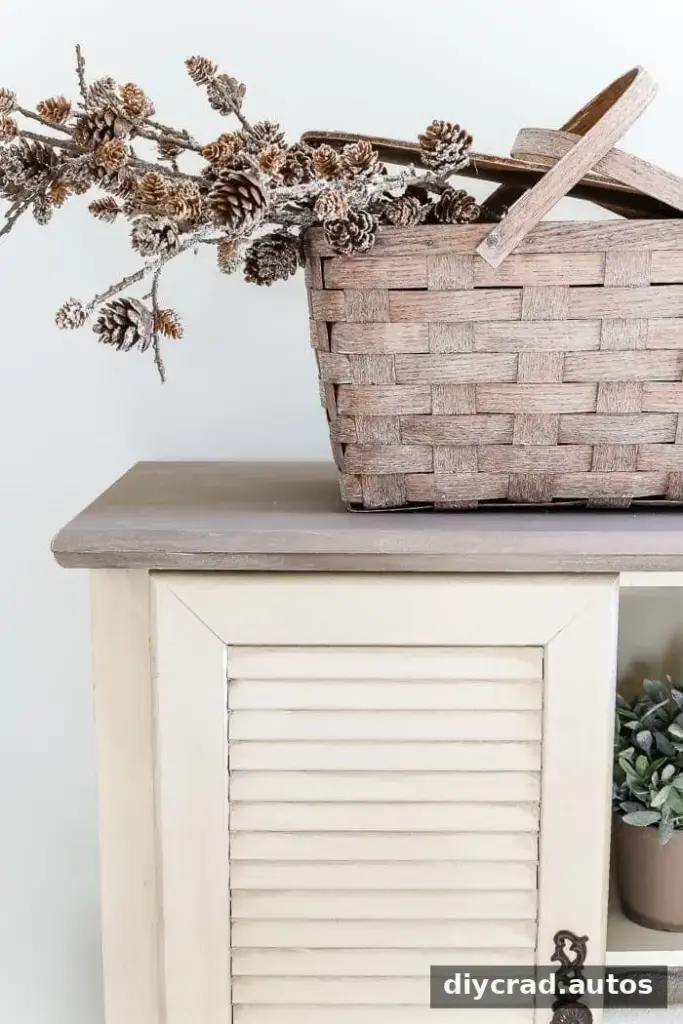
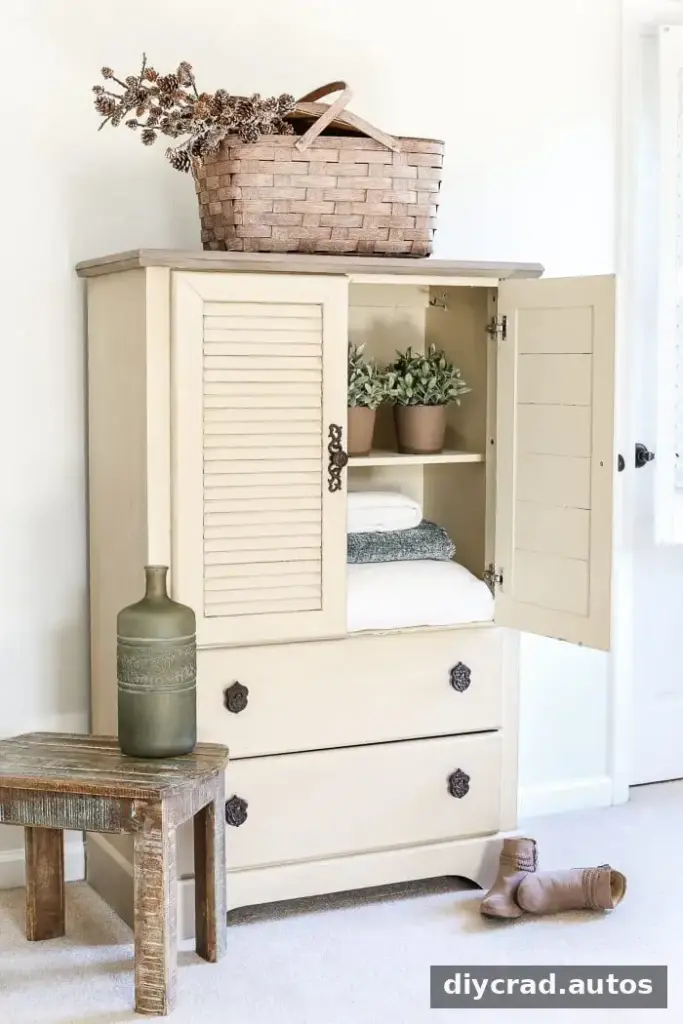
The top received a separate layered finish. One coat of Linen was brushed on and allowed to dry. A couple of thin, dry-brushed layers of Casement followed, then a light coat of Espresso wax completed the effect. Dry brushing leaves some of the underlying color visible, so use a small amount of paint on the brush and build up the look gradually.
Always allow each layer to dry according to the product directions. Applying wax or another finish too soon can affect the result, so check the instructions for the specific paint and wax being used.
A practical storage update
The finished cabinet combines a soft, creamy body with darker details and a top that suggests wood. Its lower drawers can keep toys out of sight, while the shelves provide room for books and guest linens. This mix of concealed and open storage is useful in a guest room that also needs to accommodate family visits.
The room’s previous dark gray and bright red walls were also replaced with a lighter finish. Removing those strong colors helped the space feel more open, while the refreshed armoire became the first completed furniture project in a larger bedroom update.
Final thoughts on this antique armoire makeover
This antique armoire makeover turned a $40 shutter-front cabinet into a more coordinated and useful piece without changing its storage layout. The key details were two coats of Plaster paint, restrained dark wax in the shutter grooves and corners, a layered finish on the top, and contrasting cast-iron hardware. For a similar refresh, plan the cabinet’s function first, test finishes where they will not be easily seen, and follow the product directions for drying and finishing times.
Save this project idea for a future furniture refresh: