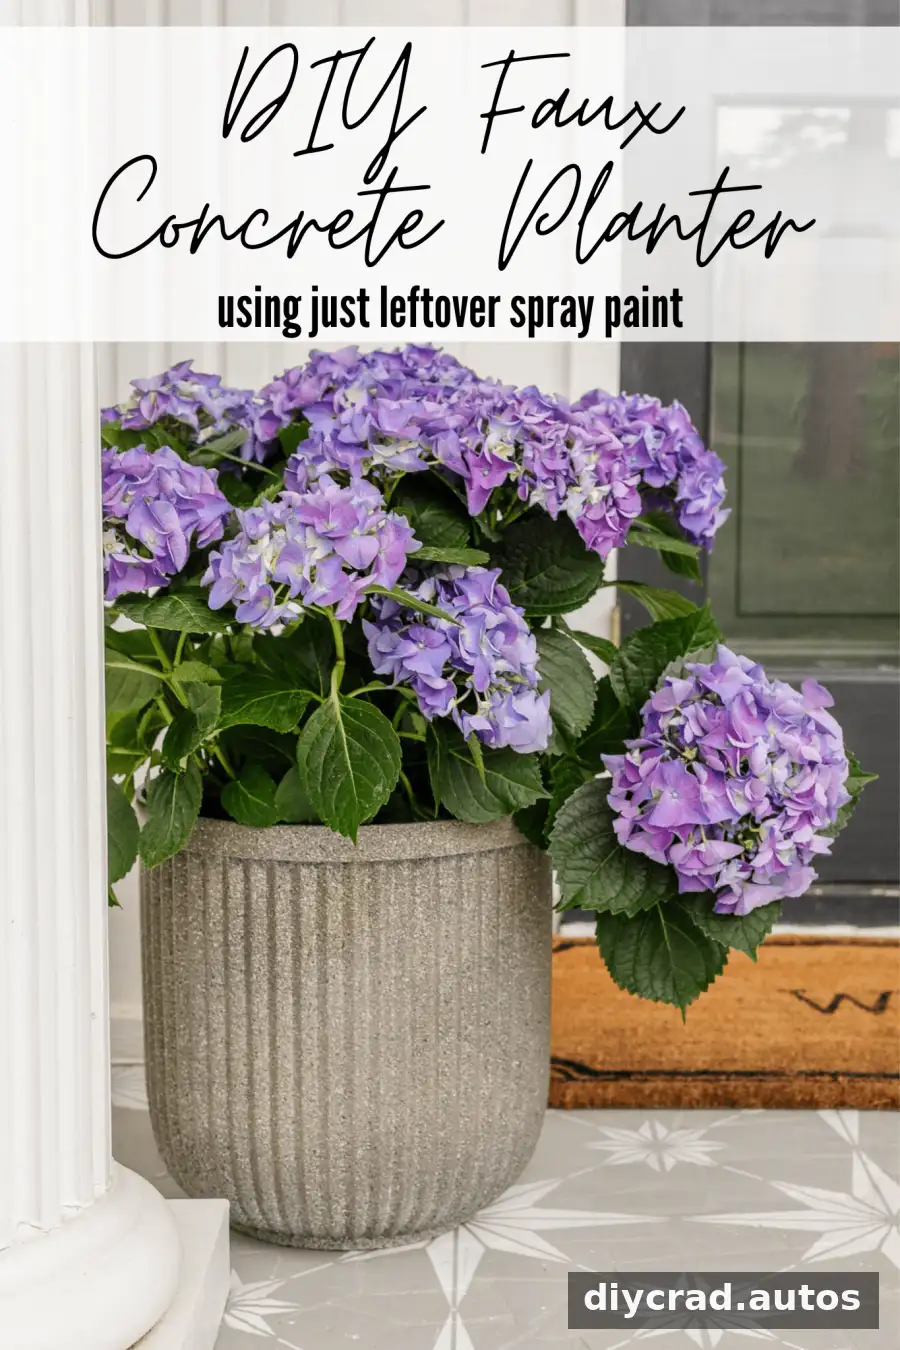
Faux concrete planters can give a porch or patio a textured, stone-inspired look without the weight or longer curing process of working with real concrete. With resin planters, exterior-rated primer, and a few neutral spray-paint colors, you can create a mottled finish using supplies you may already have.
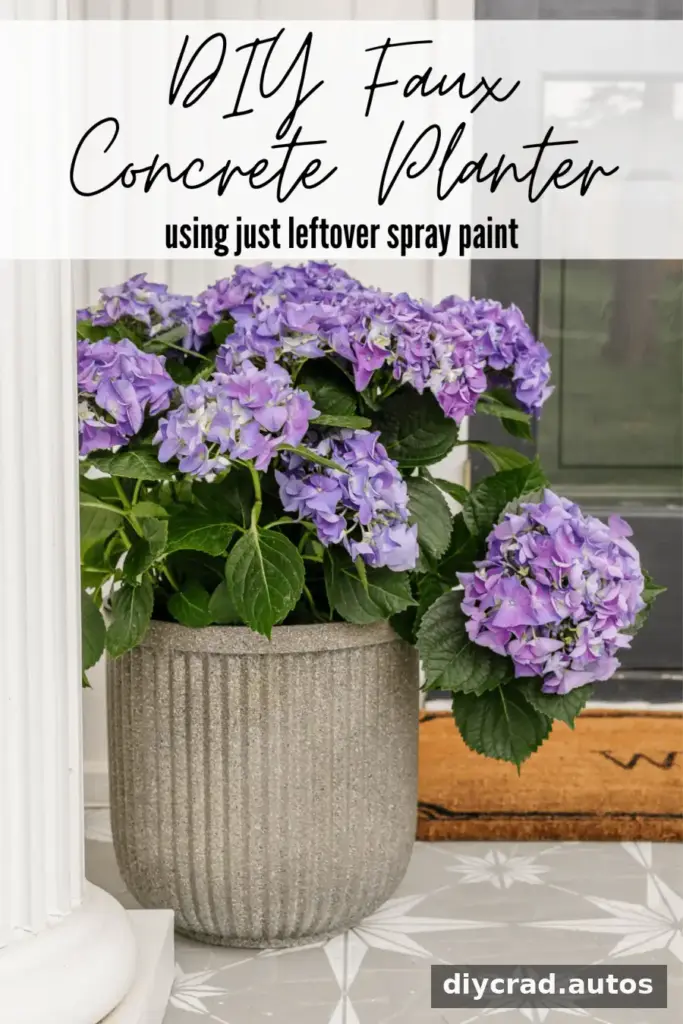
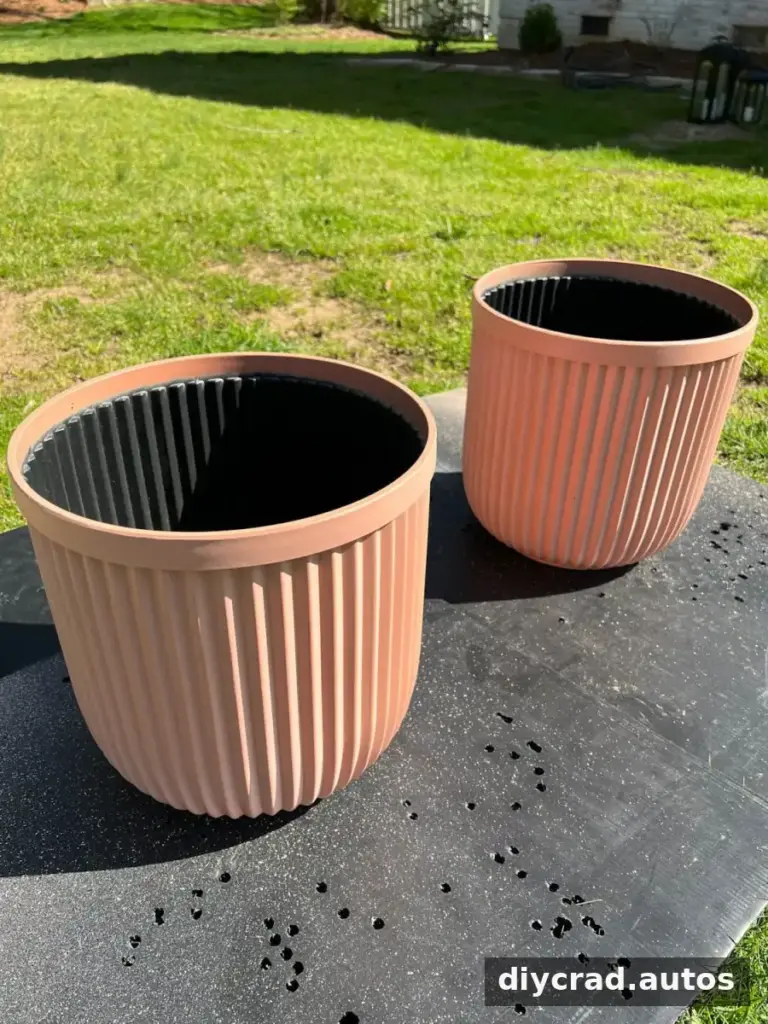
This project is especially useful for making use of leftover paint. Fluted resin pots provide raised details that catch the light and help the finished planters resemble decorative concrete designs. Choose pots that are suitable for outdoor use, and check that their drainage holes are open before planting.
Textured spray paint can help create a rough, stone-like surface. If you have only smooth paint, a thin layer of silica sand between coats can add texture. Either method works best when the colors are applied in light, uneven layers rather than as one solid coat.
Faux Concrete Planters: Inspiration and Finish
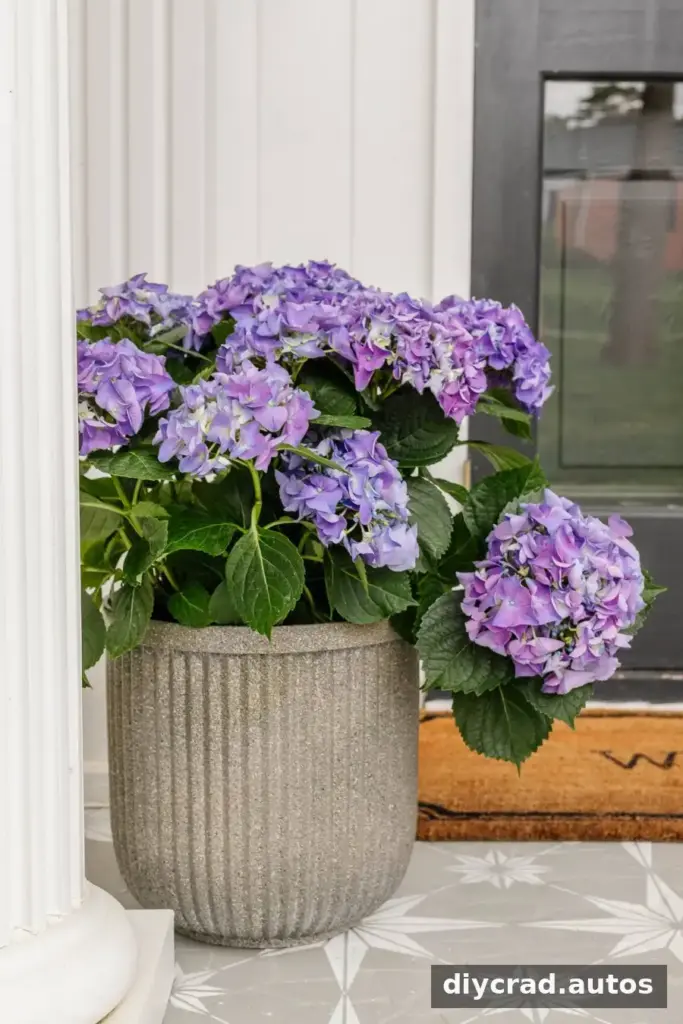
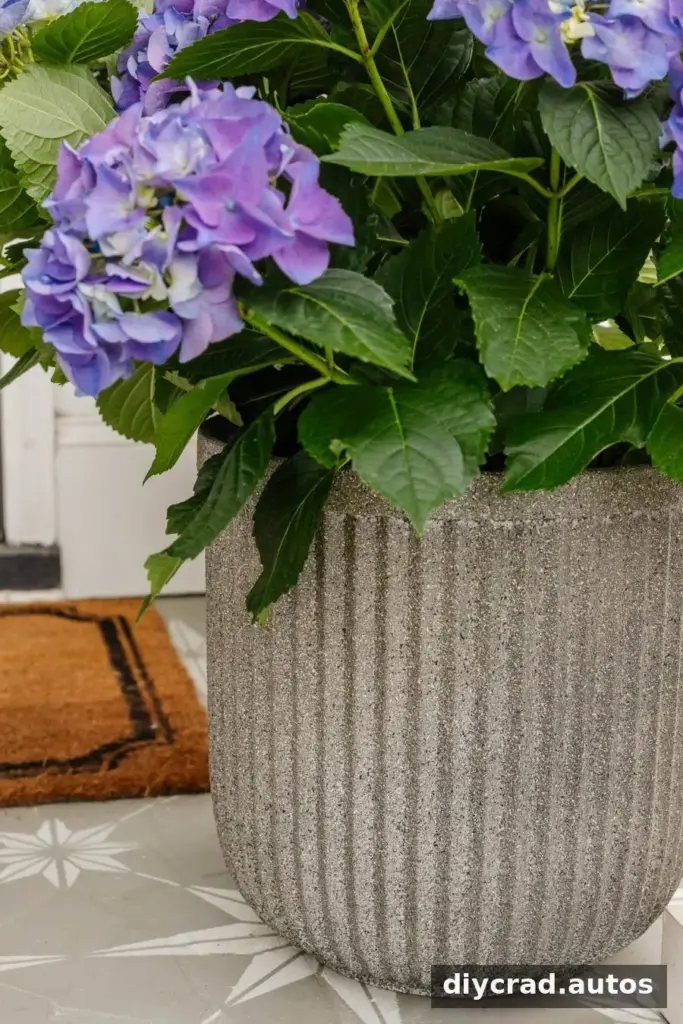
Fluted concrete planters are often sold as high-end outdoor decor, but a similar visual effect can be made at home by painting resin pots. This approach does not turn resin into concrete; it creates a decorative finish that imitates some of concrete’s color variation and texture.
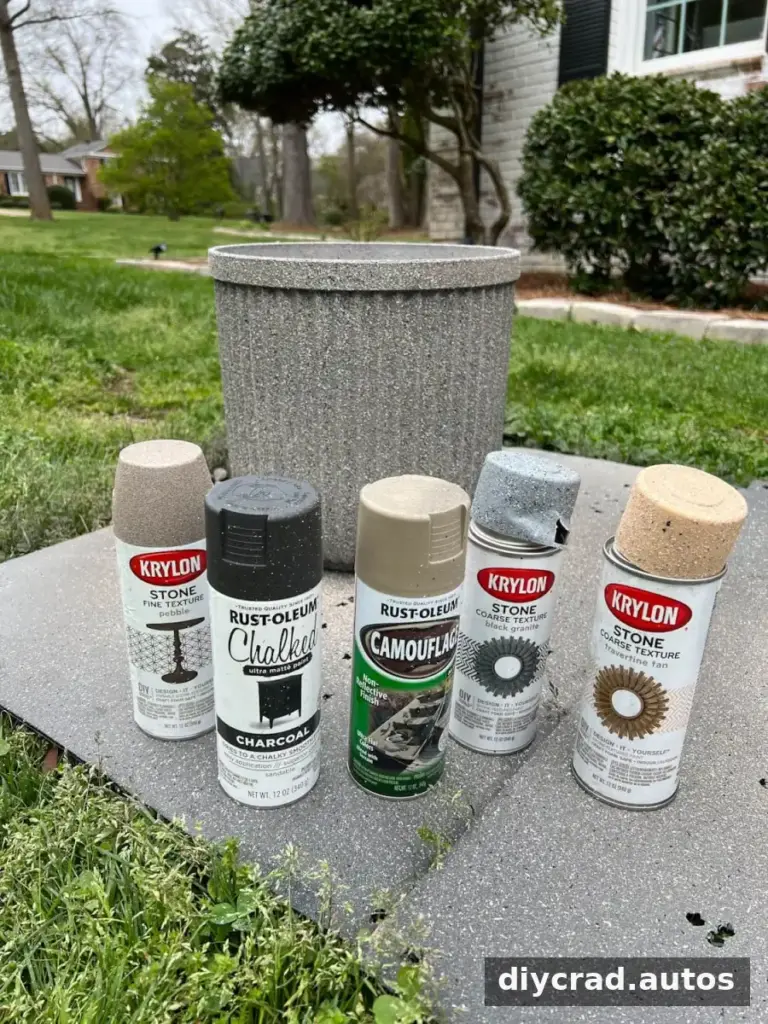
For a convincing result, combine light gray with small amounts of darker gray, beige, tan, taupe, or black. Real concrete surfaces are not perfectly uniform, so let some of the base color show through. A practical tip is to test your color combination on scrap cardboard first, especially if the paint colors are unfamiliar.
Materials for Spray-Painted Faux Concrete Planters
- Planter pots of your choice; fluted resin planters work well
- Exterior-rated spray primer
- Light gray spray paint, preferably textured
- Black spray paint
- Beige spray paint
- Tan spray paint, preferably textured
- Taupe spray paint, preferably textured
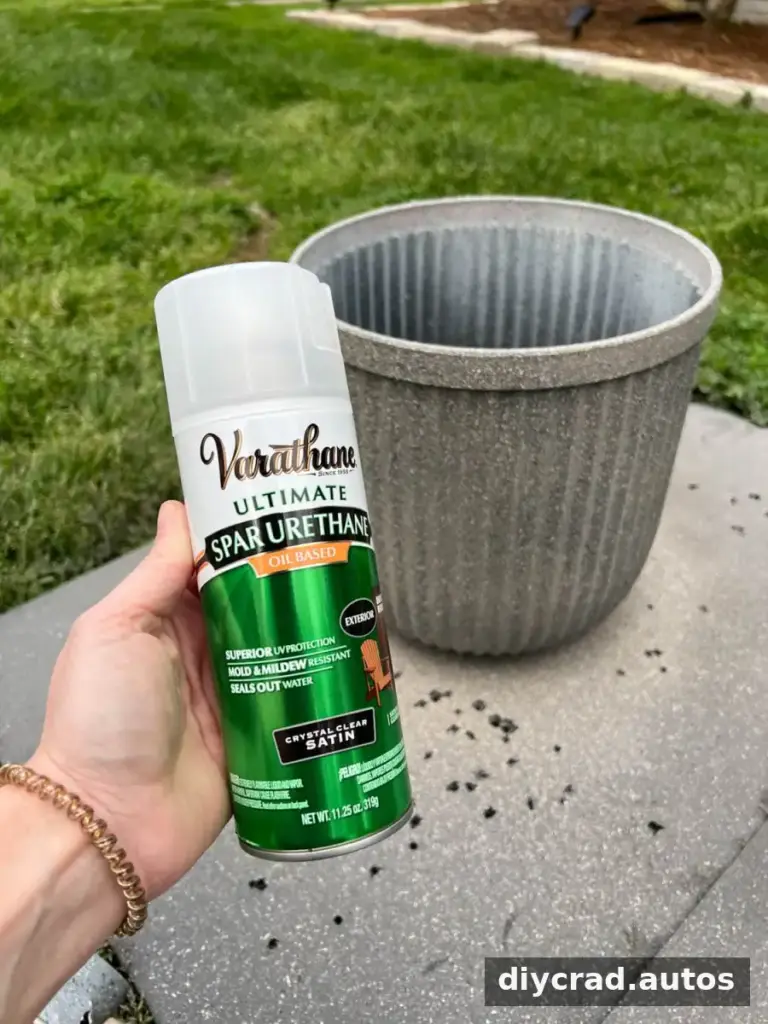
- Clear satin, oil-based spar urethane for outdoor protection
- Optional: silica sand if using smooth spray paint
- Drop cloth or scrap cardboard
- Potting soil and plants or flowers
You do not need these exact colors or finishes. Use a selection of neutral spray paints you already have, ideally in a flat sheen, and apply darker shades sparingly. Always follow each product’s label for suitable surfaces, application conditions, and drying times.
How to Make Faux Concrete Planters
1. Prepare and prime the pots
Work outdoors on a warm, dry day, placing the planters on a drop cloth or cardboard. Avoid very cold or humid conditions, which can interfere with how paint applies and dries. Use spray paint in a well-ventilated area and follow the safety instructions on the can.
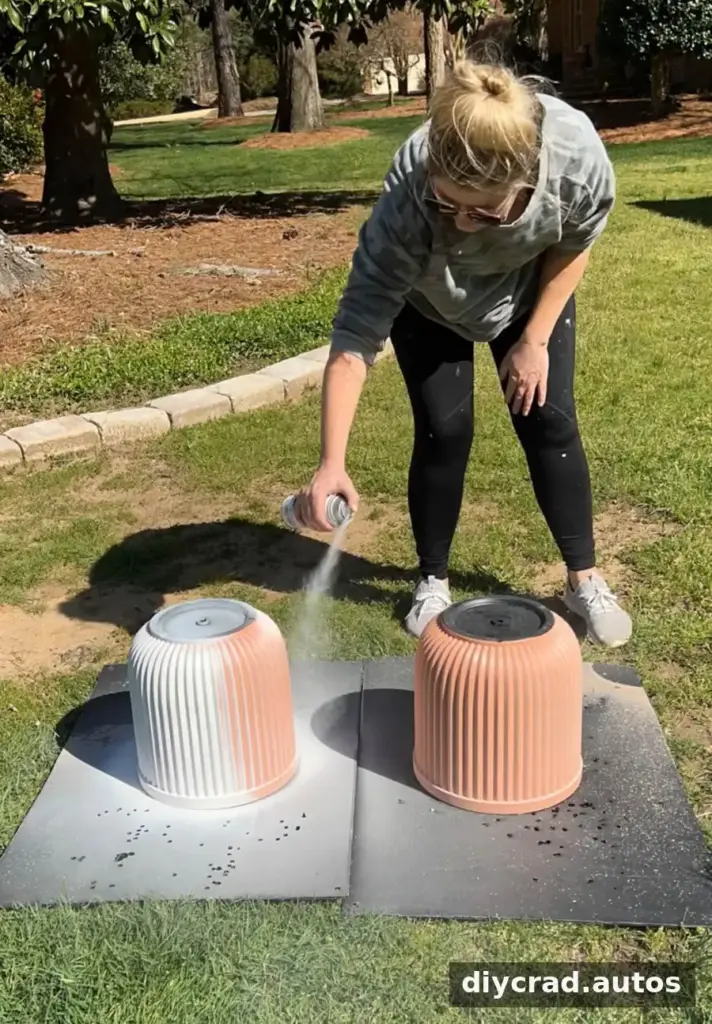
Apply one light, even coat of exterior-rated primer over the outside of each planter. Let it dry as directed so the following paint layers have a suitable surface for adhesion. Thin coats help reduce runs and drips.
2. Add a light gray base coat
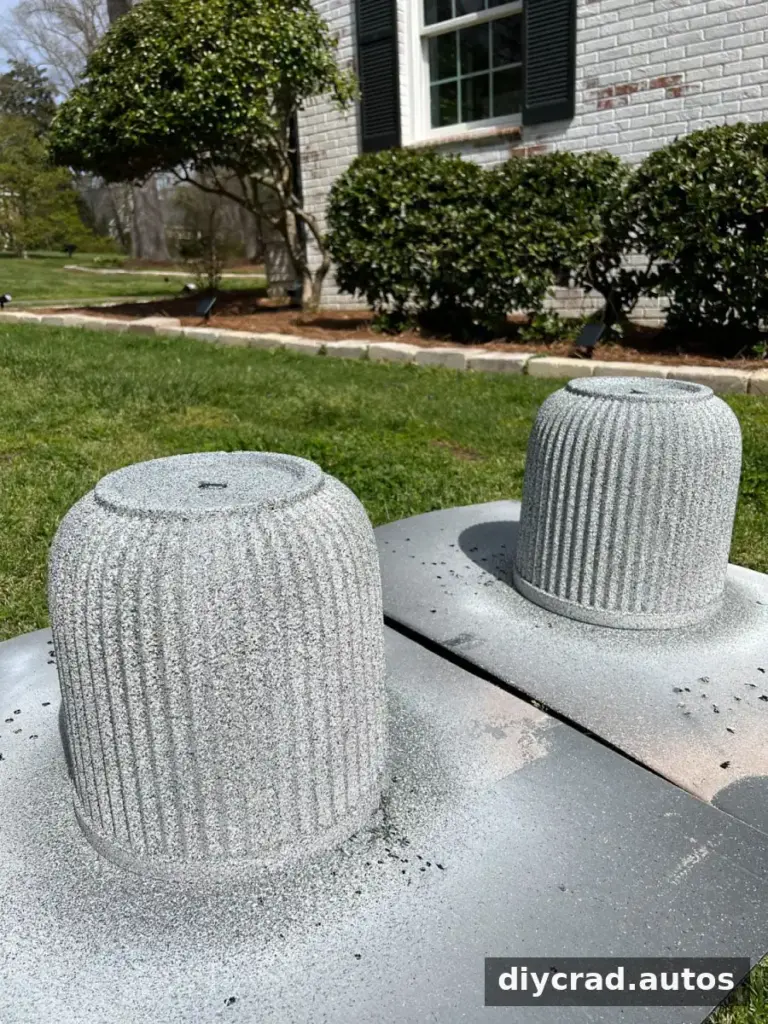
Spray a thin, even coat of textured light gray paint over the planter. Keep the can moving in a sweeping motion, slightly overlapping each pass. Avoid concentrating the spray in one place; several light passes are easier to control than one heavy coat.
If using smooth paint: While the first light gray coat is still wet, dust the surface with a thin layer of silica sand. The wet paint helps the sand adhere. Once the layer is in place, apply another light coat of gray paint to cover it. Check the paint label for recoat timing.
3. Build up natural-looking color variation
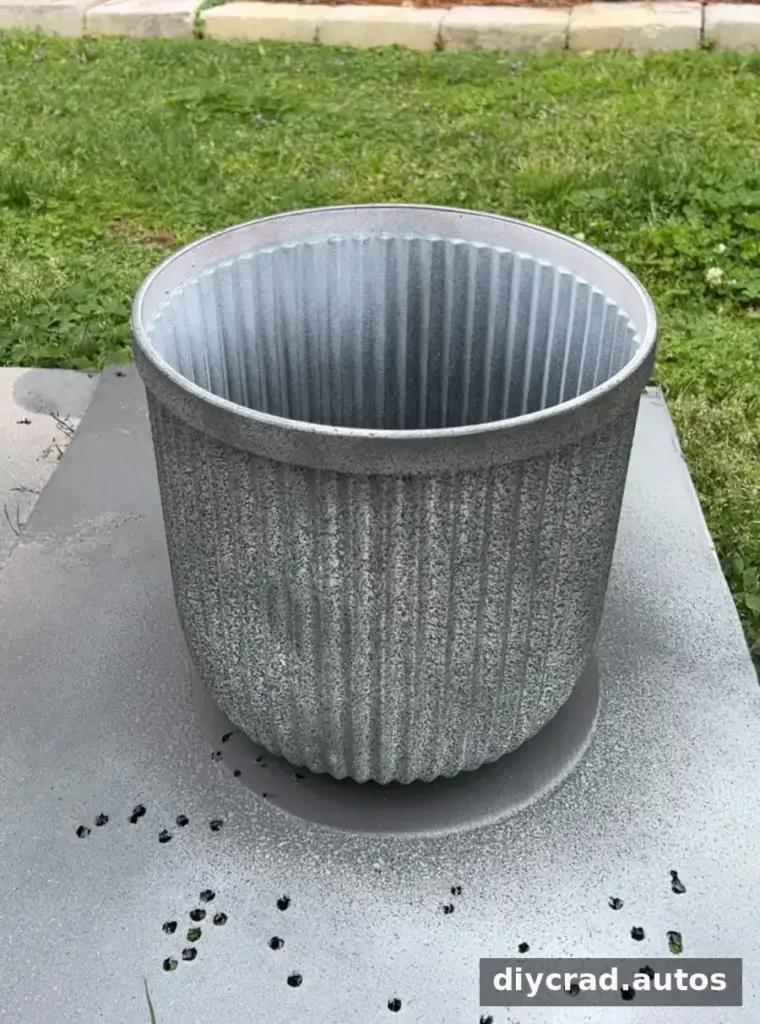
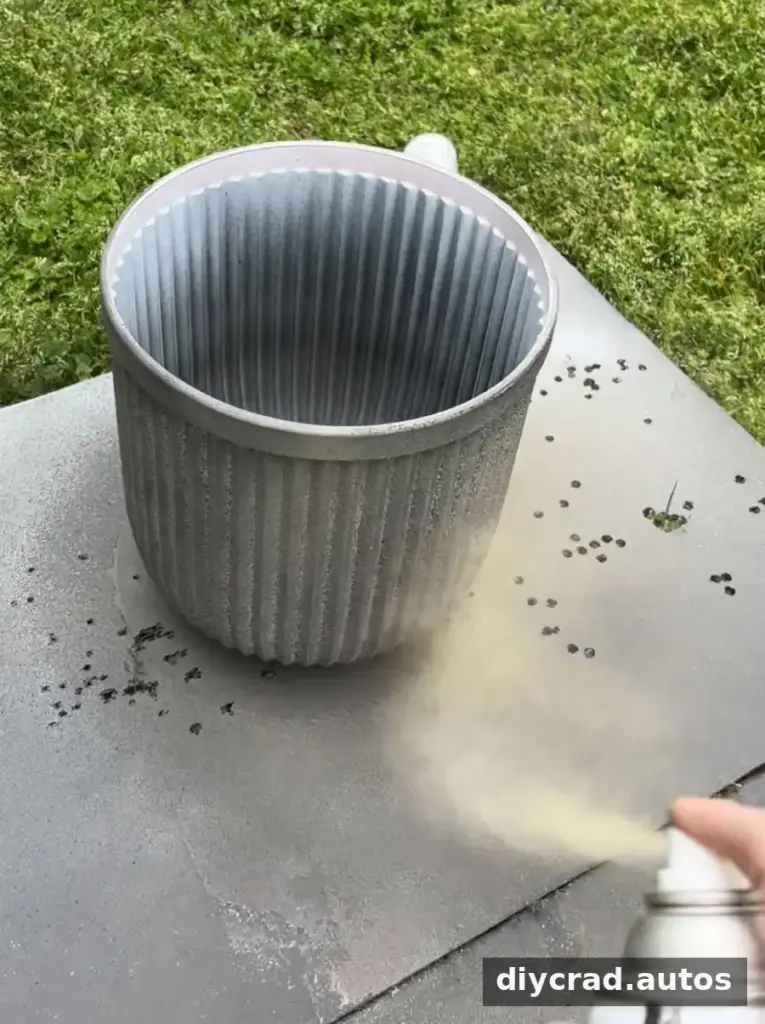
Apply the other colors in sparse, uneven patches, allowing parts of the gray base to remain visible. Move around the pot as you spray so the finish does not form obvious stripes. Use black and darker gray in small amounts, then add beige, tan, or taupe for warmer variation.
There is no need to make every planter identical. A slightly irregular finish looks more like naturally varied concrete. Step back occasionally to check the overall balance, and pause if the surface begins to look too dark or too uniform.
4. Seal the painted surface
Once the paint is completely dry—after a couple of hours or according to the product label—apply two to three light, even coats of clear satin, oil-based spar urethane. Allow each coat to dry fully before applying the next. Sealing helps protect the painted finish from outdoor moisture, but it does not make the planter indestructible; check the finish periodically and follow the sealer’s care instructions.
Finishing and Planting the Faux Concrete Planters
After the sealer has dried as directed, check that the planter’s drainage holes are clear before adding potting soil and plants. Drainage helps prevent excess water from collecting around roots. If the pot will sit on a porch or patio, use a saucer where appropriate and take care not to block the holes.
This project is most economical when you already have several of the paints and supplies. Buying every material solely for the makeover may reduce the savings, so compare the cost of the needed products with the price of a ready-made planter before starting.
Compared with making a planter from concrete, painting resin pots avoids mixing concrete and waiting for it to cure. The result is a lighter decorative alternative, though it remains a painted resin planter rather than a concrete one. For the best finish, use compatible exterior products, apply thin coats, and allow proper drying time at every stage.
With a few neutral colors and careful layering, faux concrete planters can bring a textured, coordinated look to an outdoor space while making practical use of leftover spray paint.