

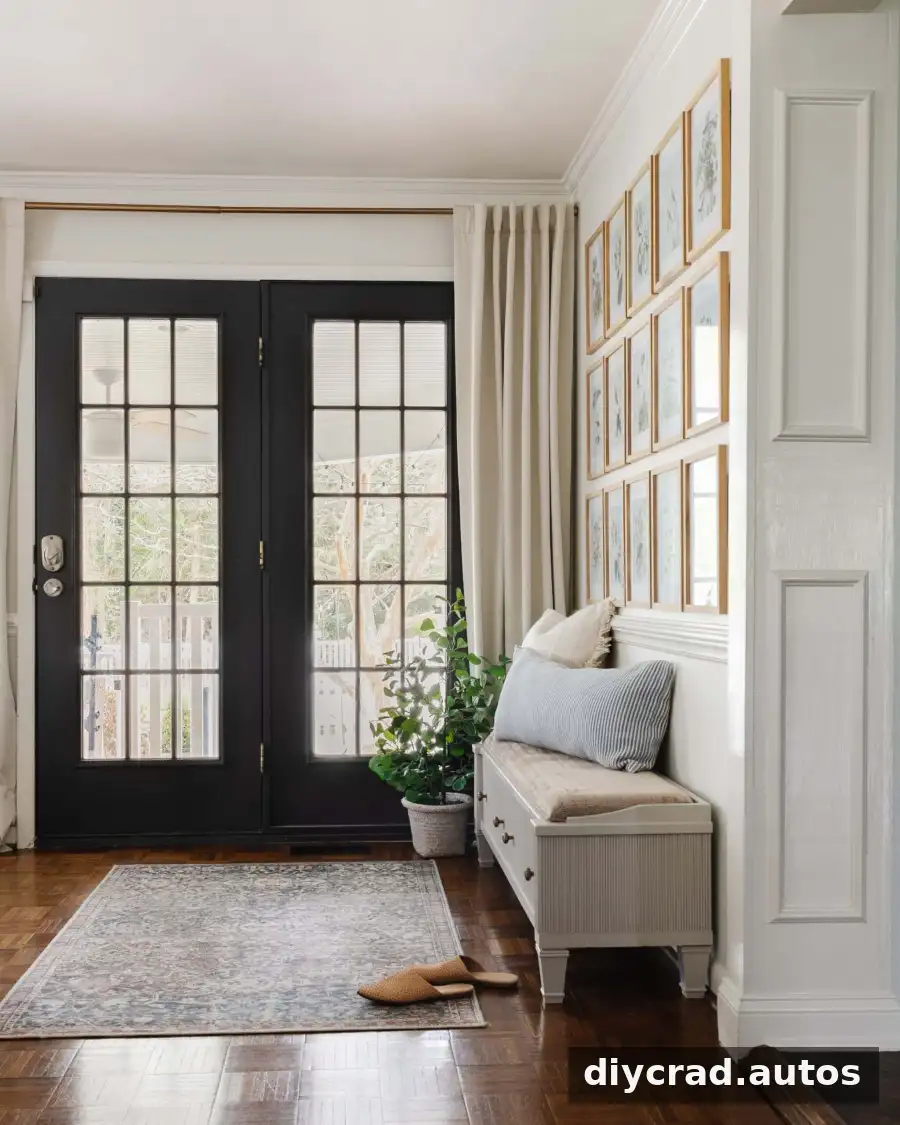
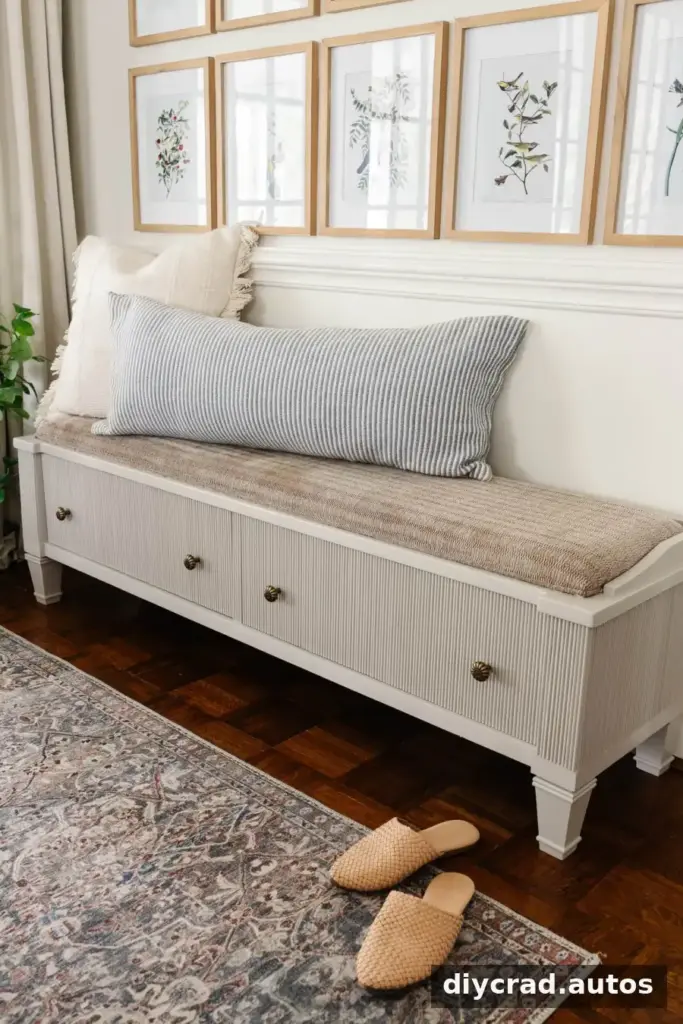
Learning how to add reeding to furniture is a practical way to give a plain bench, dresser, nightstand, or console table more texture and character. In this budget-conscious entryway makeover, decorative molding, replacement legs, and a fresh coat of paint turn a basic shoe storage bench into a useful focal point.
An empty wall beside a back door can work as a compact entryway, even without a dedicated mudroom. A storage bench helps keep shoes contained while providing a place to sit. Before starting, measure the furniture and plan where the molding will go so drawers and doors can still open freely.
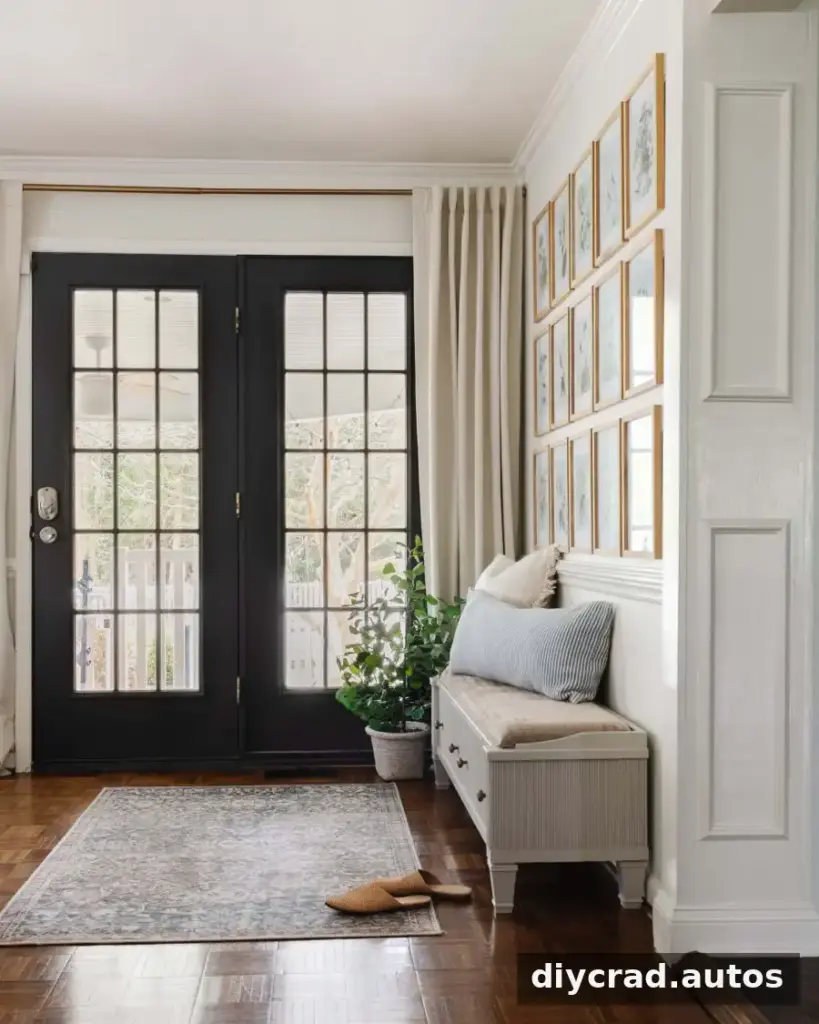
Reeded Shoe Storage Bench: Before and After
The bench was chosen to solve a practical storage problem: shoes were gathering around the home after school. Adding reeded detail to the drawer fronts, sides, and front panels gave the plain piece a more tailored look. Replacing the original legs and painting the bench taupe completed the makeover.
This approach can also refresh a dresser, console table, or nightstand. Check that the furniture is sturdy and that its surfaces are suitable for adhesive and paint before you begin.
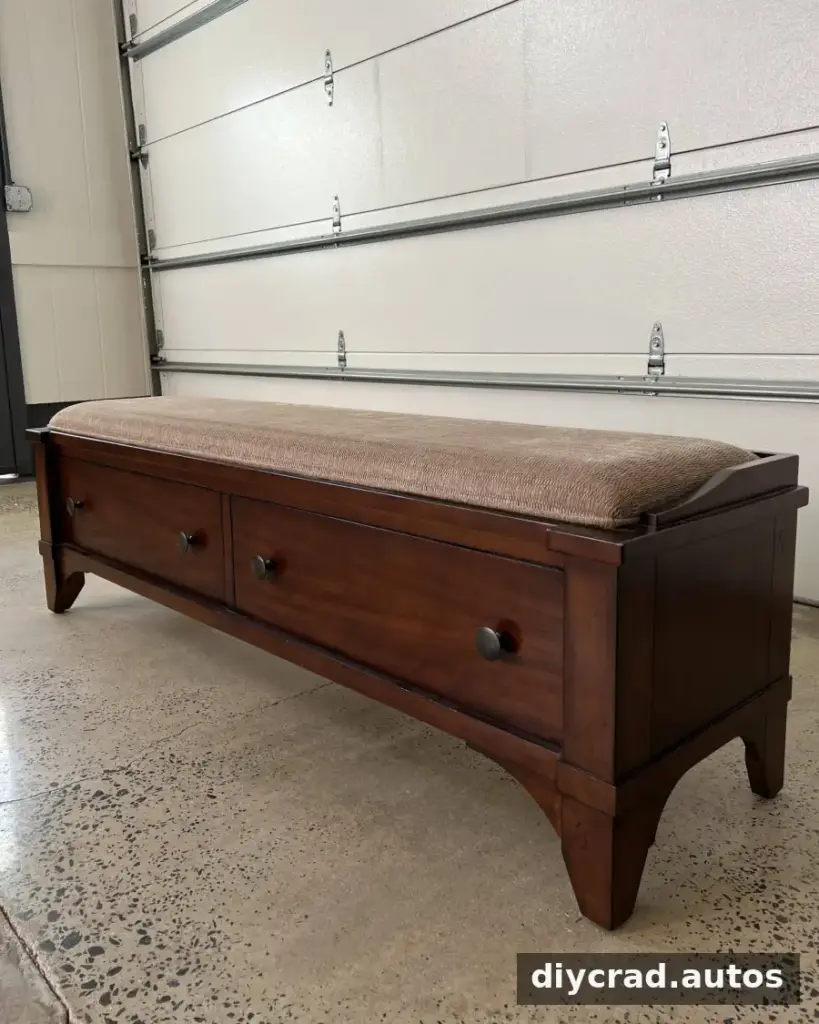
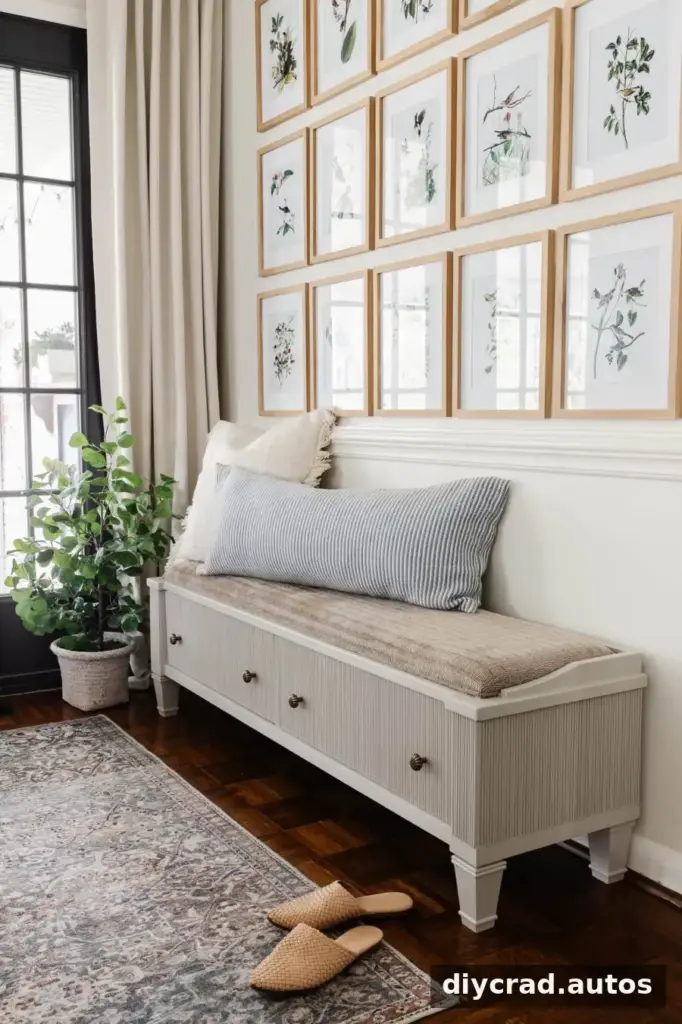
The cushion can be left as it is, cleaned, reupholstered, or considered as a separate future project. Finishing the frame first makes it easier to assess whether the existing fabric works with the new color and detailing.
What Is Reeding?
Reeding is a decorative molding detail made up of narrow, raised, convex shapes. It is often confused with fluting, which has similar repeated lines but uses recessed, concave grooves. Both treatments add texture to a flat surface.
The steps below can also create a fluted look: use fluted molding instead of reeded molding. Before buying materials, compare the molding’s profile and width with the furniture so the finished detail feels proportionate.
Supplies and Tools for the Bench Makeover
- Miter saw
- Drill and drill bits
- Electric sander with medium-grit sanding pads
- Fine-tooth hand saw
- Speed square
- Construction adhesive
- Painter’s tape
- Shellac-based primer, especially for furniture with red-toned wood stain
- Acrylic urethane enamel paint; the bench was painted in Anew Gray satin
- Paintbrush, including a small or angled brush for grooves
- Reeded molding
- Pull knobs
Prepare a level work area and protect nearby surfaces. Follow the product labels for adhesive, primer, and paint, and allow each product to dry or cure as directed.
How to Replace Furniture Legs
The bench’s original mission-style legs were changed to pyramid-shaped legs. Replacing legs can alter a piece’s overall style, but first check how the existing legs are attached and whether the furniture base can support the new hardware.
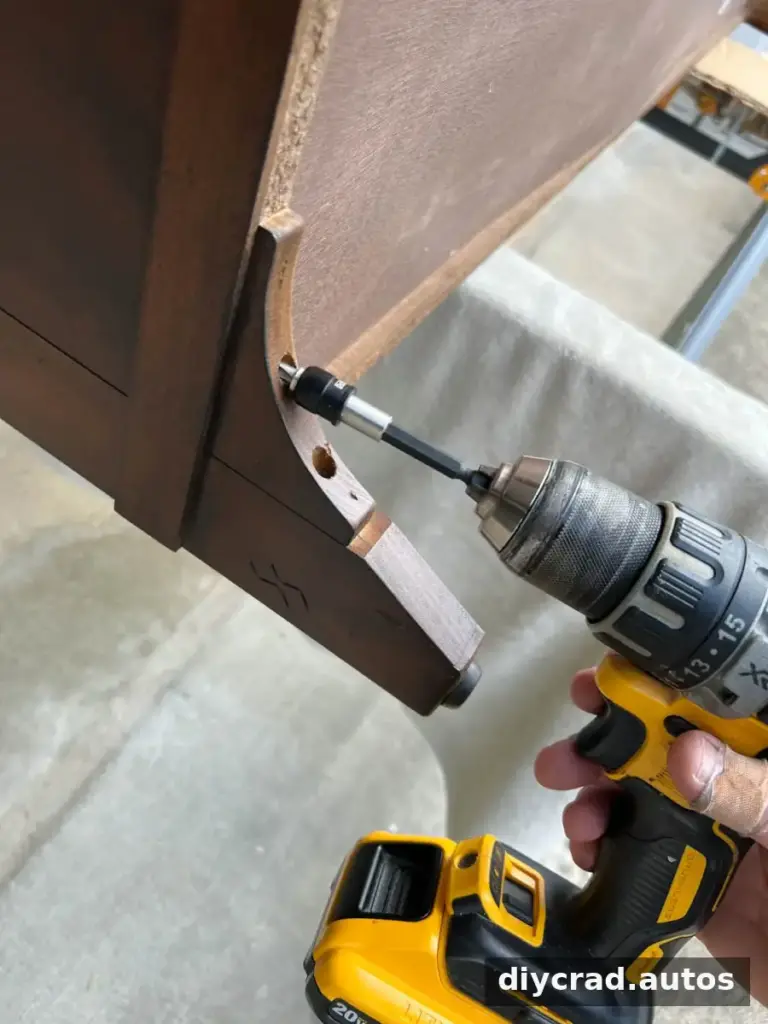
Step 1: Remove Screws
If the original legs are screwed on, remove the screws with a drill. Keep the hardware nearby until you have checked whether it can be reused or will need to be replaced.
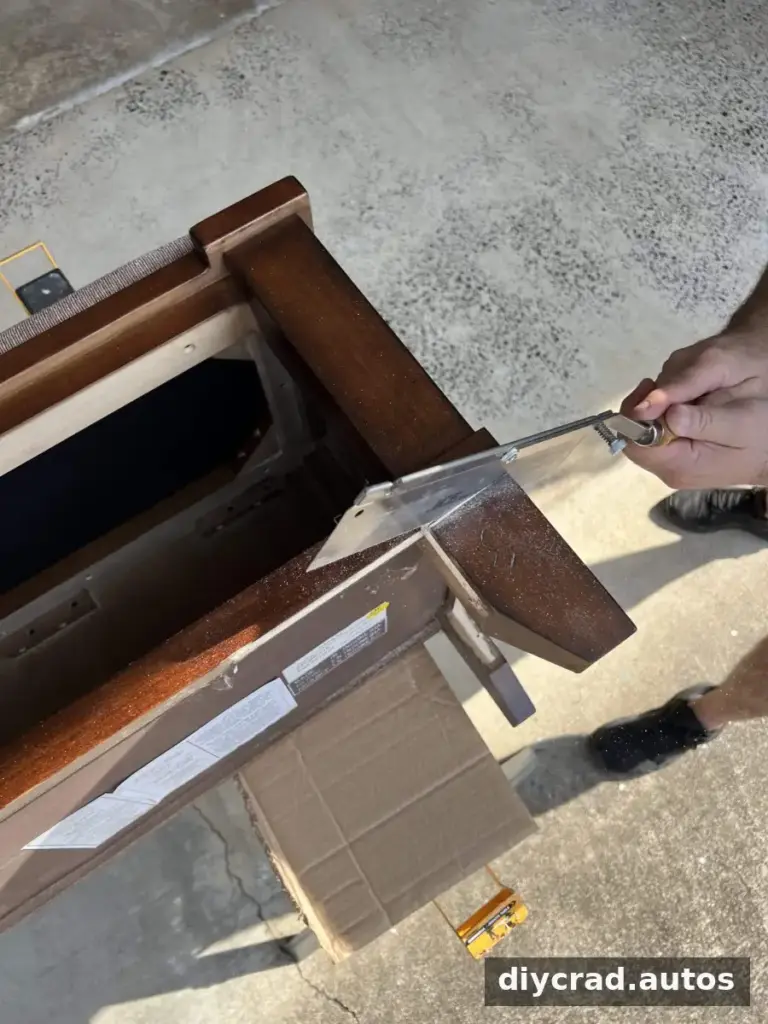
Step 2: Cut Off the Existing Legs
If the legs are built into the base, cut them off with a hand saw. A circular saw may also work, but a hand saw can make it easier to proceed slowly and control the cut on thick legs. Work carefully and keep the cut as even as possible.
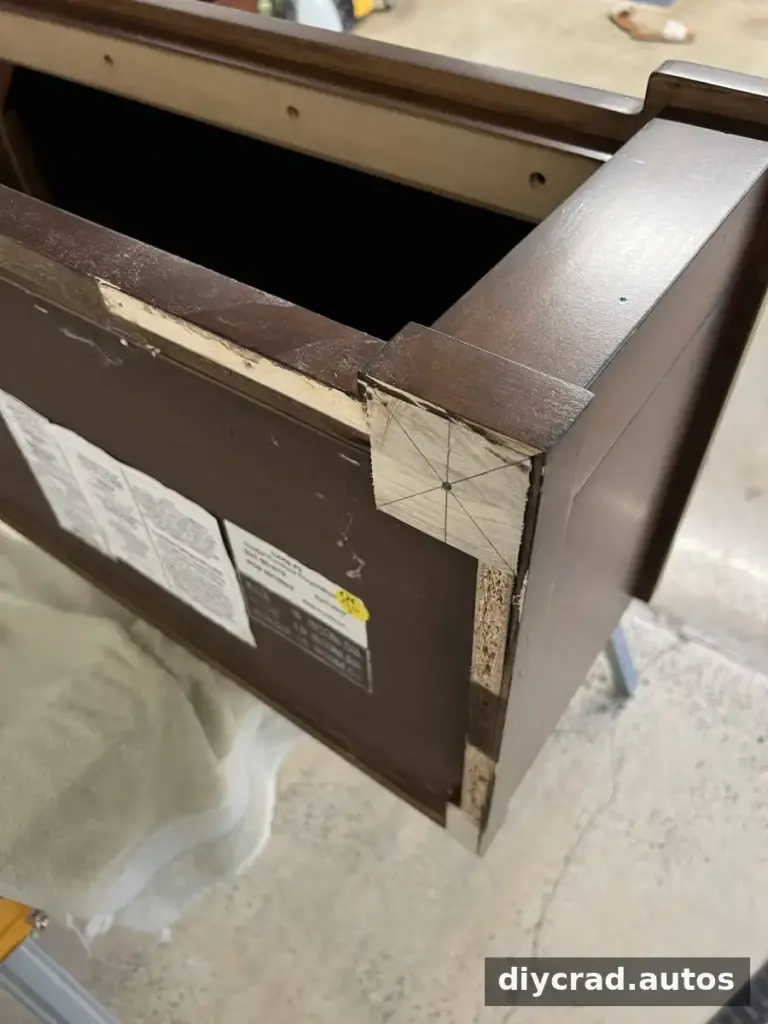
Step 3: Mark the New Leg Positions
Use a pencil to mark where each new leg will attach. A speed square can help you position the marks consistently. Accurate placement helps the bench sit evenly, so measure and recheck the layout before drilling.
Furniture legs come in many shapes and sizes, making them a straightforward way to update benches, dressers, side tables, accent chairs, and sofas. Select legs that suit the piece’s proportions and intended use.
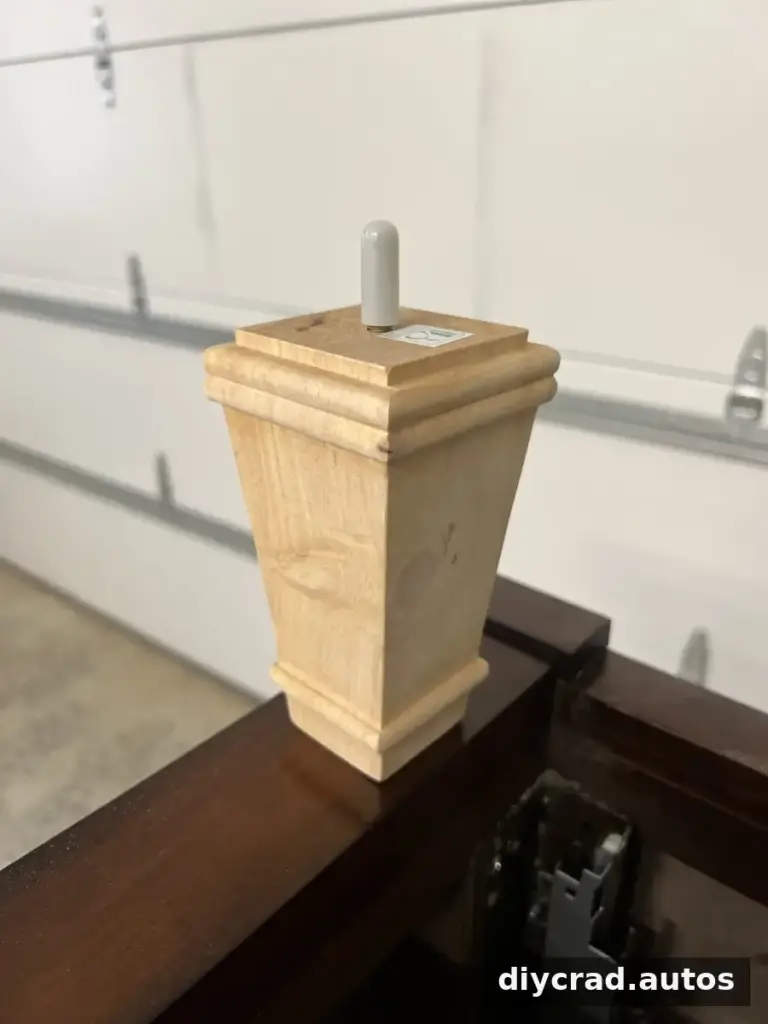
Step 4: Drill Holes for the New Legs
Check the screws supplied with the new legs to choose an appropriately sized drill bit. Drill into the marked positions to the depth needed for the screws, taking care not to drill through the furniture base. A small amount of construction adhesive around each screw can provide additional hold if the product directions allow it.
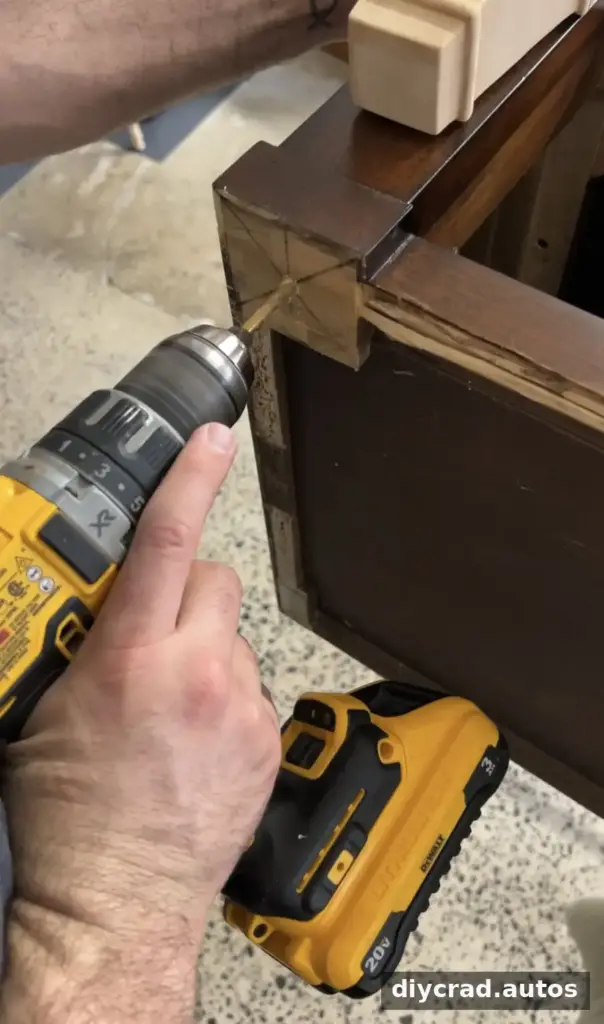
How to Add Reeding to Furniture
There are several ways to add a reeded appearance to furniture. Pole wrap is one commonly used option, while individual reeded molding strips offer another approach. For this bench, 13 molding strips were used at $7.98 each, for a total of $109.96. Compare material costs and availability before choosing a method.
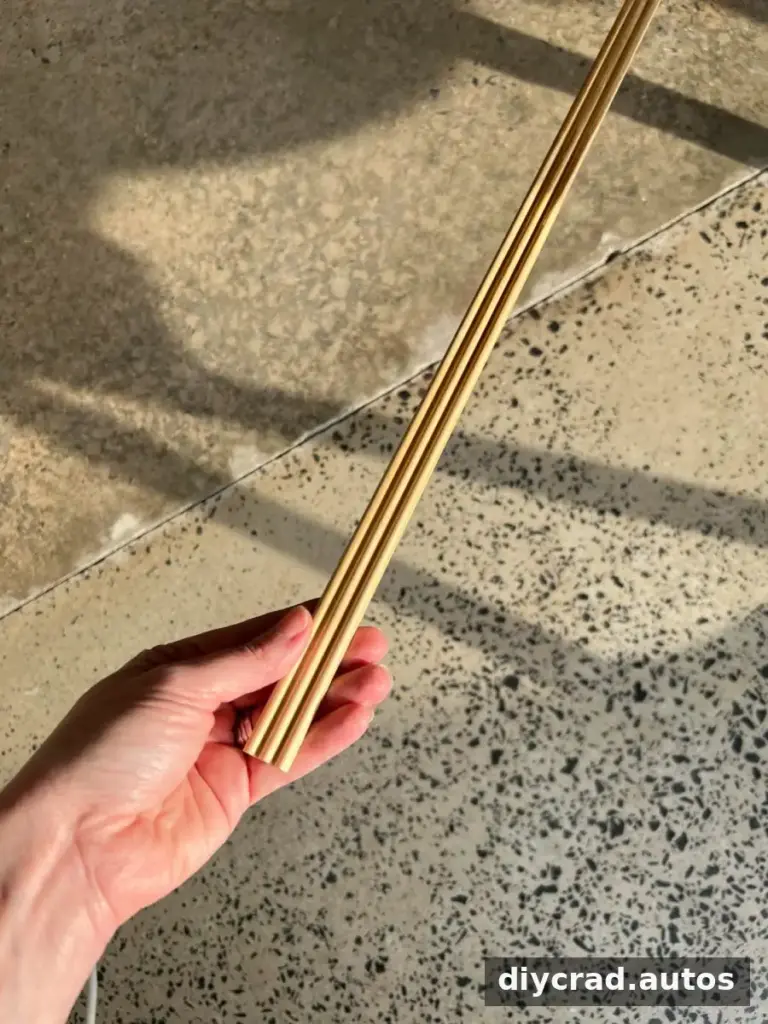
Step 1: Measure the Areas to Cover
Measure each furniture section where you plan to install the molding, such as drawer fronts, side panels, and front panels. Mark the required cut lengths on the molding with a pencil. Account for edges and drawer movement, and avoid covering hardware openings unless you plan to drill them again later.
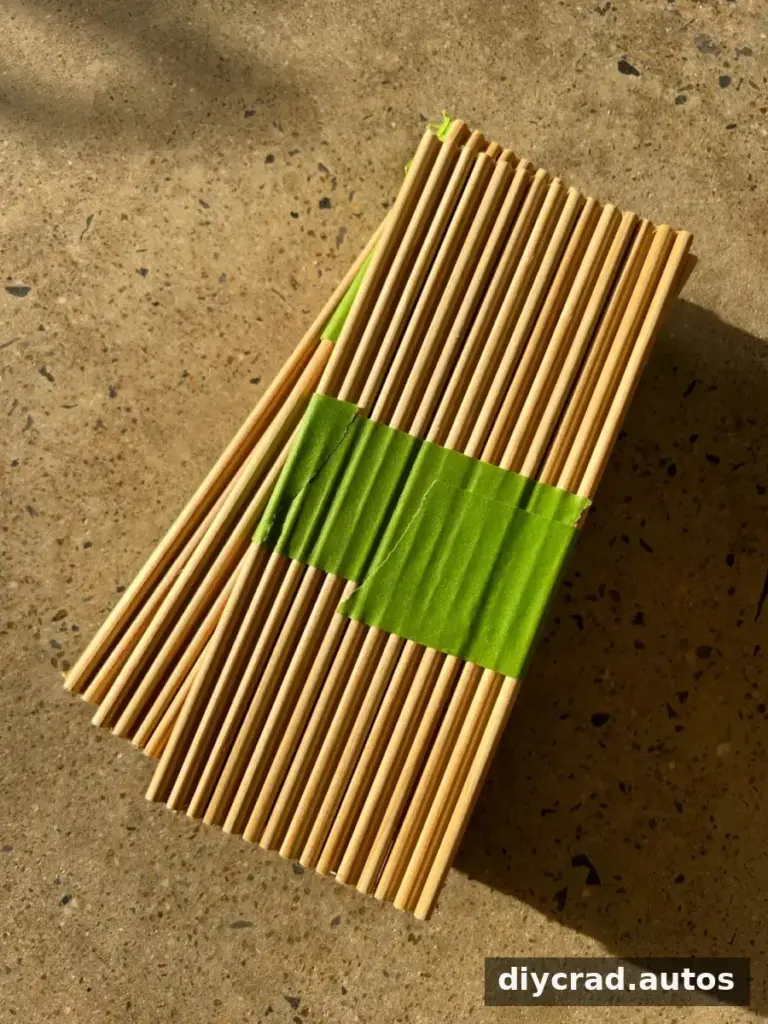
Step 2: Tape Four Strips Together
Place four molding strips side by side and secure them with painter’s tape, wrapping tape around the bundle every 6–8 inches. Grouping the strips can make it easier to cut several pieces to the same length. Check that the ends are aligned before taping.
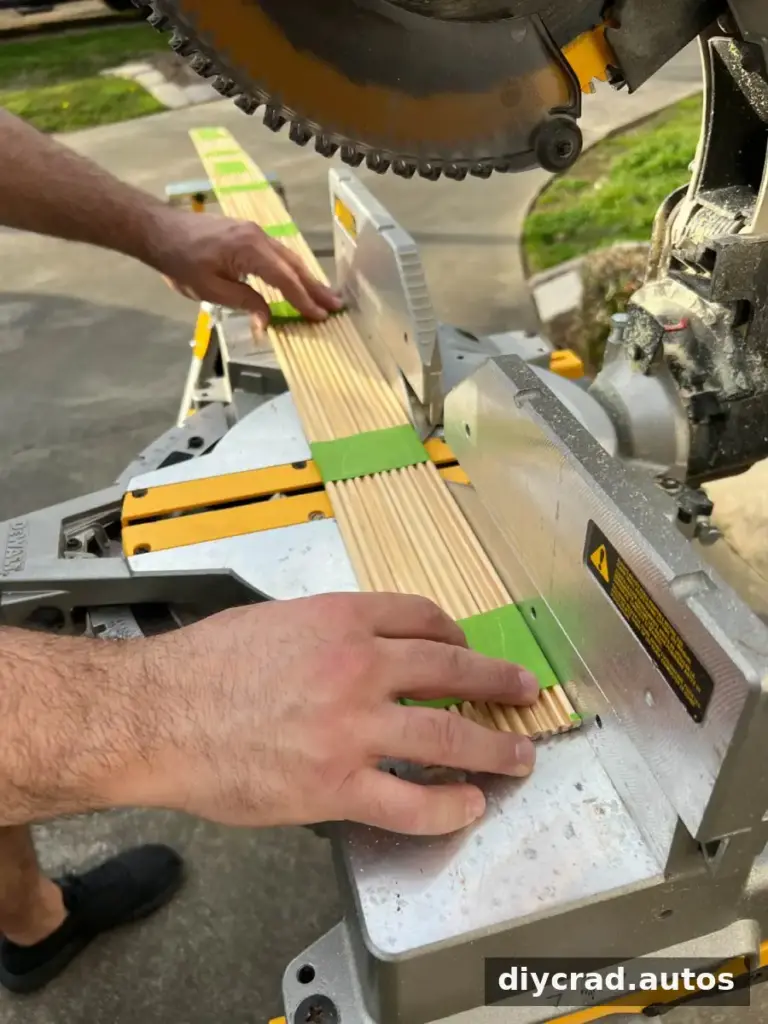
Step 3: Cut the Molding
Use a miter saw to cut the taped strips to the lengths marked earlier. Keep hands clear of the blade and follow the saw’s safety instructions. Cut only the amount needed for the measured sections, then test-fit the pieces before applying adhesive.
Step 4: Attach the Molding
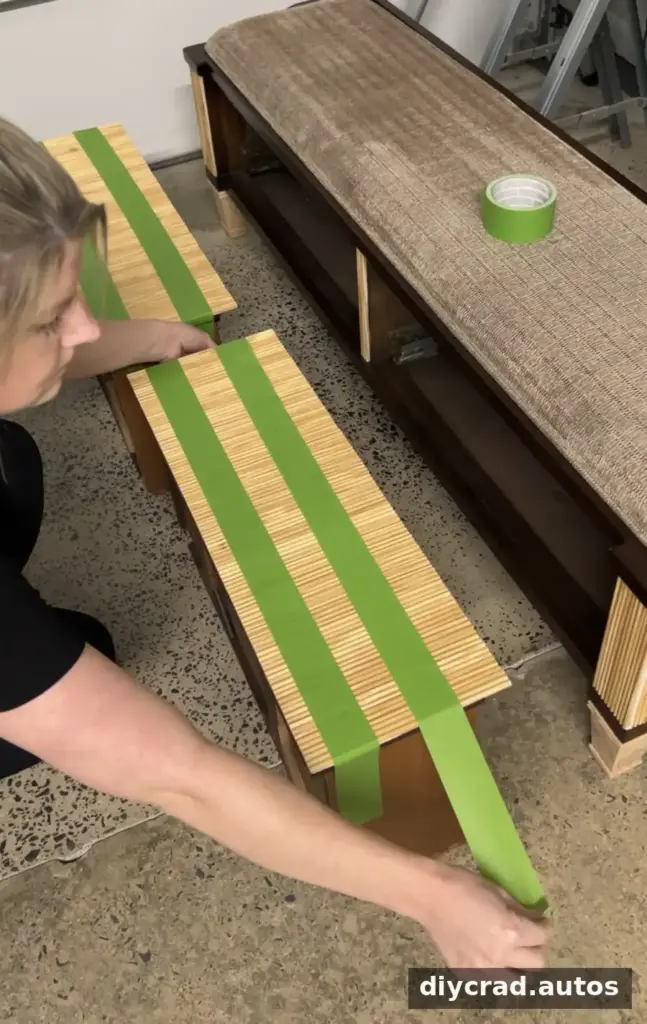
Apply construction adhesive to the designated areas and position the molding strips. Keep them perpendicular and close together, checking for gaps as you work. Use painter’s tape pulled firmly across the molding to hold it in place while the adhesive sets overnight.
Optional: A pin nailer can provide extra support. If you use one, small nail holes may need wood filler before priming and painting. Filling and sanding tiny grooves can be difficult, so consider whether extra fasteners are necessary for your project.
Step 5: Sand and Test the Drawers
After the adhesive has dried, inspect the molding along the top and bottom edges of the drawer fronts. If any sections are uneven, smooth them carefully with an electric sander and a medium-grit sanding pad. Open and close each drawer to confirm that the molding does not rub against the frame. Sand small high spots as needed.
Step 6: Apply Primer
Prime the entire furniture piece before painting. For wood with a red-toned stain, a shellac-based primer can help block discoloration from bleeding through the topcoat. These products may have strong fumes, so read the label, provide suitable ventilation, and use the protective equipment specified by the manufacturer.
Step 7: Paint the Furniture
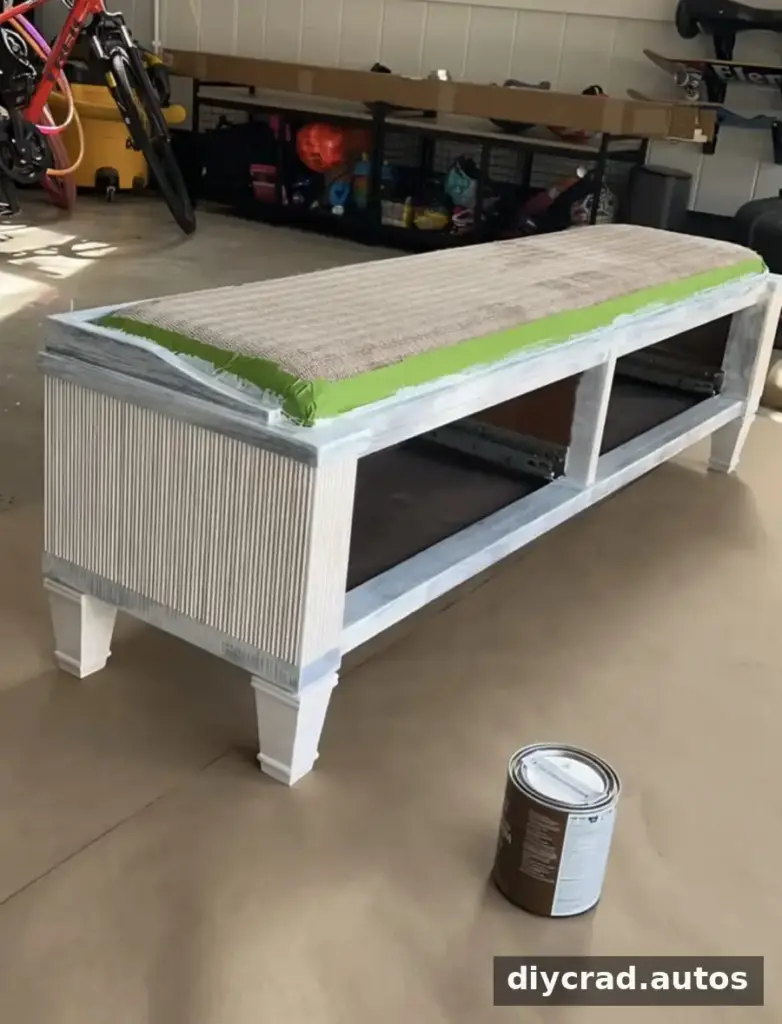
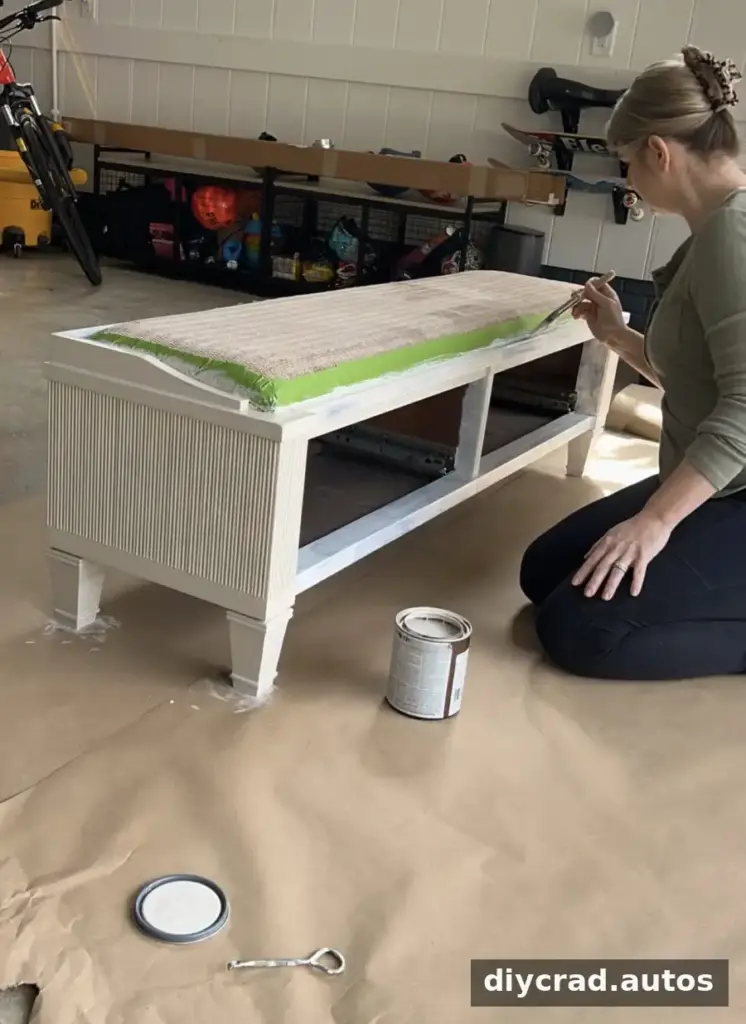
Apply two thin coats of paint rather than one heavy coat, following the product’s drying directions between coats. Watch for drips collecting between the raised molding strips. A small brush can help reach narrow grooves and edges.
An acrylic urethane enamel was used for this bench because a durable finish was wanted for frequent everyday use. The taupe shade Anew Gray provides contrast that makes the reeded details easier to see. Choose a paint suitable for furniture and allow it to cure fully before returning the bench to regular use.
Step 8: Install the Hardware
After the paint is dry, drill carefully through the molding where the drawer knobs will go. Existing holes in the drawer fronts can serve as guides; drilling from the back helps limit damage to the visible surface. Fit the knobs and check that the drawers still open and close smoothly.
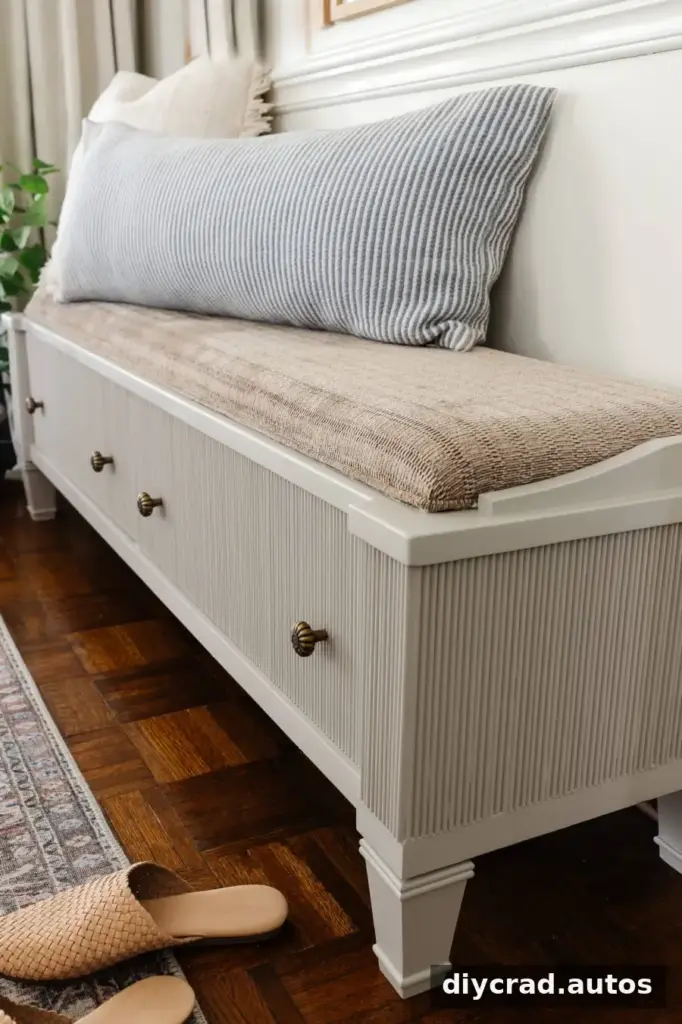
The finished bench adds a dedicated spot for shoes as well as a decorative feature to the entryway. For a small space, keeping frequently used footwear in one accessible place can make the area easier to organize.
Reeded and Fluted Furniture Ideas
Comparing a DIY makeover with ready-made pieces can help with planning proportions, colors, and hardware. These furniture styles offer examples of reeded or fluted detailing:

- Conrad Hall Chest
- Prism Wood Credenza
- Isla Buffet
- Goforth Console Table
- Crestview Storage Console
- Wood Fluted Drum End Table
- Conrad Console Table
- Lewis 3-Drawer Nightstand
- Middlebrook Fluted Buffet
- Reeded Console Table
Entryway Color and Decor Notes
A coordinated palette can help a small entryway feel intentional. The project paired a Swiss Coffee wall, Simply White trim, a Wrought Iron door, and an Anew Gray bench. Frames, a rug, pillows, and a curtain can add softness and help connect the colors across the space.
- Wall color: Swiss Coffee
- Trim color: Simply White
- Door color: Wrought Iron
- Bench color: Anew Gray
- Picture frames
- Rug
- Cream pillow
- Striped pillow
- Faux linen curtain
- Curtain rod
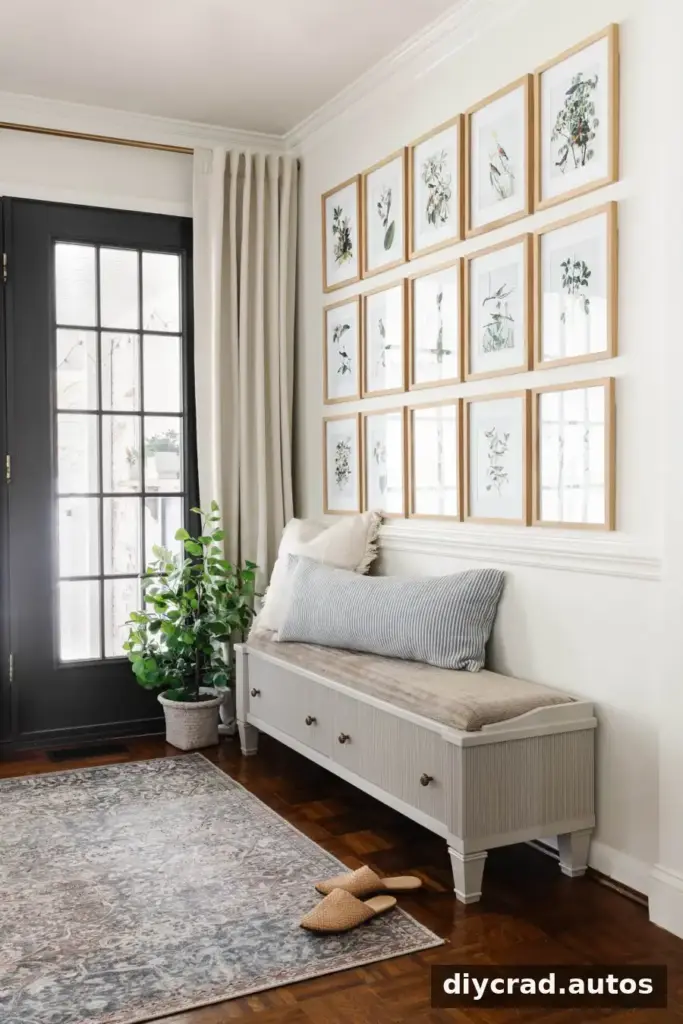
The upholstered cushion can be cleaned or updated separately if it does not suit the finished frame. Steam cleaning and upholstery cleaner were used on the existing cushion. Before painting or applying any treatment to upholstery, check that it is appropriate for the fabric and test it on an inconspicuous area.
More DIY Furniture Ideas
- Beginner’s Guide to Painting Furniture
- DIY Burl Wood Dresser Makeover Using Contact Paper
- How to Clean Wood Furniture to Make It Look New
- Appliqué Dresser Makeover
- How to Choose Furniture Hardware and Cabinet Pulls
Conclusion
Knowing how to add reeding to furniture makes it possible to give a plain piece a more detailed look without replacing it. Measure carefully, test-fit the molding, secure it while the adhesive sets, and check drawer clearance before priming and painting. With those steps, a simple shoe storage bench can become a practical and distinctive entryway feature.

