

Glue batik with kids is a hands-on way to explore pattern, color, and fabric art. Inspired by the bold shapes and vibrant colors in Anna Blatman’s paintings, this project adapts the traditional batik resist technique for a child-friendly activity. Instead of wax, washable glue creates the lines that help separate painted areas. The project works well for a small group, but plan for two sessions so the glue can dry overnight.
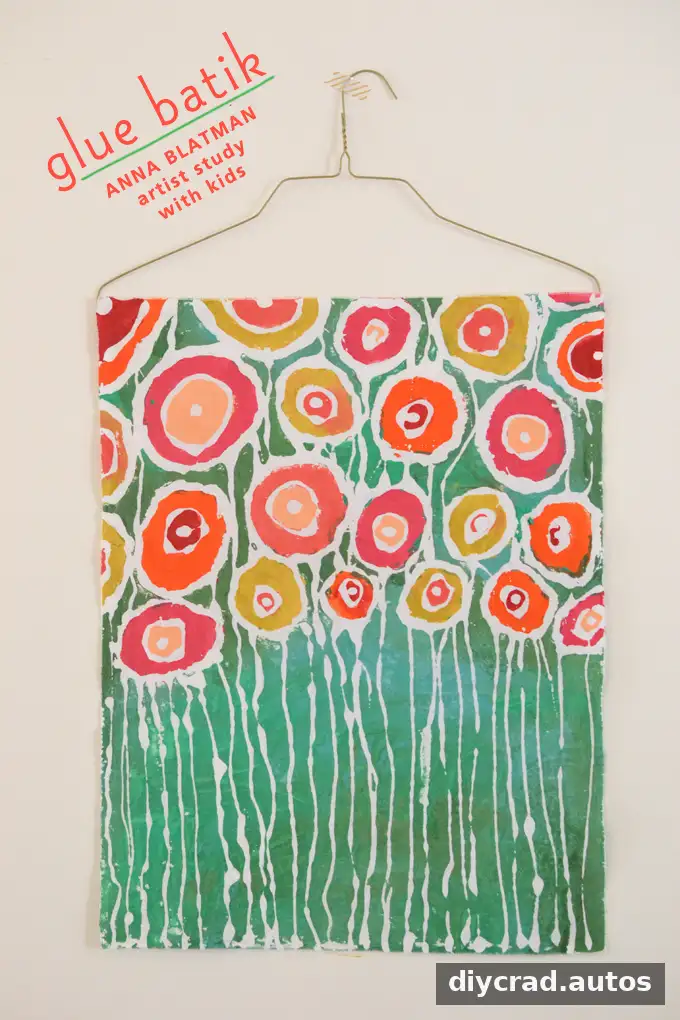
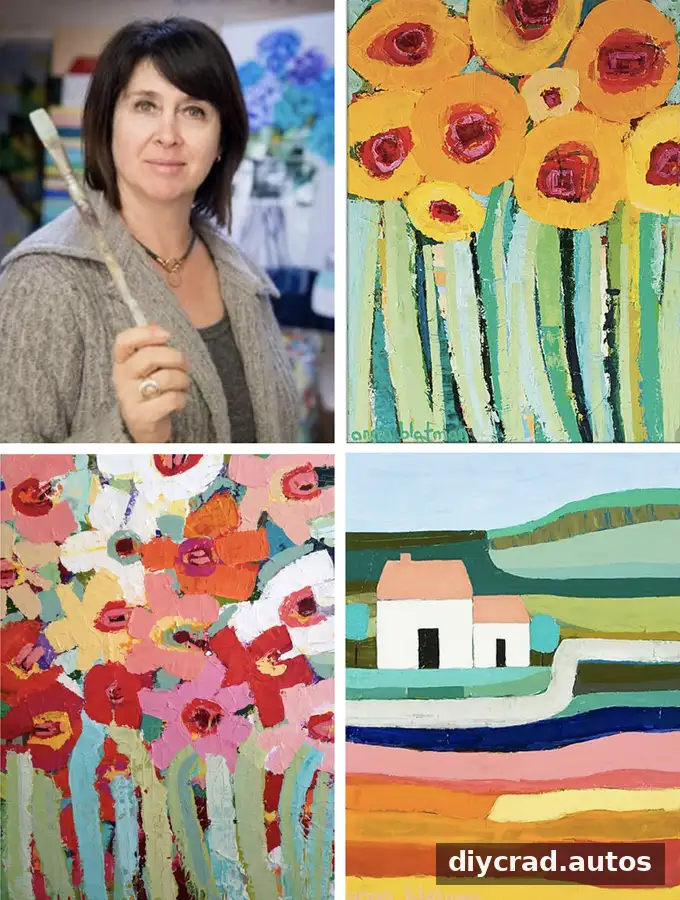
Before painting, look together at examples of Blatman’s work and invite children to notice the shapes, lines, colors, and composition. Rather than copying a painting, they can use those observations to develop an original floral design, landscape, or abstract pattern. Giving children time to sketch first can help them feel more prepared before making permanent marks on the fabric.
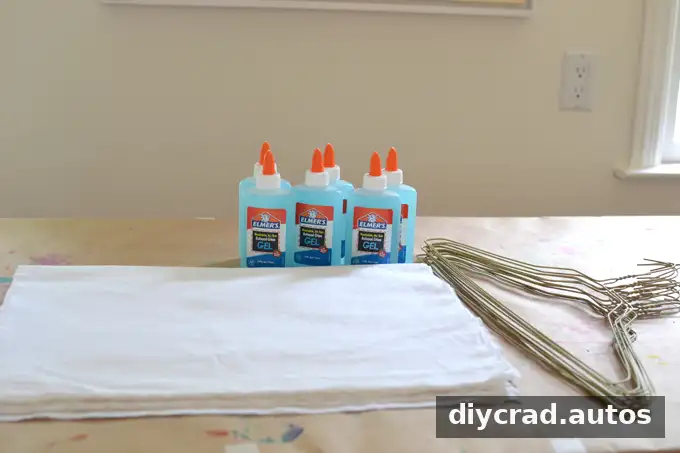
Supplies for Glue Batik with Kids
Gather the materials before starting. Wash the fabric first to remove any finishes that could affect how it absorbs paint, and let it dry before use.
- White cotton fabric, such as a piece cut from an old cotton sheet
- Washable purple gel glue, or washable clear or white glue. Colored glue is easier to see against white fabric.
- Paper and pencil for planning (optional, but helpful)
- Liquid acrylic paint or fabric paint
- Paintbrushes, a glass of water, and paper towels for blotting brushes
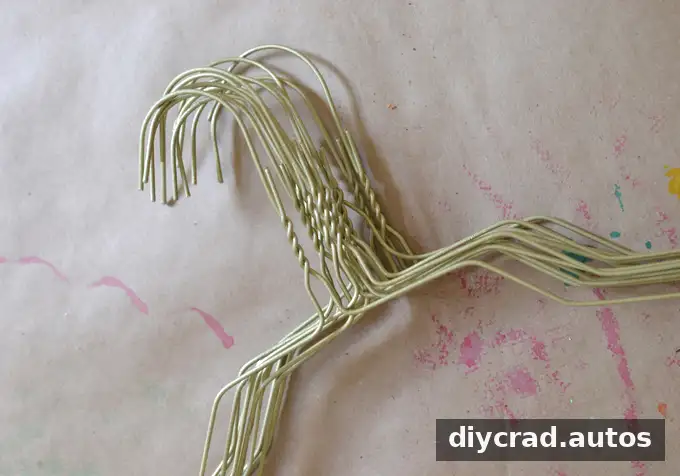
- A wire hanger for displaying the finished piece
- Optional: a soft scrub brush for removing glue and excess paint
How to Make Glue Batik with Kids
1. Look at art and plan a design
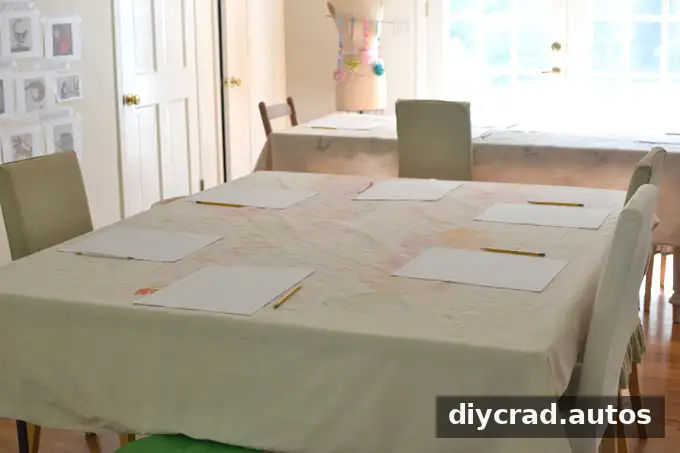
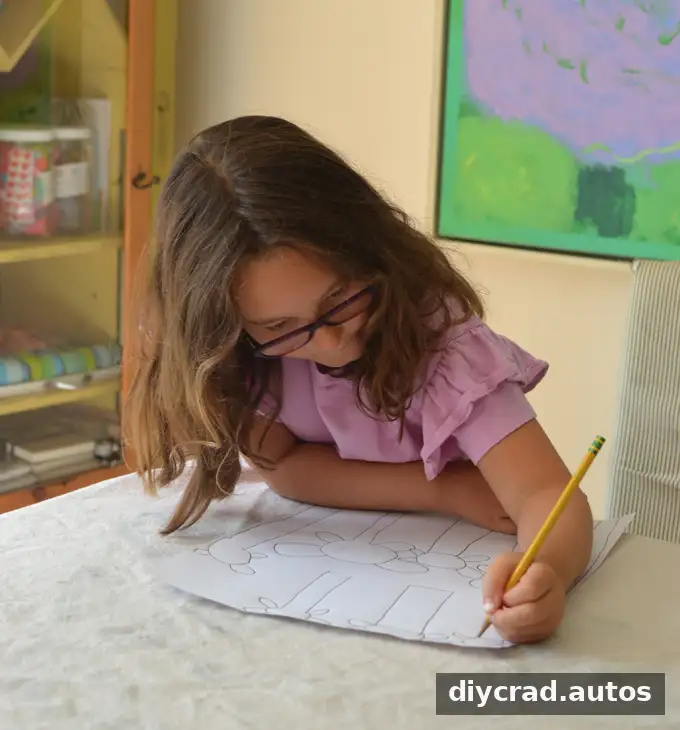
Set out a few examples of Anna Blatman’s paintings where everyone can see them. Talk about the colors, shapes, lines, and how the different parts of each composition fit together. Then give each child paper and a pencil to sketch a design. They might choose a field of flowers, a landscape, or a pattern inspired by the artwork. Glue lines are difficult to change once they are on the fabric, so sketching first gives children a chance to test and revise their ideas.
2. Draw the design with glue
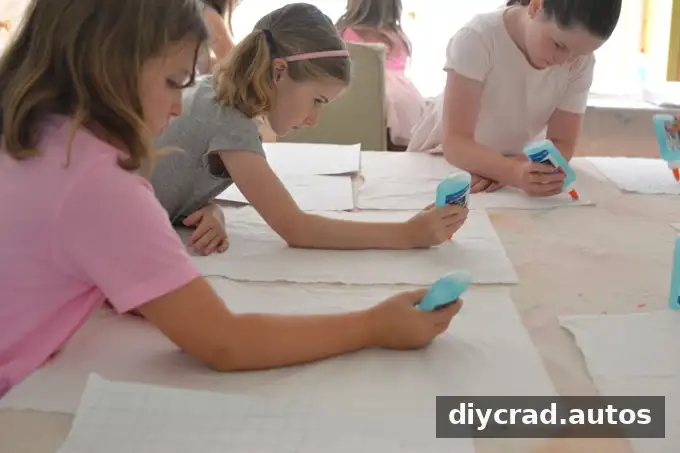
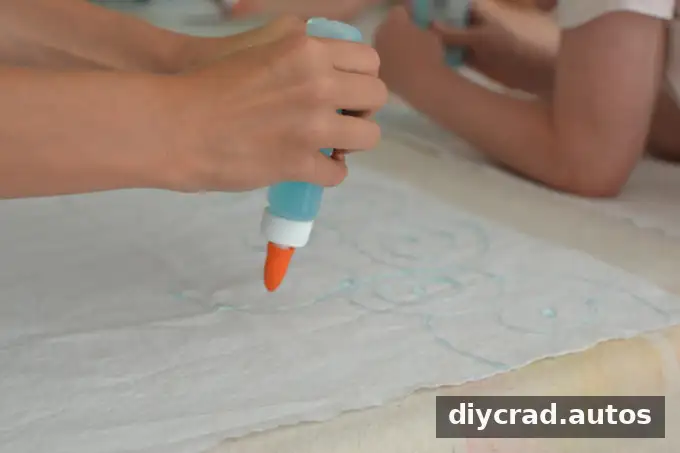
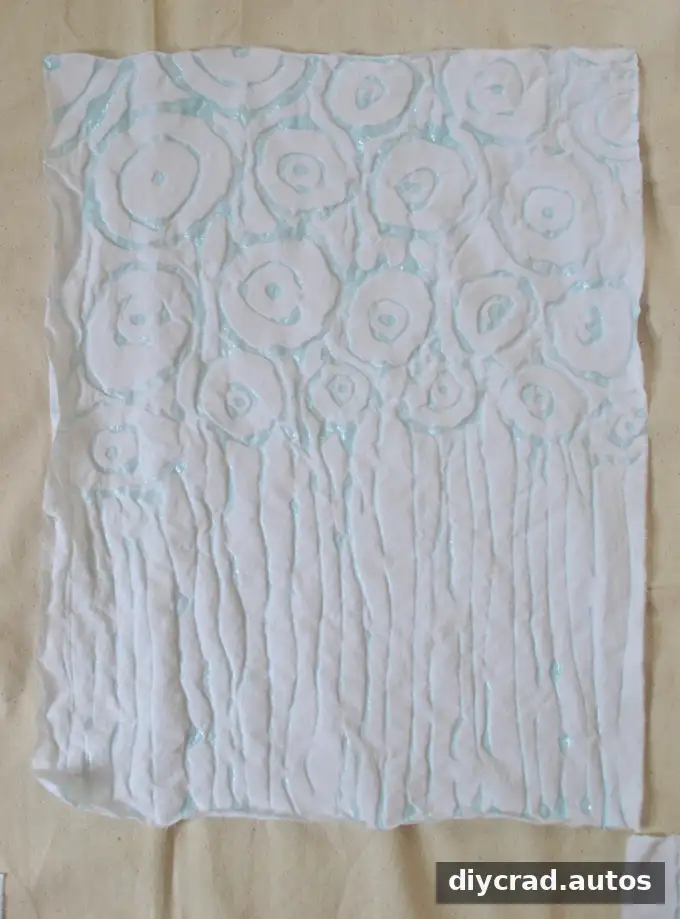
Cut the cotton to a size that will fit the hanger, leaving enough fabric at the top to fold over it later. Place the sketch beside the fabric and have each child squeeze glue onto the cloth to trace the main lines and add patterns. Younger children may need a break, since squeezing a glue bottle for a while can tire their hands. Offer help with the bottle if needed, while letting them make the creative choices.
3. Let the glue dry overnight
Lay the fabric flat in a safe spot and leave it until the glue is completely dry. Drying overnight helps prevent wet glue from smearing when children begin painting. Check that the lines are dry to the touch before moving on.
4. Paint the fabric
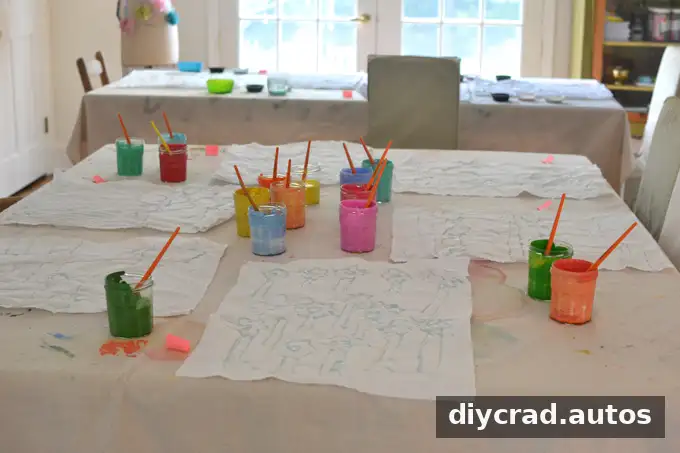
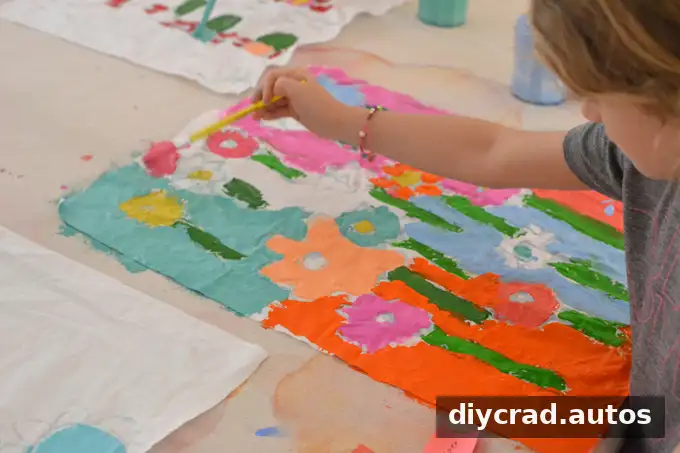
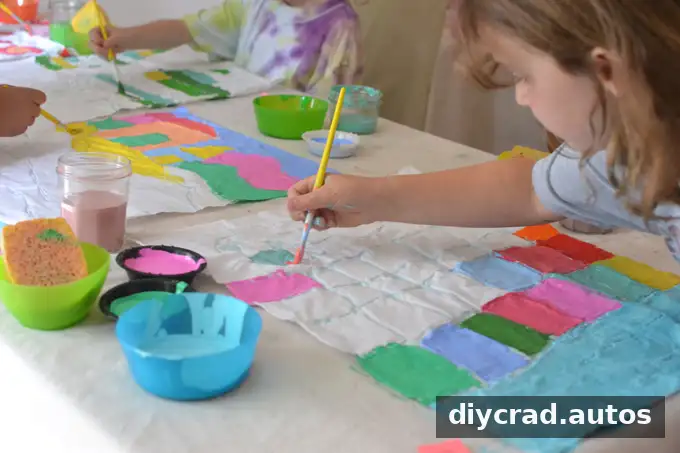
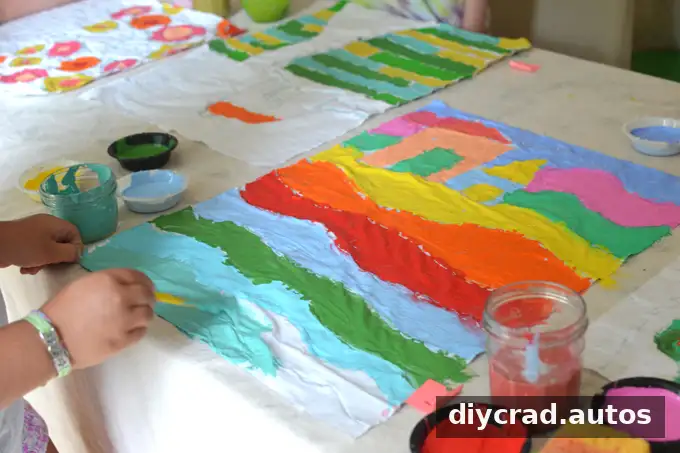
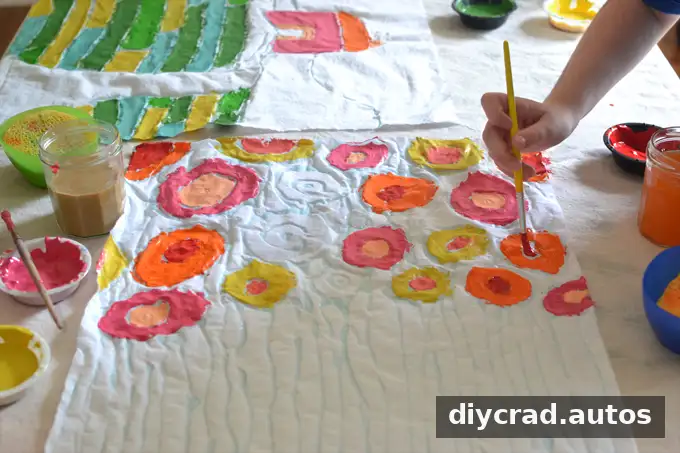
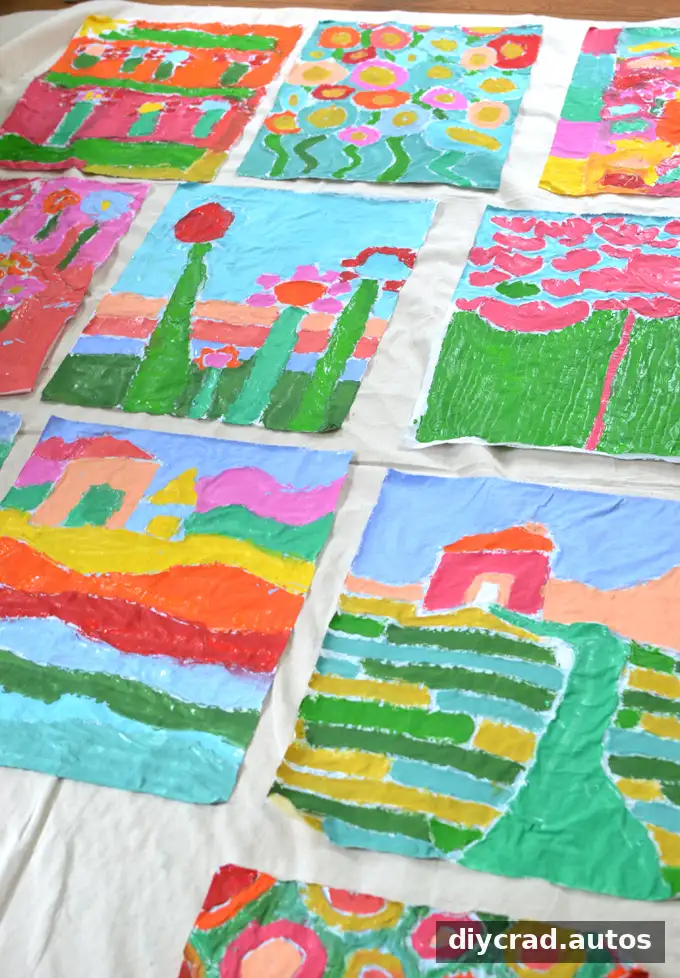
Set out the paint and brushes. Some colors can be used straight from their containers, while others can be mixed beforehand. Invite children to paint the spaces between the glue lines. It is fine if paint crosses a line; unexpected overlaps can become part of the design. Follow the paint manufacturer’s directions, especially if using fabric paint.
5. Wash away the glue
Once the paint is dry, place the fabric in a basin or sink of warm water and let it soak for about one to two hours. Gently work away the glue and excess paint with a soft scrub brush. Glue and paint may come off in small pieces, so remove those from the basin before draining it. Take care not to scrub so roughly that the fabric is damaged.
Drying and Displaying the Finished Batik
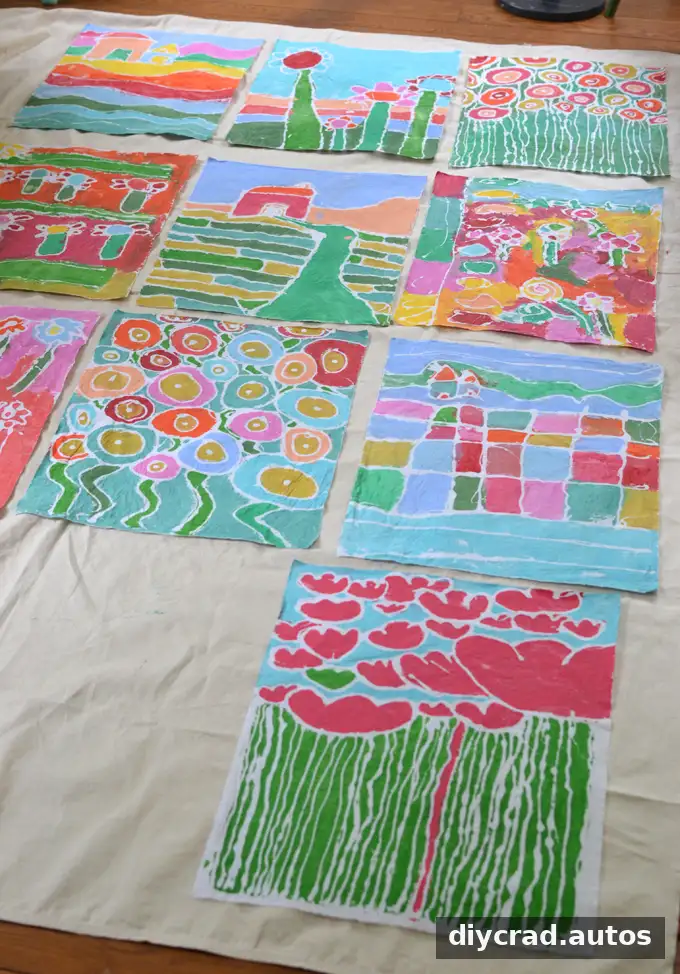
After rinsing, either hang the fabric to dry or tumble-dry it with an old towel. When it is dry, iron it to smooth wrinkles and help set the color, following the paint instructions and using an appropriate heat setting. Keep children away from the hot iron and supervise the process.
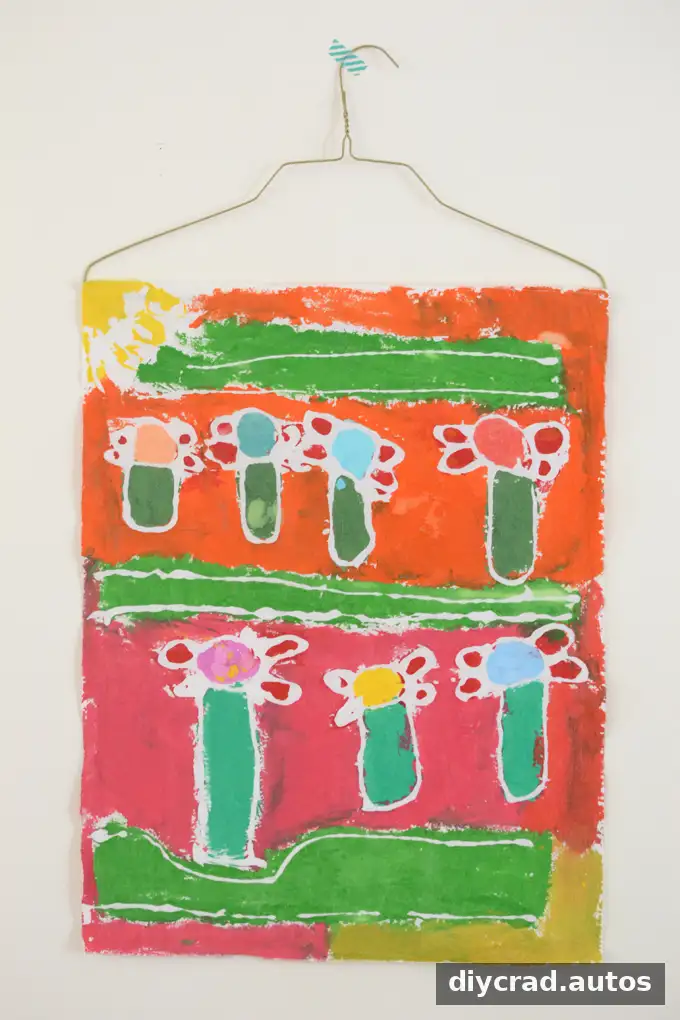
To display the artwork, fold the top edge of the fabric over a wire hanger and secure the fold with hot glue. An adult should handle the hot glue and check that the fabric is firmly attached before hanging it. Alternatively, the finished fabric can be used for a simple sewing project, such as a pillow; a horizontal design may suit a pillow shape better.
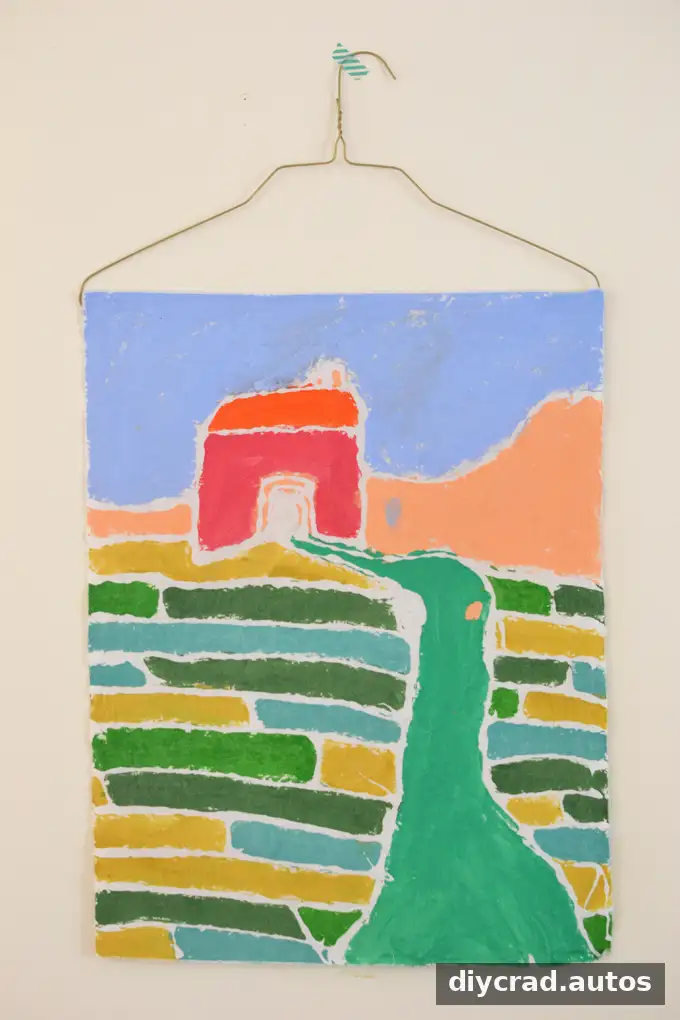
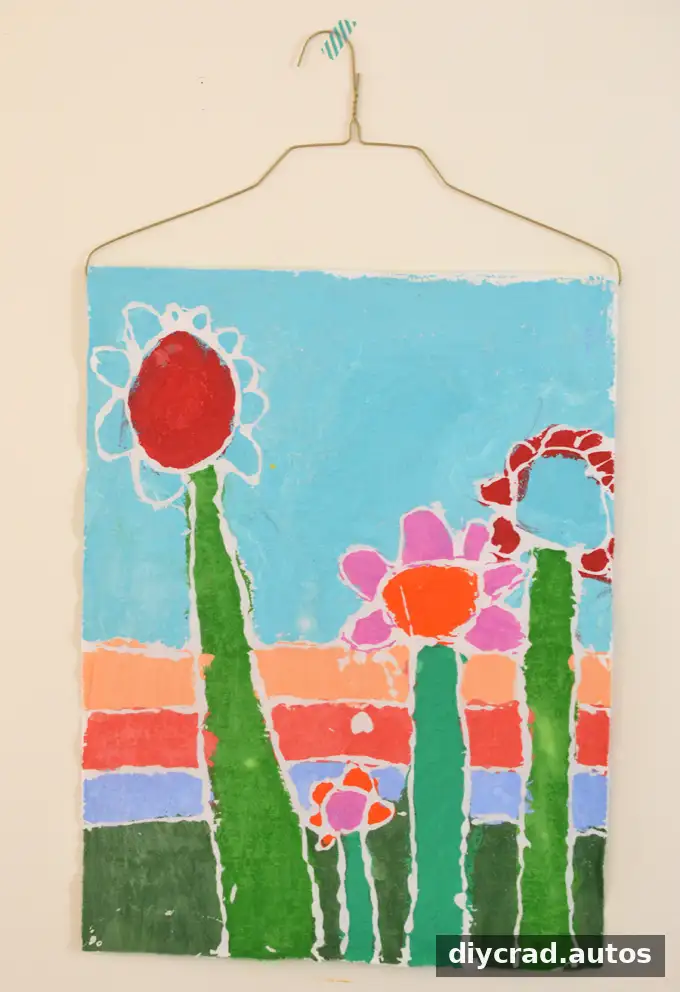
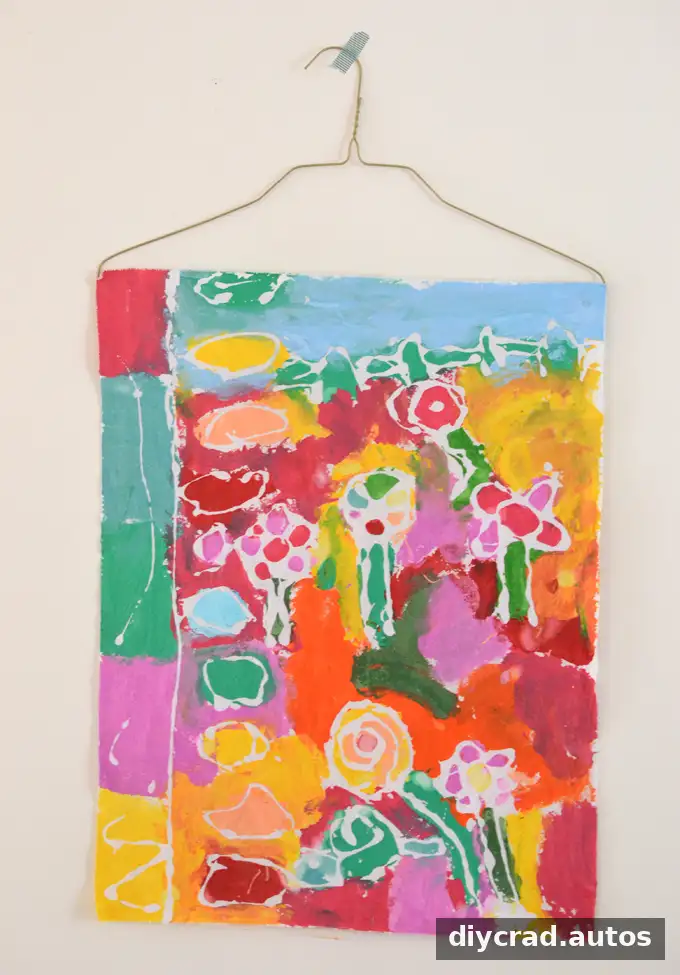
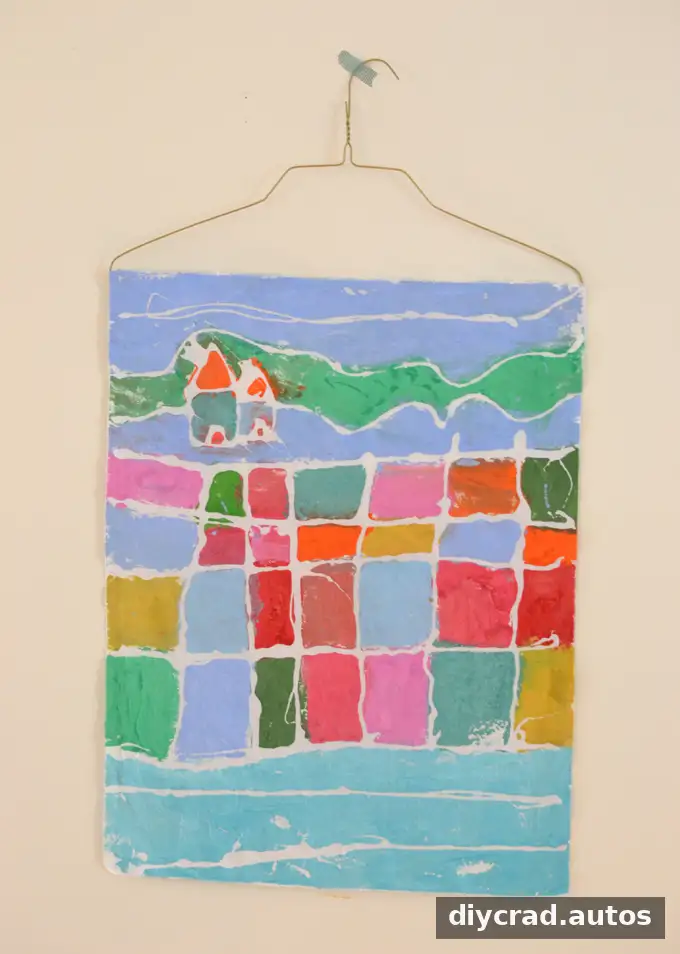
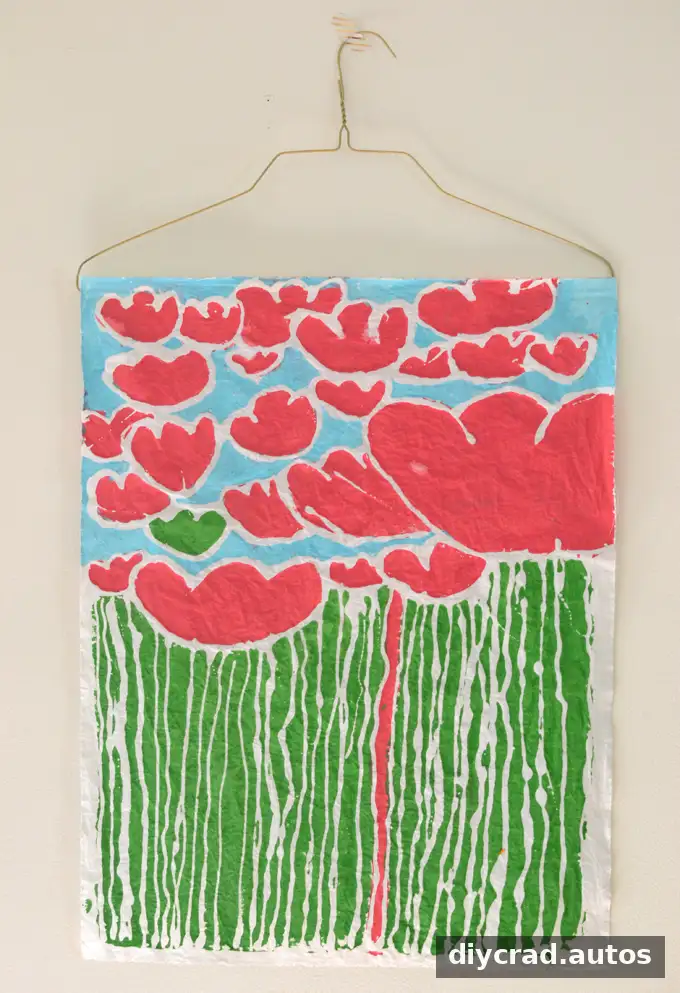
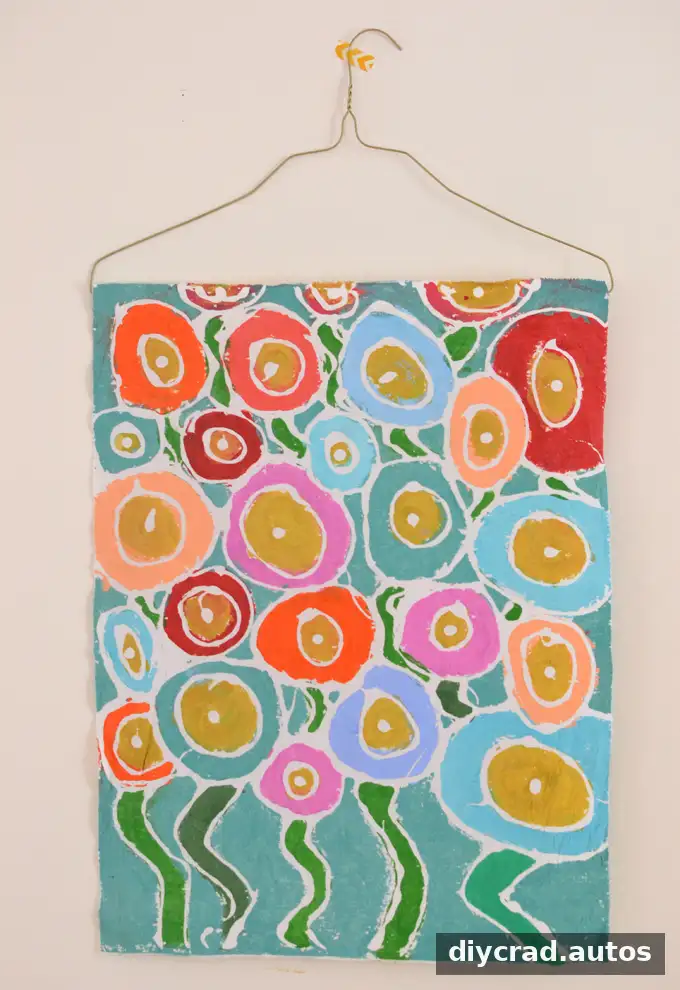
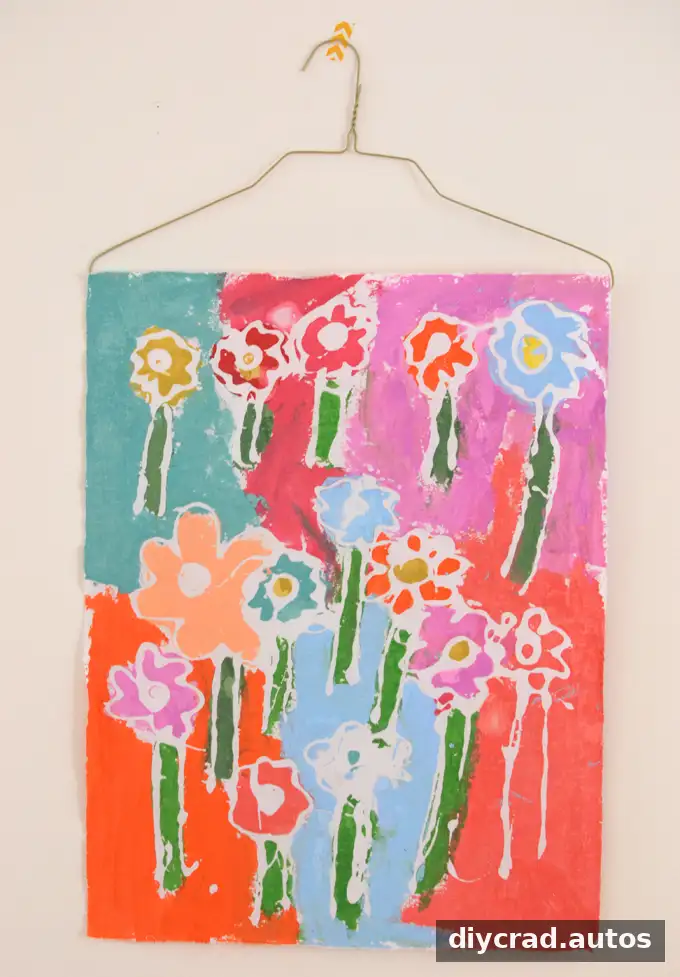
This project gives children time to practice planning, patience, and creative decision-making while making a piece of art they can display. For the best experience, prepare the fabric and work area in advance, allow enough drying time, and let each child choose their own colors and patterns. Glue batik with kids can turn simple materials into distinctive fabric artwork, and the finished pieces can be hung up or adapted into a sewn item.
— Bar
More Artist Study Ideas for Kids
Explore other art activities that introduce children to different artists and ways of making:
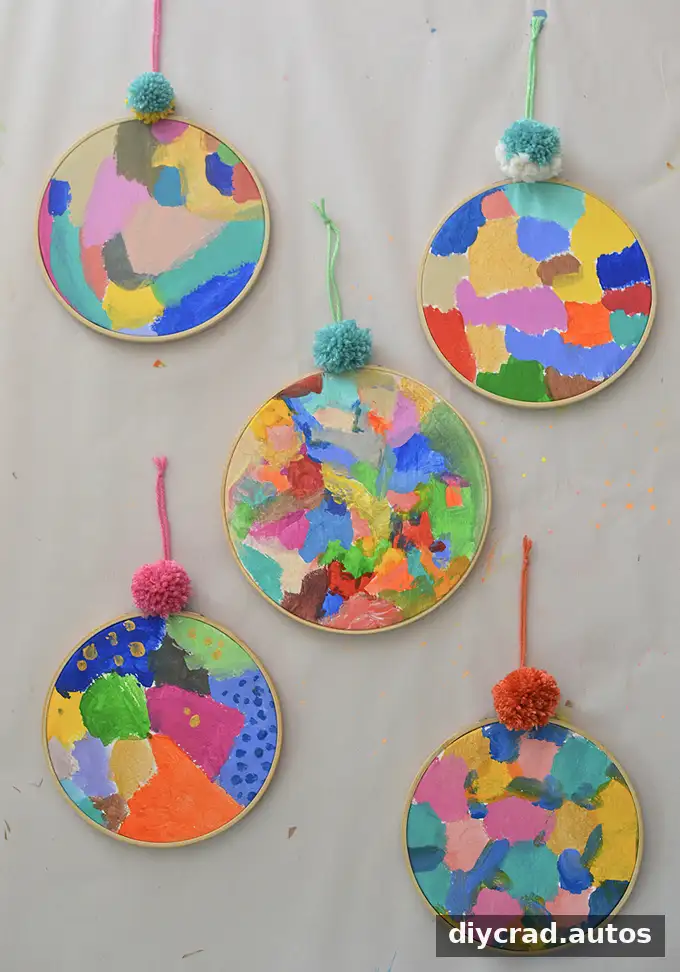
Kindah Khalidy artist study with kids
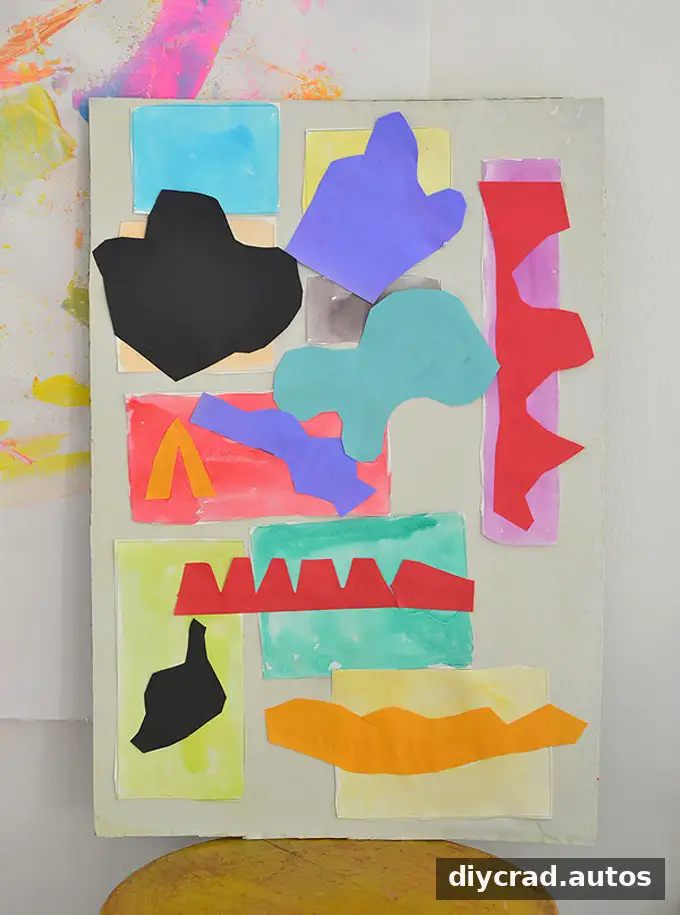
Painting with scissors: a kids’ study of Matisse
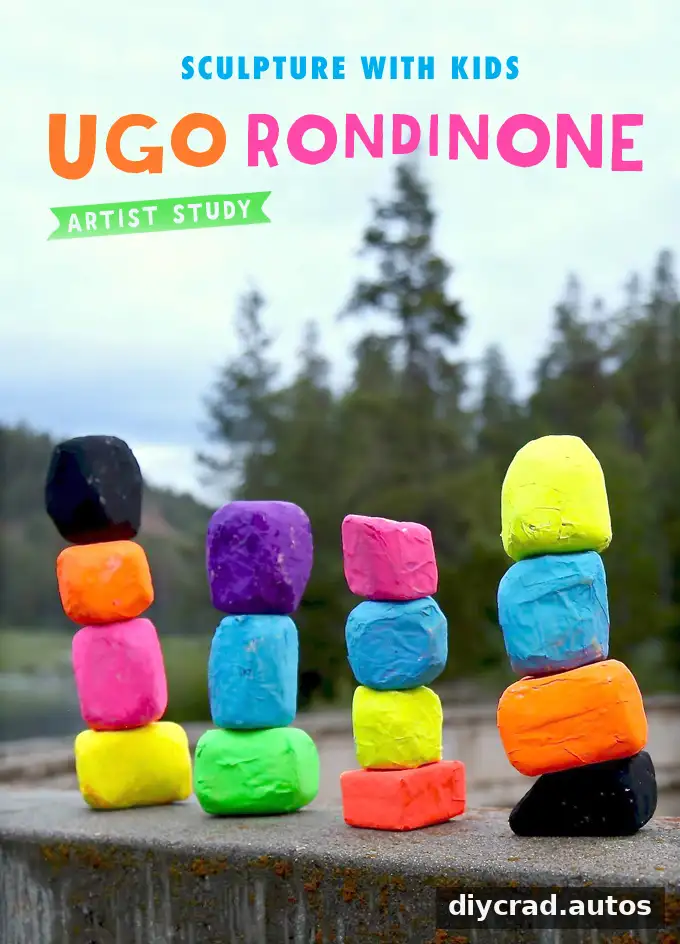
Sculpture with kids: an Ugo Rondinone artist study

