

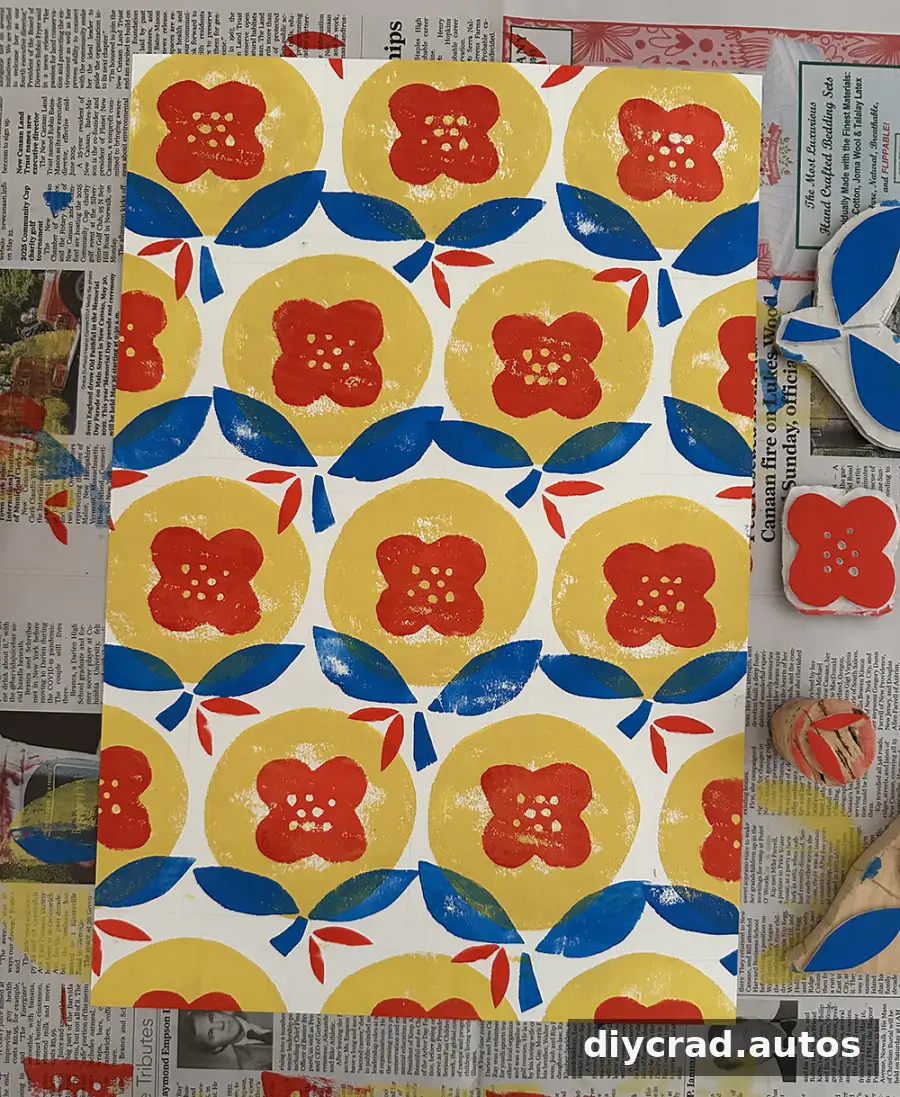
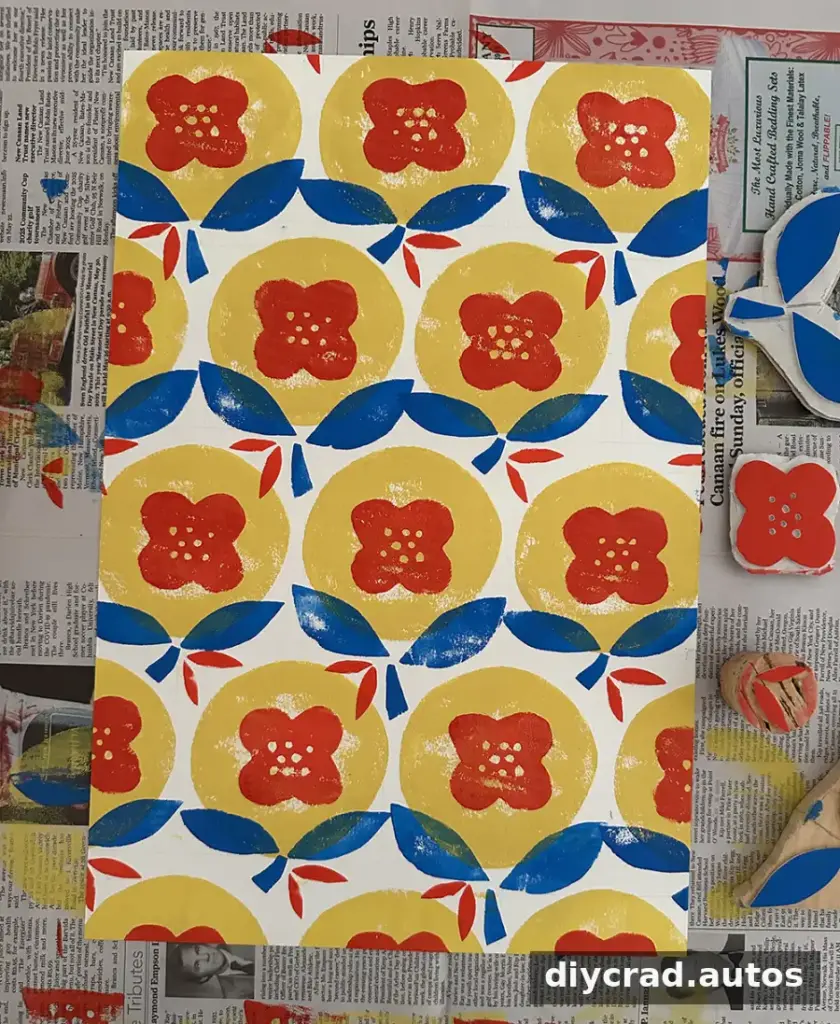
DIY foam stamps are an easy way to make original patterns without specialized tools or complicated carving. With adhesive craft foam, a simple base, paper, and paint or printmaking ink, you can create repeating shapes and colorful layered designs. The process is flexible: precise layouts work well for orderly patterns, while hand-placed stamps give prints a more relaxed look.
Materials for DIY Foam Stamps
Gather these supplies before you begin. A flat work area and a few test sheets of paper are also useful for checking how much ink your stamps pick up.
- Sticky-back craft foam sheets
- Pencil
- Scissors
- A stamp base, such as cardboard, wood scraps, large jar lids, or large corks
- Large-format mixed-media paper; 12×18 watercolor paper can also be used
- Printmaking ink, acrylic paint, or tempera paint
- 4-inch brayers
- Trays or another flat, non-porous surface for rolling out ink
Mixed-media paper is a practical choice when the goal is printing rather than watercolor painting. Printmaking ink stays workable for this kind of project, while acrylic paint may dry faster, so work promptly if you use it. Try a small test print first to check the paint’s consistency and transfer.
How to Make Handmade Foam Stamps
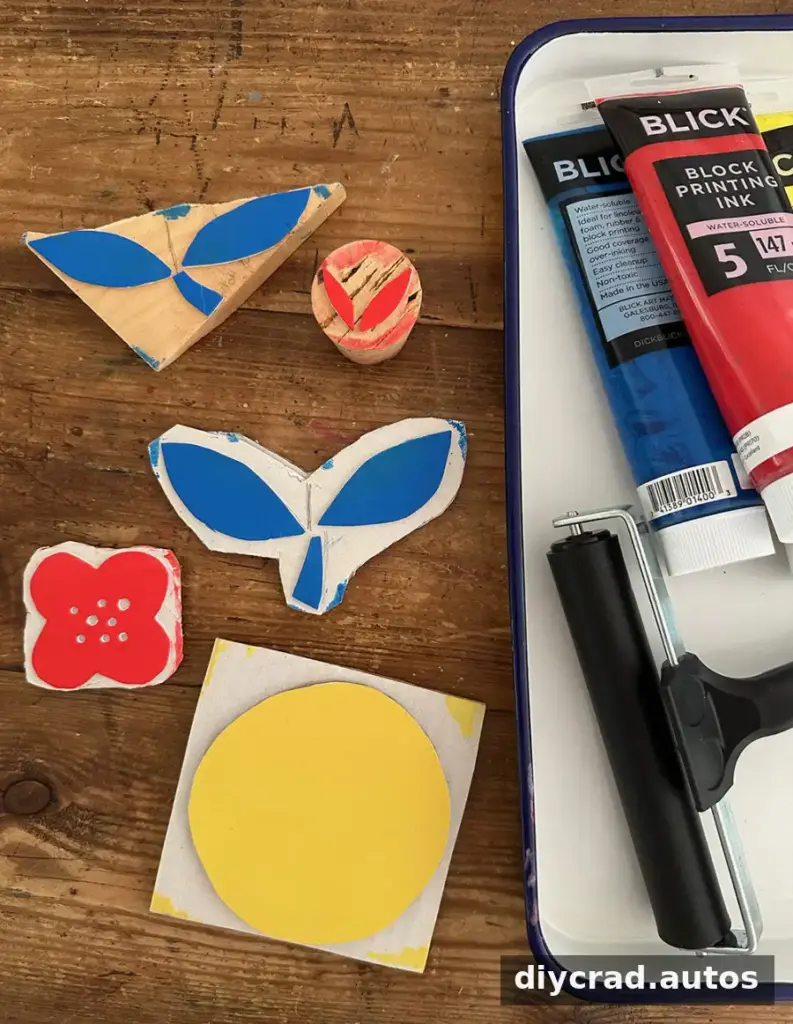
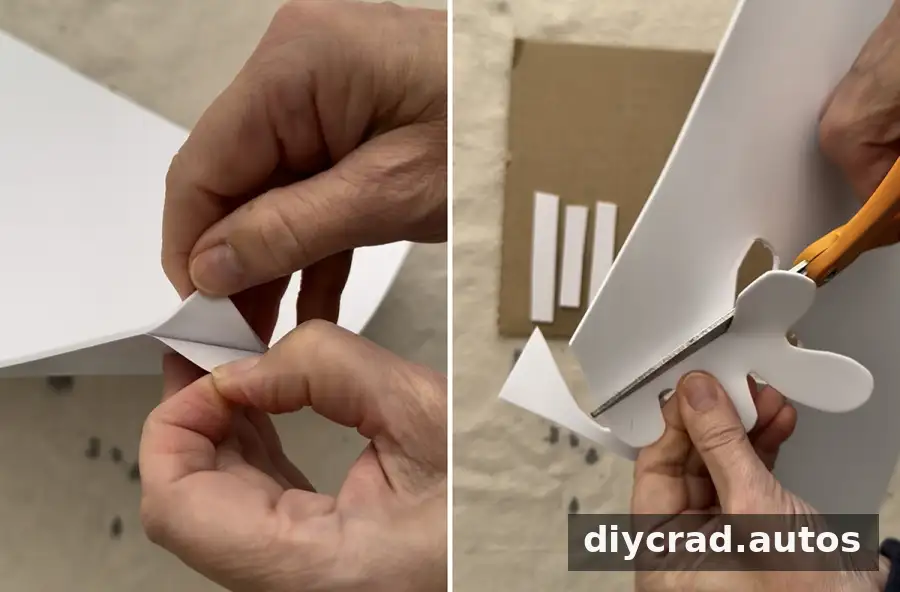
Draw shapes directly onto the paper backing of the craft foam, or cut shapes freehand. Cut them out with scissors, peel off the backing, and press each foam shape onto a base. Simple circles, leaves, and other easy-to-repeat shapes are good starting points.
If you use cardboard, trim it close to the foam shape. Exposed cardboard can pick up ink from the brayer and leave unwanted marks around the printed design. Cardboard is easy to cut but can absorb ink more readily than a hard base. For wood, plastic lids, or cork, choose a base that is close in size to the foam shape to help keep stray ink off the paper.
Printing a Pattern with DIY Foam Stamps
1. Make the stamps and plan the layout
Start with a main shape, such as a circle, and decide whether you want a measured grid or a free arrangement. A grid can help keep repeated shapes evenly spaced, but it is optional. Lightly marking a layout can be helpful if you want a more regular pattern.
2. Choose a color palette
Select a small group of colors before printing. For a layered design, begin with the lightest color so that darker shapes can be added over it. Primary colors are one possible palette, but any combination that suits the project can work. Keep a scrap sheet nearby to test the color and opacity of each ink.
3. Ink and press the main stamp
Roll ink across the tray with a brayer until it forms an even layer with a slightly tacky sound as the roller moves. Roll the brayer over the foam, place the stamp on the paper, and press evenly across its surface. If the print looks faint or incomplete, try applying a little more ink or pressing more firmly on the next impression.
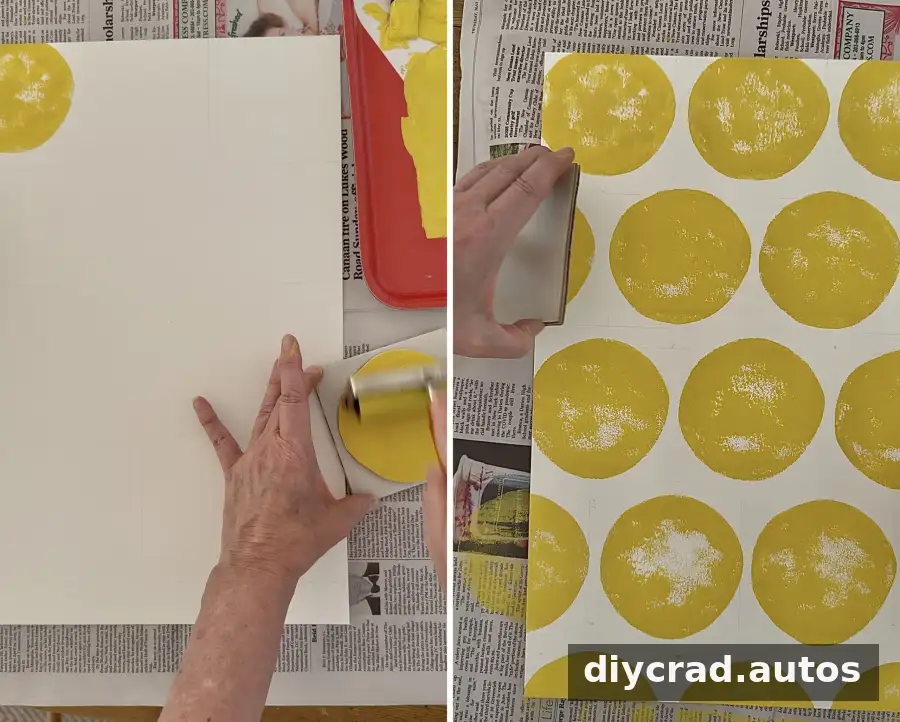
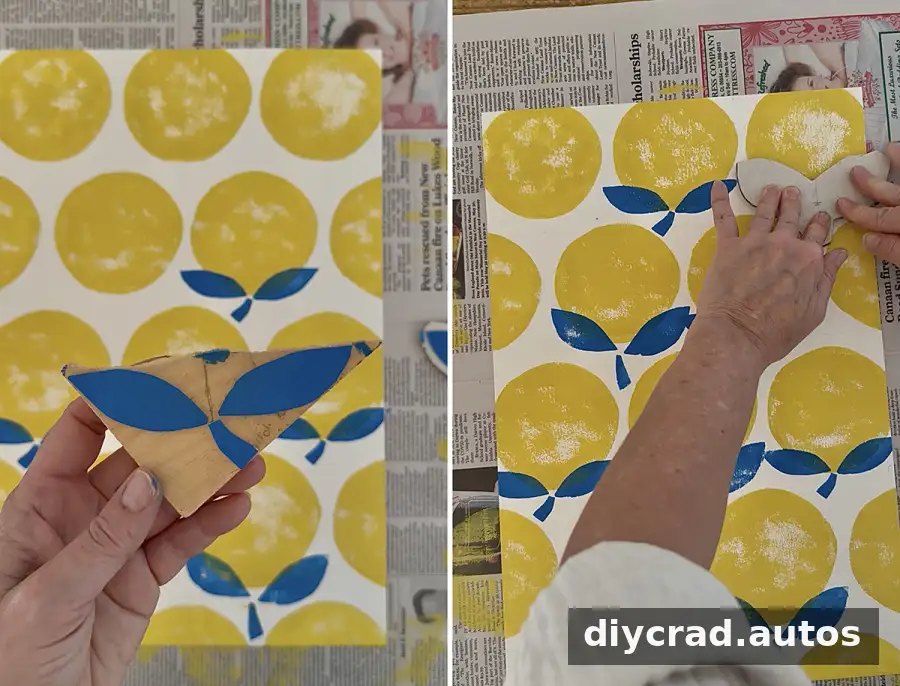
4. Add smaller shapes and layers
Use smaller stamps to add movement and detail around the main shapes. Leaf forms, for example, can make a repeated circle pattern feel more varied. Place the smaller stamps by eye for a loose design, or plan their positions if you want a more consistent repeat. When layering colors, make a test print to see how the inks look where they overlap.
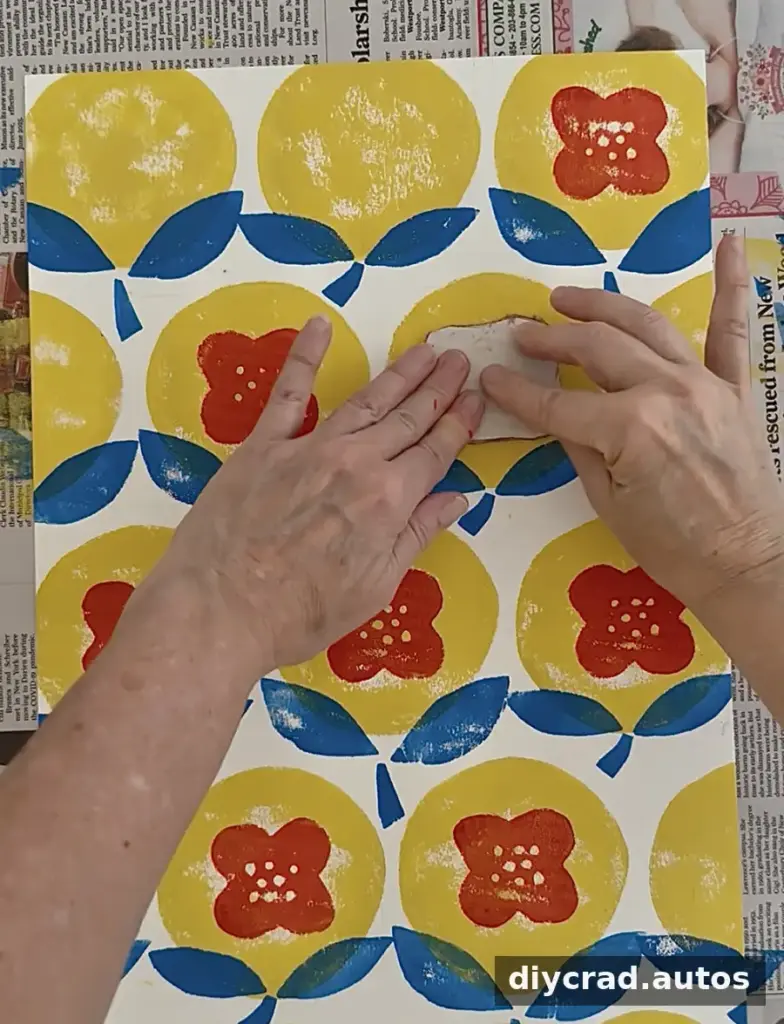
Two different-sized hole punches can be used to cut small circles for the center of a flower shape. If using punches, work carefully and check that the foam pieces adhere securely to their base before printing.
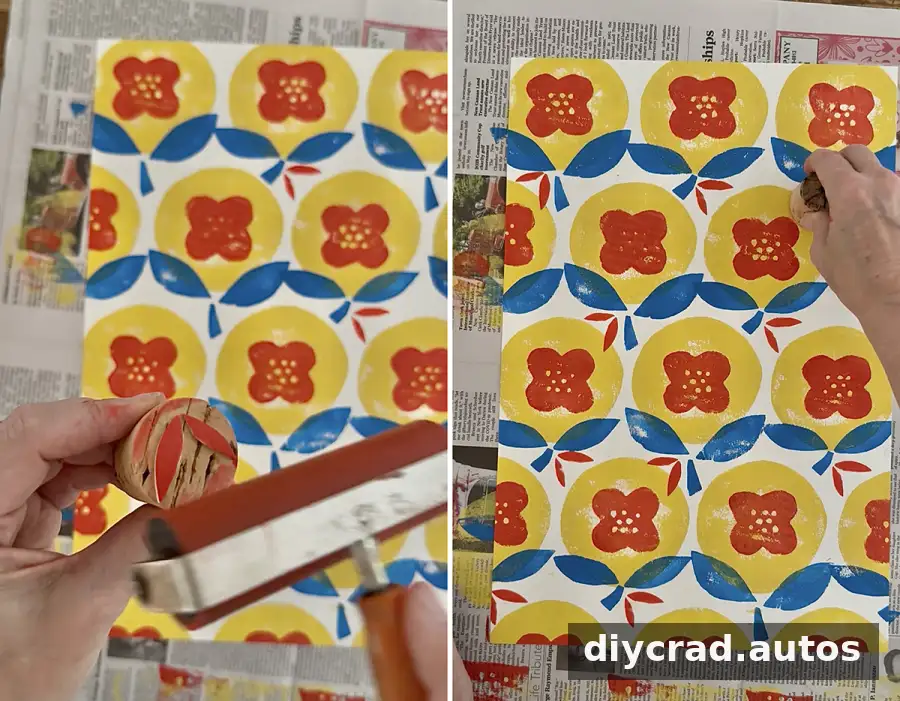
5. Review and refine the print
Step back and look for areas that feel too empty or crowded. Add another small stamp or a few impressions if the composition needs balance. It is often useful to pause before adding more marks; a short break can make it easier to judge the spacing and overall pattern.
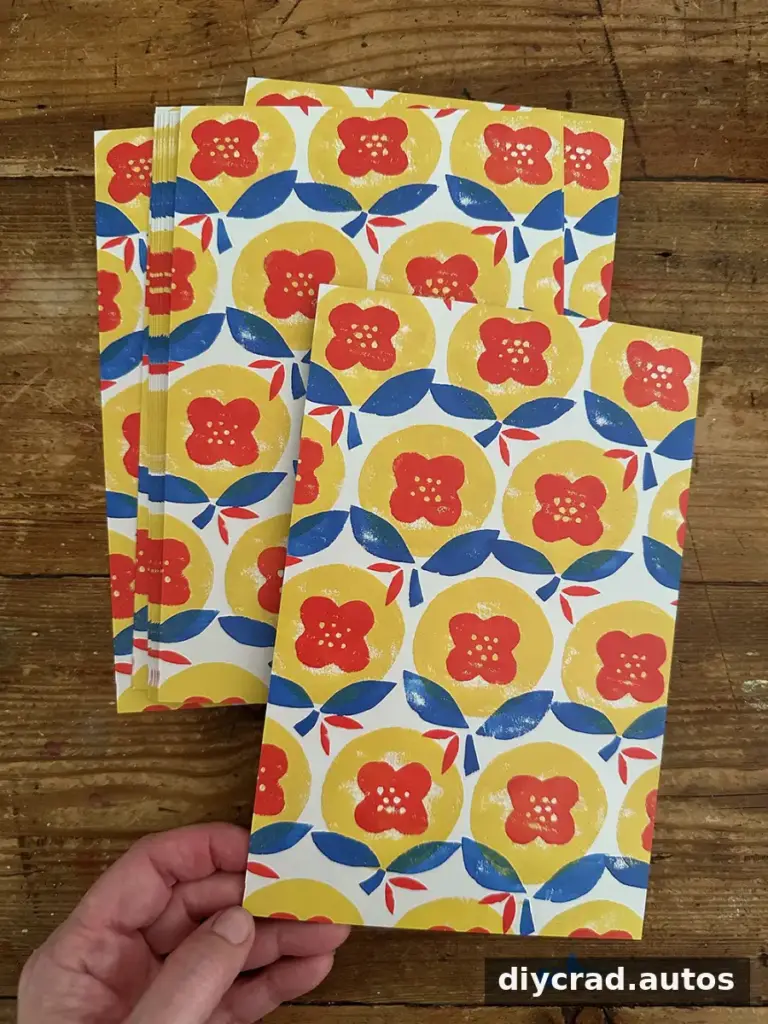
Embrace the Handmade Finish
Hand printing naturally produces small variations in ink coverage, pressure, and placement. Those differences can give a pattern character, so every mark does not need to be perfectly uniform. For a cleaner result, use an even layer of ink, press consistently, and lift each stamp straight up to reduce smudging.
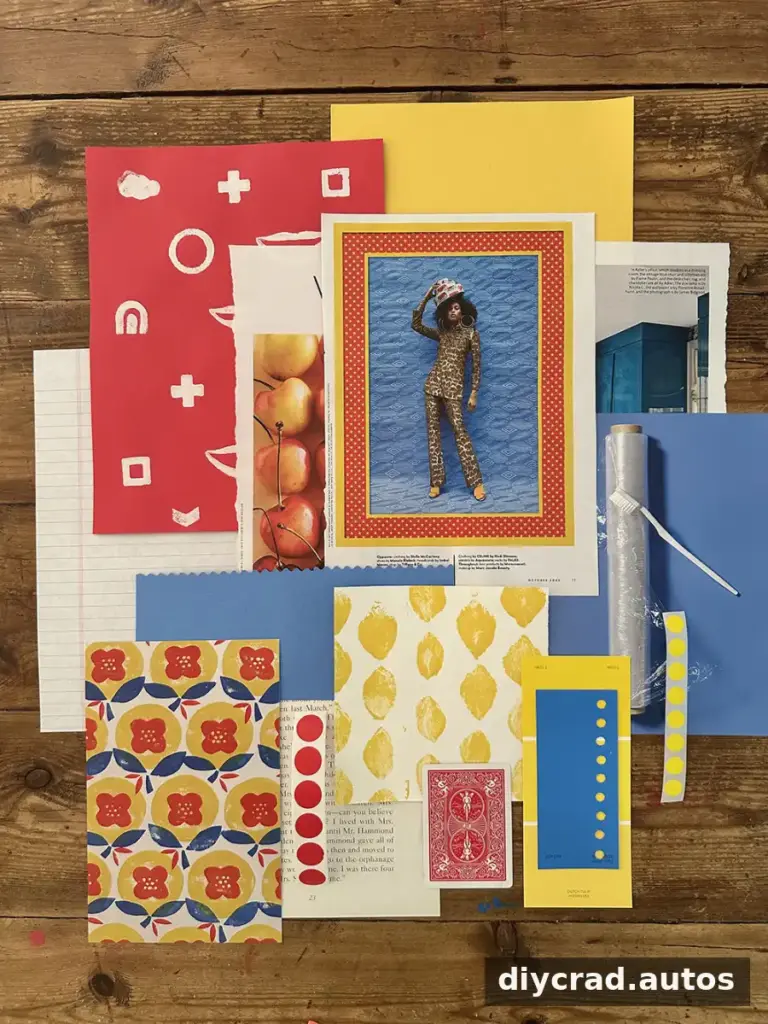
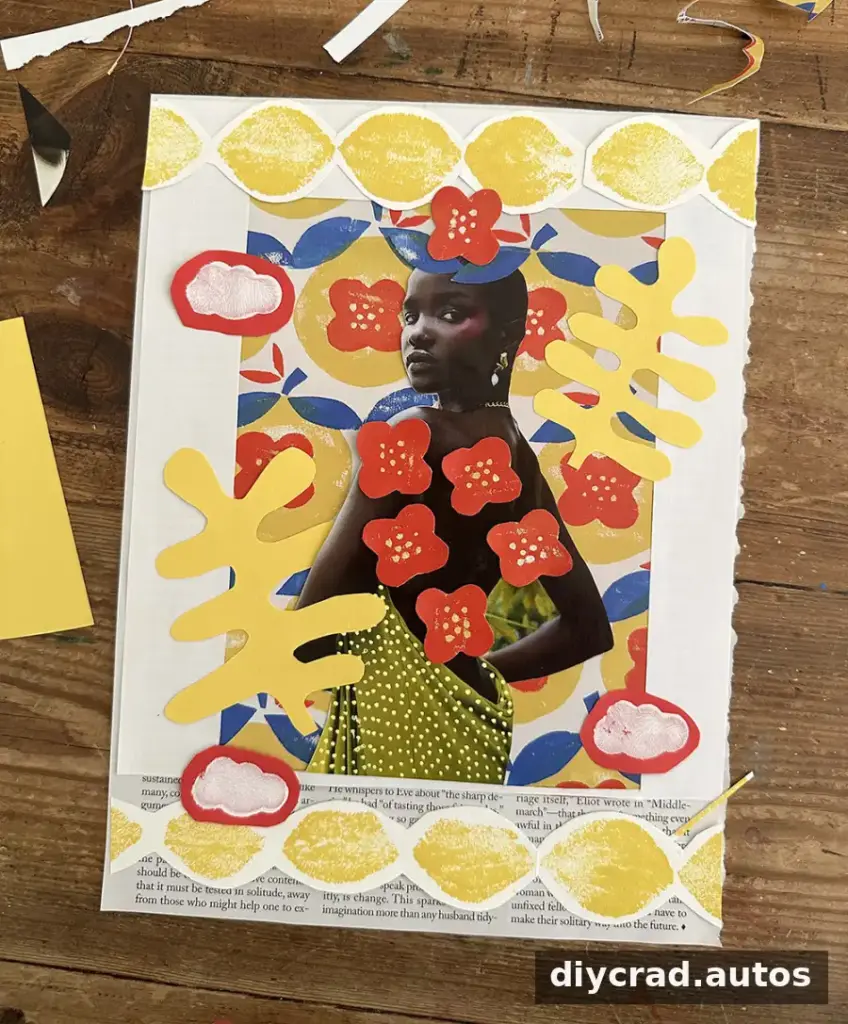
Bold colors and simple shapes can create a lively print suitable for postcards, collage elements, or other paper projects. Allow printed sheets to dry fully before stacking or using them in a collage. Store the stamps flat so the foam remains ready for another printing session.
— Bar
More Printmaking Ideas
-
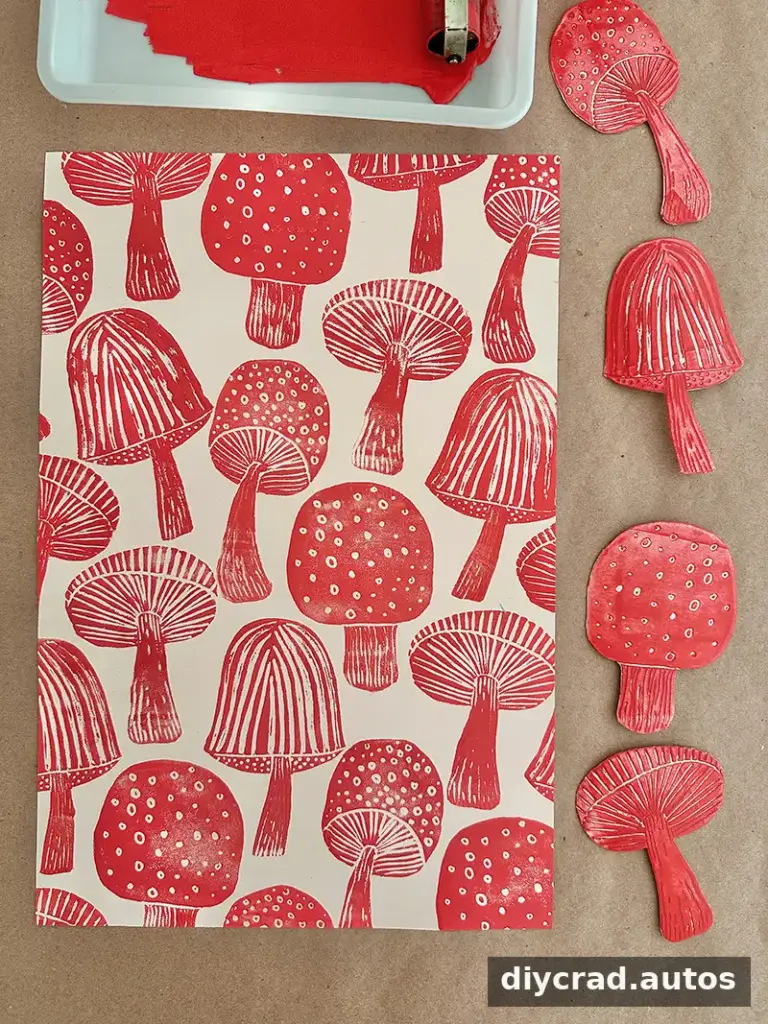
Mushroom Block Printing with Styrofoam
-
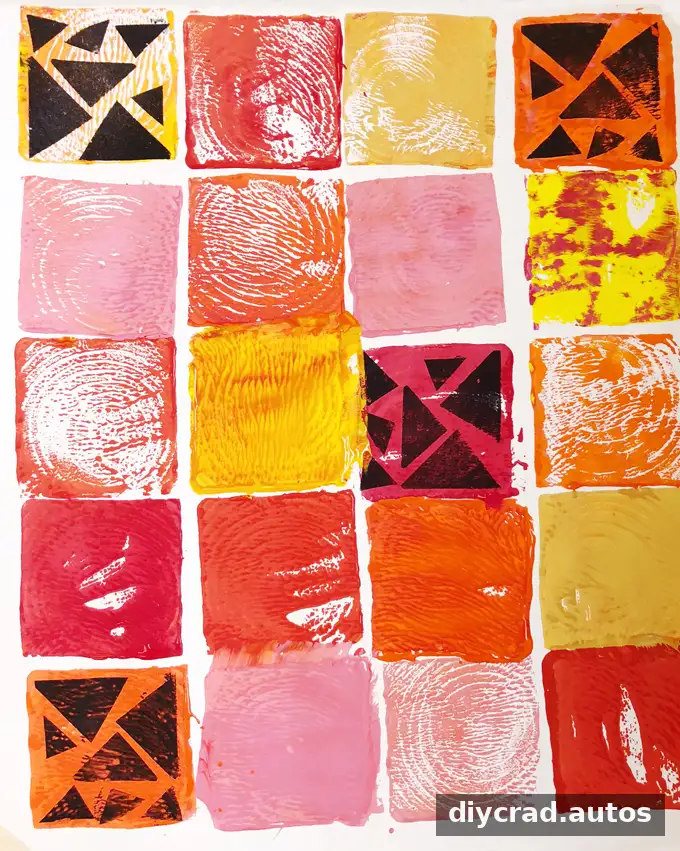
Collagraph Printing with Wooden Blocks
-
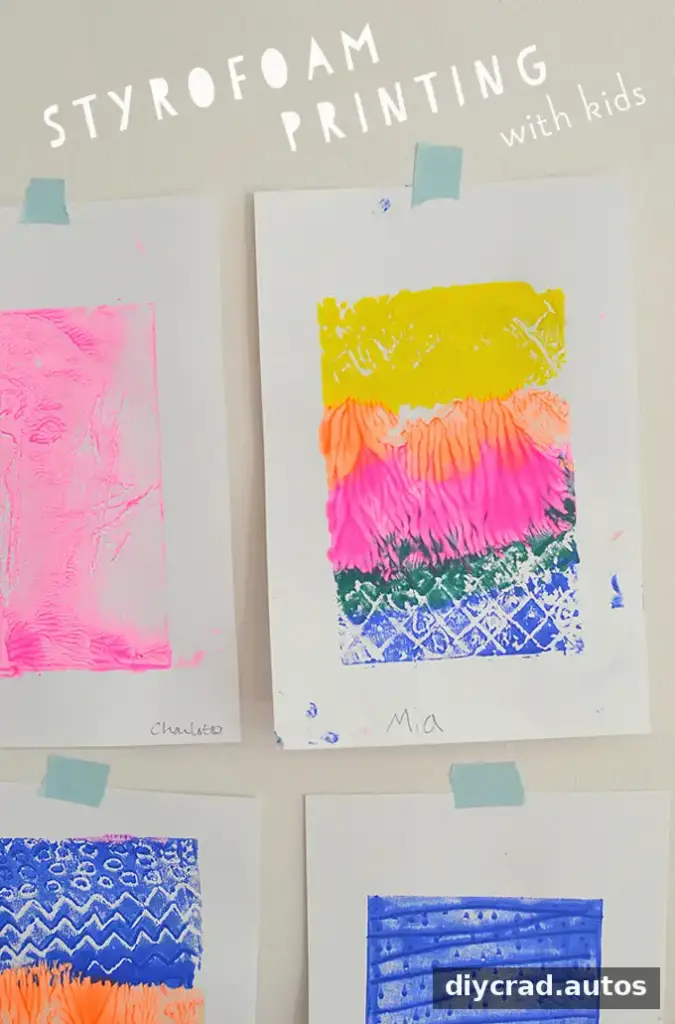
Styrofoam Printing with Kids
DIY foam stamps make it easy to explore repeat patterns with accessible materials. Start with a few shapes, test your ink on scrap paper, and adjust the spacing or color layers as you go. With a little planning and room for imperfect impressions, you can create a distinctive handmade print.

