Shibori dyeing with kids is a hands-on fabric activity that combines folding, tying and indigo dye to create distinctive blue-and-white patterns. Different ways of binding or compressing fabric produce different designs, so children can experiment with simple folds and see how small changes affect the finished piece. Use a white 100% cotton shirt or another suitable cotton fabric, and follow the instructions supplied with your indigo dye kit.
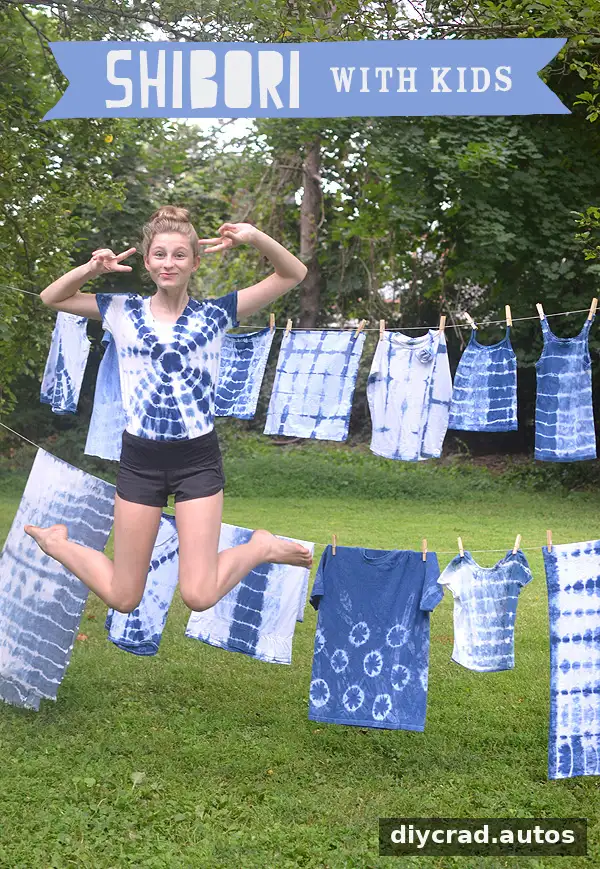
Shibori is a Japanese resist-dyeing technique. Fabric is folded, twisted, stitched, bound or compressed before dyeing; the covered areas resist the dye and remain lighter. The contrast between indigo and undyed cloth makes each result stand out, even when using a straightforward method such as accordion folding.
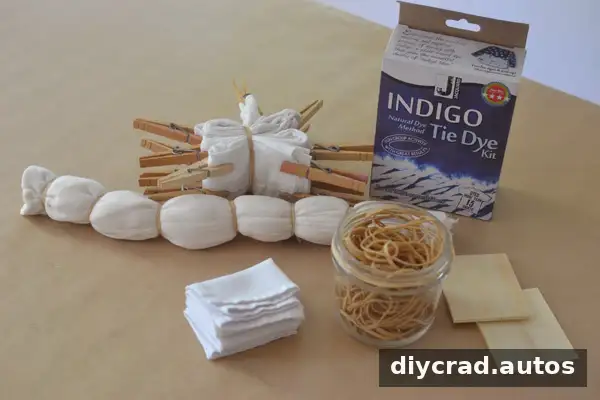
Supplies for Shibori Dyeing with Kids
Gather materials before mixing or preparing the dye. Setting up in advance helps children focus on the folding and pattern-making, while keeping the dyeing area organized.
- An indigo dye kit
- A white 100% cotton T-shirt, napkins or another white fabric item
- Rubber bands
- Wooden blocks, clothespins or corks
- A large bucket or pot of fresh water
- A lidded 5-gallon bucket for the indigo dye
- A stick for stirring
- A tarp for drying
- Scissors for removing rubber bands
- Rubber gloves to help keep dye off hands
Choose a work area that can tolerate splashes, and have clean water ready for rinsing. Children should be supervised around dye, buckets and scissors. Follow the dye kit’s safety and handling directions throughout the activity.
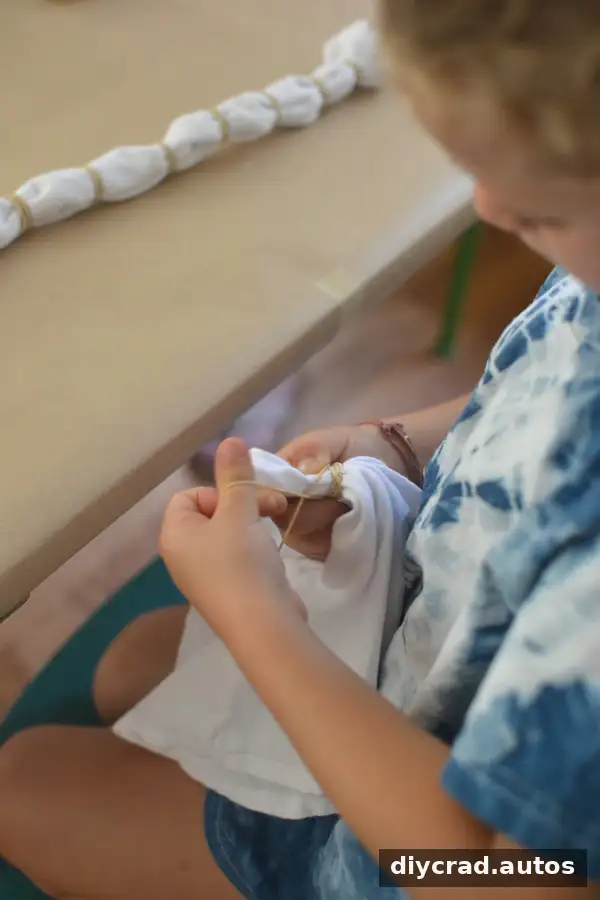
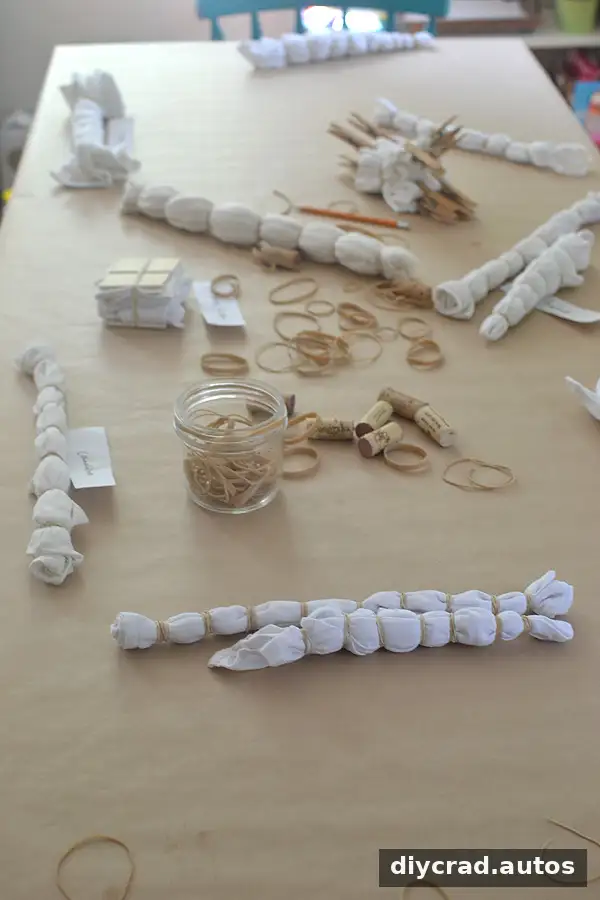
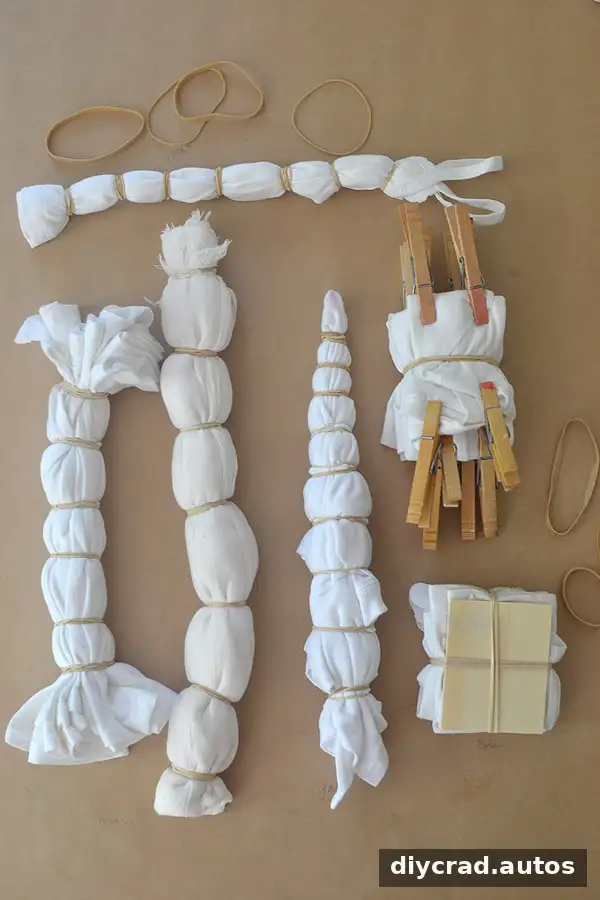
How to Do Shibori Dyeing with Kids
1. Fold and bind the fabric
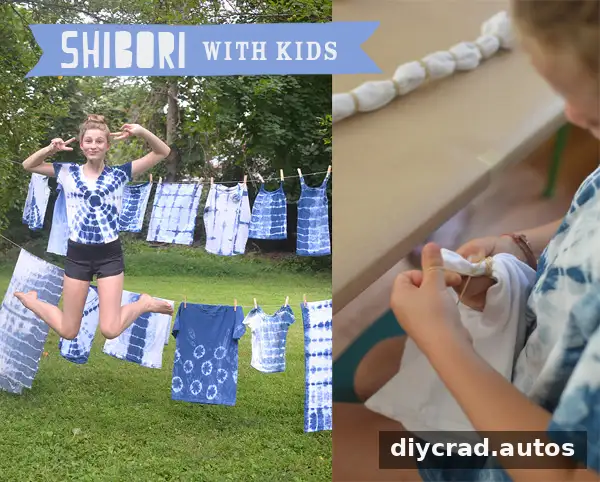
For a child-friendly starting point, accordion-fold a T-shirt or fabric into a compact shape. Place a block on each side and secure it with a few rubber bands. Smaller children may find tight bands difficult to manage, so an adult can help guide their hands or complete some of the tying together with them.
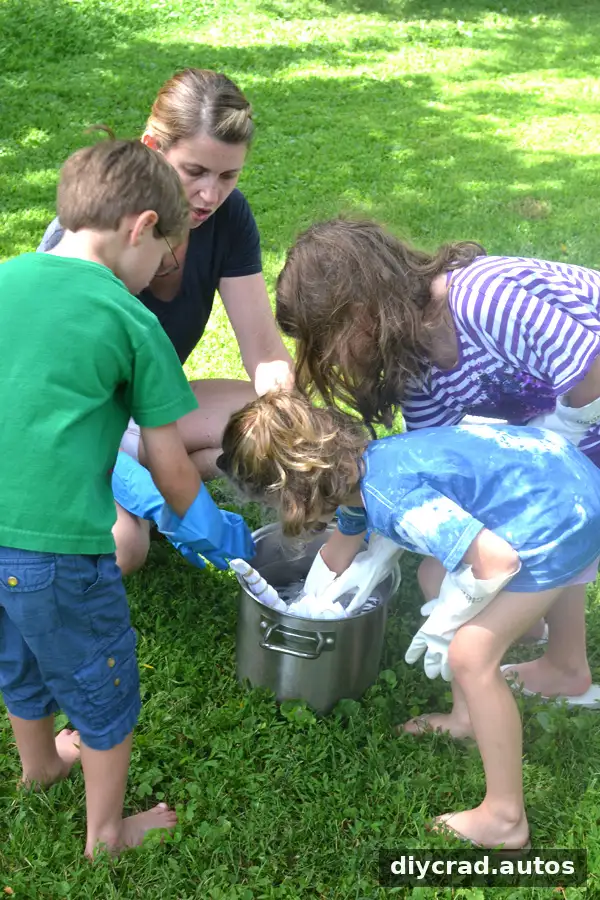
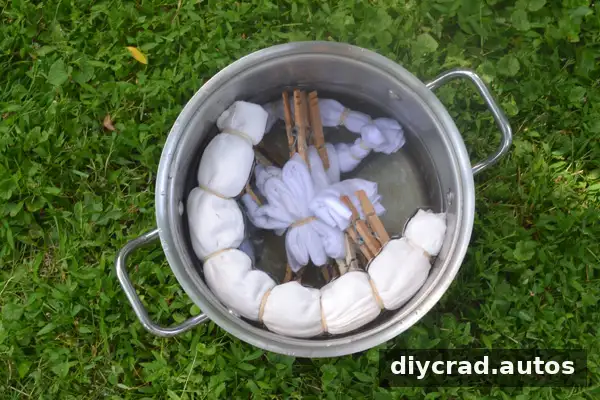
2. Wet the tied fabric
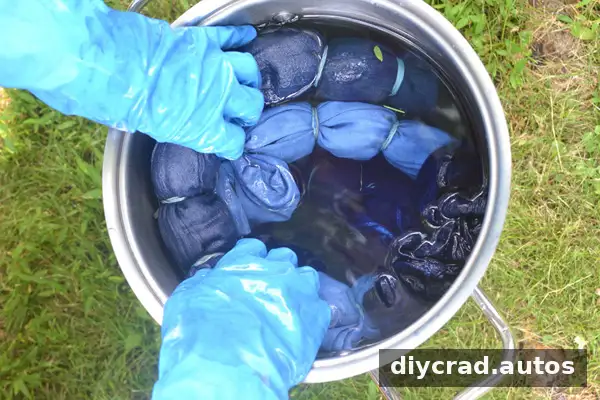
Soak each bound piece in water before dyeing. Put on rubber gloves before moving to the dye bucket. Wet fabric is easier to immerse, and gloves help reduce staining on hands.
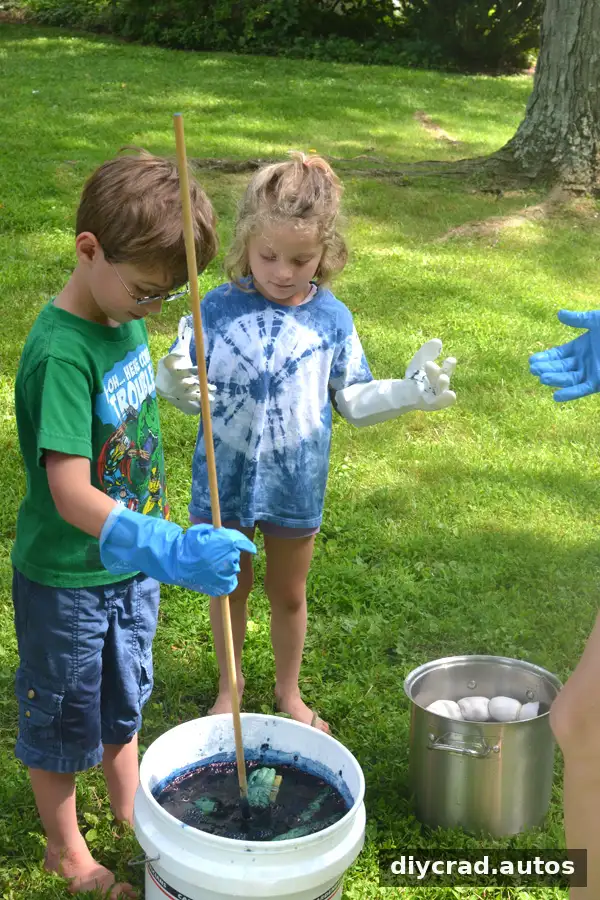
3. Immerse the fabric in indigo
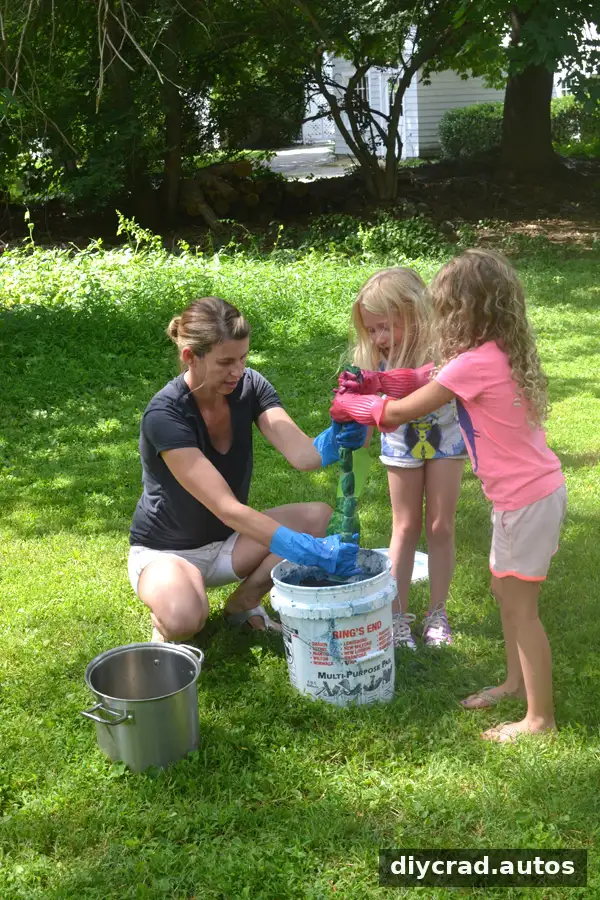
Squeeze out some excess water, then gently place the fabric in the dye. The children can push it under and swirl it around for about 10 minutes, with an adult supervising and following the dye kit’s directions. Avoid splashing and keep the bucket stable while the fabric is being moved.
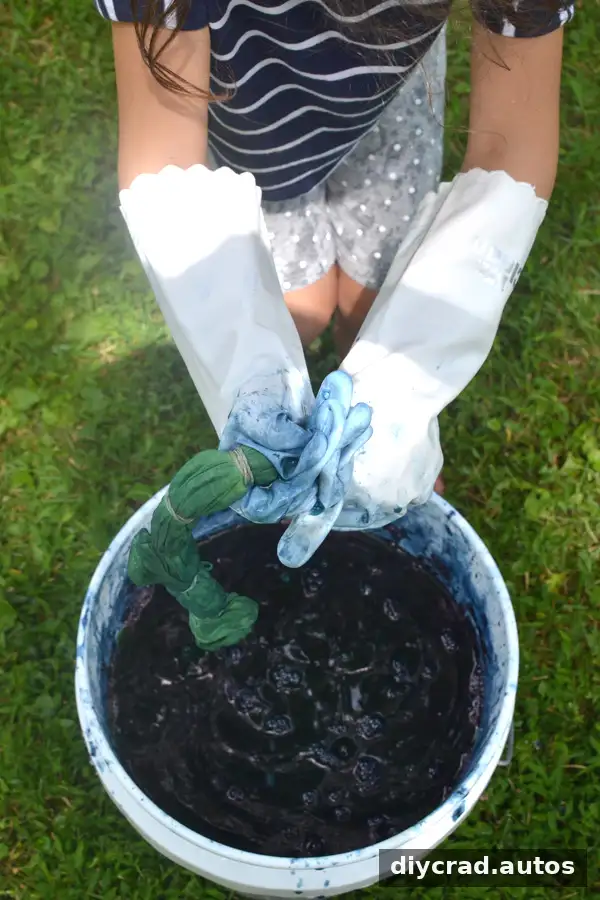
4. Let the color develop
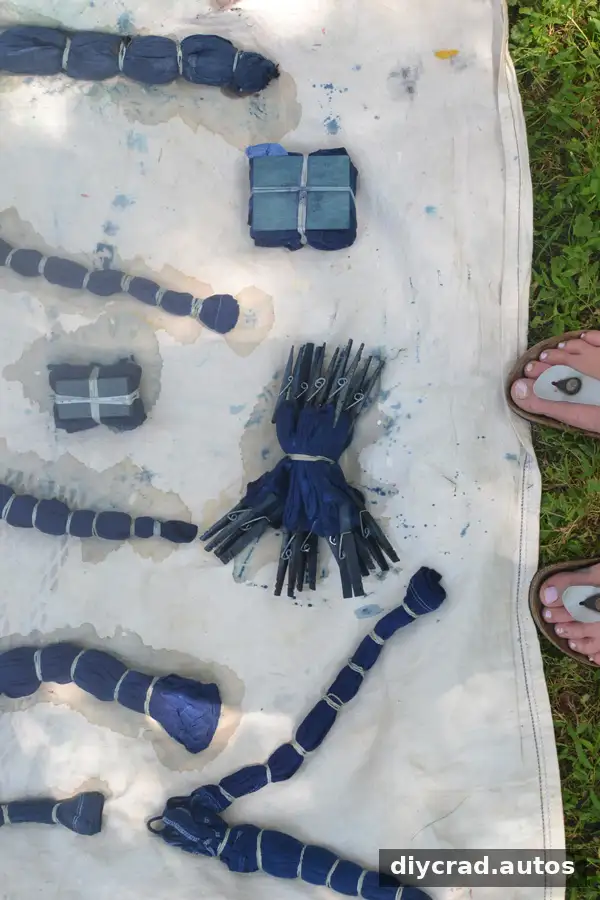
Remove the fabric and squeeze out as much excess dye as possible. Indigo-dyed fabric may look bright green at first; when exposed to oxygen in the air, it turns blue over the next few minutes. Watching this color change is a memorable part of the process.
5. Rinse, dry and wash
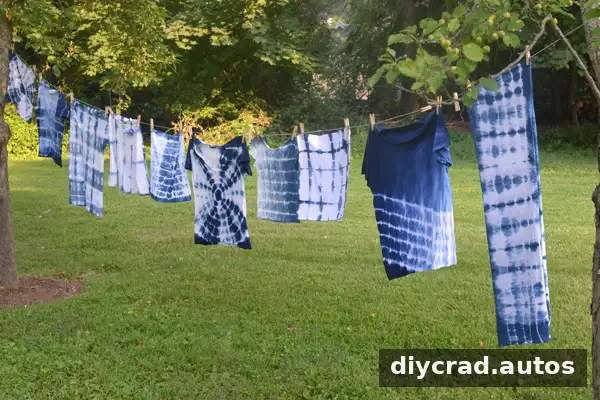
Rinse the fabric several times in fresh water until little or no dye runs out. Let it rest on a tarp while the remaining pieces are dyed. Once the group has finished, an adult can carefully cut off the rubber bands with scissors. Hang the pieces to air-dry, then wash them in cold water with detergent and dry them.
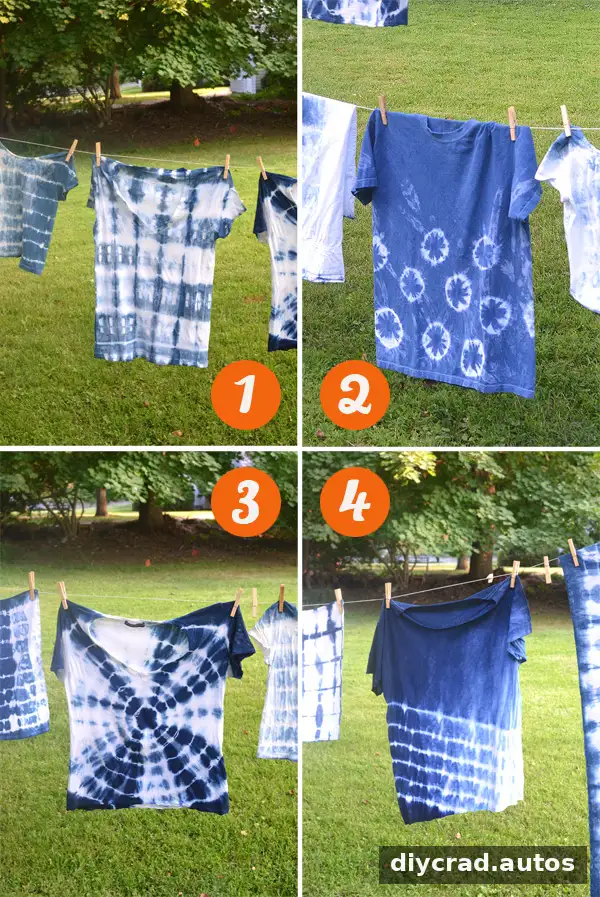
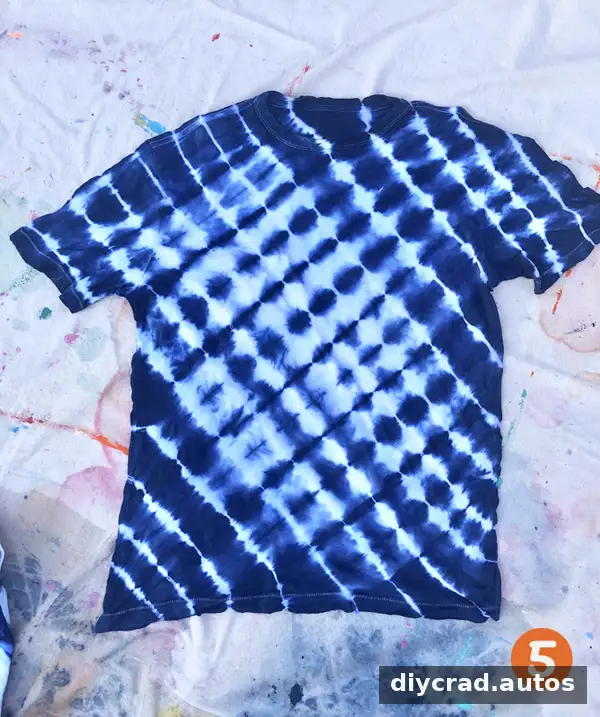
Shibori Folding and Tying Patterns to Try
These approaches use familiar materials and offer different ways to control where the dye reaches the cloth:
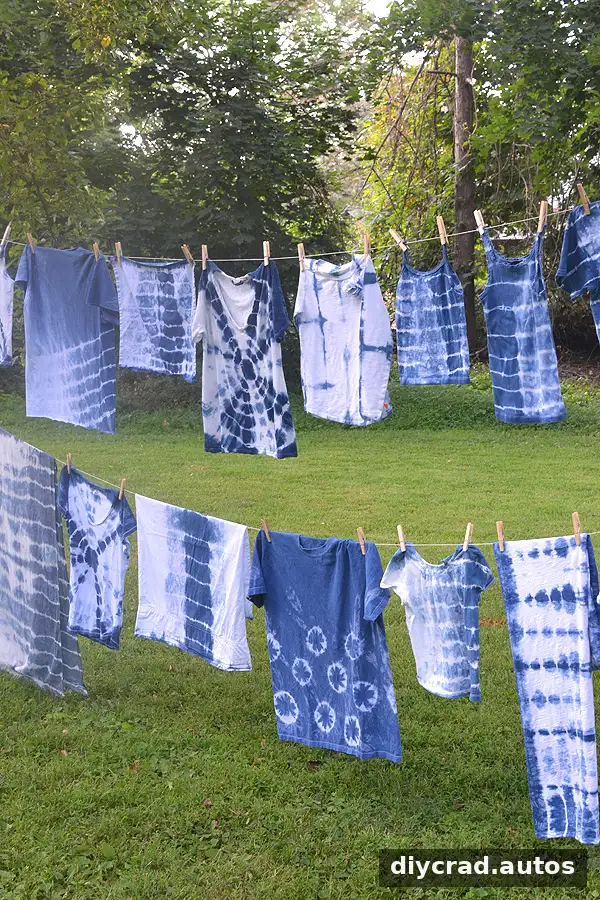
- Accordion fold: Fold the shirt from the bottom upward, then fold it sideways into a small square. Bind the center with rubber bands and add clothespins for extra resist marks.
- Cork pattern: Place corks—cut in half—or marbles against the fabric and secure them with rubber bands to create rounded, burst-like shapes.
- Sunburst: Pinch the fabric at the center, pull it upward and add evenly spaced rubber bands along the gathered section.
- Diagonal roll: Roll the shirt from one corner into a long, snake-like shape and bind the lower half with rubber bands.
- Diagonal accordion fold: Fold the fabric diagonally into a narrow shape, then add rubber bands at even intervals.
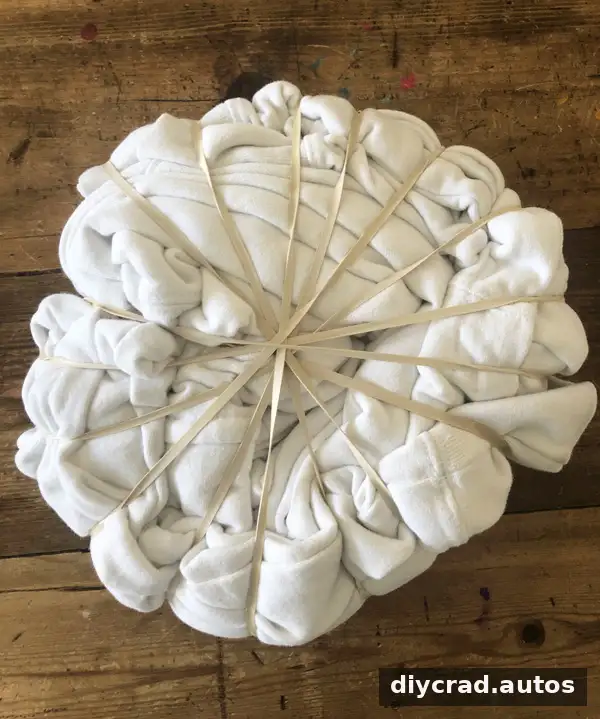
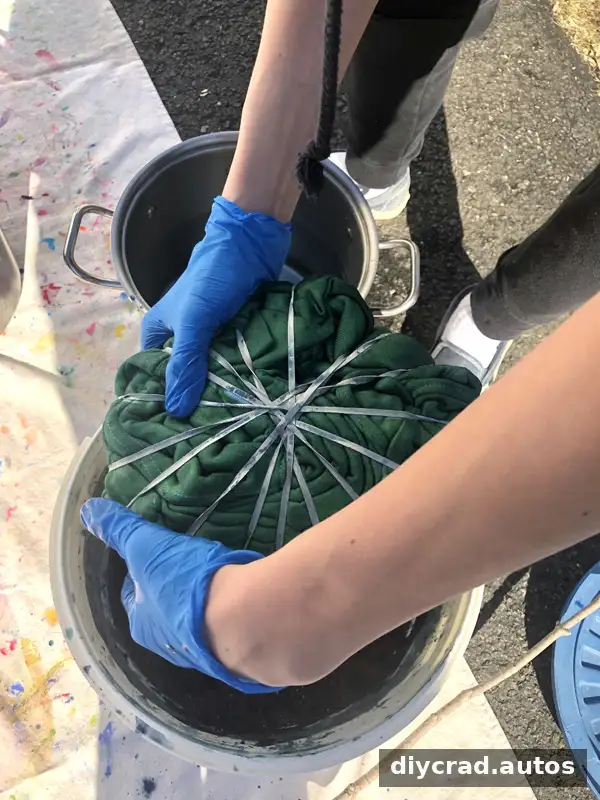
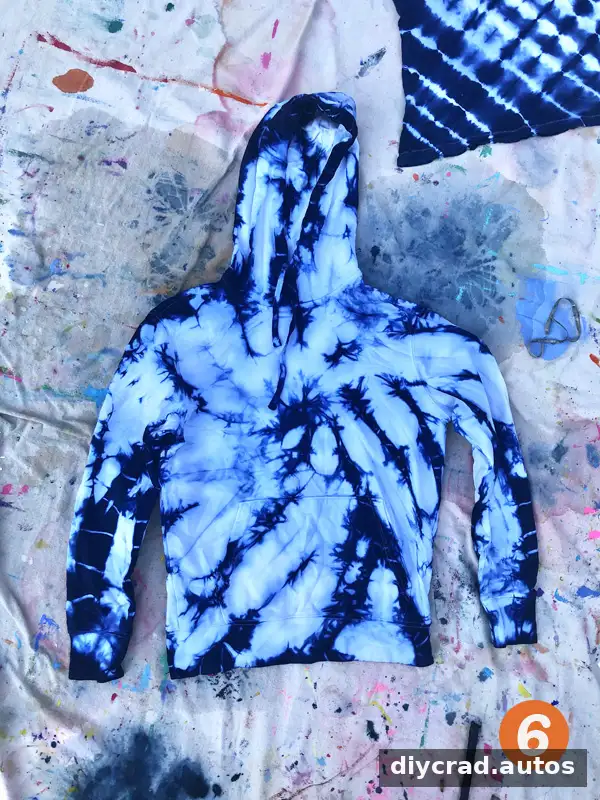
Try a swirl on a hoodie
A traditional tie-dye swirl can also be used with indigo. Pinch the center of a white hoodie, turn the fabric into a spiral and tuck the surrounding material into a compact bundle. Secure it firmly with rubber bands before dyeing. A thick garment may need separate binding on the front and back to create a clearer circle on both sides.
Tips for Stronger, More Even Results
- Consider a second dye dip. For a deeper-looking color, dip the fabric again after squeezing it out and allowing the first layer to turn blue in the air. The color may hold up better in washing.
- Choose accordion folding for more even coverage. With a tightly rolled bundle, the inner fabric may receive little dye. This can create an ombre effect, but accordion folding is a better choice when a more even distribution is desired.
- Plan the visible side of a roll. If rolling the shirt, place the front on the outside of the bundle, where it will receive more dye.
- Bind thick shirts carefully. For a large circular design, tying the front and back separately can help make the circle more visible on both sides. Sleeves can also be gathered with several rubber bands for additional patterning.
Shibori dyeing with kids works best when the setup is simple and there is time for rinsing and drying. Start with an accordion fold, supervise the dye and scissors, and let children compare how each binding method changes the final pattern.