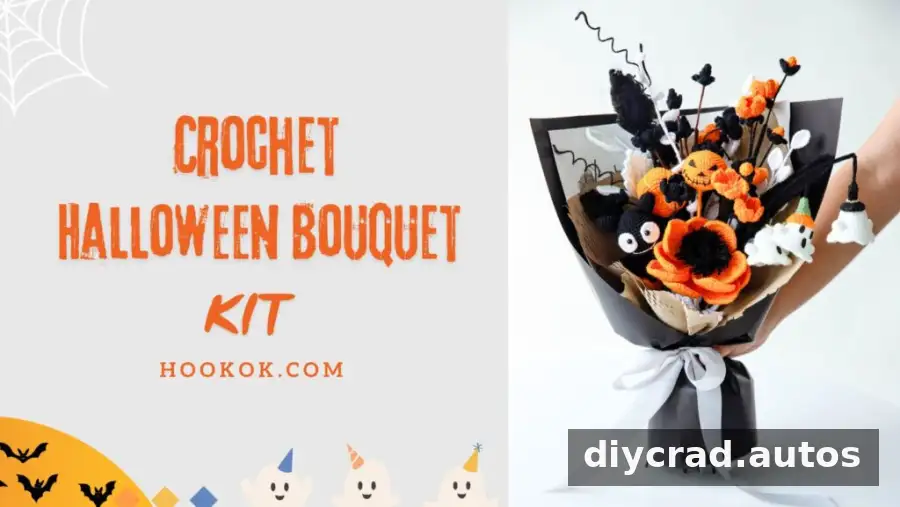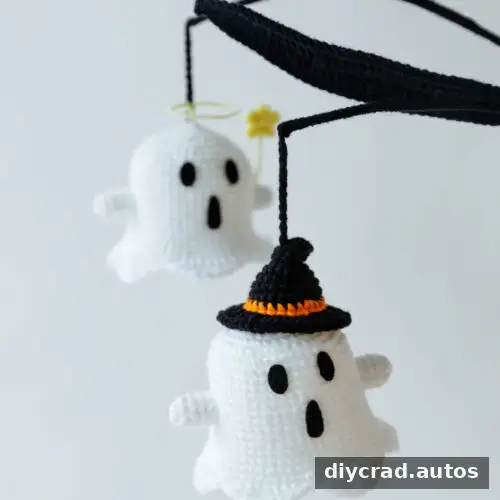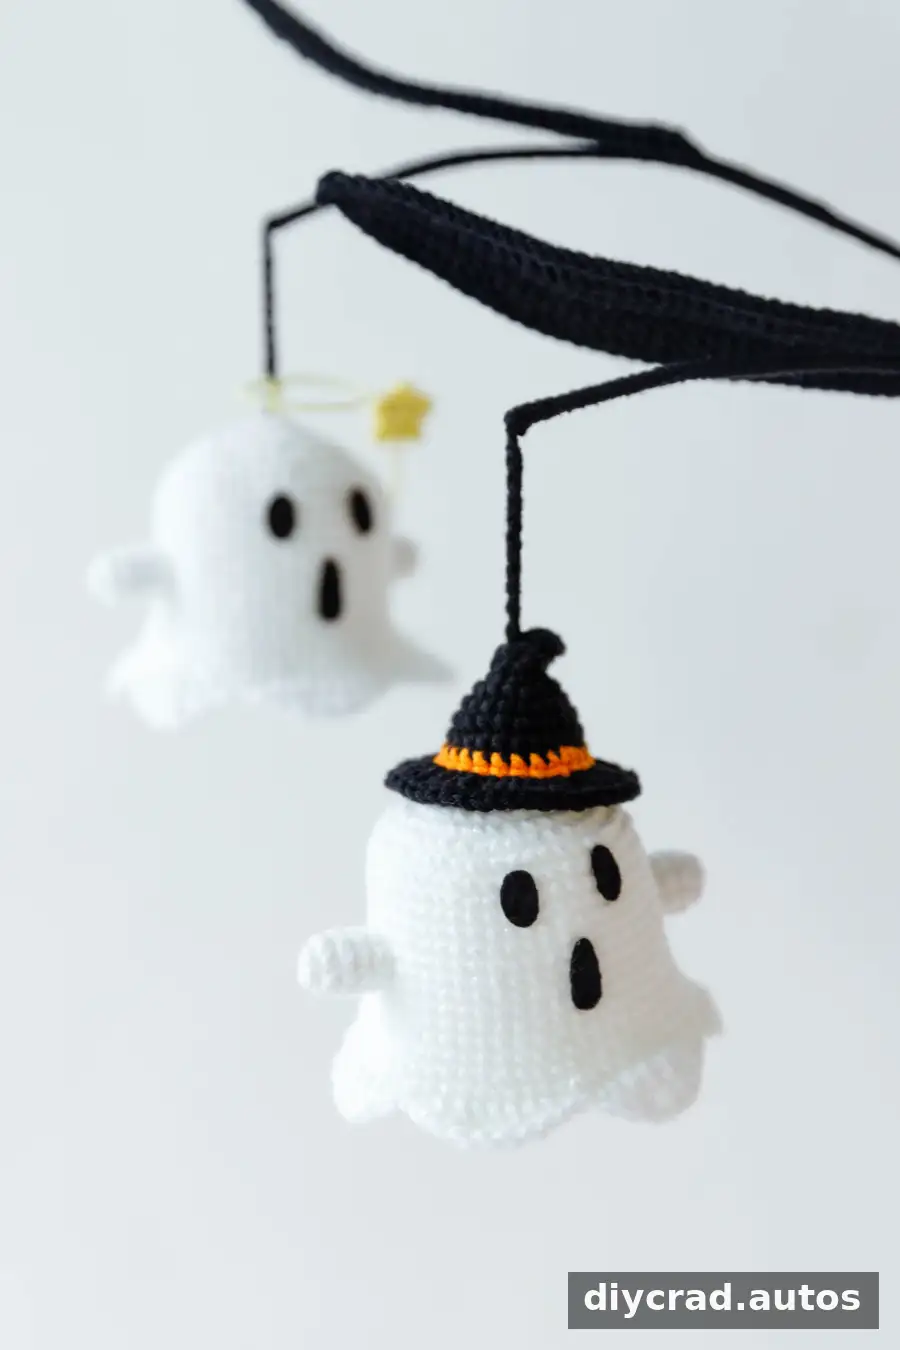
These Crochet Halloween Ghosts make a playful handmade decoration for the fall season. The pattern includes two looks: a ghost wearing a hat and a ghost with a halo and star. Use luminous white yarn for a spooky glow, or choose other colors to suit your Halloween display. The instructions are written in US crochet terms and include the body, accessories, and assembly steps.
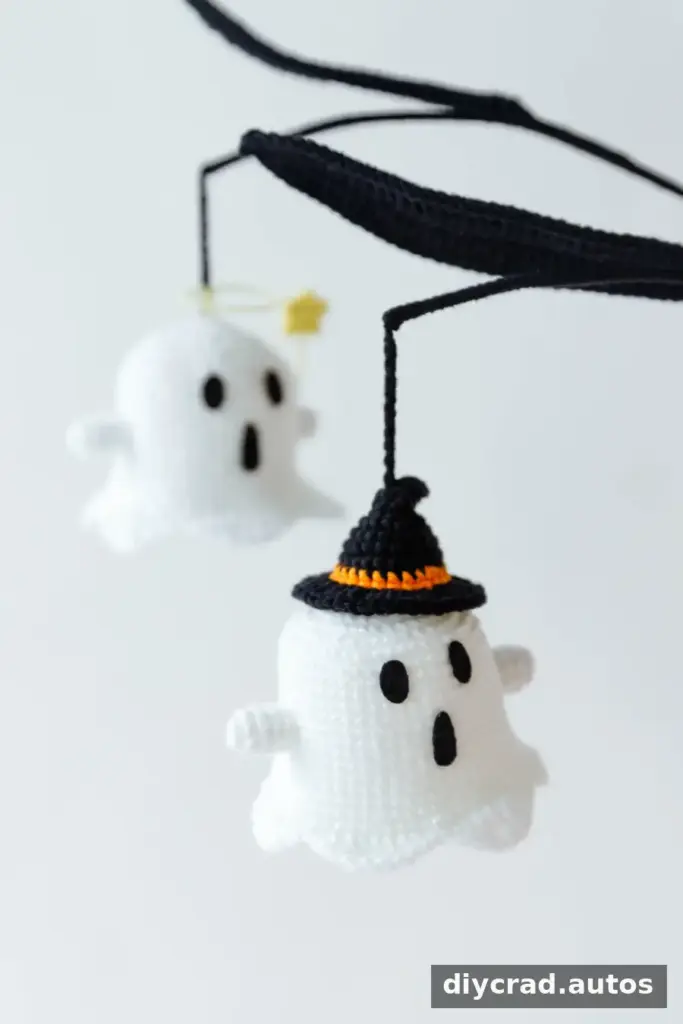
Glow-in-the-dark option: Luminous yarn can give the finished ghosts a green glow in the dark. Check the yarn label for its care and charging instructions, and test a small sample if you are combining different yarn types.
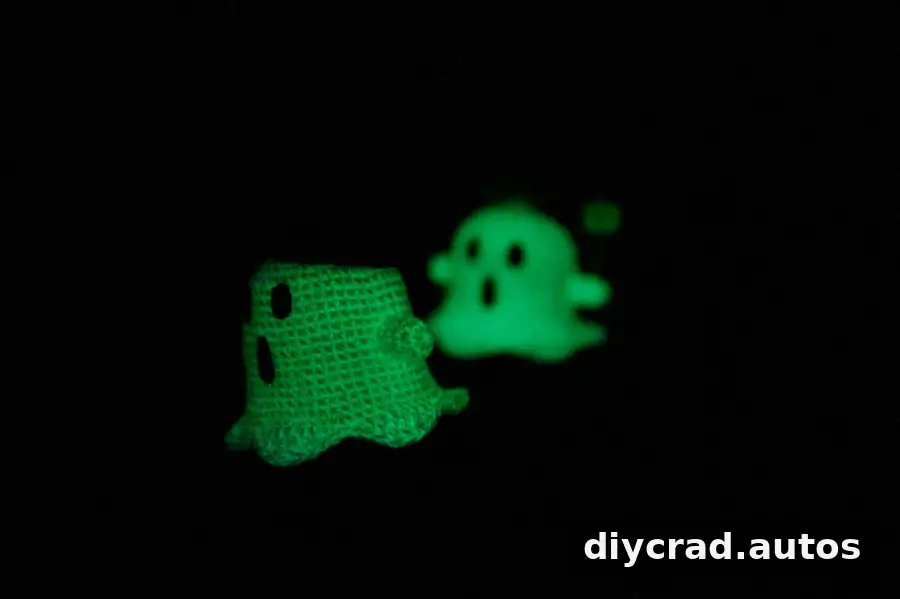
About This Crochet Halloween Ghosts Pattern
Make one or both designs, then use them as seasonal decorations or handmade gifts. The pattern is rated medium difficulty, so it is helpful to be comfortable working in rounds and following stitch counts. A stitch marker can make it easier to identify the beginning of each round.
For more seasonal crochet inspiration, related projects include a Halloween bat, pumpkin, devil pumpkin, and mini ghost.
Color and Yarn Choices
The sample uses luminous white for the ghost, black and orange for the hat, and yellow for the star. You can change the accessory colors to match your decorations or use different yarn textures for a varied look. Keep in mind that changing yarn weight can affect the finished size, so use the same hook and yarn consistently if you want the pieces to fit together as intended.
Materials for Crochet Halloween Ghosts
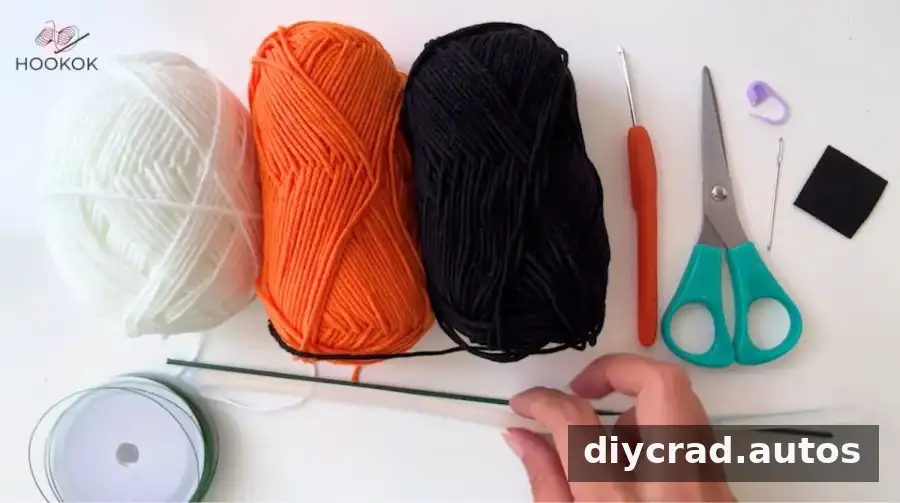
- Luminous white yarn, black yarn, orange yarn, and yellow yarn for the star
- 2 mm crochet hook
- Darning needle
- Scissors
- Stitch marker
- Non-woven fabric for the eyes and mouth
- Flower rod
- Iron wire
- Hot-melt glue
Use care when cutting wire and applying hot-melt glue. Keep glue and sharp wire ends away from children, and allow glued parts to cool fully before handling.
Stitches and Abbreviations
- ch: chain
- sc: single crochet
- hdc: half double crochet
- dc: double crochet
- tr: treble crochet
- ss: slip stitch
- picot st: picot stitch
- R1, R2, R3, and so on: rounds 1, 2, 3, and so on
Special Stitch
- 1 ch + picot st: Make one chain, then slip stitch back into the same stitch to form and secure a small loop.
Pattern Notes
- The pattern uses US crochet terminology.
- Follow the stated stitch counts and repeats as you work.
- Place a stitch marker at the start of each round to help track your progress.
- Italicized notes in the pattern indicate additional guidance.
Step-by-Step Crochet Halloween Ghosts Pattern
Ghost Body
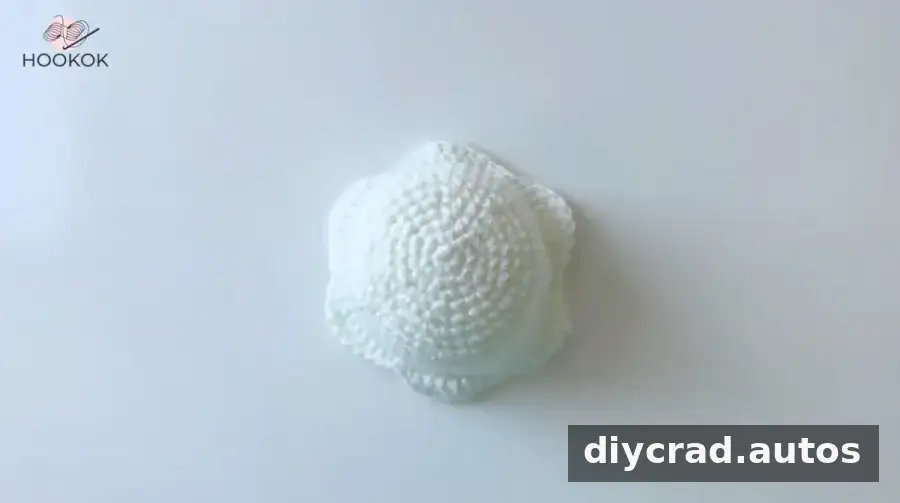
- R1: Start with a magic ring and work 6 sc into the ring. Work 1 ss and 1 ch.
- R2: Work 2 sc in the next stitch; repeat 6 times. Work 1 ss and 1 ch.
- R3: Work 1 sc, then 2 sc in the next stitch; repeat 6 times. Work 1 ss and 1 ch.
- R4: Work 2 sc, then 2 sc in the next stitch; repeat 6 times. Work 1 ss and 1 ch.
- R5: Work 3 sc, then 2 sc in the next stitch; repeat 6 times. Work 1 ss and 1 ch.
- R6: Work 4 sc, then 2 sc in the next stitch; repeat 6 times. Work 1 ss and 1 ch.
- R7: Work 5 sc, then 2 sc in the next stitch; repeat 6 times. Work 1 ss and 1 ch.
- R8: Work 6 sc, then 2 sc in the next stitch; repeat 6 times. Work 1 ss and 1 ch.
- R9–R18: Work 48 sc in each round. Work 1 ss and 1 ch.
- R19: Work 7 sc, then 2 sc in the next stitch; repeat 6 times. Work 1 ss and 1 ch.
- R20: Work 54 sc. Work 1 ss and 1 ch.
- R21: Work 8 sc, then 2 sc in the next stitch; repeat 6 times. Work 1 ss and 1 ch.
- R22: Work 9 sc, then 2 sc in the next stitch; repeat 6 times. Work 1 ss and 1 ch.
- R23: Work 1 sc, 1 hdc, 1 dc, 3 tr, 1 dc, 1 hdc, 1 sc, and 2 ss; repeat 6 times. Cut the yarn and weave in the end.
Hat
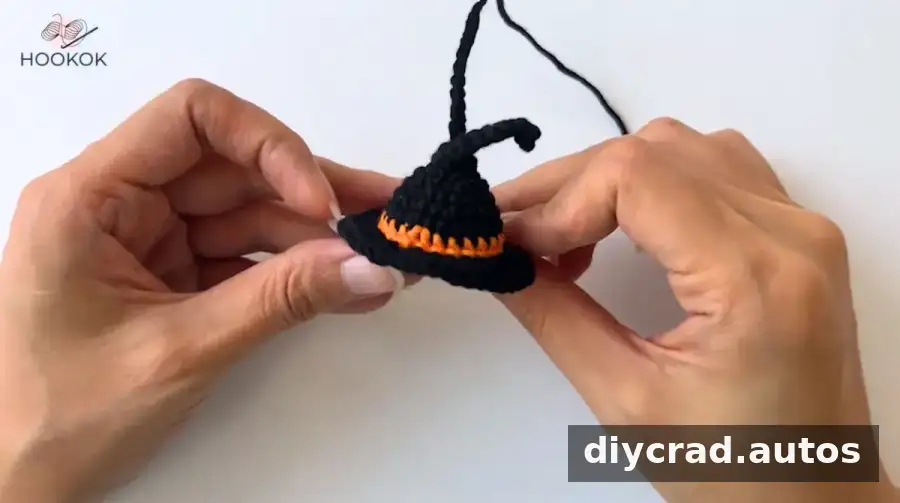
- R1: With black yarn, make a foundation chain of 9 ch. Starting in the second stitch from the hook, work 7 sc, then work 6 sc in the last stitch and 1 ss in the 6th stitch. Work 1 ch.
- R2: Work 6 sc in the round. Work 1 ss and 1 ch.
- R3: Work 2 sc in the next stitch; repeat 6 times. Work 1 ss and 1 ch.
- R4: Work 1 sc, then 2 sc in the next stitch; repeat 6 times. Work 1 ss and 1 ch.
- R5: Work 18 sc. Work 1 ss and 1 ch.
- R6: Work 2 sc, then 2 sc in the next stitch; repeat 6 times. Work 1 ss and 1 ch.
- R7: Work 24 sc. Work 1 ss and 1 ch.
- R8: Change to orange yarn and work 24 sc. Work 1 ss and 1 ch.
- R9: Work 24 sc. Work 1 ss.
- R10: Change to black yarn and make 3 ch. Work 2 dc in the next stitch; repeat 24 times. Cut the yarn and weave in the end.
- Hanging loop: Make 2 ch. Starting in the second chain from the hook, work 4 sc into the same stitch, then 1 ss. Make 12 ch, cut the yarn, and leave a tail. Pass the loop through the center of the hat.
Hands
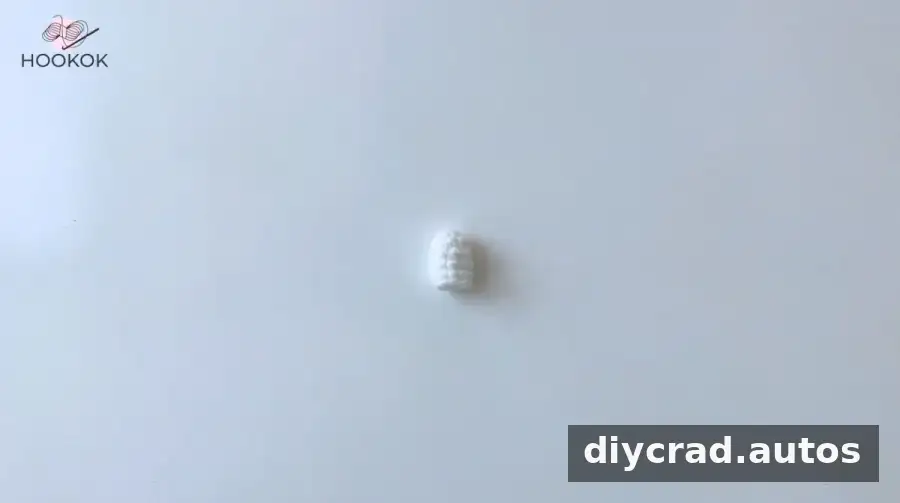
- R1: Start with a magic ring and work 6 sc into it. Work 1 ss and 1 ch.
- R2: Work 1 sc, then 2 sc in the next stitch; repeat 3 times. Work 1 ss and 1 ch.
- R3–R5: Work 9 sc in each round. Work 1 ss and 1 ch. Cut the yarn and weave in the end.
Leaf
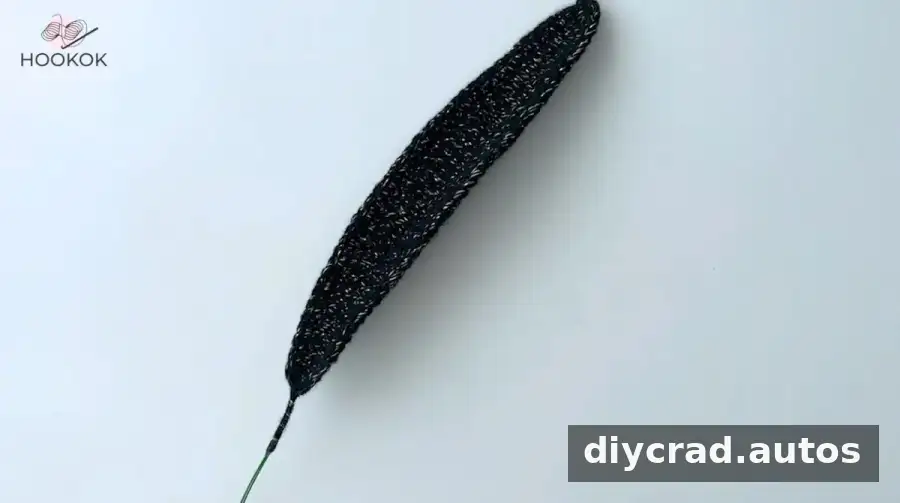
- R1: With black yarn, make a foundation chain of 41 ch. Starting in the second stitch from the hook, work 3 sc, 4 hdc, 5 dc, 17 tr, 4 dc, 4 hdc, and 2 sc. In the same stitch, work 1 ss, 2 ch, and 1 ss. Then work 2 sc, 4 hdc, 4 dc, 17 tr, 5 dc, 4 hdc, and 3 sc. Work 1 ss and 1 ch.
- R2: Add wire and work 40 sc. In the same stitch, work 1 sc, 1 dc, 1 ch plus a picot stitch, and 1 sc. Work 40 sc, then wrap the yarn tail around the wire.
Halo
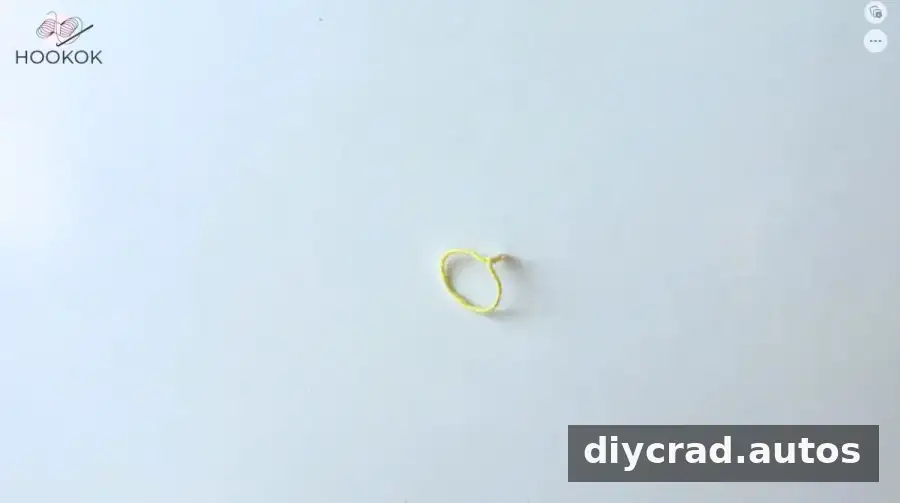
- Wrap a piece of wire with yellow yarn. Bend it into a loop and tighten it to form the halo.
Star
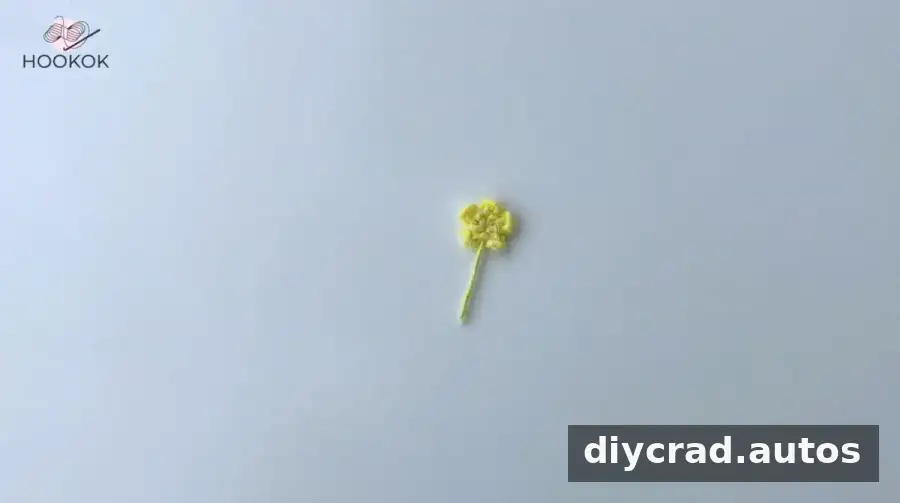
- R1: Start with a magic ring and add wire. In the same stitch, make 3 ch, work 1 sc starting in the third chain from the hook, then work 1 ss in the next stitch. Repeat 5 times. Cut the yarn and tighten the loop, weave in the end, and wrap the yarn tail around the wire.
How to Assemble the Hat-Wearing Ghost
Before gluing the pieces, arrange them in place to check the expression and positioning. This makes it easier to keep the face and accessories balanced.
Step 1: Cut the non-woven fabric into eye and mouth shapes. Use hot-melt glue to attach them to the ghost’s face.
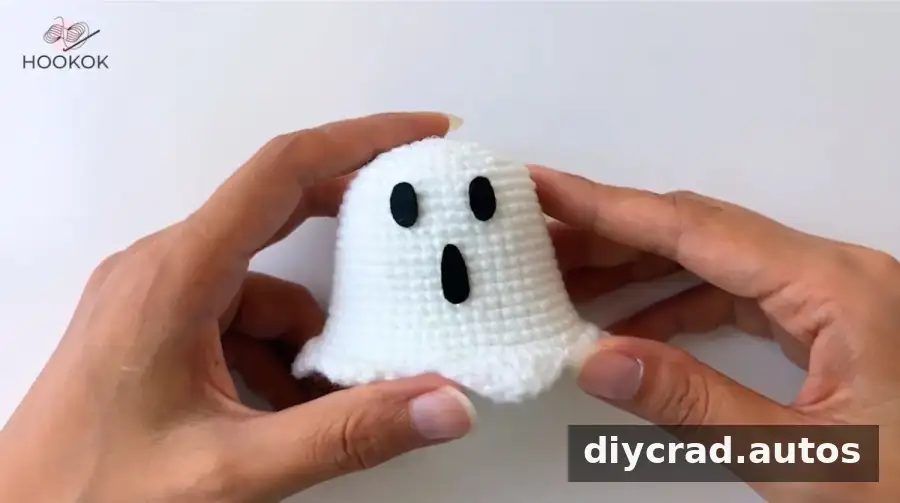
Step 2: Attach one hand to each side of the body with hot-melt glue. Position them at a suitable height before securing them.
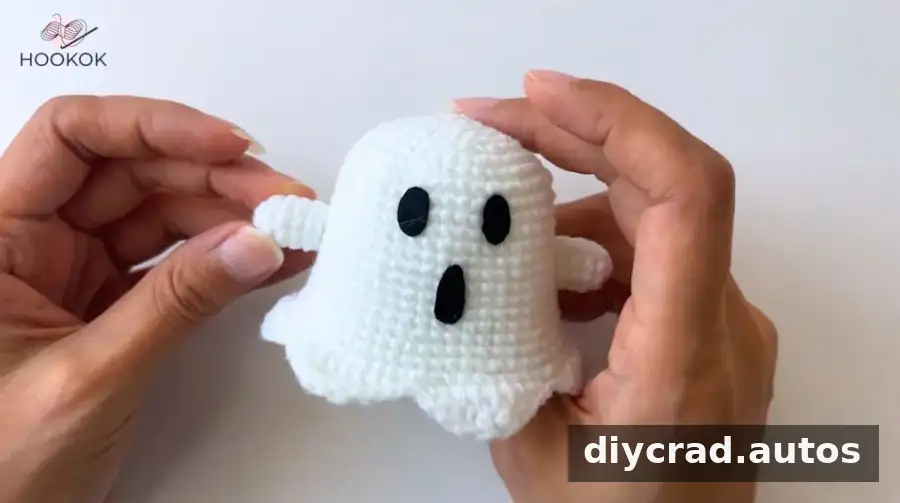
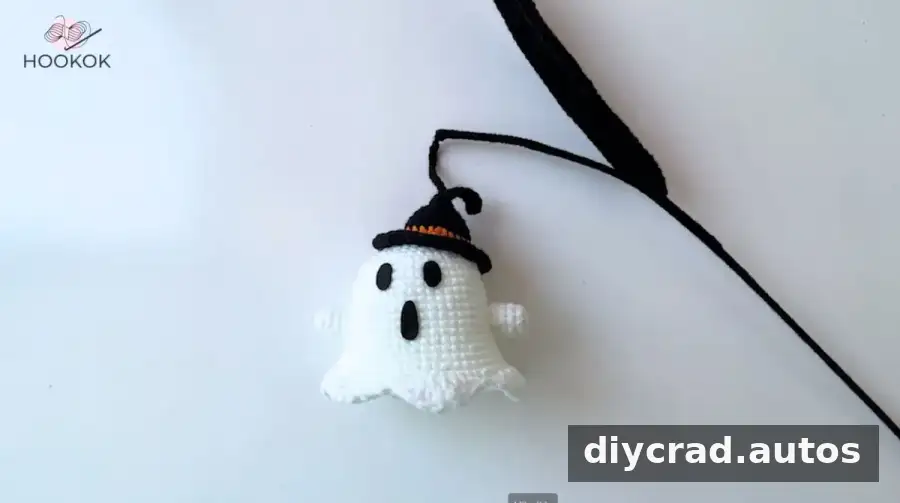
Step 3: Place the hat on top of the ghost’s head, slightly to the left, and glue it securely.
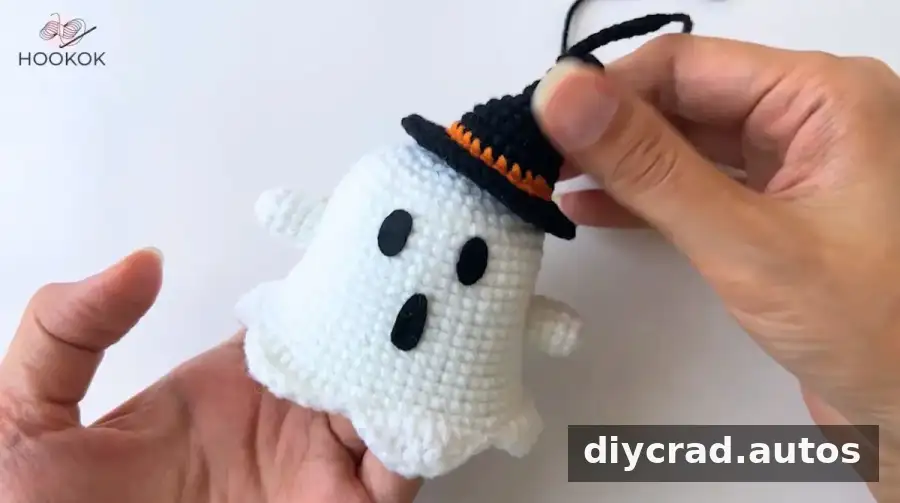
Step 4: Connect a flower rod to the yarn on the hat.
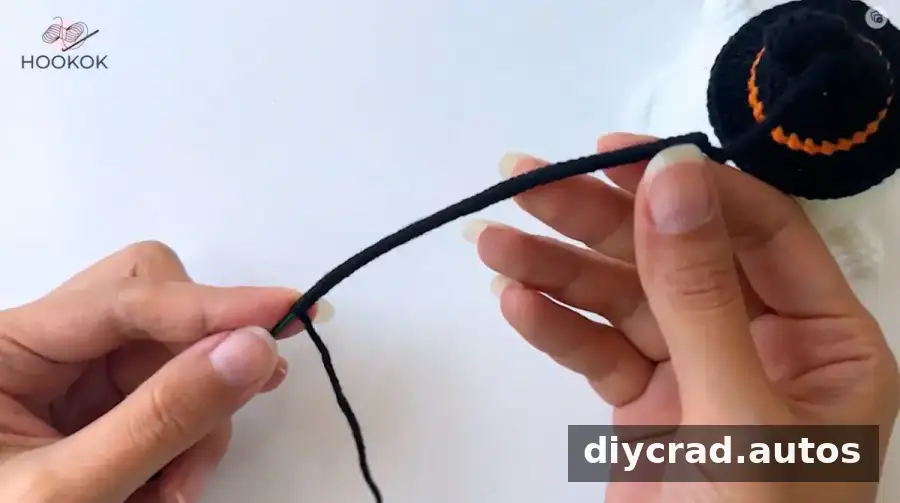
Wrap the flower rod with black yarn together with the crocheted leaf. Secure the end with hot-melt glue.
How to Assemble the Ghost with a Halo and Star
Step 1: Position the halo in the middle of the ghost’s head and secure it with hot-melt glue. Pass the hanging loop through the middle of the head and glue it in place.
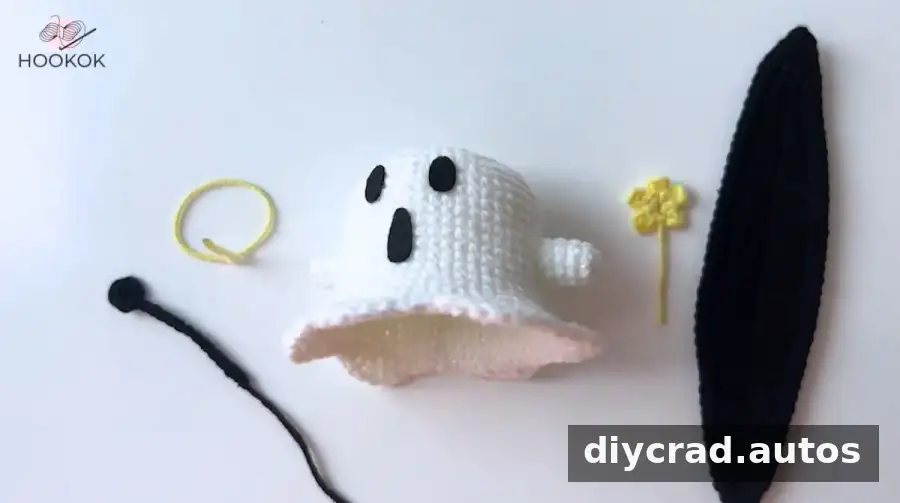
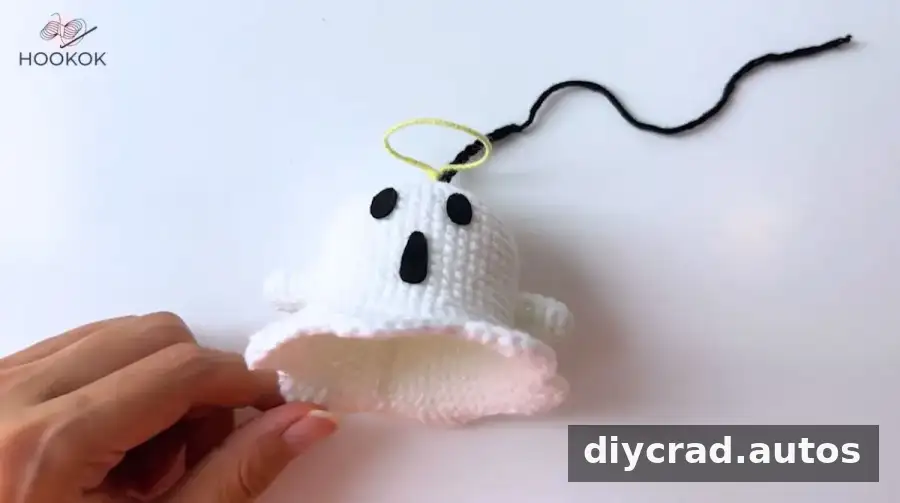
Step 2: Place the star in the ghost’s hand and secure it.
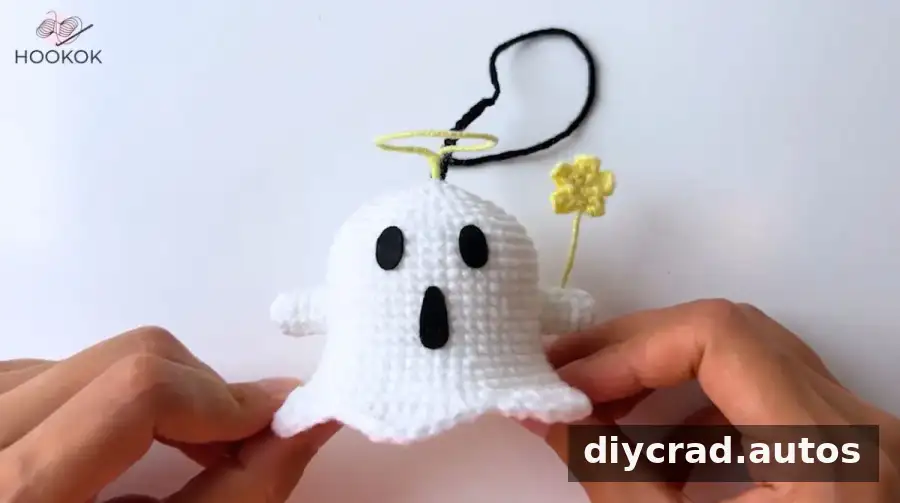
Step 3: Take the flower stem and wrap the flower rod with black yarn together with the crocheted leaf. Secure the yarn as needed.
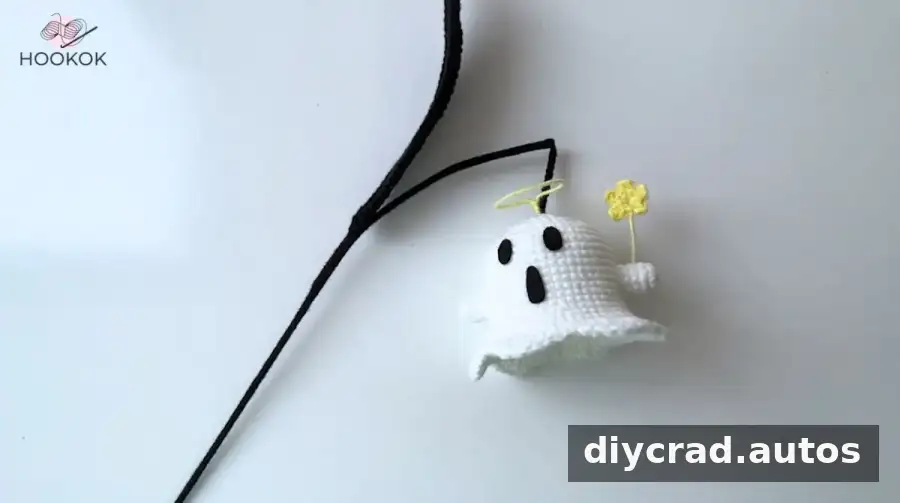
A video can provide a closer view of the crochet and assembly steps.
Finishing Tips
- Use a stitch marker to keep track of round beginnings and avoid losing your place.
- Weave in yarn ends neatly before attaching small accessories.
- Check that the wire ends are covered and secured so they do not protrude from the finished decoration.
- If using luminous yarn, follow its care instructions and keep the finished piece dry unless the yarn label says otherwise.
Conclusion
These Crochet Halloween Ghosts offer two ways to add handmade character to seasonal decorations: a tiny hat for a spooky look or a halo and star for a softer design. Follow the stitch counts carefully, secure each accessory, and choose yarn colors that suit your project. With the materials prepared and the steps completed in order, your Crochet Halloween Ghosts will be ready to display for Halloween.