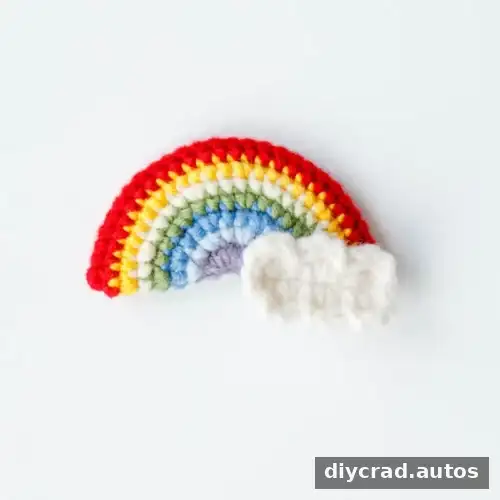
This crochet rainbow pattern makes a small, colorful rainbow with seven yarn colors and a white cloud accent. It is designed for beginners and uses basic stitches, making it a quick project that can be completed in about 20 minutes. Use the finished piece as a cheerful accessory or a decorative detail for another handmade item.
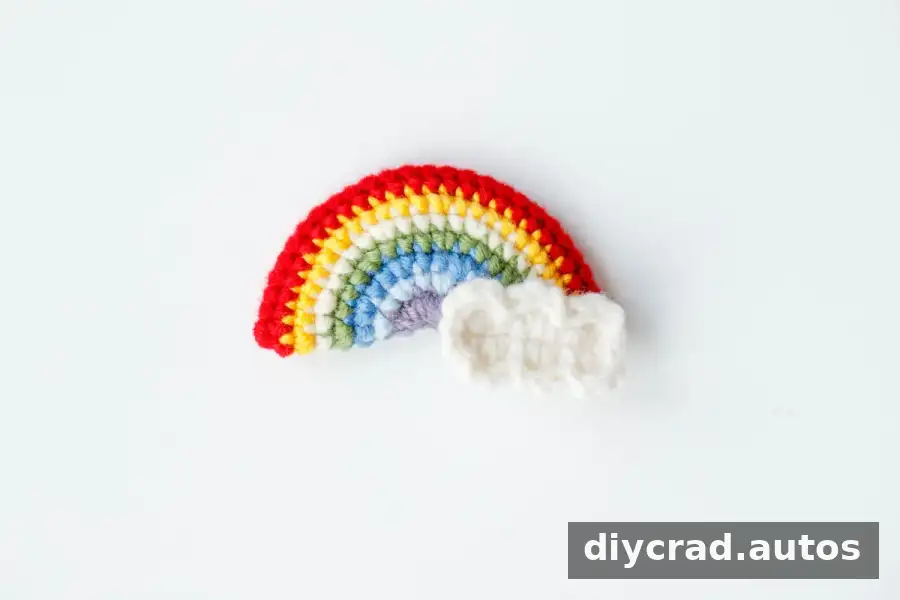
Ways to Use Your Crochet Rainbow
The finished rainbow can be turned into a hairpin, brooch, key ring, or bookmark. It can also decorate clothing, bags, hats, and other crochet projects. Before attaching it to an item, consider how it will be used: a securely sewn attachment may be more suitable than adhesive for pieces that will be handled or washed regularly.
Crochet Rainbow Pattern Notes
- The pattern uses US crochet terminology.
- A video tutorial is available for additional visual guidance.
- The stitch totals in brackets are the expected counts at the end of the relevant rounds.
Keep a stitch marker handy to help track the beginning of a round, especially while working the increases. When changing colors, leave enough yarn to weave in the ends neatly.
Materials for the Crochet Rainbow
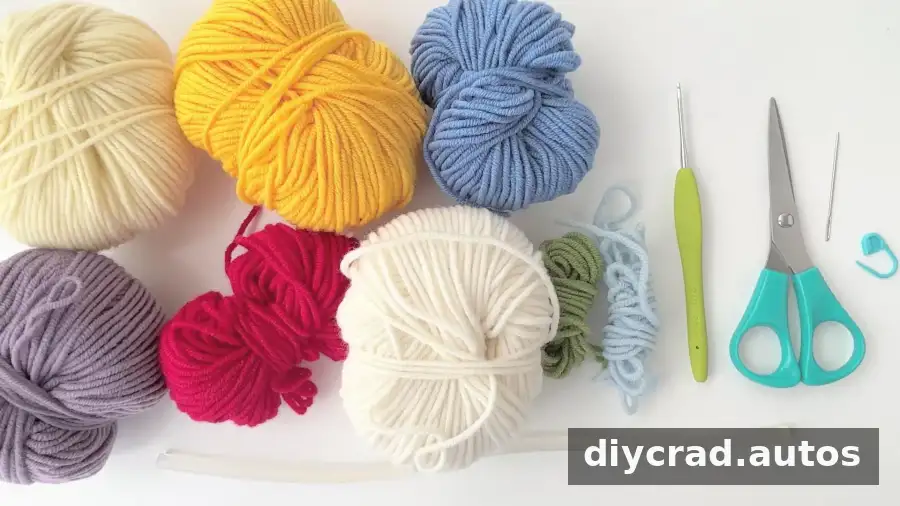
- Yarn in red, yellow, white, green, blue, light blue, and purple
- 2.0 mm crochet hook
- Scissors
- Darning needle
- Stitch marker
- Hot melt adhesive
Choose yarns of a similar weight so the rainbow’s bands are consistent. The pattern specifies a 2.0 mm hook; check your stitches as you work, since yarn thickness and personal tension can affect the finished size.
Stitches and Abbreviations
- ss: slip stitch
- ch: chain stitch
- sc: single crochet
- dc: double crochet
- st: stitch
- R: round
In an instruction such as 2 sc in the next stitch, work two single crochets into the same stitch. This creates an increase. The pattern is written in US terms, so use the abbreviations listed here when following the rounds.
Step-by-Step Crochet Rainbow Pattern
Rainbow
Work the rainbow in rounds, changing yarn colors as indicated. Start with purple and continue through the colors in the order below.
R1: With purple yarn, make a magic ring and work 16 sc into it. [16]
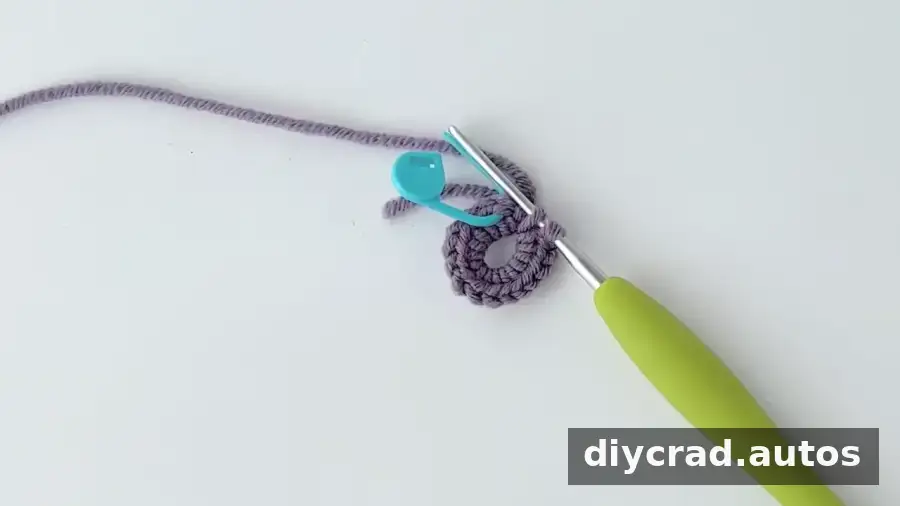
R2: Change to light blue yarn and make 1 ss. Repeat (1 sc, 2 sc in the next st) 8 times. [24]
R3: Change to blue yarn and make 1 ss. Repeat (2 sc, 2 sc in the next st) 8 times. [32]
R4: Change to green yarn and make 1 ss. Repeat (3 sc, 2 sc in the next st) 8 times. [40]
R5: Change to white yarn and make 1 ss. Repeat (4 sc, 2 sc in the next st) 8 times. [48]
R6: Change to yellow yarn and make 1 ss. Repeat (5 sc, 2 sc in the next st) 8 times. [56]
R7: Change to red yarn and make 1 ss. Work sc around. [56]
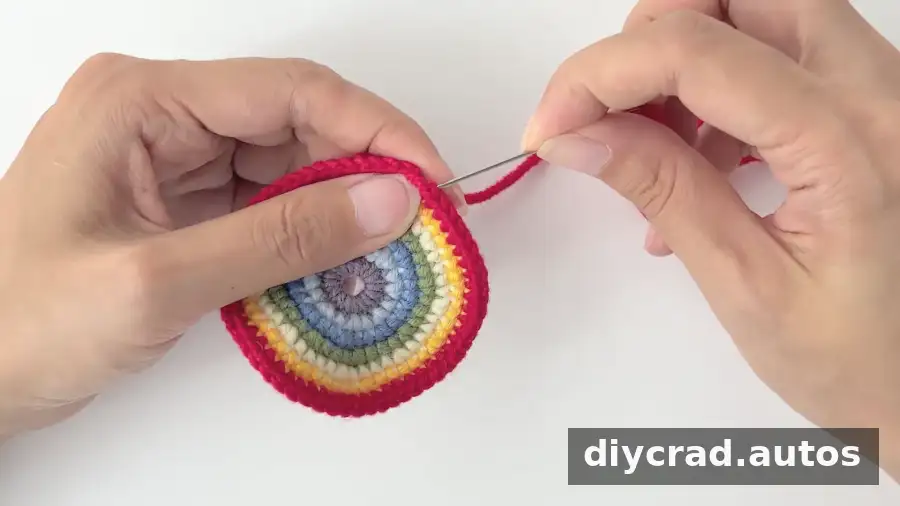
Fold the rainbow in half. Use the darning needle to weave in the extra yarn, then trim the ends. Take care not to cut too close to the stitches.
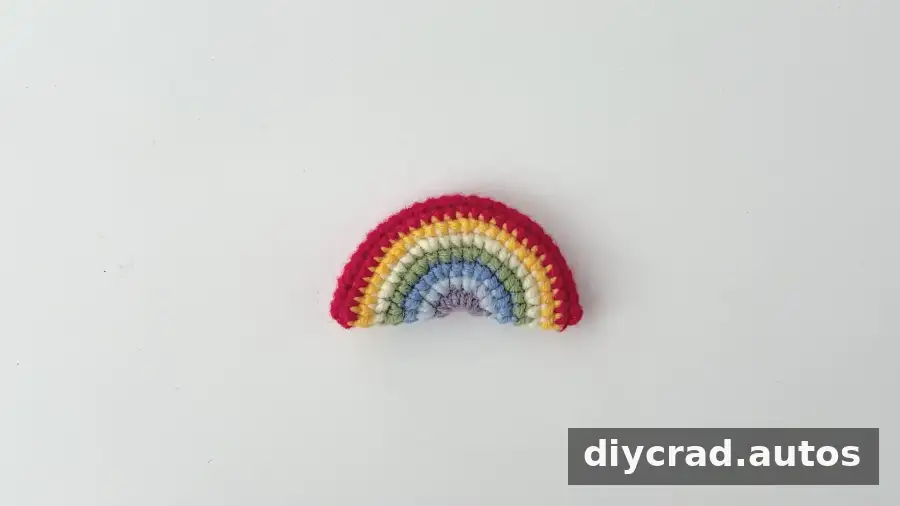
White Cloud
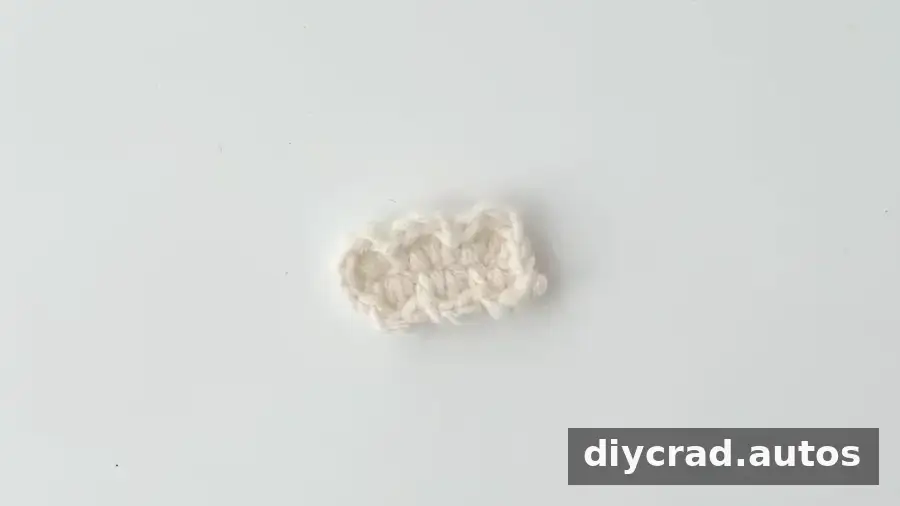
With white yarn, make a foundation chain of 8 ch.
R1: Starting in the second st from the hook, work (1 sc, 3 dc in the next st) 3 times, 2 sc in one st, then (1 sc, 3 dc in the next st) 3 times. Finish with 1 ss. [26]
Assemble the Rainbow and Cloud
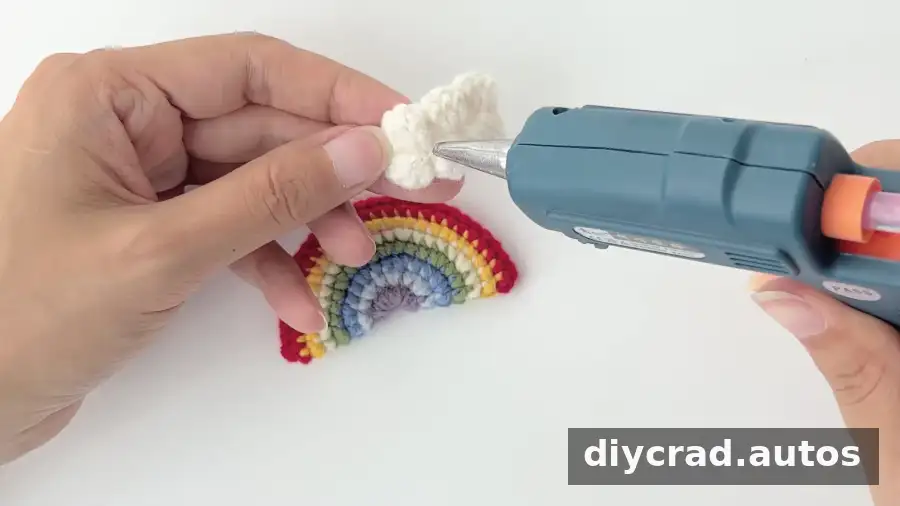
Use hot melt adhesive to attach the cloud to the rainbow. Follow the adhesive manufacturer’s safety instructions, protect your work surface, and allow the adhesive to cool and set before handling the finished piece. If you prefer, secure the pieces with yarn and a darning needle instead.
Finishing Tips
You can change the yarn colors to coordinate with a particular outfit, bag, or room decoration. Keep the same stitch sequence and color-change points if you want to preserve the pattern’s shape. For a neat finish, check that all yarn ends are secured before adding the rainbow to a key ring, hairpin, or other accessory.
This crochet rainbow pattern combines simple rounds with a small cloud detail to create a versatile handmade decoration. Follow the stitch counts as you work, use the video tutorial if you need visual support, and choose a secure finishing method suited to how you plan to use your project.