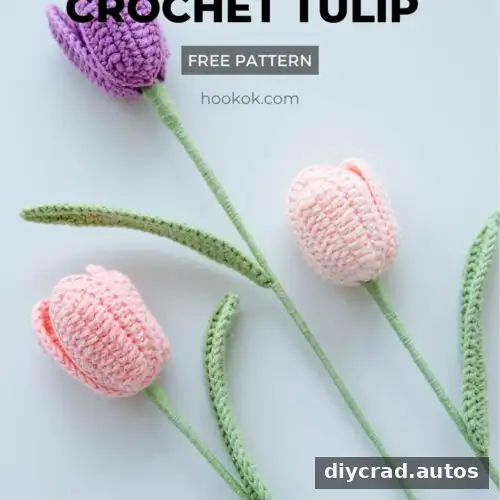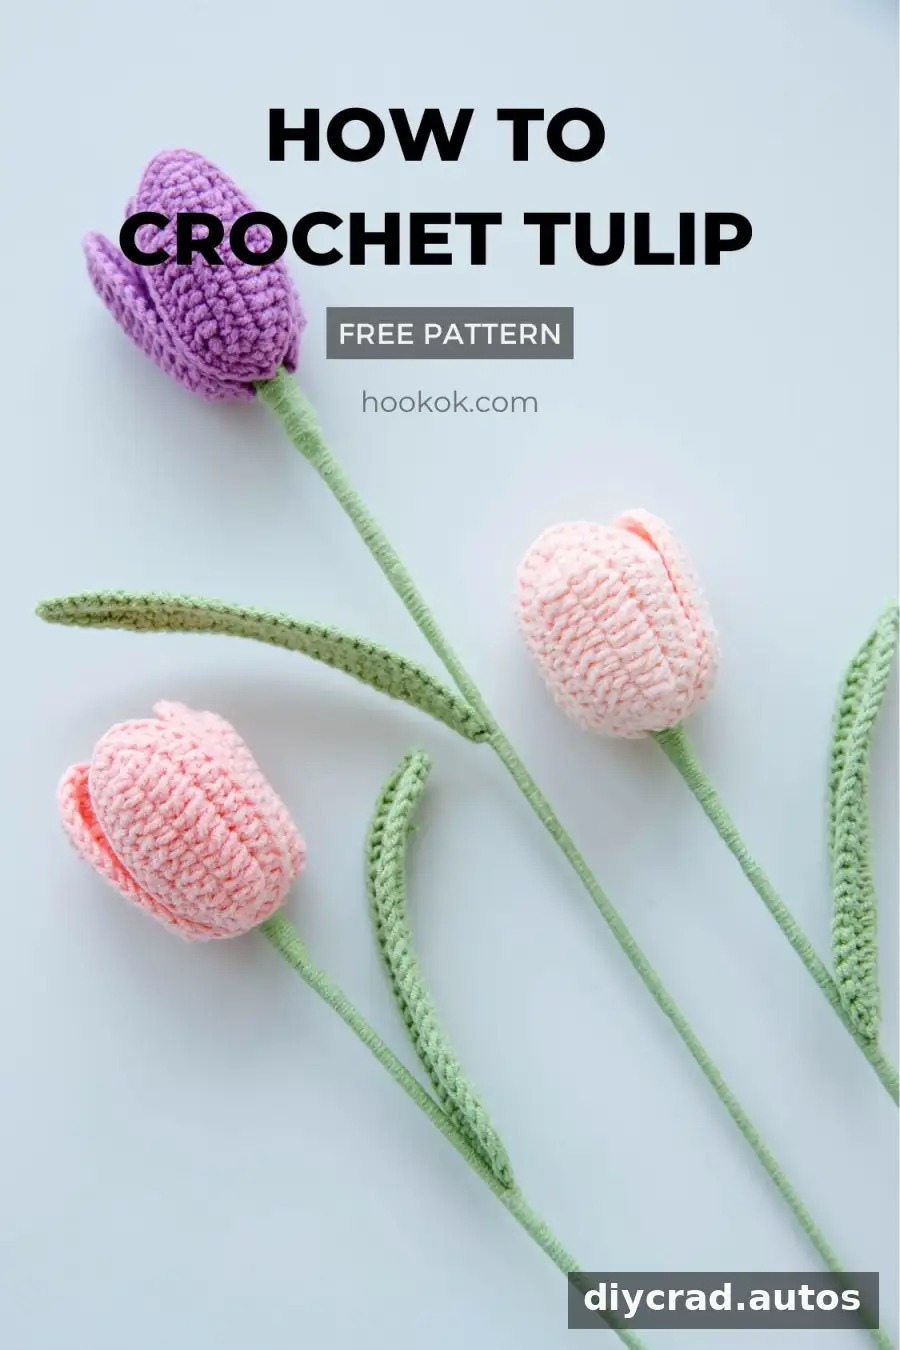
This crochet tulip pattern explains how to make a three-dimensional flower with six petals, a leaf and a yarn-wrapped stamen. The petals are crocheted in two sizes and shaped around wire, so you can arrange the finished flower with its petals open or closer together. Make one tulip or create several to form a handmade bouquet.

How the crochet tulip pattern is made
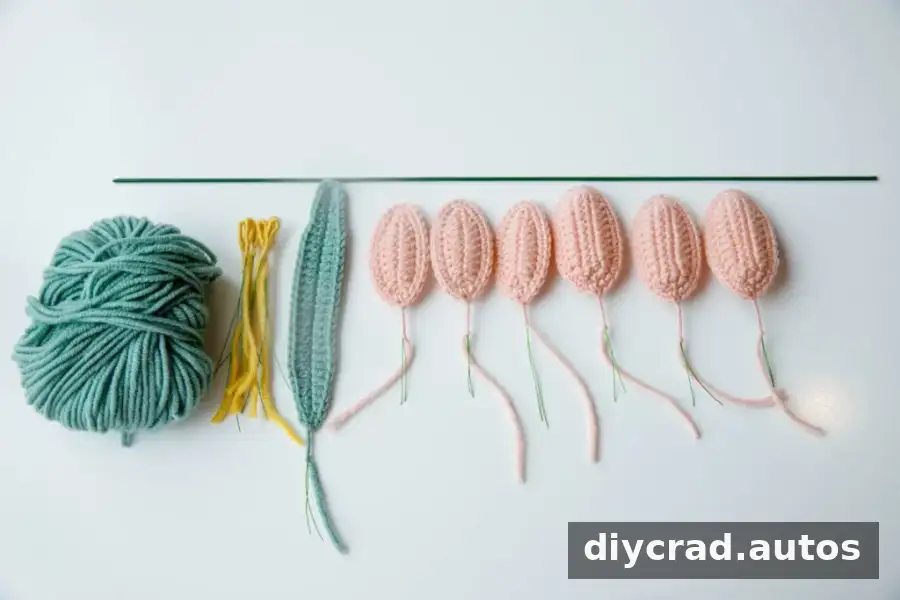
The flower is built from separate crocheted pieces: three small petals, three large petals and a leaf. Six stamens are made by wrapping yarn around pieces of iron wire. Once the pieces are ready, sew the petals together around the stamen and attach the flower to a rod.
Practical tip: Make all three petals of each size before assembling the flower. This makes it easier to keep the pieces consistent and check that you have the complete set.
Ideas for using a crochet tulip
A crocheted tulip can be used as a handmade gift for Mother’s Day, a celebration or someone who could use a thoughtful get-well present. Group several finished flowers into a bouquet, or combine them with other crocheted flowers, such as daisies, lavender, roses or sunflowers.

Tulip bouquet

Crochet tulip bouquet
Materials and tools
- Yarn in pink, yellow and green; lace- or fingering-weight yarn is listed in the pattern summary. The summary also mentions using any four colors, so choose a palette that suits your project.
- 2 mm or 2.5 mm crochet hook
- Flower rod: 40 cm long and 2 mm in diameter (16 inches long and approximately 0.08 inches in diameter)
- Iron wire: 15 cm long and 0.4 mm in diameter (6 inches long and 0.02 inches in diameter)
- Stitch marker, scissors and hot-melt adhesive
Use care when handling wire and hot adhesive. Keep wire ends controlled while crocheting and assembling the flower.
Abbreviations
- sc: single crochet
- hdc: half double crochet
- dc: double crochet
- ss: slip stitch
- ch: chain
- st: stitch
Crochet tulip pattern instructions
Work around both sides of the foundation chain where the instructions say to continue on the other side. The pattern uses “R” for each round or row of instructions.
Small petals: make 3
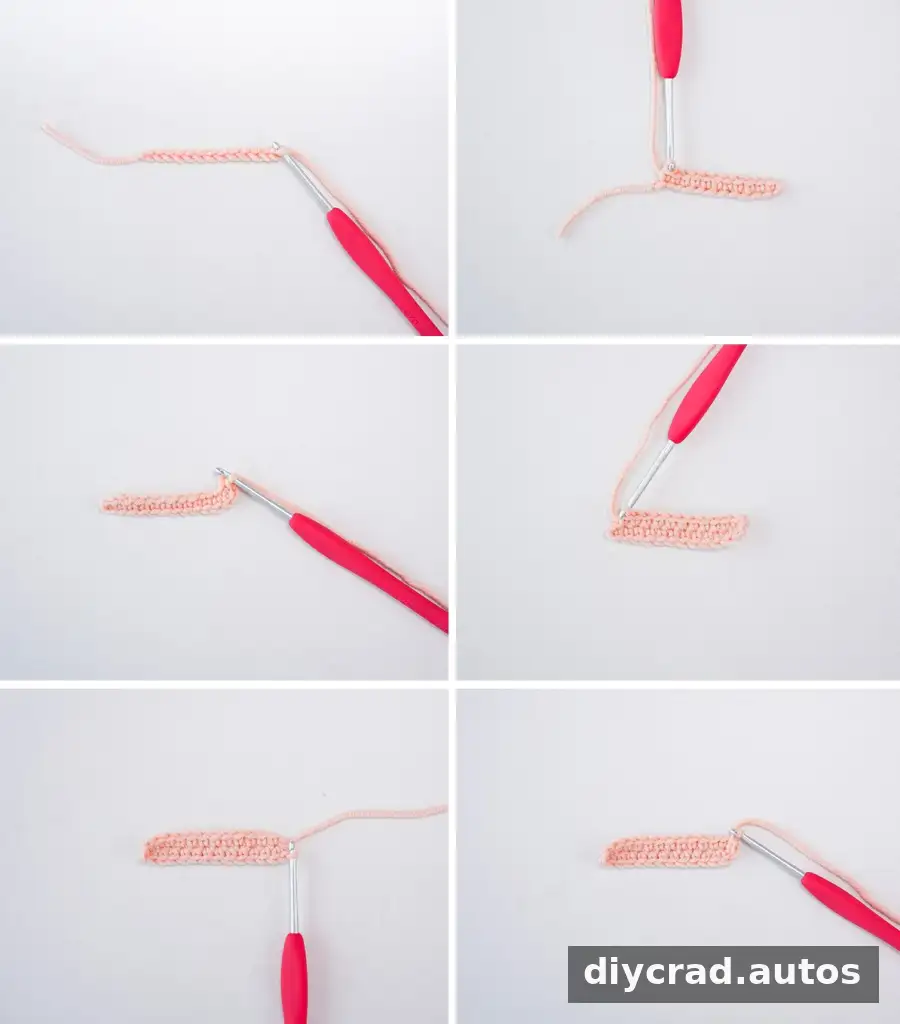
- Make a foundation chain of 13 stitches.
- R1: Starting in the second chain from the hook, work 1 sc, 1 hdc, 7 dc, 1 hdc and 1 sc. Work 3 sc in the last stitch. On the other side of the chain, work 1 sc, 1 hdc, 7 dc, 1 hdc and 1 sc; finish with 1 ss and 1 ch.
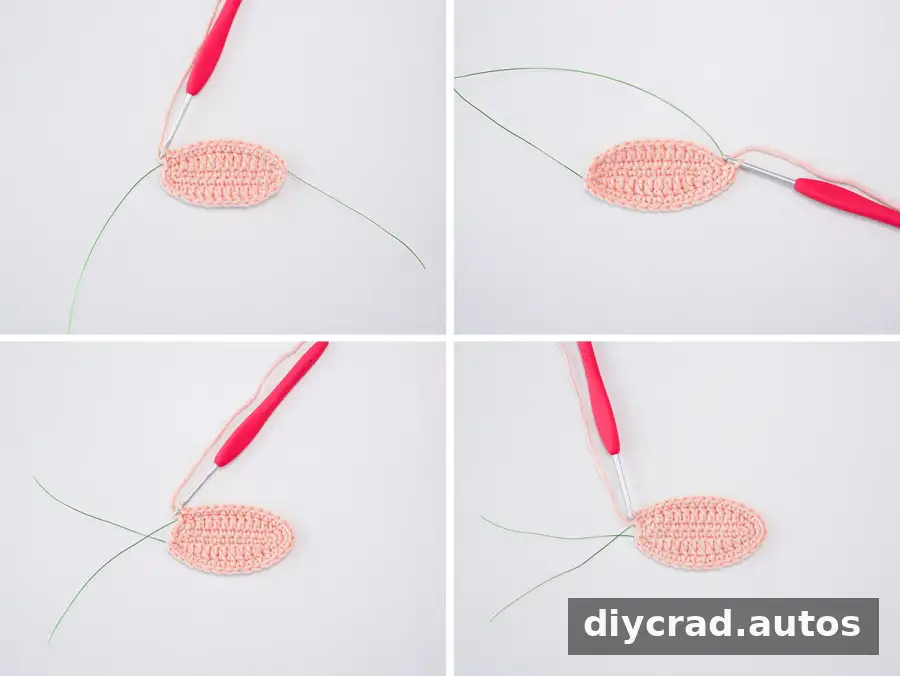
- R2: Add the iron wire and crochet over it. Work 12 sc, then 3 sc in the last stitch. On the other side, work 11 sc and 2 sc in the next stitch. Cut the yarn, leaving a tail for sewing.
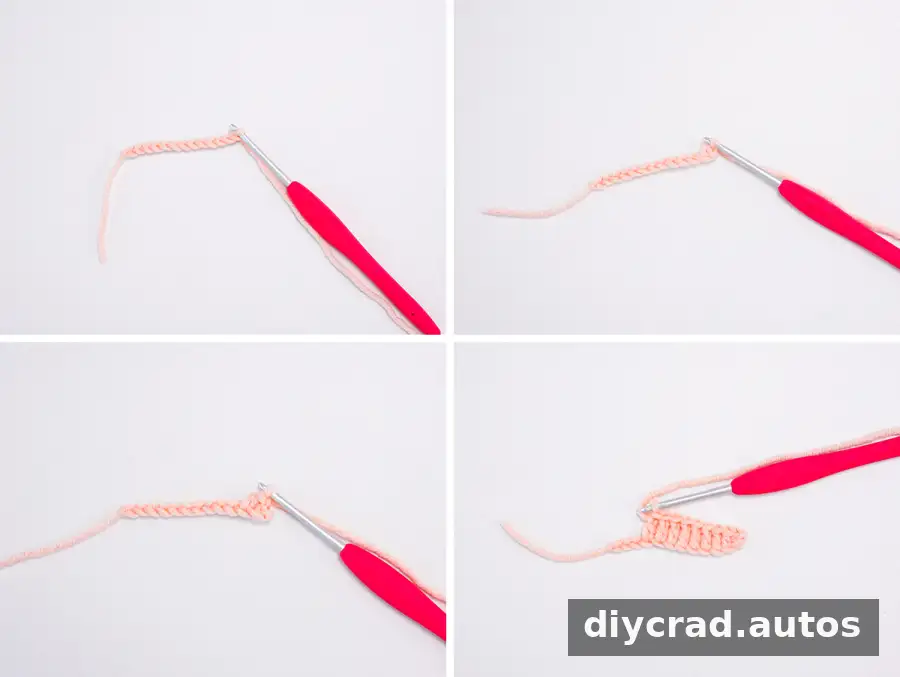
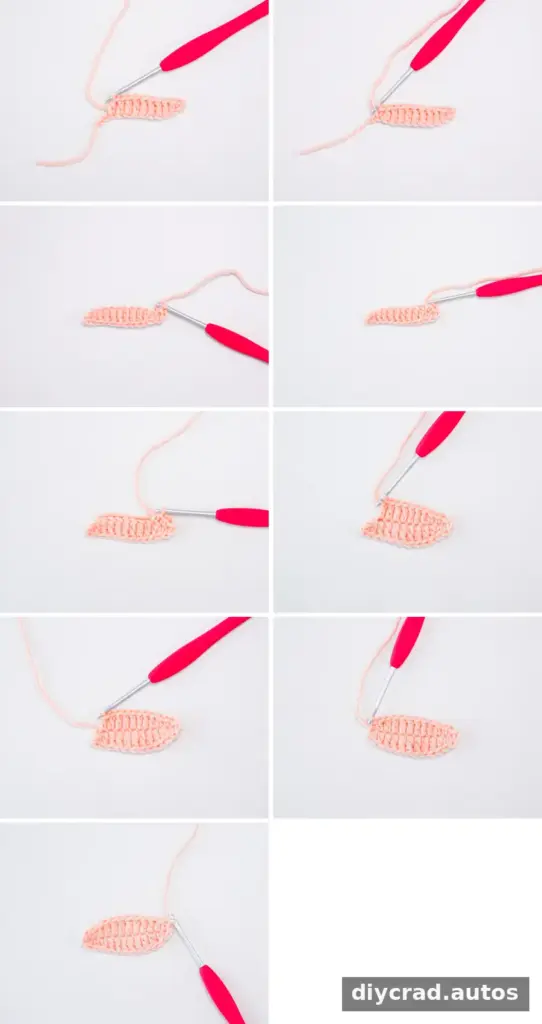
Make two more small petals using the same instructions, for three in total.
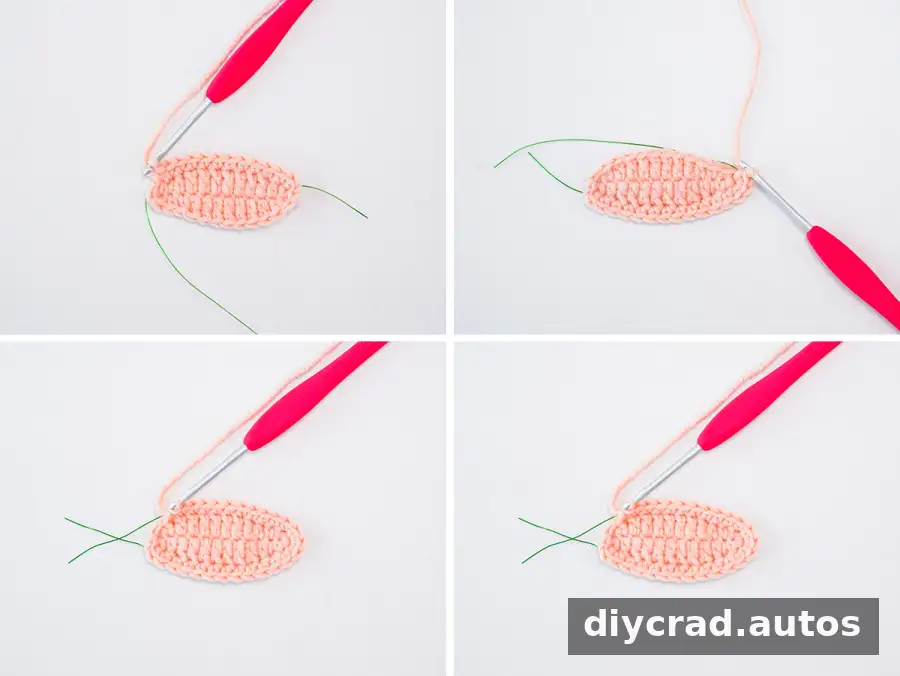
Large petals: make 3
- Make a foundation chain of 13 stitches.
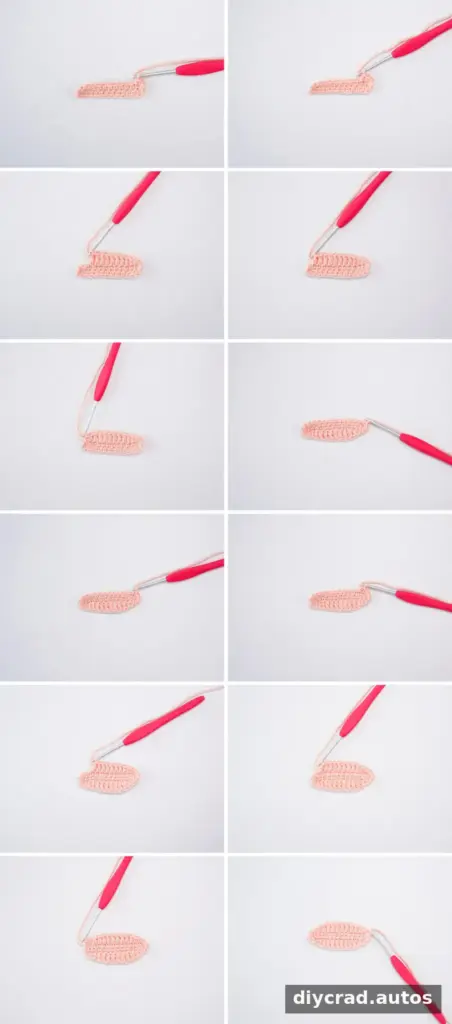
- R1: Starting in the second chain from the hook, work 11 sc, then 3 sc in the last stitch. On the other side of the chain, work 10 sc, 2 sc in the next stitch, 1 ss and 1 ch.
- R2: Work 2 sc in the next stitch, 1 hdc, 8 dc, 1 hdc and 1 sc. Work 3 sc in the last stitch. On the other side, work 1 sc, 1 hdc, 8 dc, 1 hdc, 2 sc, 1 ss and 1 ch.
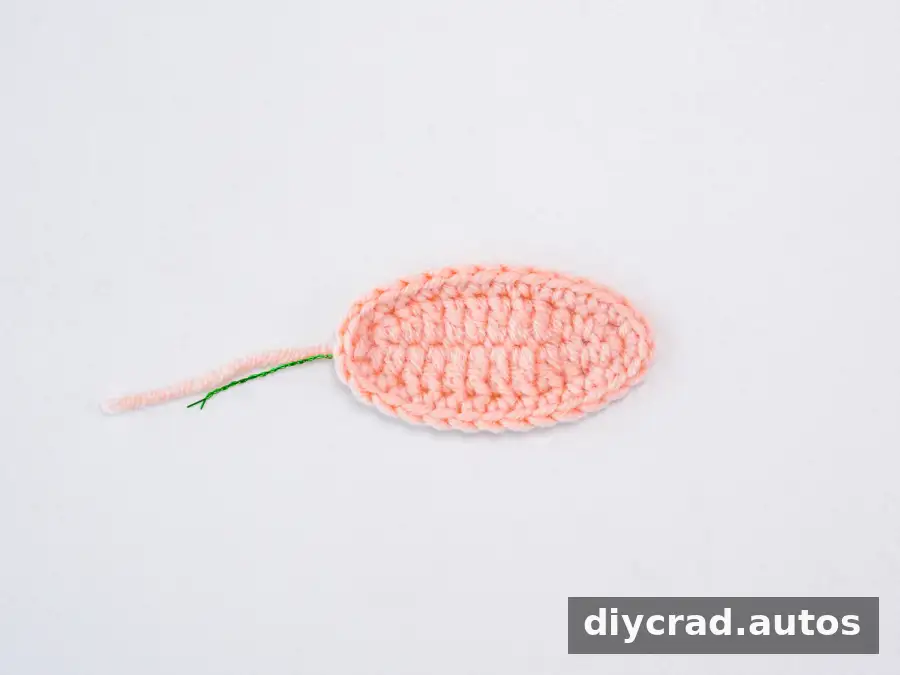
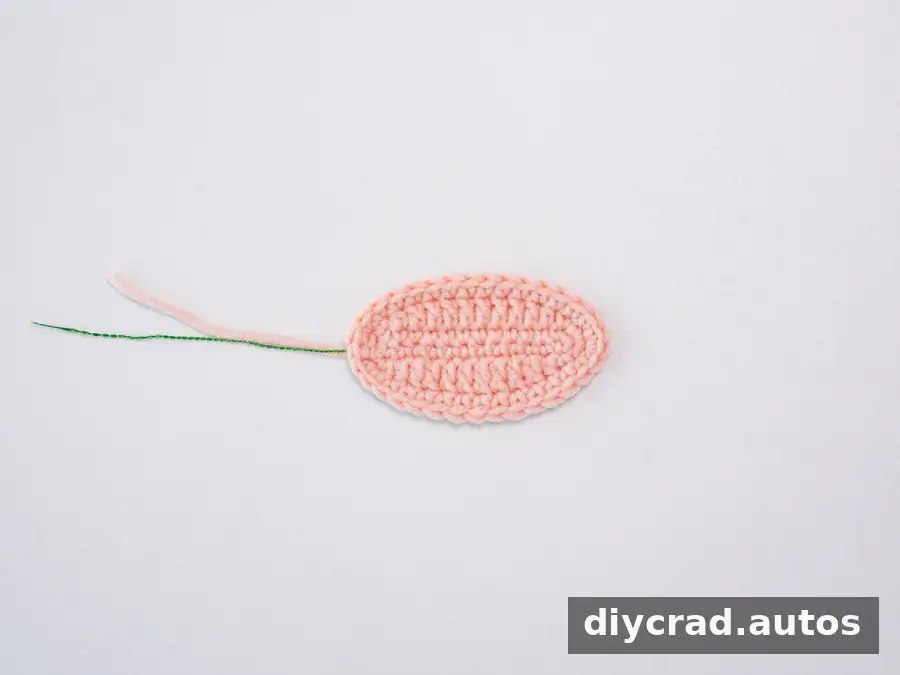
- R3: Add the iron wire and crochet over it. Work 14 sc, then 3 sc in the last stitch. Work 13 sc, 2 sc in the next stitch and 1 ss. Cut the yarn, leaving a tail for sewing.
Make two more large petals, giving you three large petals altogether.
Tulip leaf
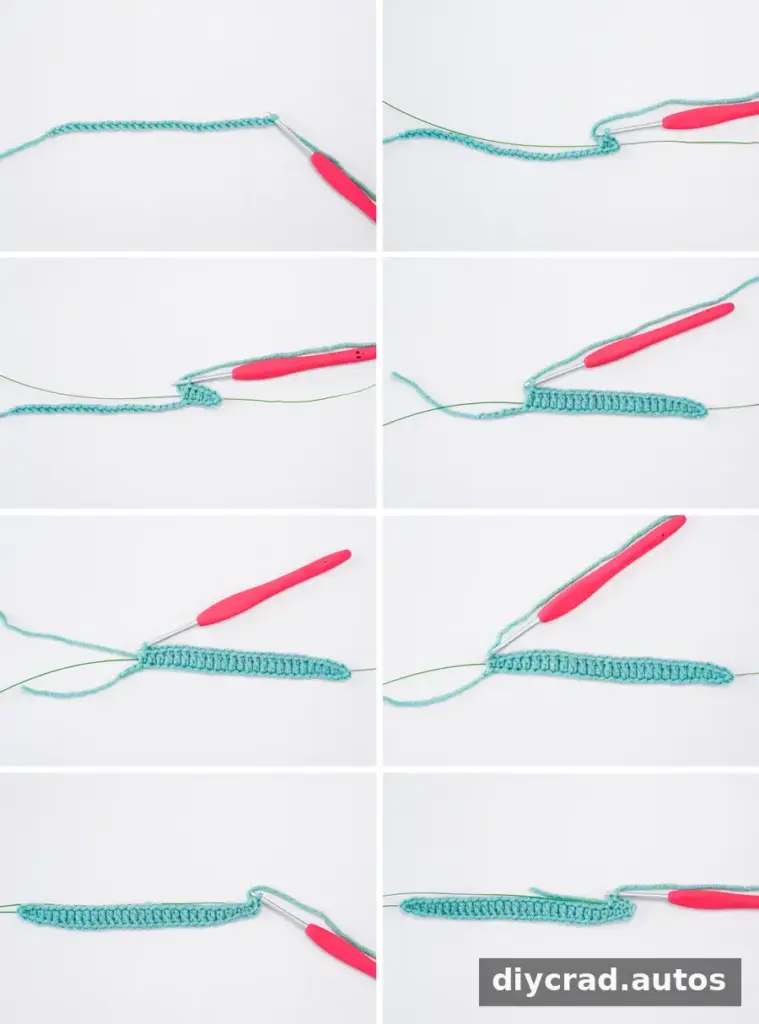
- Make a foundation chain of 30 stitches.
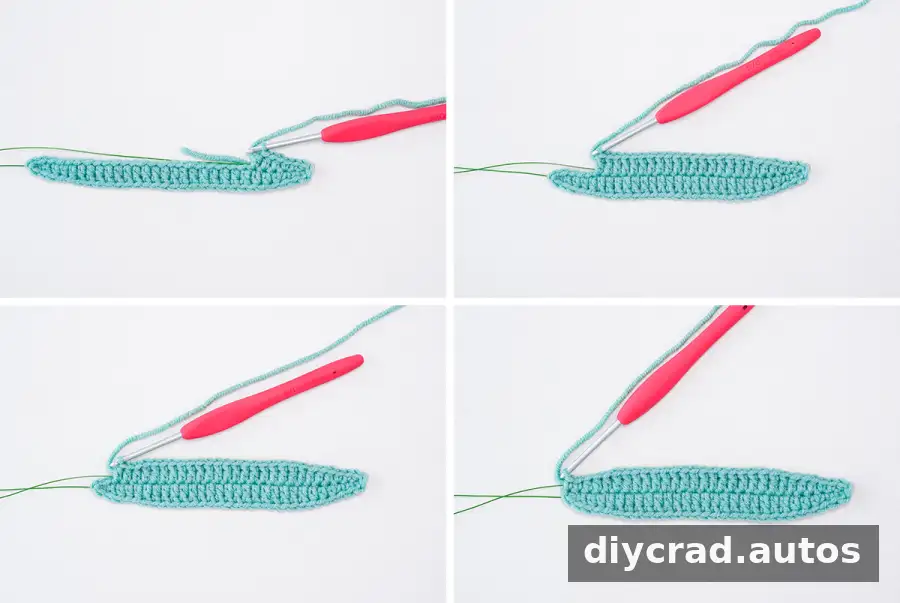
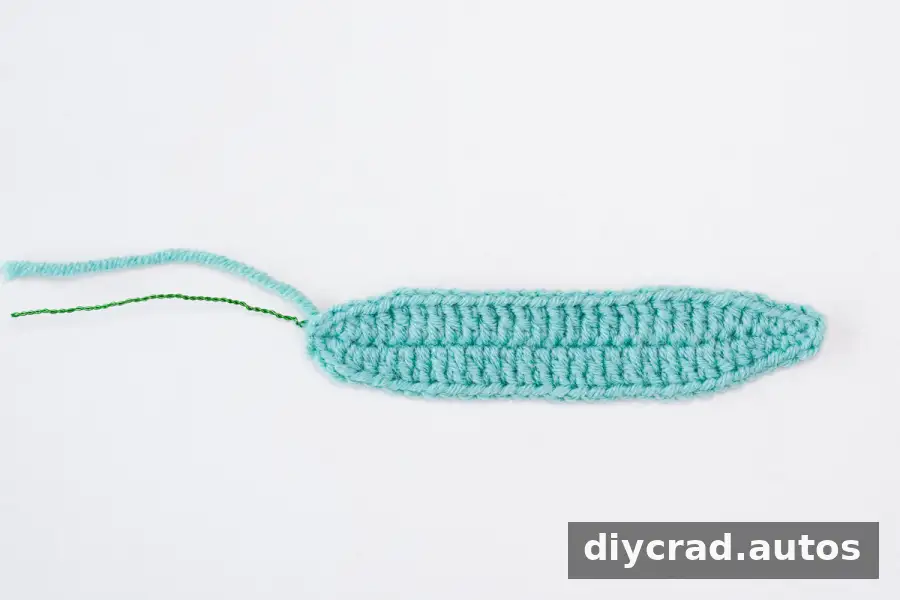
- R1: Add the iron wire. Starting in the second chain from the hook, work 2 sc, 3 hdc, 18 dc, 3 hdc and 2 sc. Work 3 sc in the last stitch. On the other side of the chain, work 2 sc, 3 hdc, 18 dc, 3 hdc, 2 sc and 1 ss.
Stamens: make 6
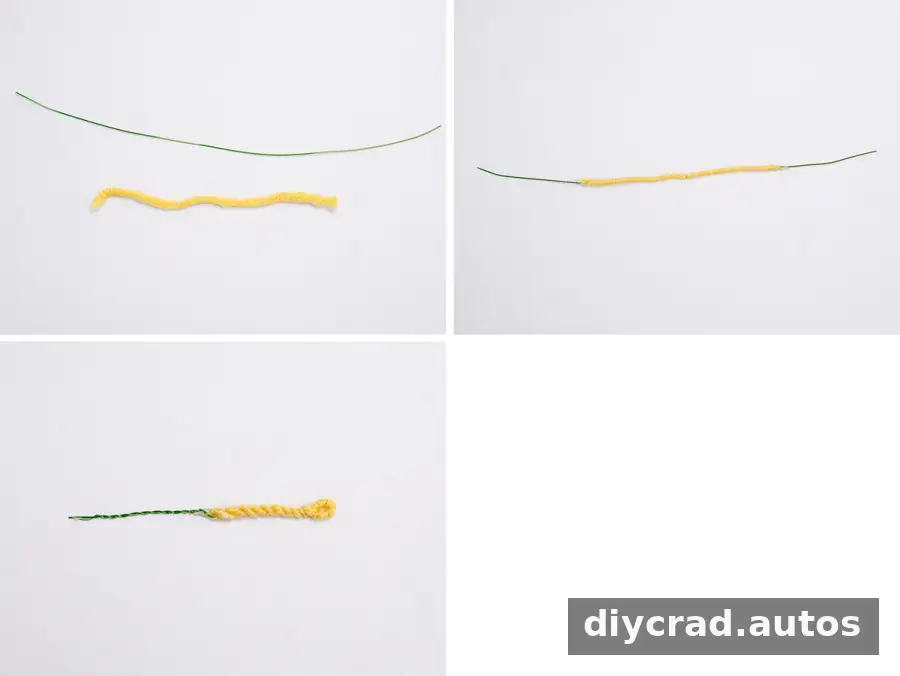
Wrap yarn around the center of a piece of iron wire, fold the wire and twist it to secure the yarn. Repeat until you have six stamens.
Assemble the tulip
- Position the stamens in the center and align the first petal around them.
- Arrange the remaining petals around the first one. Sew the petals and stamens together, then attach the flower to the rod by wrapping it with the double yarn.
- Continue wrapping the yarn down the rod and position the leaf along the stem as you go.
Arrange the petals to create the open or more closed shape you prefer. Check that the pieces are secure before displaying the finished flower.
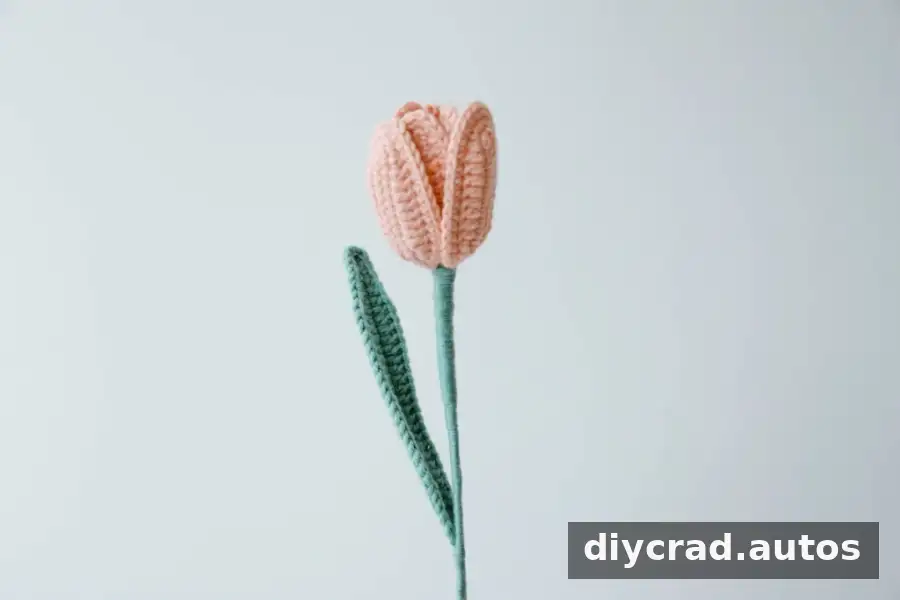
The assembled crochet tulip is ready to display or combine with other flowers in a bouquet.
Pattern summary
Project: Crochet flower bouquet tulip
Difficulty: Intermediate
Hook: 2 mm or 2.5 mm
Flower rod: 40 cm long × 2 mm diameter
Iron wire: 15 cm long × 0.4 mm diameter
Wire tip
To crochet over the wire, insert the hook under the wire and work the stitch so the wire is enclosed by the yarn. Take care while working near the wire ends.
Finish your crochet tulip
This crochet tulip pattern uses two petal sizes to create a layered flower, with a wired leaf and six simple stamens completing the design. Follow the assembly steps to make a single stem or repeat the pattern for a bouquet. Before starting, check that you have enough yarn, wire and rods for the number of flowers you plan to make.