

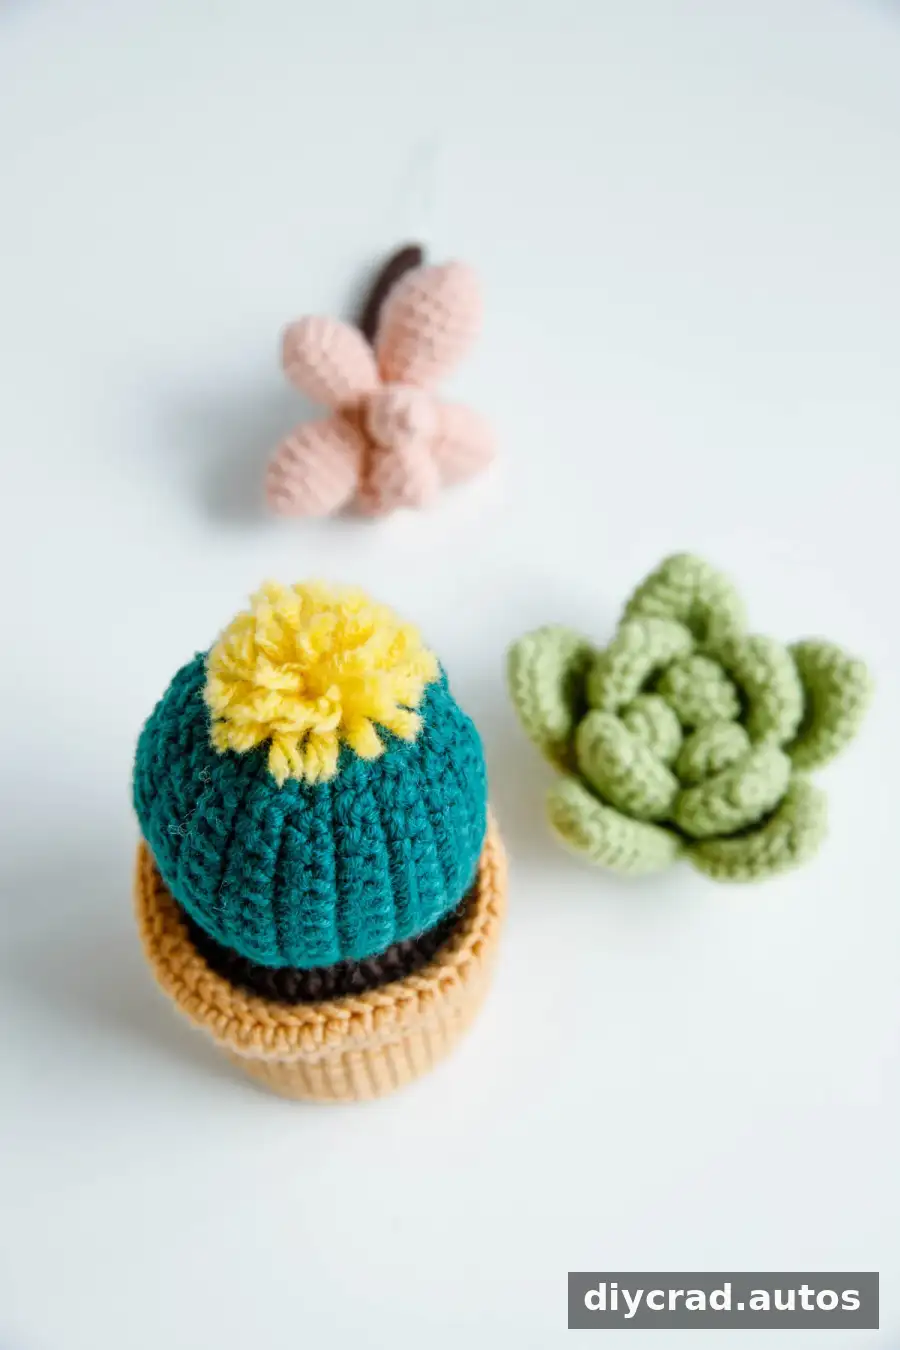
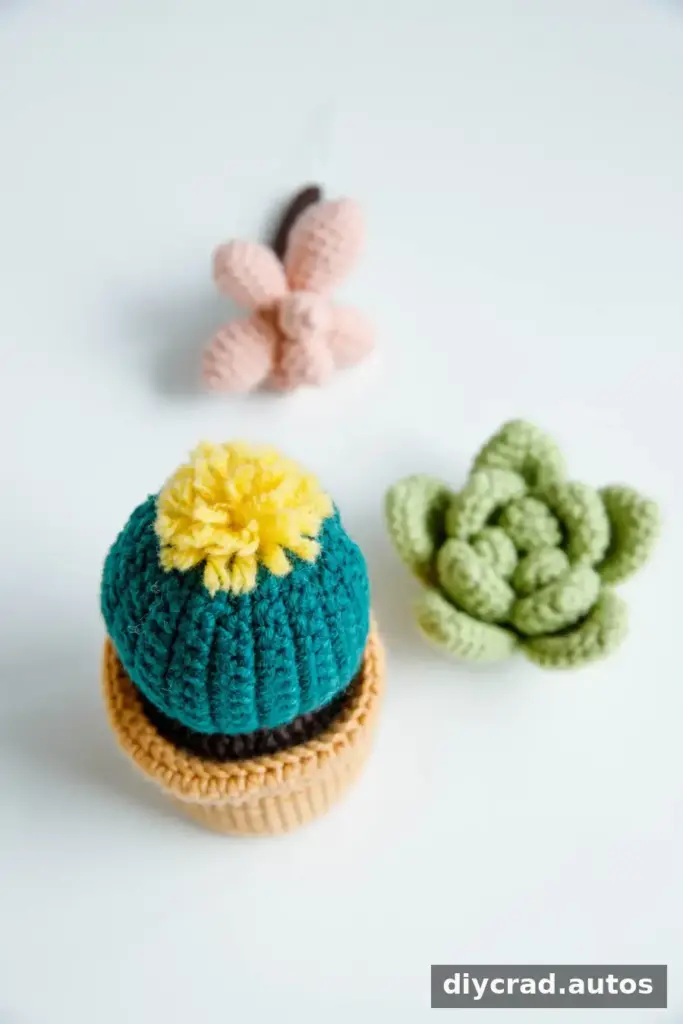
This crochet cactus pattern includes two potted designs: a multi-piece cactus with a small flower and a round cactus topped with a yellow yarn flower. Both use a 2.5 mm hook and share the same crocheted pot and soil surface, so you can choose one design or make a pair for a handmade display. These soft decorations bring a touch of greenery indoors without the care real plants need.
The cactus bodies can be made in different yarn weights for different finished sizes. Use a stitch marker to keep track of rounds, and count your stitches as you work so the pot and cactus pieces fit together neatly.
Materials for the Crochet Cactus Pattern
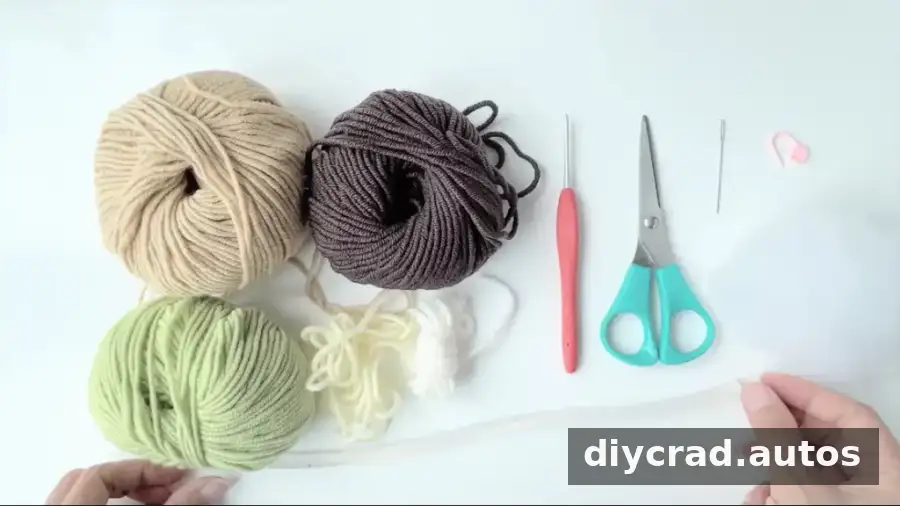
Cactus A: light green yarn. Cactus B: dark green yarn.
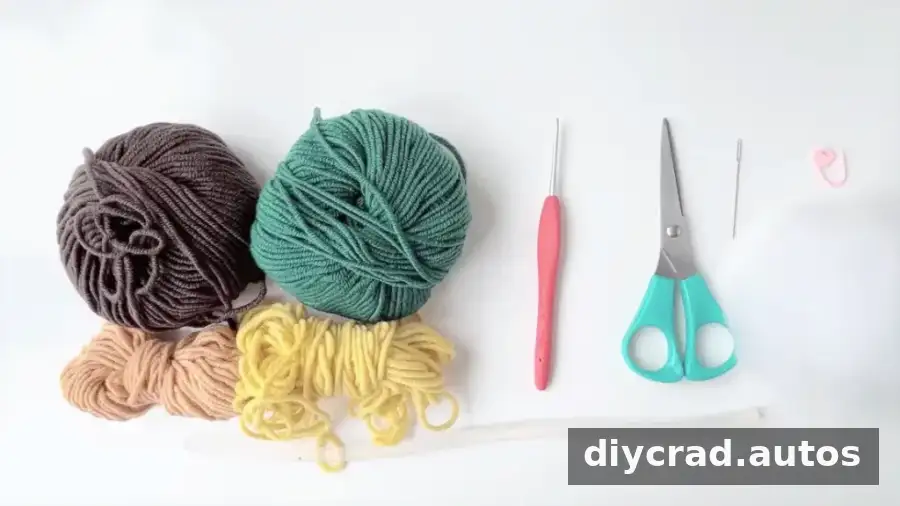
- Dark brown yarn for the soil surface
- Light brown yarn for the pot
- Yellow, white, and cream yarn for the flower details
- 2.5 mm crochet hook
- Darning needle, scissors, and stitch marker
- Fiberfill
- Hot-melt adhesive
Chunky or chenille yarn creates a plush, larger decoration, while lace-weight yarn can be used for a smaller version, such as a keychain. Glow-in-the-dark green yarn is another option for a decorative effect. If you change yarn weight, the finished size will change; check that your hook suits your yarn and keep the stuffing enclosed with closely worked stitches.
US Crochet Terms and Pattern Notes
- Sc: single crochet
- Dc: double crochet
- Ch: chain
- St: stitch
- Ss: slip stitch
- Sc2tog: single crochet two together, a decrease
- Inc: increase by working 2 sc in the indicated stitch
- FLO: front loop only
- BLO: back loop only
- [number]: stitch count at the end of the round or row
- R1, R2, R3: Round 1, Round 2, Round 3
Patterns use US crochet terms. For a single crochet decrease, insert the hook into the next stitch and pull up a loop; insert it into the following stitch and pull up another loop, then yarn over and pull through all three loops. For an increase, work two single crochets into the indicated stitch. A stitch marker can help identify the start of each round, especially when working in a spiral.
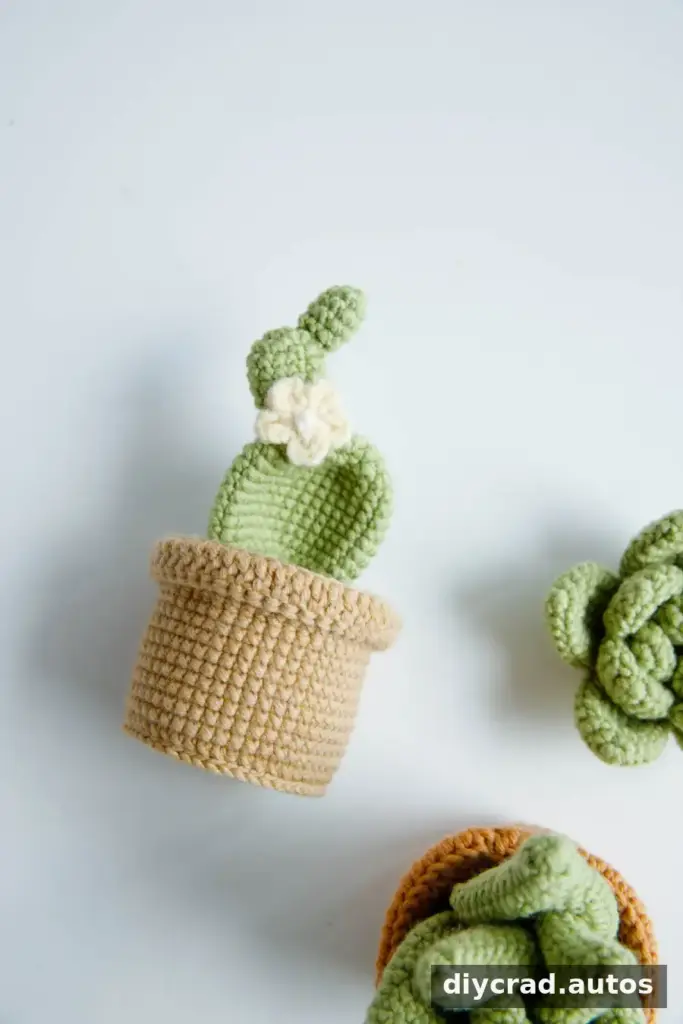
Step-by-Step Crochet Cactus Pattern
Make the Shared Flower Pot
Both cactus designs use this pot. Begin with a magic ring and work in the round. The BLO round creates a defined edge at the base of the pot; take care to catch only the back loop in that round.
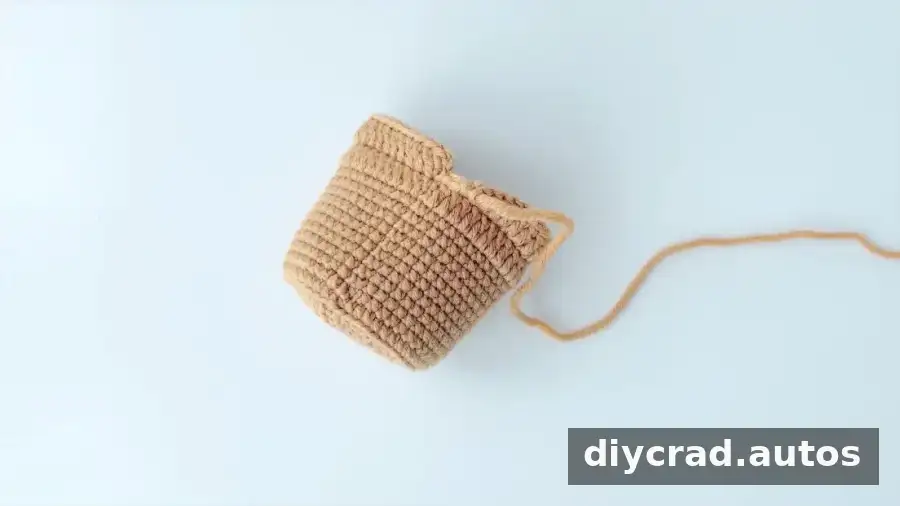
- Start with a magic ring.
- R1: 8 sc in the round, 1 ss, 1 ch [8]
- R2: (2 sc in next st) 8 times, 1 ss, 1 ch [16]
- R3: (1 sc, 2 sc in next st) 8 times, 1 ss, 1 ch [24]
- R4: (2 sc, 2 sc in next st) 8 times, 1 ss, 1 ch [32]
- R5: (3 sc, 2 sc in next st) 8 times, 1 ss, 1 ch [40]
- R6: (4 sc, 2 sc in next st) 8 times, 1 ss, 1 ch [48]
- R7: Work in BLO: 48 sc, 1 ss, 1 ch [48]
- R8: (22 sc, sc2tog) 2 times, 1 ss, 1 ch [46]
- R9–17: 46 sc, 1 ss [46]
- R18: 2 ch, 46 dc, 1 ss [46]
- R19: 2 ch, work in FLO: 46 dc. Cut the yarn and leave a long tail [46].
Make a slip stitch around in R7, then cut and hide that yarn tail.
Make the Soil Surface
Use dark brown yarn. This round piece will be sewn inside the pot between R16 and R17. Leave enough yarn for sewing, and check that the circle sits evenly before securing it.
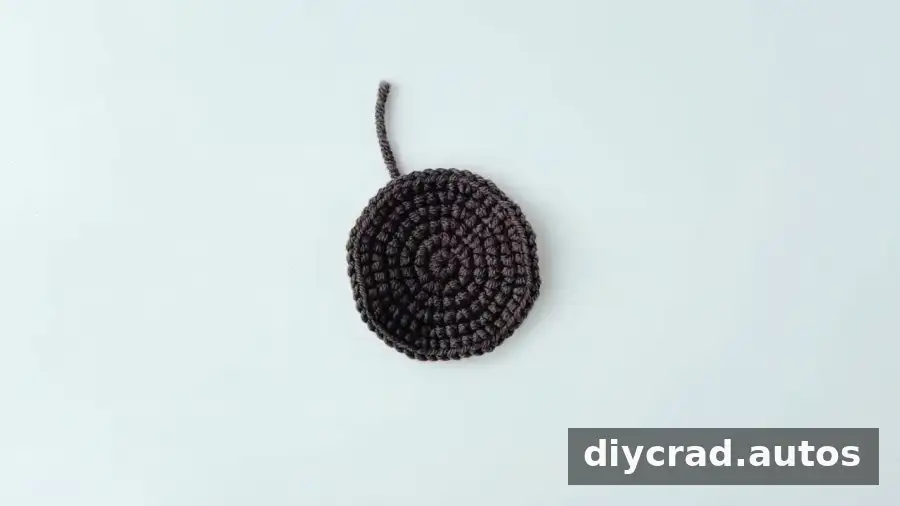
- Start with a magic ring.
- R1: 8 sc in the round, 1 ss, 1 ch [8]
- R2: (2 sc in next st) 8 times, 1 ss, 1 ch [16]
- R3: (1 sc, 2 sc in next st) 8 times, 1 ss, 1 ch [24]
- R4: (2 sc, 2 sc in next st) 8 times, 1 ss, 1 ch [32]
- R5: (3 sc, 2 sc in next st) 8 times, 1 ss, 1 ch [40]
- R6: (4 sc, 2 sc in next st) 8 times, 1 ss, 1 ch [48]
Sew the soil surface between R16 and R17 of the flowerpot.
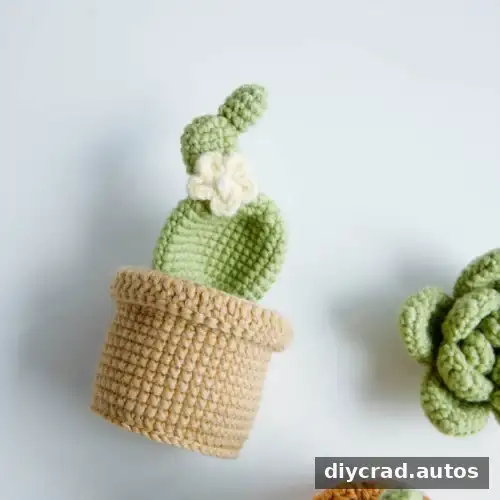
Cactus A: Multi-Piece Cactus with a Flower
Make the large, middle, and small cactus pieces separately, then sew them together to create a branching silhouette. Use light green yarn for the cactus. Add fiberfill as you shape the pieces, but avoid overfilling them so they remain easy to sew together.
Big Cactus
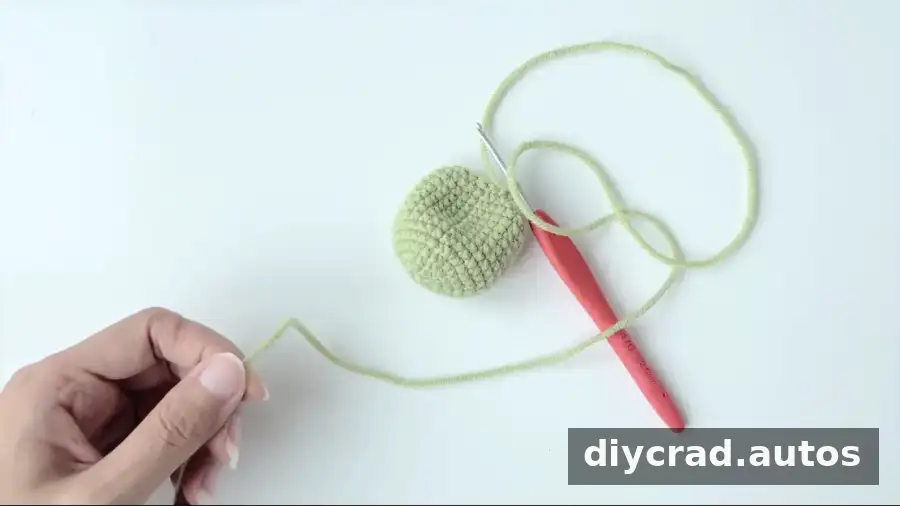
- Start with a magic ring.
- R1: 6 sc in the round, 1 ss, 1 ch
- R2: (2 sc in next st) 6 times, 1 ss, 1 ch [12]
- R3: (1 sc, 2 sc in next st) 6 times, 1 ss, 1 ch [18]
- R4: (2 sc, 2 sc in next st) 6 times, 1 ss, 1 ch [24]
- R5: (3 sc, 2 sc in next st) 6 times, 1 ss, 1 ch [30]
- R6–13: 30 sc, 1 ss, 1 ch [30]
- R14: (3 sc, sc2tog) 6 times, 1 ss, 1 ch [24]
- R15: (2 sc, sc2tog) 6 times [18]
Middle Cactus
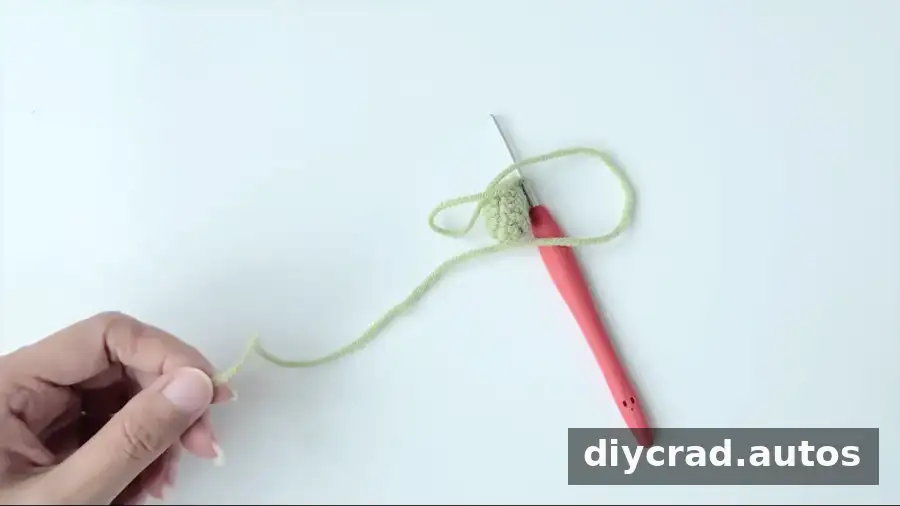
- Start with a magic ring.
- R1: 6 sc in the round, 1 ss, 1 ch [6]
- R2: (2 sc in next st) 6 times, 1 ss, 1 ch [12]
- R3–6: 12 sc, 1 ss, 1 ch [12]
- R7: (sc2tog) 6 times [6]
Small Cactus
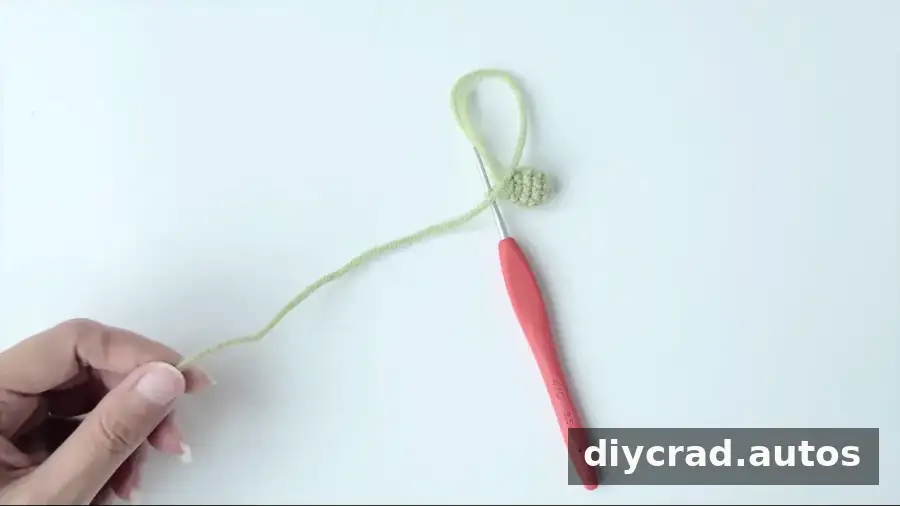
- Start with a magic ring.
- R1: 6 sc in the round, 1 ss, 1 ch [6]
- R2: (1 sc, 2 sc in next st) 3 times, 1 ss, 1 ch [9]
- R3–4: 9 sc, 1 ss, 1 ch [9]
- R5: (1 sc, sc2tog) 3 times [6]
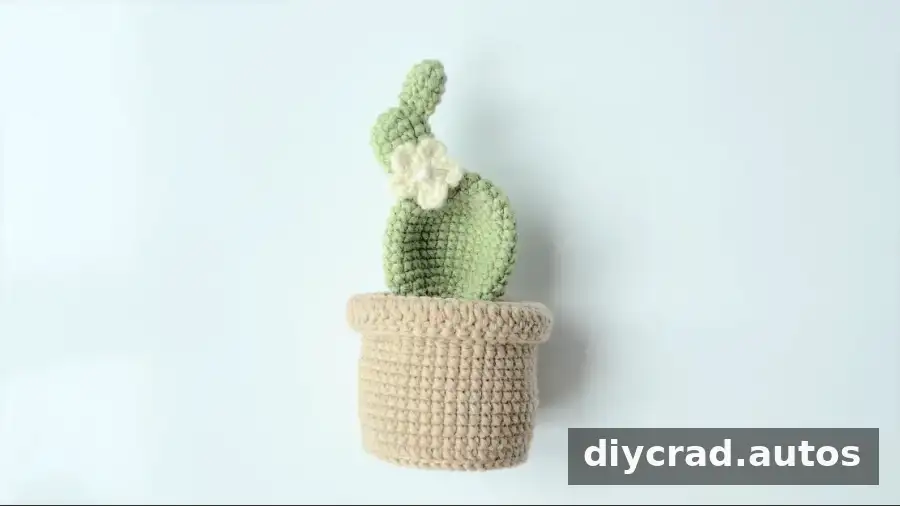
Make the Cream Flower and White Center
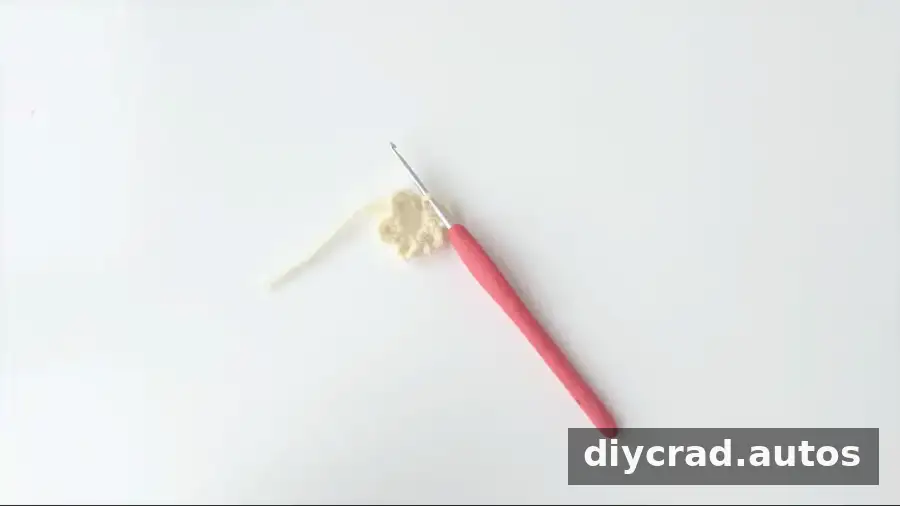
- With cream yarn, start with a magic ring.
- (2 ch, 2 dc, 2 ch, 1 ss) 5 times, then 1 ss.
- Close the loop tightly and hide the tail with a darning needle.
- Make a loop with white yarn, tie the yarn around the loop three times, and sew the center into the middle of the flower.
Assemble Cactus A
Gather the three cactus pieces, soil surface, pot, flower, fiberfill, and darning needle. Hot-melt adhesive is listed as an assembly material; use it carefully and keep it away from children and the work surface while hot.
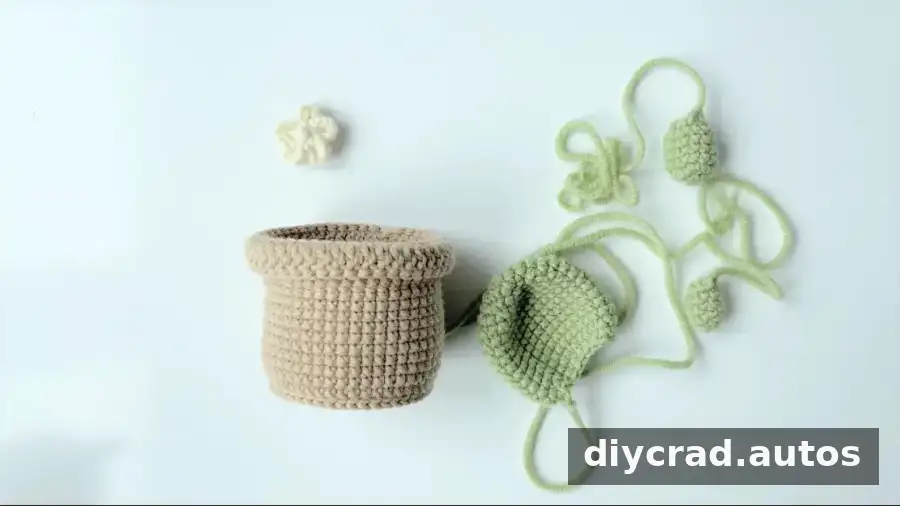
- Sew the soil surface between R16 and R17 of the pot. Add fiberfill to the pot.
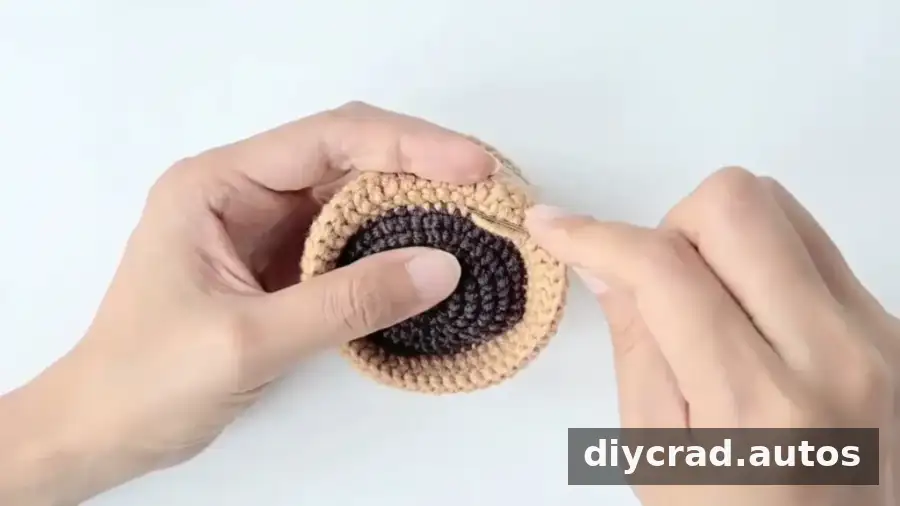
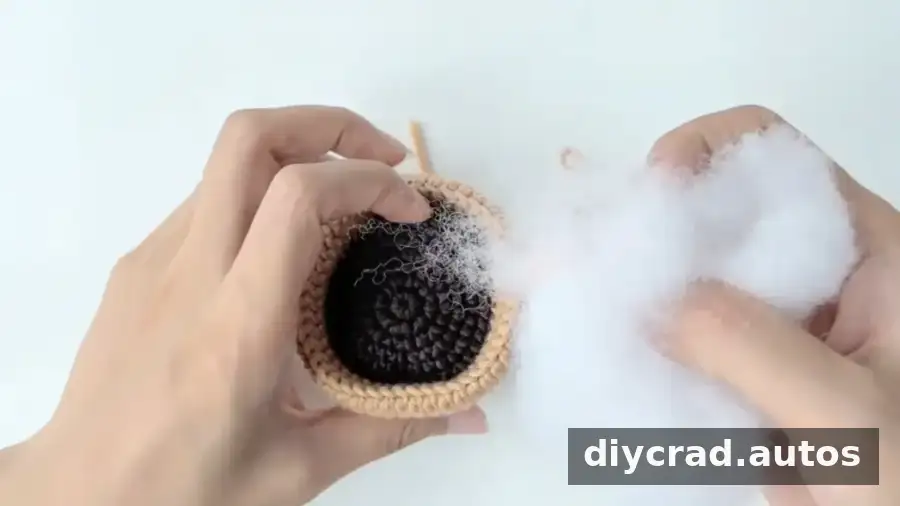
- Flatten the big cactus and sew it onto the soil surface, stitching across from the left R5 to the right R5.
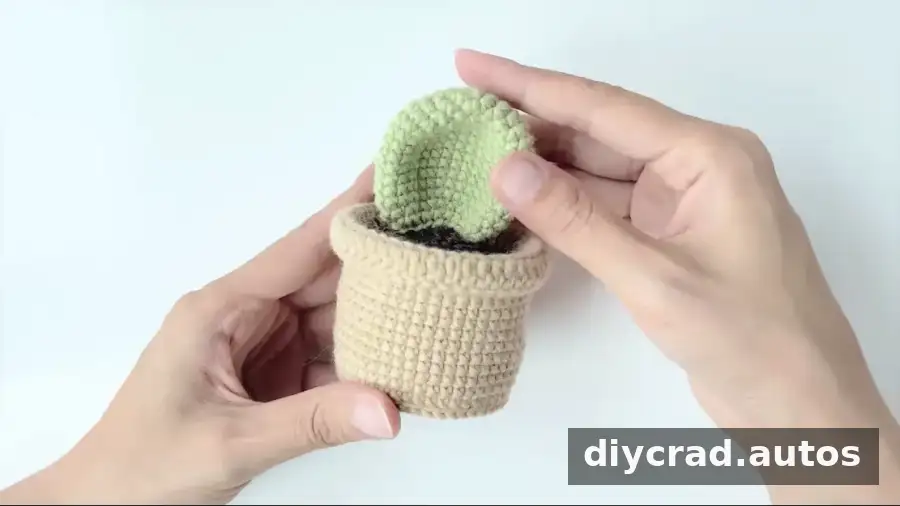
- Sew the middle cactus to the large one, positioning it on either side.
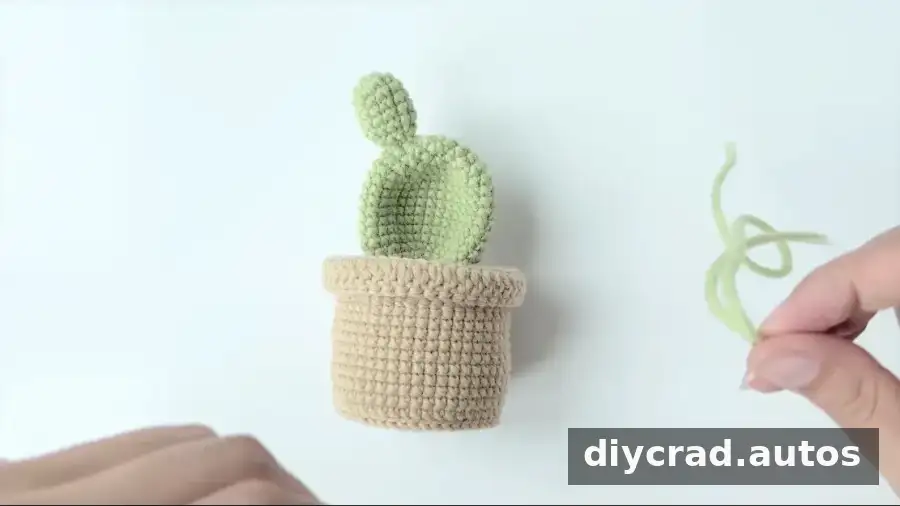
- Attach the small cactus to the middle piece. Choose either side to suit the arrangement.
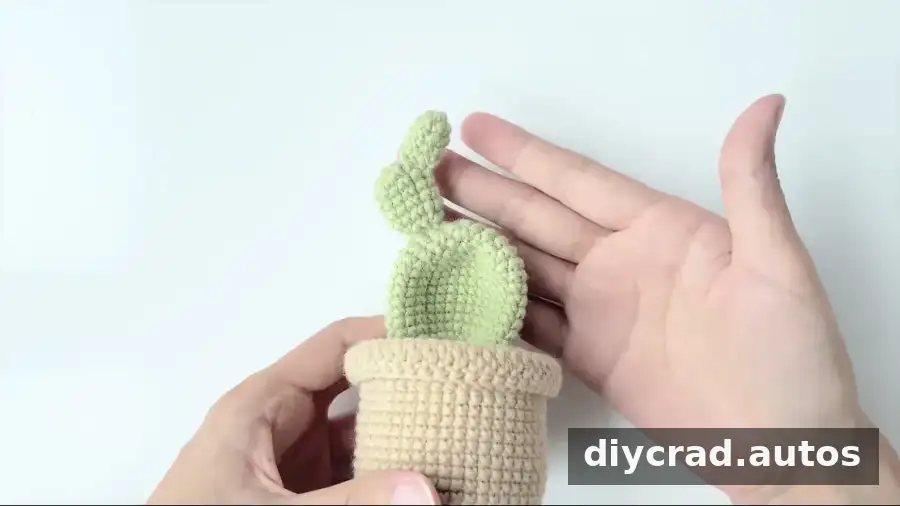
- Sew the flower between the large and middle pieces or between the middle and small pieces. Add more flowers if desired.
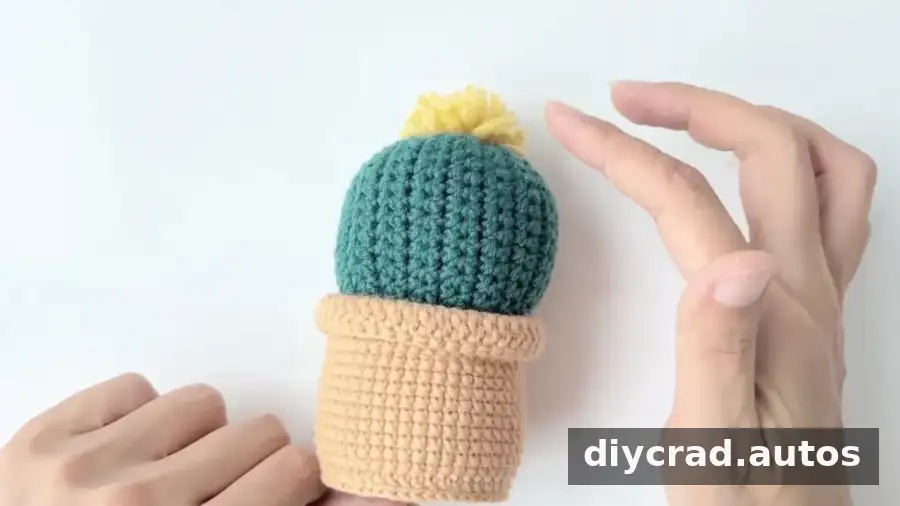
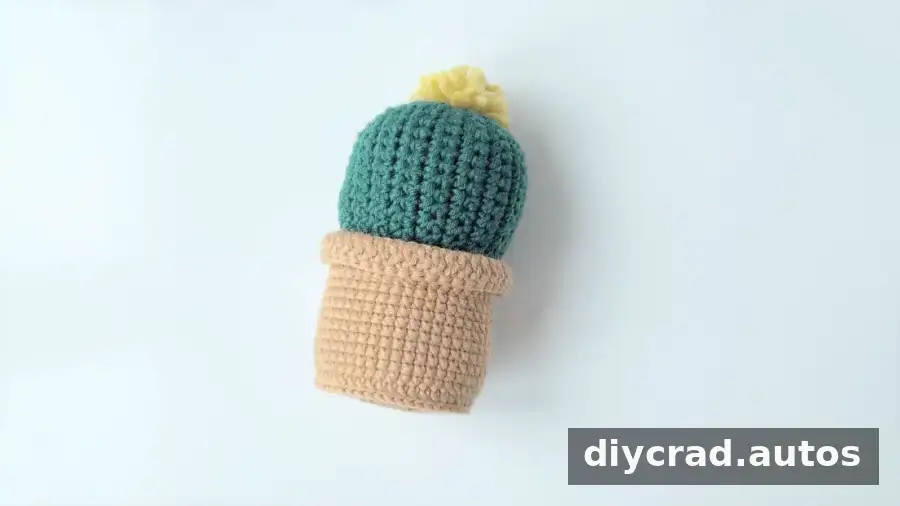
Cactus B: Round Cactus
Use dark green yarn for this ball-shaped design. Its main piece is worked flat in rows and then sewn into shape. Keep the row edges aligned when seaming so the finished cactus has an even outline.
Main Piece
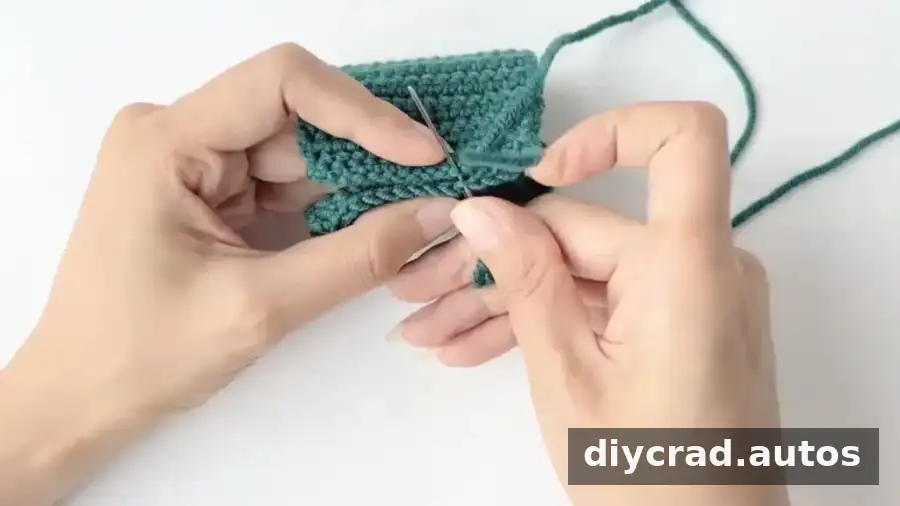
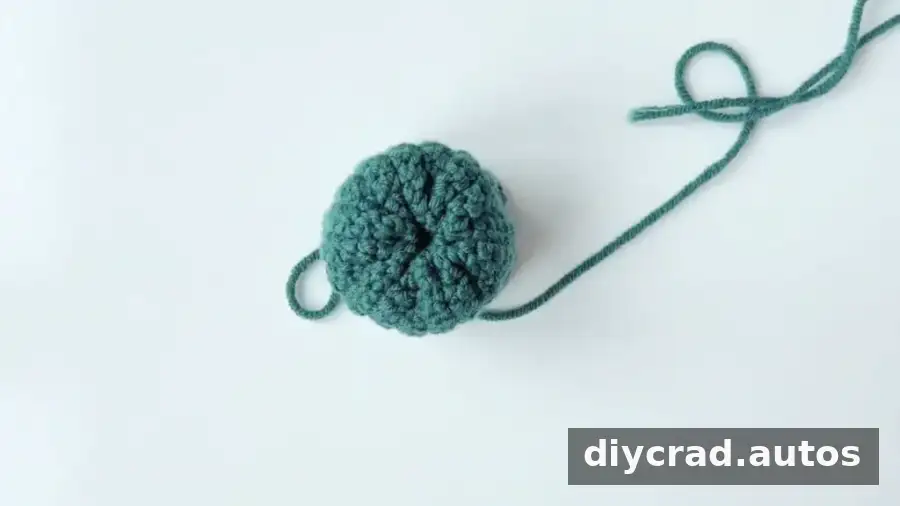
- R1: Ch 16. Starting in the 2nd st from the hook, work 15 sc [15].
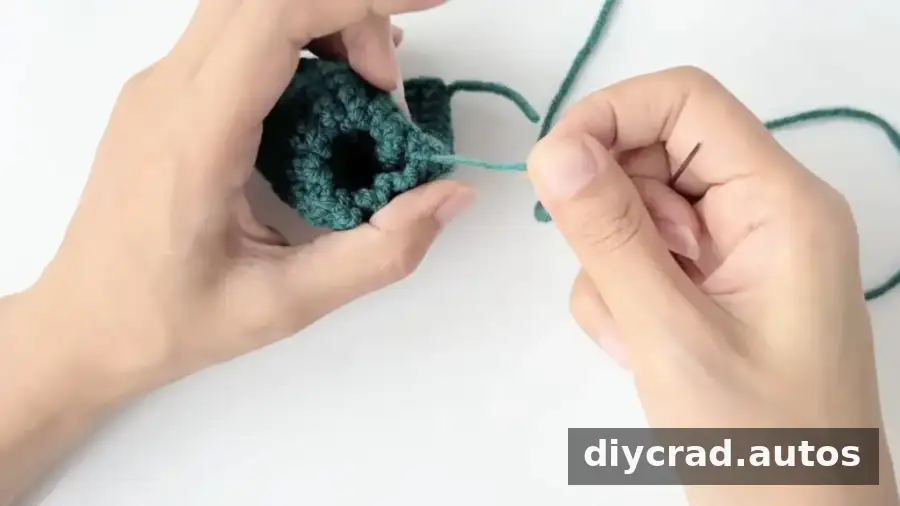
- R2–35: Turn, ch 1, and work 15 sc [15]. Sew the ends together, sew a circle along one edge, and pull the loop tight.
Yellow Yarn Flower
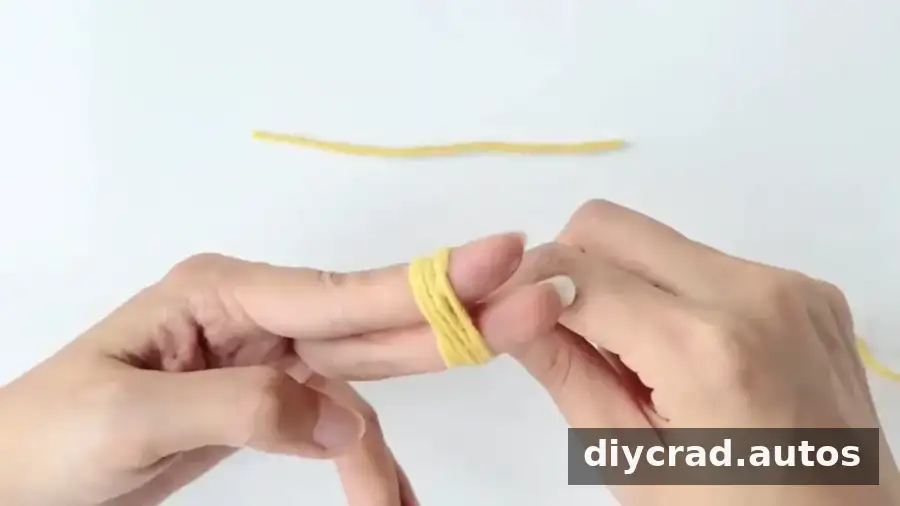
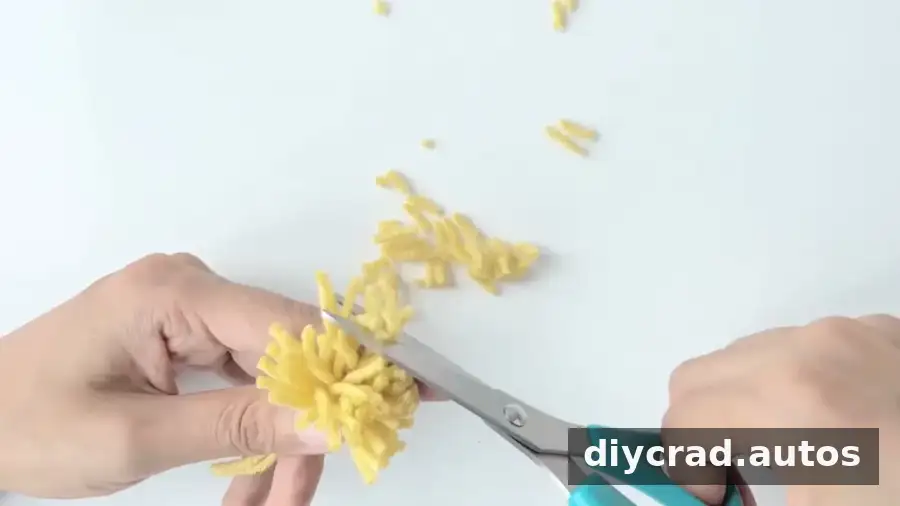
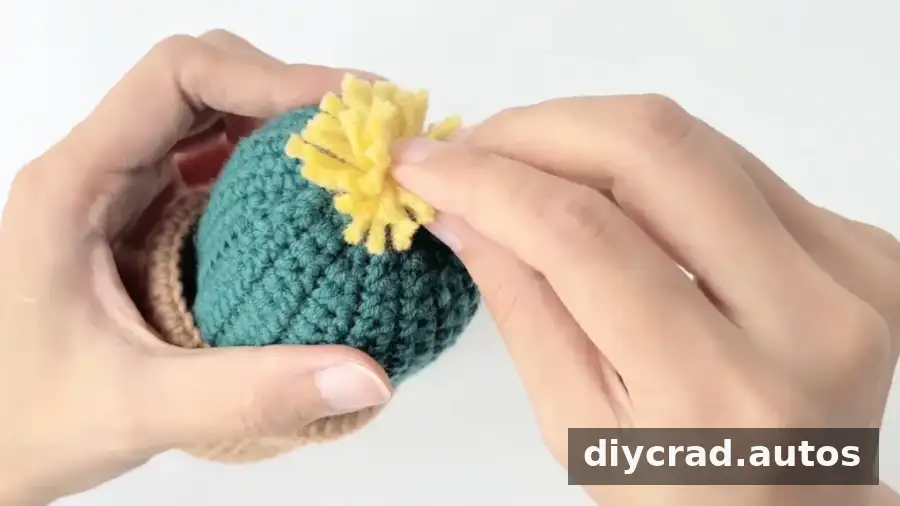
Wind a piece of yellow yarn into a small ball and cut it to make a little furry flower. Keep the strands together securely before attaching it to the cactus.
Assemble Cactus B
For assembly, you will need the cactus, soil surface, pot, yellow yarn flower, fiberfill, darning needle, and hot-melt adhesive.
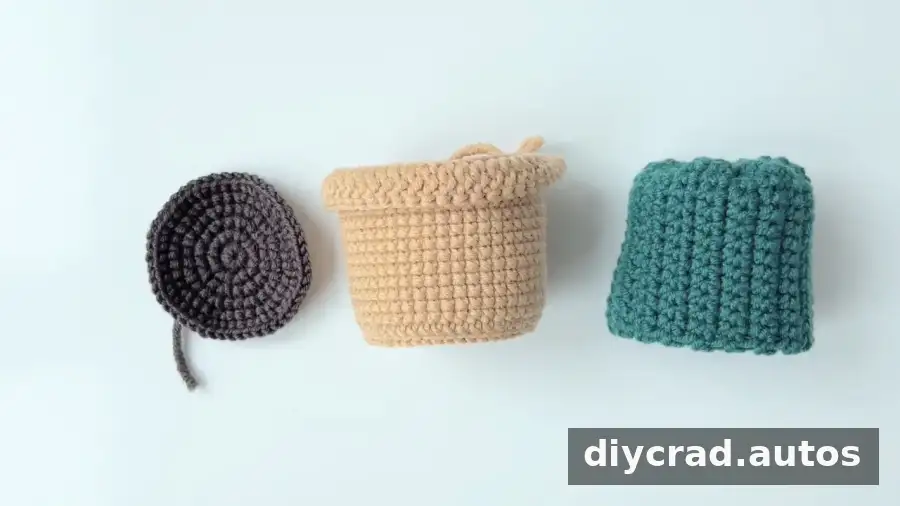
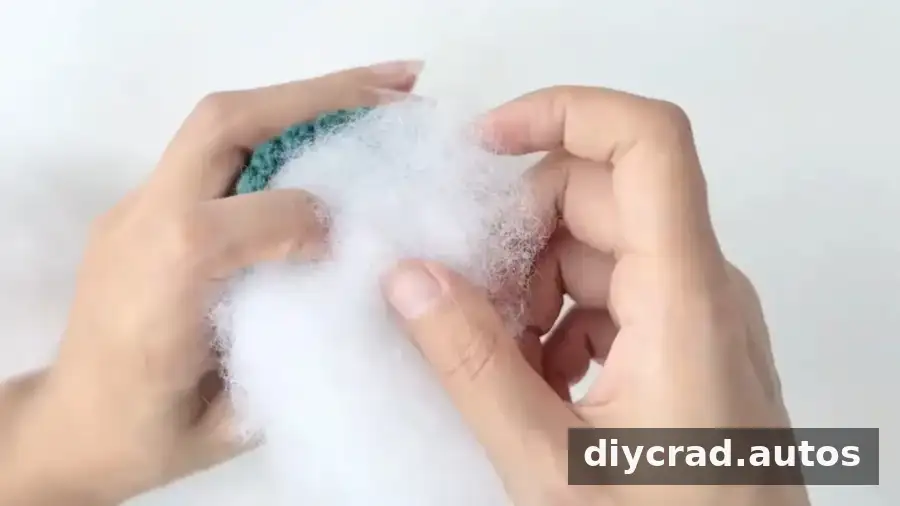
- Sew the soil surface between R16 and R17 of the pot, then fill the pot with fiberfill.
- Sew Cactus B onto the soil surface between R6 and R7. Add an appropriate amount of fiberfill through the opening at the top.
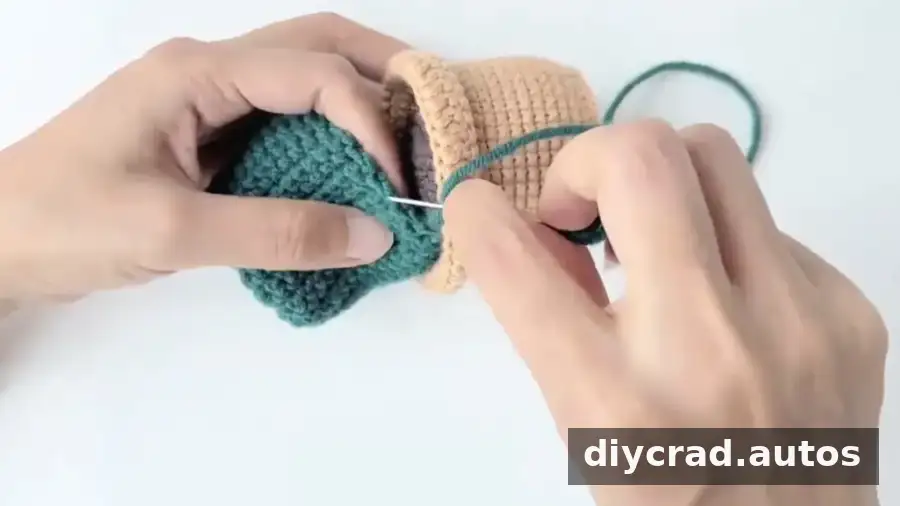
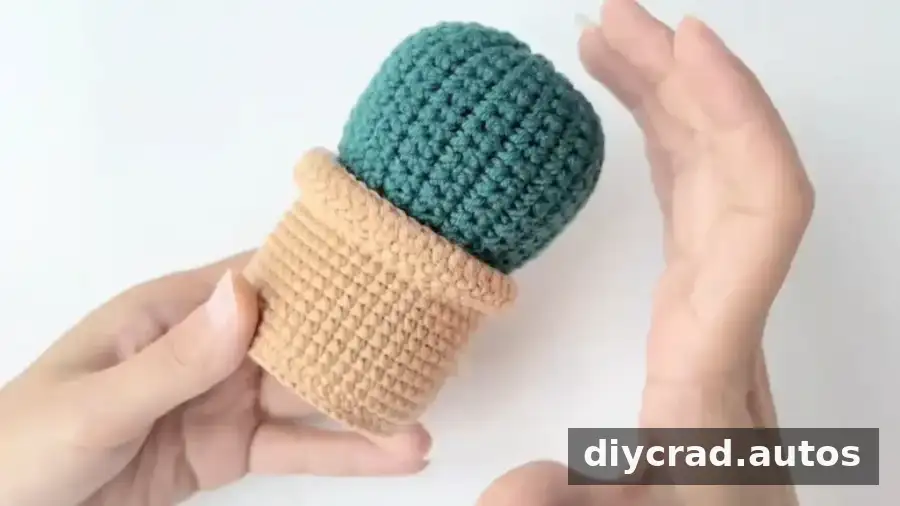
- Sew the opening at the top of the cactus closed.
- Use hot-melt adhesive to attach the yellow yarn flower to the top of the cactus.
Finishing and Customizing Your Crochet Cactus Pattern
Before finishing, check that the soil surface sits evenly in the pot and that all yarn ends are securely woven in. You can customize either crochet cactus pattern by changing the green shades, choosing a different pot color, or adjusting the flower colors. If you use a different yarn weight, remember that the finished cactus and pot will also change size.
Quick Pattern Summary
- Project: crocheted potted cactus in two designs
- Difficulty: intermediate
- Hook: 2.5 mm
- Techniques: magic ring, increases, decreases, slip stitches, and sewing pieces together
- Pattern language: US crochet terms
These two designs use the same pot and soil surface but create different cactus shapes: one is assembled from three green pieces and a small flower, while the other is a rounded cactus with a yellow yarn topper. Follow the stitch counts carefully, use a marker to track rounds, and choose colors that suit your space when making this crochet cactus pattern.

