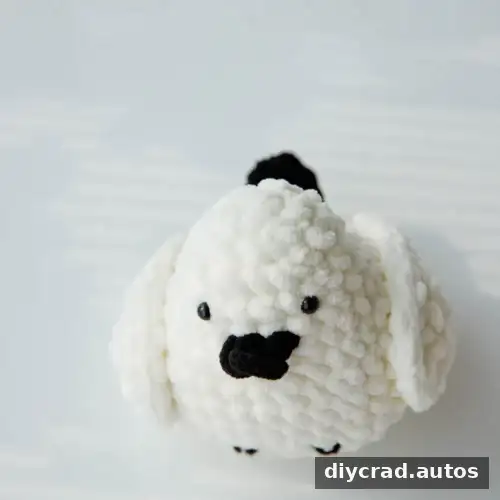
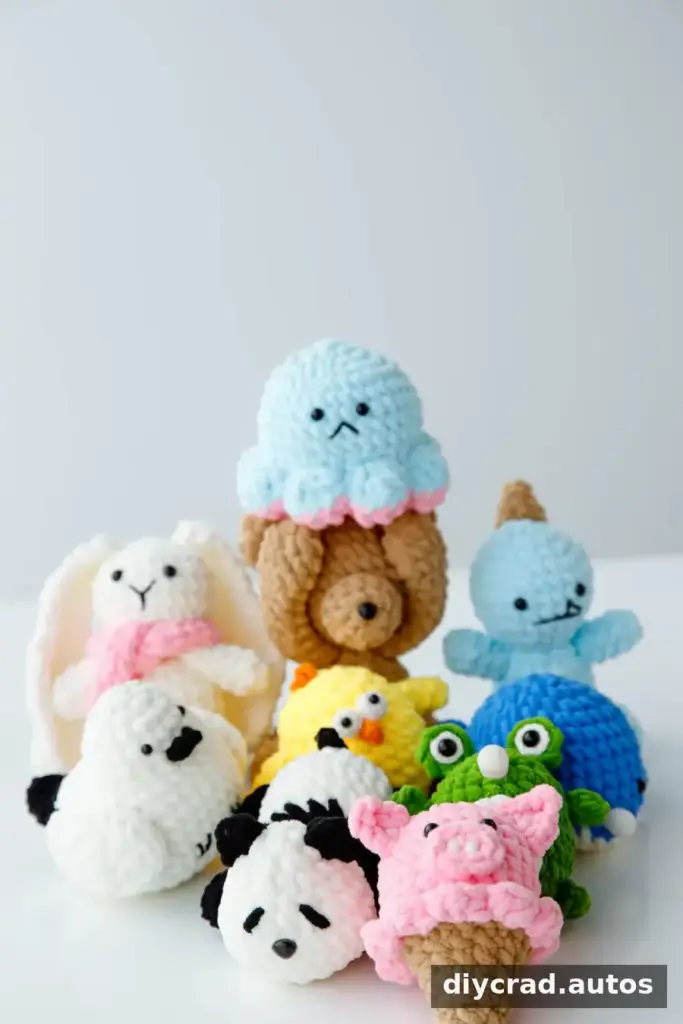
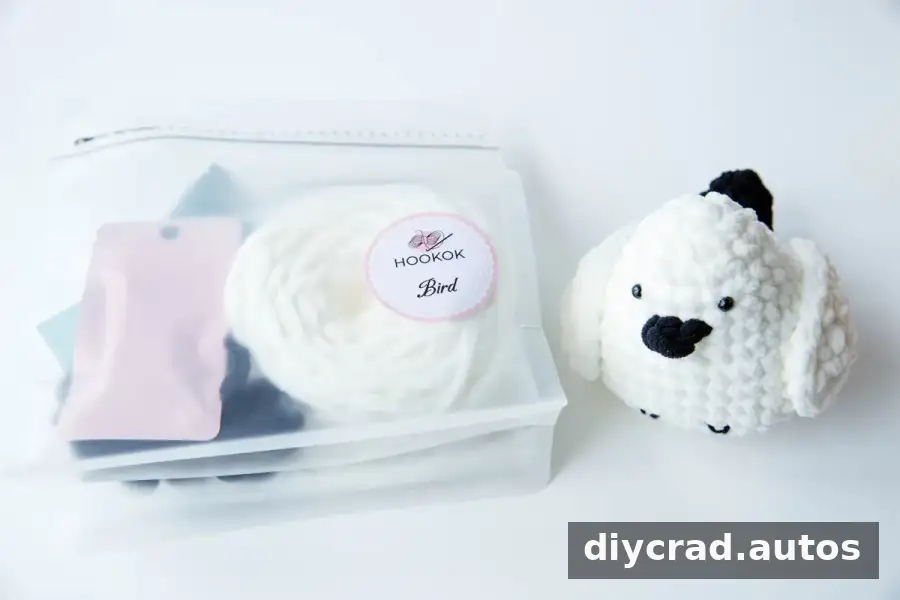
This crochet bird amigurumi pattern uses plush yarn, simple stitches, and a few shaping techniques to create a soft, rounded bird with wings, a tail, a small beak, and 6 mm eyes. The instructions are written in US crochet terms and are best suited to intermediate crocheters who are comfortable increasing, decreasing, and working into skipped stitches. Read through the pattern before starting, and use a stitch marker to keep track of rounds.
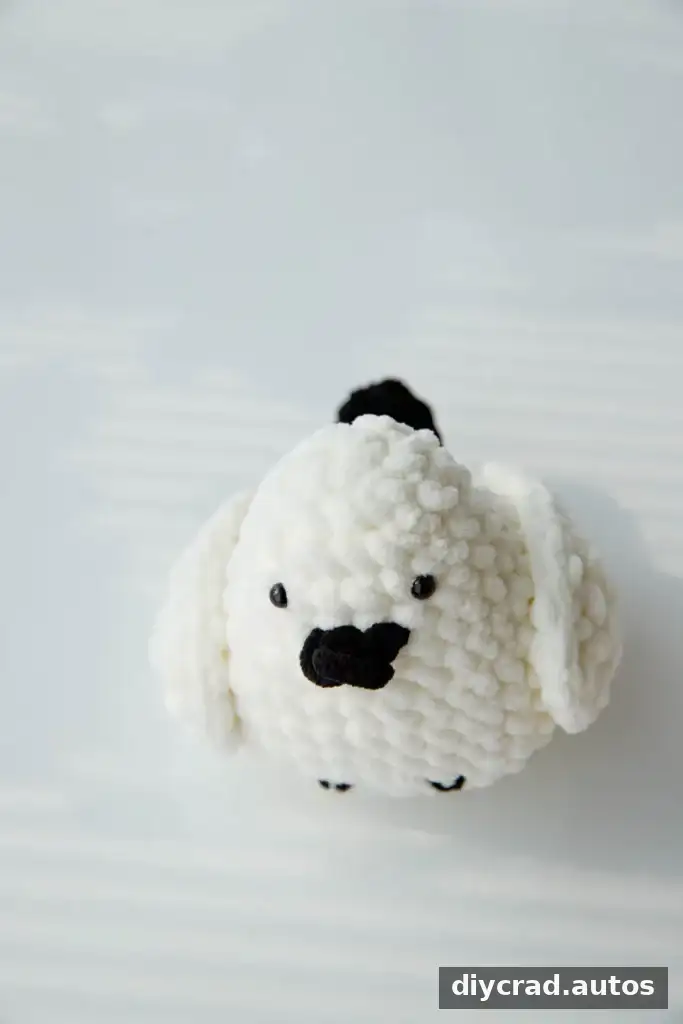
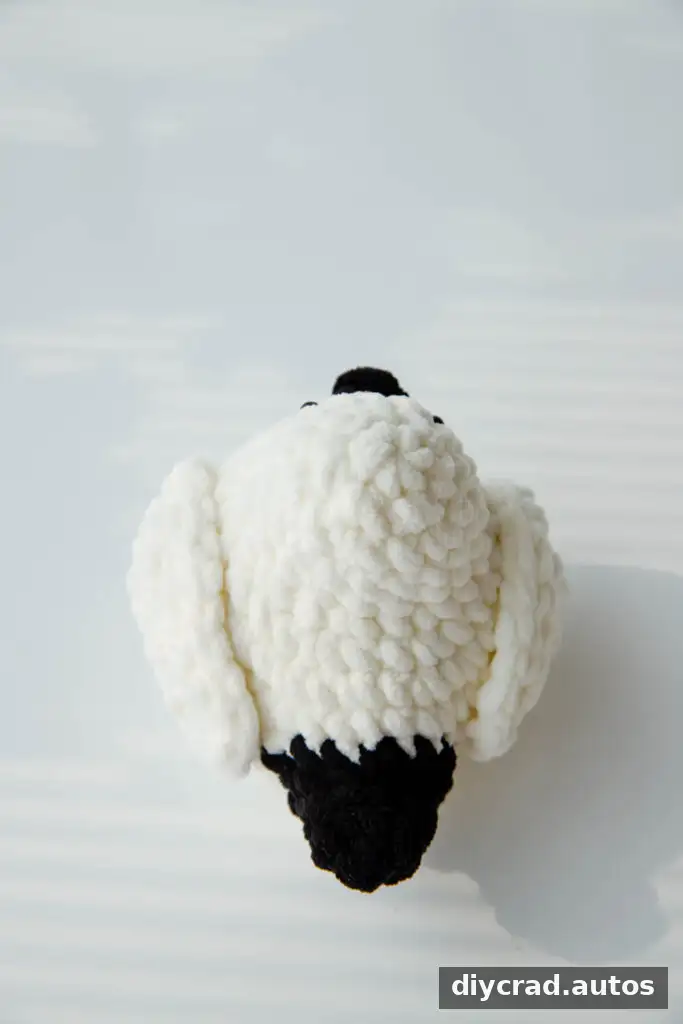
Materials for the Crochet Bird
Gather the following supplies before you begin. Plush yarn can make individual stitches harder to see, so good lighting and careful counting are especially useful.
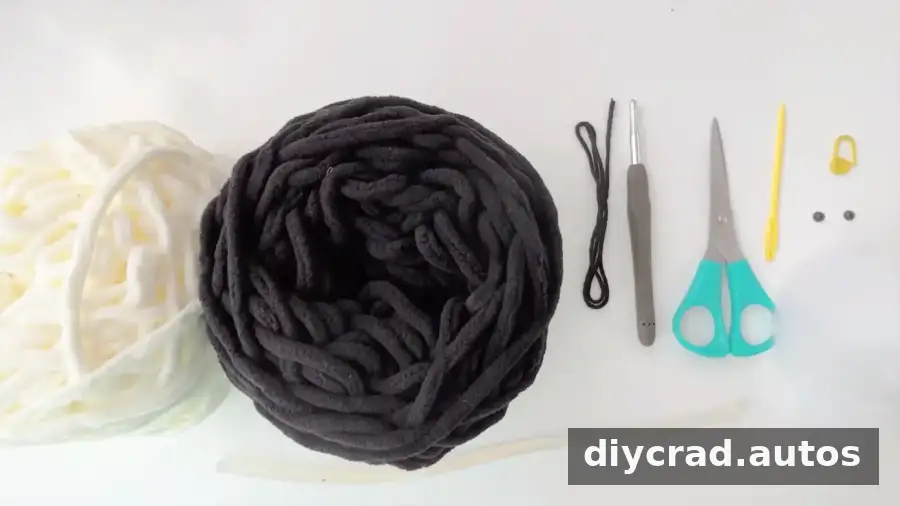
- Plush yarn in two colors: white and black
- 6.0 mm crochet hook
- Darning needle
- Fiberfill
- Scissors
- Stitch marker
- Hot melt adhesive
- One pair of 6 mm eyes
Difficulty and Helpful Preparation
This pattern has an intermediate difficulty level. The main challenge is shaping the body, tail, and wings while maintaining the intended stitch sequence. Increases widen the fabric, while decreases narrow it. Place a marker at the beginning of a round if you find it difficult to identify the first stitch when working with plush yarn.
The pattern uses hot melt adhesive to attach some details. Handle hot glue carefully and allow it to cool fully before touching the finished piece. Safety eyes and other small parts can pose a choking hazard, so they are not suitable for young children unless the finished item is made and used with appropriate supervision.
Stitches and Abbreviations
- sc: single crochet
- st: stitch
- R1, R2, R3: Round 1, Round 2, Round 3
- ch: chain
- sk: skip
- sc2tog: single crochet two stitches together
- ss: slip stitch
Techniques used in the pattern
Single crochet two together (sc2tog): Insert the hook into the next stitch and pull up a loop. Insert the hook into the following stitch and pull up another loop, then yarn over and pull through all three loops on the hook. This decreases the stitch count and helps create a tapered shape.
Increase: Work two single crochet stitches into the same stitch. The pattern writes this as “2 sc in next st.”
Turning: For the wings, make the stated chain, turn the piece, and work back across the row. Keep track of the row direction so the wing shape develops as instructed.
Pattern Notes
- Instructions use US crochet terms.
- Pay attention when changing stitch sequences or turning between wing rows.
- Use a stitch marker while working the tail section.
- Count stitches as you go, particularly in the shaped body rounds.
Step-by-Step Crochet Bird Pattern
Body (white)
- R1: Make 6 sc in a magic ring. Join with 1 ss, then ch 1.
- R2: Work 2 sc in the next st; repeat 6 times. Join with 1 ss, then ch 1.
- R3: Work 1 sc, then 2 sc in the next st; repeat 6 times. Join with 1 ss, then ch 1.
- R4–5: Work 18 sc in each round. Join with 1 ss, then ch 1.
- R6: Work 1 sc, then 2 sc in the next st; repeat 6 times. Work 6 sc. Join with 1 ss, then ch 1.
- R7: Work 2 sc, then 2 sc in the next st; repeat 6 times. Work 6 sc. Join with 1 ss, then ch 1.
- R8: Work 6 sc, then (1 sc, 2 sc in the next st) 6 times. Work 12 sc. Join with 1 ss, then ch 1.
- R9: Work 36 sc. Join with 1 ss, then ch 1.
- R10: Work 12 sc, ch 6, skip 6 st, then work 18 sc. Join with 1 ss, then ch 1.
- R11: Work 36 sc. Join with 1 ss, then ch 1.
- R12: Work (2 sc, sc2tog, 2 sc) 6 times. Join with 1 ss, then ch 1.
- R13: Work (3 sc, sc2tog) 6 times. Join with 1 ss, then ch 1.
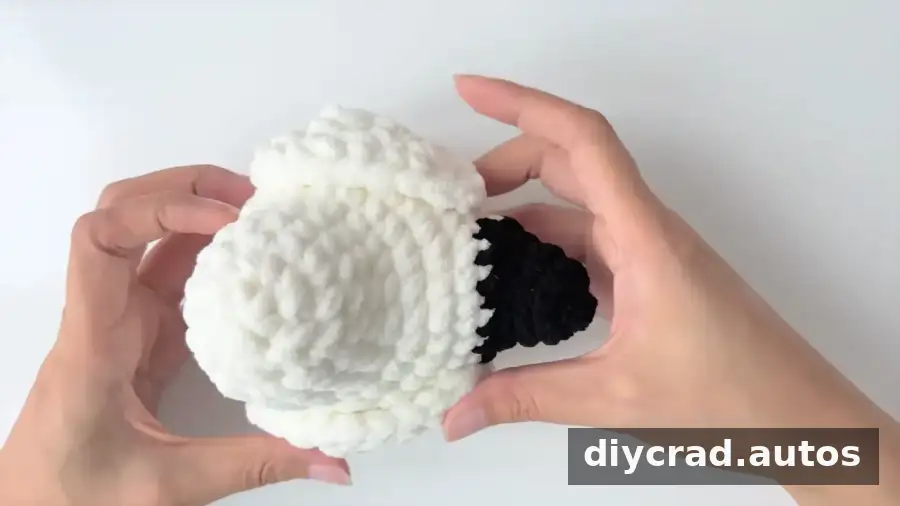
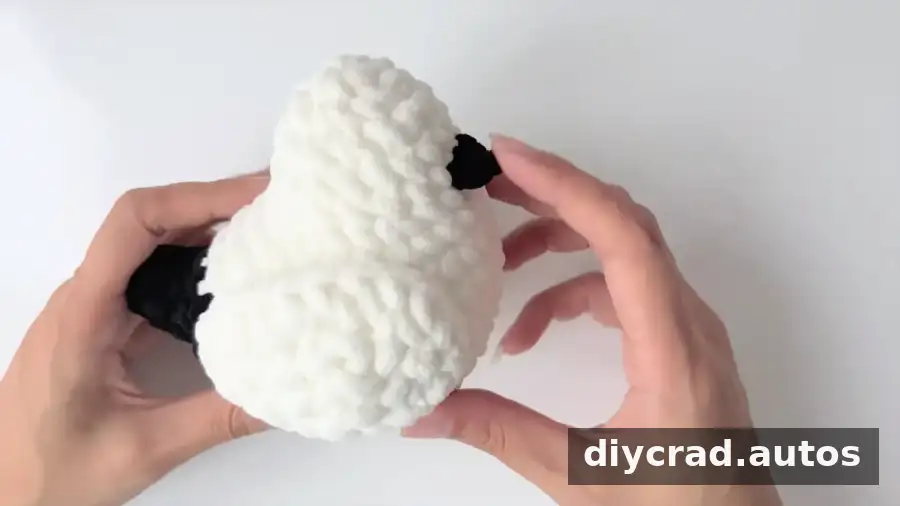
- R14: Work (1 sc, sc2tog, 1 sc) 6 times. Join with 1 ss, then ch 1. Before closing the body, finish the tail and add fiberfill.
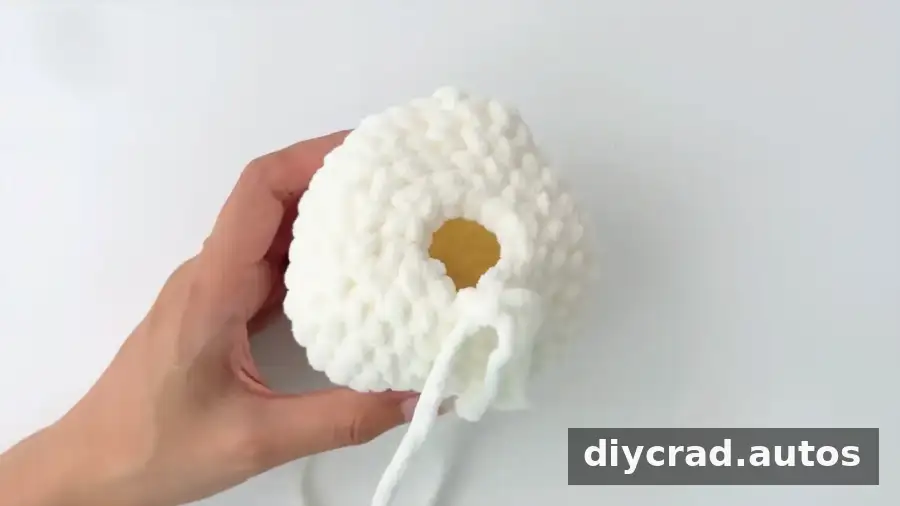
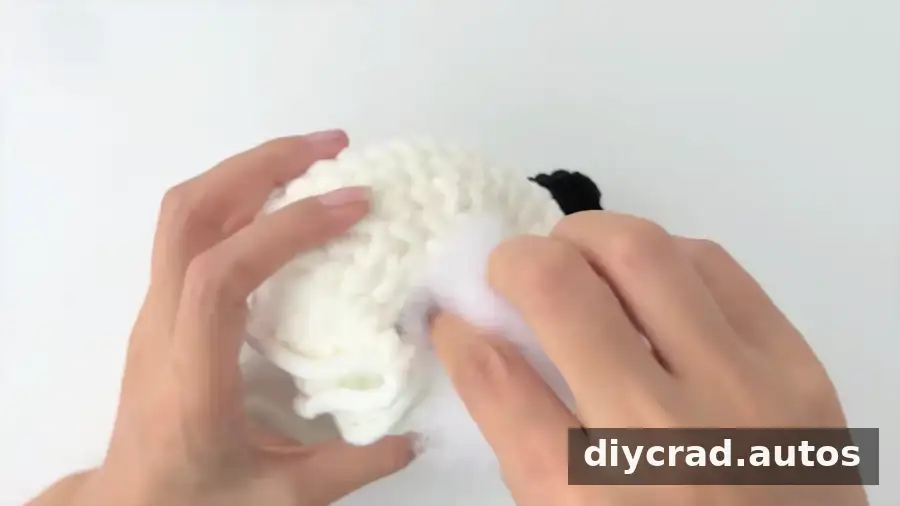
- R15: Work (1 sc, sc2tog) 6 times. Join with 1 ss, then ch 1.
- R16: Work sc2tog 6 times. Cut the yarn and weave in the end.
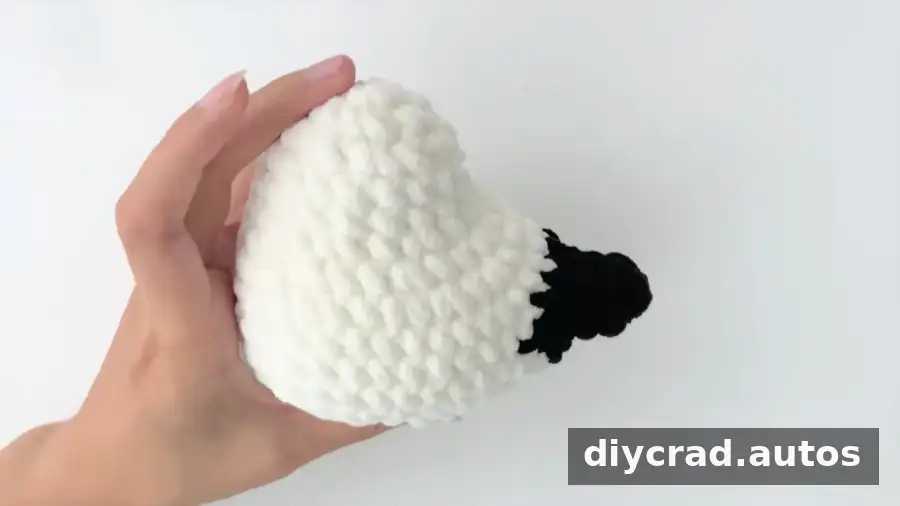
Tail (black)
Work into the 6 skipped stitches from Round 10 of the body. A stitch marker can help you keep your place across this section.
- R1: Work 2 sc, sc2tog, 1 sc, sc2tog, 2 sc, sc2tog, 1 sc, sc2tog. Join with 1 ss, then ch 1.
- R2: Work (3 sc, sc2tog) 2 times. Join with 1 ss, then ch 1.
- R3: Work 8 sc. Join with 1 ss, then ch 1.
- R4: Work (1 sc, sc2tog, 1 sc) 2 times. Cut the yarn and weave in the end.
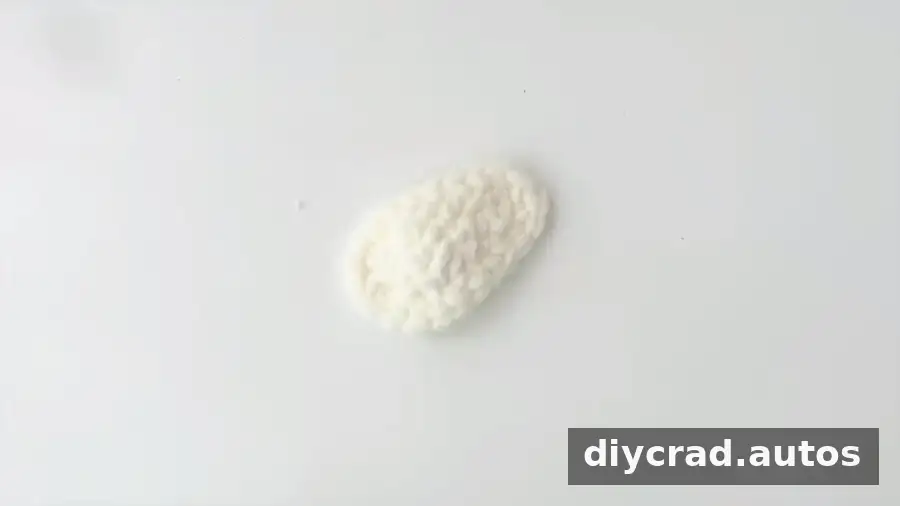
Wings (make 2, white)
- R1: Ch 2. Starting in the second chain from the hook, work 2 sc.
- R2: Ch 1 and turn. Work 2 sc in the next st; repeat 2 times.
- R3: Ch 1 and turn. Work 4 sc.
- R4: Ch 1 and turn. Work sc2tog, then 2 sc.
- R5: Ch 1 and turn. Work sc2tog, then 1 sc.
- R6: Ch 1 and turn. Work 2 sc.
- R7: Ch 1 and turn. Work sc2tog.
- R8: Ch 1 and turn. Work 1 sc.
- Work sc around the edge. At the middle point, work 2 sc in the next st. Cut the yarn and weave in the end.
Beak (black)
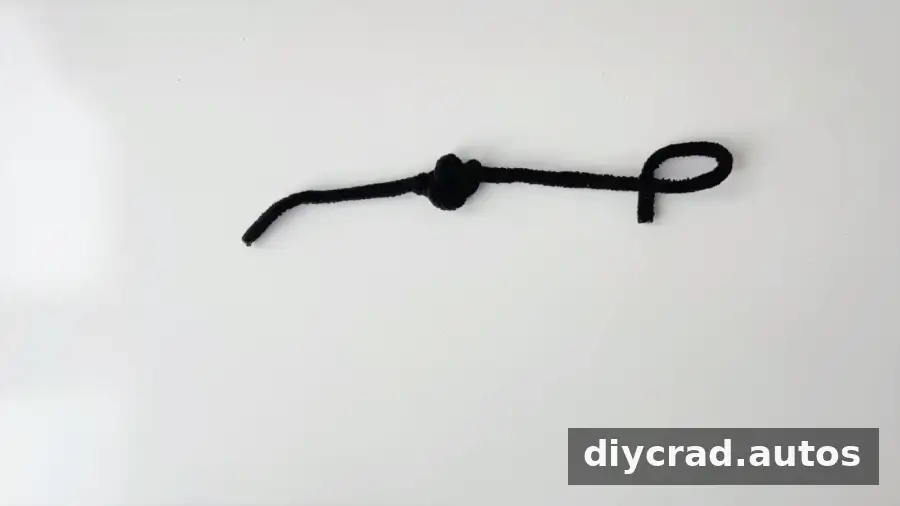
- With black yarn, ch 2. Starting in the second chain from the hook, work 1 sc.
Assemble the Crochet Bird
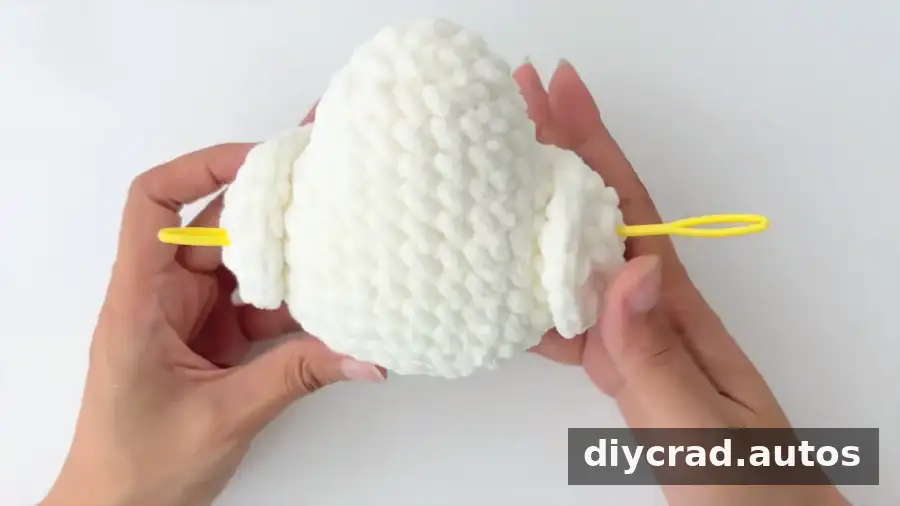
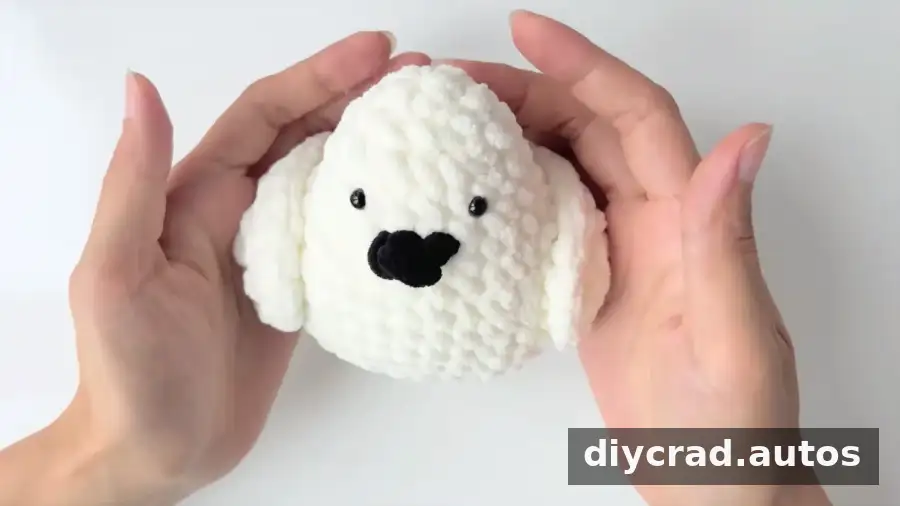
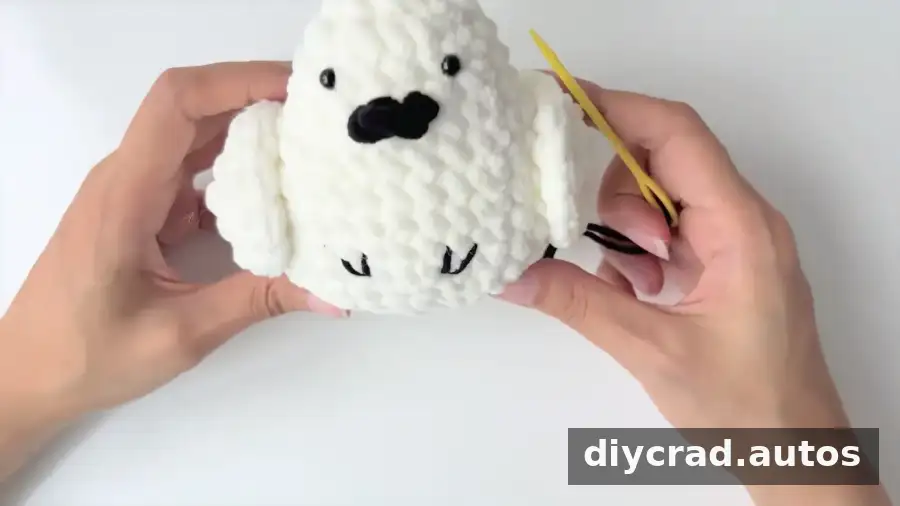
- Position one wing on each side of the body. Attach them with hot melt adhesive, taking care to place them evenly.
- Place the beak at the front of the body. Align its starting chain with the desired row, sew the edges with a yarn needle, and secure it with adhesive if needed.
- Attach the 6 mm eyes in the chosen positions using hot melt adhesive. Check that they are aligned before the glue sets.
- Use black yarn to add small details, such as the bird’s feet.
Finishing Tips
Before trimming any remaining yarn, check that the wings, beak, and eyes are secure and positioned as intended. If the body looks uneven, gently adjust the fiberfill through the opening before closing the final round. For a neat finish, weave yarn tails into the fabric rather than leaving them loose.
Conclusion: Enjoy Your Crochet Bird
This crochet bird pattern combines a rounded amigurumi body with shaped wings and a contrasting tail. Take your time with the increases and decreases, and use stitch markers to make counting easier. Once assembled, the finished bird can be displayed as a handmade decoration or added to a collection of crocheted animals.