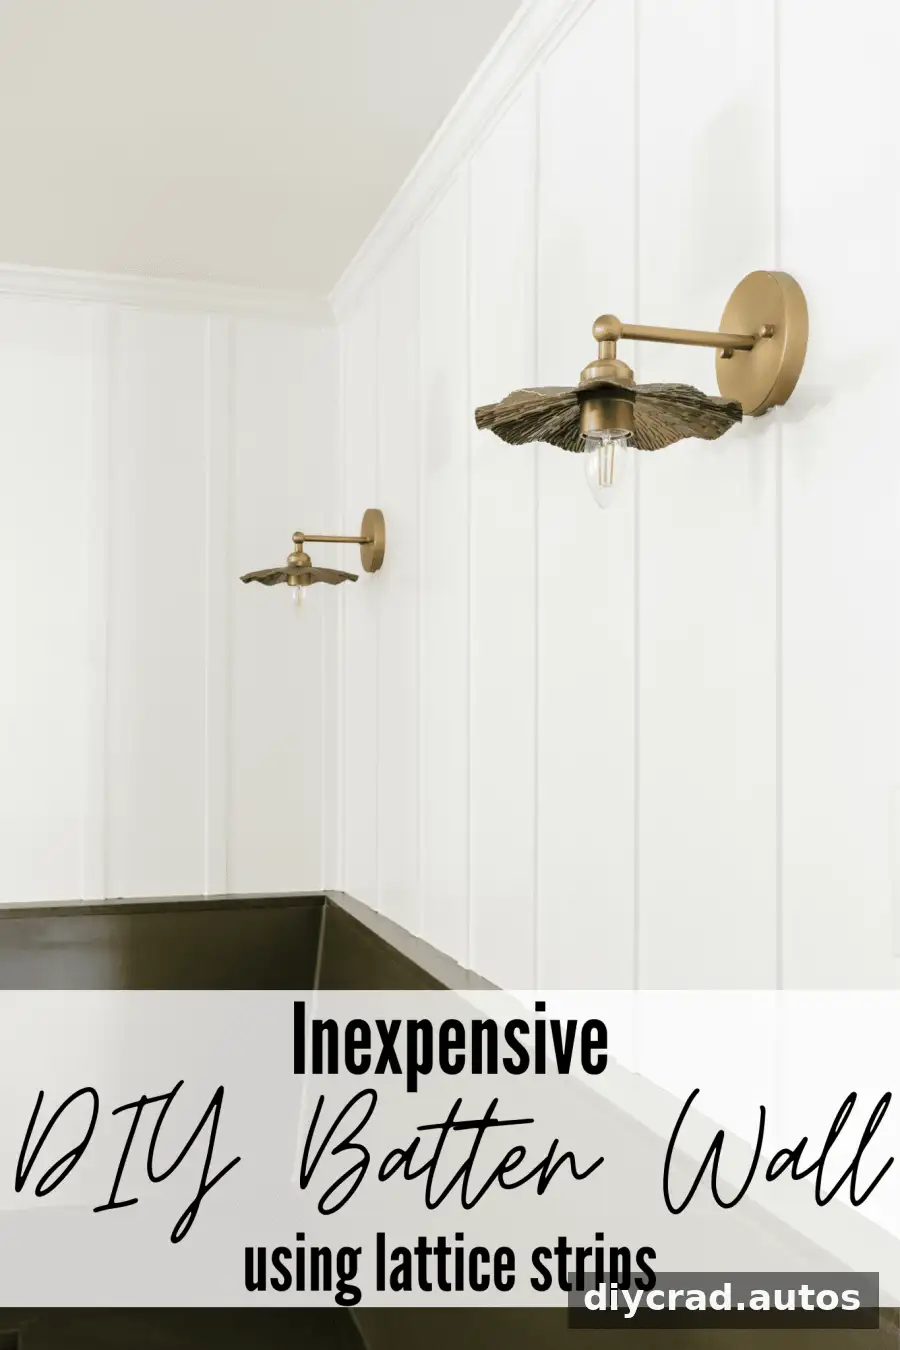
A DIY batten wall can add depth and a classic architectural detail to a plain room without the cost or complexity of traditional molding. Thin lattice strips are lightweight, easy to cut, and can sit over existing baseboards, making them a practical option for a beginner-friendly accent wall.
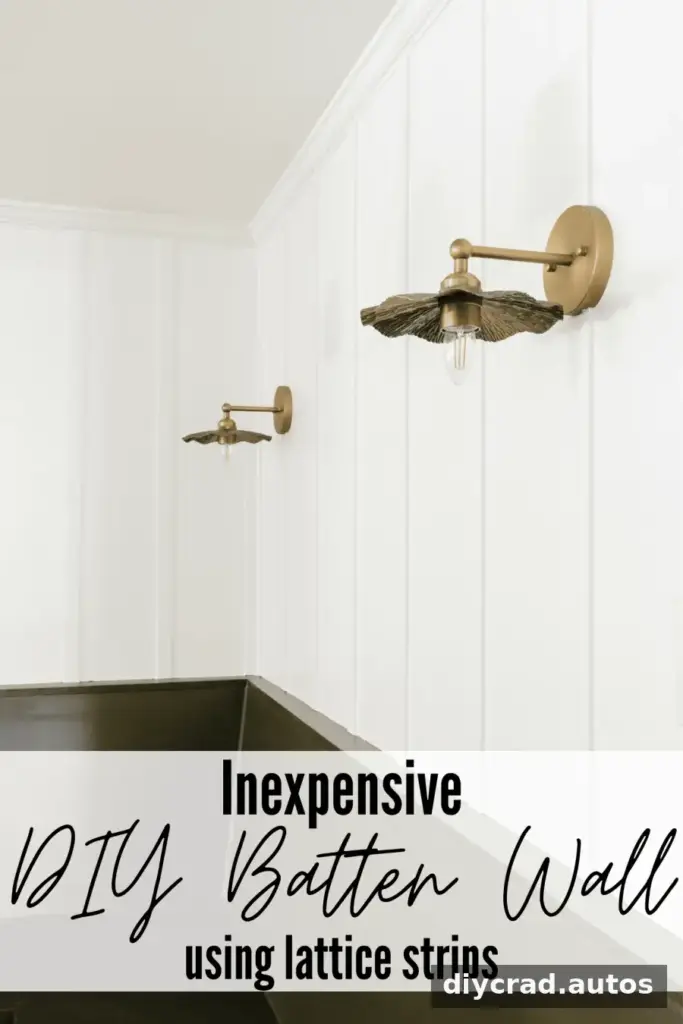
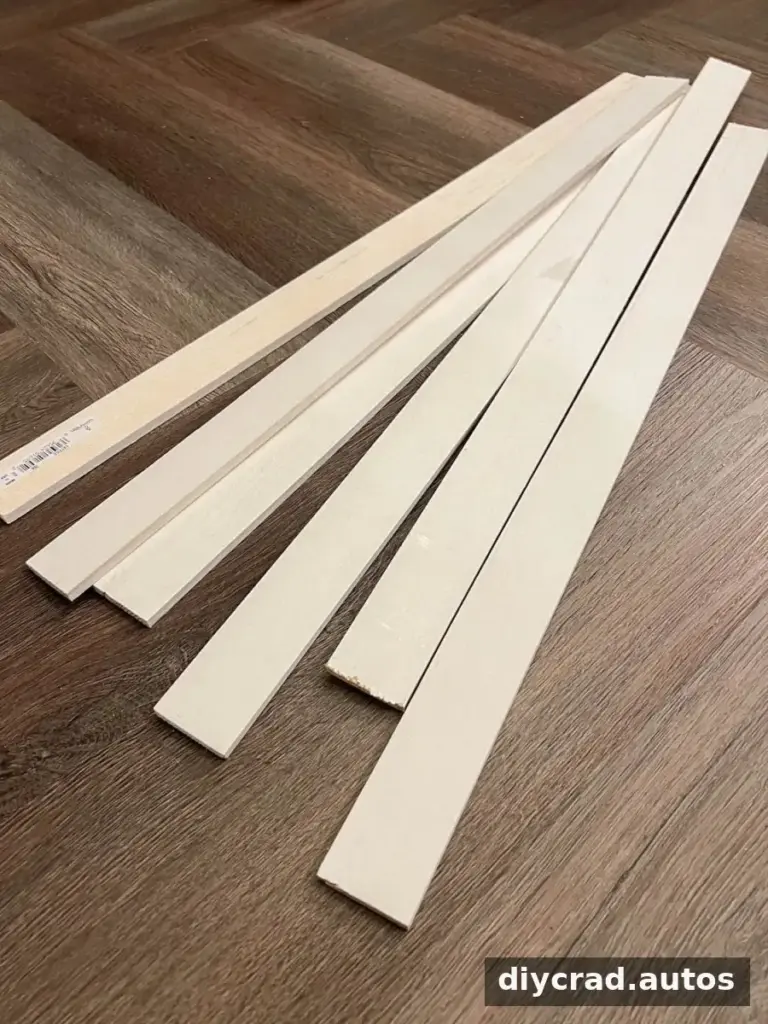
Lattice is often used outdoors for garden trellises and porch skirting, but its narrow wooden strips can also create simple, evenly spaced wall battens. In this project, pre-primed lattice molding cost $1.28 per linear foot, offering a more affordable alternative to wider boards. Prices vary by location and over time, so check current costs before planning your materials.
Why Use Lattice Strips for a DIY Batten Wall?
Lattice strips are thinner than standard 1×2 boards, so they can usually sit flush against existing baseboards. The design also avoids complicated miter cuts, which can make installation more manageable if this is your first molding project. Lightweight strips can be attached with brad nails; construction adhesive is optional, though using nails alone may make future removal easier.
This treatment can be used across a full room, as wainscoting, or on one accent wall. It can also add detail to a plain kitchen island. On textured walls, however, the strips may not sit neatly against the surface. The original project recommends first covering the texture with MDF panels secured with construction adhesive and brad nails.
Materials and Tools
Gather the supplies before measuring and cutting. Having a level and pencil ready helps keep the layout consistent as you work.
- 1/4-inch × 1 1/2-inch pre-primed wood lattice molding
- Brad nailer or hammer
- 1-inch, 18-gauge brad nails
- Jigsaw
- Tape measure, pencil, and level
- Paintable caulk and wood filler
- Interior paint; satin sheen was used for the wall molding in this project
- Fine-grit sandpaper; an orbital sander can speed up sanding
How to Make a Batten Wall with Lattice Strips
Plan the spacing before cutting any wood. A simple layout check can prevent uneven gaps and reduce the chance of cutting several strips to the wrong length.
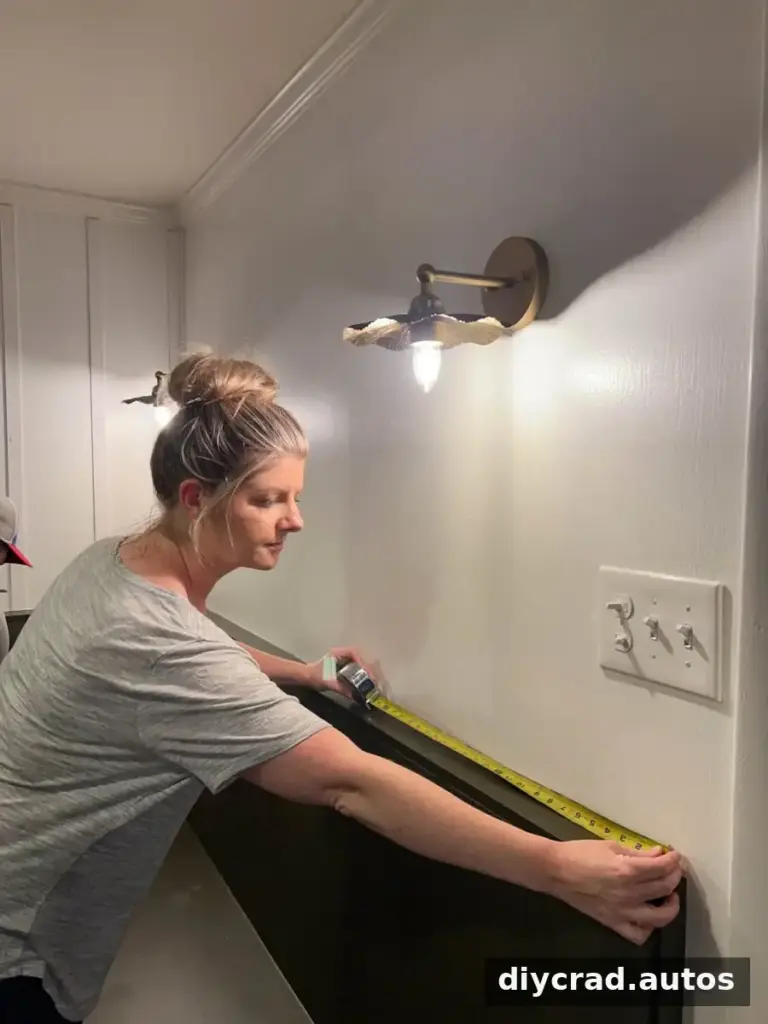
1. Measure the Wall and Plan the Layout
Measure the full wall and decide how far apart to place the vertical battens. Mark each position lightly with a pencil, and include the 1 1/2-inch width of each lattice strip in your calculations. The battens in this project were spaced with an 8 1/2-inch gap between them. Check the layout across the wall before moving on.
2. Cut Each Strip to Length
Measure from the baseboard to the crown molding, then cut one lattice strip to fit with a jigsaw. Walls may vary slightly in height from one end to the other, so measure each position individually rather than cutting every strip from the first measurement.
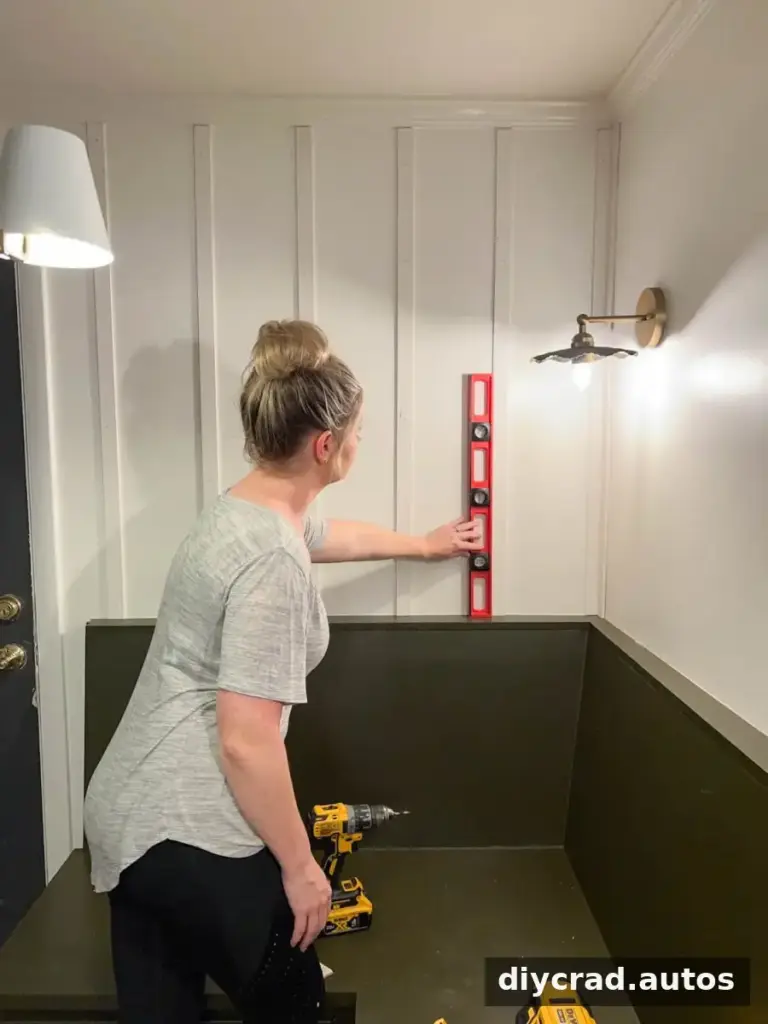
3. Check the First Strip with a Level
Hold the first strip in place without fastening it and check that it is straight with a level. This dry fit gives you a chance to adjust its position before adding nails. Use the first batten as a reference, but continue checking later strips as you install them.
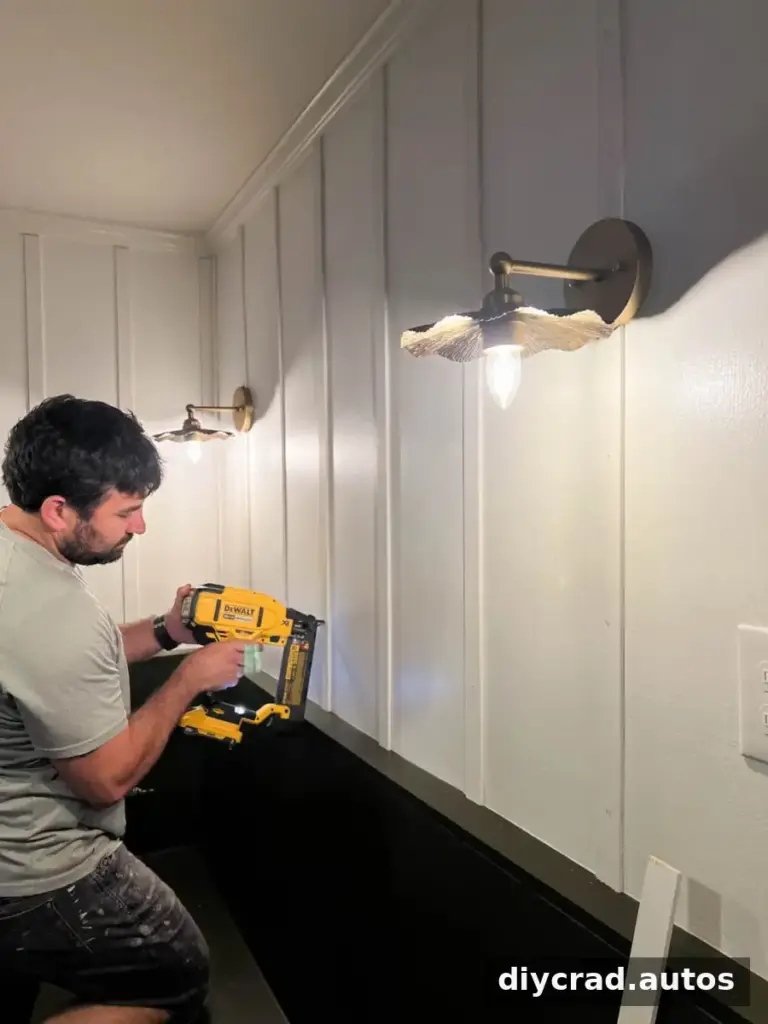
4. Fasten the Lattice
When the placement is correct, secure the strip to the wall with a brad nailer or hammer and brad nails. Construction adhesive can also be used, but it is optional because the lattice is lightweight. Skipping adhesive may make the feature easier to remove later.
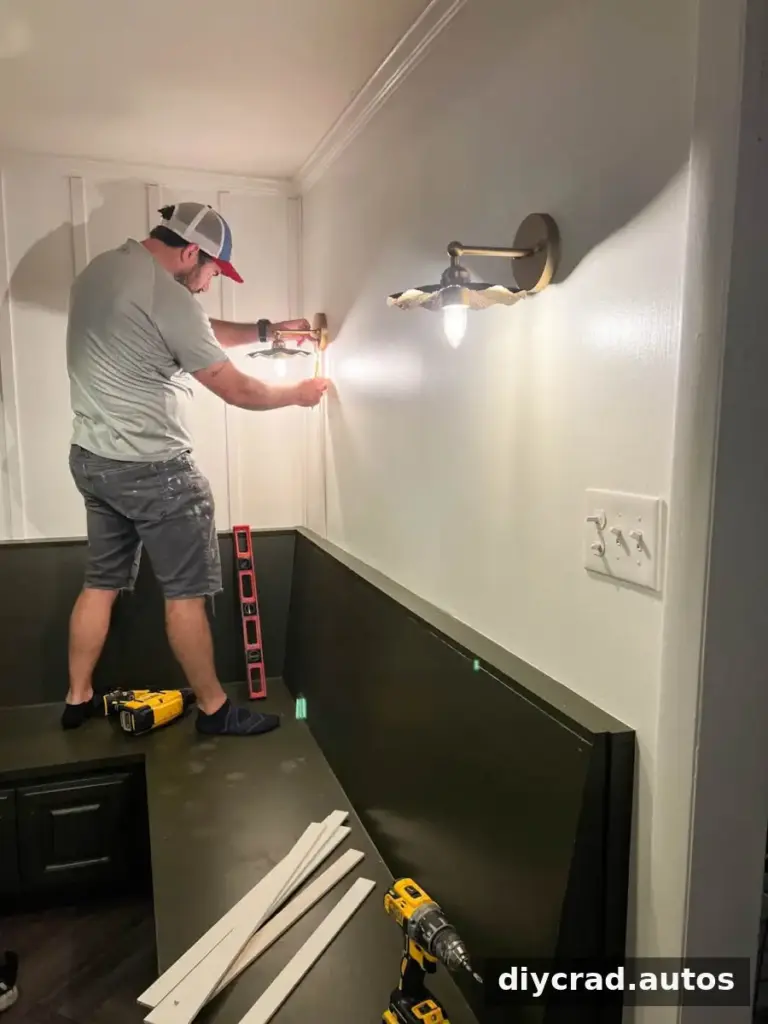
5. Install the Remaining Battens
Repeat the measuring, cutting, level-checking, and fastening process for each marked position. Take care to keep the gaps consistent. Measuring each strip where it will go is particularly useful if the ceiling or floor line is not perfectly level.
6. Fill the Edges and Nail Holes
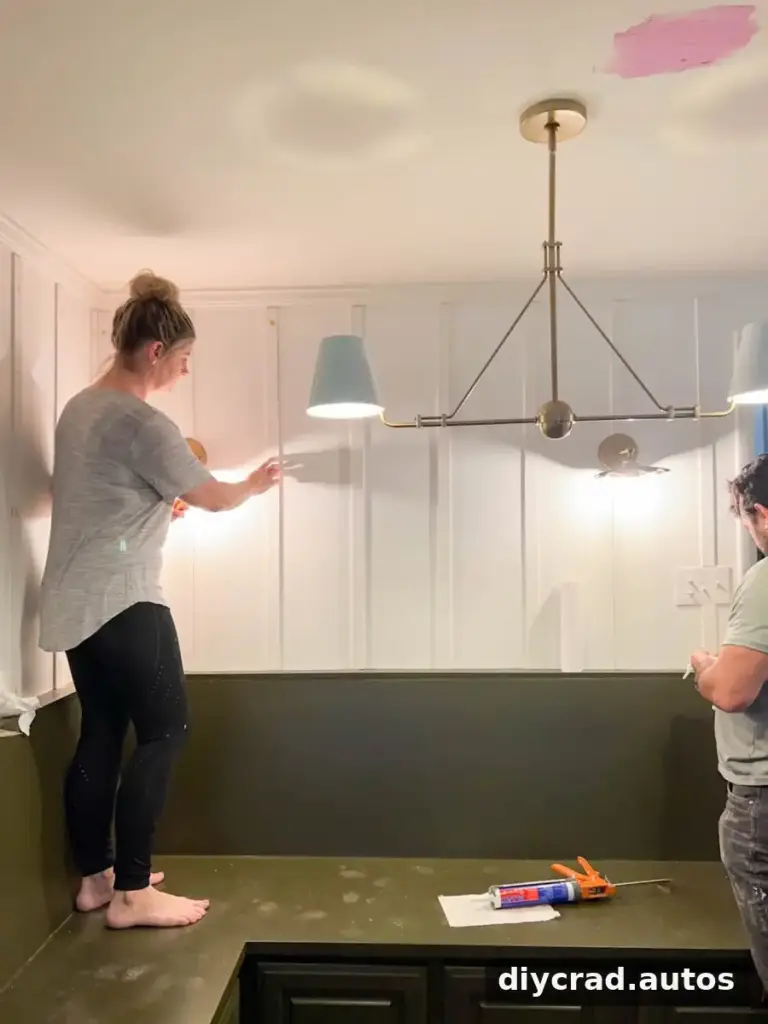
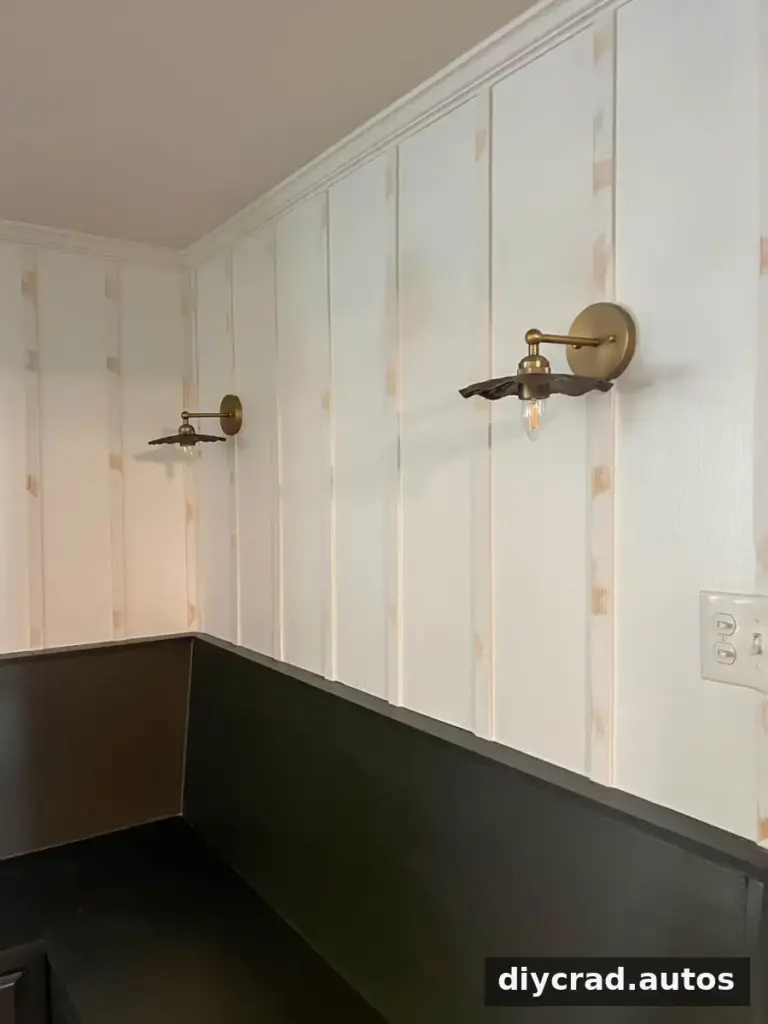
Apply paintable caulk along the edges of the lattice to fill small cracks. Use wood filler for the nail holes. Smooth the materials neatly and allow them to dry according to their product instructions before sanding.
7. Sand the Repairs
Once the wood filler is fully dry, sand it with fine-grit sandpaper until the filled areas are smooth. Remove sanding dust before painting so it does not interfere with the finish.
8. Paint the Wall and Battens
Apply a fresh coat of interior paint after the caulk and filler work is complete. Painting the wall in the intended final color before installing the strips can make it easier to cover the narrow spaces between battens. Finish the lattice with the same color for a unified look, or choose a contrasting color if you want the pattern to stand out.
Finishing a DIY Batten Wall
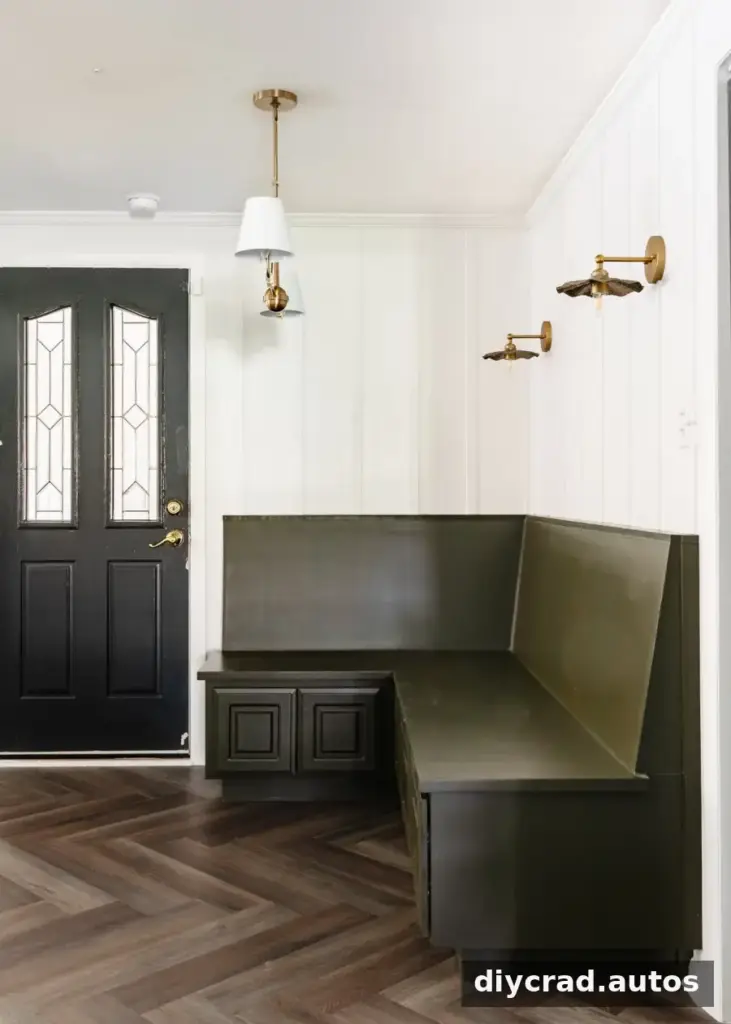
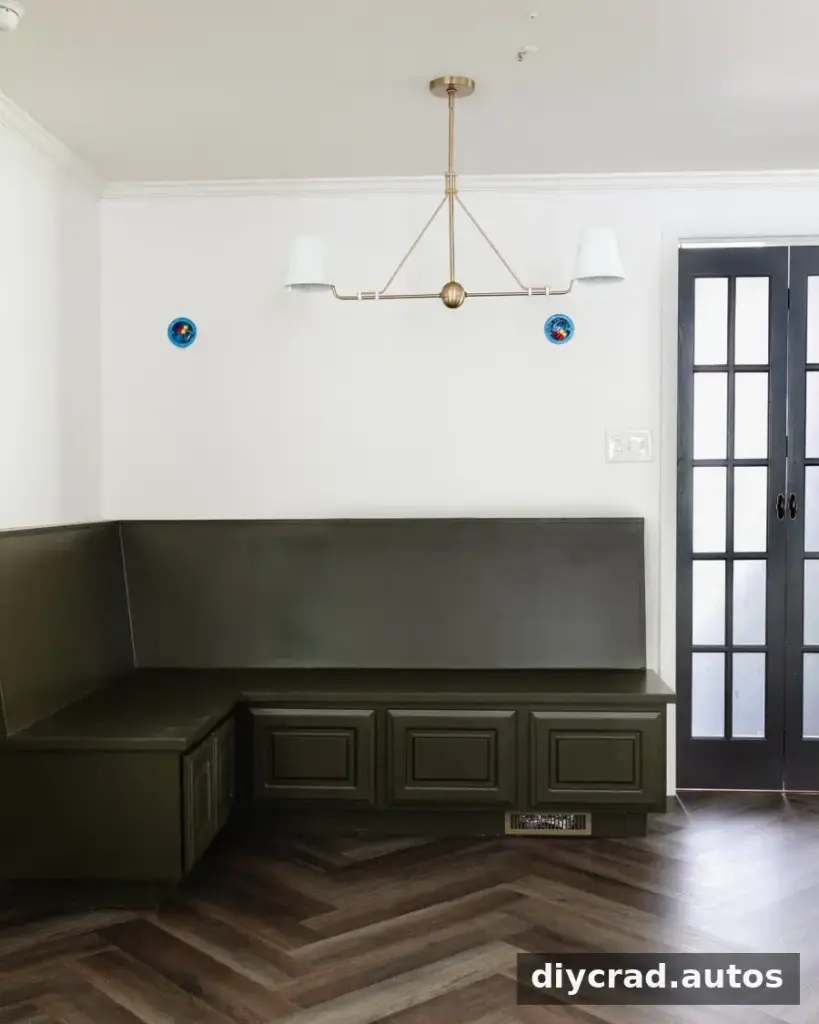
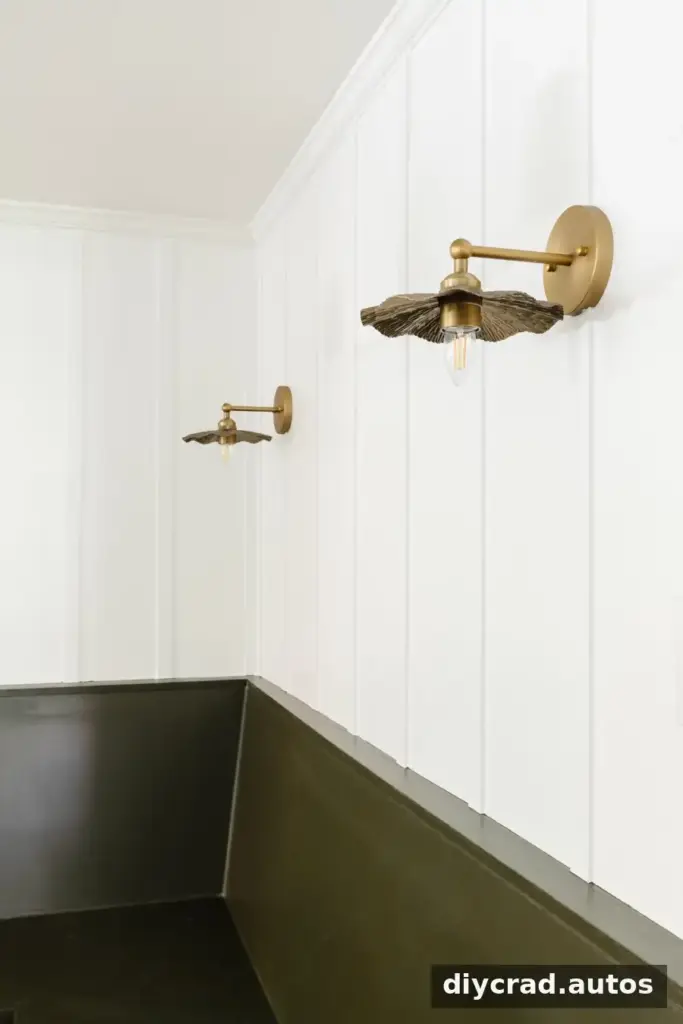
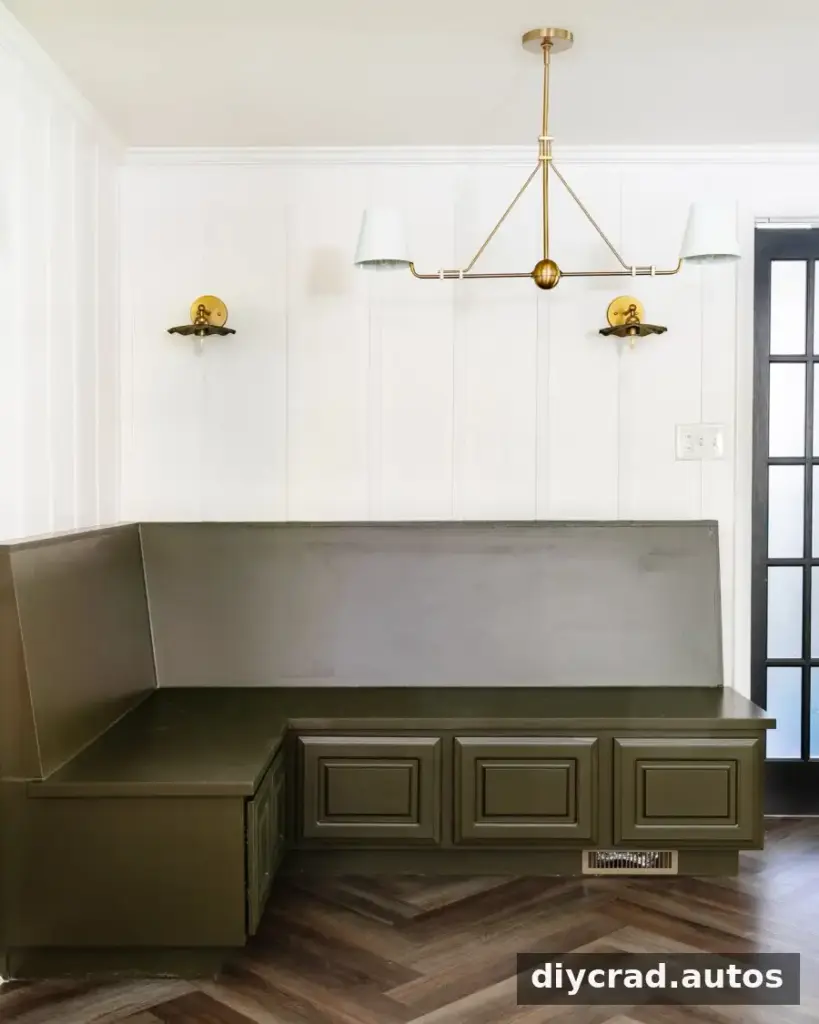
A batten pattern can bring visual structure to a breakfast nook or another small room. In the finished space shown here, the walls were painted a crisp white, with vintage-style sconces adding light to a windowless area. A linear chandelier and brass accents complemented the simple molding detail.
Before calling the project complete, inspect the wall in natural and artificial light. Touch up visible nail holes, gaps, or uneven paint, and make sure the edges around trim look clean. If you plan to add artwork or lighting, decide on their placement before installation so the battens and fixtures work together.
Final Tips for a DIY Batten Wall
A lattice-strip wall is a straightforward way to introduce decorative detail while keeping material use modest. The key steps are planning the spacing, measuring each strip separately, and checking alignment as you go. For a smooth finish, let caulk and filler dry fully, sand carefully, and remove dust before painting.
Whether you use the pattern across a whole room or on one accent wall, a DIY batten wall can give plain walls a more finished appearance with basic tools and careful measuring.