A DIY floral block outdoor rug can bring a patterned, decorative look to a plain porch rug without requiring a complicated sewing or painting project. With a reusable stencil cut from acetate, washable grid marks and careful paint application, you can create a repeating floral design suited to an outdoor space. This guide also explains how to make the stencil with a Cricut Explore Air 2.
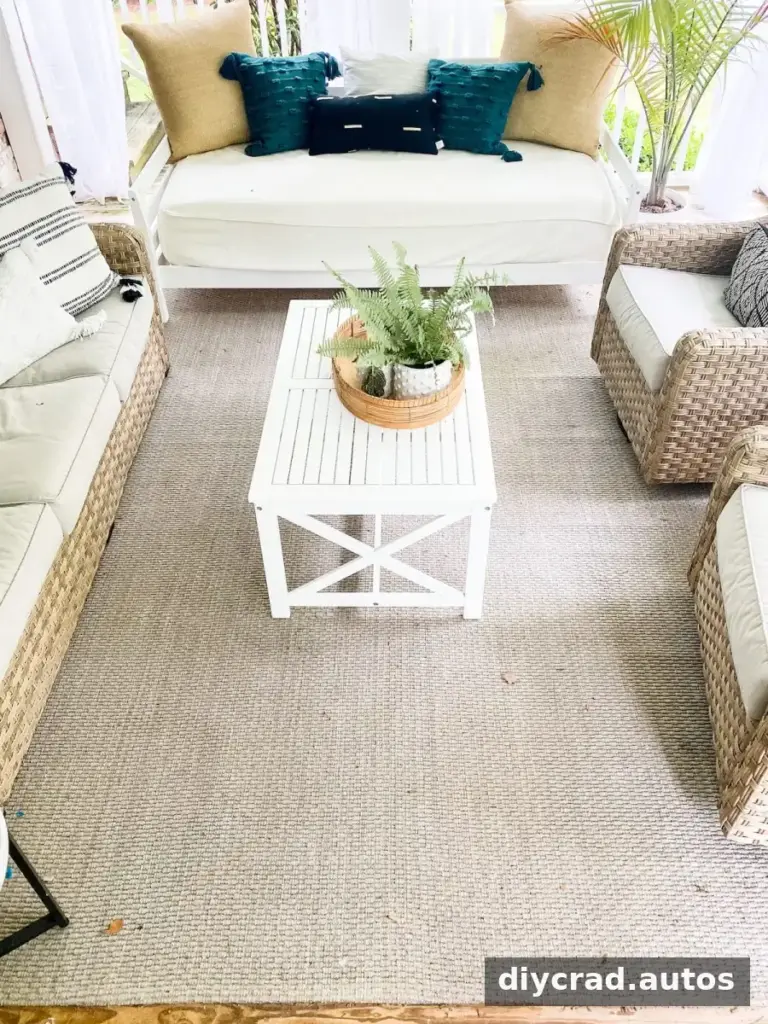
The project has two parts: cutting a stencil and transferring the pattern onto the rug. Take time to plan the spacing before painting, and use a paint suitable for the rug and its intended outdoor use. If you are unsure how the paint will look on the rug material, test it on a small, inconspicuous area first.
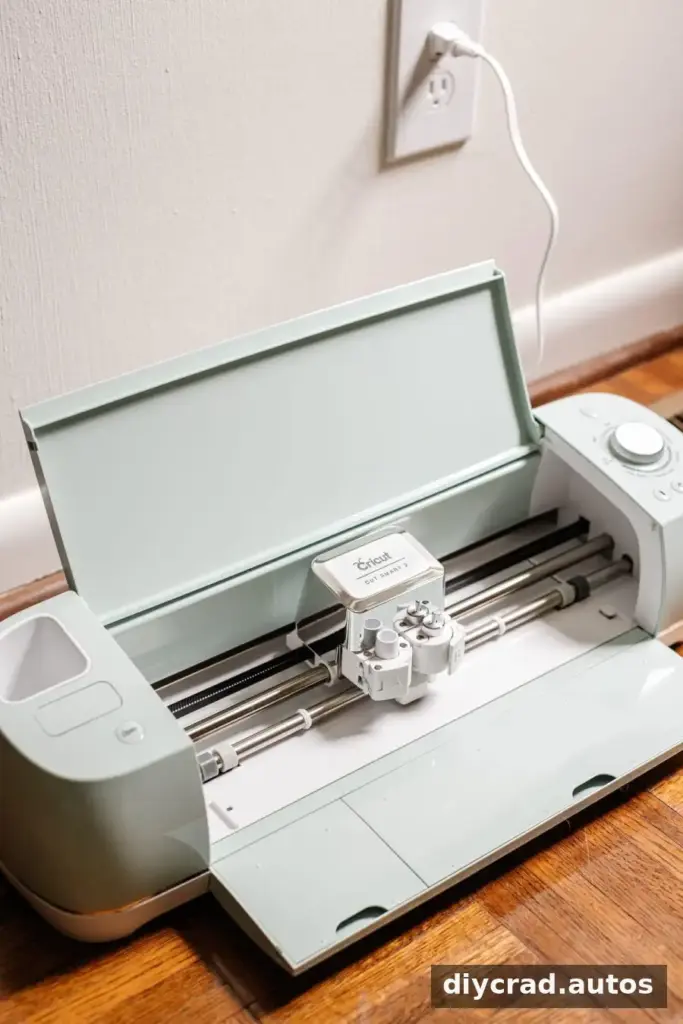
How to Make a Cricut Stencil for a DIY Floral Block Outdoor Rug
A reusable acetate stencil is useful when you need to repeat the same motif across a large surface. For a one-time stencil, regular vinyl can be used instead. Keep the cutout design simple enough to transfer cleanly onto the rug.
Materials for the Reusable Stencil
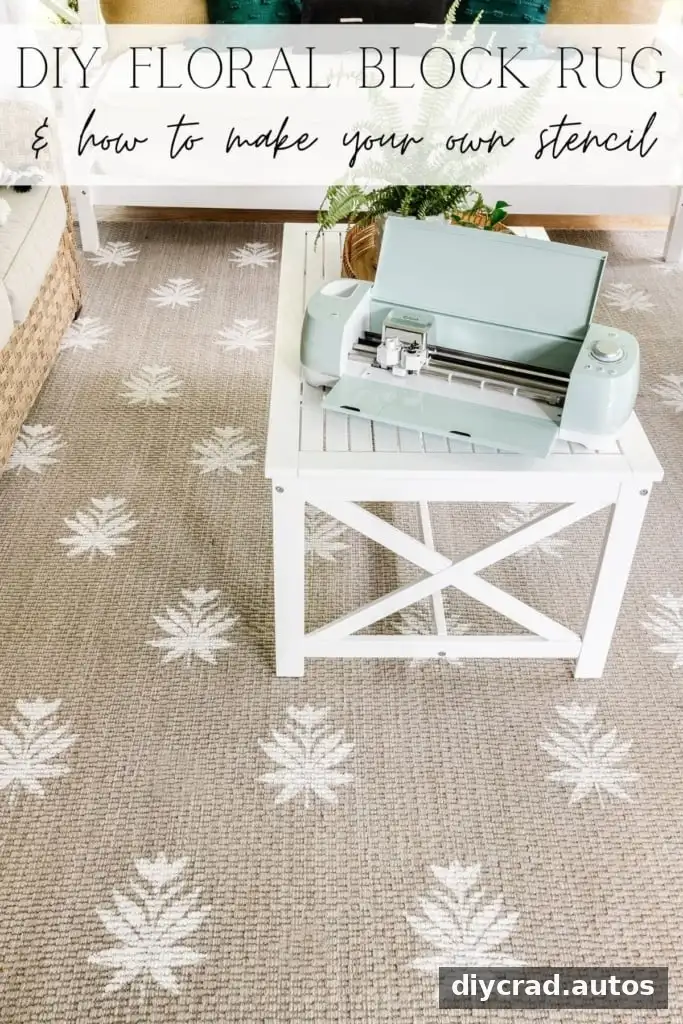
- Cricut Explore Air 2
- Light Grip Machine Mat
- Deep Point Blade and housing
- Starter Tool Set
- 12 × 12-inch acetate sheet (regular vinyl is an option for a one-time stencil)
Steps to Cut the Stencil
- Open Cricut Design Space and choose a flower image from the image library. Select a design with a clear silhouette that will be easy to stencil.

- Select the chosen flower and insert it onto the blank canvas.
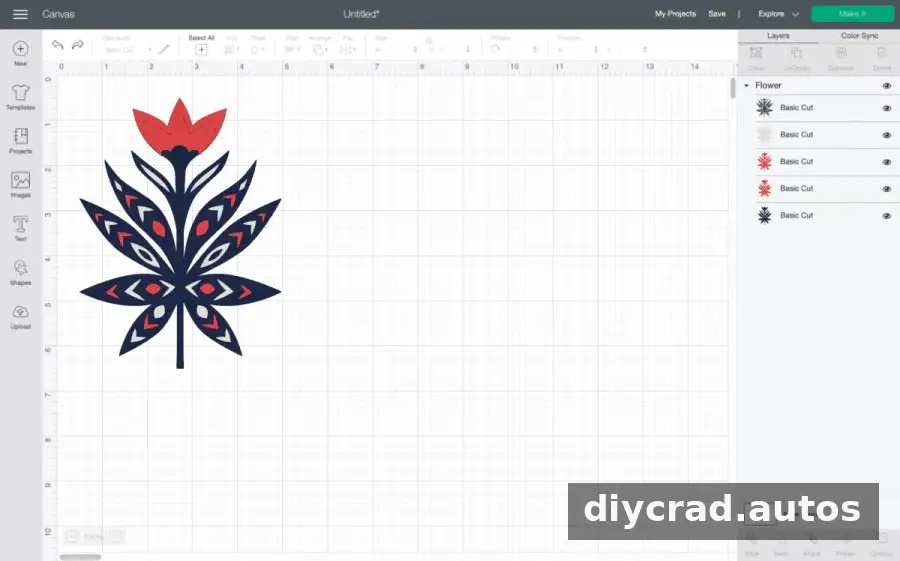
- Use the visibility controls beside the image layers to hide any colors or details you do not want in the stencil. Leave the silhouette you plan to cut.
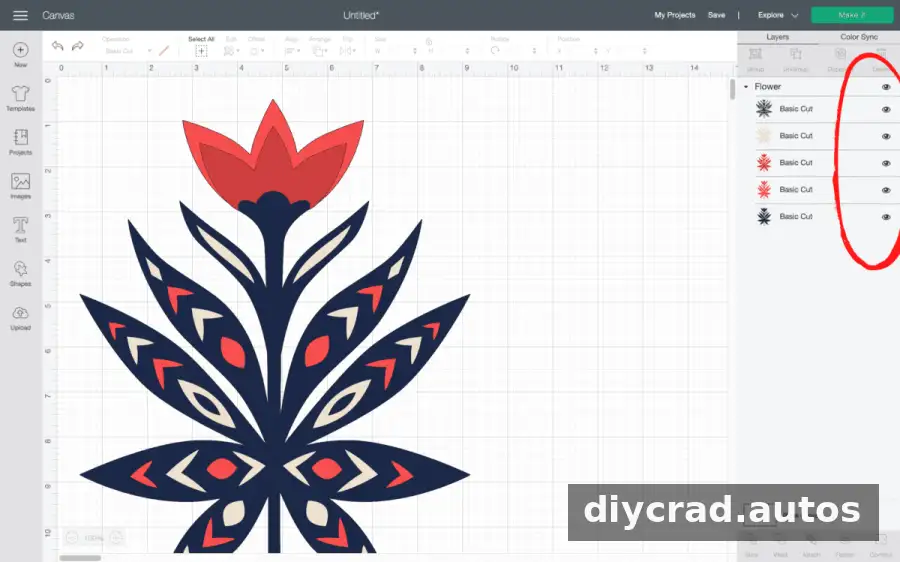
- Open the Shapes menu and add a square to the canvas.
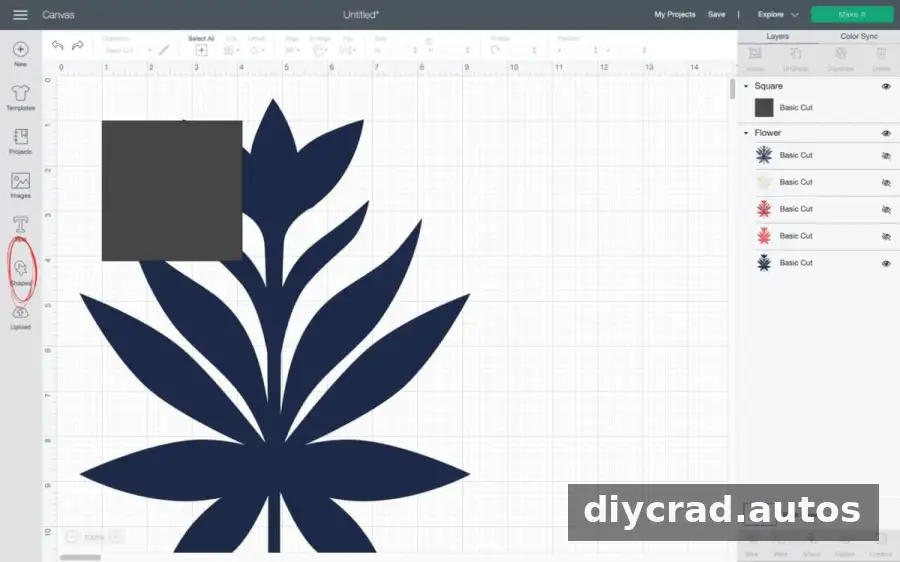
- Resize the square so it covers the flower image. Use Arrange to move the flower in front of the square.
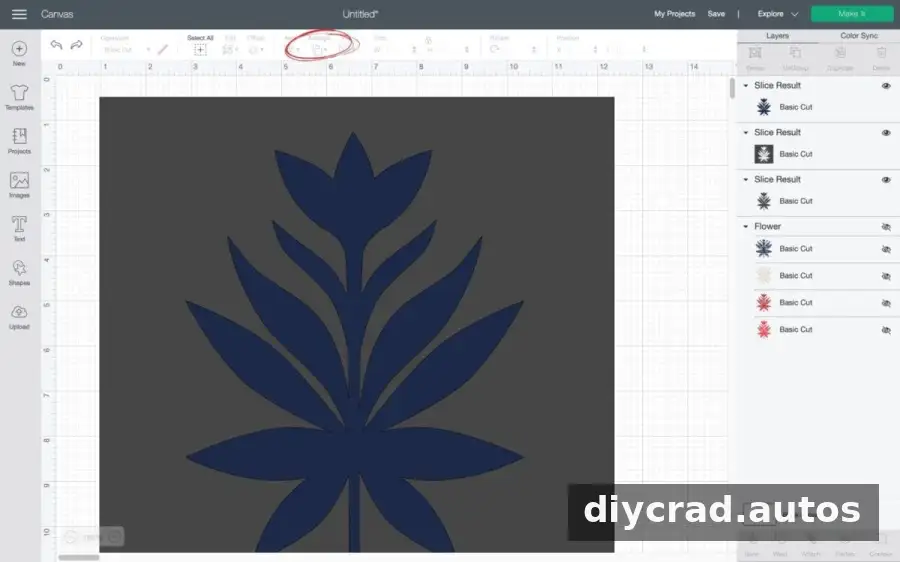
- Select both shapes and use Slice. Delete the flower image, leaving its cutout outline in the square.
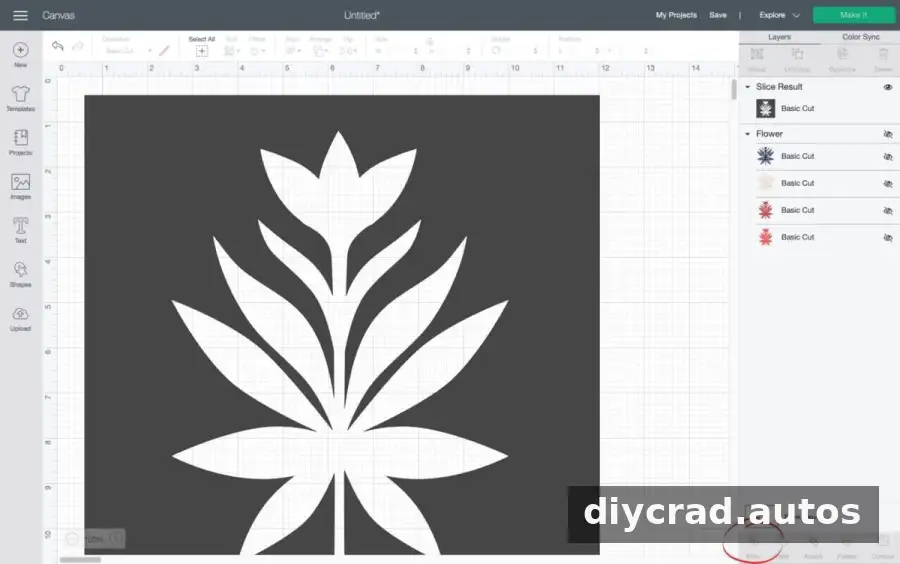
- Select Make It. Choose the custom material setting for transparency and set the pressure to More.
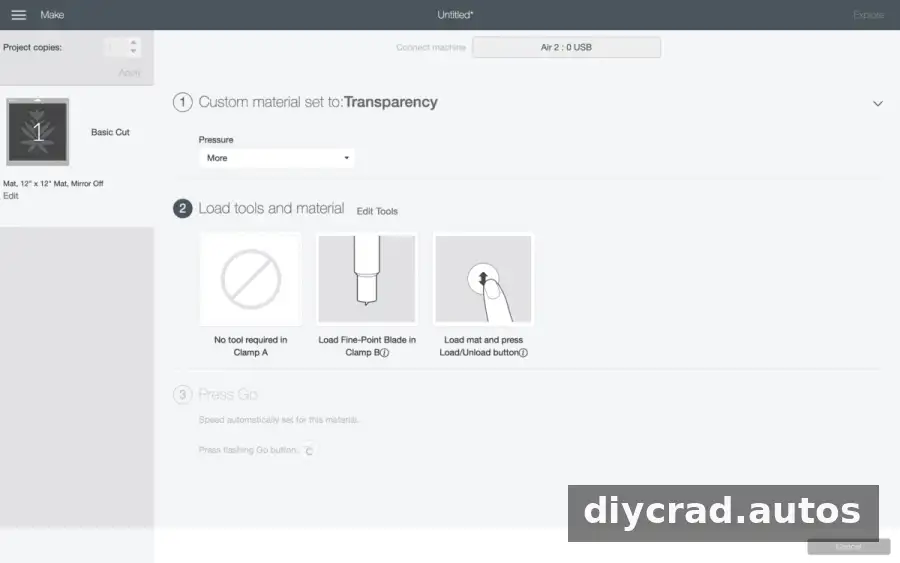
- Replace the regular blade with the Deep Point Blade.
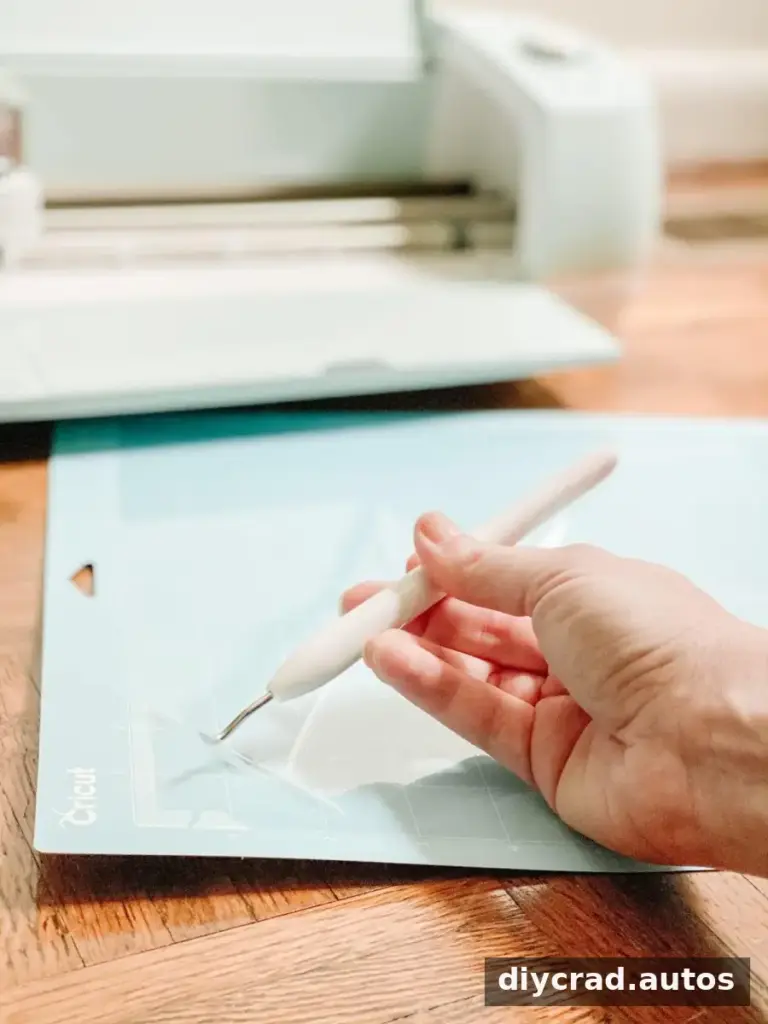
- Place the acetate sheet on the Light Grip Machine Mat, load the mat into the machine and press the Load/Unload button.
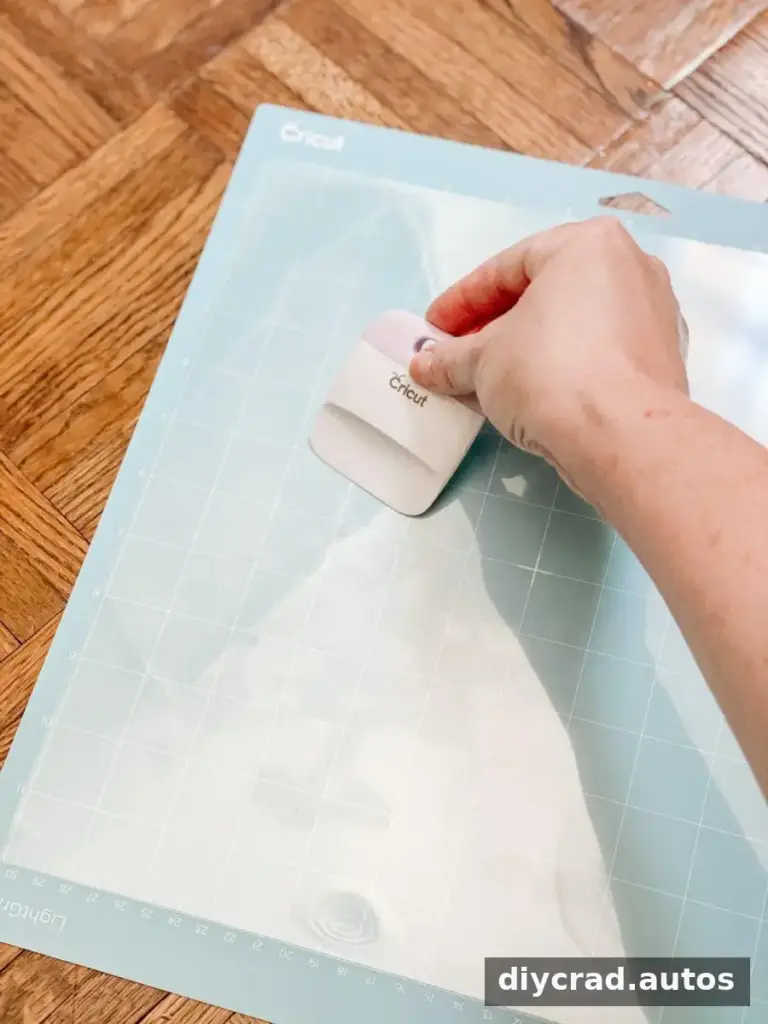
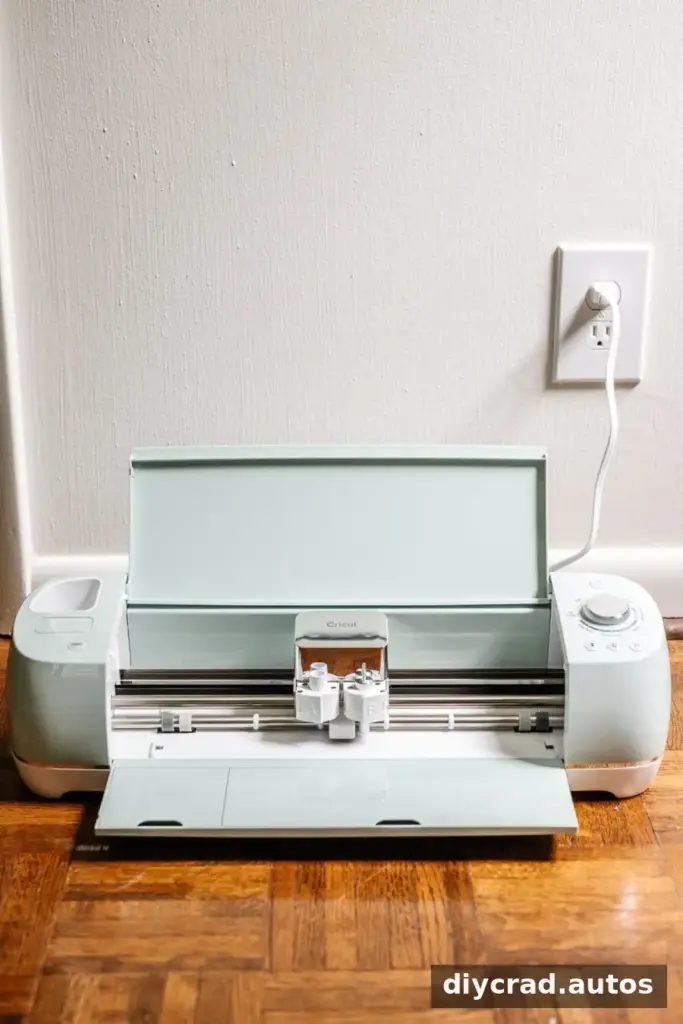
- Check the design and mat setup, then press the flashing Go button to cut the stencil.
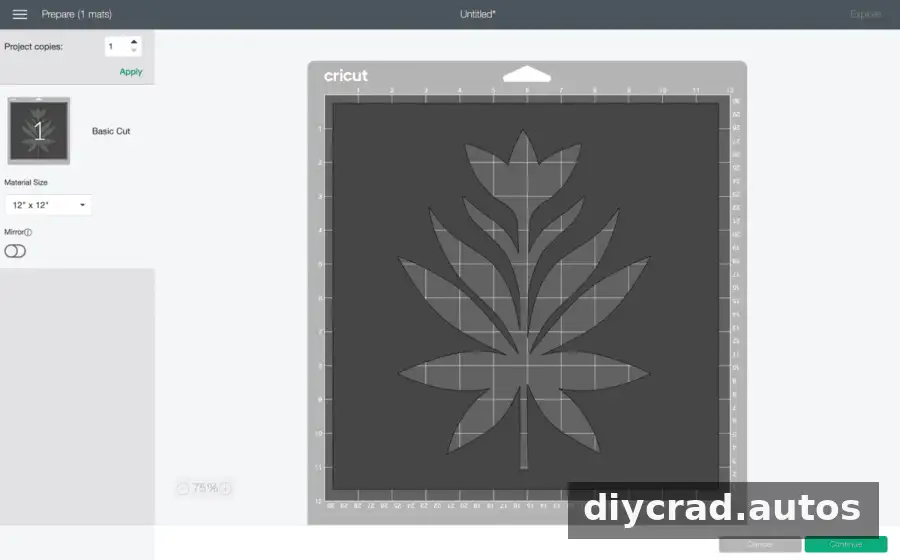
Allow the machine to finish before unloading the mat. Avoid pulling the acetate sharply, as a slow, careful peel makes it easier to remove the sheet without bending it.
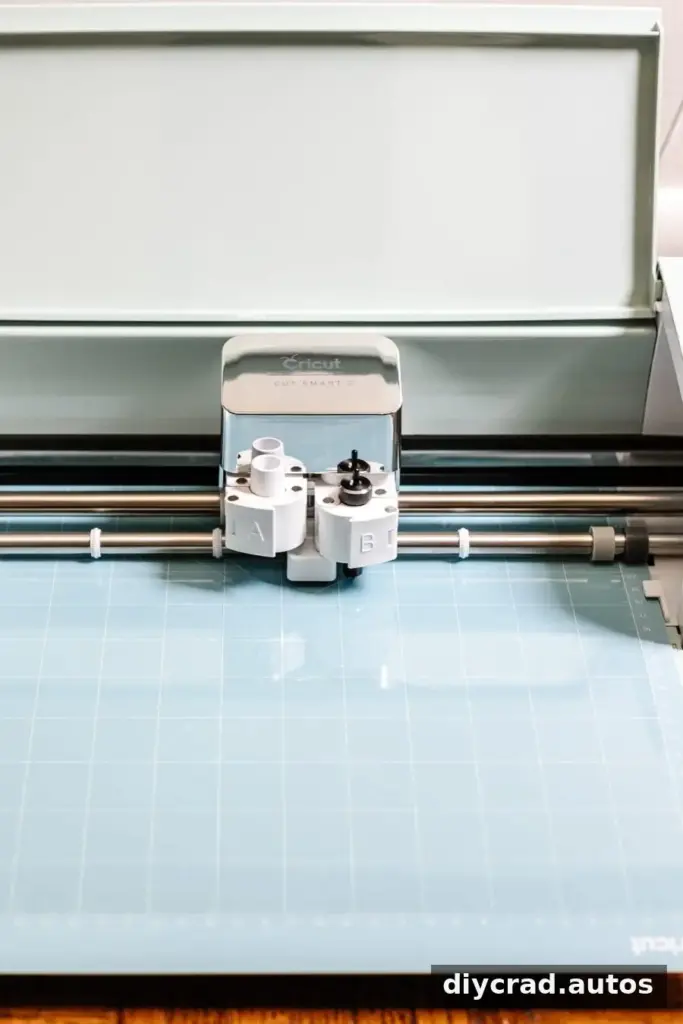
- Use the Starter Tool Set to help lift the acetate sheet carefully from the mat.
- Your reusable stencil is ready. The same stencil can also be used for projects such as signs, pillow covers or floor patterns.
How to Make a DIY Floral Block Outdoor Rug
Once the stencil is cut, prepare the rug and mark out a consistent pattern. A clean surface and a clear starting plan help reduce smudges and uneven spacing.
Materials for the Rug
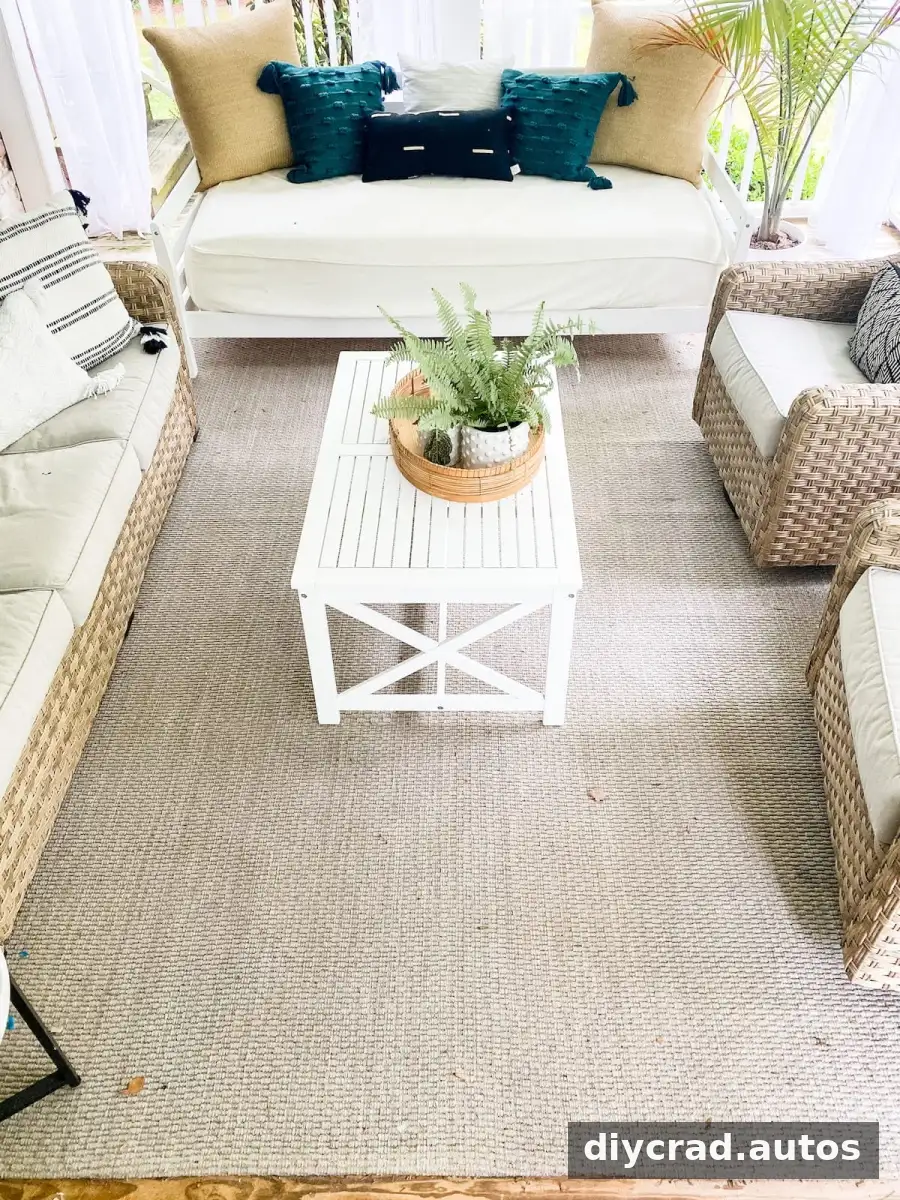
- Plain rug
- Stencil brush
- Acrylic paint or exterior enamel paint
- Easy Tack Spray (optional)
- Tape measure
- Washable marker
Steps to Paint the Pattern
- Clean the rug to remove dust, dirt and debris. For an outdoor rug, a leaf blower can help clear loose material. Make sure the surface is dry before painting.
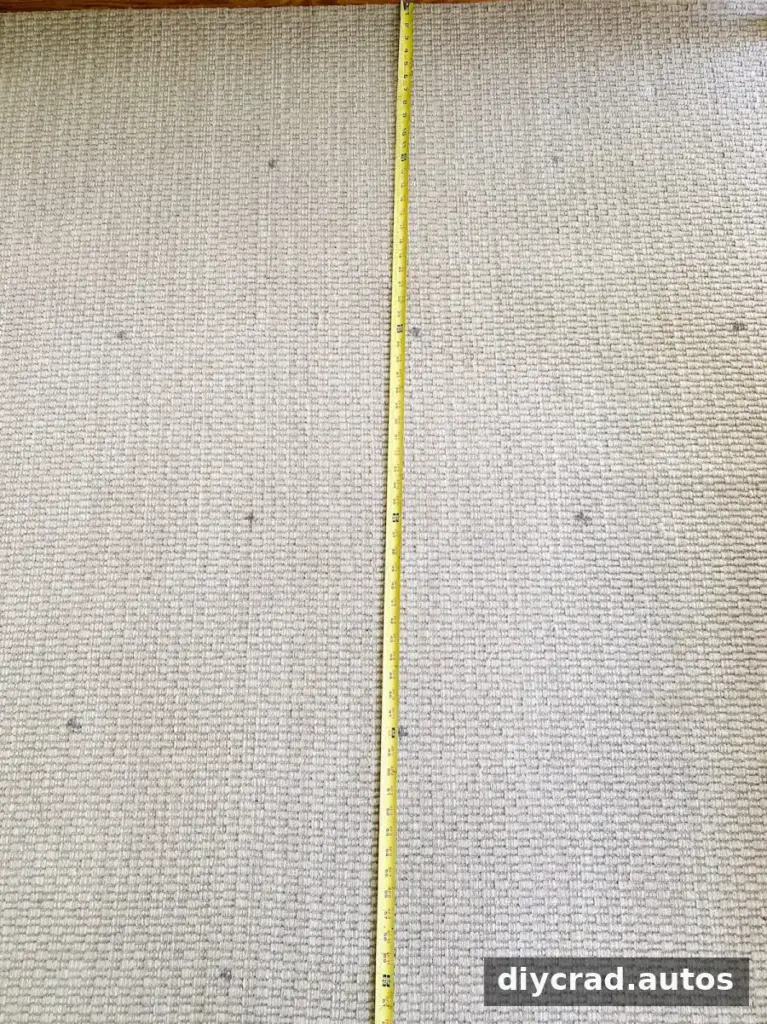
- Measure the rug and plan a grid with a washable marker. In this example, the first row is marked about 12 inches from the edge, with dots every 24 inches. For the next row, move the tape measure over 12 inches and begin the dots 24 inches from the edge to offset the pattern.
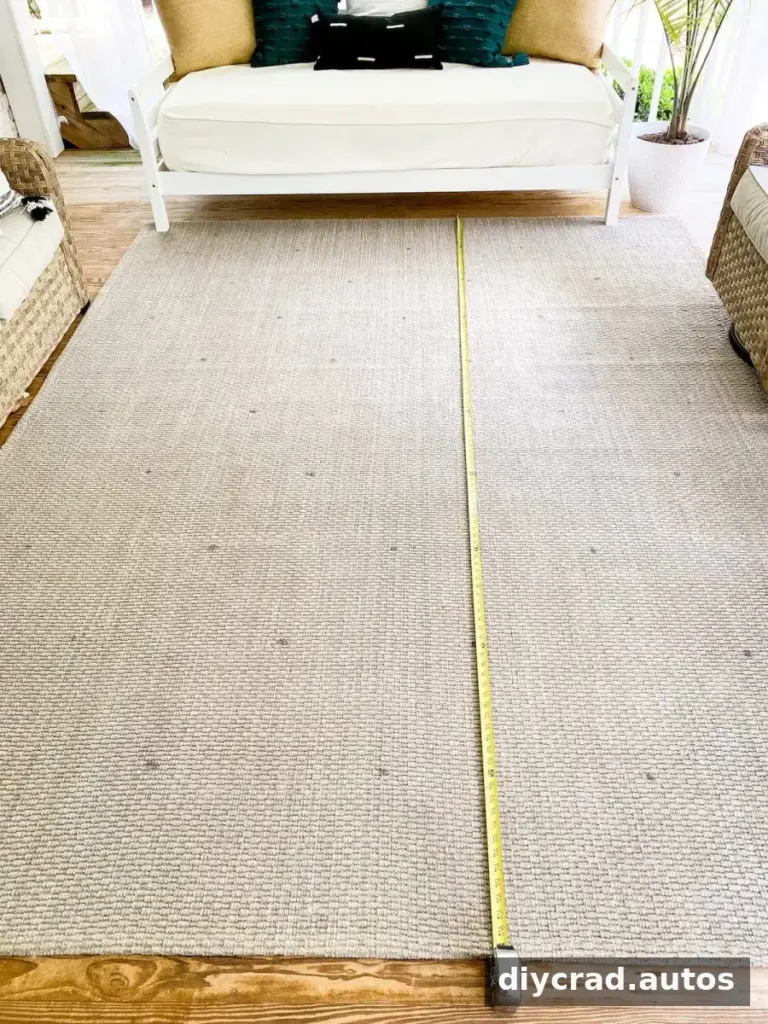
- Continue marking every 24 inches across the rug, keeping the rows aligned with the alternating layout.
- If using Easy Tack Spray, apply it to one side of the stencil according to its directions. It is optional, but can help hold the stencil in place. Decide where to begin so you can work across the rug without blocking yourself from reaching the remaining areas.
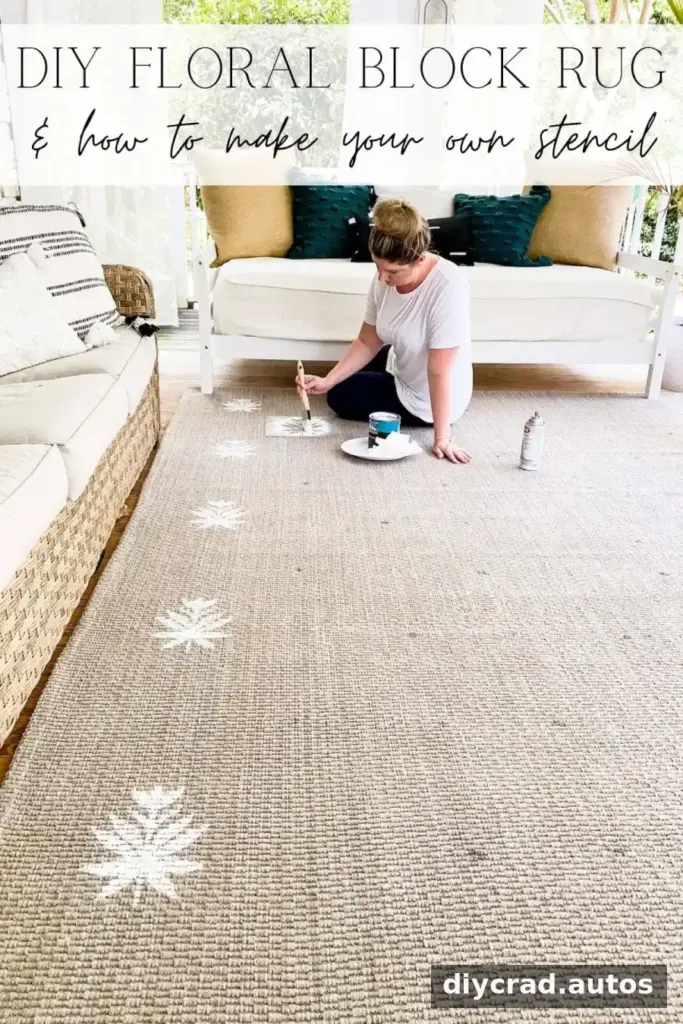
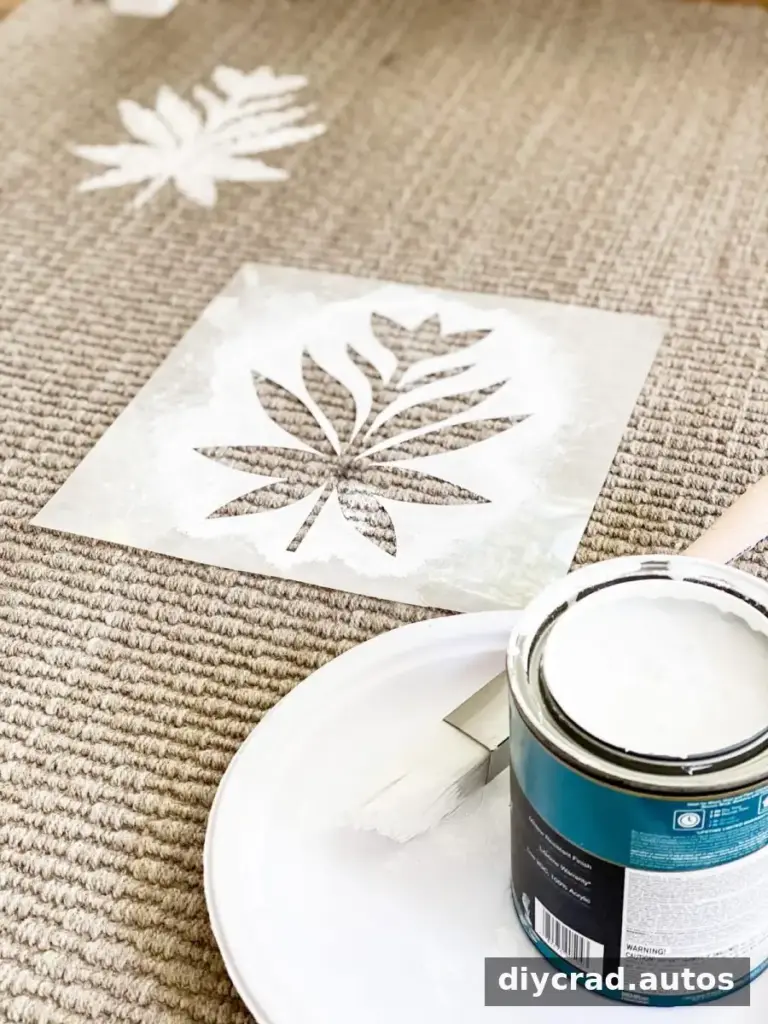
- Place the stencil over the first grid dot, positioning the dot in the center of the cutout. Press it down gently; a paper towel can help apply pressure without getting paint on your hand.
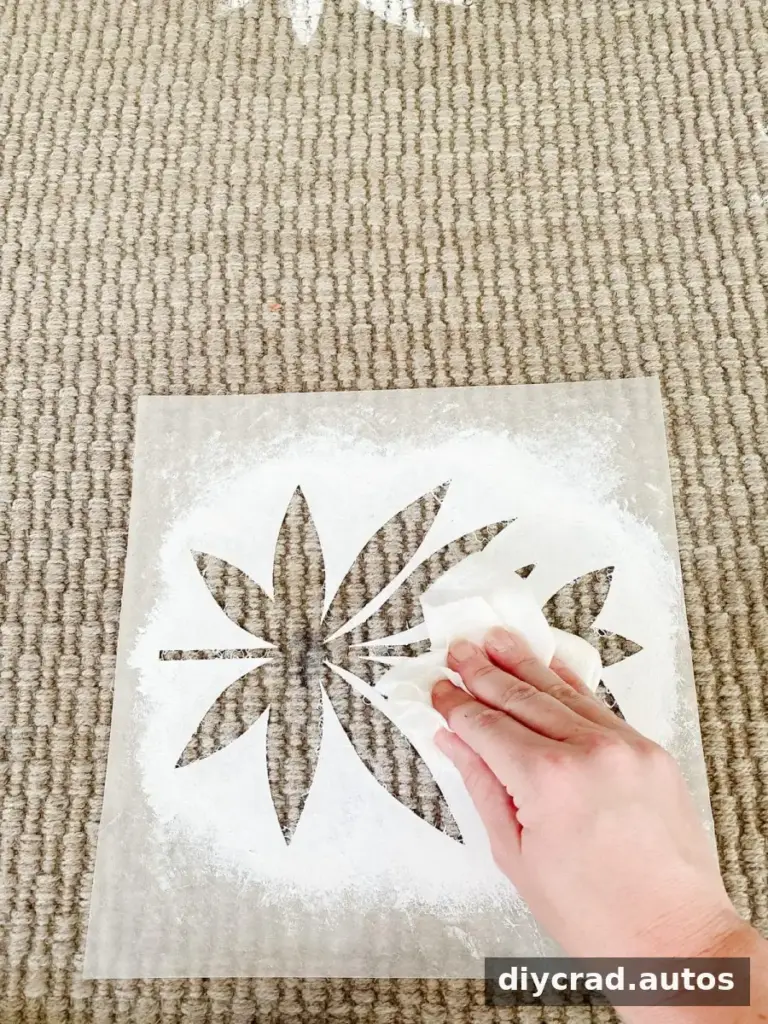
- Dip only the end of the stencil brush into the paint. Dab or pounce the brush over the cutout rather than using sweeping strokes, which may push paint beneath the stencil.
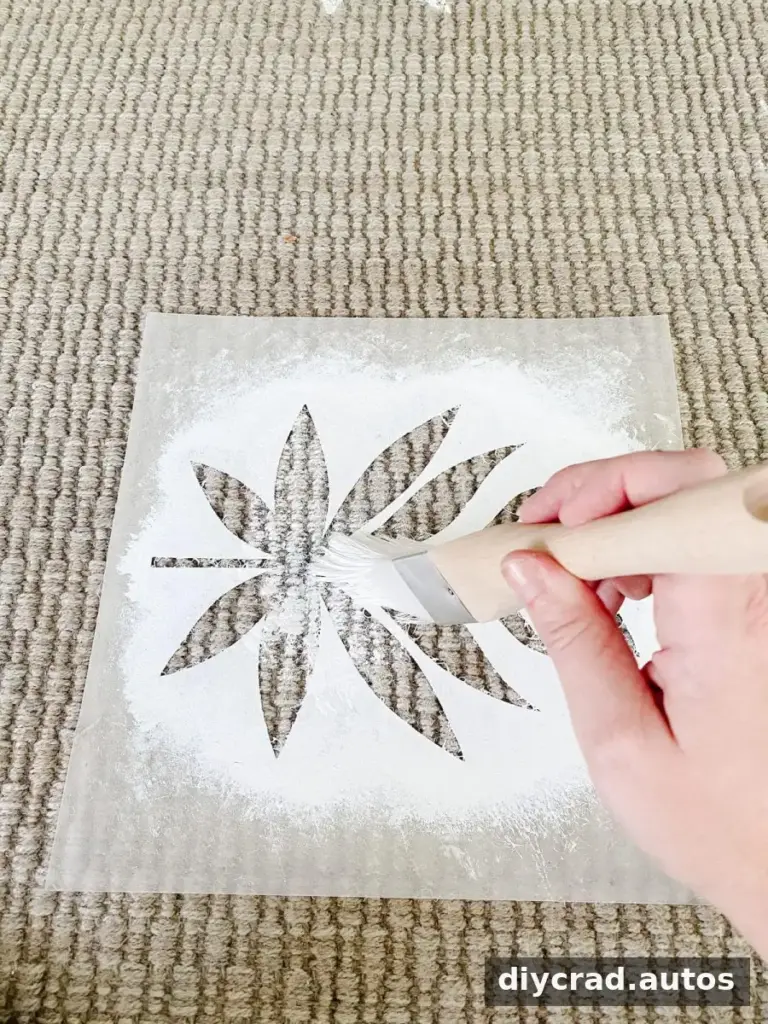
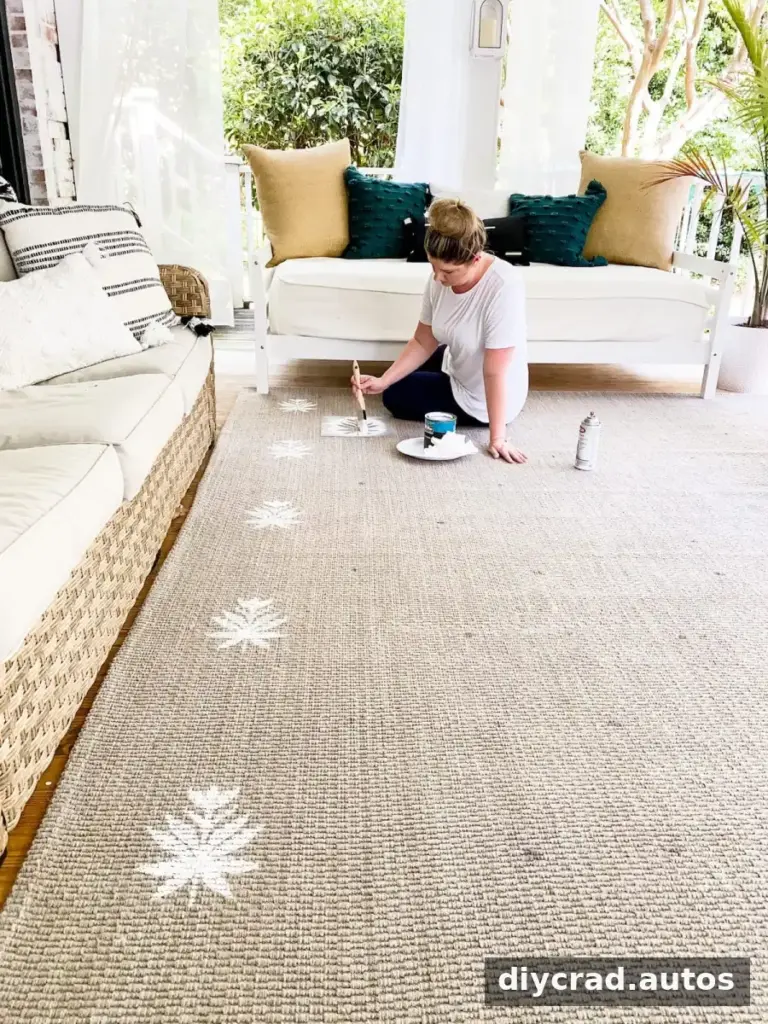
- Lift the stencil carefully and repeat at each marked dot until the rug is covered. Leave the rug to dry for 2–3 hours before walking on it, and follow the paint label for any additional drying or curing guidance.
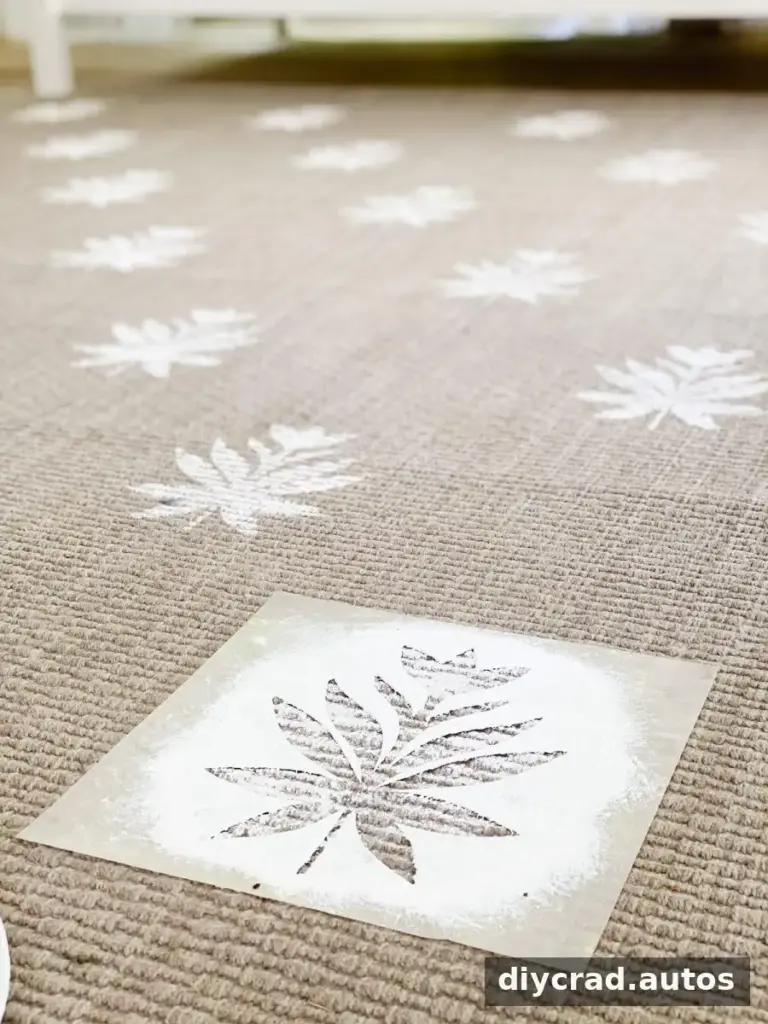
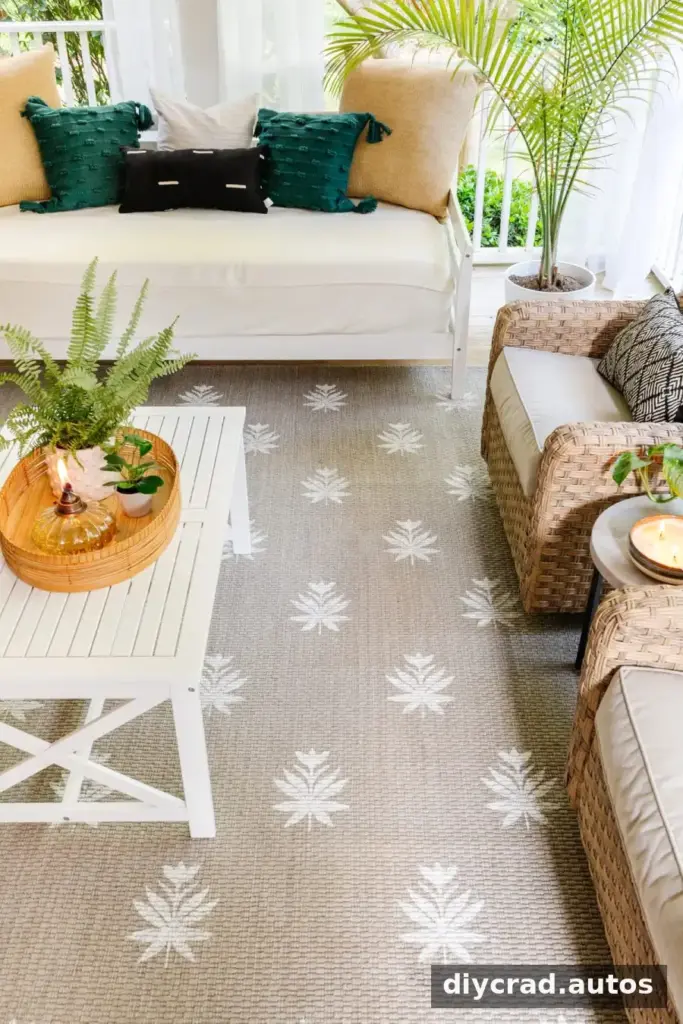
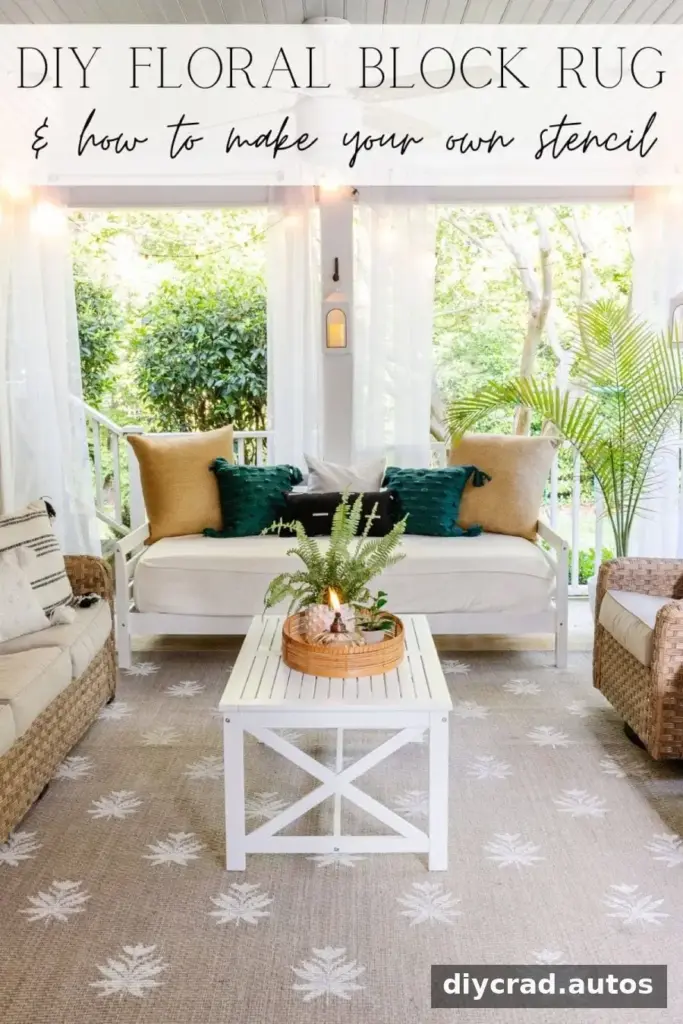
The finished repeating floral pattern adds detail to a plain porch rug. Consistent spacing and light, dabbing brushwork help the individual motifs read as a unified design.


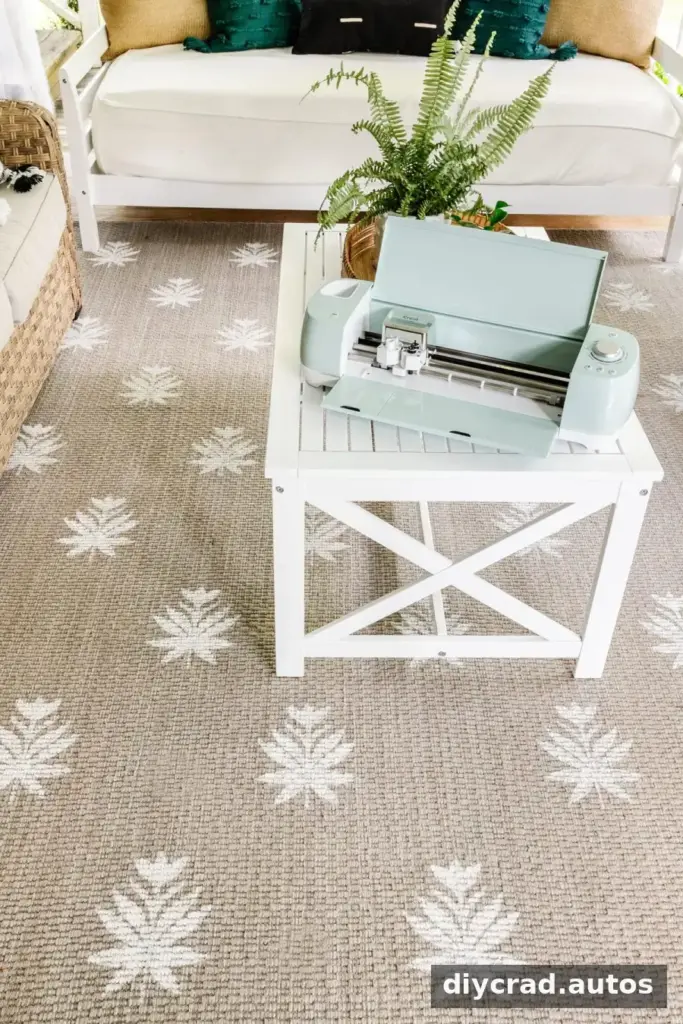
For the best result, let the paint dry fully before placing furniture or other items on the rug. Keep the stencil clean between uses so paint does not build up around the cut edges and affect later impressions.


Final Tips for a DIY Floral Block Outdoor Rug
A DIY floral block outdoor rug is an approachable way to customize a plain rug with a repeating design. The key steps are making a sturdy reusable stencil, mapping the pattern before painting and dabbing the brush instead of sweeping it. Test the paint on a small area, allow adequate drying time and use the rug only when the paint is ready according to its label.