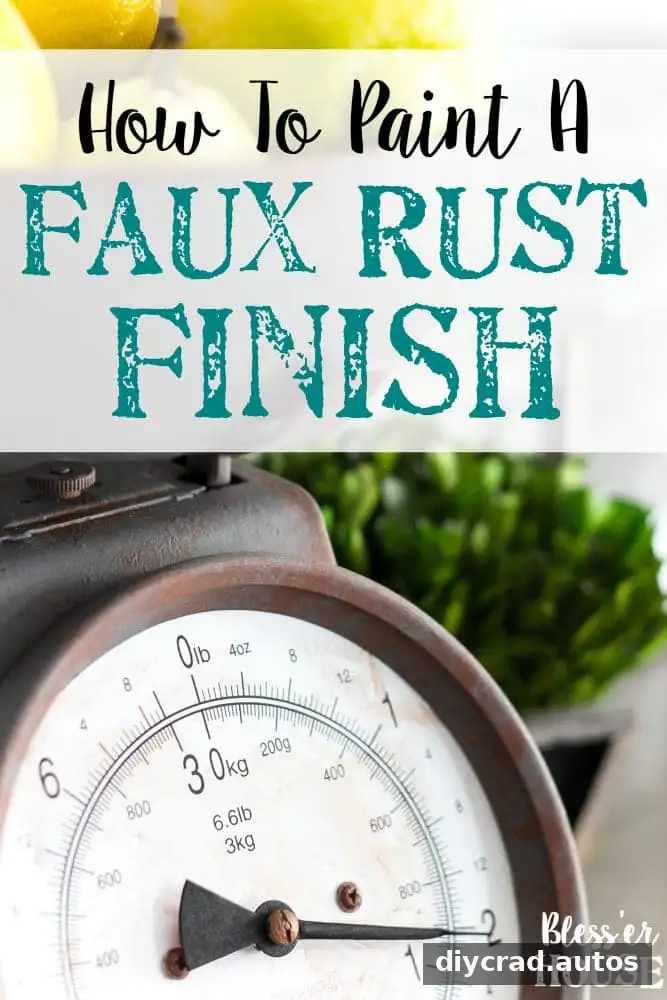
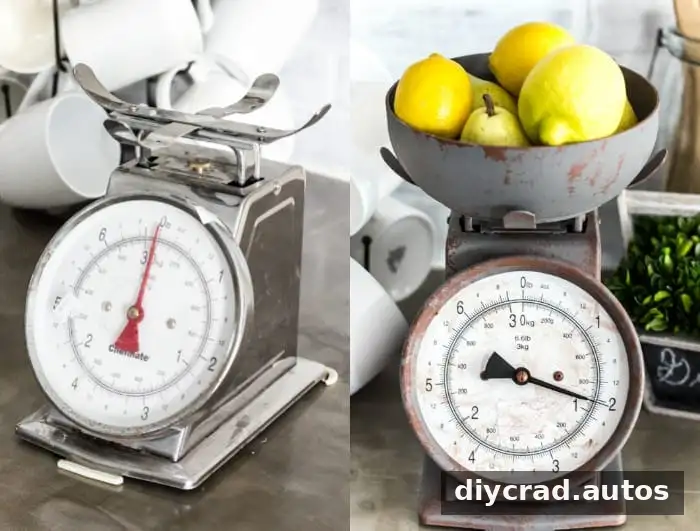
A faux rust finish can give a plain or worn kitchen scale the aged character of a vintage find without waiting for real rust to develop. This makeover uses layered paint and a stippling technique to add warm, uneven color and texture. The thrift-store scale cost $5, and the completed project came to about $16—compared with vintage-style scales priced at more than $90 online and antique-store examples that were difficult to find for under $45.
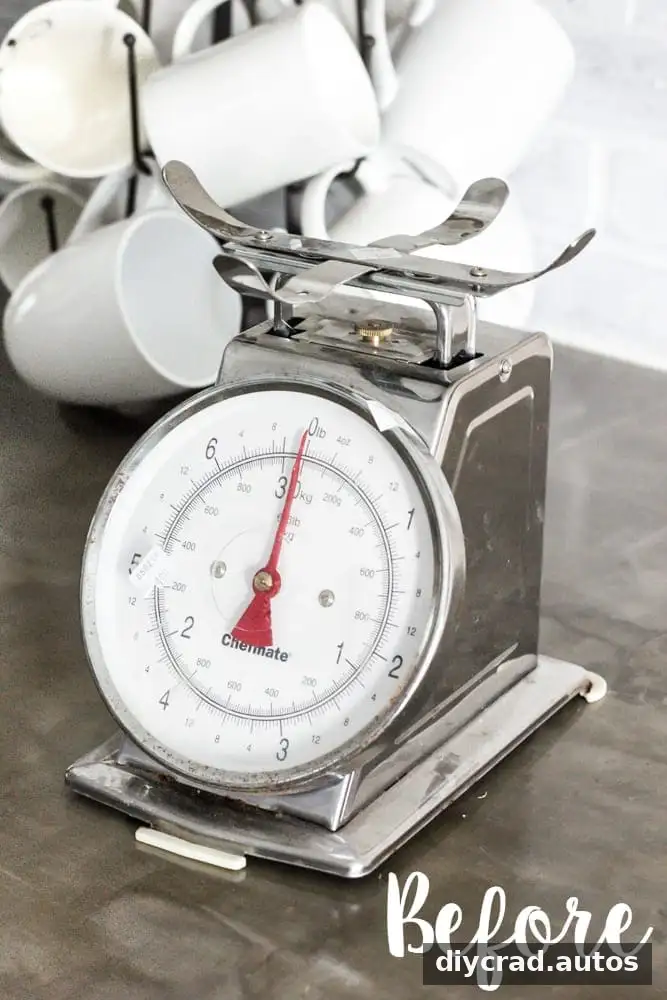
Materials for a faux rust finish
The project uses a copper-colored hammered spray paint as the base, followed by brown matte acrylic paint and gray chalk paint. A large craft brush helps create the layered texture. The scale in this example was stainless steel, and a plastic bowl was added later because the thrifted scale did not include its original bowl.
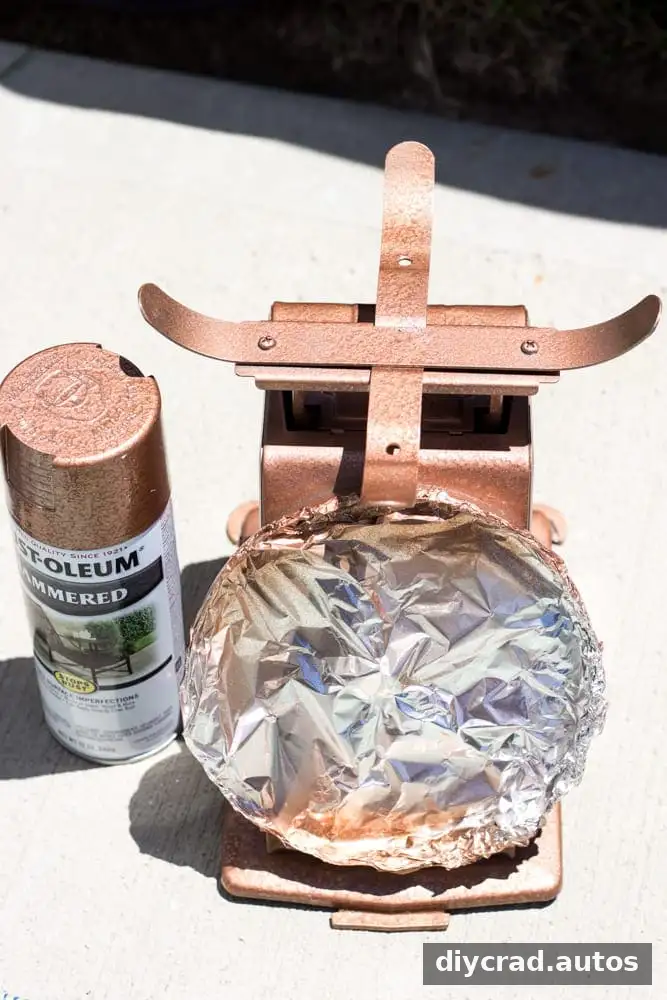
- Hammered copper spray paint
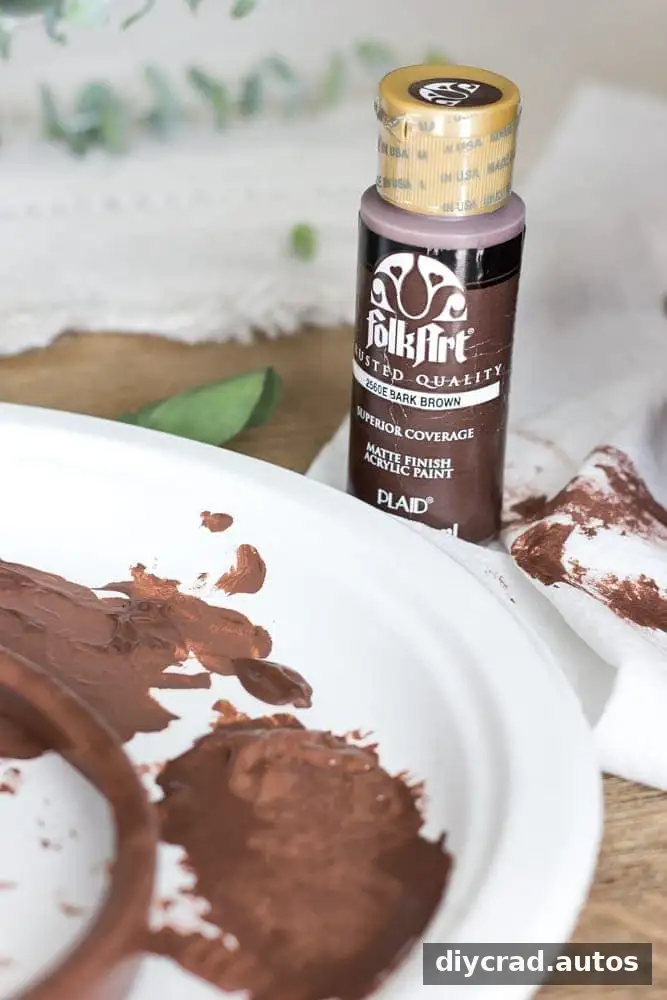
- Brown matte acrylic paint
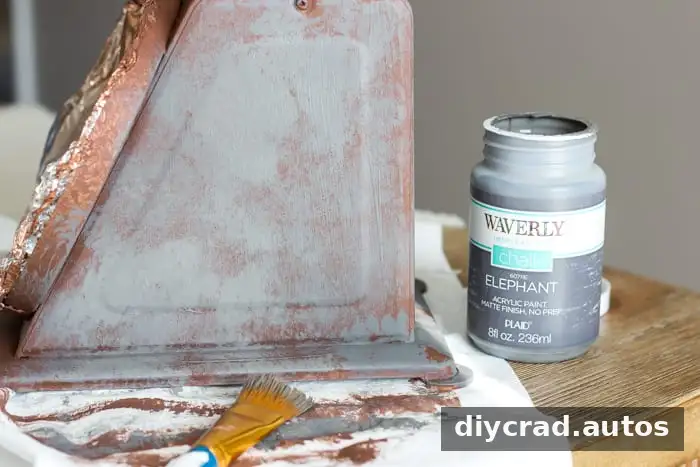
- Gray chalk paint, or another paint color of your choice
- A large craft brush
- A stainless steel kitchen scale
- Aluminum foil to protect the scale face
Before painting, check that the scale is stable and decide which parts should remain unpainted. Cover the dial and any areas that need to stay clear. Use spray paint outdoors or in a well-ventilated area, and follow the product label for application and drying instructions.
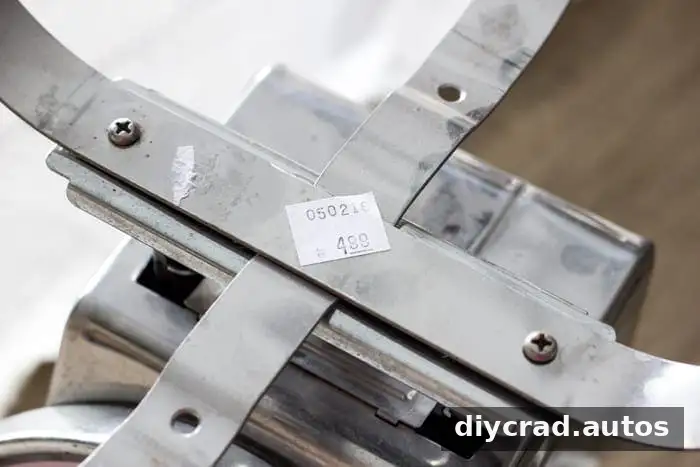
How to create the layered, rusty look
1. Apply the copper-colored base coat
Cover the face of the scale with aluminum foil, then spray the rest of the scale with the copper-colored paint. Apply an even coat according to the paint directions and let it dry before adding the next layer. Protect the surrounding work surface so overspray does not reach nearby items.

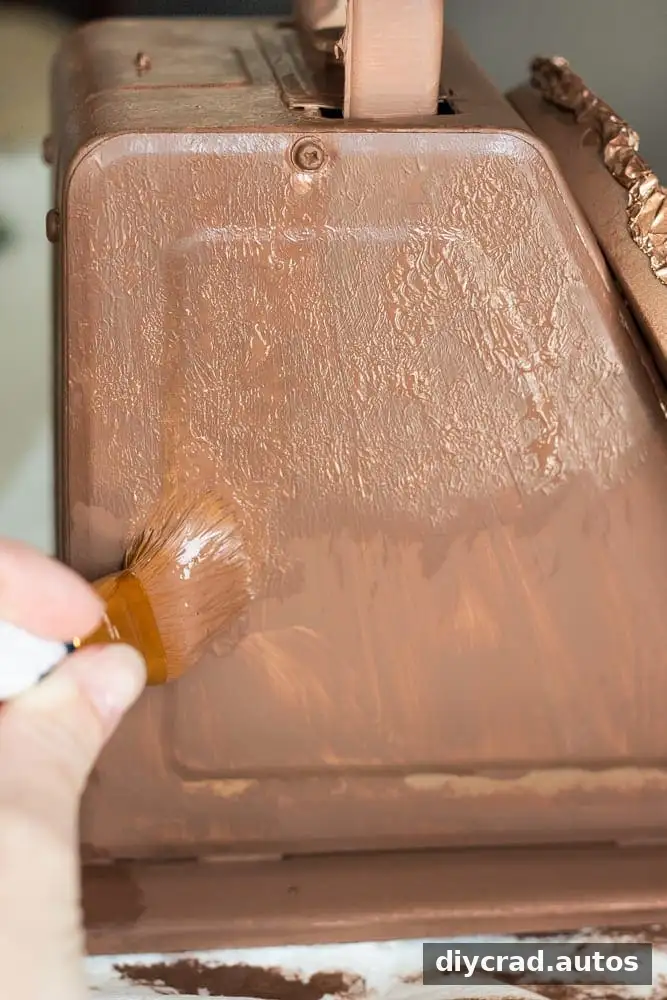
2. Add brown for depth
Once the base coat is dry, dab brown matte acrylic paint over the surface. Rather than brushing it on in smooth, continuous strokes, gently pounce the brush. This leaves irregular marks that suggest aged, uneven oxidation. Allow some of the copper color to remain visible.
3. Layer on gray
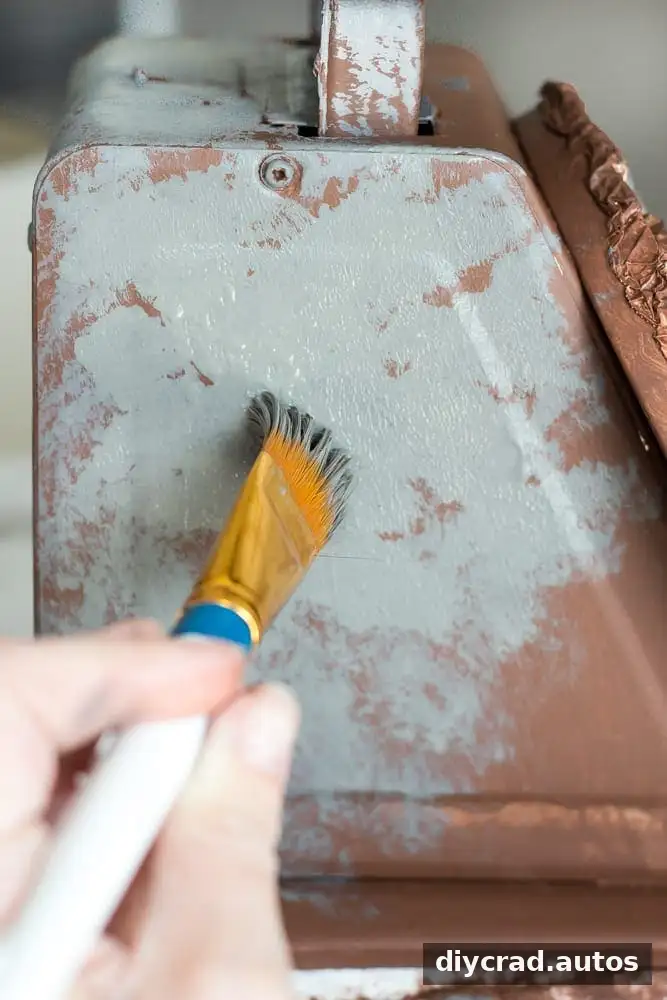
After the brown paint has dried, repeat the pouncing technique with gray chalk paint. Apply it selectively instead of covering the entire brown layer. Leaving patches of brown and copper exposed creates contrast and makes the faux rust finish look more dimensional. Build the effect gradually; it is easier to add another light layer than to hide a coat that is too heavy.
The main body is complete once the final paint has dried. Most of the work is straightforward, but allowing each layer to dry between steps takes time. Follow the paint label before handling or reassembling the scale.
Finishing the dial and bowl
For this makeover, the plastic face was removed and lightly dry-brushed with brown paint to give it a more aged appearance. The red dial was painted with a small amount of black acrylic paint. Take care around the numbers and markings so they remain readable, and avoid getting paint into moving parts.
Because the scale was missing its bowl, a plastic bowl already on hand was used. The same layered painting method was applied to it, showing that the technique can also be used on plastic. Test paint on a discreet area first, since paint adhesion and preparation needs can vary by material.
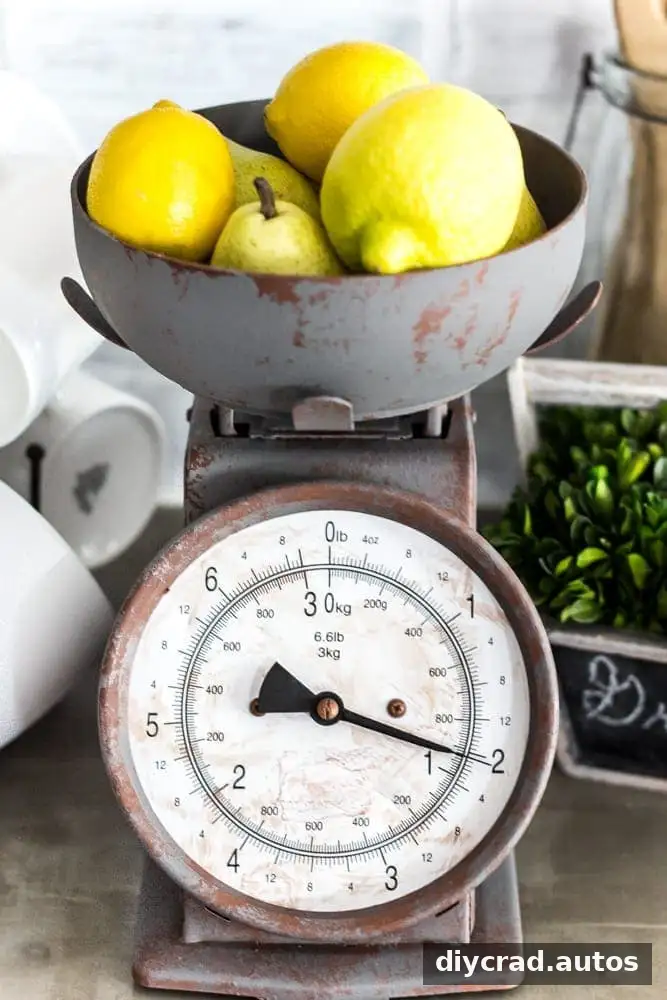
A budget-friendly vintage-style makeover
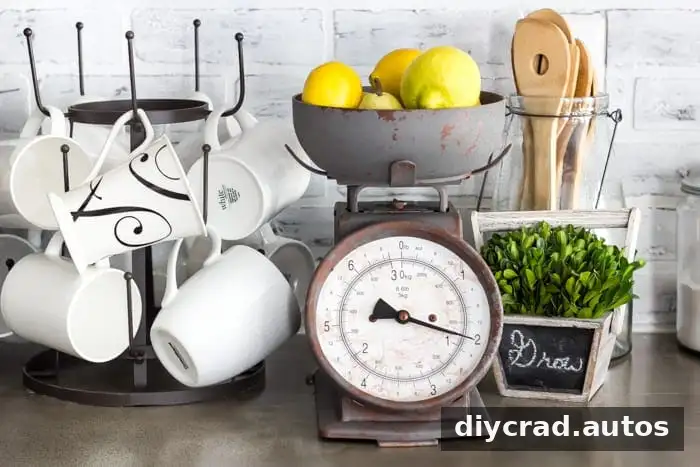
The finished scale keeps its weathered appearance while replacing the accidental damage with a deliberate, aged look. The layered colors, visible patches of brown, and textured brush marks help create the impression of rust without relying on actual corrosion. If the scale will be used for food, keep painted surfaces away from food and verify that its bowl and other contact surfaces are suitable for that purpose.
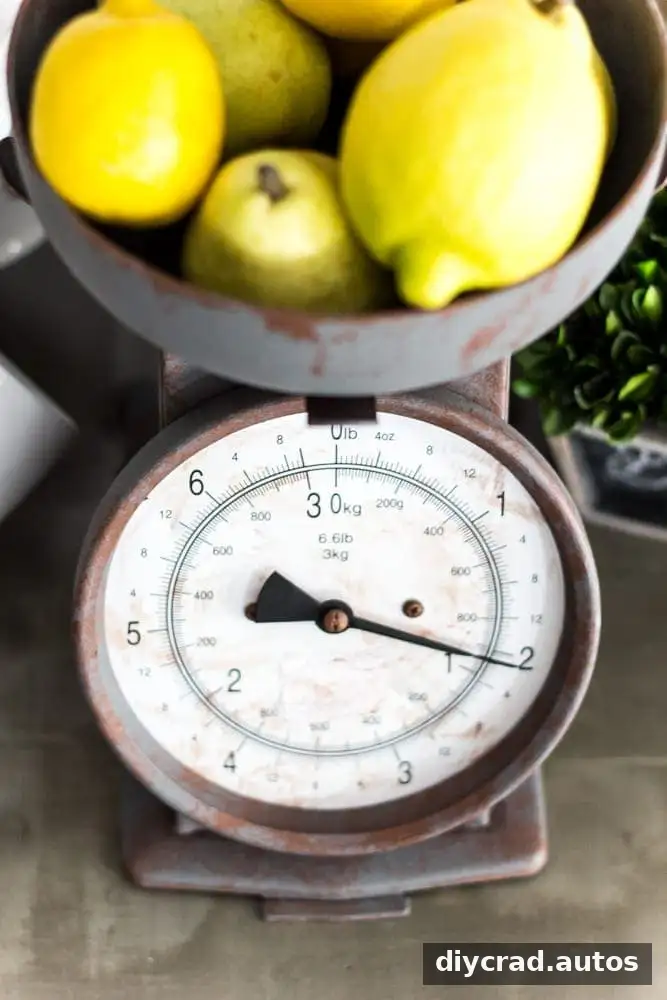
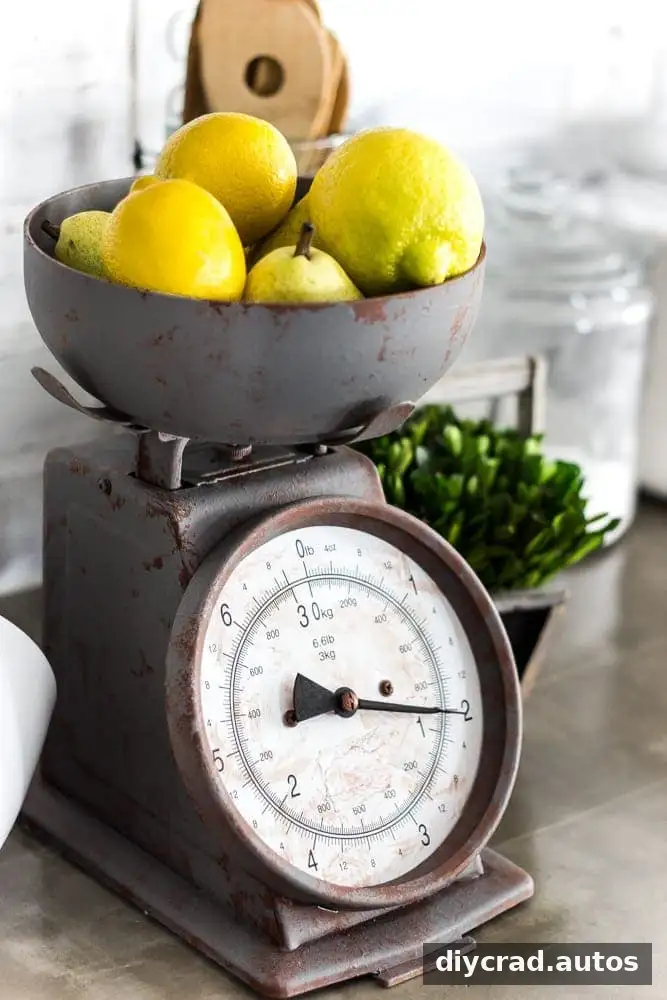
This project is a practical option for a thrifted scale that is inexpensive but visually tired. With a few paint colors and a simple pouncing technique, a basic metal object—and even a plastic accessory—can take on a vintage-inspired finish. For another faux rust finish, use the same approach on a suitable decorative item, adjusting the paint colors and layering to fit its material.
Other participants in the Trash to Treasure Transformation project:
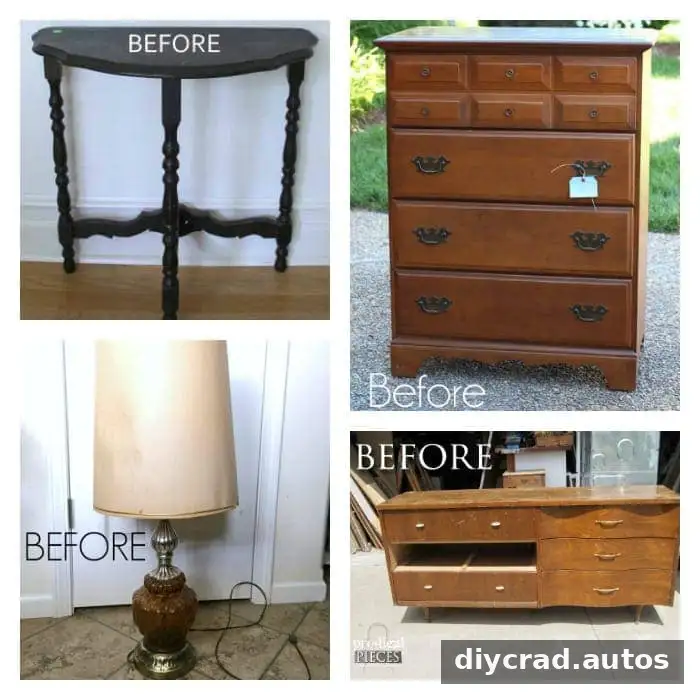
Clockwise from top left: Artsy Chicks Rule, Confessions of a Serial DIYer, Prodigal Pieces, and Girl in the Garage.