How to Create a Faux Reclaimed Wood Table Top
A faux reclaimed wood table top can add the look of aged, planked timber to a painted surface without covering it in real boards. This approach is useful when you want to preserve a table’s existing features, such as a lift-up top or built-in storage. The effect is created with shallow grooves, layered paint and glaze, a wood-graining tool, and a final stain.
Why Use a Painted Faux-Wood Finish?
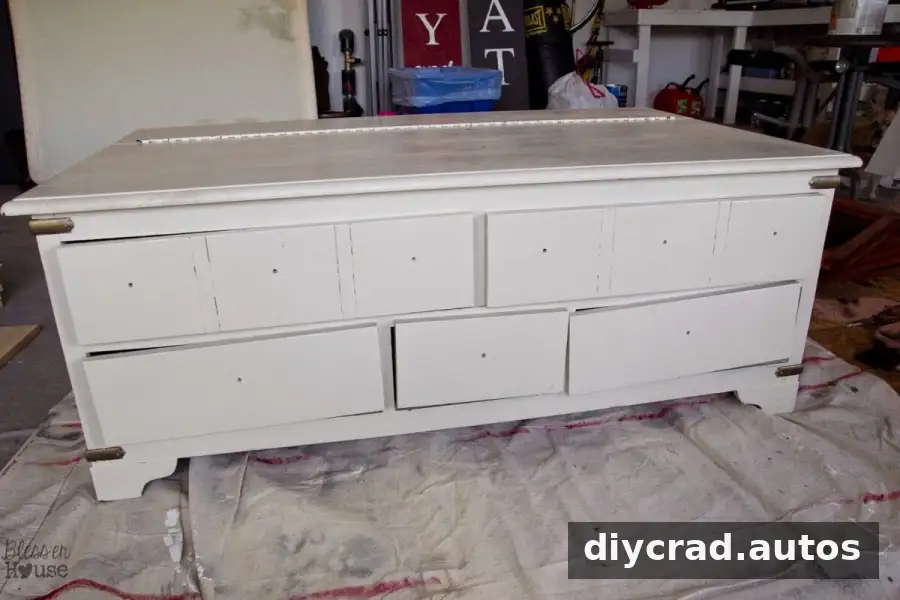
A storage trunk used as a coffee table can be practical but visually plain. Adding actual planks to its top might interfere with a hinged or liftable lid, while stripping a veneered MDF surface down to bare wood may not be suitable. A painted finish offers another option: it creates the appearance of separate boards while leaving the table’s original construction intact.
The method below was adapted from two project tutorials: “DIY Faux Planked Desk” and “Faux Finish Weathered Wood Grain.” Their techniques provide a useful starting point for creating plank lines and a wood-grain effect on a painted surface.
Plan the Faux Plank Layout
Measure the table top and decide how many plank sections you want to suggest. For this project, the top was 30 inches wide, and the lines were marked at 5-inch intervals. The hinge already sat at one-third of the table’s width, so the planned layout worked with the existing construction.
Check where hinges, edges, and other hardware sit before marking the surface. A quick layout check helps keep the decorative lines aligned and avoids cutting across a feature that needs to move.
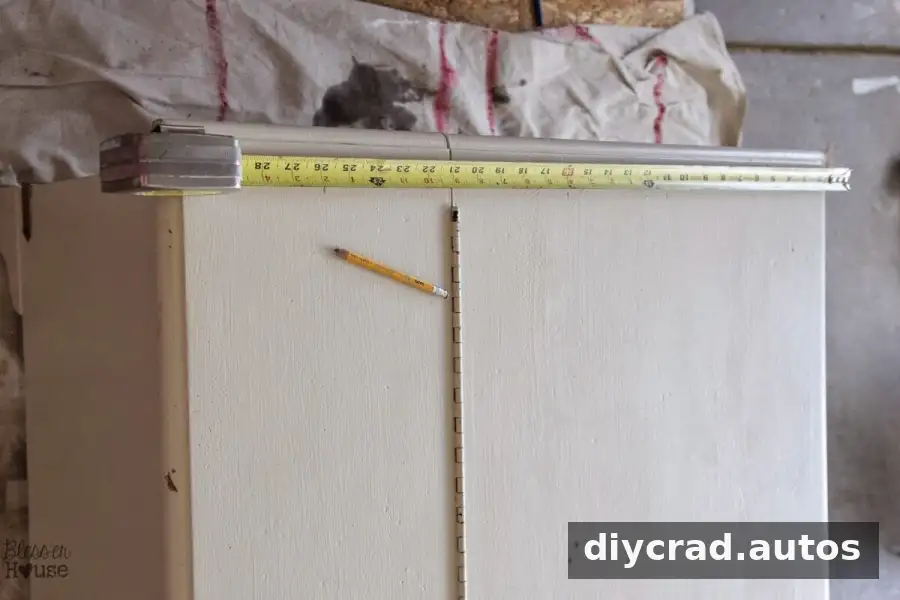
Use a chalk line to mark each intended groove. Confirm that the marks are straight and evenly spaced before making any cuts.
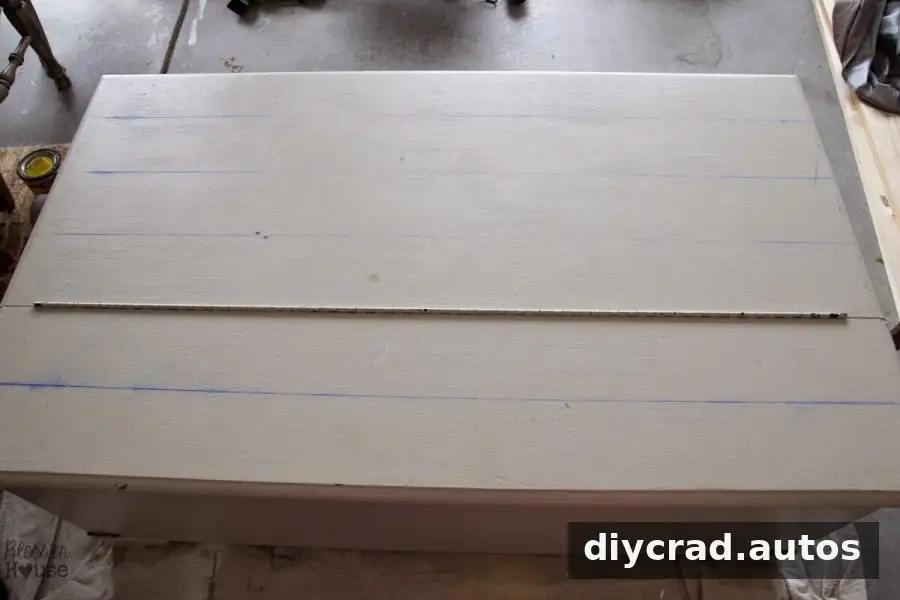
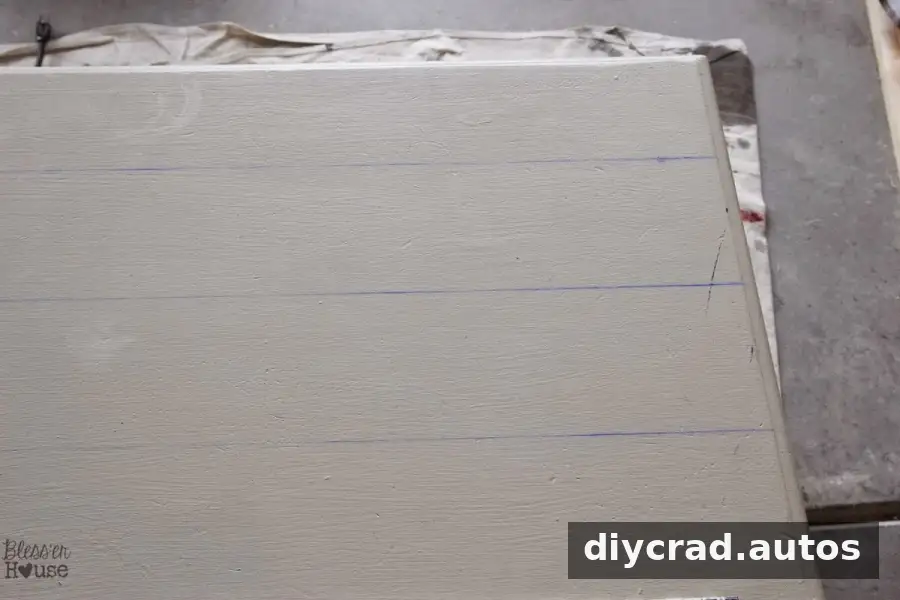
Cut Shallow Lines to Suggest Boards
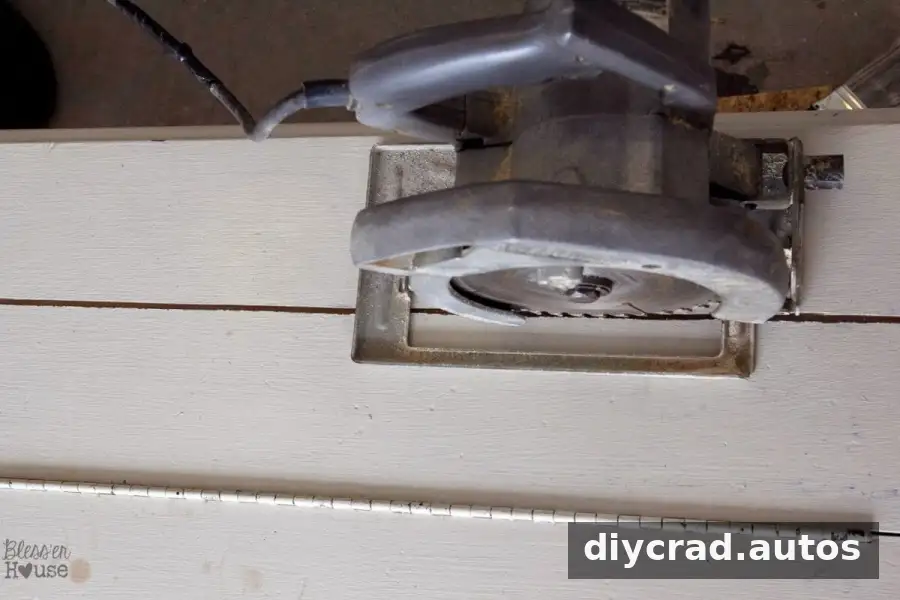
A circular saw was set to a depth of 1/8 inch to cut along the marked lines on the top and sides. These shallow grooves create separation between the faux planks without adding real boards.
Safety tip: Use appropriate eye and hearing protection, keep hands clear of the blade, and secure the table before cutting. Check the saw depth on a suitable scrap piece first. If you are unfamiliar with a circular saw, ask an experienced person to make the cuts or choose a no-cut painted-line alternative.
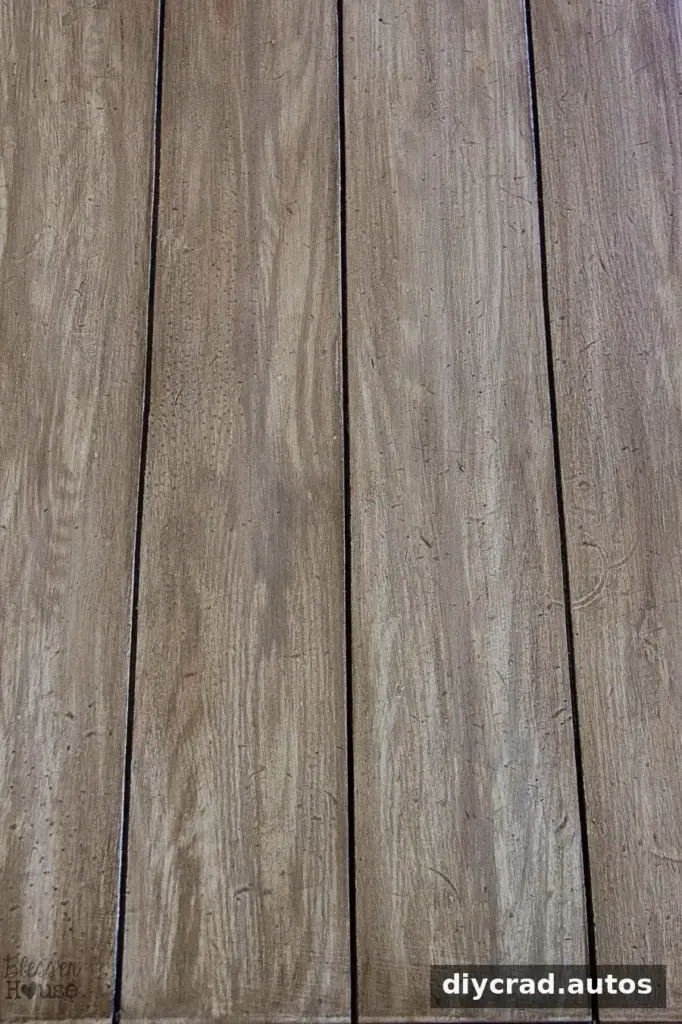
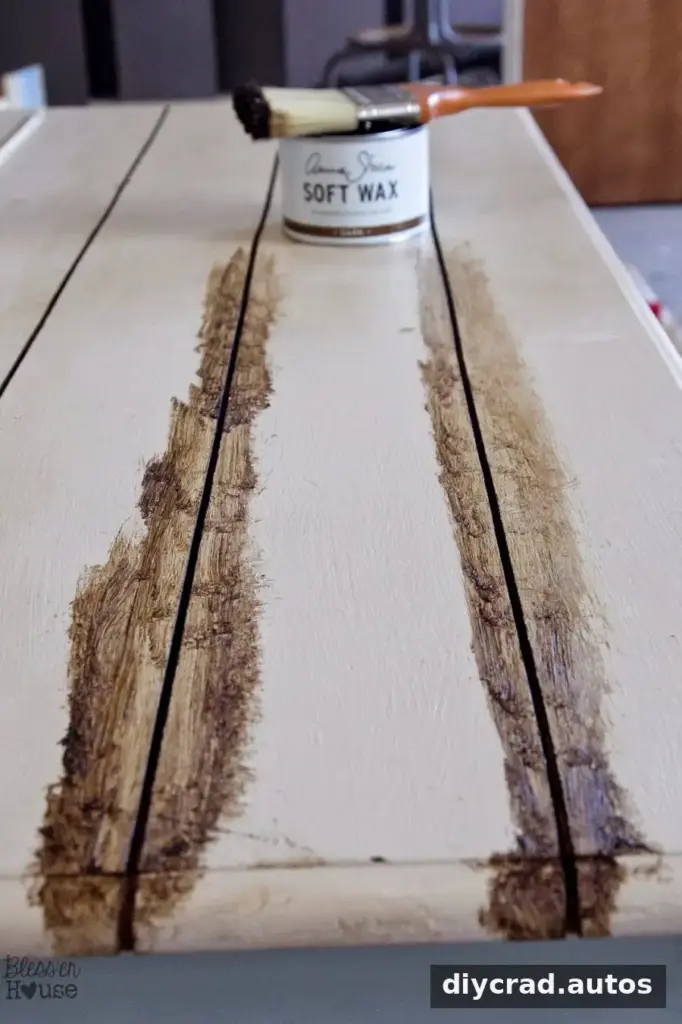
To make the grooves look more defined and weathered, work dark wax into each cut line, then wipe away the excess. Apply it carefully so the wax emphasizes the grooves without leaving unwanted residue across the surrounding surface.
Build the Faux Wood Grain with Paint and Glaze
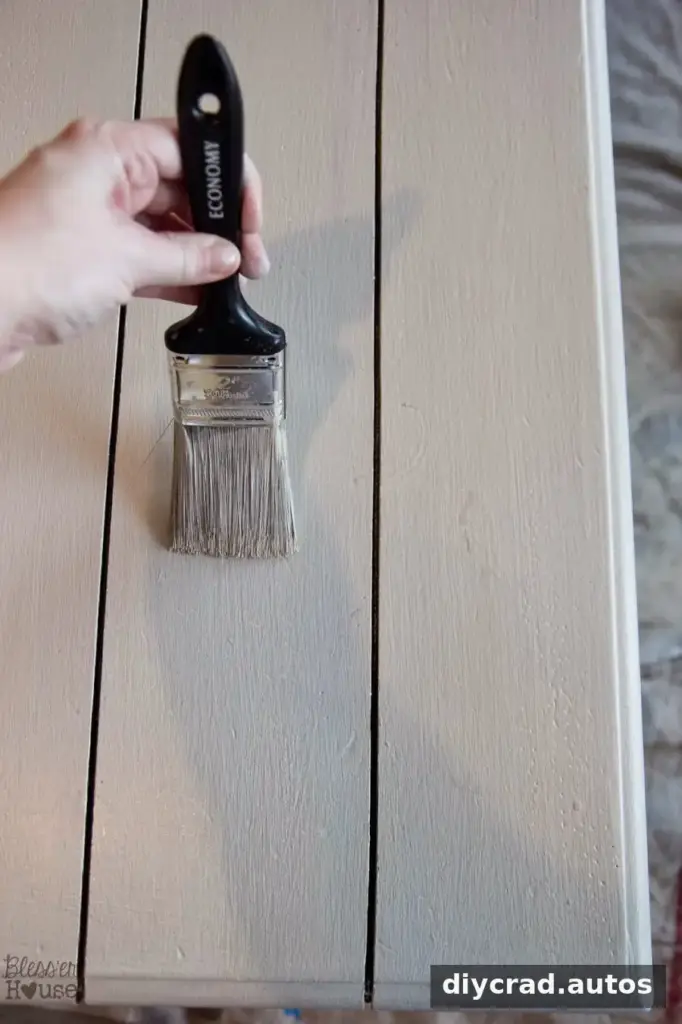
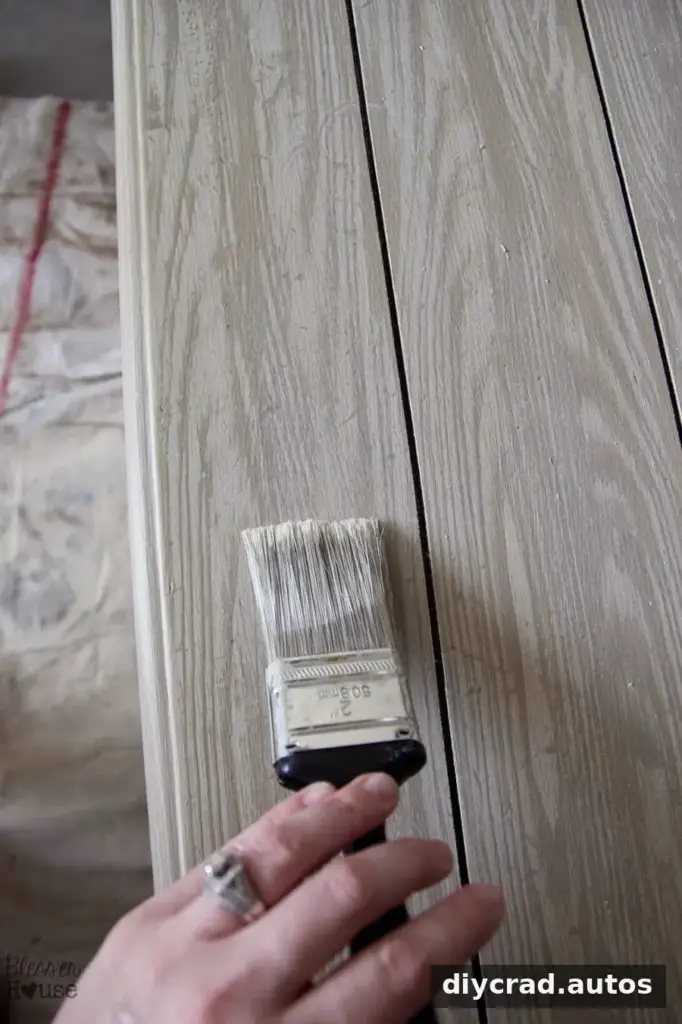
Begin with a base coat of paint and allow it to dry. Once dry, brush on a light layer of glaze mixed with a slightly darker paint. Leave parts of the base coat visible; variation in color helps the surface look less uniform.
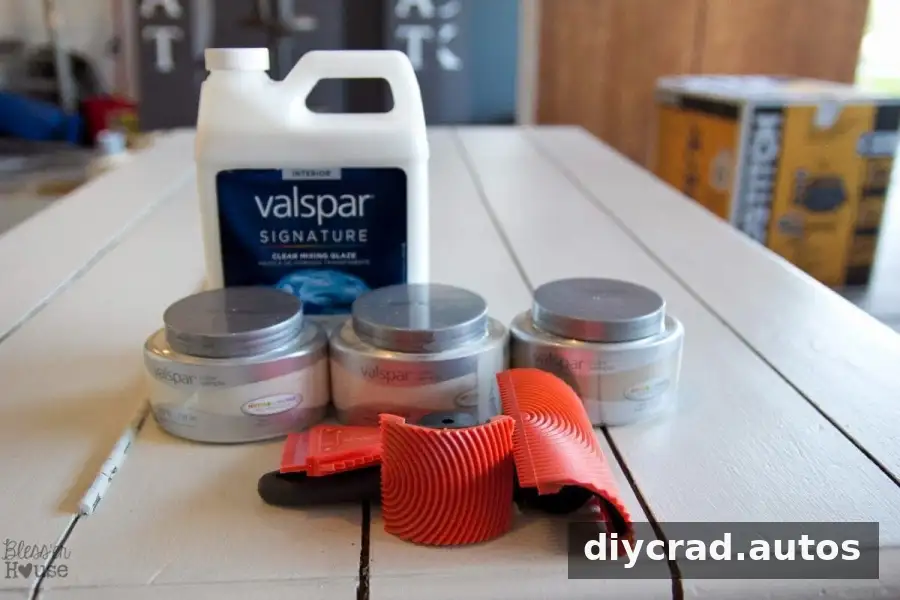
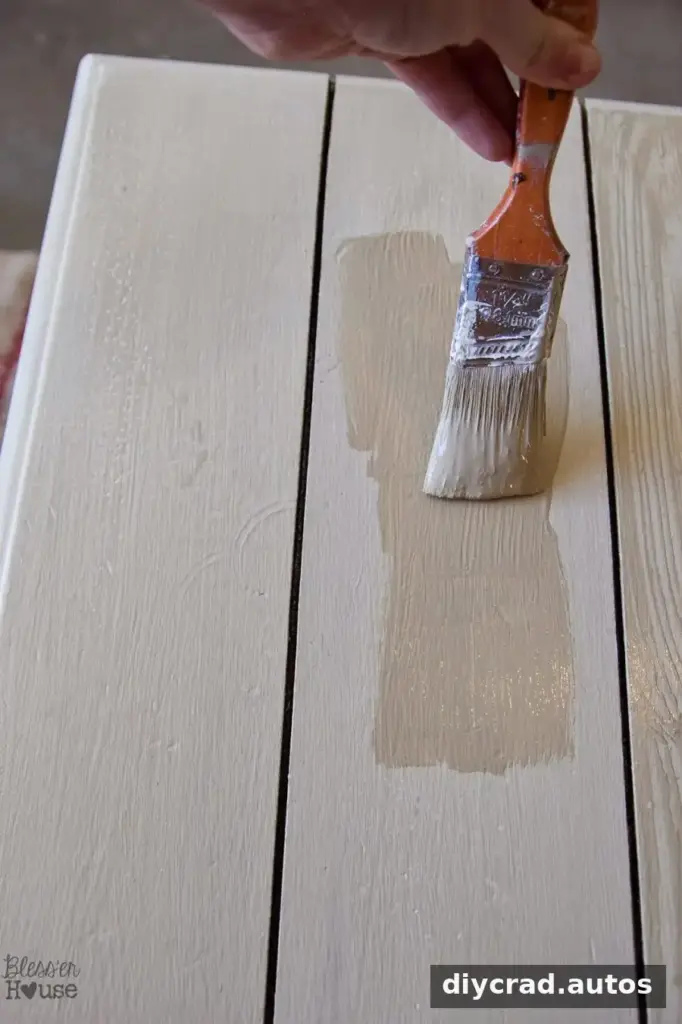
When that layer has dried, apply another coat of the darker paint-and-glaze mixture. Work on one plank section at a time so you can shape the grain while the glaze is still workable.
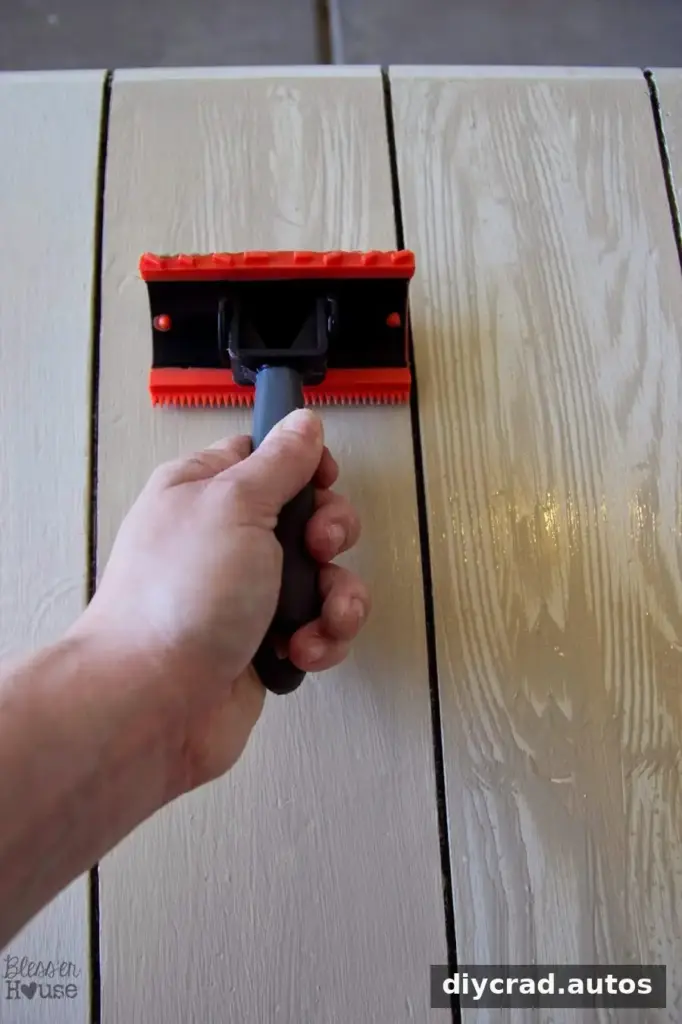
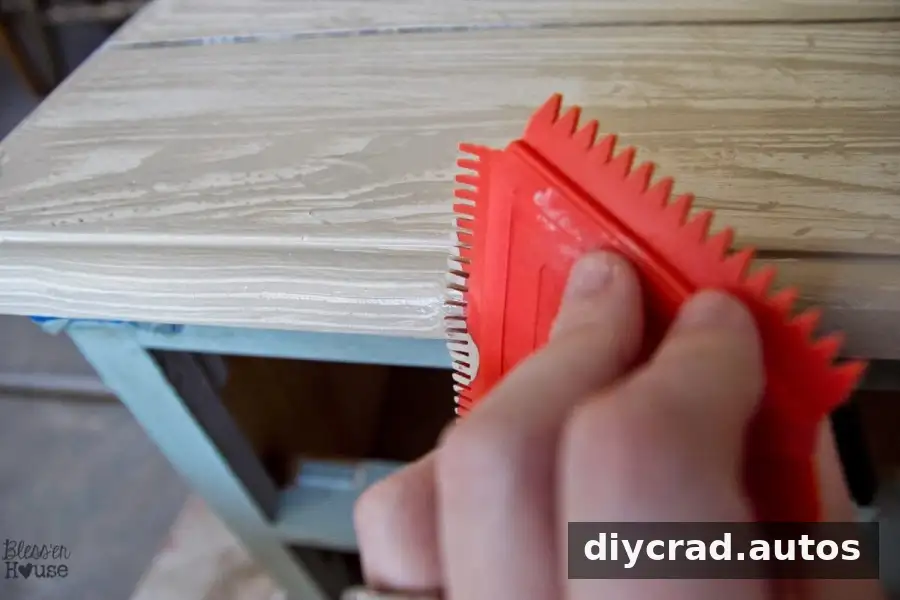
Drag a wood-graining tool through the wet glaze, gently rocking it as you move. This motion creates irregular lines that resemble wood grain. Try the tool on a test surface first to get a feel for the pressure and movement, and vary the pattern slightly from one section to another.
Use a smaller graining tool on the table’s sides, where a full-size tool may be difficult to maneuver.
After the darker glaze has dried, brush a light glaze over the grain in a few areas. Apply it selectively rather than evenly to add tonal variation.
Add Depth with a Final Stain
A final stain can deepen the color and bring the painted grain together. In this project, an Antique Walnut gel stain was used instead of finishing cloths. Gel stain has a thick consistency and is less prone to dripping than a more fluid stain, which can make it easier to control on a tabletop.
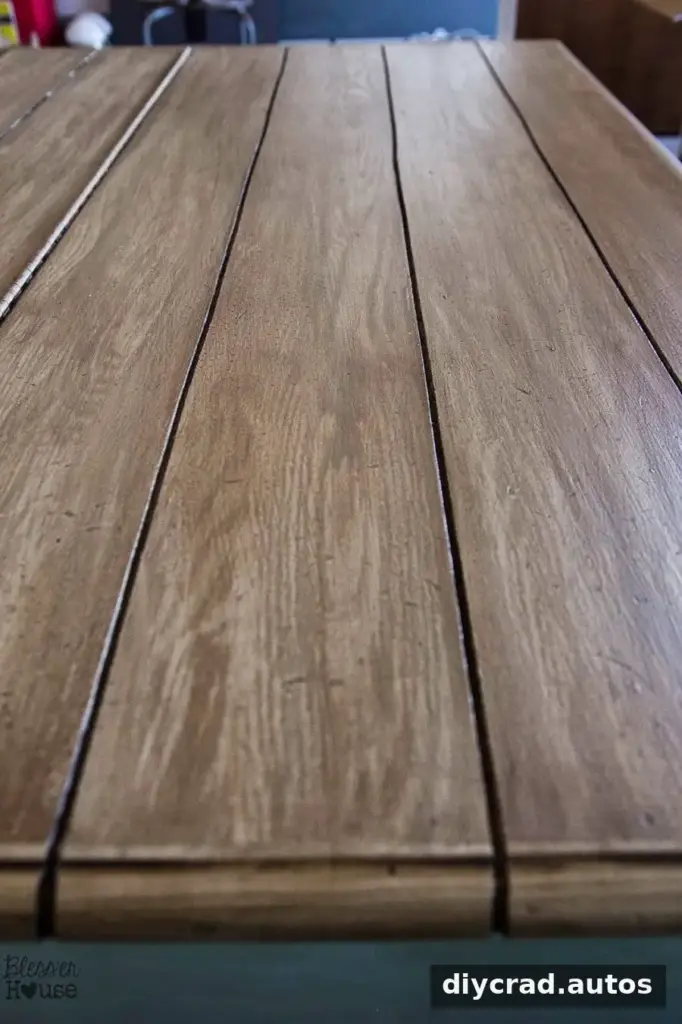
Apply it to one plank section at a time, then wipe it back with a rag. The effect is subtle but gives the surface a richer tone. Follow the product label for application, ventilation, drying, and disposal instructions; test the color on an inconspicuous area or sample board before treating the whole table.
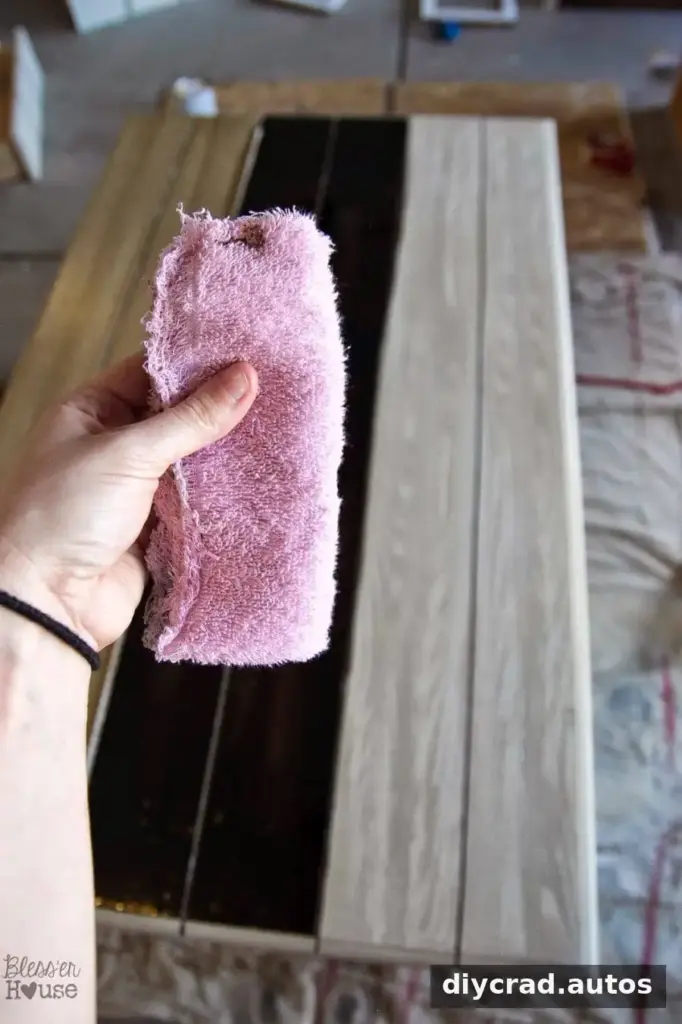
Compare the sections as you work. A restrained change in tone can add depth without obscuring the grain effect.
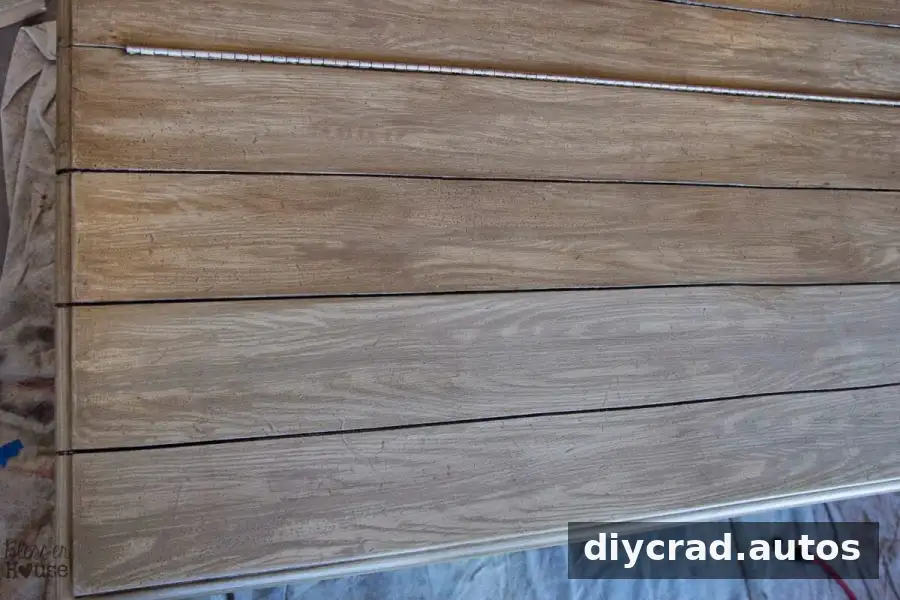
Apply the stain to the sides as well, taking care to keep the finish consistent around the edges. Let each layer dry as directed before handling the table or applying another coating.
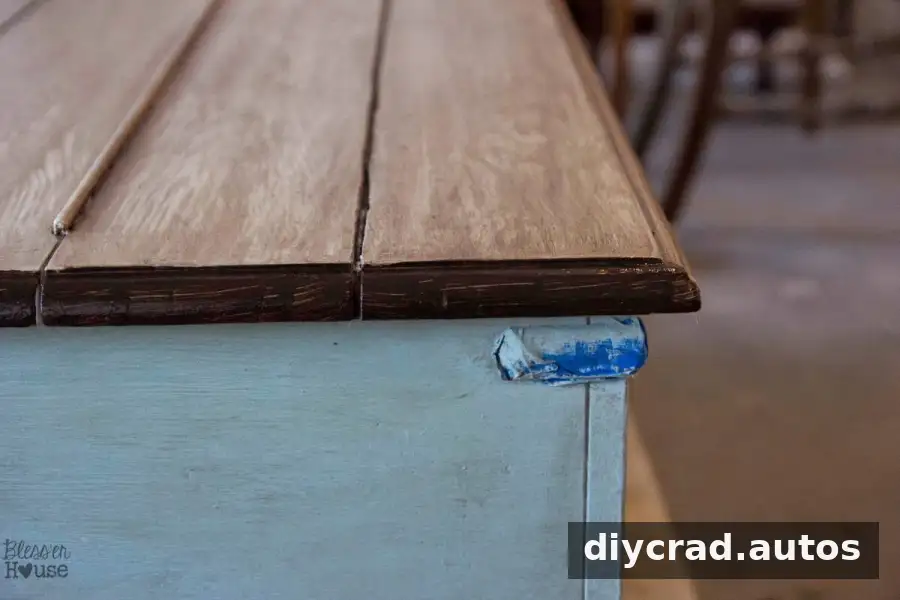
Finishing the Faux Reclaimed Wood Table Top
The completed faux reclaimed wood table top combines shallow cut lines with layered color and grain. Although the process has several stages, each one contributes to the overall illusion: grooves define the boards, glaze creates grain, and stain adds warmth and depth.
Before returning the table to regular use, allow the finish to dry and cure according to the directions for the products used. This is especially important for a coffee table that may be exposed to toys, drinks, or frequent handling. Avoid placing objects on the surface until the coating is ready for use.