

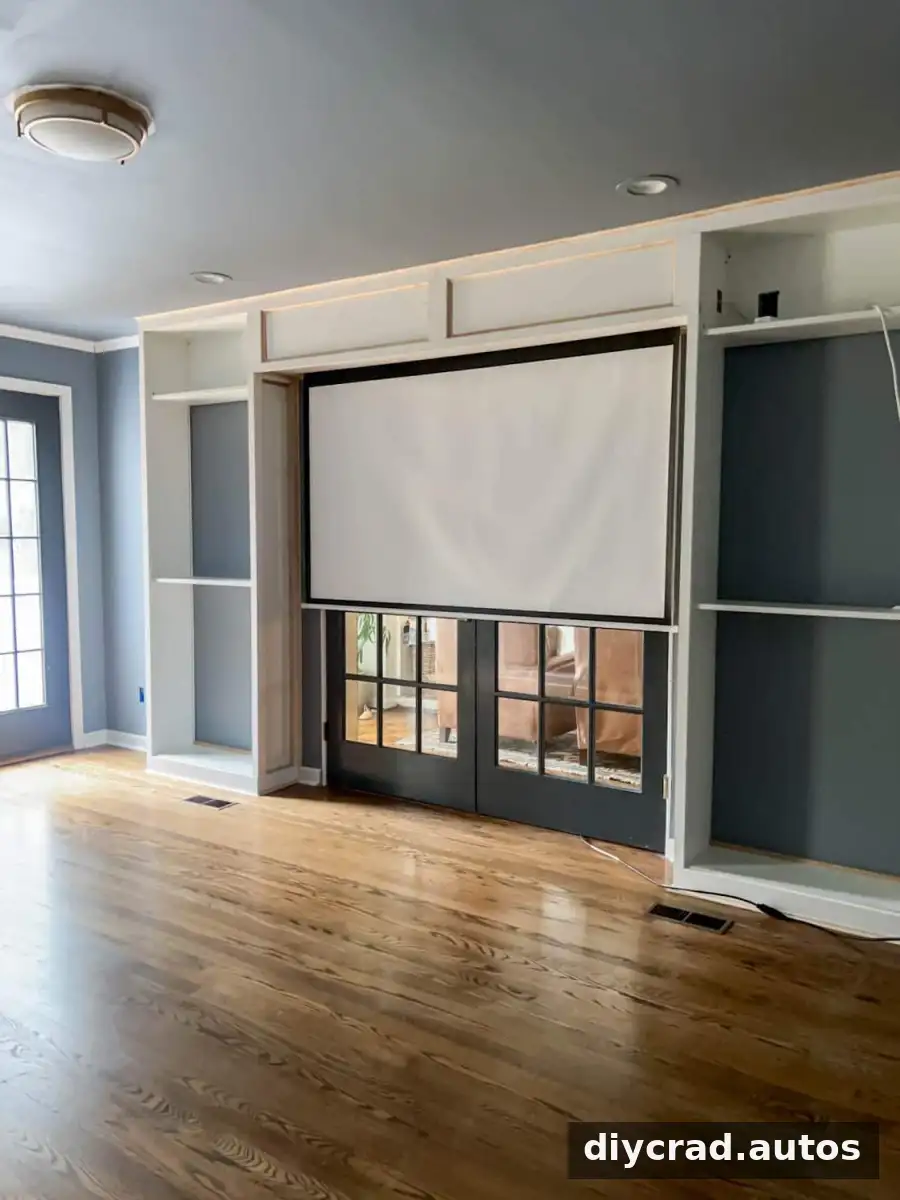
A hidden projector screen can keep a media room flexible: lower the motorized screen for movie night, then retract it when the room is used for other purposes. This project creates a framed enclosure between two bookcases, concealing the screen while leaving room for it to move smoothly. The example uses an 84-inch electric screen and a room with 8-foot ceilings, so check your own measurements before cutting any materials.
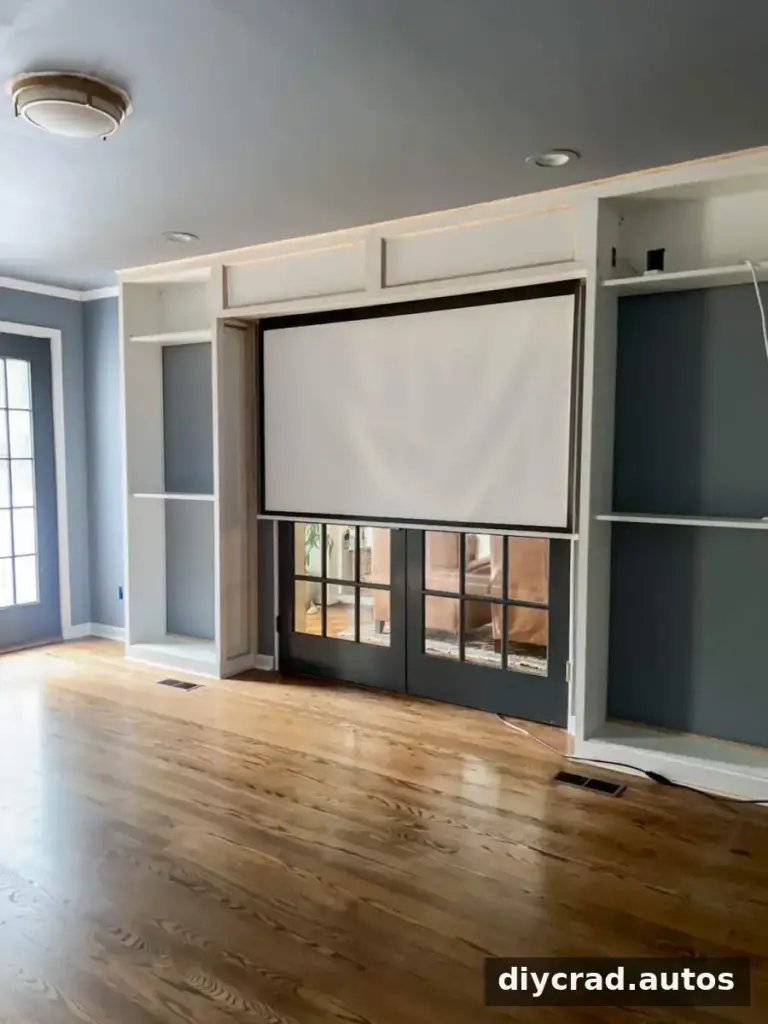
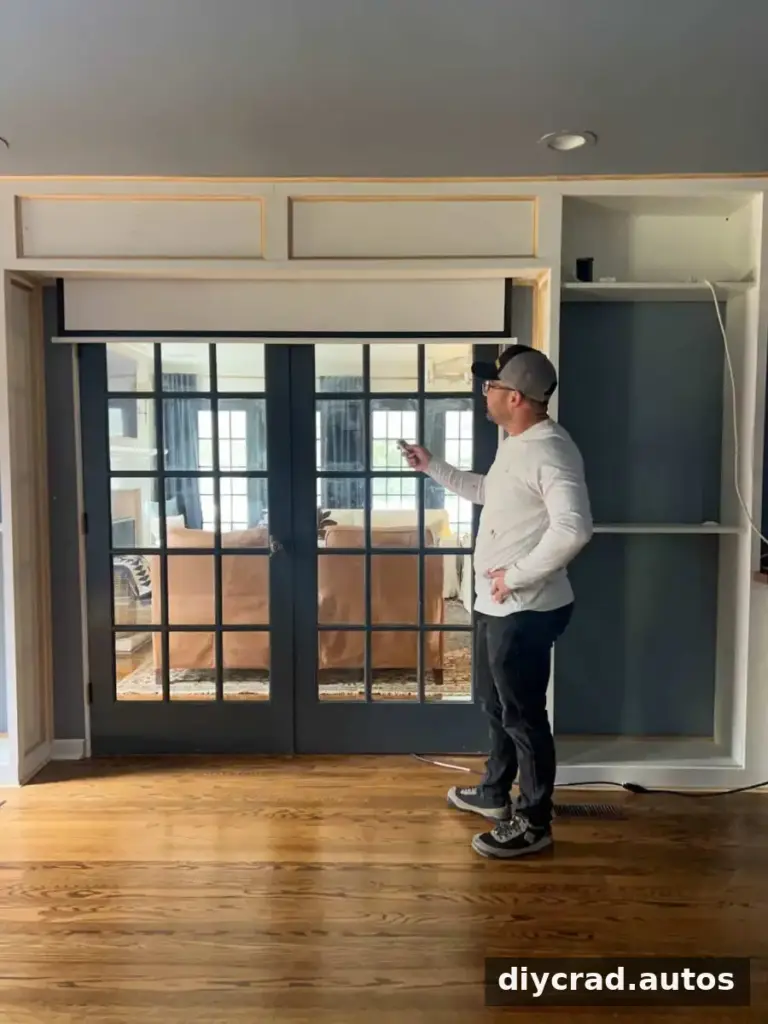
The screen is operated by remote, allowing it to be raised or lowered from around the room. The design also leaves the screen out of the way when it is not in use. If the screen will cover a doorway or another access point, plan an alternate route into the room before building the enclosure.
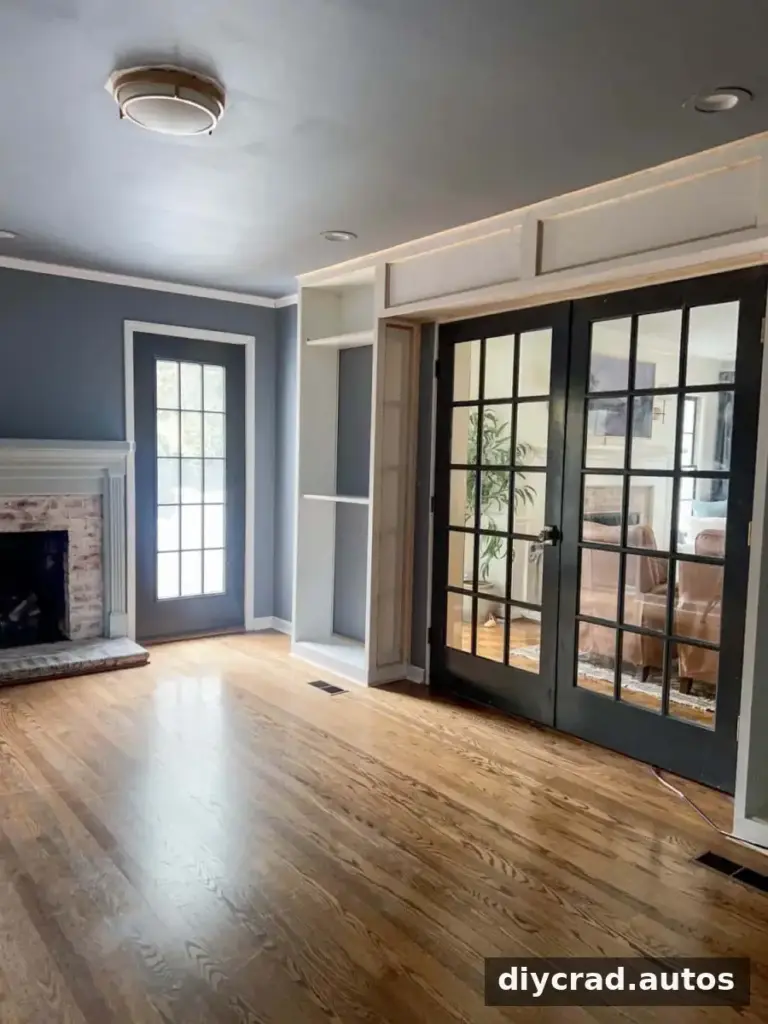
How to Build a Hidden Projector Screen Enclosure
This enclosure fits between bookcases and can be adapted to suit the width of your wall and the screen housing. In the example, two Billy bookcases frame the screen above French doors. Measure the full screen housing and its path of travel, not only the visible viewing area. The screen needs enough clearance to lower without rubbing against the wall or trim.
Before assembling the bookcases, identify a nearby power outlet for the motorized screen. If the outlet is behind a bookcase, make an opening for the plug and cord. Avoid cutting until you have checked the cabinet structure and the cord’s route. For a higher ceiling, adjust the bookcase height with additional height extenders as needed; the example room has 8-foot ceilings.
Materials
- 2 Billy bookcases with height extenders
- 1 motorized electric projector screen (84 inches in the example)
- 2 2x4x8 studs
- 2 1x12x8 boards
- 1 1x4x8 board
- 14 1x2x8 boards
- 20 8-foot cove molding pieces
- 18-gauge finishing nails
- 2 1/2-inch wood screws
- Wood filler, sandpaper, and caulk
Tools
- Nail gun
- Power driver with bits
- Jig saw
- Miter saw, or a miter box and hand saw; a circular saw can also be used where appropriate
- Coping saw
Use eye and hearing protection when cutting or fastening materials. Confirm that the fasteners and installation method are suitable for your wall and ceiling before starting.
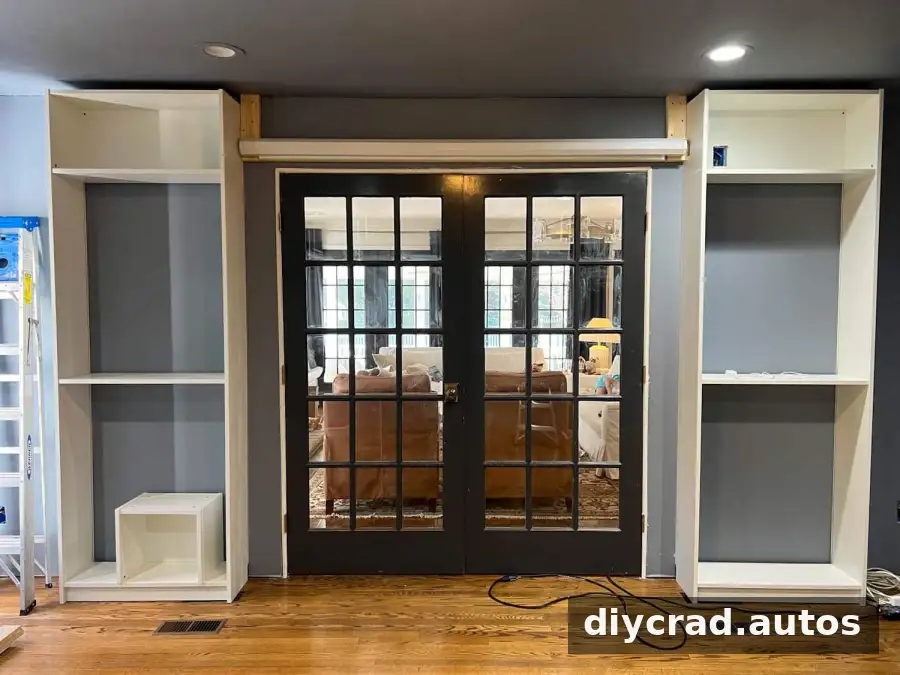
Step 1: Position and Anchor the Bookcases
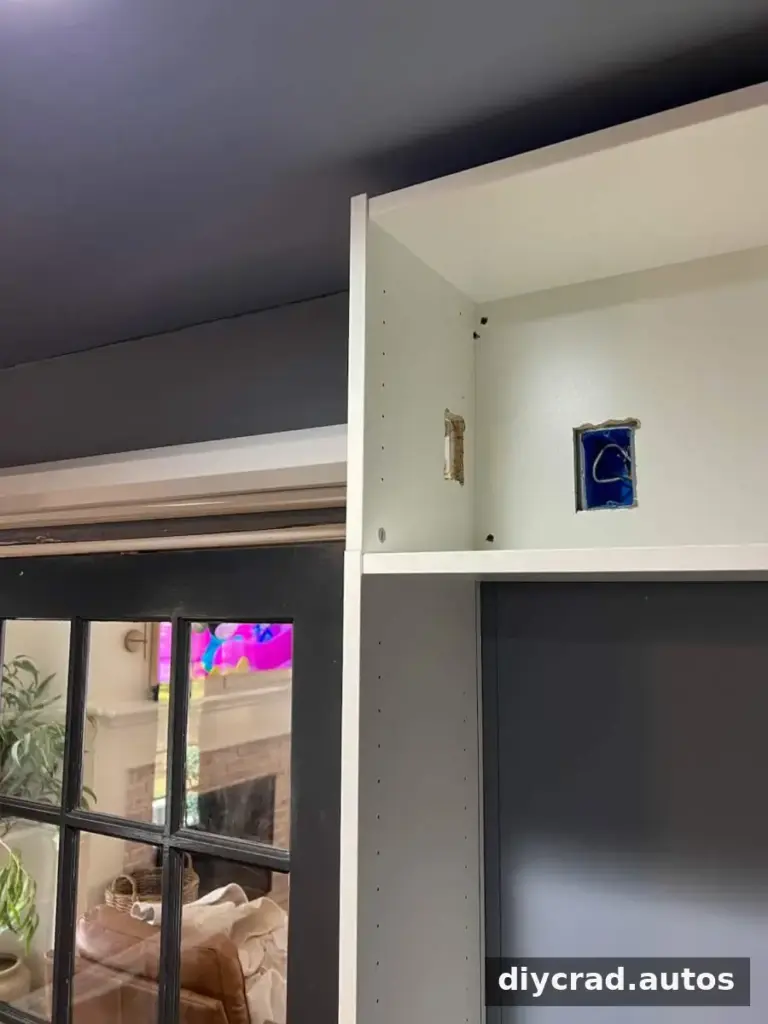
Assemble the bookcases and position them on the wall with the planned screen opening between them. If the power outlet is behind a unit, use a jig saw to cut an access opening in the cabinet back and side as needed. Check the opening against the plug and cord before securing the bookcase.
Anchor each bookcase to wall studs with wood screws. Use a level to check alignment; straight, stable bookcases make it easier to build a neat enclosure.
Step 2: Mount the Screen on 2×4 Supports
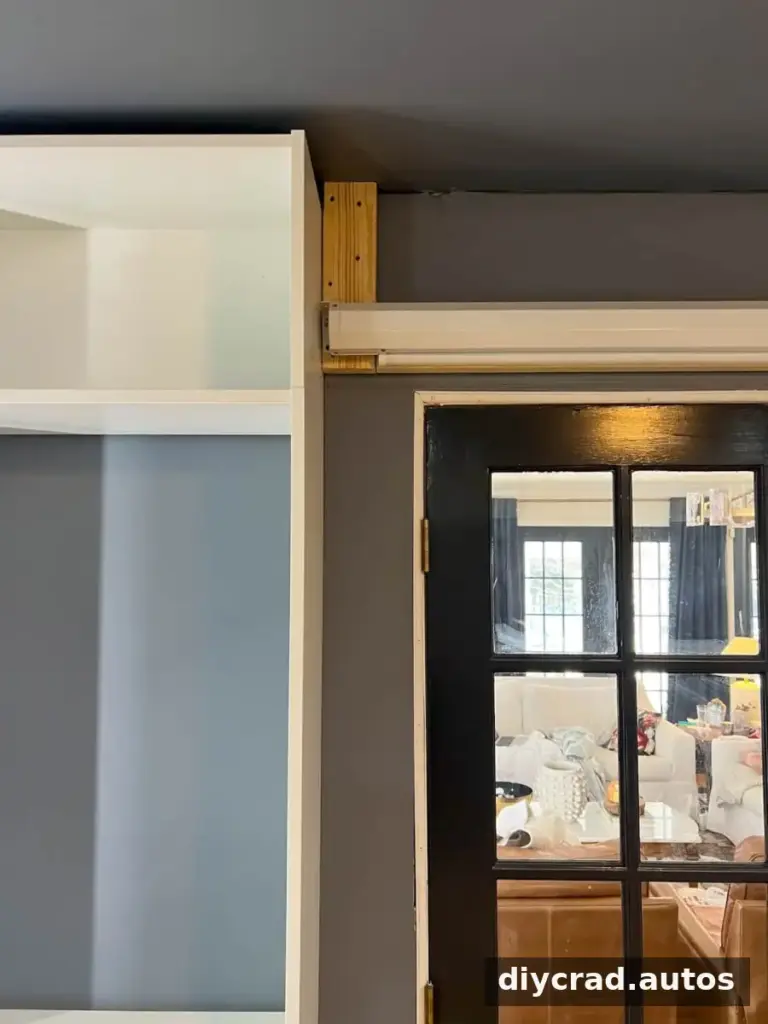
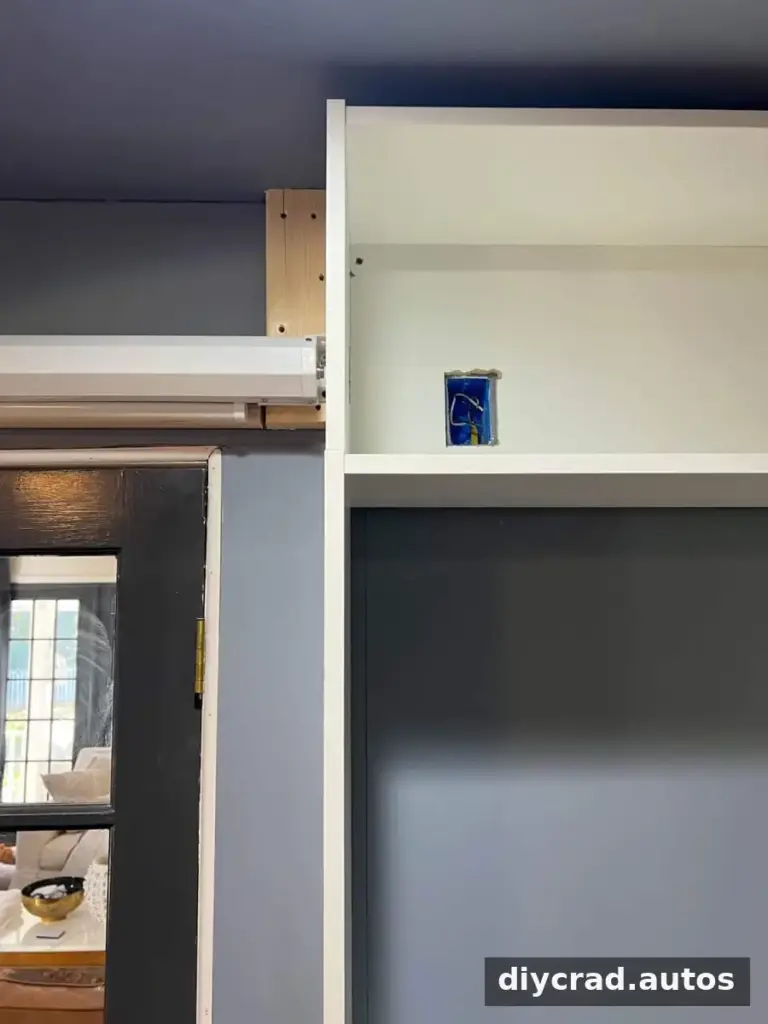
Cut two 12-inch lengths and one 74-inch length from the 2x4s. Secure the pieces to the wall between the bookcases with wood screws, then mount the projector screen to the supports. This brings the screen a couple of inches forward so it can descend without catching on the wall.
Test the screen’s movement before covering the supports. Keep hands clear of the moving mechanism, and follow the screen manufacturer’s mounting instructions.
Step 3: Brace the Front of the Enclosure
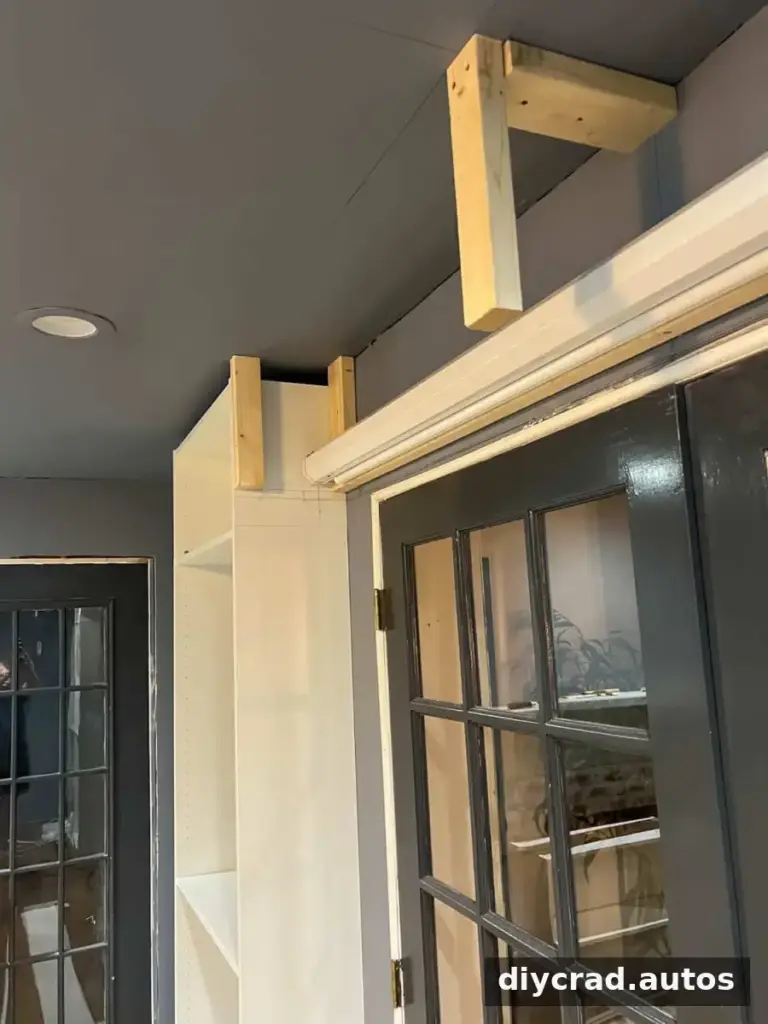
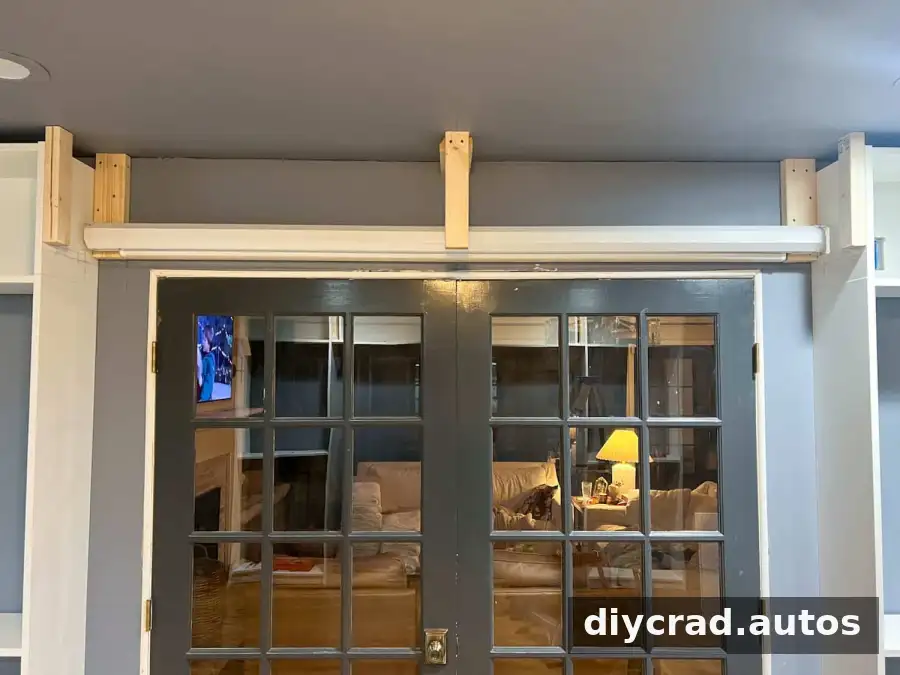
Cut four 12-inch pieces of 2×4. Attach them with wood screws to the middle section at the ceiling, beside the bookcases, and toward the front of the opening, following the layout shown in the project images. These braces form the framework for the box front.
Check that the bracing does not obstruct the screen’s path. Measure the opening again before adding the boards that will conceal the mechanism.
Step 4: Build the Bottom of the Box
Use a jig saw to cut an opening in one 1×12 board so the screen can pass through it. Attach the board beneath the 2×4 braces with wood screws. Position a 1×2 board beneath the 2×4 against the wall to conceal the screen mounting area.
Make the opening only as large as needed for the screen to move freely. A careful test fit helps avoid a gap that is unnecessarily visible.
Step 5: Complete the Box Front
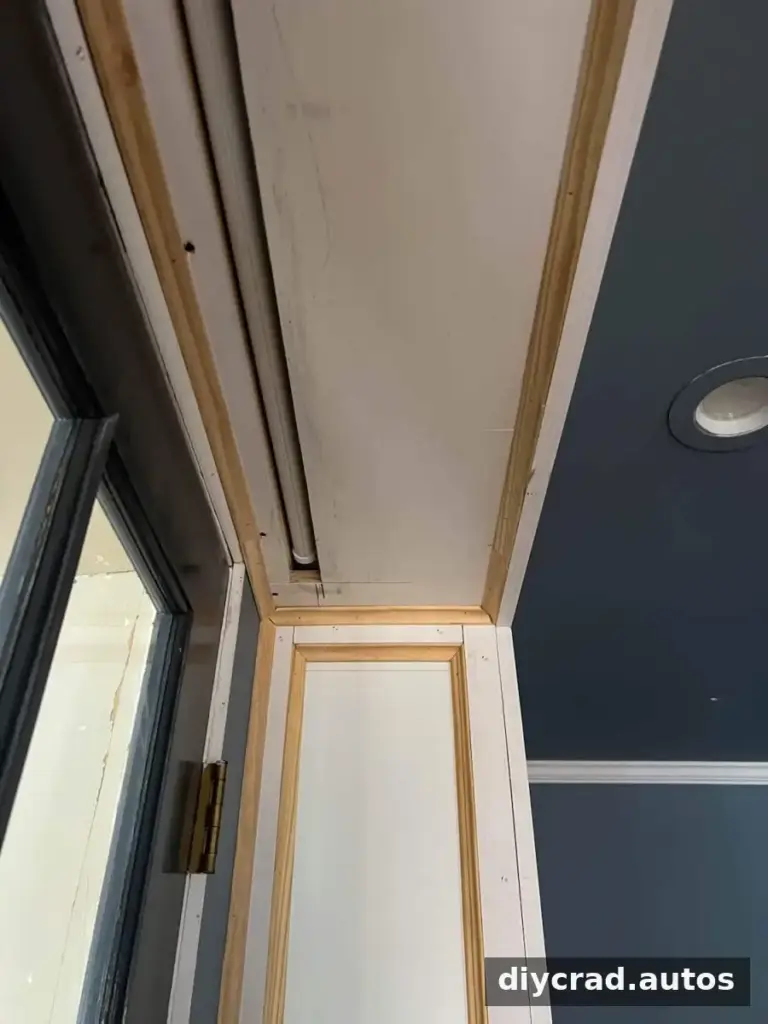
Attach the second 1×12 board to the front of the 2×4 framework to complete the box shape. Before adding trim, lower and retract the screen to confirm that the enclosure clears the screen and its housing.
Step 6: Add Trim
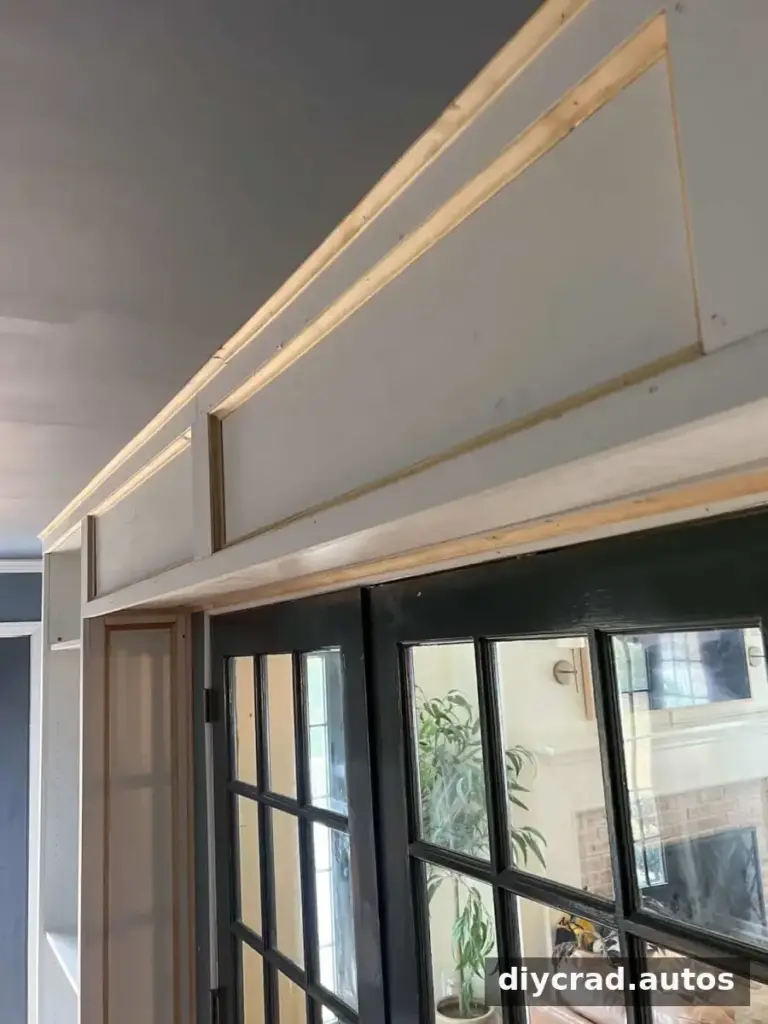
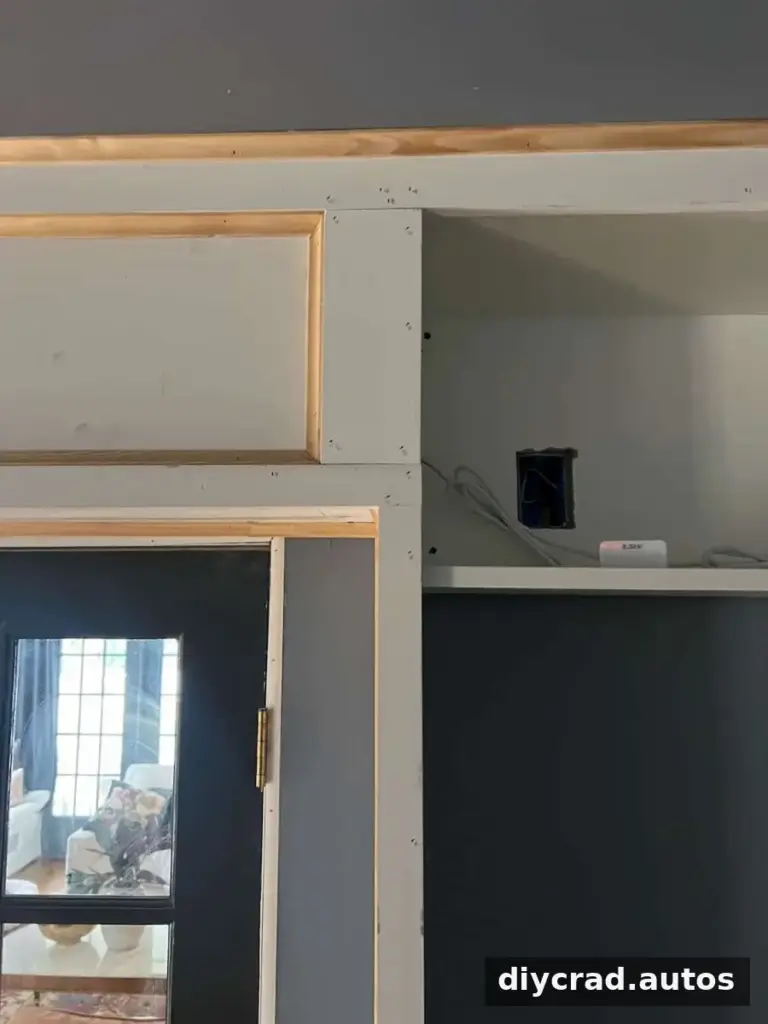
Use a brad nailer to attach 1×2 boards along the top and bottom of the box. Add 1×4 boards to its sides, then use 1×2 boards on the fronts of the bookcases for a consistent built-in appearance.
For a more traditional finish, attach cove molding to the edges of the 1×2 and 1×4 boards with finishing nails. Use a coping saw to fit the molding at the corners. Test-fit each piece before nailing it in place.
Step 7: Fill, Caulk, and Paint
Fill nail and screw holes with wood filler. Once it has dried, sand the surfaces smooth. Apply caulk to cracks and joints, then prime and paint the enclosure and bookcases as desired. Let finishes dry fully before operating the screen near them.
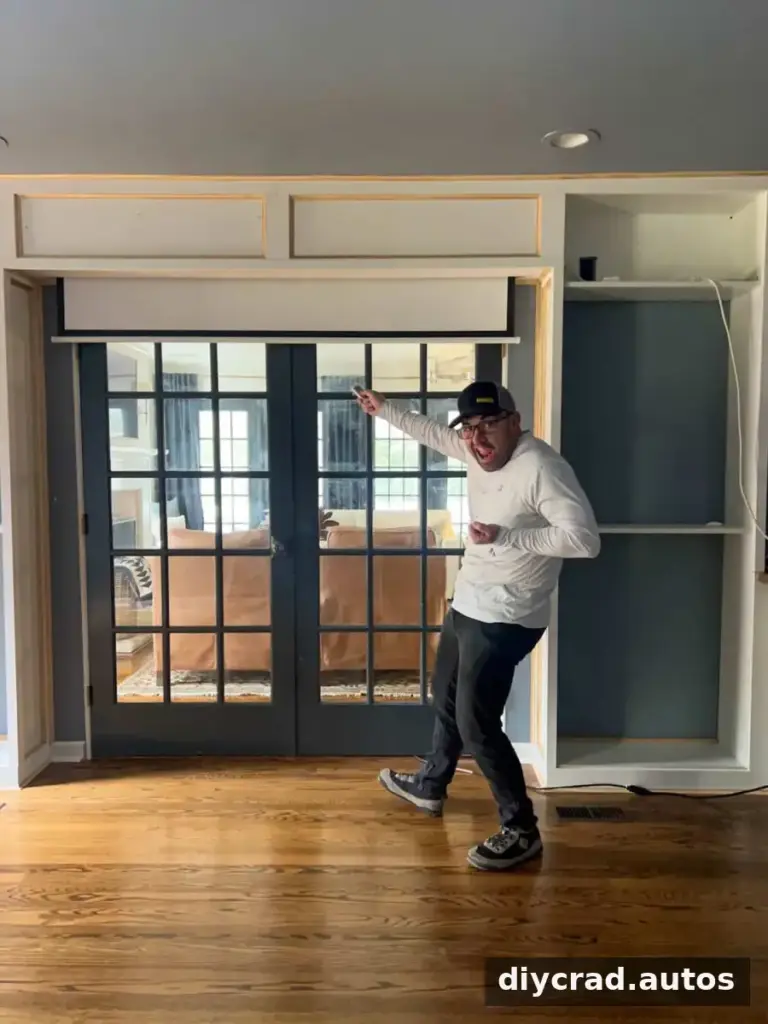
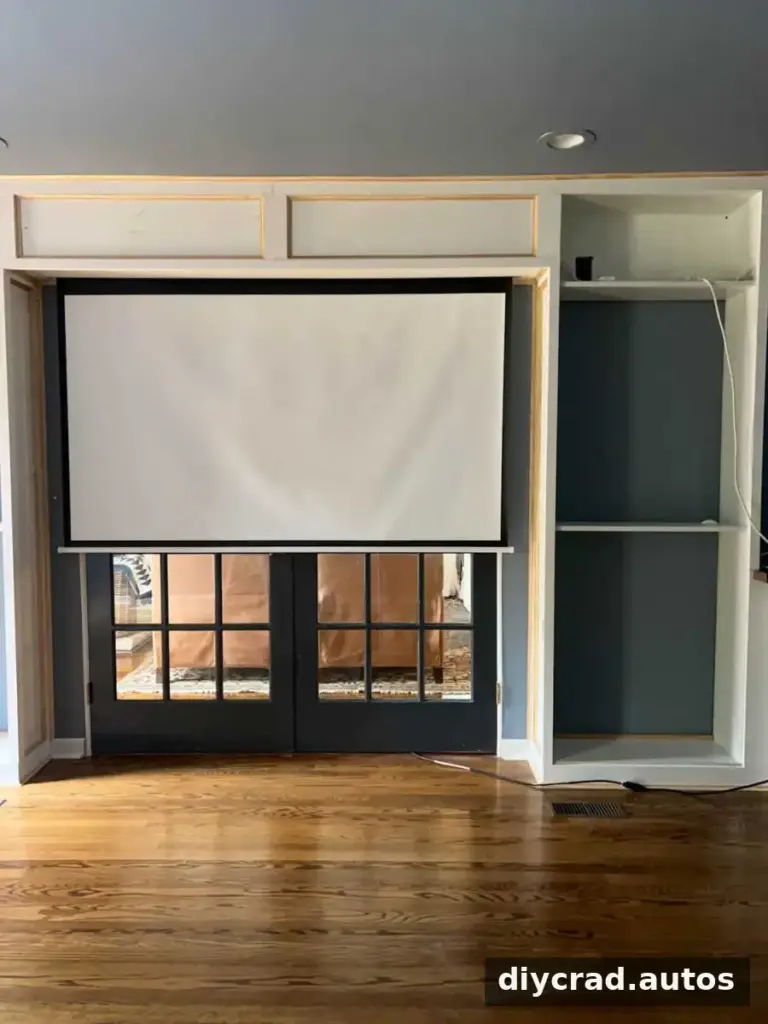
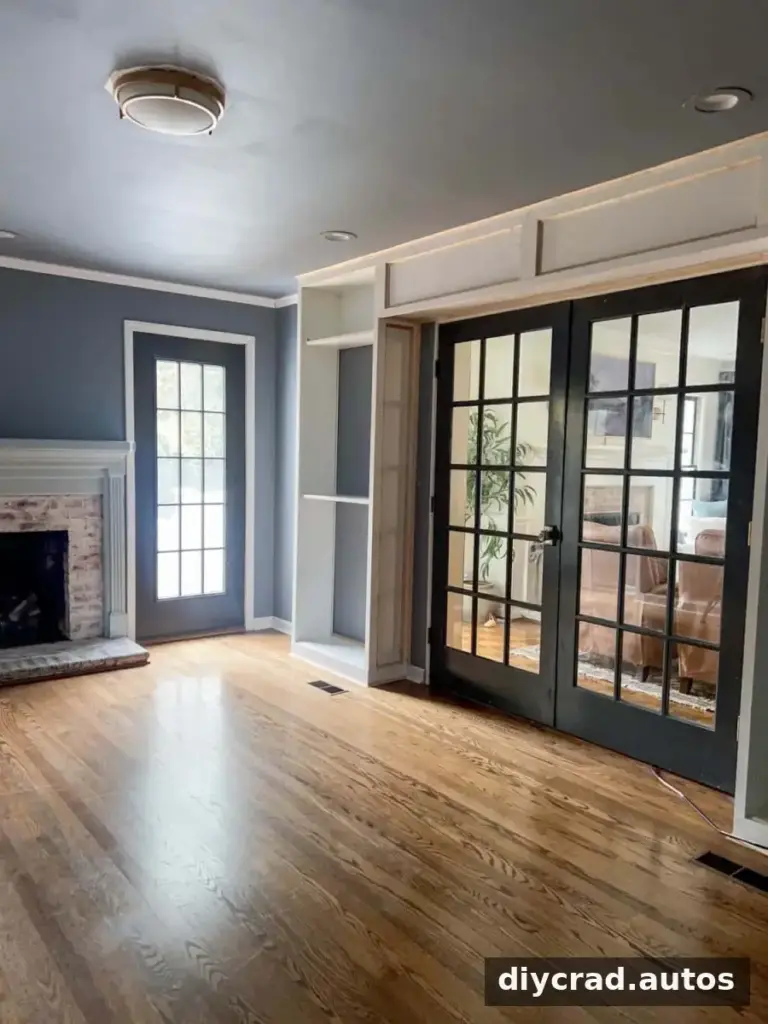
The finished structure can conceal the screen for everyday use and reveal it when movie night begins. The surrounding bookcases can also be completed with doors or other details, provided they do not interfere with access to the screen or its controls.
For a room with higher ceilings or a different screen size, adjust the layout before construction rather than relying on the example dimensions. Confirm the screen width, housing depth, mounting height, outlet position, and bookcase spacing on site.
Other ways to adapt bookcase storage include built-in shelving, closet storage, pantry cabinets, and organized media storage. Choose a project based on the room’s dimensions and make sure any modified furniture remains securely anchored.
Frequently Asked Questions
What can you use instead of a projector screen?
Possible alternatives include a white shower-curtain liner, a white bed sheet, a white wall, a white plastic tarp, a canvas drop cloth, or a ceiling. The surface and its flatness affect the viewing result, so choose a clean, smooth option and test it with your projector before relying on it for regular viewing.
Conclusion
A hidden projector screen enclosure combines a retractable screen with built-in bookcase storage. Careful measurements, secure anchoring, clear access to power, and a test of the screen’s movement before finishing are key to a practical installation.

