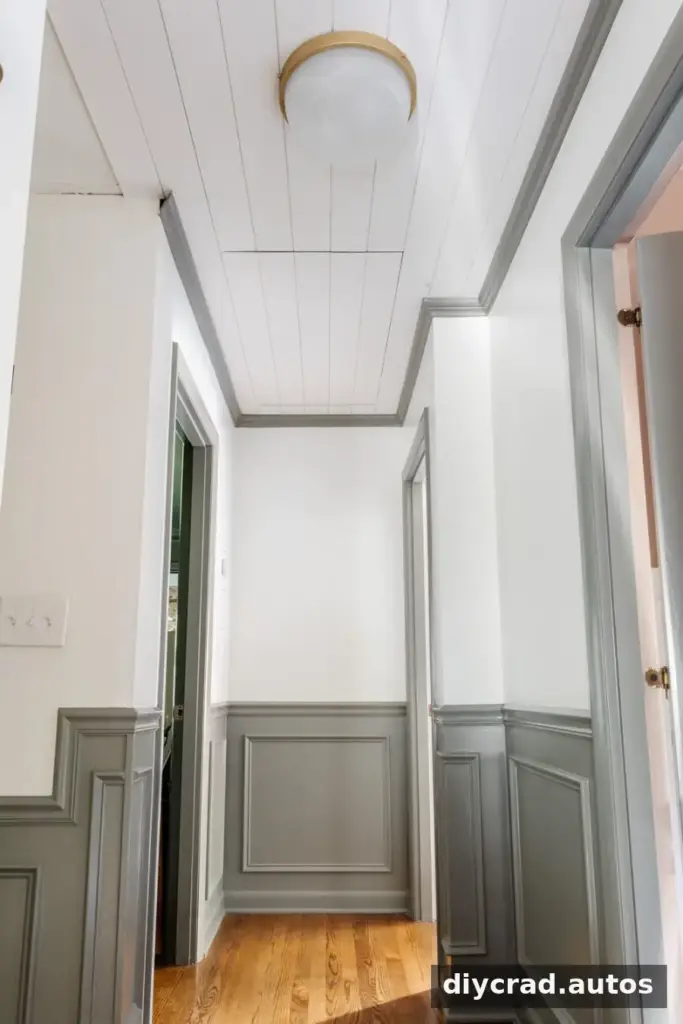
An exposed attic hatch can interrupt an otherwise finished hallway, especially when it has visible trim or a hanging pull string. One way to hide an attic door in the ceiling is to cover the surrounding surface—and the hatch panel—with matching tongue-and-groove planks. With careful measuring and angled cuts, the access door can blend into a decorative ceiling while remaining usable.
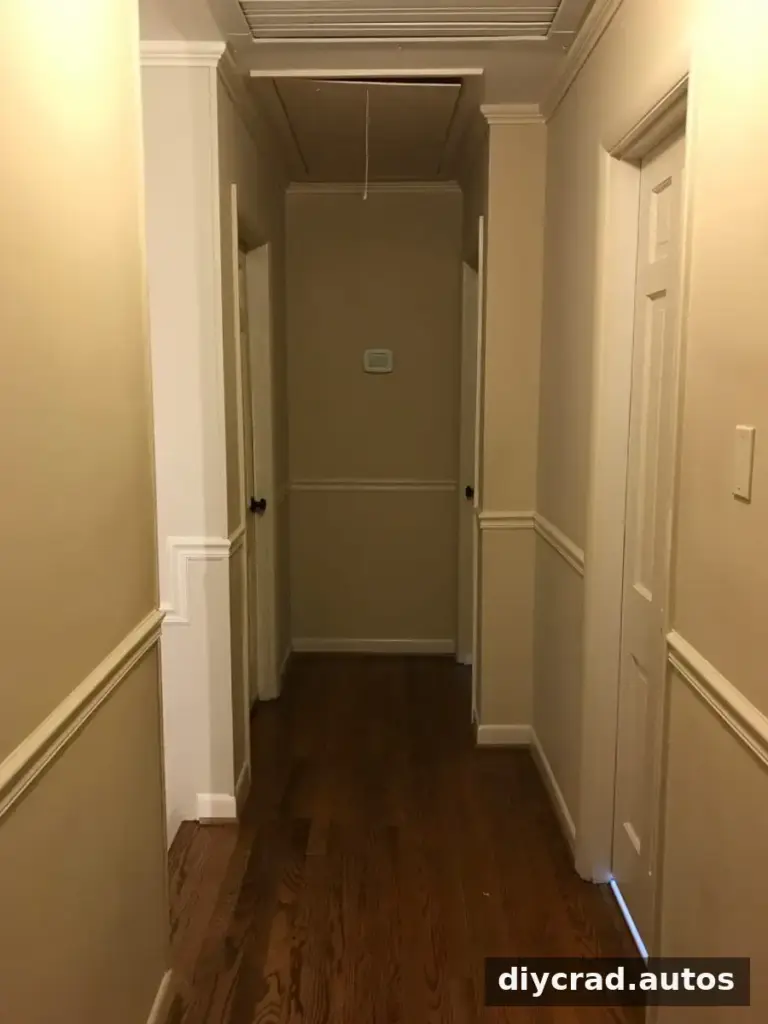
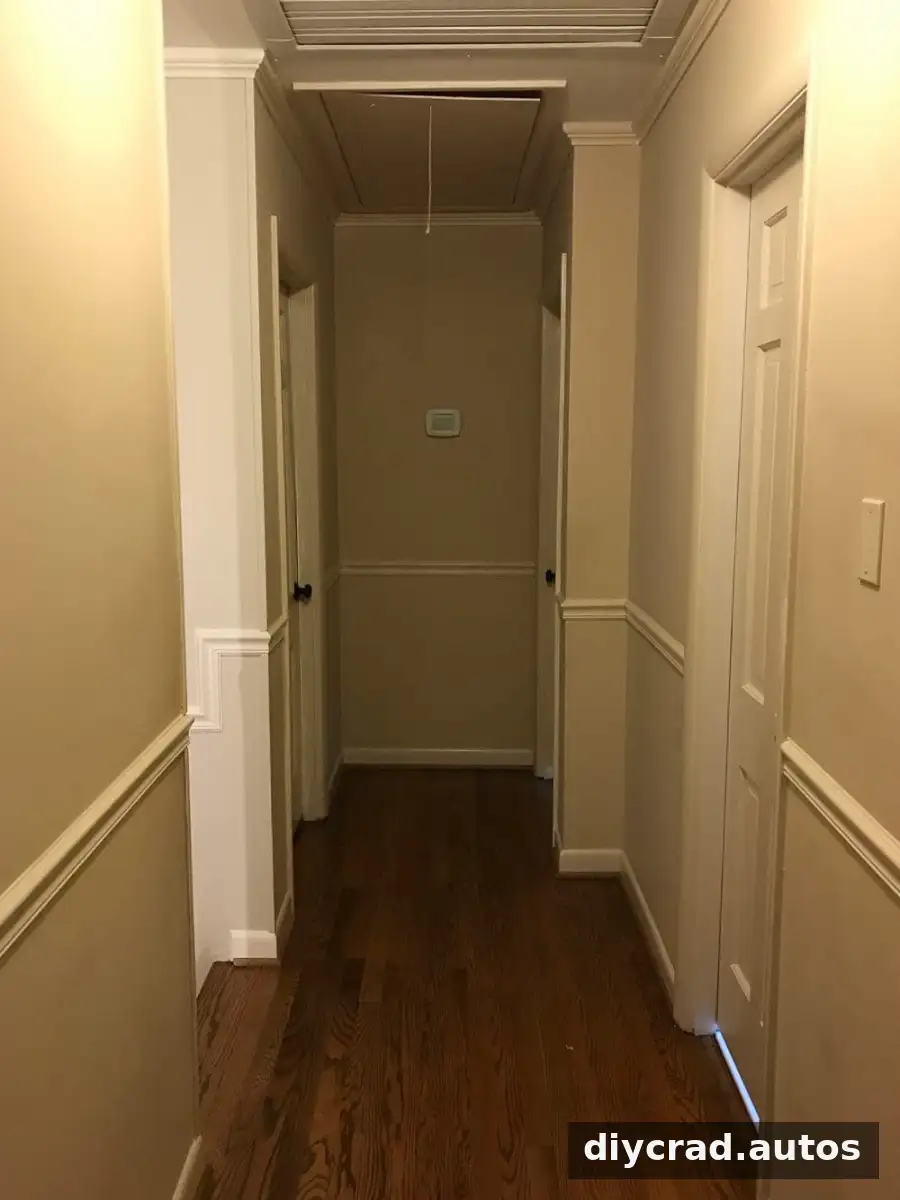
The project described here was part of an upstairs hallway makeover. The ceiling had an old attic fan, a worn vent, and a visible attic-door string. After the fan was patched over, tongue-and-groove boards offered a way to reduce the visual clutter and add detail to the space.
Before starting, plan how the finished hatch will open and confirm that its hinges and supports can manage the extra weight of the boards. The attic still needs to remain accessible, so avoid covering or obstructing the opening mechanism.
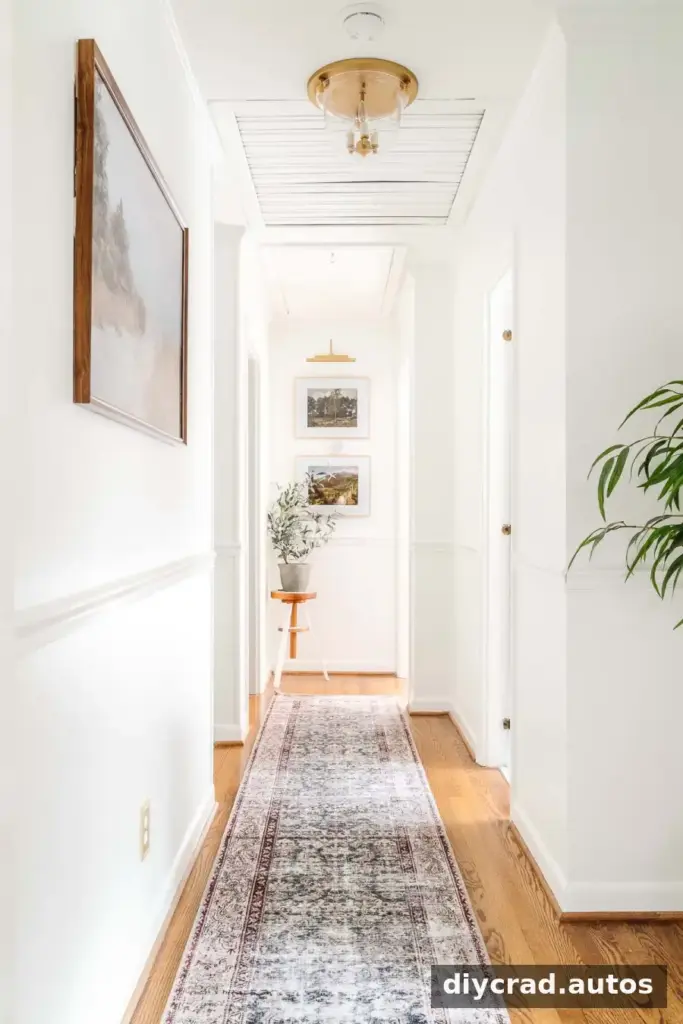
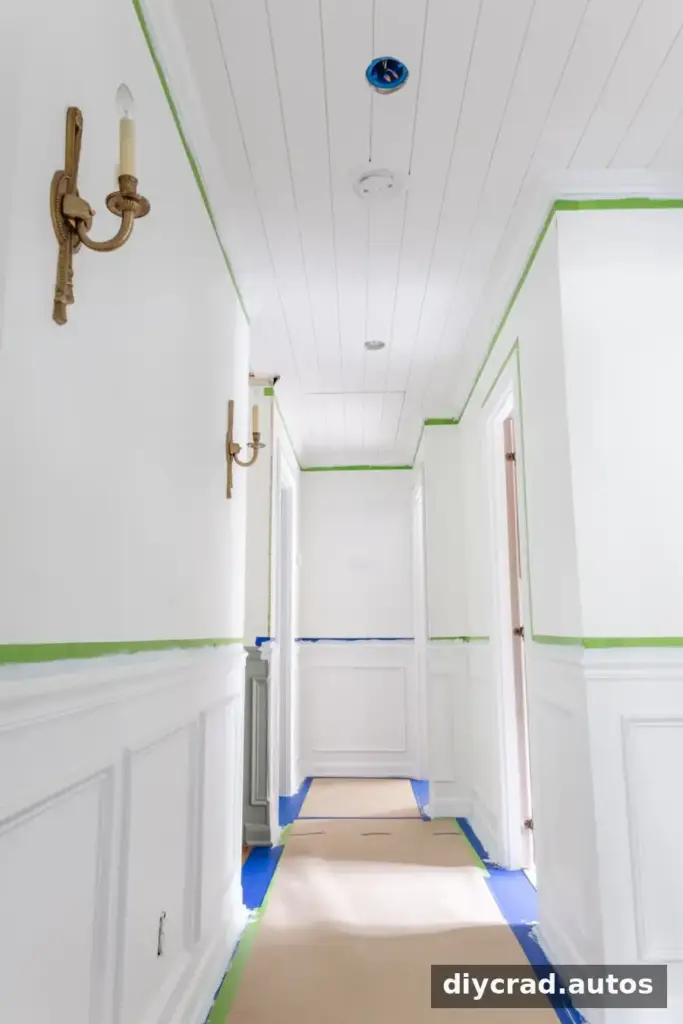
The ceiling was finished with 5 1/4-inch-wide pre-primed pine shiplap boards. The boards were installed around the hatch and then added to the attic-door panel so the surfaces would match.
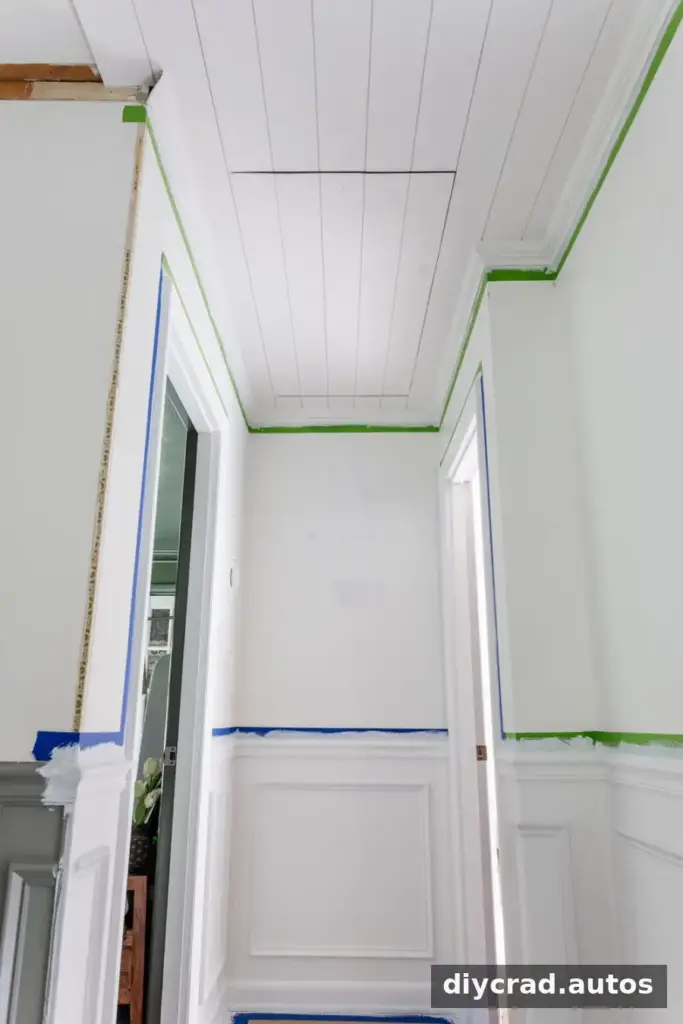
How to Hide an Attic Door in the Ceiling
This project uses construction adhesive and 2-inch, 16-gauge finish nails to secure the boards. Make a layout plan before cutting; a little preparation helps prevent narrow, awkward pieces near the hatch or perimeter.
Tools and materials
- Tongue-and-groove planks: 5 1/4-inch-wide pre-primed pine shiplap boards
- Miter saw and measuring tape
- Construction adhesive
- 2-inch, 16-gauge finish nails and a nail gun
- Caulk and wood filler
- Crown molding, if desired, and a coping saw for molding corners
- Primer and paint
- A hook-and-pull kit to replace a hanging string
1. Remove the existing trim and hatch panel
Take down the attic-door panel, surrounding trim, and crown molding to create a clear work area. Keep the hatch hardware organized, and take note of how the door is attached so it can be reinstalled correctly.
2. Measure the ceiling and plan the board layout
Measure the ceiling’s length and width to estimate the number of boards required. Use a short offcut to test possible placements, then mark the layout with a pencil. Check the edges around the attic opening as well as the room perimeter so the final rows do not end in an unusually narrow strip.
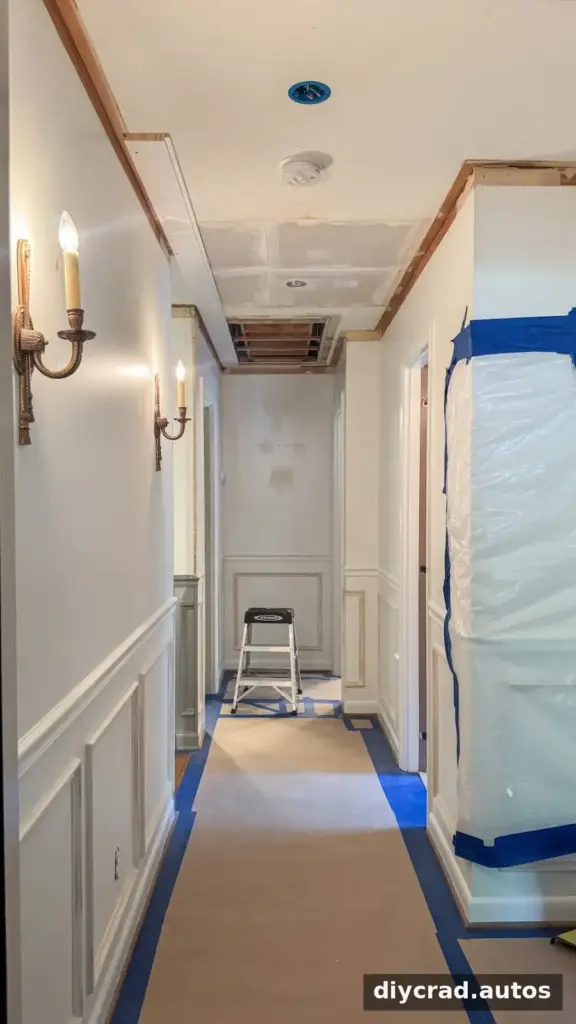
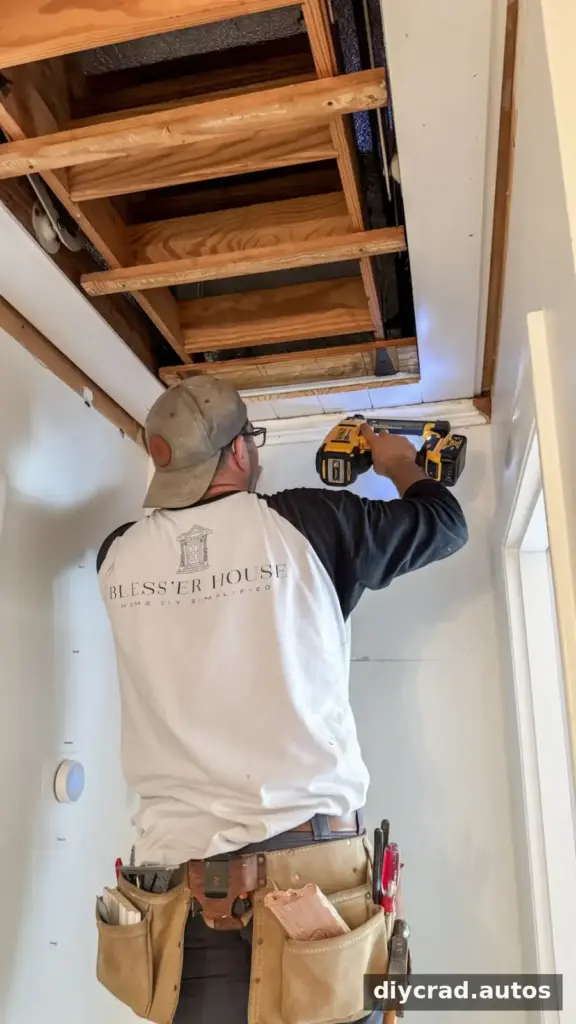
3. Begin beside the attic opening
Apply a bead of construction adhesive to the back of the first plank, then secure it to the ceiling with the finish nails. Starting along the edge of the attic opening helps establish a balanced layout. Follow the adhesive and tool manufacturers’ instructions, and make sure each board is firmly supported as you install it.
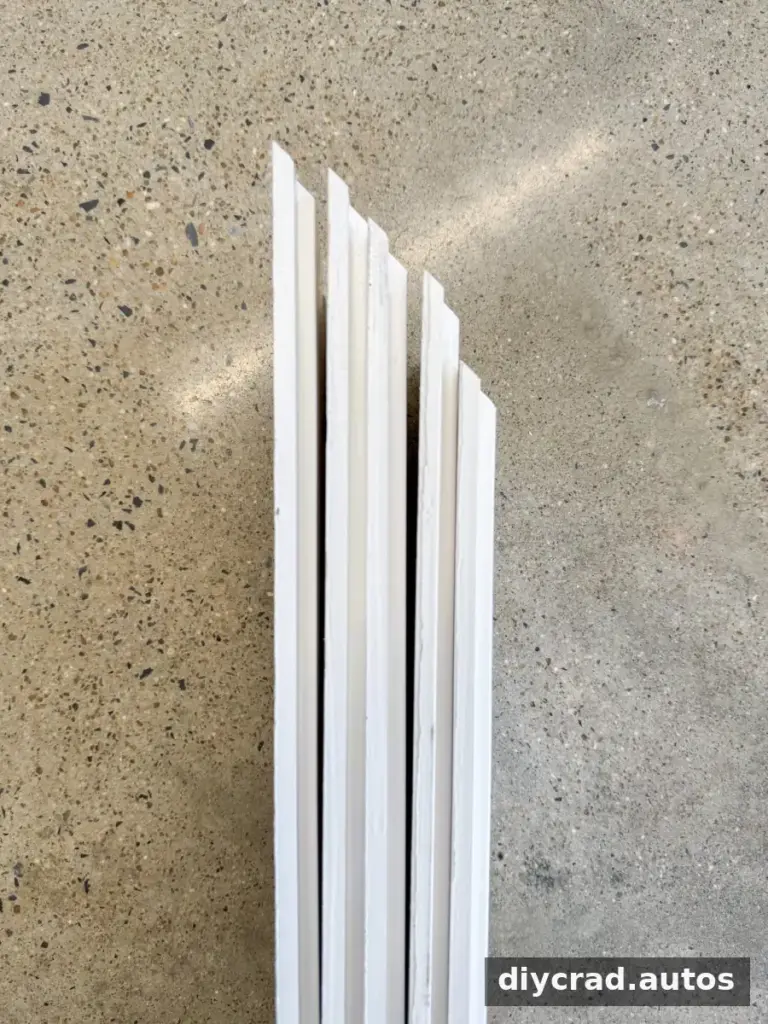
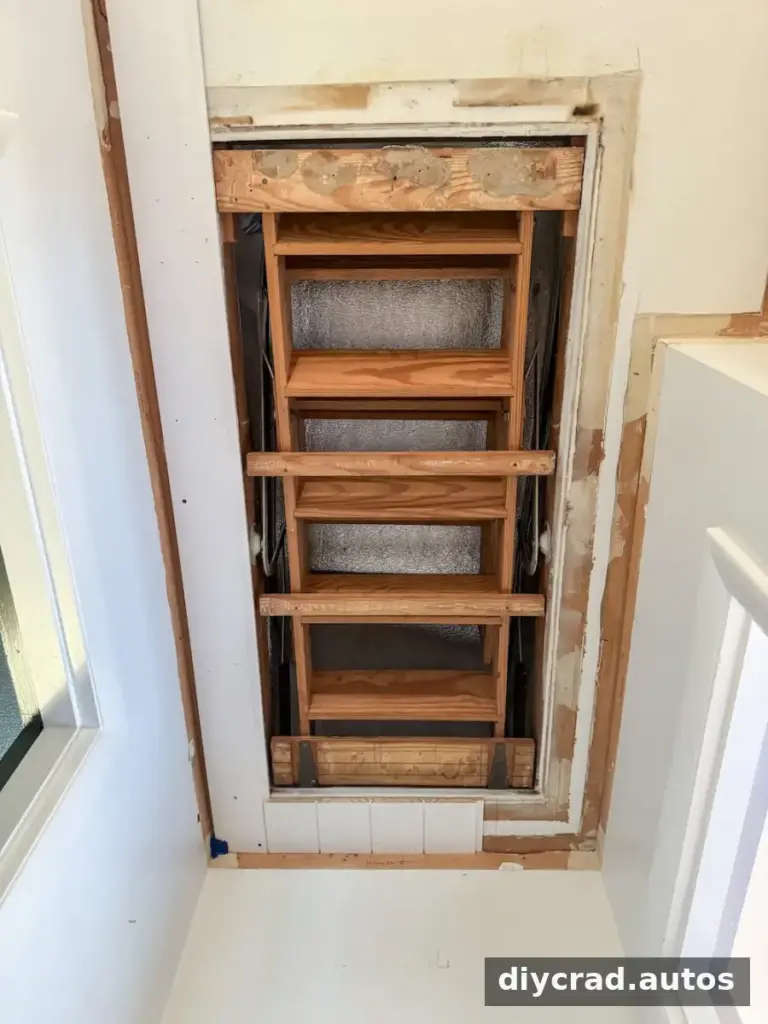
4. Bevel the boards at the hatch edge
Use a miter saw to cut the end of a board that meets the attic opening at a 45-degree angle. This bevel helps the board meet the hatch area neatly. Measure each piece carefully before cutting, since the fit around the opening affects how continuous the finished ceiling appears.
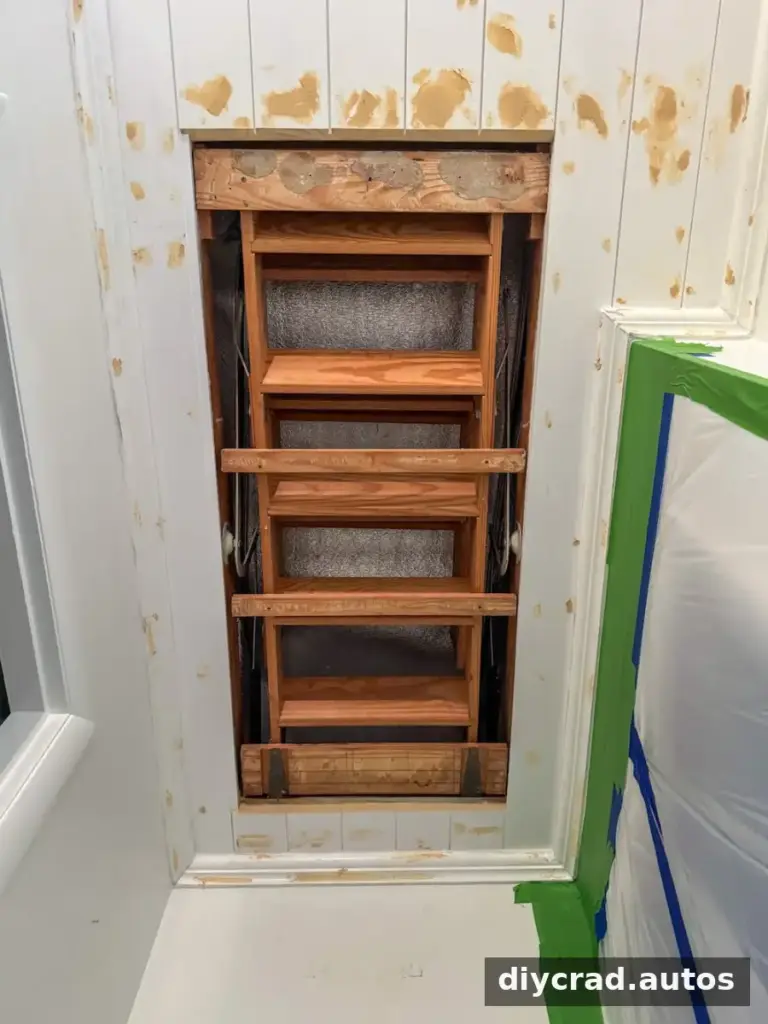
5. Continue installing the ceiling boards
Repeat the process around the attic opening, beveling the ends of boards that meet its edge. Apply adhesive and nail each piece in place, fitting the tongue-and-groove joints snugly. Check the alignment as you work rather than waiting until the entire ceiling is covered.
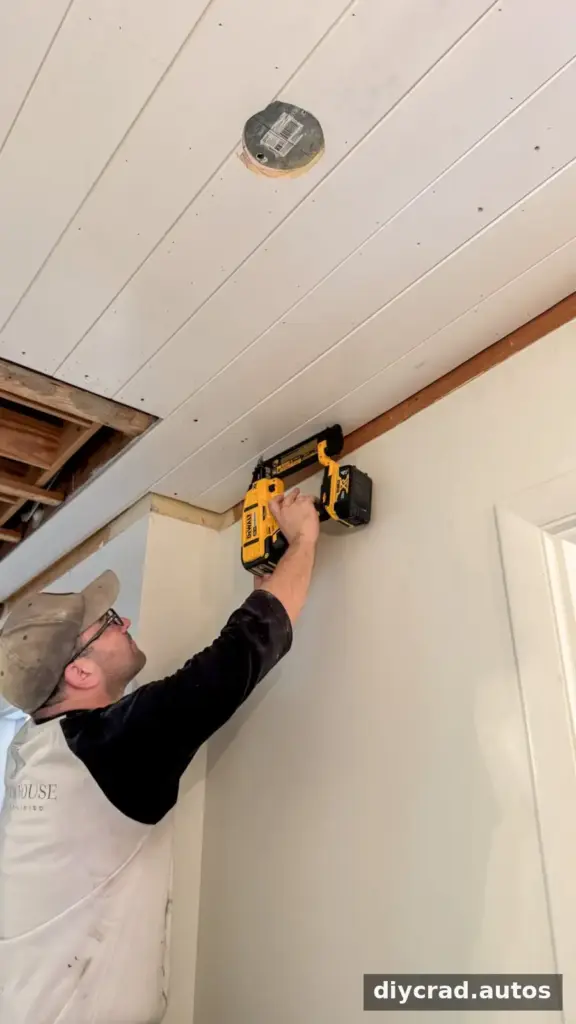
6. Reinstall crown molding if needed
Once the ceiling boards are in place, crown molding can be reattached around the room. A coping saw can help shape the corner joints for a closer fit. Molding is optional, so consider the existing trim and the room’s style before adding it.
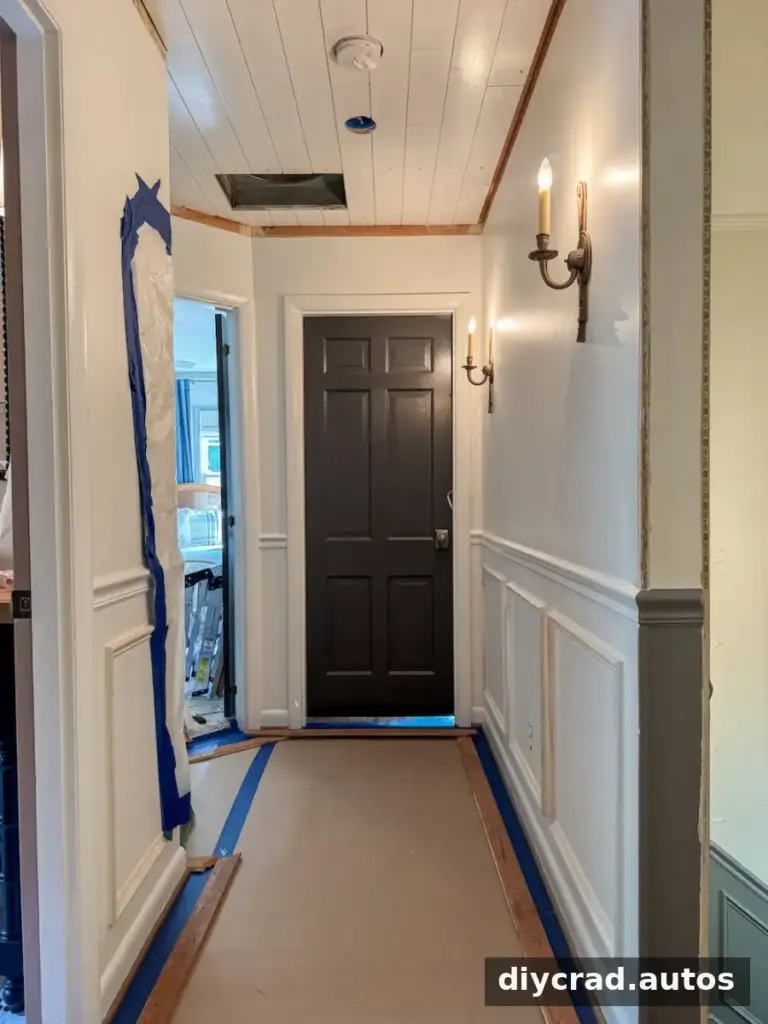
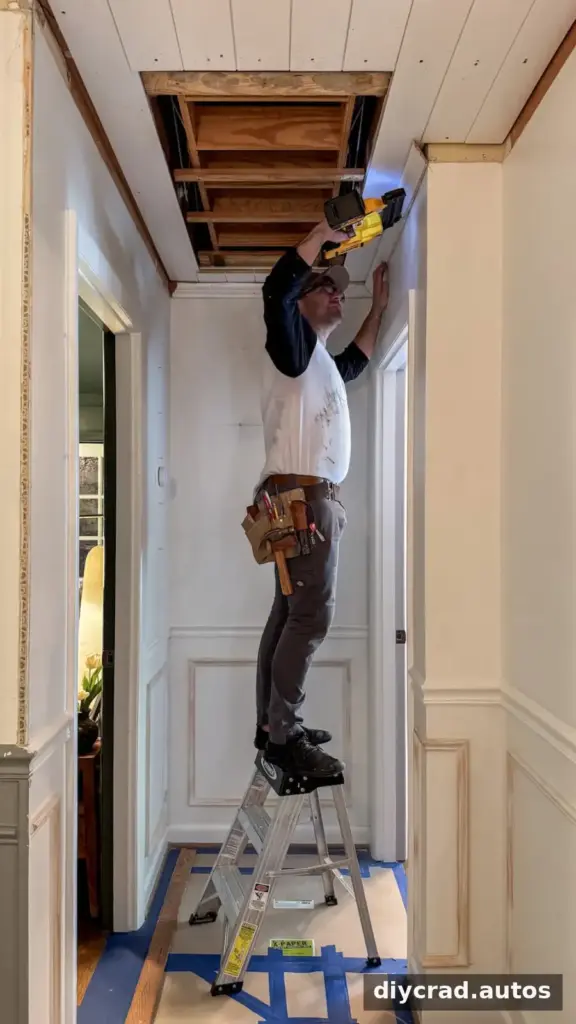
7. Cut matching boards for the attic-door panel
Measure the hatch panel and cut tongue-and-groove planks to fit. Use 45-degree cuts on the ends that meet the ceiling boards so the joint follows the same detail around the opening. Test the pieces against the panel before attaching them.
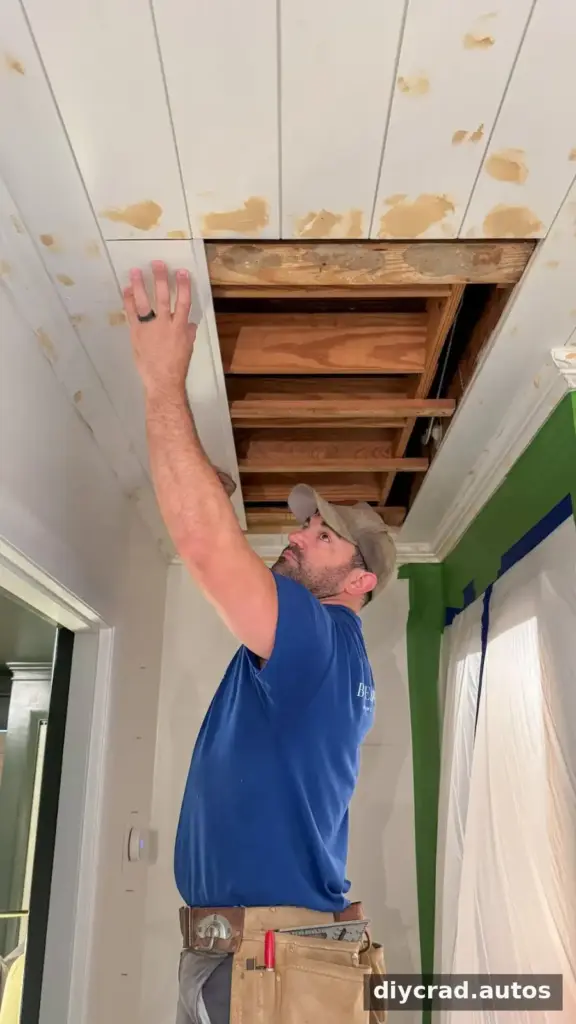
8. Attach the boards to the hatch
Secure the planks to the attic-door panel with construction adhesive and finish nails. Adding boards makes the panel heavier, so check that its hinges and other supports are strong enough for the added load before putting it back in place. The hatch should open and close without binding.
9. Fill, caulk, and finish the surfaces
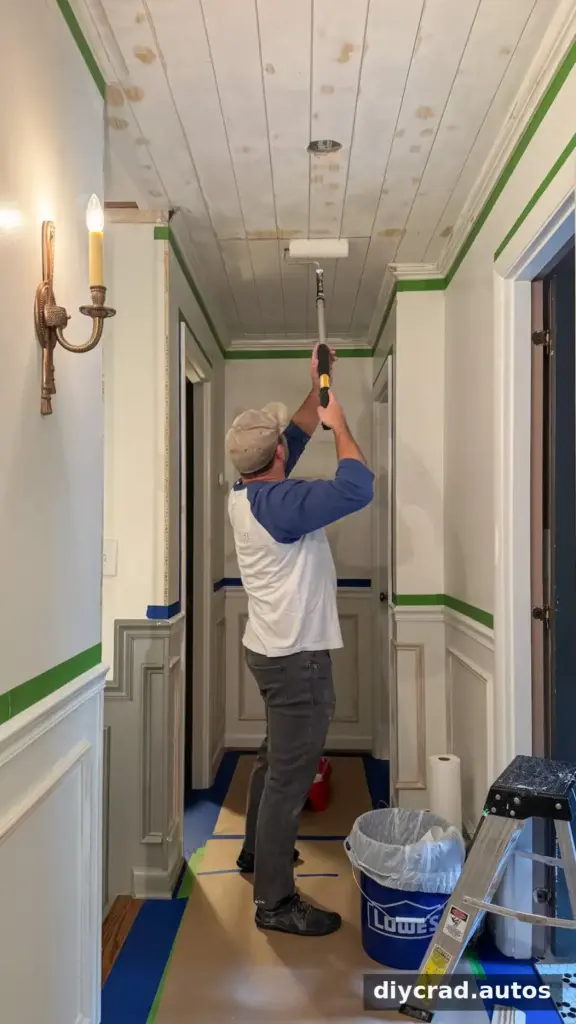
Fill nail holes and seams with wood filler, and caulk along the crown molding where appropriate. Let both materials dry fully, then sand the filled areas smooth. Prime and paint the ceiling and hatch panel in a matching color to help them read as one surface.
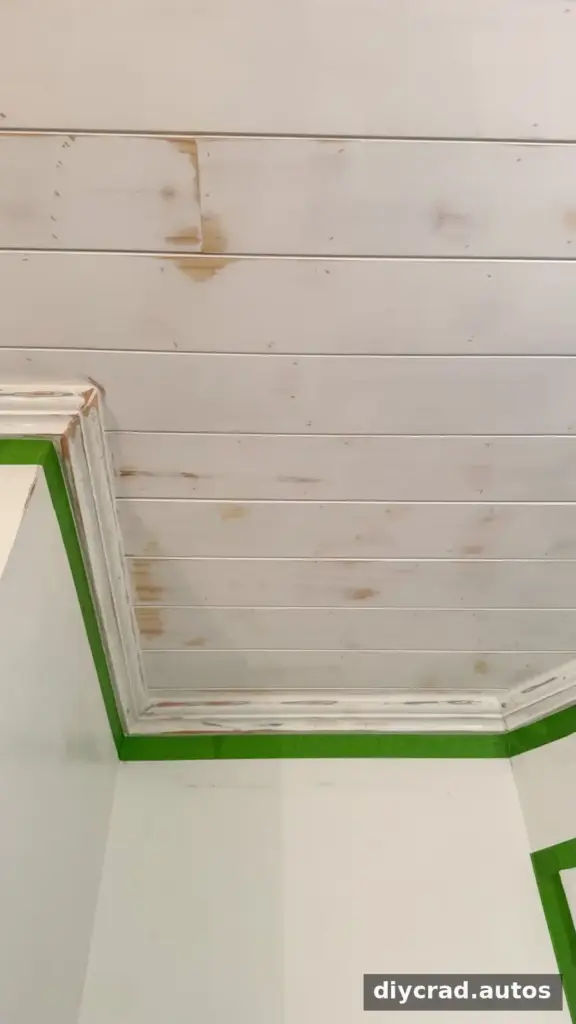
10. Replace the hanging string with a pull
A hook-and-pull kit can replace a dangling attic-door string and provide a more discreet way to operate the hatch. Position the hardware so it remains accessible and does not interfere with the door’s movement.
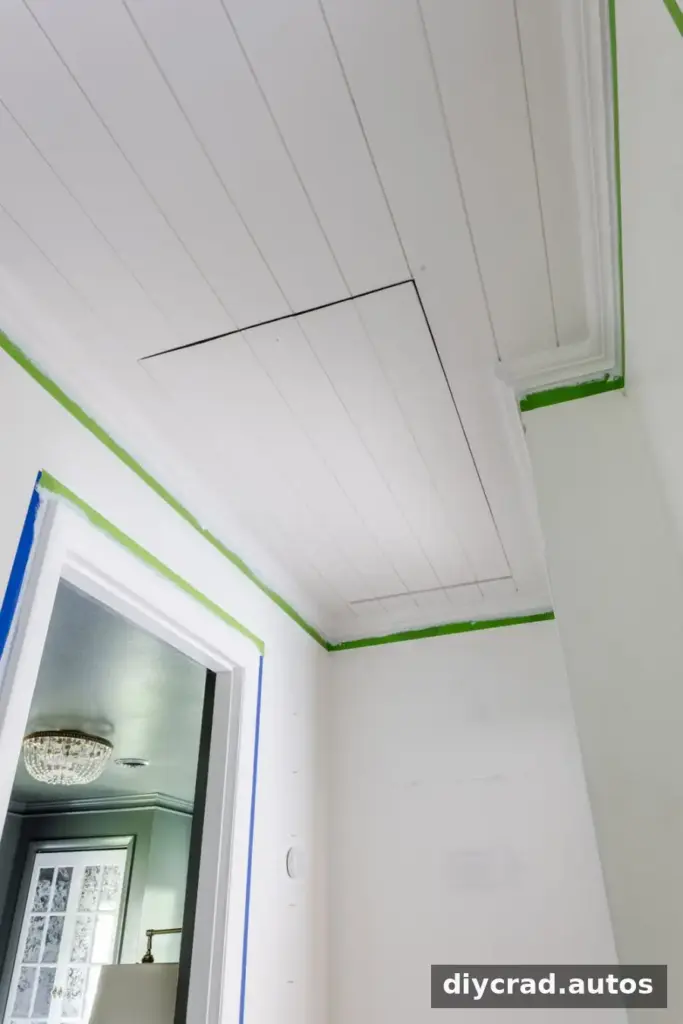
Attic Door Before and After
Matching tongue-and-groove boards can make an attic hatch less conspicuous and give a hallway a more finished appearance. In this makeover, the white-painted ceiling and covered hatch created a cleaner look, while the decorative boards added character.
Before beginning a similar project, confirm that the hatch remains easy to locate and open, and check that the added material will not compromise its hinges or supports. If your home has specific requirements for attic access, insulation, or fire safety, account for those before covering the opening.
To hide an attic door in the ceiling successfully, focus on an even board layout, precise bevel cuts, and a secure but still functional hatch. These details help the door blend with the ceiling without sacrificing access to the attic.