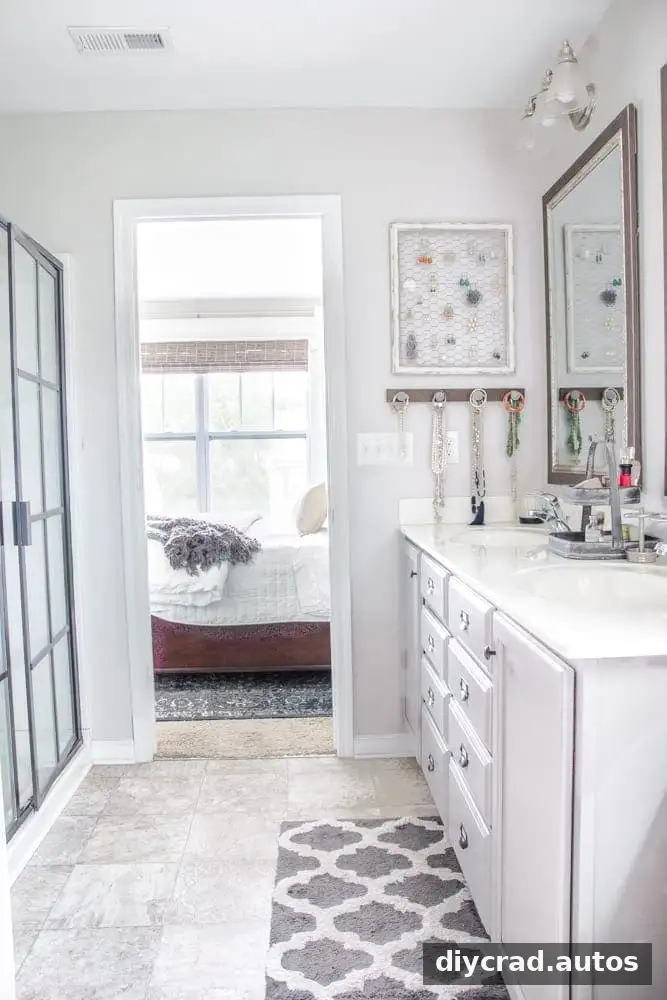
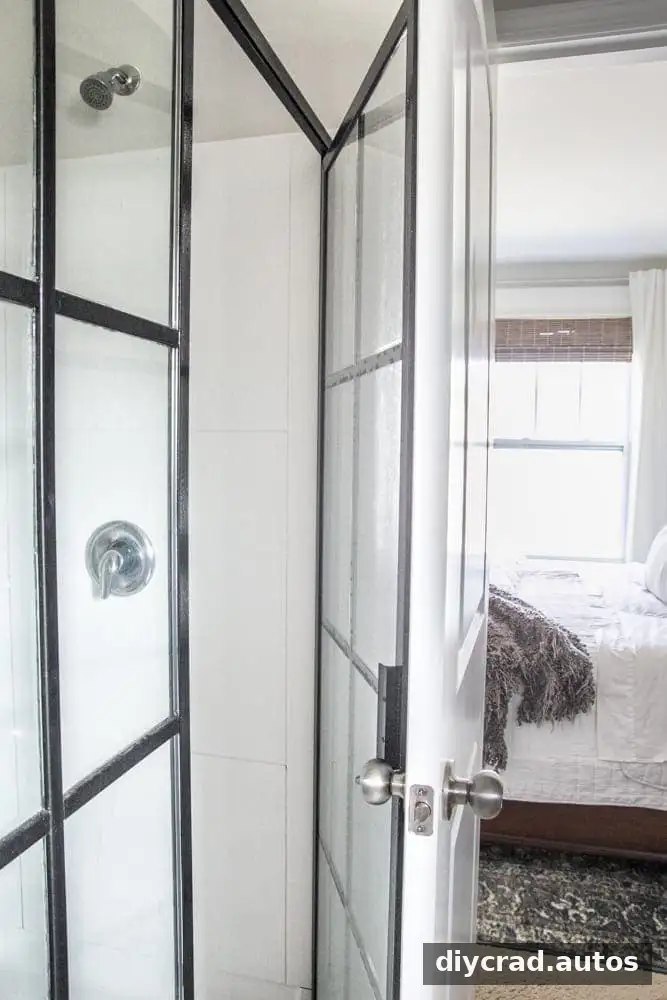
Learning how to install sliding barn doors can help solve layout problems, such as a door that swings into a shower or blocks useful wall space. Unlike a hinged door, a barn door slides alongside the wall, so planning the door’s travel, checking the wall support, and choosing compatible hardware are essential. The steps below follow a project that used two hollow-core doors and two track kits to replace swing-in doors between a bedroom, bathroom, and closet.

The change reduced interference between the doors and added visual detail to the wall. Before starting, measure the opening and the available wall area on both sides. Sliding doors need enough clear space to move out of the doorway without hitting trim, fixtures, furniture, or one another.

How to Install Sliding Barn Doors: Materials and Preparation
This project used two stainless steel track kits connected to form one longer track. Product requirements differ, so check the instructions before purchasing. Confirm that the track supports your door type and weight, that the track is long enough for the opening, and that the doors have the clearance they need.
- Two doors and compatible sliding-door track kits
- A connecting track adaptor for two adjacent tracks
- A 2×6 or 1×6 header board
- Paint to match the surrounding trim, if desired
- Tape measure, level, pencil, power drill, and ladder
- 2.5-inch interior screws, as used in this project
Locate the wall studs before mounting the header. The header and track need secure structural support; drywall alone is not adequate. Follow the track manufacturer’s requirements for fasteners and mounting, since recommendations can vary with the kit and wall construction. If you are unsure where the studs are or how the system should be supported, resolve that before drilling.
Measure and Install the Header Board
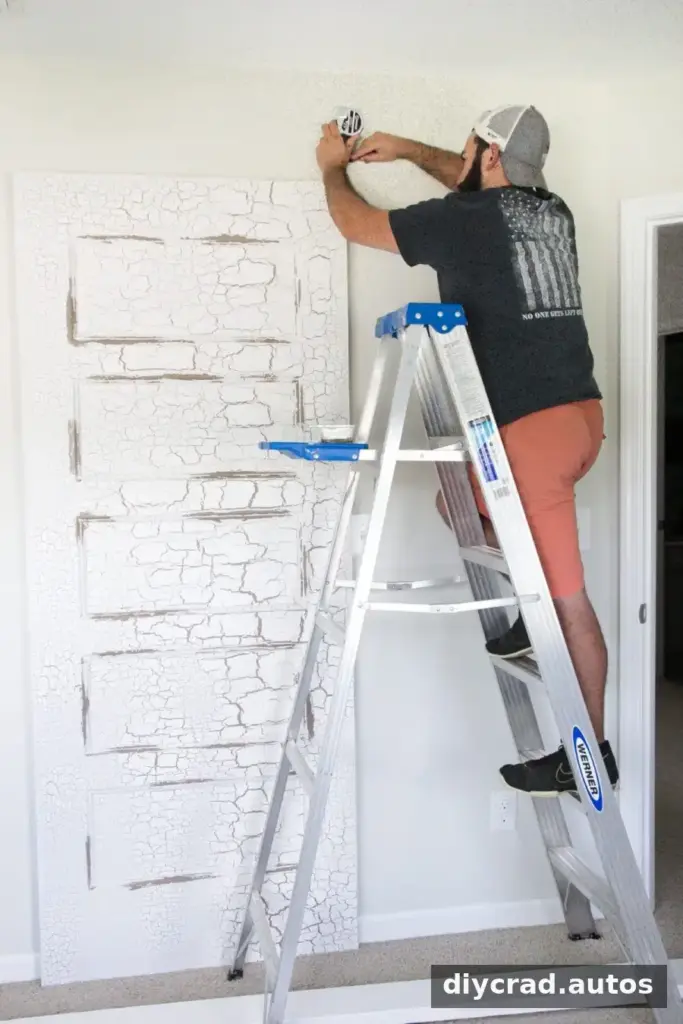
Hold one door against the wall in its intended position and use the project’s 2.5-inch measurement to help mark the header placement. This measurement is specific to this installation, not a universal rule. Check your track instructions for the correct mounting height and door clearance, then mark the header position with a pencil.
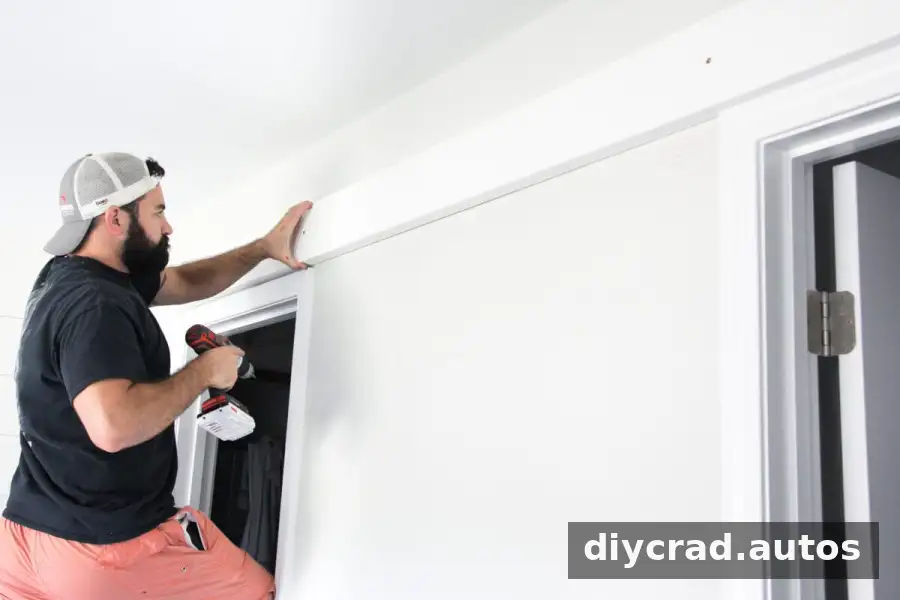
The header used here was a 2×6×12 whitewood board painted to match the trim. A 1×6 board may also work if the track system permits it. In this project, the thicker board left the doors about an inch farther from the wall than expected. Confirm the required board size and spacing before cutting or fastening so the doors clear the trim and sit as intended.
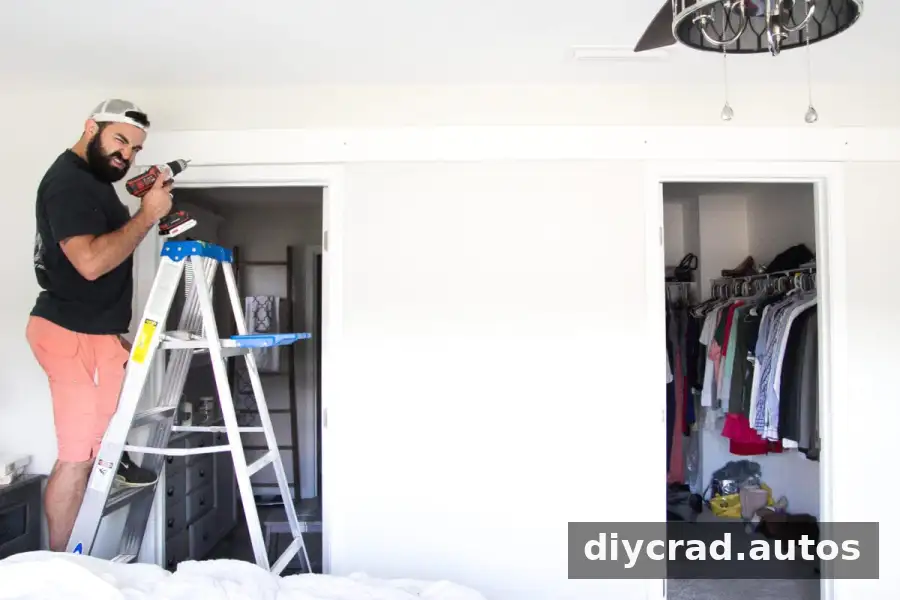
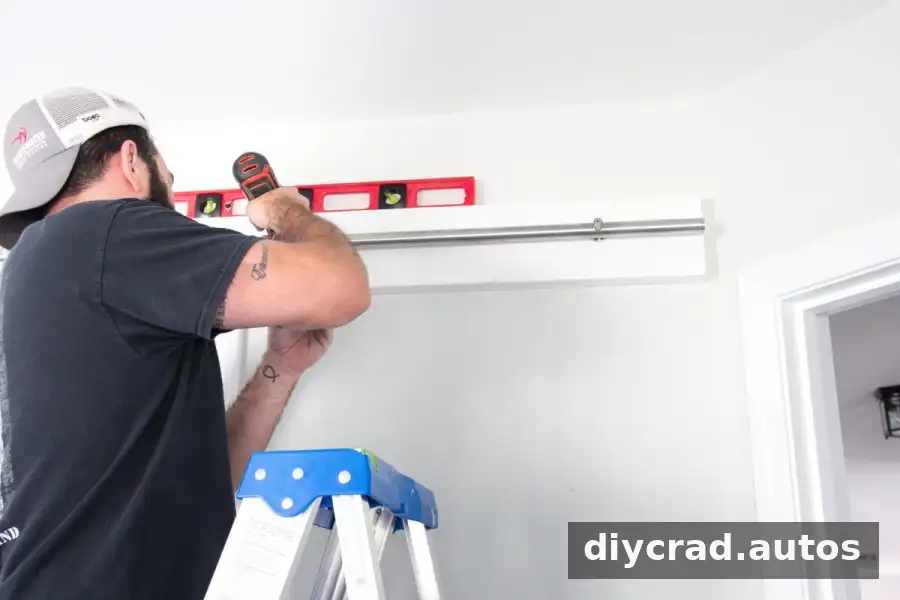
Position the board above the door frames. Use a level to check it, then secure it with screws driven into the wall studs. A second person can help hold the board while you mark and fasten it. Use the ladder on a stable surface and avoid reaching beyond a safe position.
Join and Mount the Sliding Track
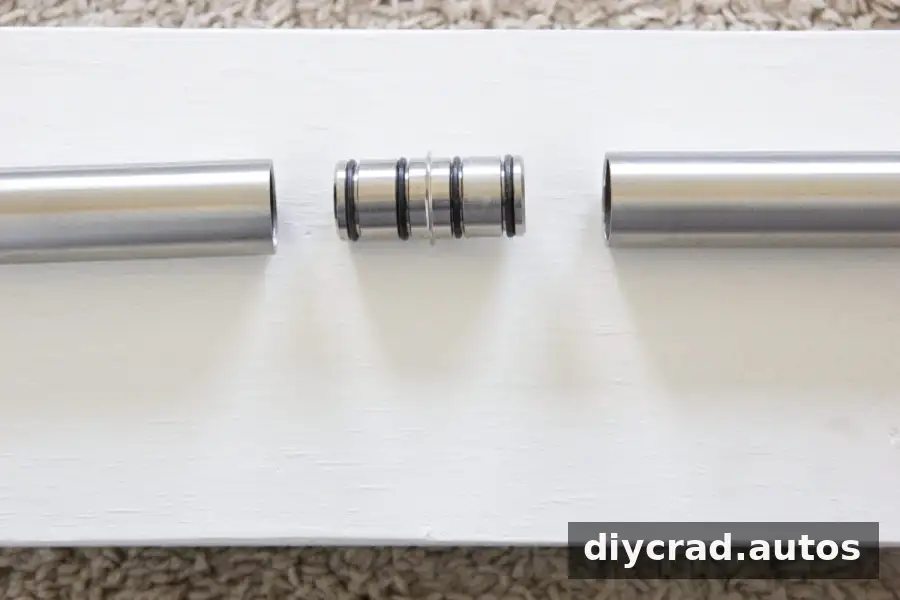
For the wider opening, two track sections were joined with a connector to create one continuous track. Assemble the pieces according to the kit instructions, then center the track on the header and attach it using the specified hardware. Check that the connector is correctly seated before mounting the doors.
Before fully tightening the fasteners, check that the track is straight and level. Misalignment can interfere with smooth movement. Confirm that the brackets and connector are secured, and do not exceed the system’s stated load limits. Practical tip: recheck the track position across its full length, rather than relying on a single level reading.
Attach the Rollers and Hang the Doors
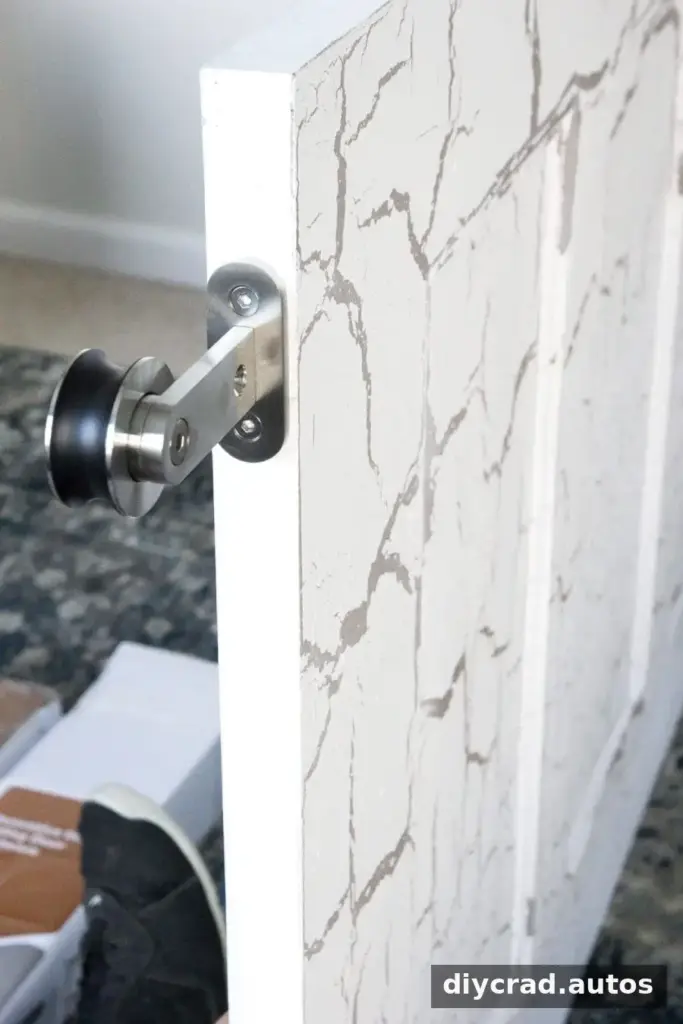
Use the template supplied with the kit to mark where the rollers attach to the top of each door. Drill and fasten them as directed, keeping the hardware aligned. Hollow-core doors are not compatible with every sliding system, so verify that the kit specifically supports the door type and weight before installation.
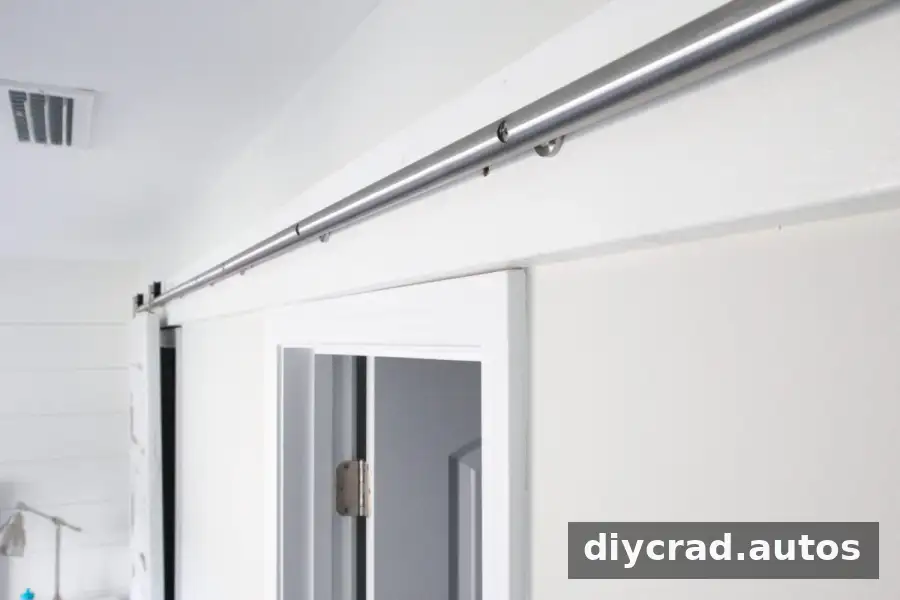
With help, lift each door onto the track. Install the supplied stops and anti-jump components as instructed; these parts help keep the doors in their intended path. Slide each door slowly across the full track and watch for rubbing, binding, or contact with trim and nearby fixtures. Add handles or a lock only after checking that they will not obstruct the other door or its travel.
Check the Finished Installation
Each door should move smoothly and quietly while clearing the wall and surrounding openings. After hanging the doors, recheck the fasteners and hardware, then follow the kit’s maintenance guidance. In this bedroom project, the new doors stopped the bathroom door from striking the shower and freed wall space near the closet.

The stainless steel hardware complemented the room’s modern industrial farmhouse style. More importantly, the sliding doors improved movement between the bedroom and bathroom. A useful final check is to open and close both doors several times, making sure their paths do not overlap or create an obstruction.

For a similar installation, plan the door path, verify stud locations, and confirm the header and track requirements before drilling. Careful measuring and hardware checks make how to install sliding barn doors a more manageable DIY project and help prevent avoidable fit and mounting problems.