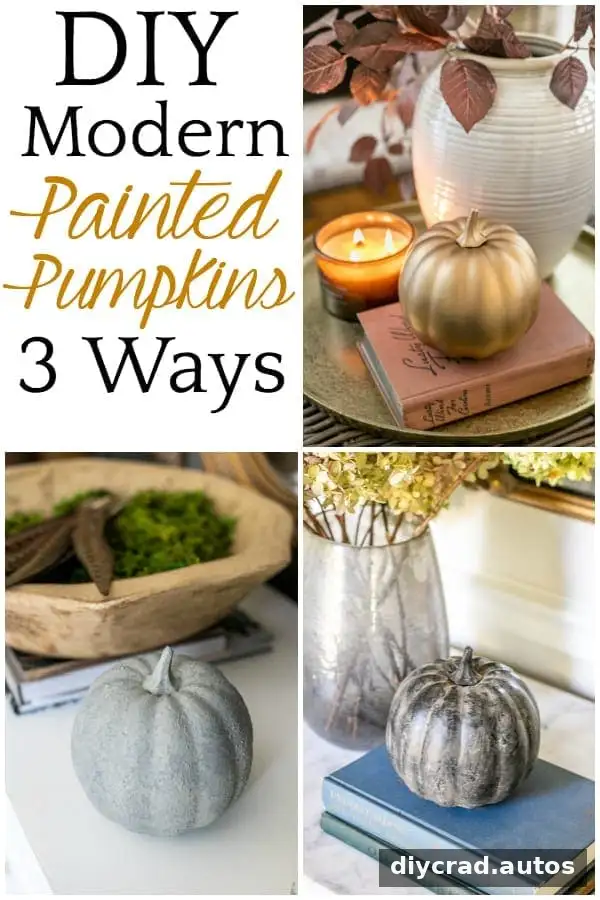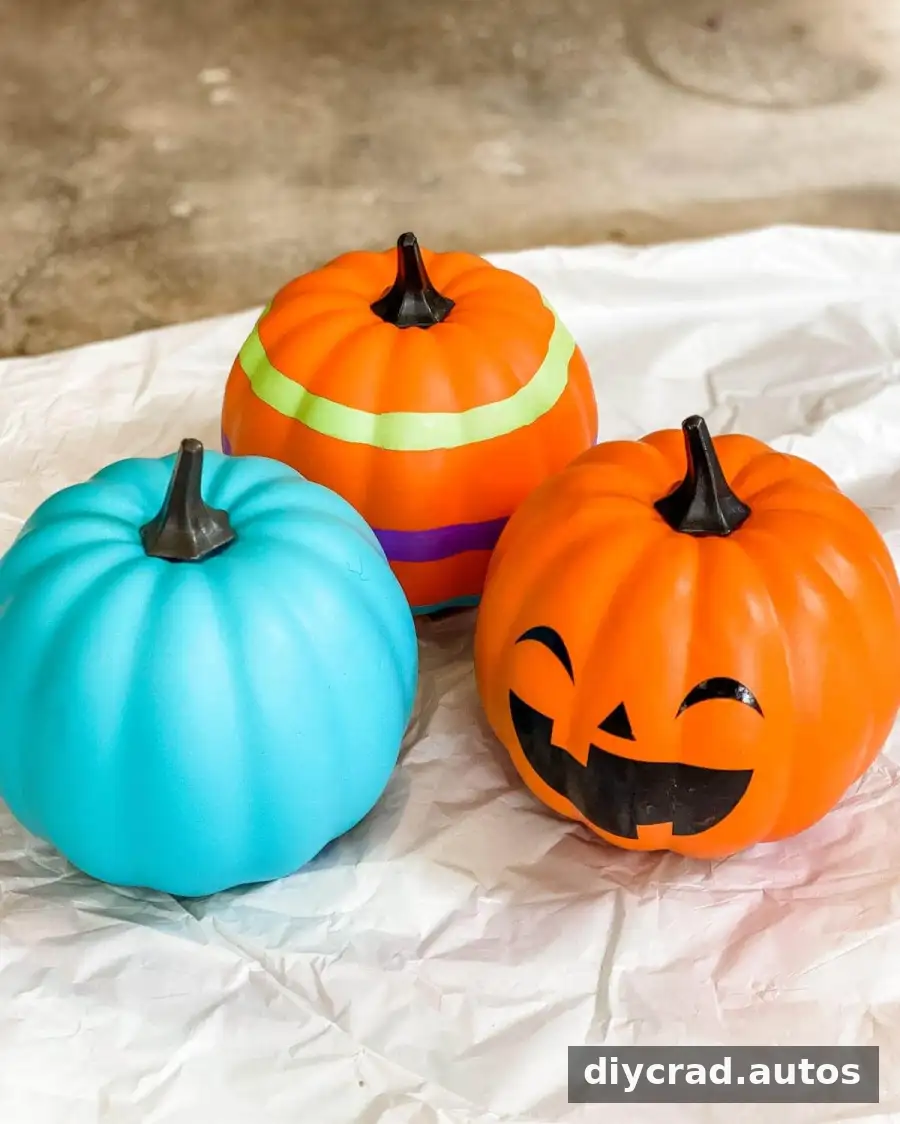
Modern painted pumpkins are an easy way to add seasonal character without filling a room with traditional fall decorations. With a few craft supplies and three simple techniques, plain artificial pumpkins can take on the look of antique brass, textured concrete, or black earthenware. These finishes can also work on vases and other decorative objects with suitable surfaces.
Artificial pumpkins are useful for this project because they can be painted and displayed again. Before starting, protect your work area, check the paint labels for application and drying guidance, and use spray paint outdoors or in a well-ventilated space. A small number of pumpkins is enough to create a coordinated display without overwhelming a room.

3 Modern Painted Pumpkin Techniques
Each method creates a different finish, so choose one that suits your decor or try all three for variety. Clean the pumpkin and make sure it is dry before painting; dust or moisture can affect how the finish looks and adheres.
Antique Brass Pumpkin
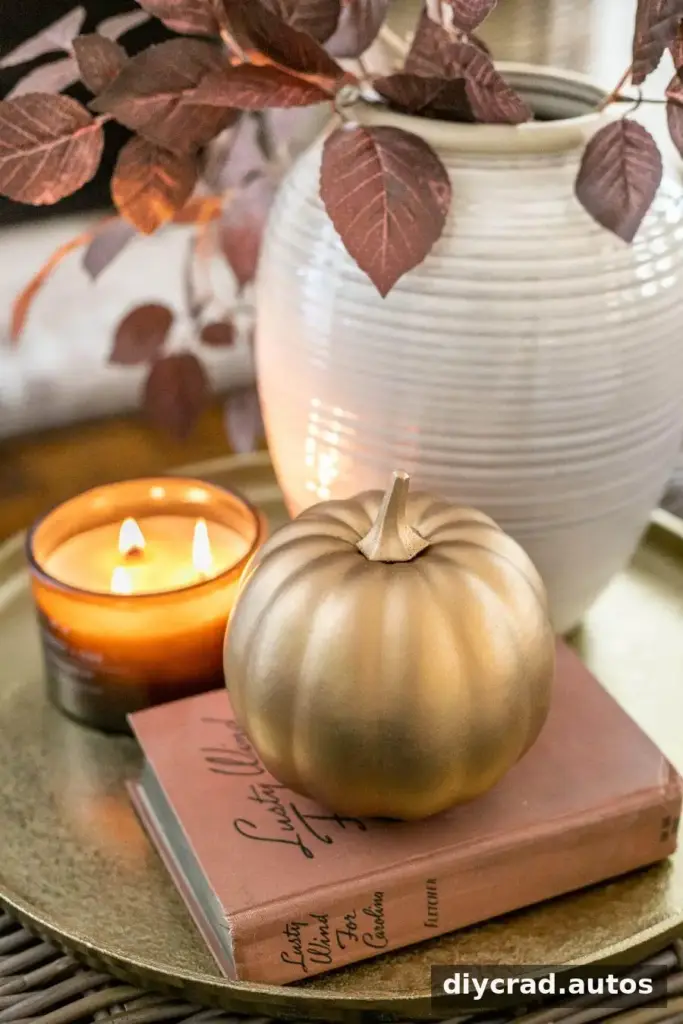
A metallic base with a darker antique-gold finish gives an artificial pumpkin the look of aged brass. Use an old craft brush for the finishing wax, since the texture of the brush can help work it into the ridges.
Supplies
- Spray primer (optional; it was used here as an extra step to help the paint adhere)
- Gold metallic spray paint
- Antique-gold metallic finishing wax
- An old craft brush and a paper towel
Steps
- Apply spray primer over the pumpkin and let it dry.
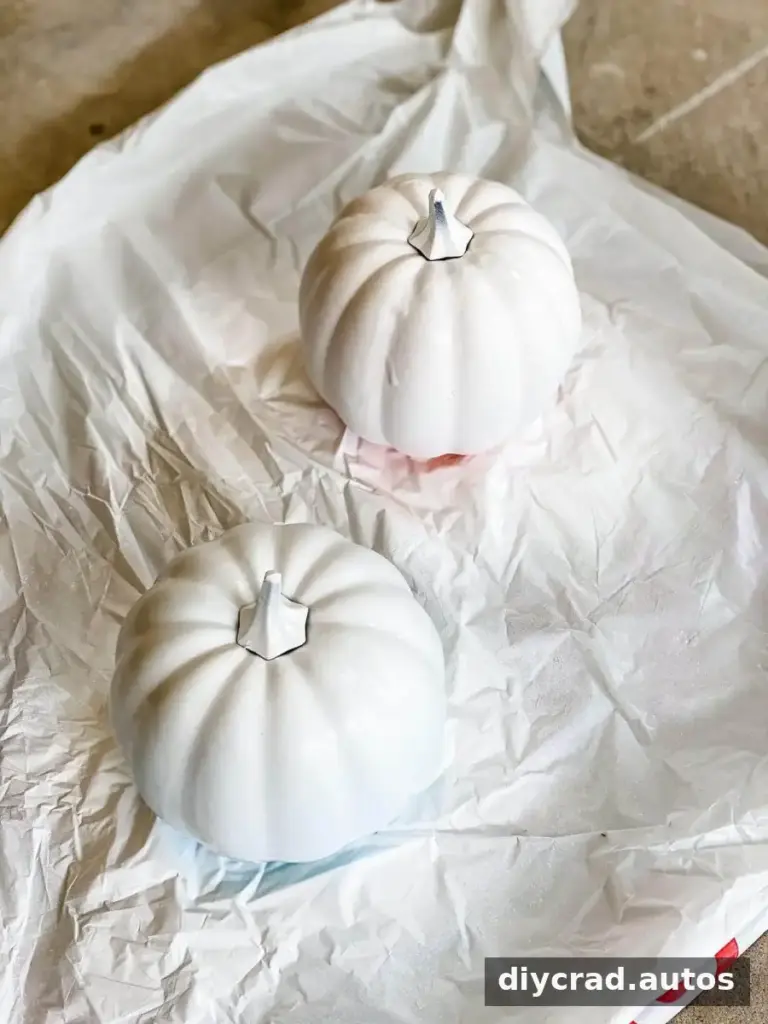
- Spray the pumpkin with gold metallic paint and allow it to dry.
- Use the old brush to apply the finishing wax. Once it is dry, wipe away excess with a paper towel.
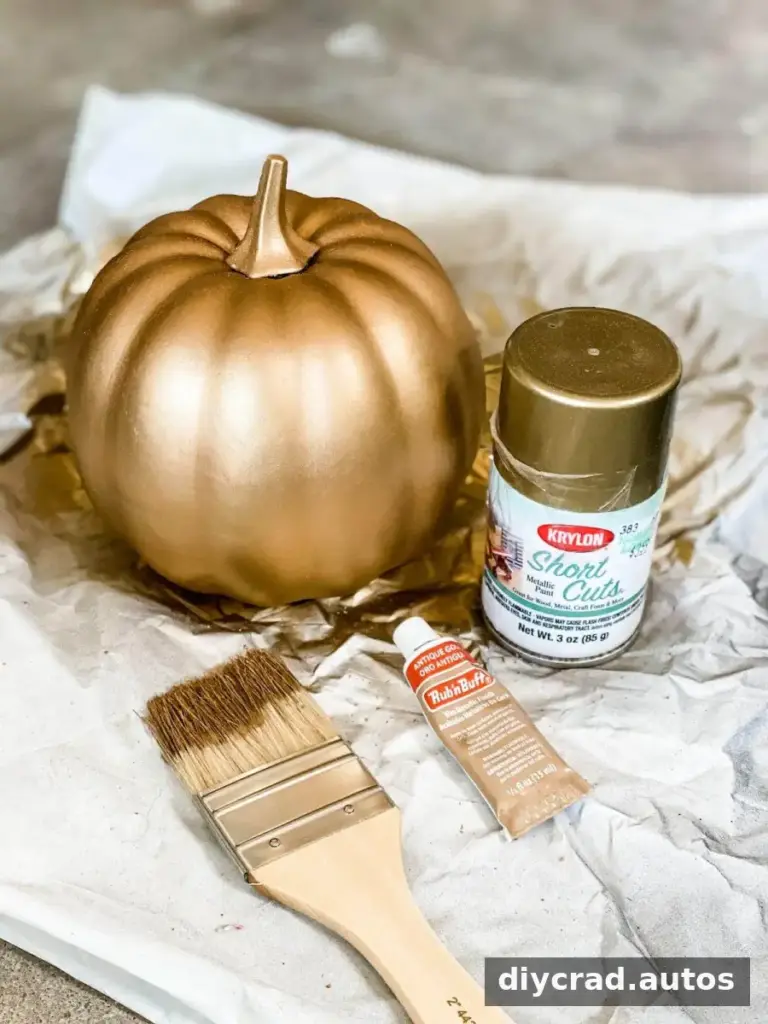
The finished surface has an antique-brass appearance. Apply the wax gradually and remove excess a little at a time, so you can control how much of the gold base remains visible.
Concrete Pumpkin
For a stone-inspired look, combine two gray tones while the first coat is still wet. A textured concrete craft paint is a convenient option; alternatively, light-gray and medium-gray craft paints with a little sand can create a textured mixture.
Supplies
- Concrete-effect craft paint, or light-gray and medium-gray craft paint with a little sand for texture
- A chip brush
Steps
- Cover the entire pumpkin with light-gray paint.
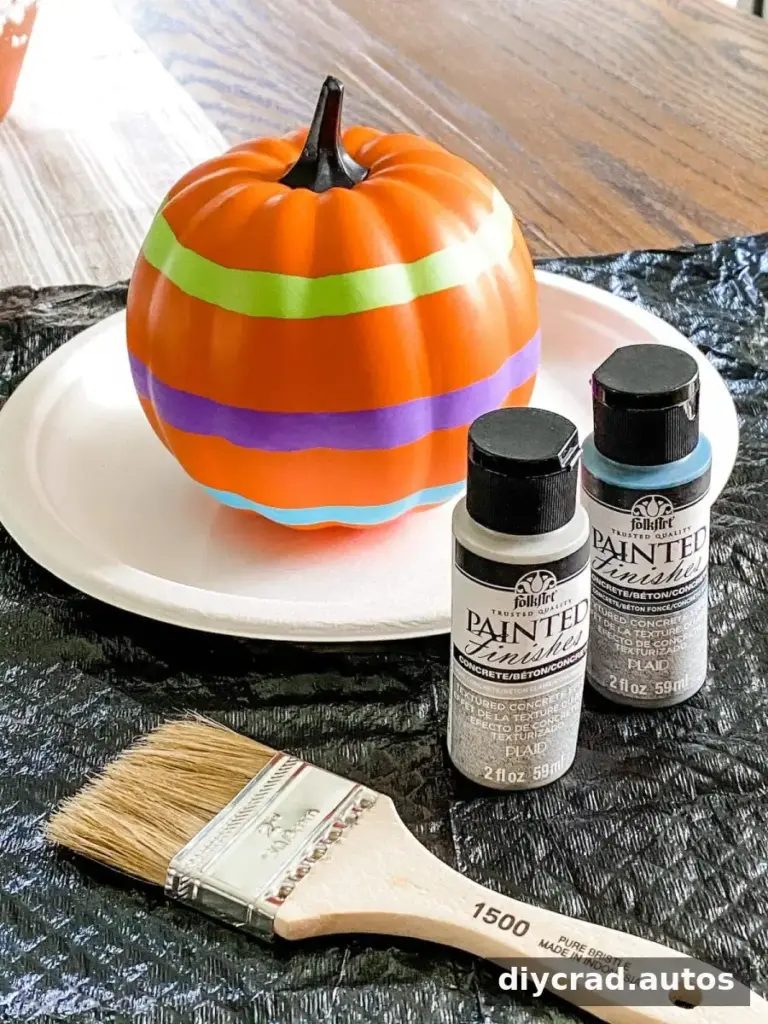
- While the light-gray coat is wet, dab on the darker gray paint in uneven patches to suggest the variation found in concrete.
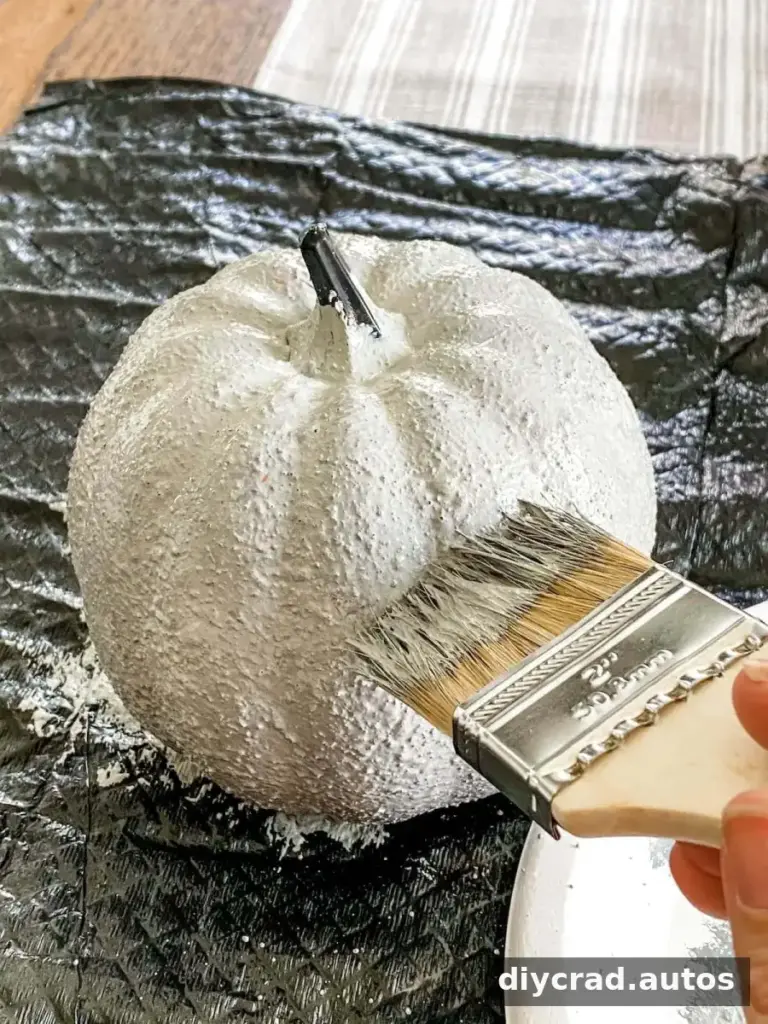
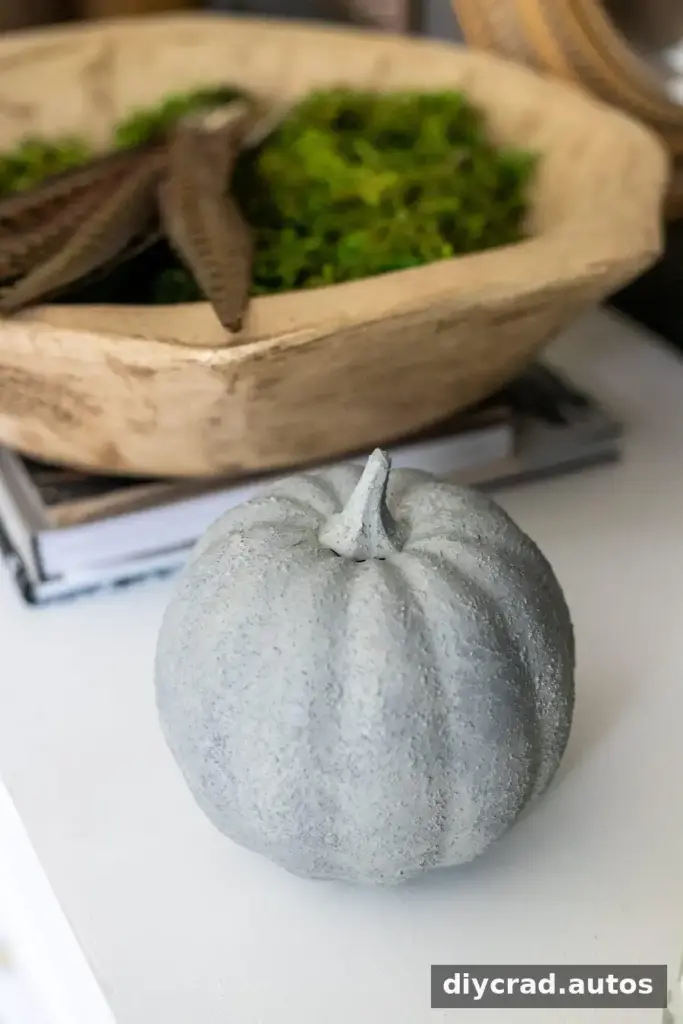
Let the paint dry before displaying the pumpkin. For a more natural stone effect, vary the size and spacing of the darker marks instead of blending them into a uniform gray.
Black Earthenware Pumpkin
This technique layers dried soil over a flat-black base to create an earthy, aged appearance. The amount of soil left on the surface determines how rustic the final finish looks.
Supplies
- Spray primer (optional; used here as an additional durability step)
- Flat-black spray paint
- One cup of yard soil mixed with 2–3 tablespoons of water to make a thick mud
- Paper towels
Steps
- Apply spray primer over the pumpkin and let it dry.
- Spray the pumpkin with flat-black paint and allow it to dry.
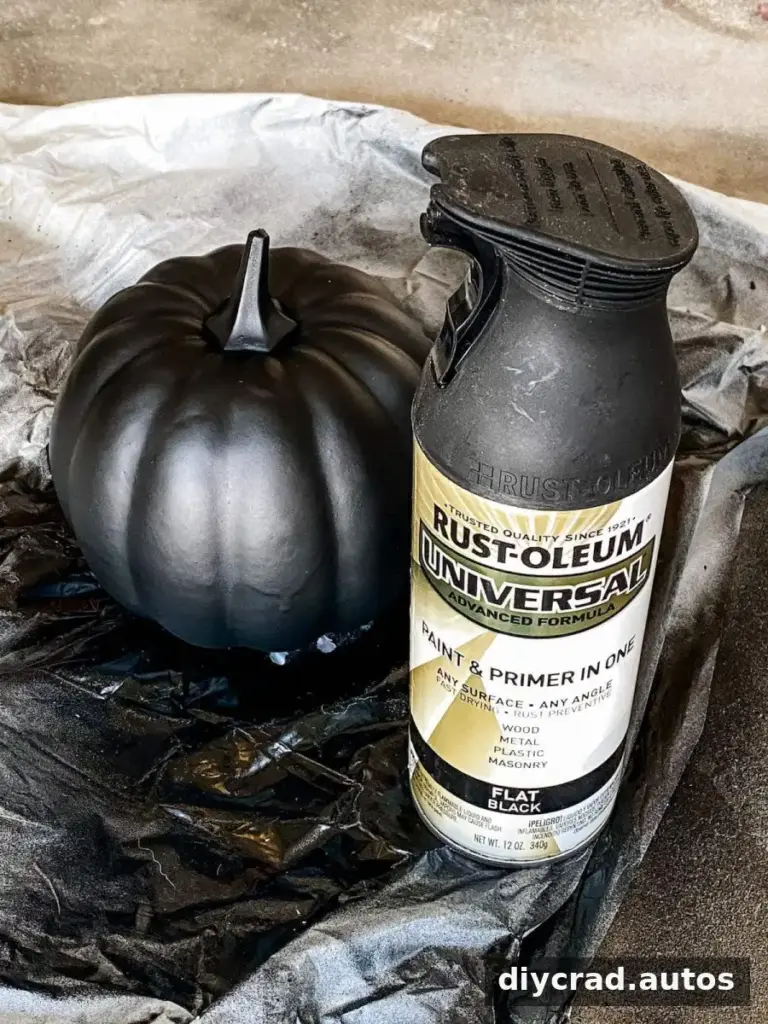
- Spread a layer of mud over the surface and leave it to dry for several hours or overnight.
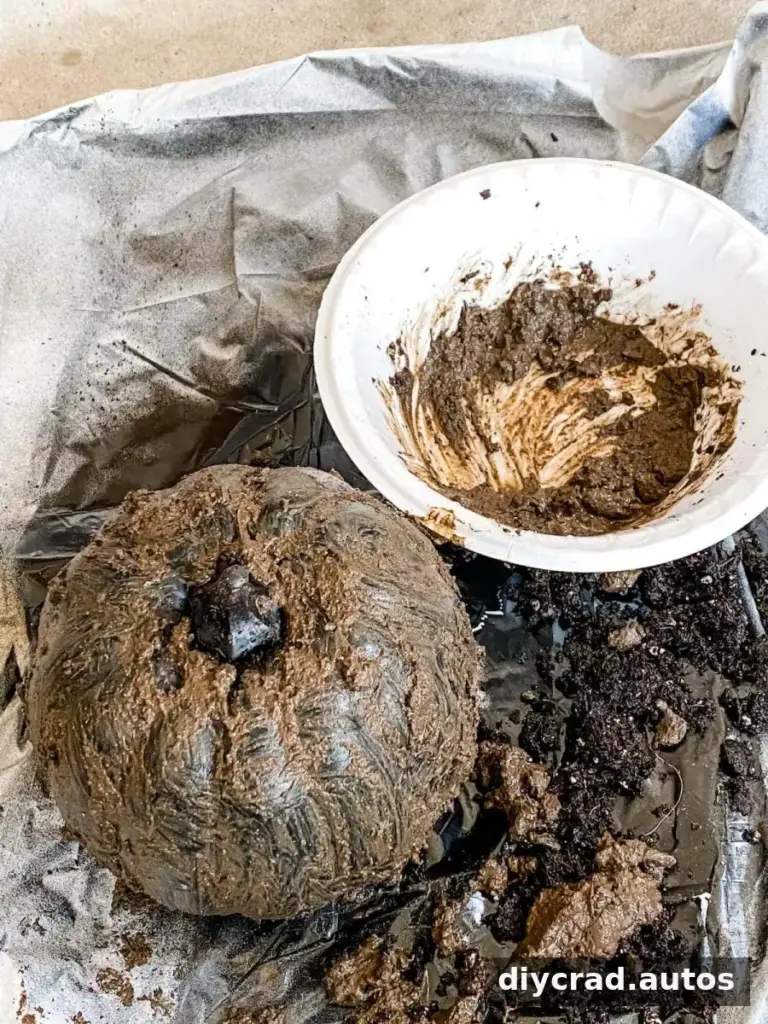
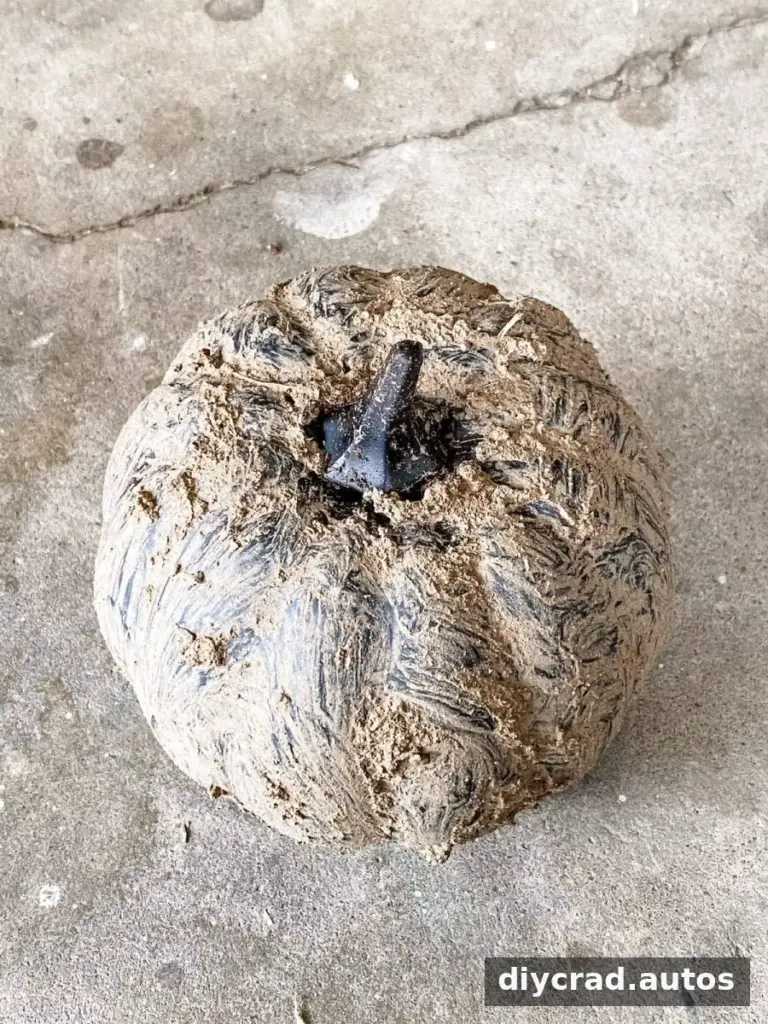
- Rub away the dried mud with paper towels to reveal the black finish beneath.
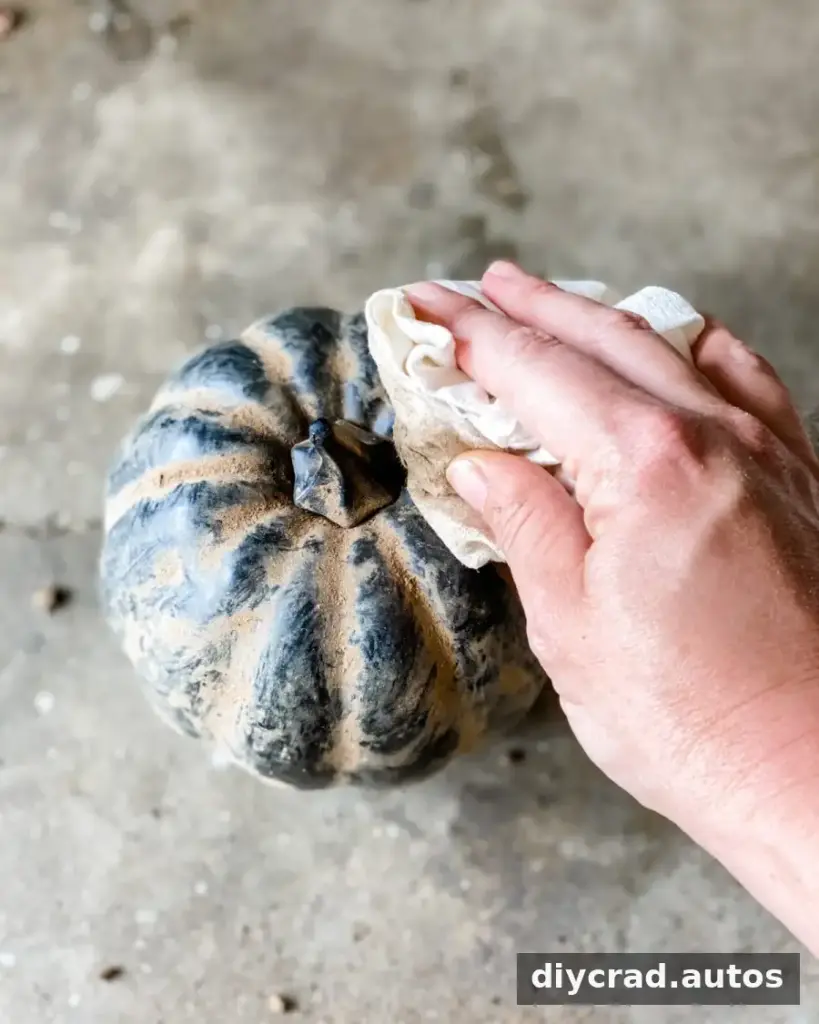
Remove the dried soil gradually to avoid taking off more than intended. The technique is inspired by earthenware-style finishes seen on decor such as vases and lamp bases, including work by Jaci Daily.
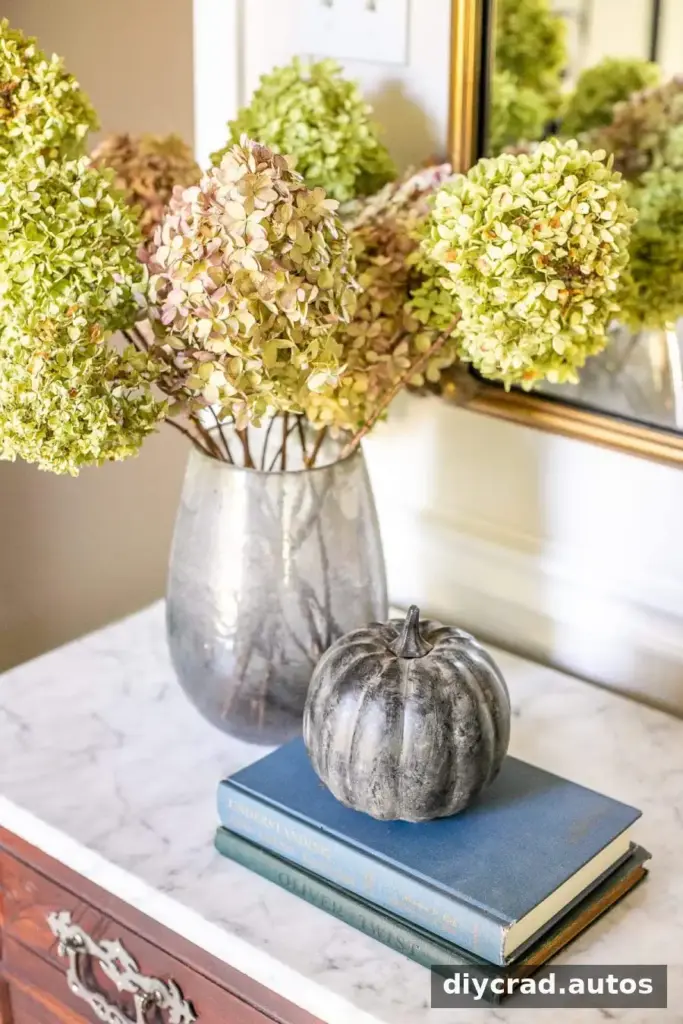
Choosing a Finish for Your Decor
Antique brass adds a metallic accent, concrete creates a cool stone-like look, and black earthenware brings a darker, more organic texture. A useful approach is to select the finish that best complements the colors and materials already in the room. These paint treatments are intended for decorative objects, so keep finished pumpkins away from food and follow all product-label guidance.
Of these three modern painted pumpkins, the black earthenware finish offers the most texture, while the brass option brings the strongest metallic shine. Each finish can also be adapted for other decorative accents, provided the paint is appropriate for the item’s surface.