

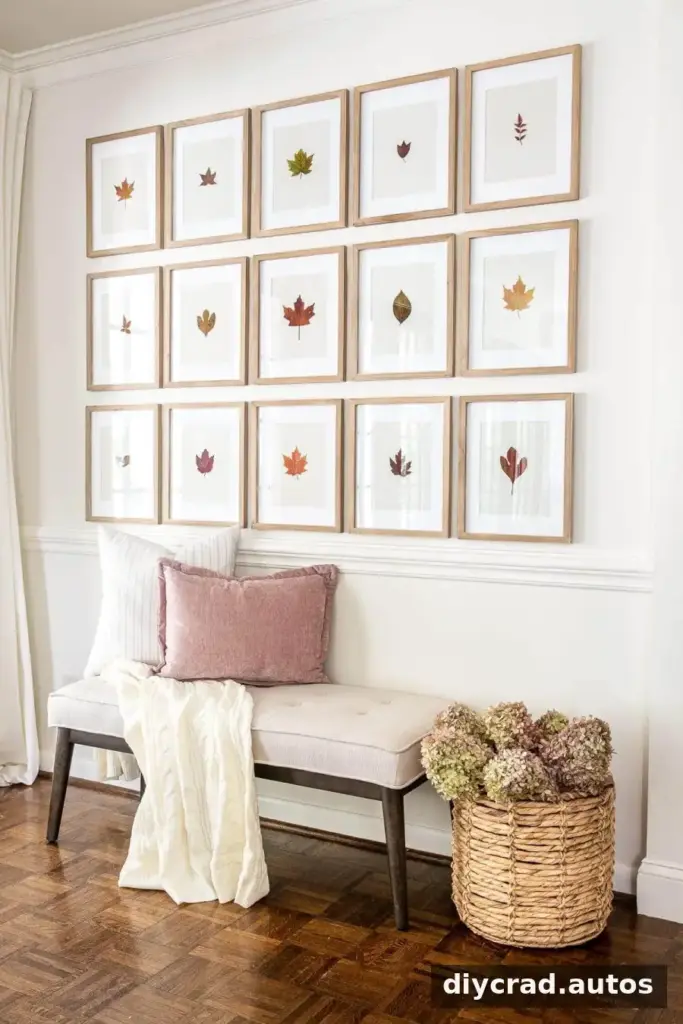
Pressed leaf art is a simple way to bring autumn color and natural texture into an entryway. With leaves, backing paper, adhesive, and a few frames, you can create a coordinated gallery wall without complicated tools or an extensive decorating budget. Careful preparation and a little planning help the finished display look balanced and last longer.
Start by selecting leaves in a range of shapes, sizes, and colors. Press them flat and let them dry completely before framing. Preparing the materials first makes it easier to plan the arrangement and helps prevent damp leaves from being sealed inside a frame.

How to Make Pressed Leaf Art for Fall
Choose leaves that are dry on the surface and free from major tears or damage. A mix of outlines and autumn colors gives a gallery wall more visual interest. When collecting outdoors, take only what you need, choose leaves already on the ground where possible, and respect private property and protected plants.
To press leaves, place them between absorbent sheets inside a heavy book or use a flower press. Keep the materials in a dry place and check that each leaf has flattened and dried before using it. The time required varies with the leaf and pressing method, so rely on the leaf’s condition rather than a fixed schedule. If it still feels damp, give it more time.
The project requires only a few basic supplies: paper, clear double-sided tape or acid-free adhesive, and picture frames. Plain parchment or another suitable backing can keep the presentation simple. Linen-textured paper is an optional choice if you want a subtle decorative finish. Reusing frames or combining secondhand styles can create a more collected look without requiring a perfectly matching set.
Supplies for Pressed Leaf Art
- Pressed leaves: Gather a variety of colors, shapes, and sizes for a balanced arrangement.
- Paper: Use plain parchment or another suitable backing. Linen-textured paper is an optional design choice.
- Adhesive: Use small pieces of clear double-sided tape or acid-free glue to secure each leaf.
- Picture frames: Matching frames create a tidy grid, while varied styles give the display an eclectic feel.
Handle dried leaves gently because they can be delicate. To help preserve their appearance, keep the framed art away from moisture and direct sunlight. If you may want to rearrange the leaves later, test the adhesive on a spare piece of paper first to see whether it can be removed cleanly.
What to Do if You Cannot Press Leaves
If you do not have suitable leaves, time, or a pressing method, ready-pressed leaves may be available at craft shops or online marketplaces. Check the listed sizes and colors before buying, since natural materials can vary. Confirm that the leaves will fit your frames and backing paper before planning the layout.
You can also make collecting part of a neighborhood walk. Carry a small container to protect delicate specimens from being crushed, and choose fallen leaves where possible. Collecting a few different shapes and colors is usually more useful than gathering a large quantity of similar leaves.
How to Frame Pressed Leaves
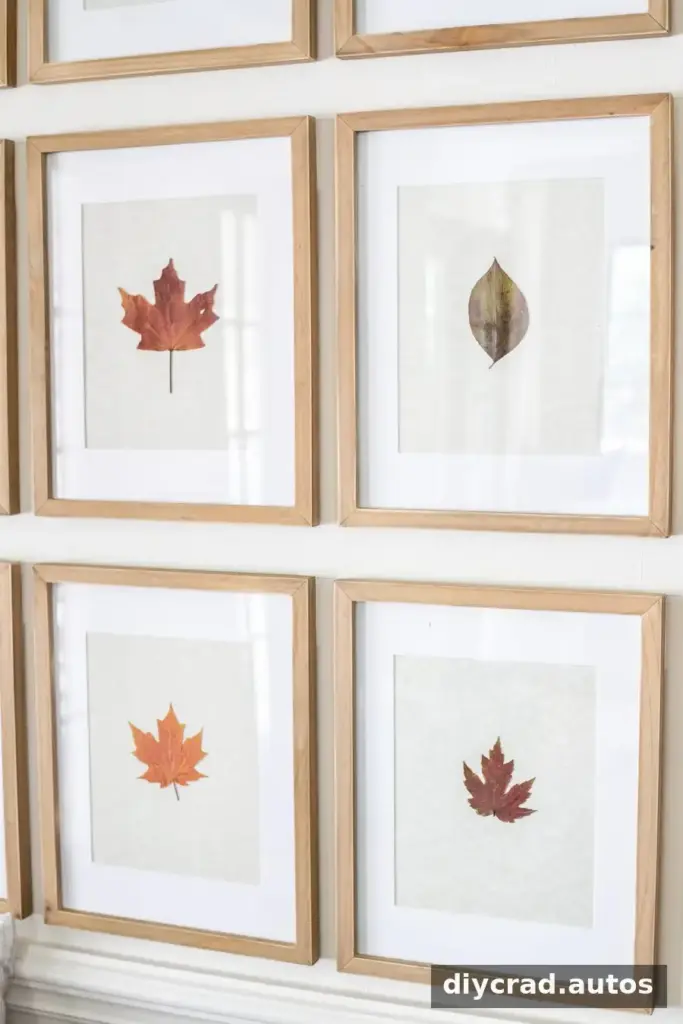
Place the backing paper on a clean, flat surface. Position a leaf in the center for a simple, formal look, or slightly off-center for a more relaxed composition. Secure it with a small amount of double-sided tape or acid-free glue, then place the paper carefully inside the frame. A restrained design lets the leaf’s natural details remain the focus.
Before hanging several frames, arrange them on the floor or another clear surface. Try alternating larger and smaller leaves, and avoid putting very similar colors or shapes directly beside one another. Natural imperfections can add character, so the leaves do not need to be identical or flawless. Step back from the arrangement to check how it looks from the distance it will usually be viewed.
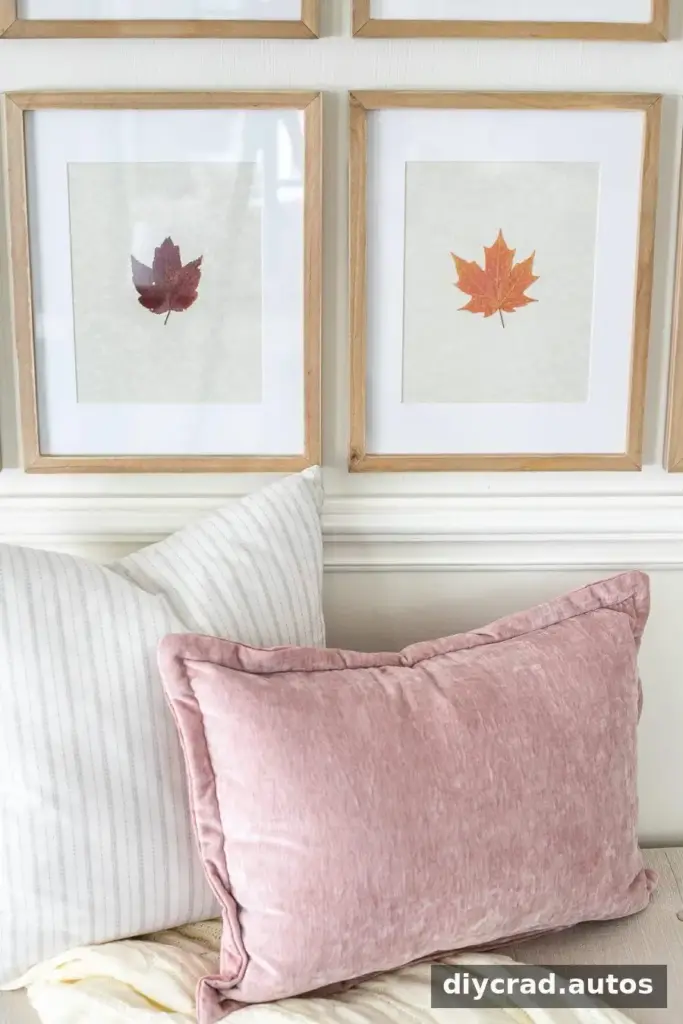
How to Hang a Gallery Wall in a Grid
For a neat grid, measure the wall and draw a light horizontal guide with a pencil and level. As a starting point, position the center of the middle row of frames about 60 inches from the floor. Adjust the layout to suit the wall and the surrounding furniture, then check the gaps between frames before hanging them. Consistent spacing helps a grid look orderly.
Removable picture-hanging strips can make alignment easier and reduce nail holes. Follow the instructions for the specific product, including surface preparation, weight limits, and how long to press the strips in place. The method described here uses 30 seconds of pressure, but product directions can differ. For heavy frames, use hanging hardware rated for their weight rather than relying on lightweight adhesive strips.
Hang the center frame first, then work outward across the row. Add the rows above and below, checking the level and spacing as you go. Measuring each gap before attaching the next frame can help prevent small alignment differences from becoming more noticeable across the wall.
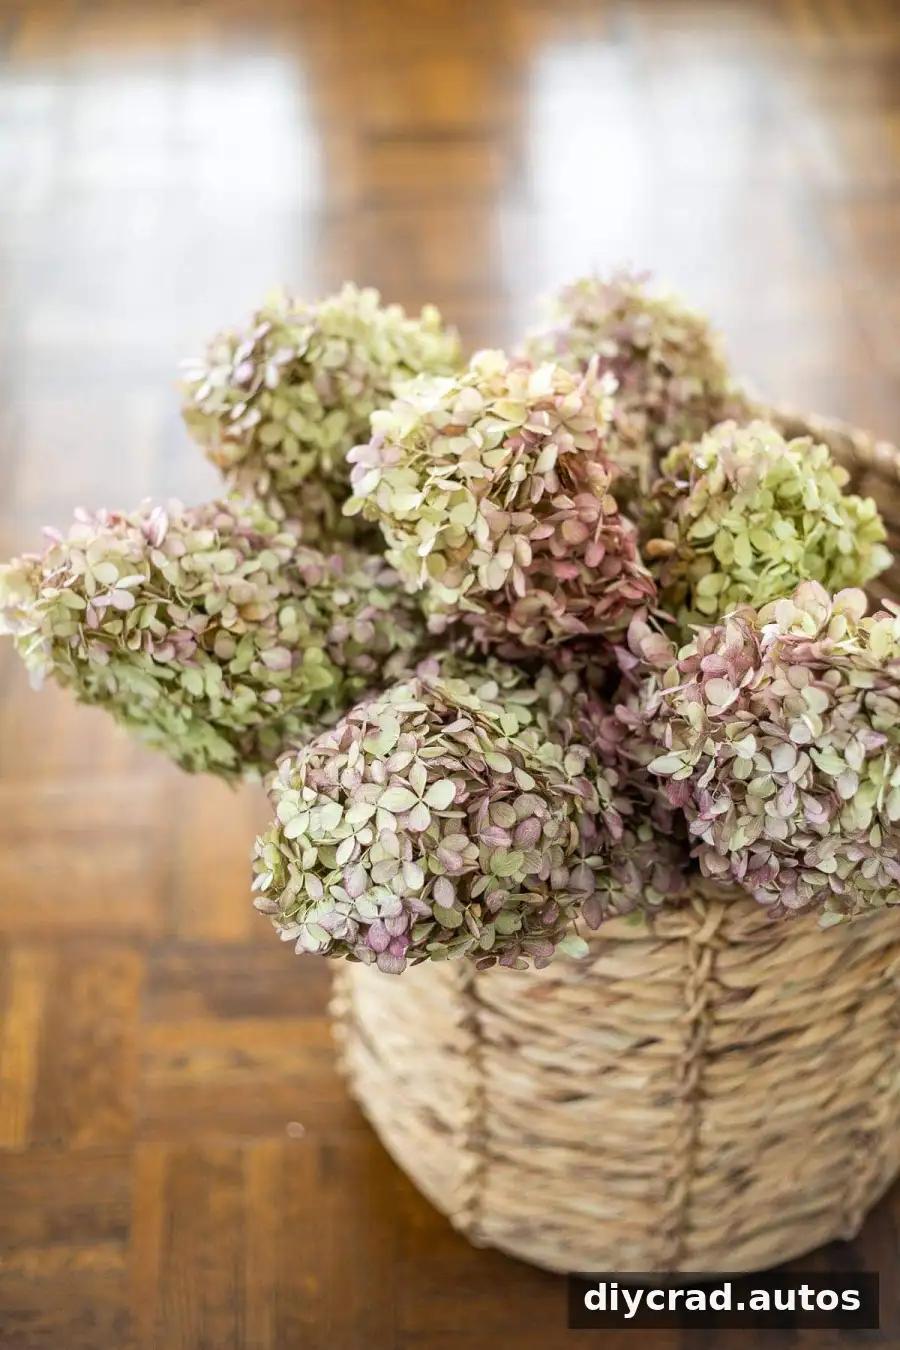
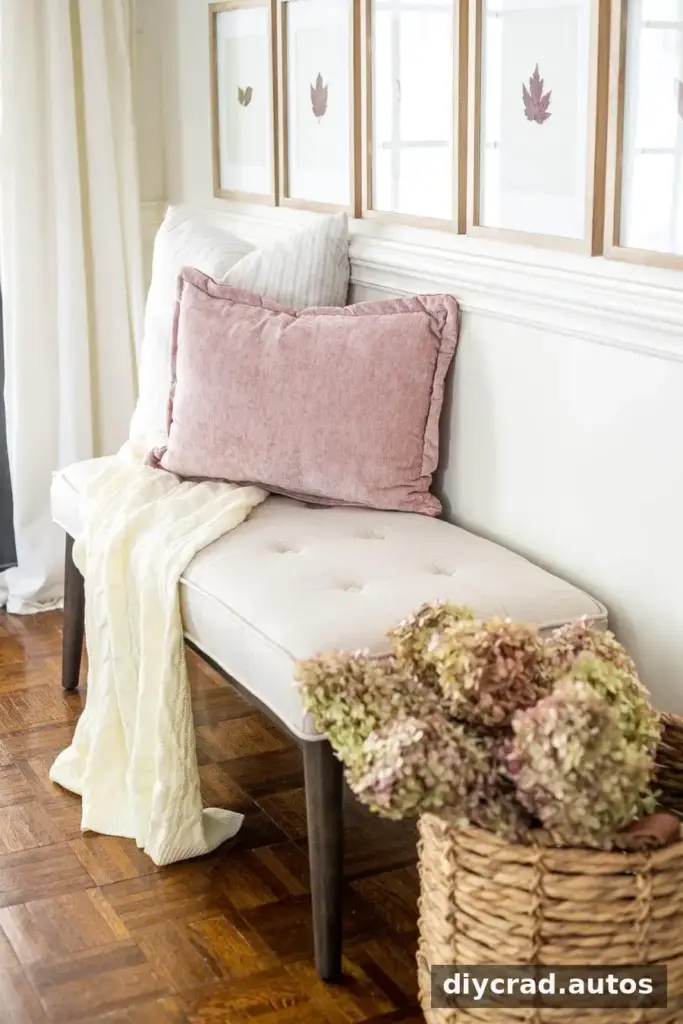
Once the frames are in place, add a few practical, soft-textured accents if the entryway has room. Dried hydrangeas in a woven basket can bring height to the area, while a throw blanket or cushions can make a bench feel more welcoming. Keep the walkway clear, and avoid placing fragile decorations where they could be bumped or knocked over.
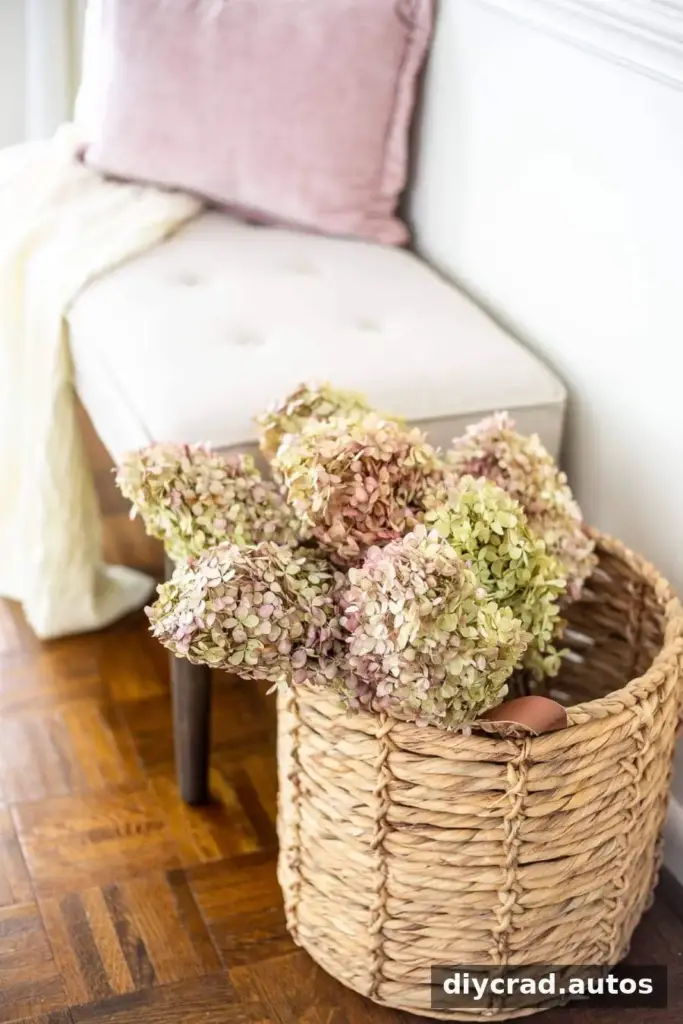
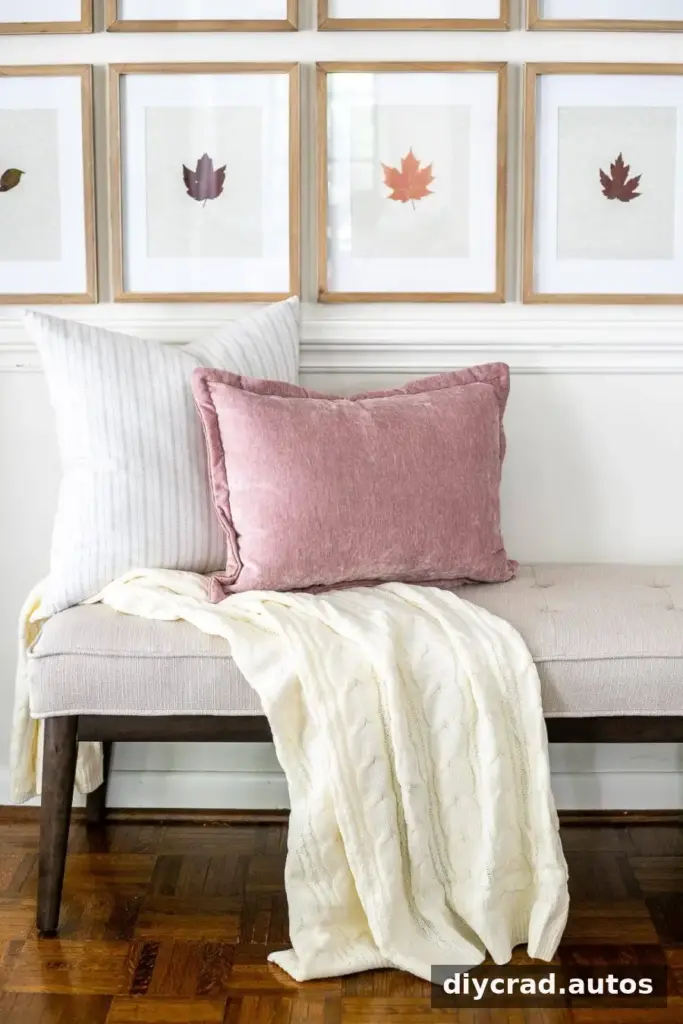
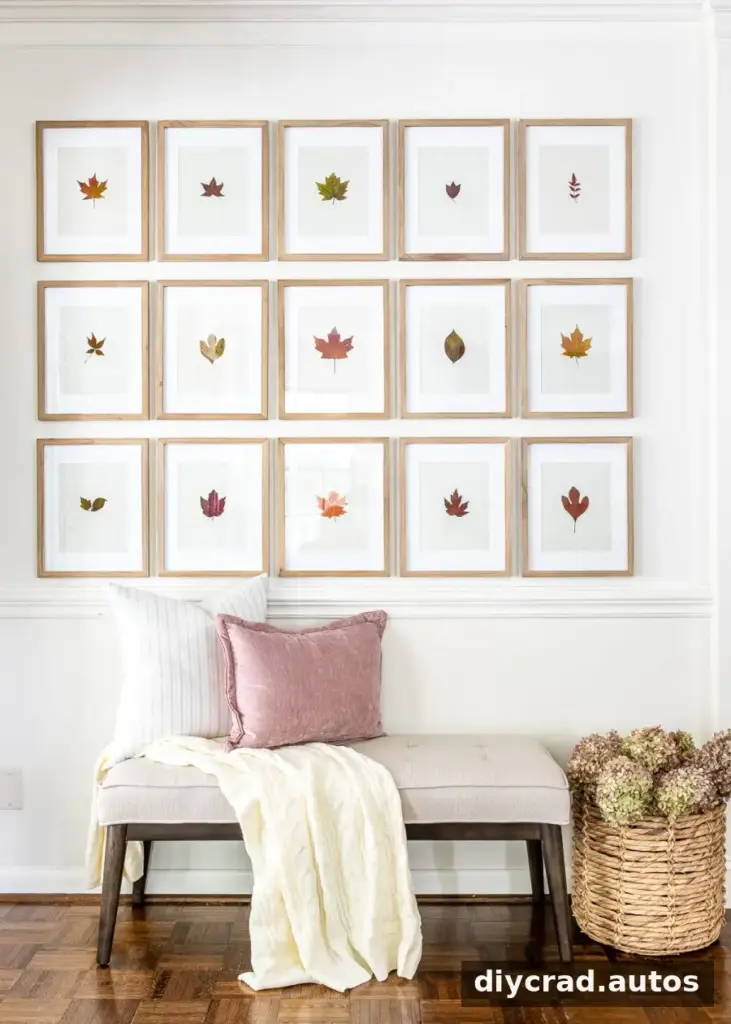
A seasonal refresh does not have to involve redecorating an entire room. A small gallery wall and a few natural accents can mark the change of season while remaining easy to update later. Choose pieces that fit the available space so the entryway stays practical as well as decorative.
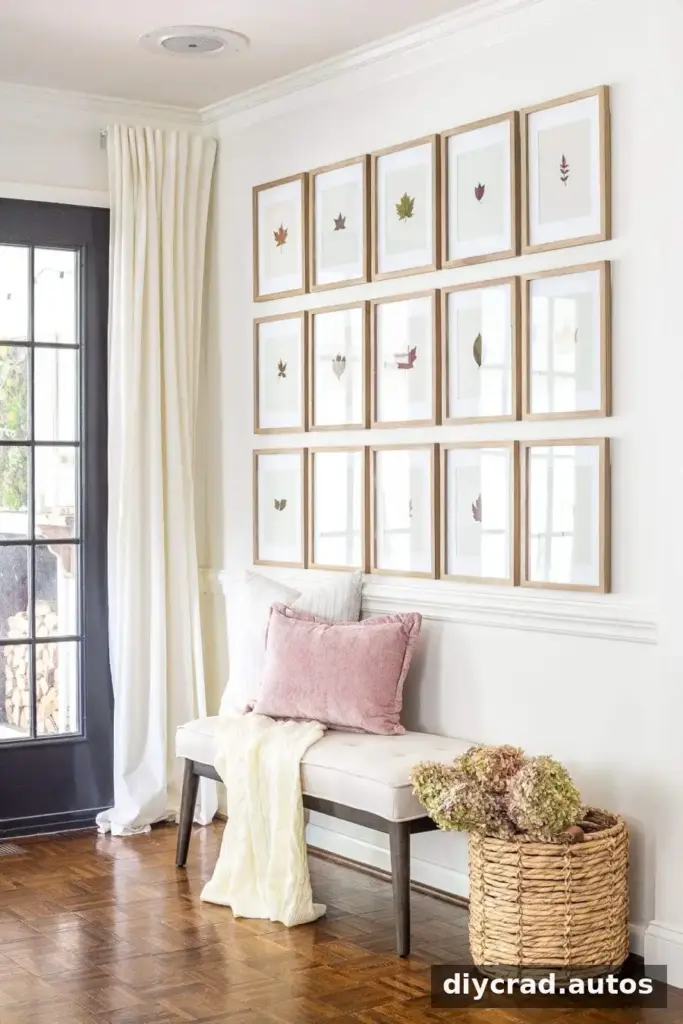
Simple Entryway Styling Checklist
- Choose frames that suit the wall’s scale and leave enough room for doors and walkways.
- Arrange the leaves and frames before hanging to check the overall balance.
- Measure the gaps and use a level for a clean, consistent grid.
- Check frame weight and use suitable hanging hardware.
- Add a basket, bench, or soft textile only if it fits safely in the entryway.
Pressed leaf art is a practical fall decorating project that combines handmade detail with an orderly gallery-wall layout. With fully dried leaves, suitable backing paper, secure framing, and careful spacing, you can create a personal seasonal display for an entryway. Keep it away from moisture and direct sunlight, and it will be simple to refresh when the season changes.

