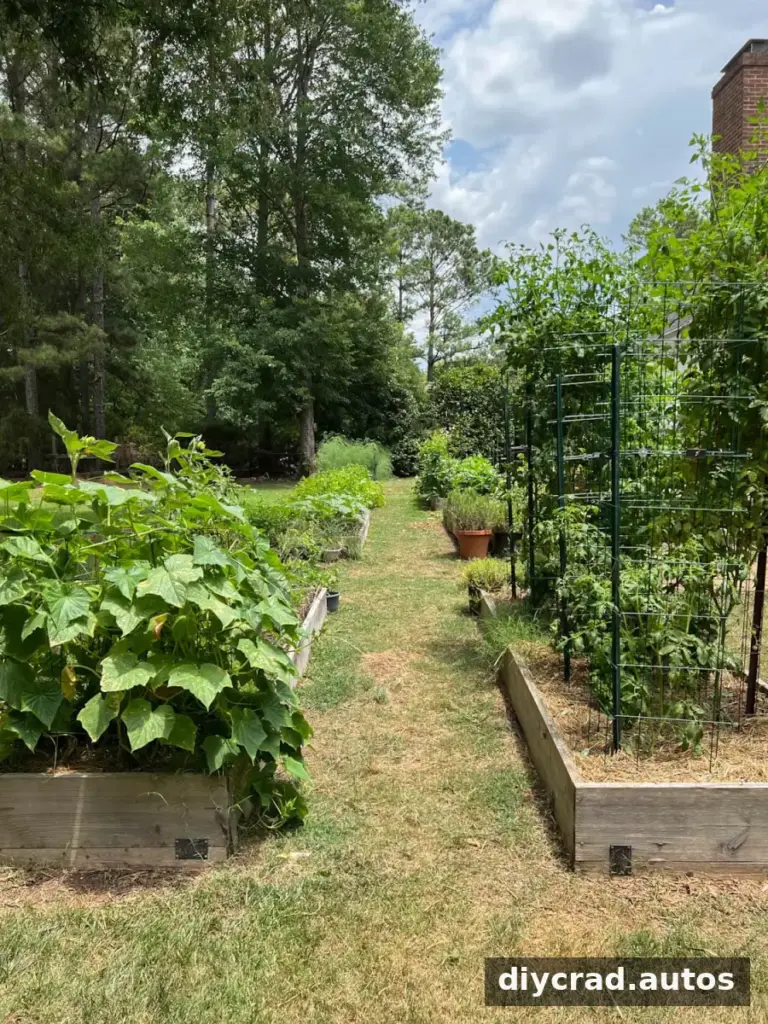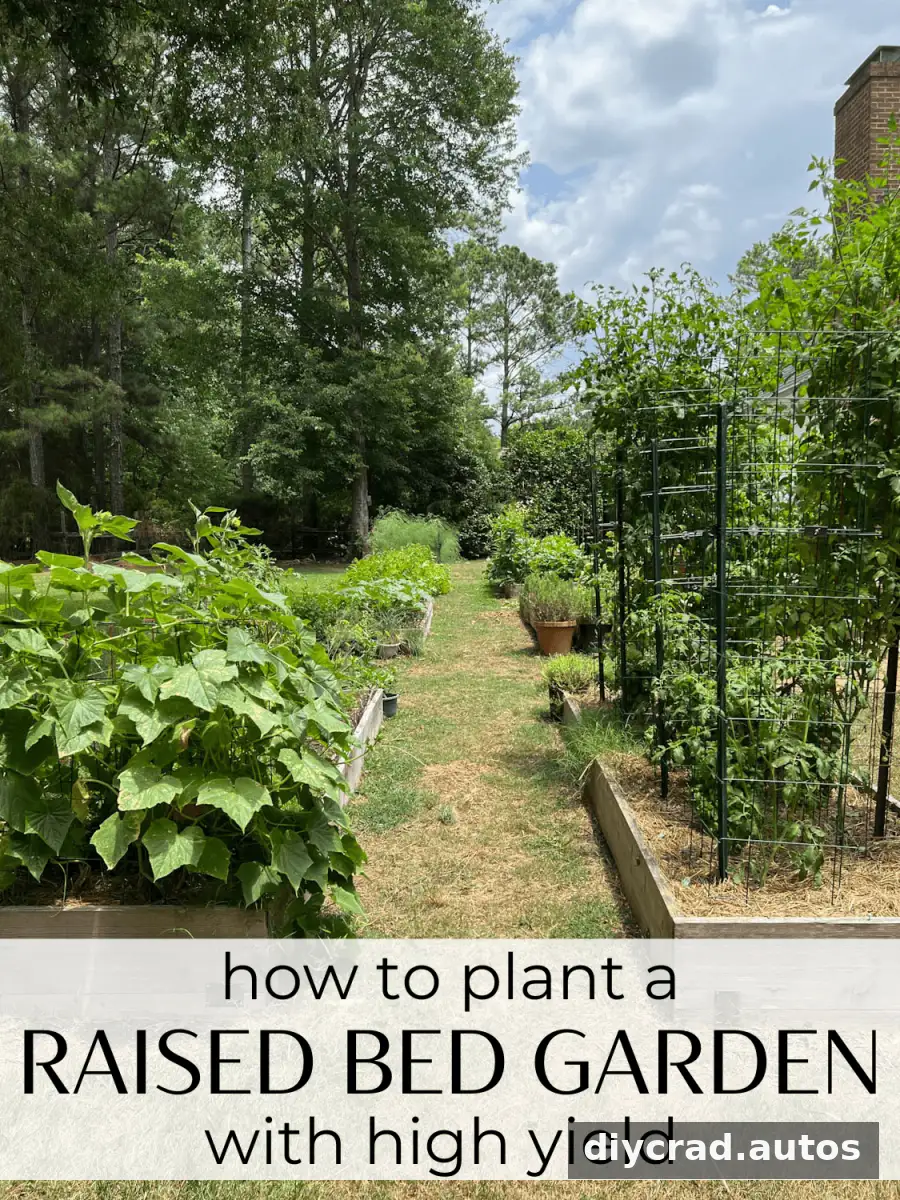
A well-planned raised bed vegetable garden gives you control over the growing space, makes it easier to improve the soil, and can produce a generous harvest. With a sunny location, a sturdy frame, compost-rich soil, and regular watering, beginners can grow a range of vegetables at home. Use the steps below to plan and plant a bed suited to your yard.
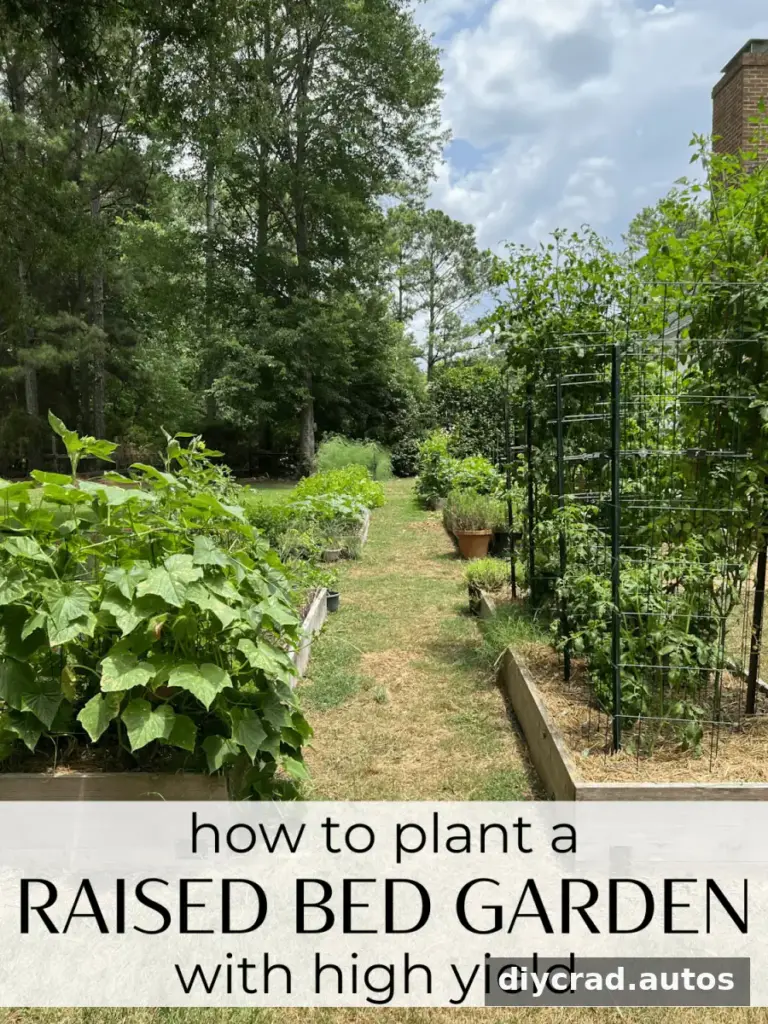
Raised beds can be made from materials such as wood, stone, or concrete. The example in this guide uses a simple wooden frame and a compost-based growing mix.
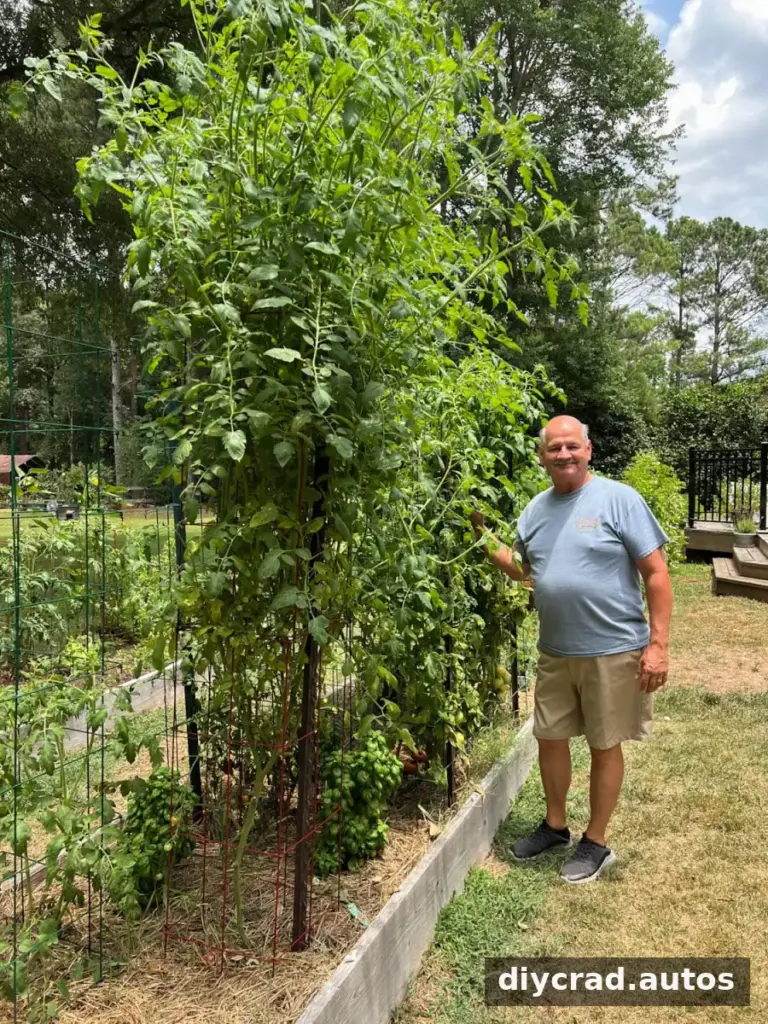
Choose crops that match your growing season and the time you can give them. If this is your first garden, start with a manageable selection and add more varieties as you learn what grows well in your space.
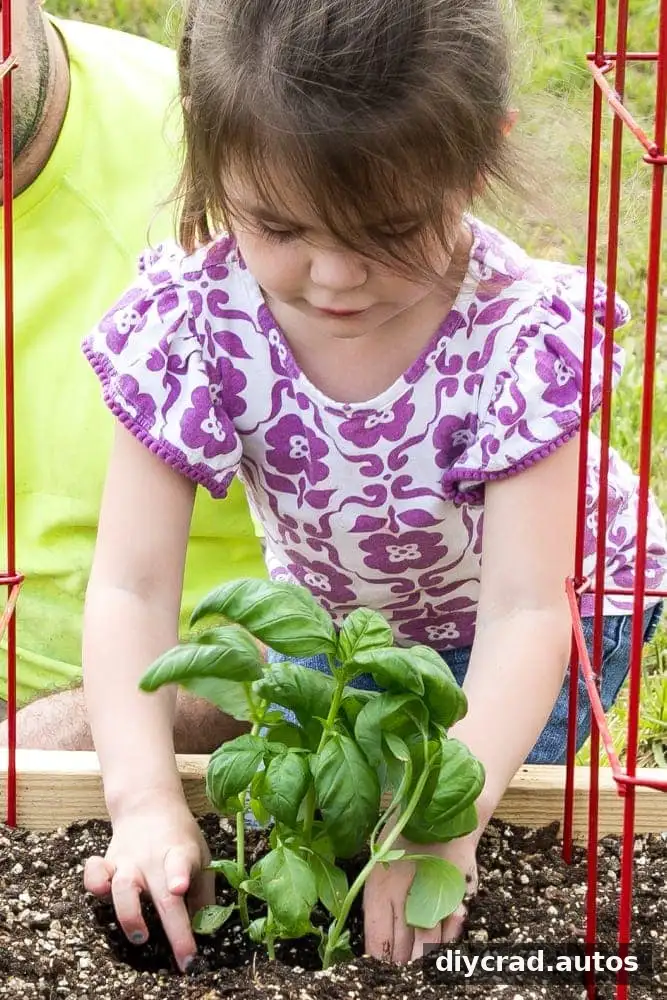
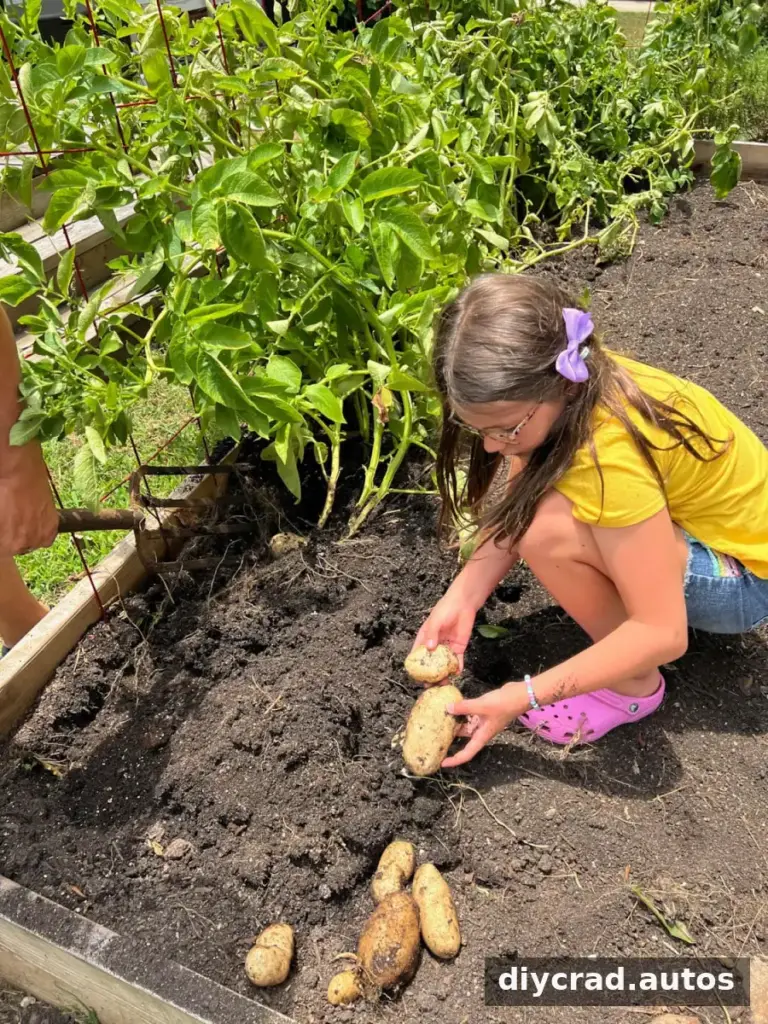
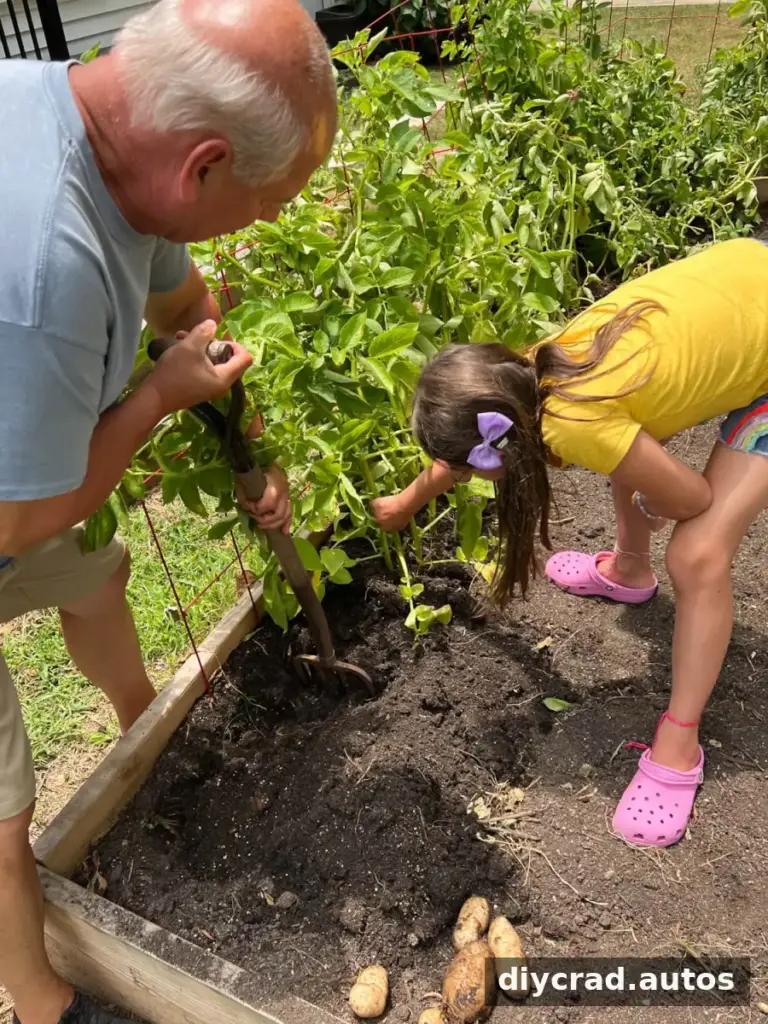
Harvesting vegetables can also be an enjoyable way for families to spend time outdoors. Involving children in planting and picking can help them learn how food grows; make sure an adult handles tools and checks that plants are being watered appropriately.
Why Choose a Raised Bed Vegetable Garden?
A raised bed lets you decide what goes into the growing soil instead of relying entirely on the soil already in your yard. You can add compost and other suitable materials to create a more favorable environment for plant roots, which need room to grow and access to water and nutrients.
Raised beds can also be built in different shapes and sizes to suit your available space. A practical width is usually 3–4 feet, so you can reach the middle from either side without stepping into the bed and compacting the soil.
Practical tip: Pick a level area where water can drain rather than collect. Avoid placing the bed close to trees, whose roots may compete with vegetables for water and growing space.
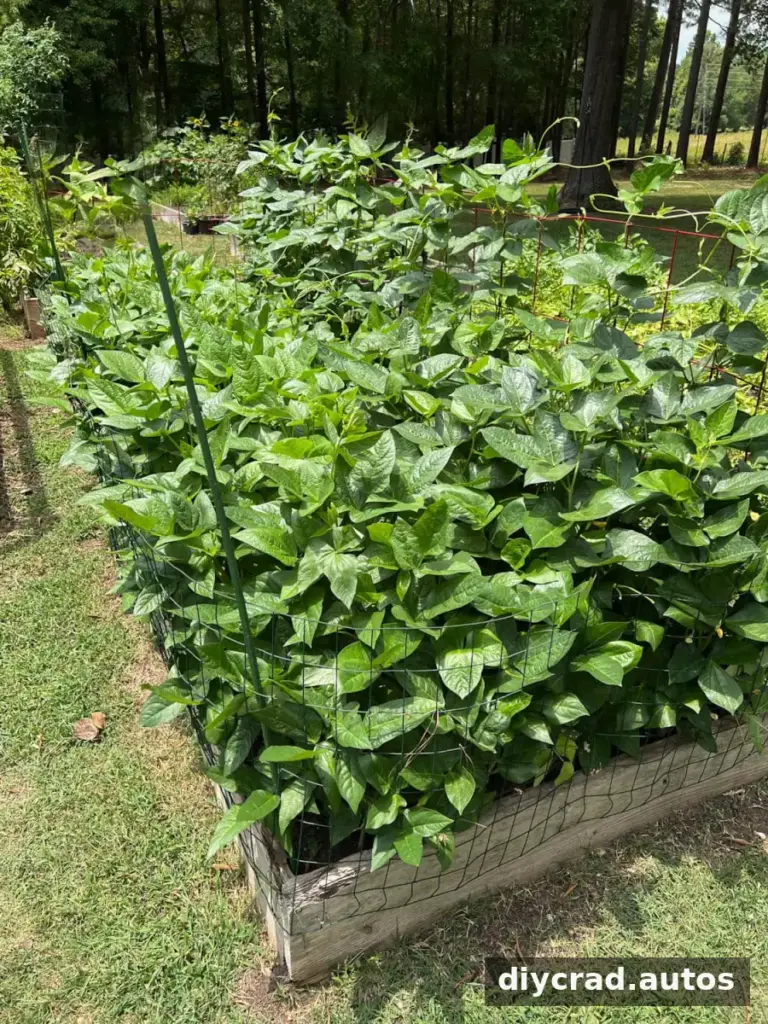
How to Plant a Raised Bed Vegetable Garden
Early spring is a useful time to prepare a bed for crops that grow through summer and into fall. Check local planting dates before choosing vegetables, since suitable timing depends on your climate and the crop.
Choose a Sunny Location
Observe your yard at different times of day and select a spot that receives at least 6 hours of direct sunlight. A level surface makes construction easier; if the ground slopes, level the area before setting the frame in place.
Gather the Materials
- 2 2x12x12 pine boards
- Circular saw or table saw, if cutting the boards yourself
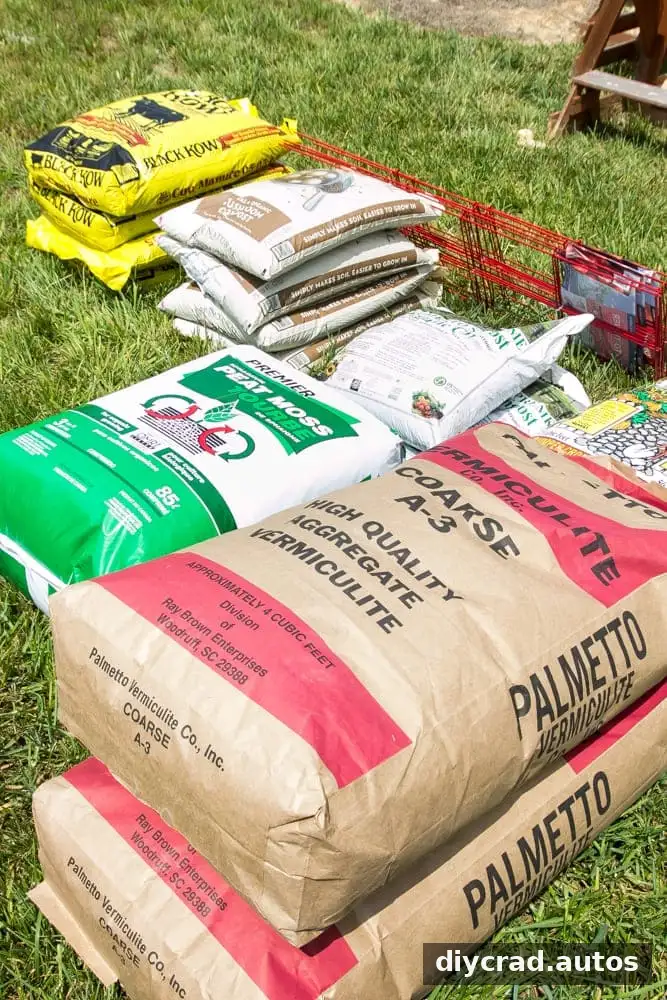
- 1 bag of peat moss
- 2 bags of vermiculite
- 4 bags of compost
- 4 bags of mushroom compost
- Lime powder
- Tomato cages, if needed for support
- Cardboard
- Tiller
- Power drill and decking screws
- Spade and trowel
- Plastic tarp
- Vegetable plants of your choice
Use appropriate protective equipment when cutting wood or operating power tools. If you prefer not to cut the boards yourself, ask a local lumber supplier whether cutting services are available.
Pick Vegetables for Your Experience Level
These crops are options to consider when planning a bed. Check their spacing and seasonal requirements before planting, and choose varieties suited to your local conditions.
Good Options for Beginners
- Lettuce, kale, and Swiss chard
- Cucumbers and radishes
- Green beans and pumpkins
- Broccoli and green onions
- Herbs such as basil, mint, oregano, thyme, rosemary, chives, and cilantro
Mint can spread quickly, so consider growing it in a separate container rather than letting it take over the bed.
Options for Gardeners with More Experience
- Tomatoes and carrots
- Squash and zucchini
- Brussels sprouts and asparagus
Marigolds are often planted among vegetables as a companion flower, but they are not a guaranteed way to prevent pests. Check plants regularly so you can spot damage early.
Build and Plant the Bed
Step 1: Plan the Bed and Cut the Boards
For the example frame, cut the boards into two 4-foot lengths and two 8-foot lengths. Arrange them where you want the bed to sit, keeping the width between 3 and 4 feet so you can reach plants from the sides.
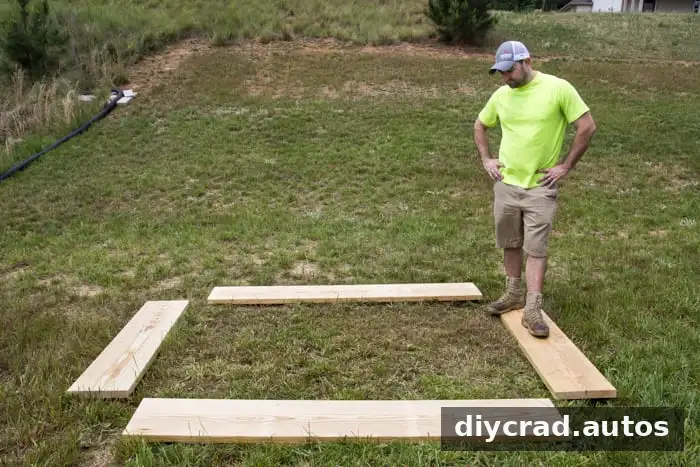
Step 2: Lay Cardboard and Attach the Frame
Place sheets of cardboard beneath the frame, overlapping them to cover the ground. Join the boards at the corners with decking screws and a power drill. The cardboard will gradually break down and can help suppress weeds beneath the bed while the garden gets established.
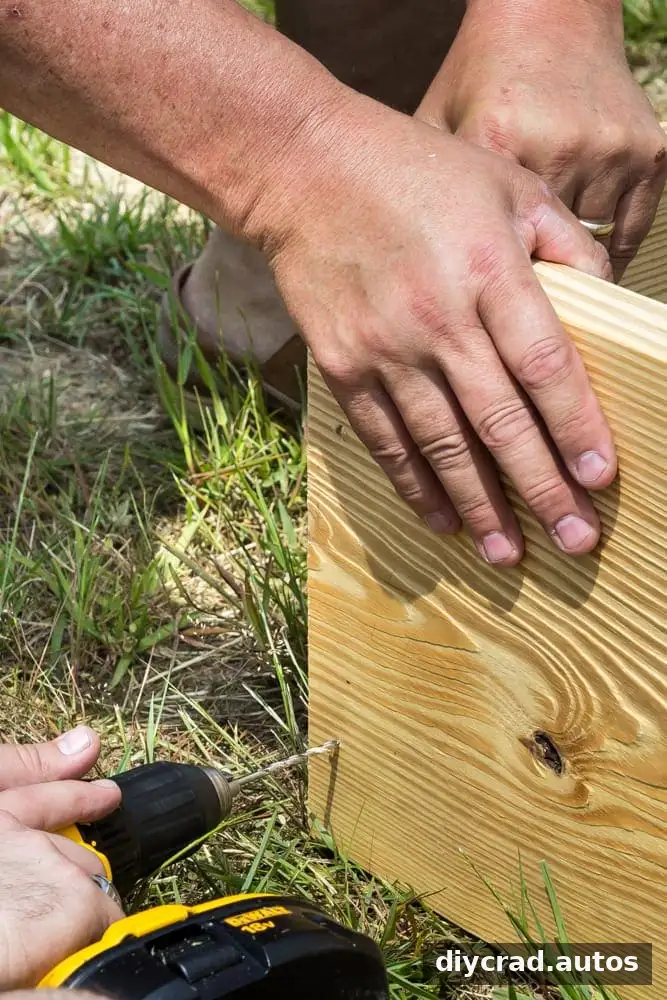
Make sure the frame sits securely on the ground before filling it. A stable base helps keep the sides aligned as the bed is filled and watered.
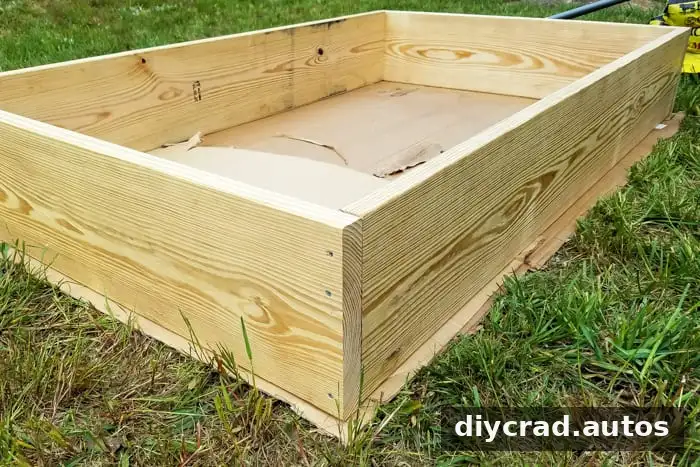
Step 3: Mix the Growing Materials
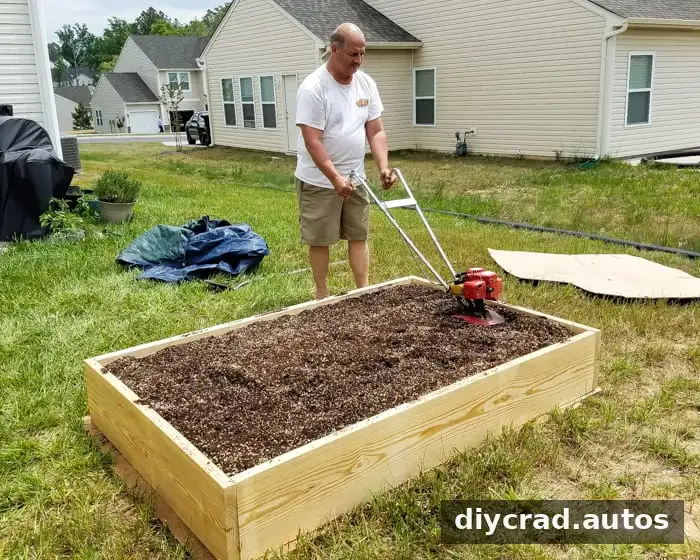
Place the composts, vermiculite, and peat moss on a plastic tarp and combine them thoroughly in batches. Folding the tarp’s corners inward and outward can help mix the materials without moving each load by shovel.
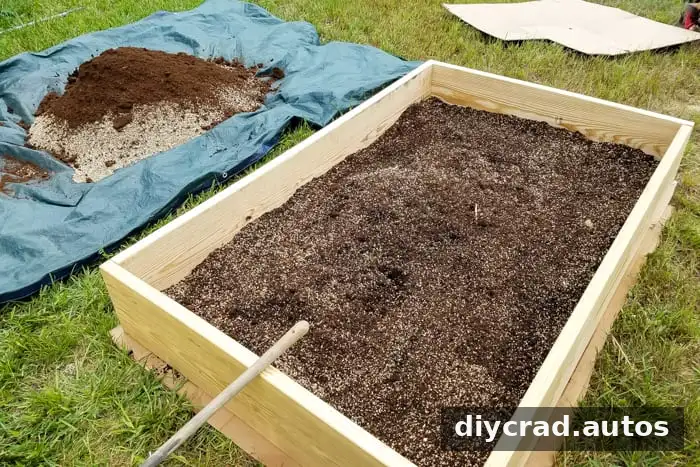
Step 4: Distribute the Mix Evenly
Transfer the mixture into the frame and work it through so the materials are evenly distributed. Avoid leaving large pockets of unmixed ingredients, which can make growing conditions inconsistent across the bed.
Step 5: Plan Where Each Plant Will Grow
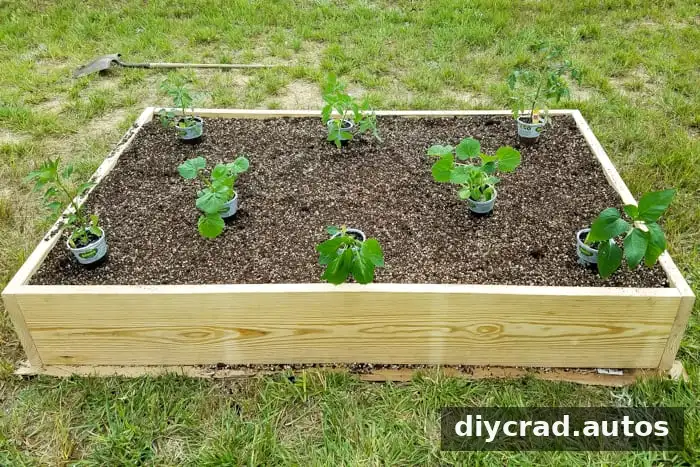
Arrange plants before digging so you can account for their mature size and avoid overcrowding. The garden described here included Early Girl tomatoes, Celebrity tomatoes, Grape Cherry tomatoes, basil, zucchini, summer squash, Hot Golden Cayenne peppers, Sweet Banana peppers, and Mammoth jalapenos.
Place taller or larger plants where they will not unnecessarily shade smaller crops. Keep any plant labels until you are confident you can identify each variety.
Step 6: Dig Planting Holes
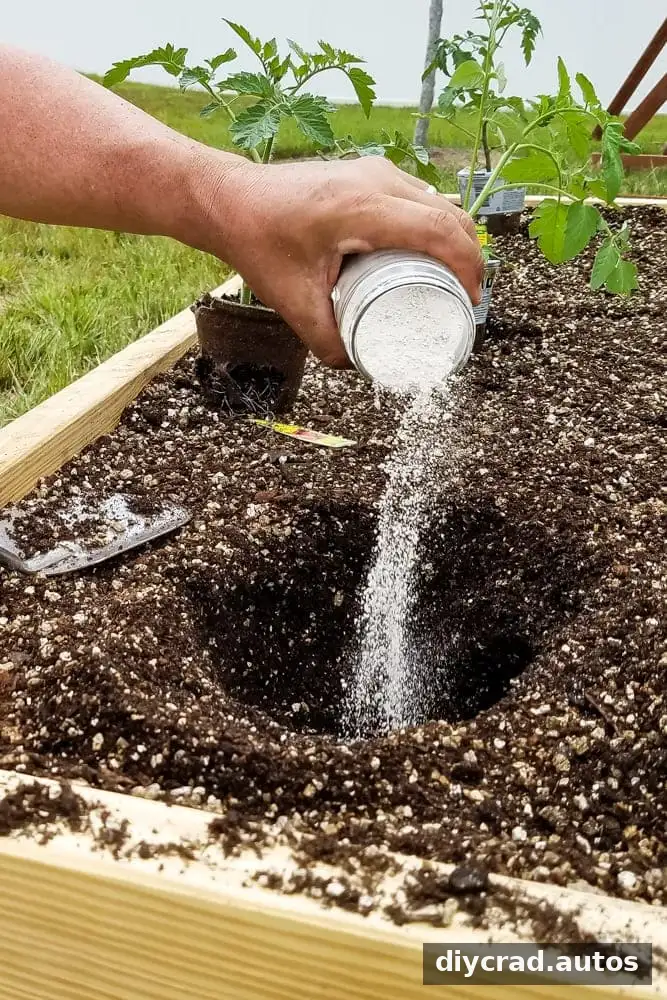
Dig a hole for each plant that can accommodate its root ball. The original method included lime powder in the holes, but lime can change soil pH. Use it only when a soil test or reliable local guidance indicates it is needed, and follow the product directions rather than applying it automatically.
Step 7: Set the Plants in Place
Place each plant’s root ball into its hole and gently fill around it with the growing mix. Keep the plant at the same depth it was growing in its container unless its care instructions recommend otherwise. Water after planting to settle the soil around the roots.
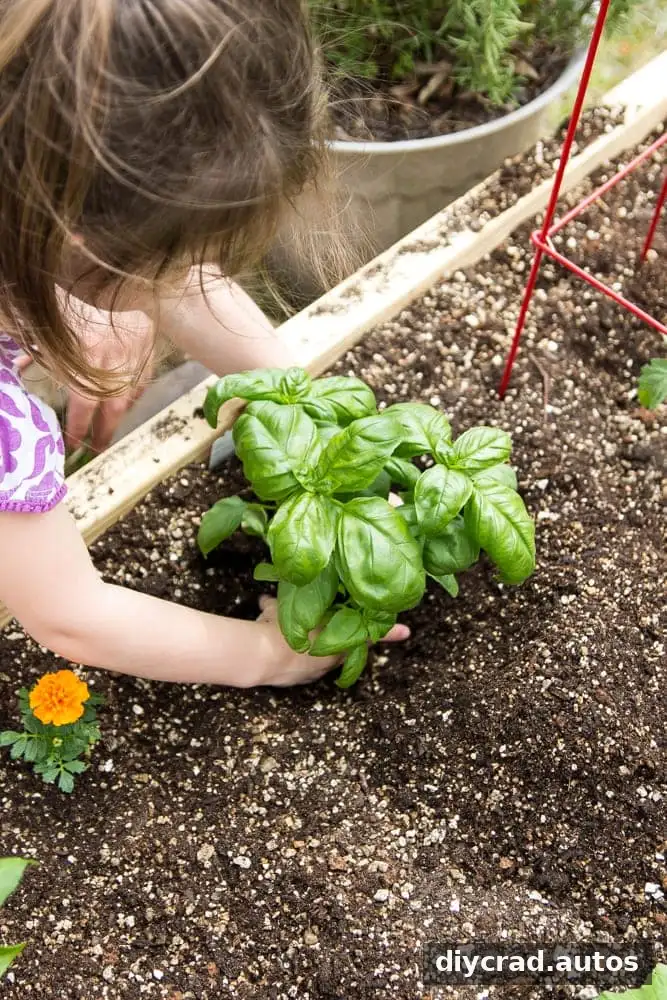
Children can help with simple tasks such as placing a plant in a prepared hole, with adult supervision.
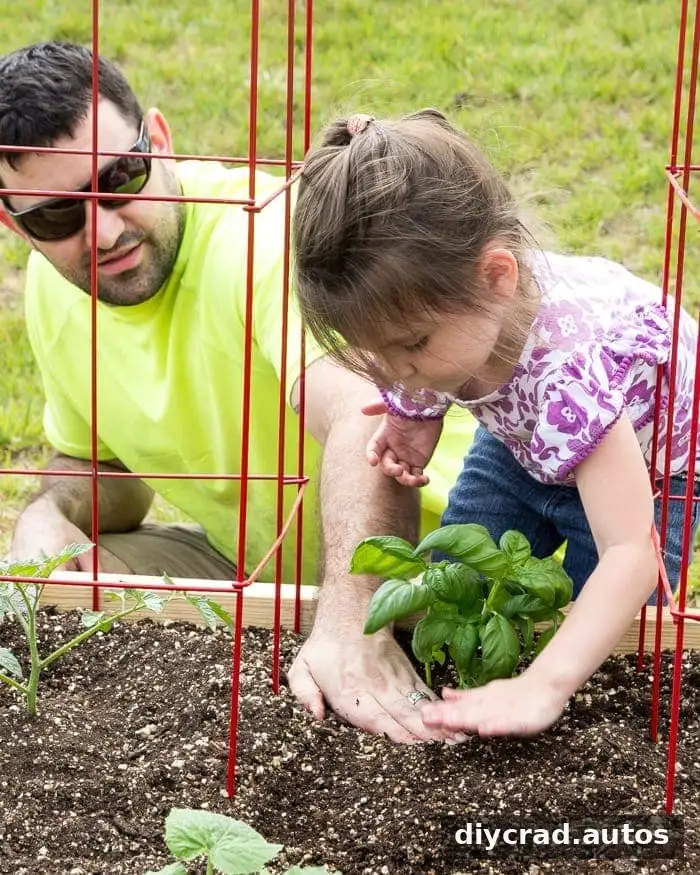
Use a trowel carefully around young plants so roots and stems are not damaged.
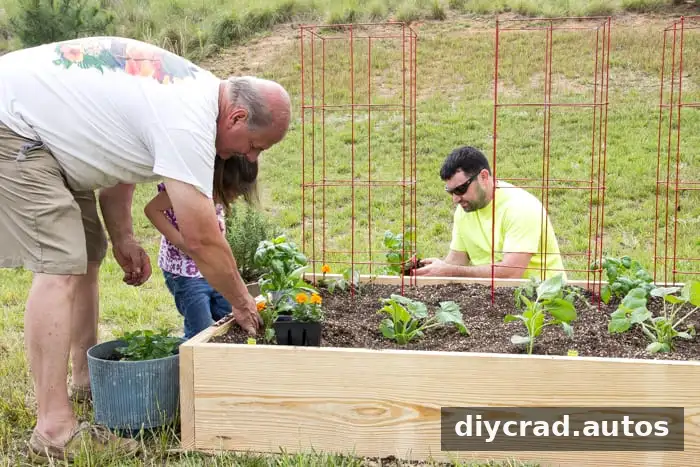
Step 8: Add Flowers and Plant Supports
Marigolds were planted between vegetables in this garden as a companion planting choice. Basil was also placed between tomato plants. Companion planting does not replace routine care or pest checks, so inspect leaves and stems regularly.
Add tomato cages when needed to support plants as they grow. Install supports while plants are small to reduce the chance of disturbing their roots later.
Step 9: Water Consistently
Water the bed thoroughly after planting. Morning watering is a practical routine because it gives plants access to moisture early in the day. The suggested schedule for this garden is 3–4 waterings per week, aiming for about an inch of water total per week from rain and irrigation combined.
That amount is a general guideline, not a fixed rule for every garden. Check the soil regularly: hot, dry, or windy conditions may require more frequent watering, while rainfall can reduce the need. Water the soil near the plants rather than relying only on a quick sprinkle over the leaves.
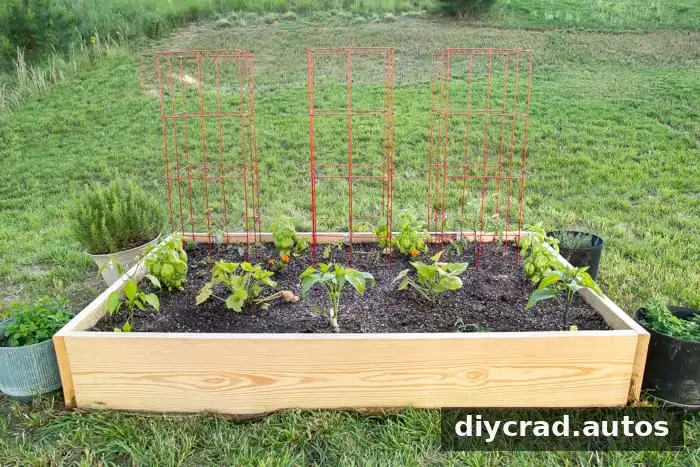
As the garden grows, keep checking moisture at soil level and adjust watering to the weather and plant needs.
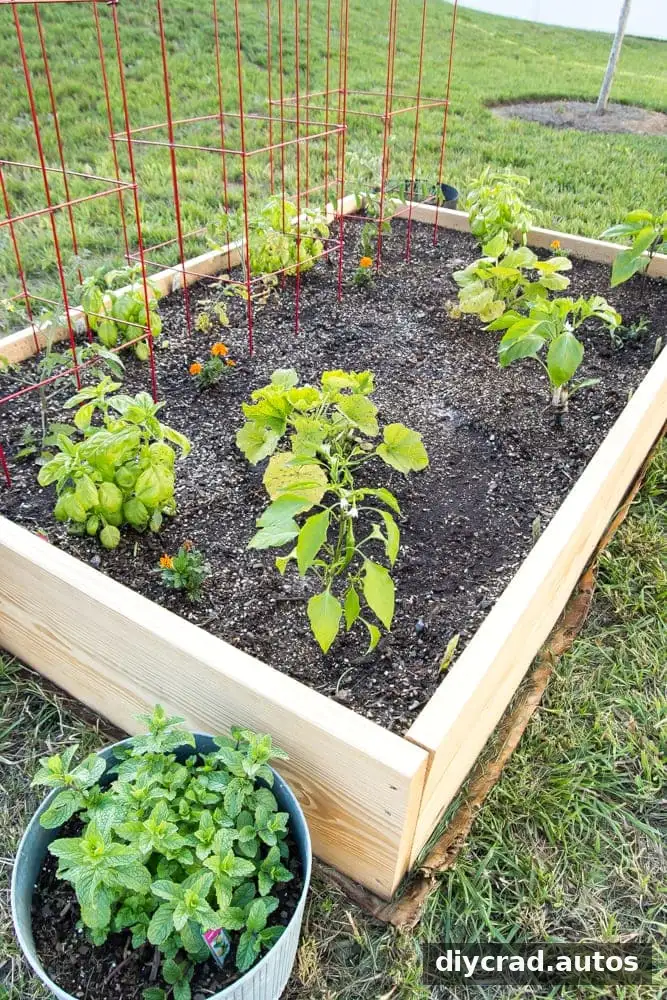
Keep Your Raised Bed Productive
Regular attention makes it easier to catch problems early. Look for wilting, damaged leaves, weeds, and plants that need support. Remove weeds while they are small, and harvest vegetables when they are ready according to the guidance for each crop.
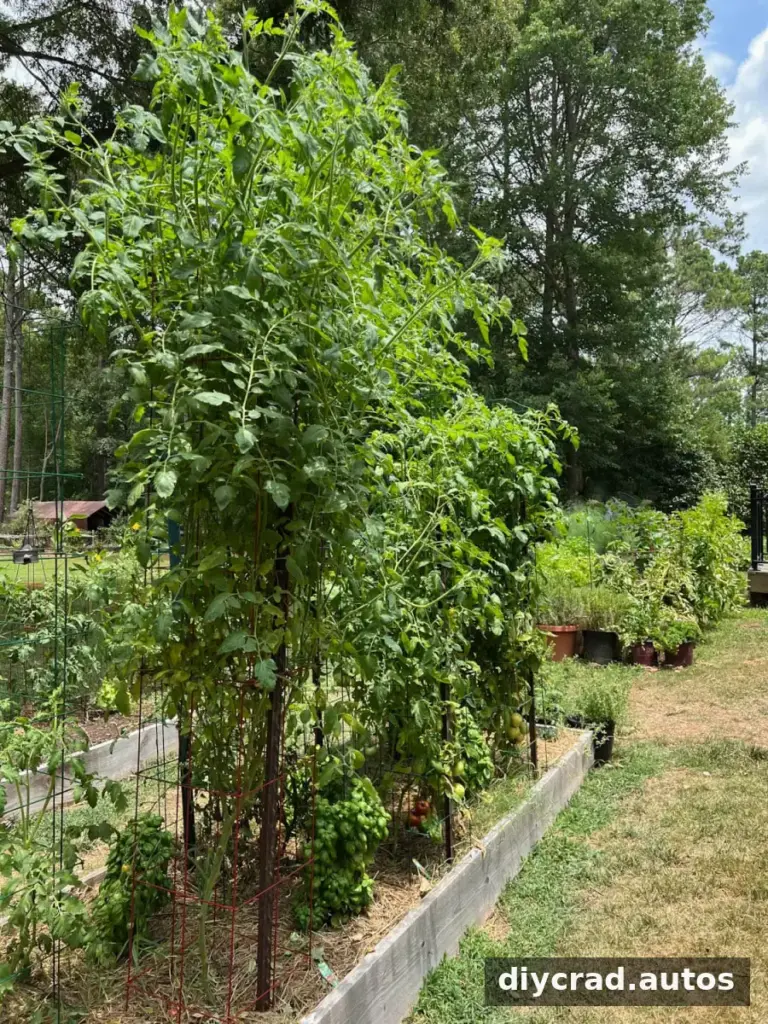
A productive garden depends on sunlight, suitable soil, sensible spacing, and consistent care—not on complicated equipment. Start with a few vegetables you enjoy eating, keep track of what works, and make adjustments next season.
Conclusion: Plan a Raised Bed Vegetable Garden for Your Space
A raised bed vegetable garden can make home growing more manageable by giving you a defined space and greater control over the soil. Choose a location with at least 6 hours of direct sunlight, build a reachable frame, plan plant spacing, and water according to rainfall and conditions. With these basics in place, you can gradually develop a garden that suits your yard and experience level.