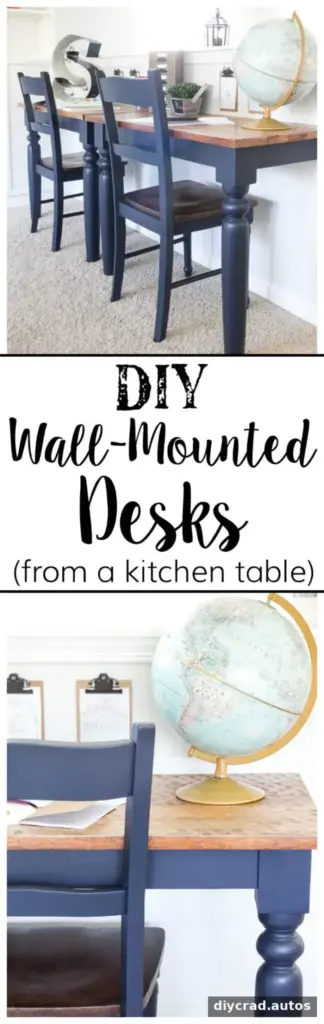
Repurposed kitchen table desks can make an awkward half wall useful without taking up valuable floor space. In this playroom project, a solid wood kitchen table was divided into two wall-mounted work areas: a child’s station for drawing and activities, and an adult workspace for a laptop, crafts, and everyday tasks. The approach reuses an existing tabletop and legs while creating separate zones in a shared room.
Why choose repurposed kitchen table desks?
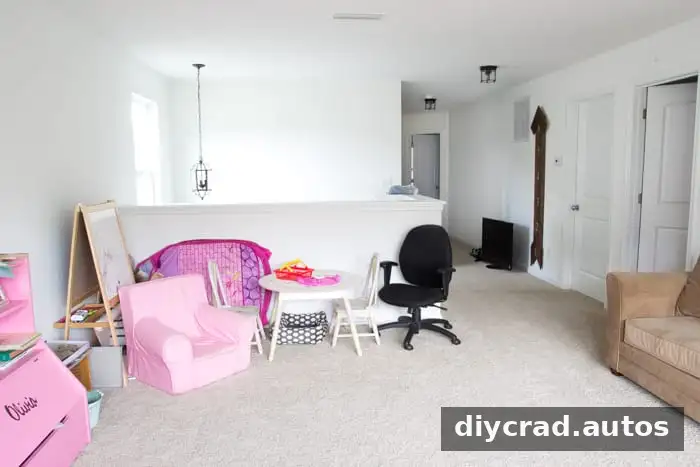
A standard desk may not fit neatly against a half wall, particularly in a room that needs to accommodate both play and work. Dividing a table provides two surfaces that can be positioned side by side, while mounting them on the wall keeps the area beneath more open. An adult can also work nearby while a child uses the other desk.
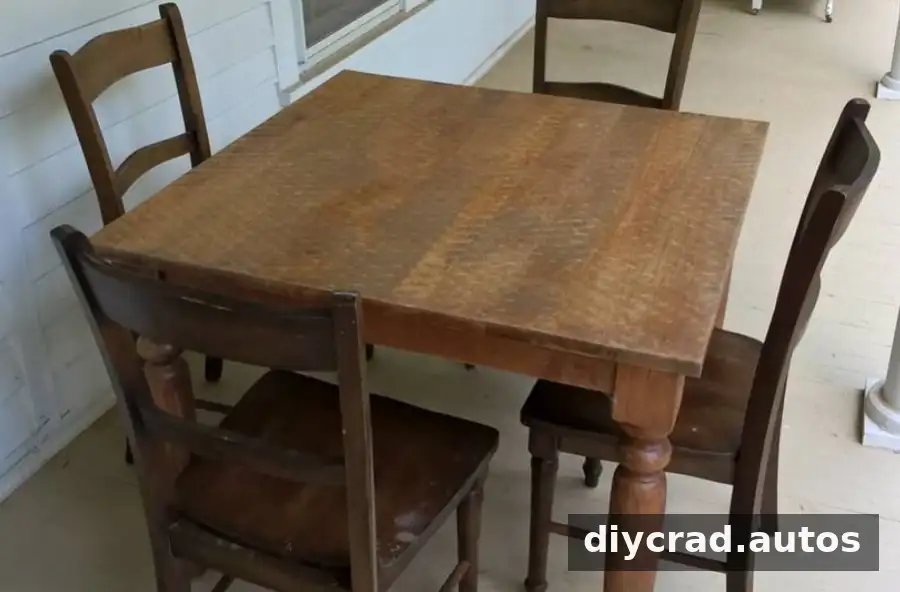
The project began with a solid wood table and four ladder-back chairs bought together for $100. Two chairs were painted to coordinate with the desks. Based on the total purchase price, the estimated cost was about $50 per desk with a chair; this is an allocation of the set’s cost, not a separate listed price for each item.
Materials and tools
Gather the materials and tools before starting, and check that the table’s construction is suitable for cutting and mounting. The project used:
- Solid wood table
- Circular saw
- Tape measure
- Pencil
- Level
- 2″ × 4″ board
- 1 3/4″ wood screws
- 2 1/2″ wood screws
- Midnight blue furniture paint
- 1 1/2″ angle brush, if preferred
Before cutting, inspect how the tabletop, apron, and legs connect, and confirm the table is solid wood. Wear eye and hearing protection, secure the table against movement, and follow the circular saw manufacturer’s instructions. If you are unfamiliar with this type of cut, have an experienced person do it. Measure the wall and tabletop first so the desk sections will fit the intended space.
How to make wall-mounted desks from a table
- Find and mark the midpoint. Measure the tabletop and mark its center with a pencil and straightedge. Recheck the measurements before cutting.
- Divide the tabletop. Use a circular saw to cut along the marked line, creating two sections. Keep the table secured and follow safe operating practices throughout.
- Make space for the wall support. The table apron was cut back by the depth of the 2″ × 4″, allowing the tabletop to sit against the wall with support underneath.
- Install the support board. Cut the 2″ × 4″ to the width of the table. Position it level and fasten it into wall studs with 2 1/2″ wood screws. Locate the studs before drilling; drywall alone is not an appropriate structural fixing for this support.
- Fasten each tabletop section. Set a half-table section on the support board and attach it from above with 1 3/4″ wood screws. Repeat for the second desk section.
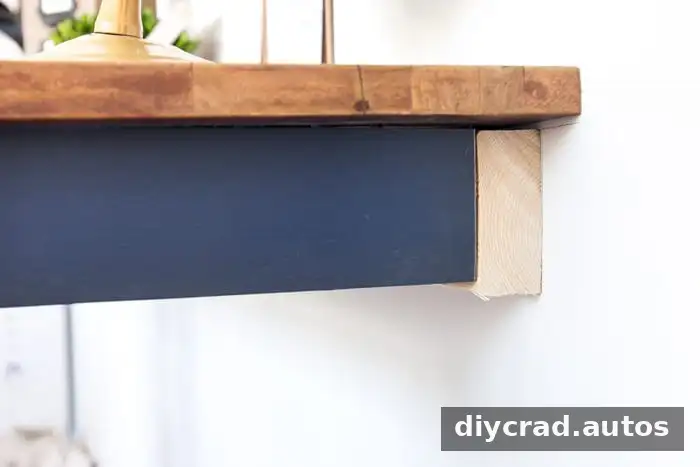
After installation, use a level to check each surface and confirm that the support is firmly secured. The project described the desks as sturdy but did not provide a tested load limit, so do not assume a specific weight capacity. These surfaces are desks, not seats, and children should not climb on them. If you have concerns about the wall, studs, or fastening method, consult a qualified professional before use.
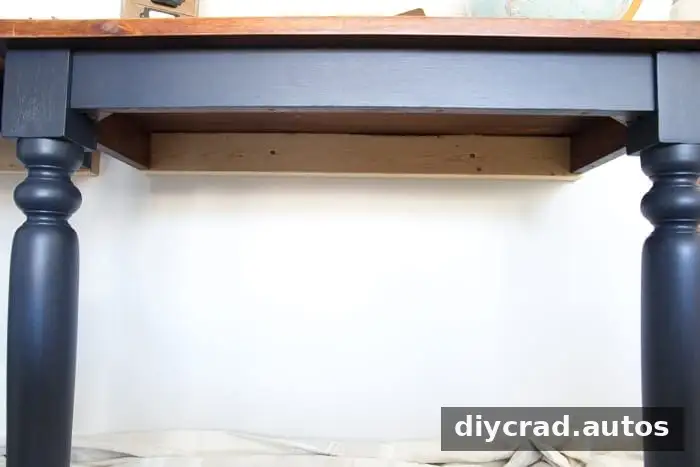
Paint, seating, and playroom organization
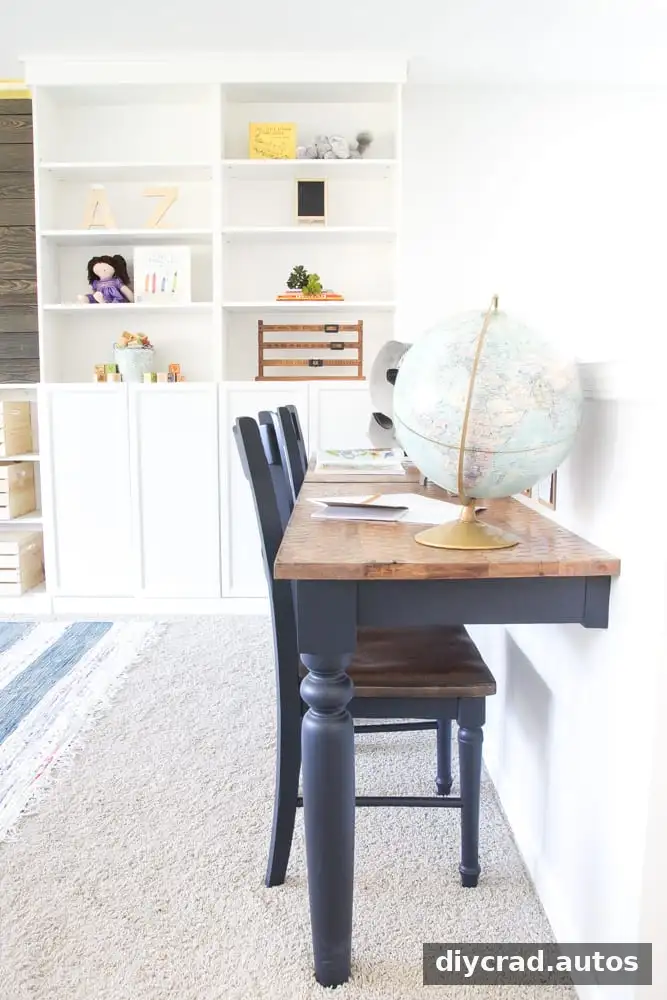
The room’s walls were painted a very light gray, so the desk bases received two coats of Midnight Blue furniture paint for contrast. Follow the paint label for application and drying times, and let the finish dry fully before putting supplies or chairs beside it. Painting two of the included chairs helped connect the seating visually to the new work areas.

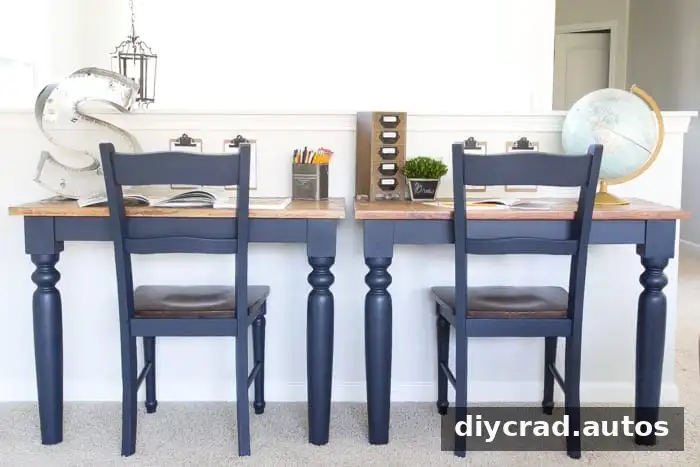
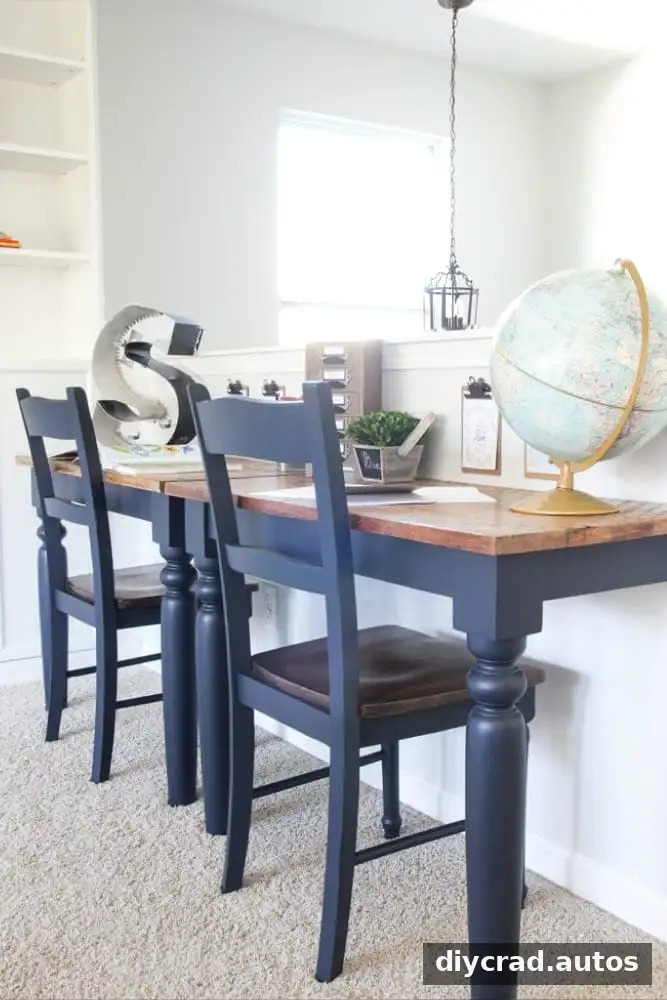
Small accessories can personalize each station without using much of the work surface. One side of the room included a decorative letter and a secondhand globe purchased for $5. Clean and inspect secondhand objects before placing them in a child’s play area. Keep fragile decorations and small items out of reach when they could pose a risk.
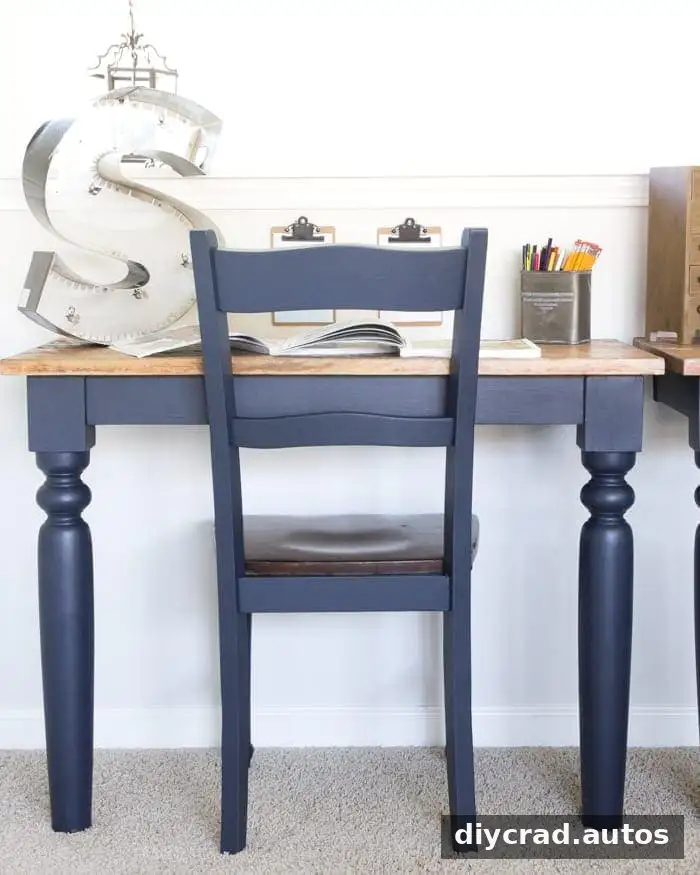
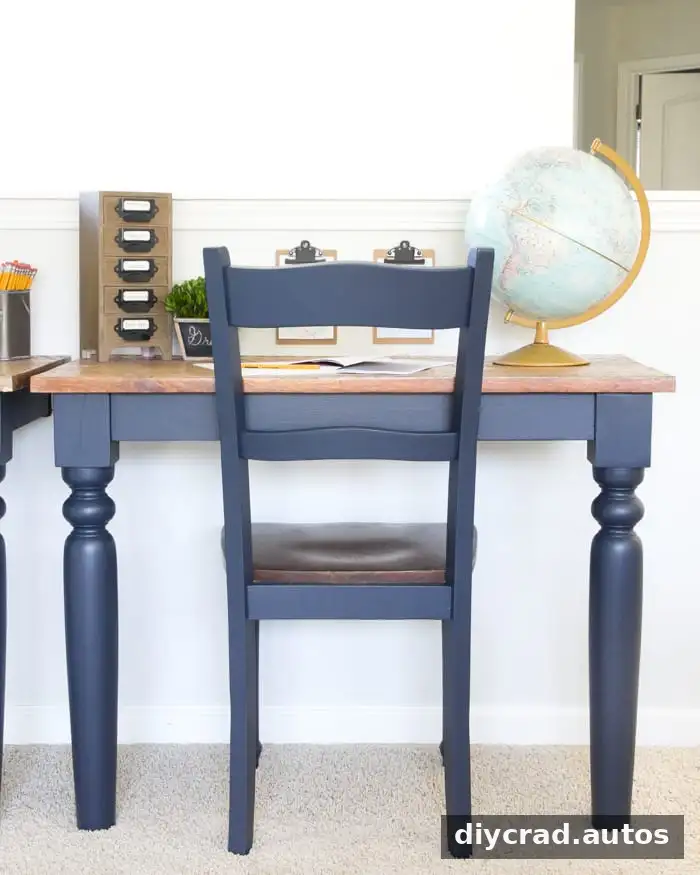
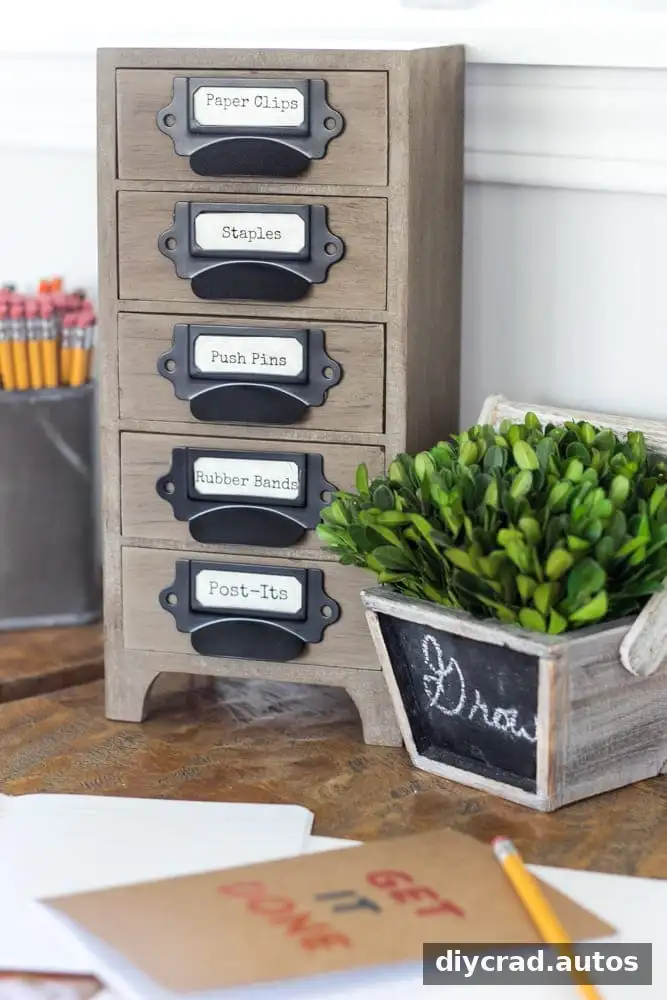
The child’s desk was arranged for coloring and other activities, while the adult’s area offered space for lists, email, and craft supplies. A reused jewelry box provided storage for office items. In a playroom, put away sharp tools, hot glue guns, and other adult craft materials securely after use. Keeping each desk stocked only with the items needed for its purpose can also help preserve usable workspace.
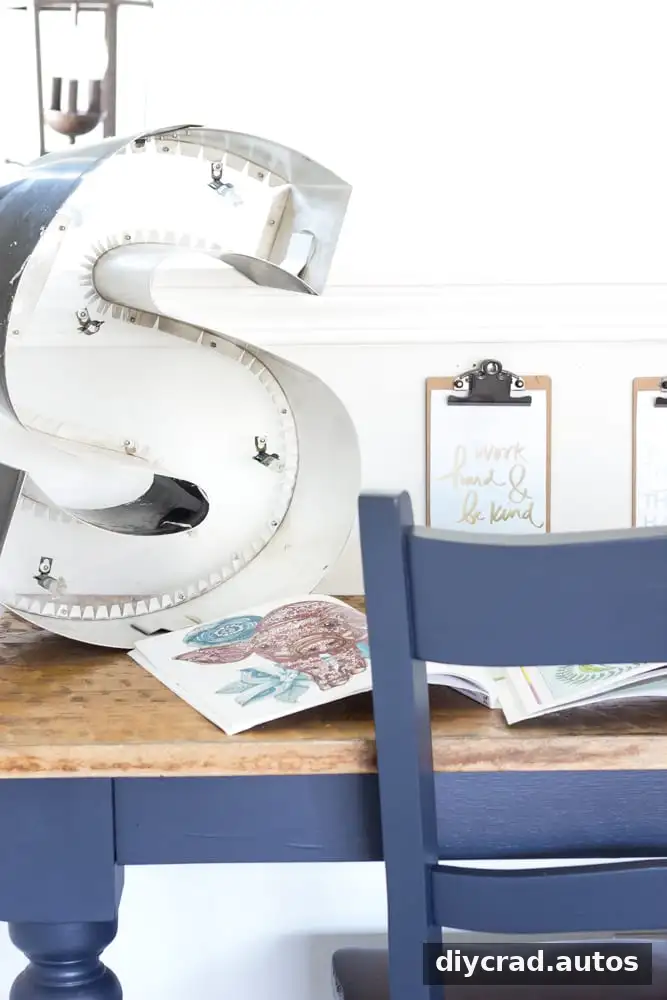
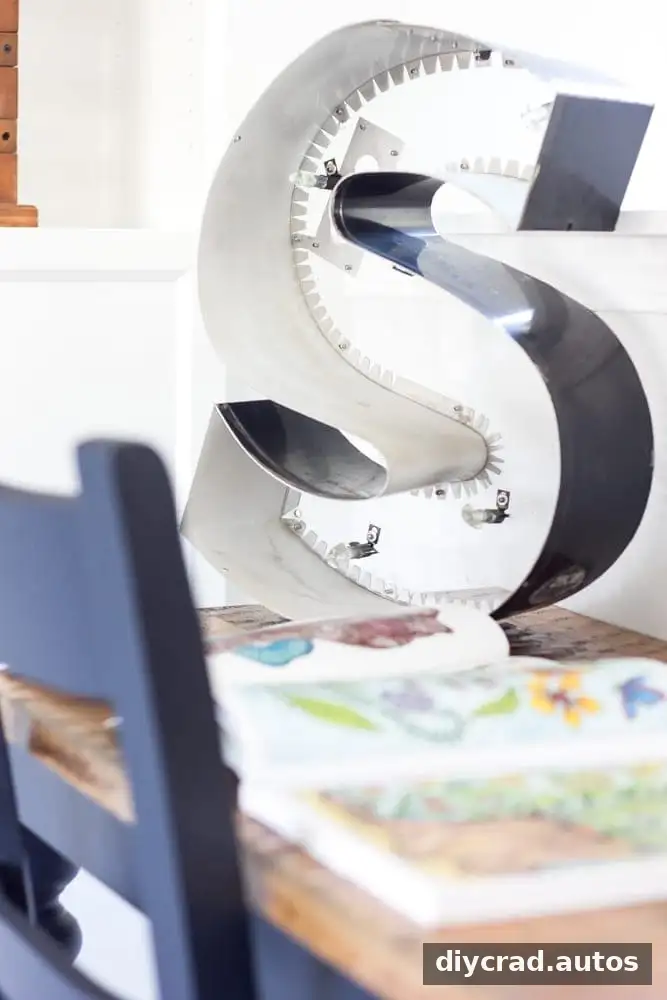
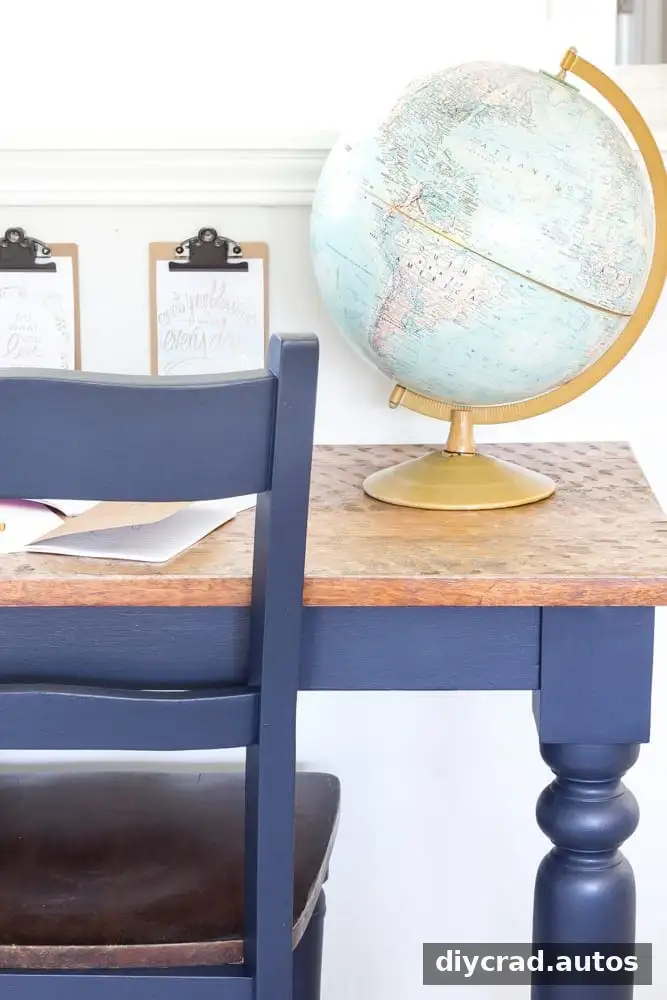
The desk area was complete at this stage, but the wider room makeover was still underway. Planned tasks included finishing the window, installing a reclaimed wood wall, making oversized storybook art, hanging curtains, painting wood crates, slipcovering a sofa, finding and updating a coffee table, decorating shelves, and organizing toy storage. Completing one functional zone at a time can make a larger room project easier to manage.
Conclusion: repurposed kitchen table desks for a playroom
Repurposed kitchen table desks offer one way to make a challenging half wall work harder and create separate work areas for adults and children. Measure the table and wall carefully, secure the 2″ × 4″ support into wall studs, and check the finished surfaces for level and stability. With appropriate tools and safe installation, a secondhand table can become a practical part of a more organized playroom.