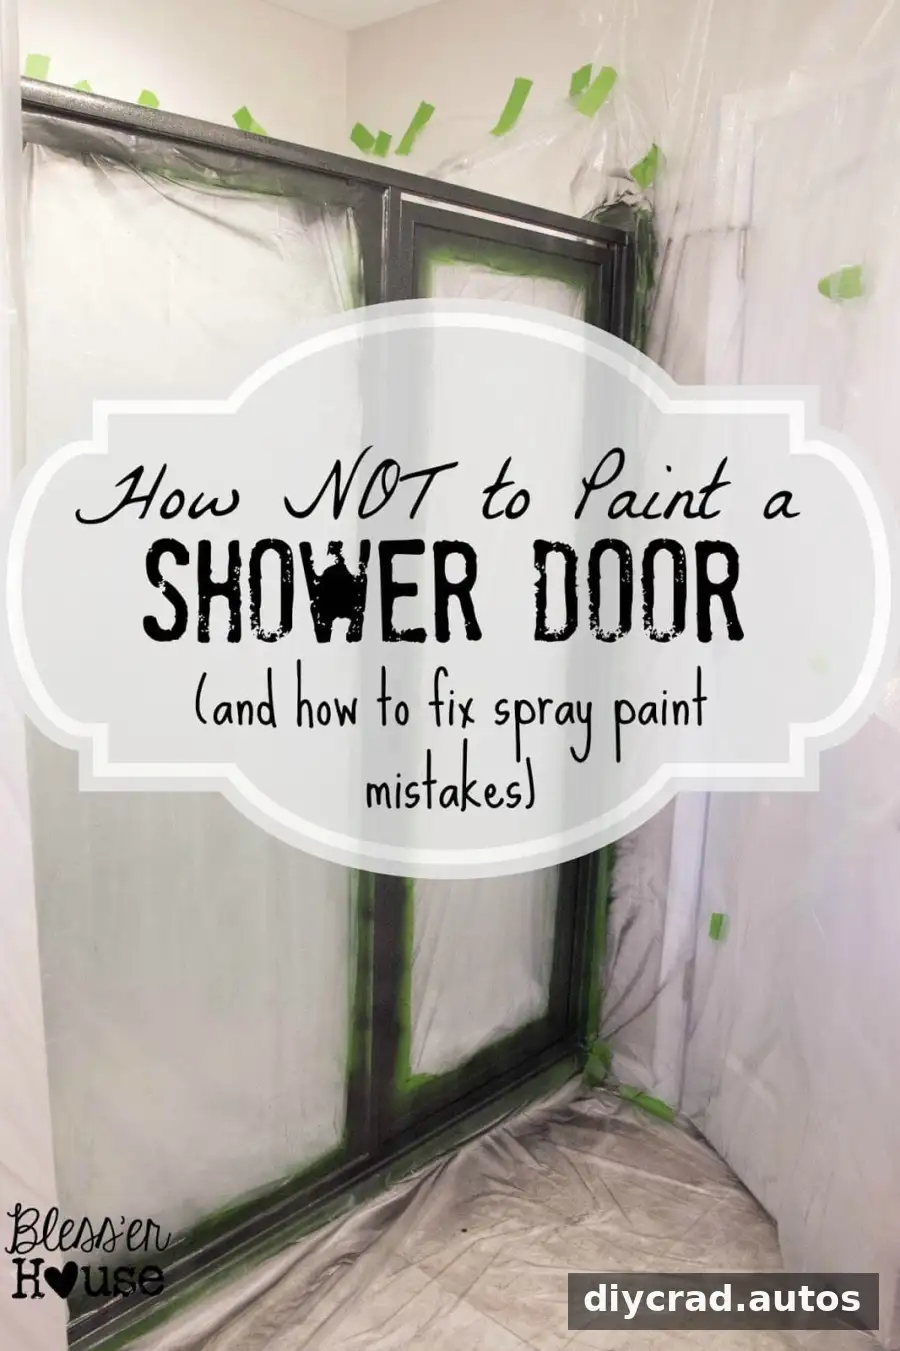
To spray paint a shower door frame successfully, careful surface preparation and patience matter as much as applying thin, even coats. Soap residue, loose masking, or removing tape before the paint has cured can lead to peeling and overspray. These practical steps explain how to avoid common problems and handle mistakes if they happen.
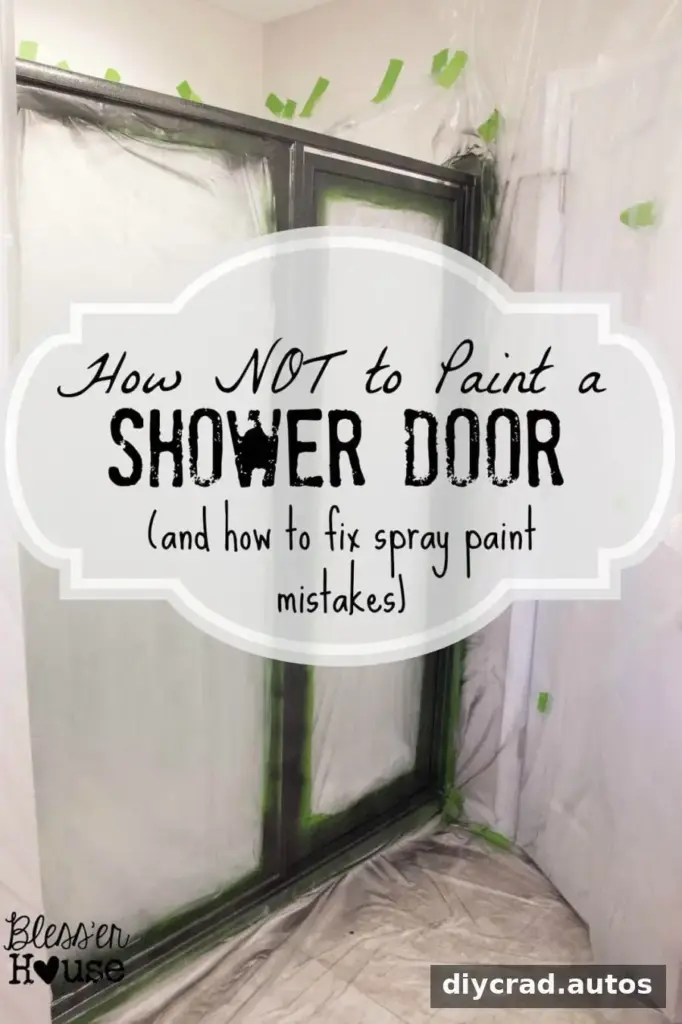
Prepare before you spray paint a shower door
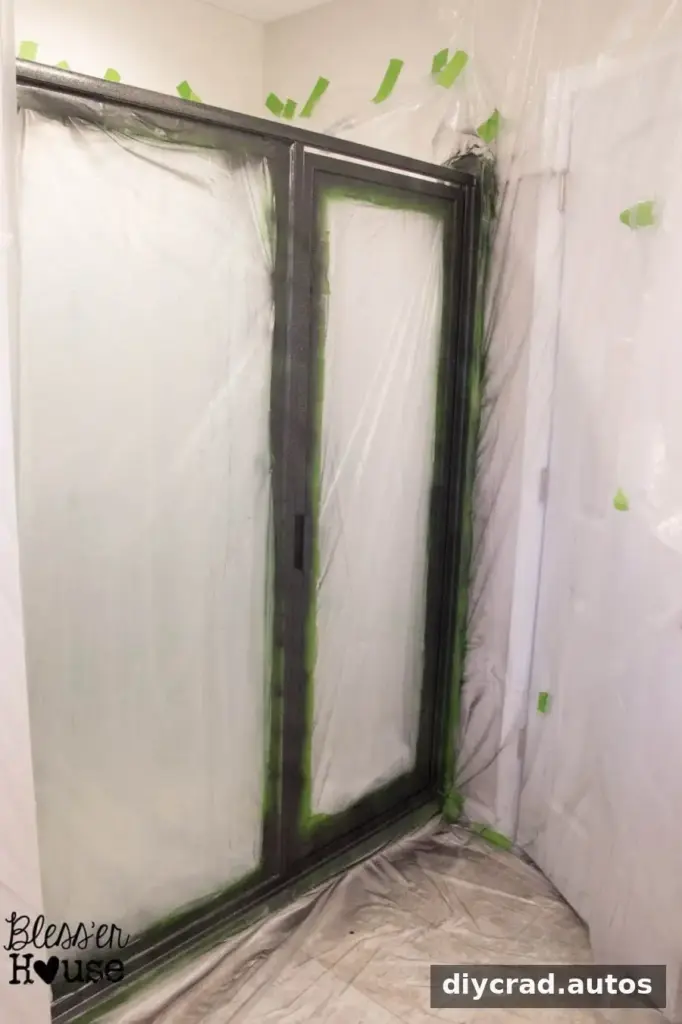
Cover nearby surfaces with plastic drop cloths and secure the edges with painter’s tape. Overlap the plastic, then tape every seam so spray cannot slip between or beneath the sheets. Aerosol paint can travel farther than expected, so protect the surrounding floor, tile, fixtures, and walls—not only the immediate area.
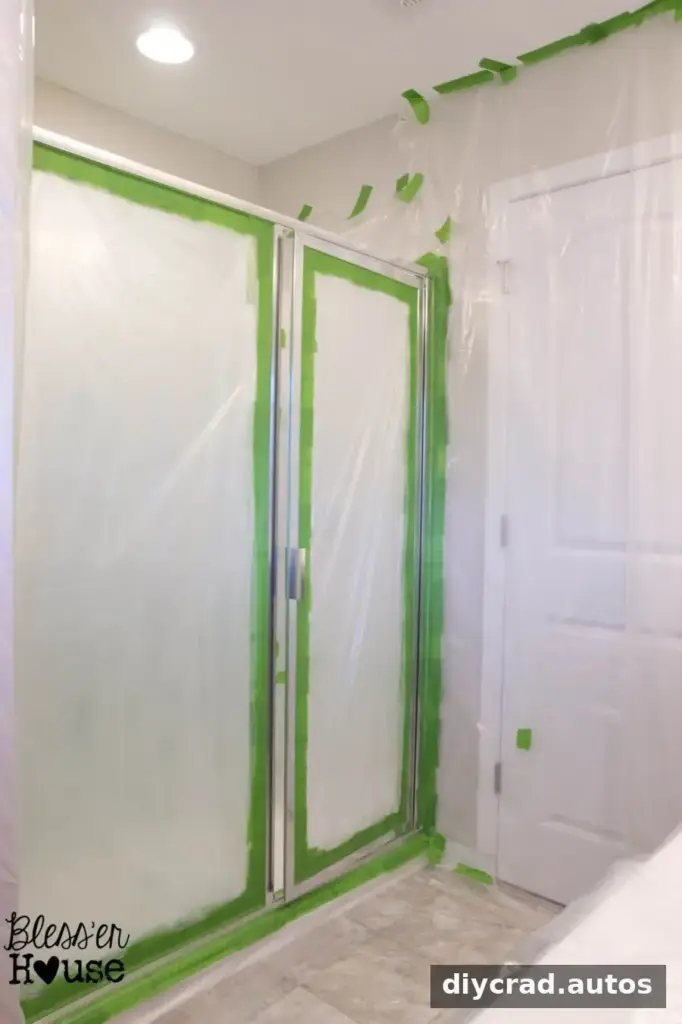
Before painting, clean the frame rather than relying on a recent bathroom cleaning. Wipe it with a cloth and white vinegar to help remove remaining soap scum, then allow the surface to dry. Paint may not adhere properly to soap residue. Follow the paint label for any additional surface-preparation instructions.
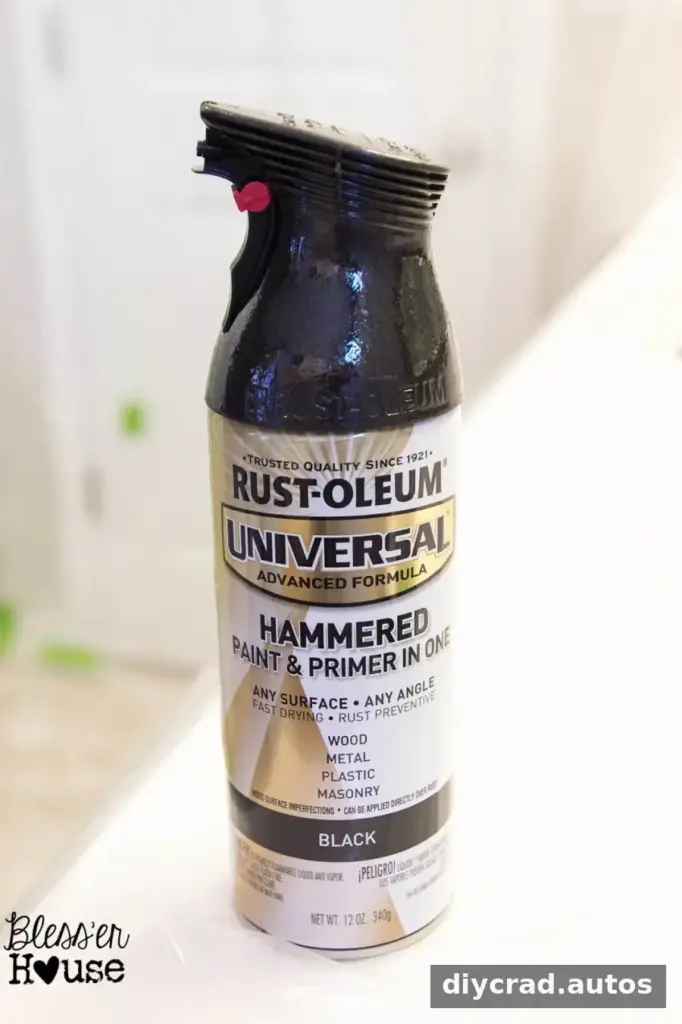
Use spray paint only in a well-ventilated area and follow the product’s safety directions. Wear the recommended respiratory protection, and keep overspray away from people and unprotected surfaces.
Apply thin coats and allow enough drying time
Apply several thin coats instead of trying to cover the frame with one heavy coat. In this project, three thin coats produced an even-looking finish. Check the paint label for its recommended application and drying times, since products and conditions can vary.
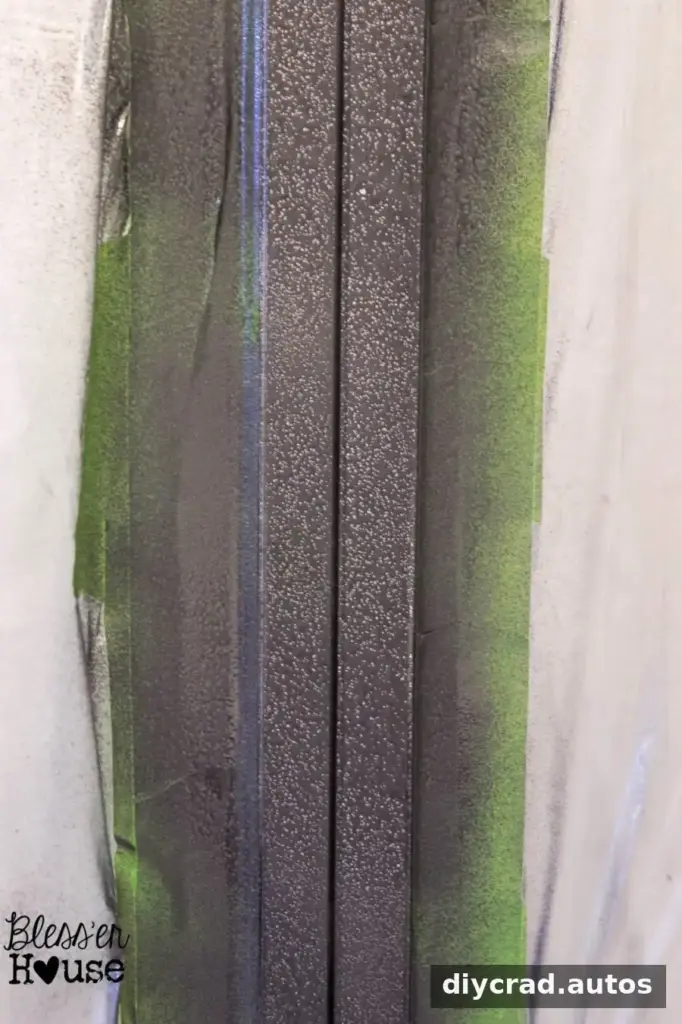
Do not remove masking as soon as the surface looks dry. Pulling up tape too early can lift fresh paint and leave ragged patches. The project’s paint was left to dry for a full 24 hours before the masking was removed. Use the product instructions as your guide, and avoid handling the painted frame until it is ready.
How to fix peeling paint on a shower door frame
If paint comes up with the tape, small areas may be touched up without repeating all the masking. Put a little spray paint into a deep cardboard box and use an artist’s brush to apply it carefully to the peeled spots. Work with a small amount at a time to limit drips and keep the repair within the damaged area.
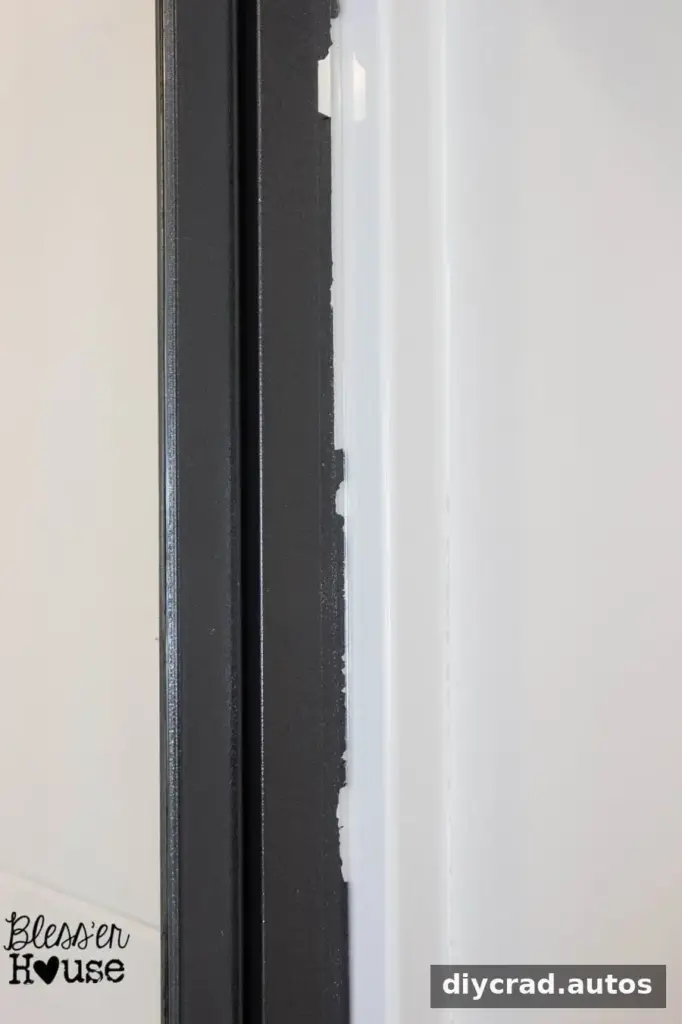
For a sharper repair edge, apply a short piece of painter’s tape where needed. Let the touch-up paint dry completely before removing the tape. Painting close to silicone caulk can be difficult, so take care not to coat the caulk unintentionally.
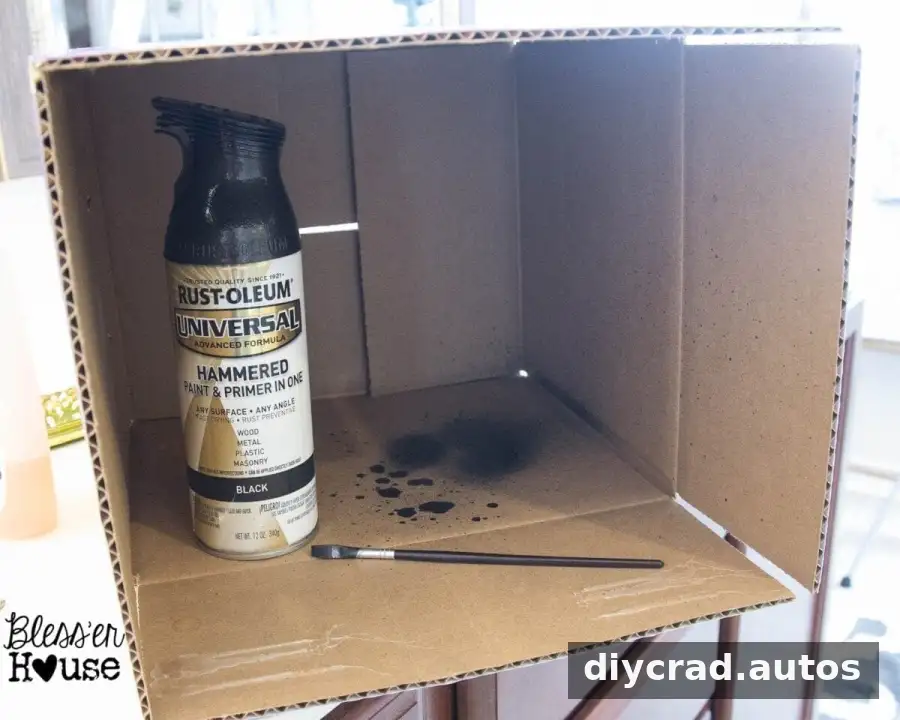
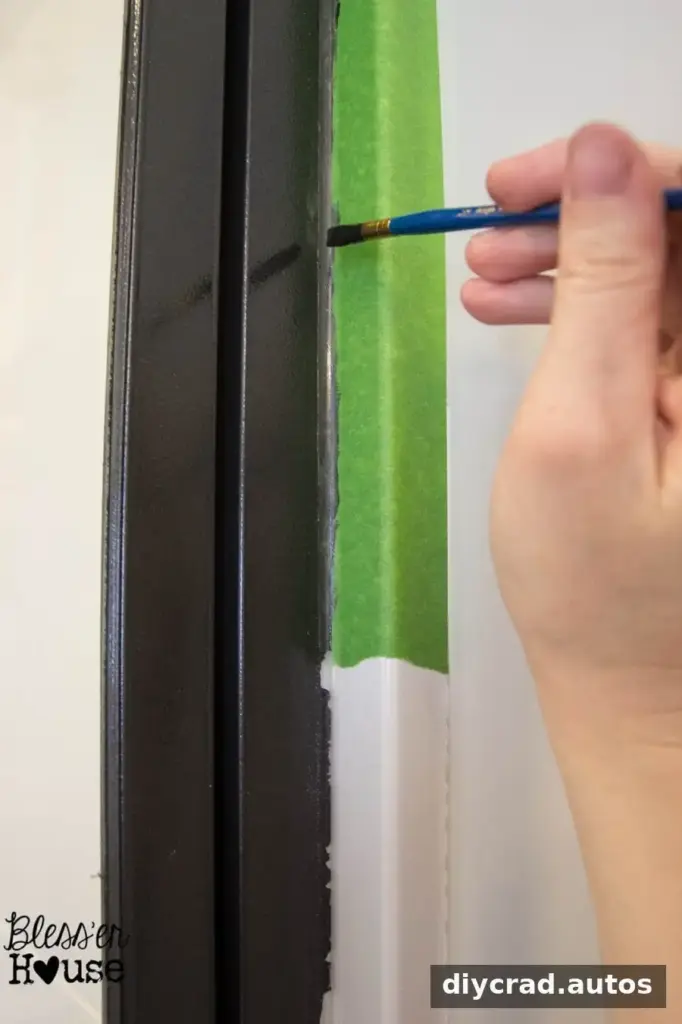
A small repair may not be invisible, particularly when it meets caulk, but precise application can make the area less noticeable. Inspect the finish in good light before deciding whether another careful touch-up is needed.
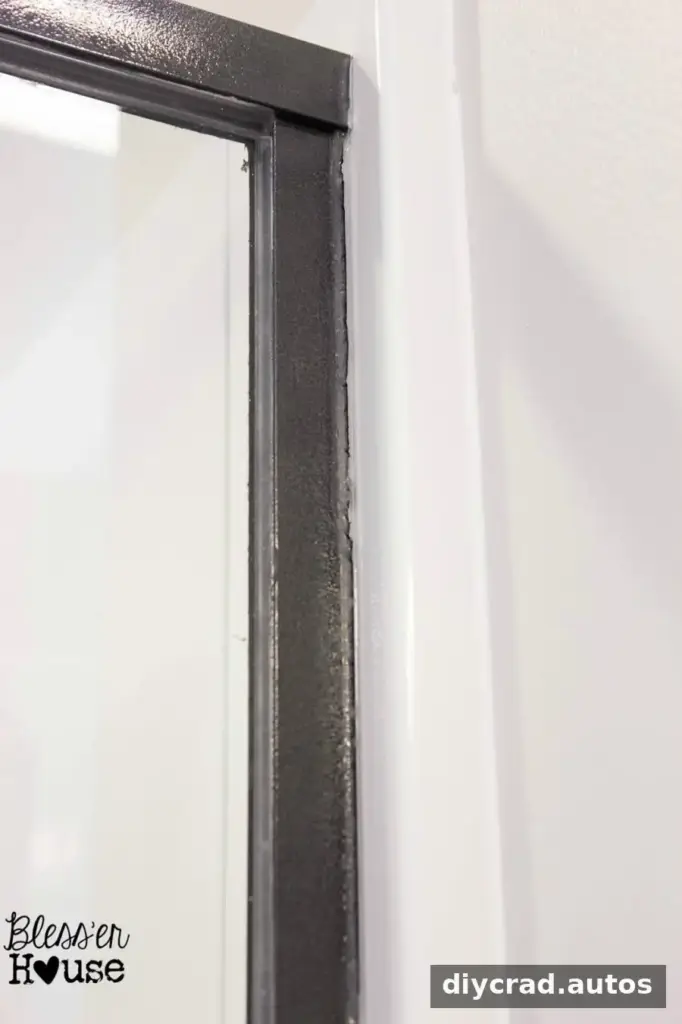
Remove overspray and clean up uneven paint lines
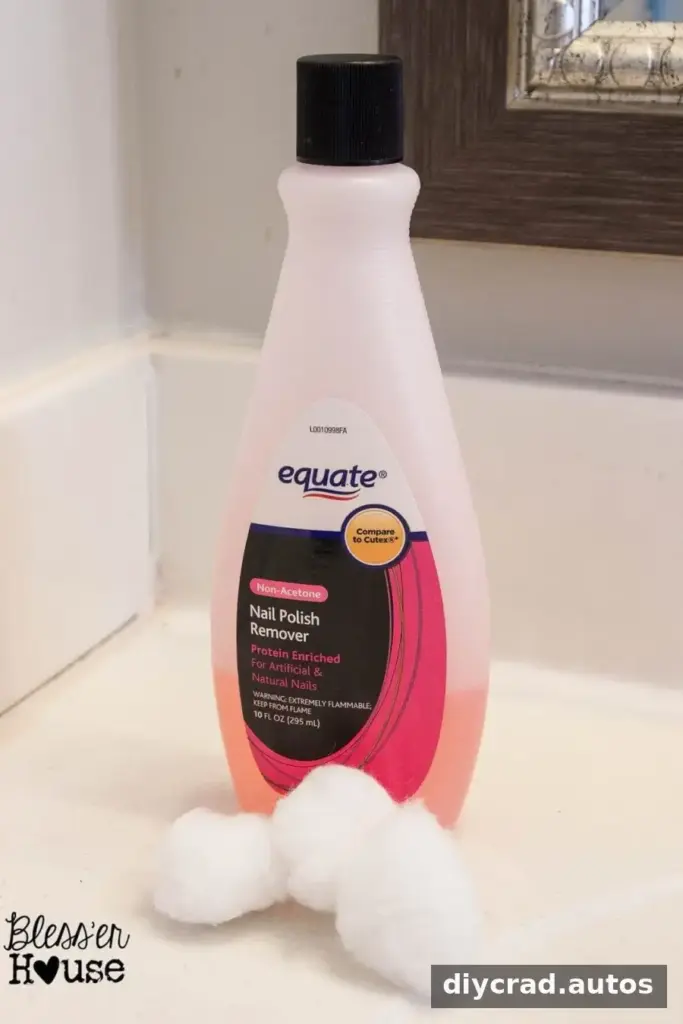
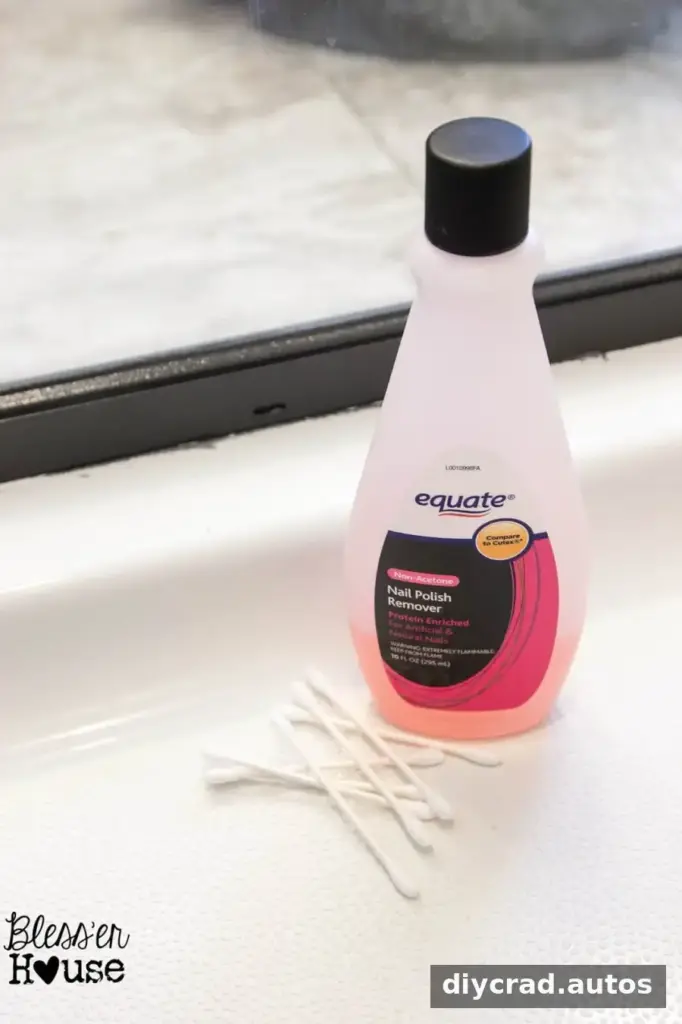
Paint overspray can pass through gaps in overlapping plastic and land on nearby tile or other surfaces. If that happens, nail polish remover helped remove the overspray in this project. Before using it, test a hidden spot and check that the surface can tolerate it: solvents may damage some plastics, coatings, finishes, or caulk. Use it sparingly, keep the area ventilated, and follow the remover’s label.
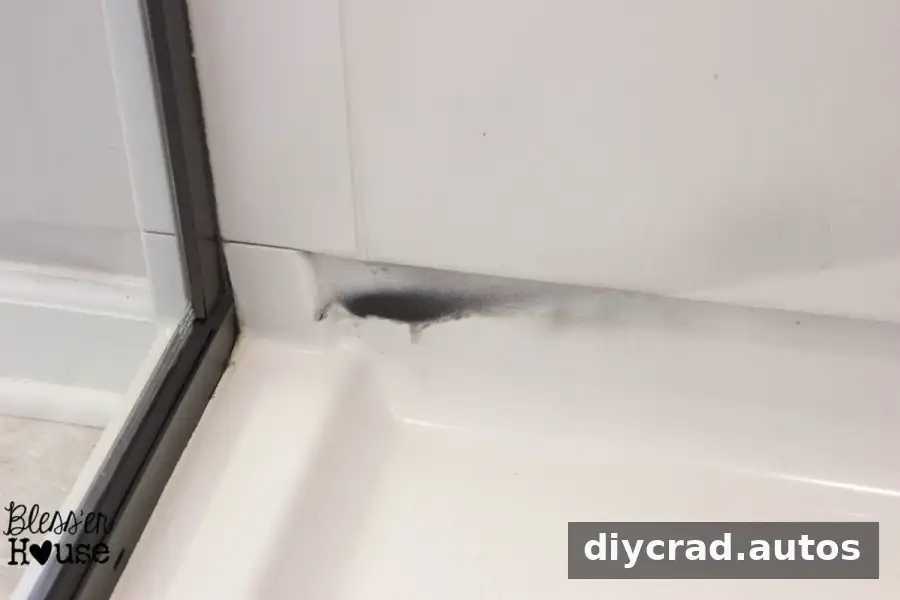
For a compatible surface, dampen a cotton ball with remover and gently rub the paint spot. Avoid soaking the surrounding material. Stop if the surface changes, softens, or loses its finish.
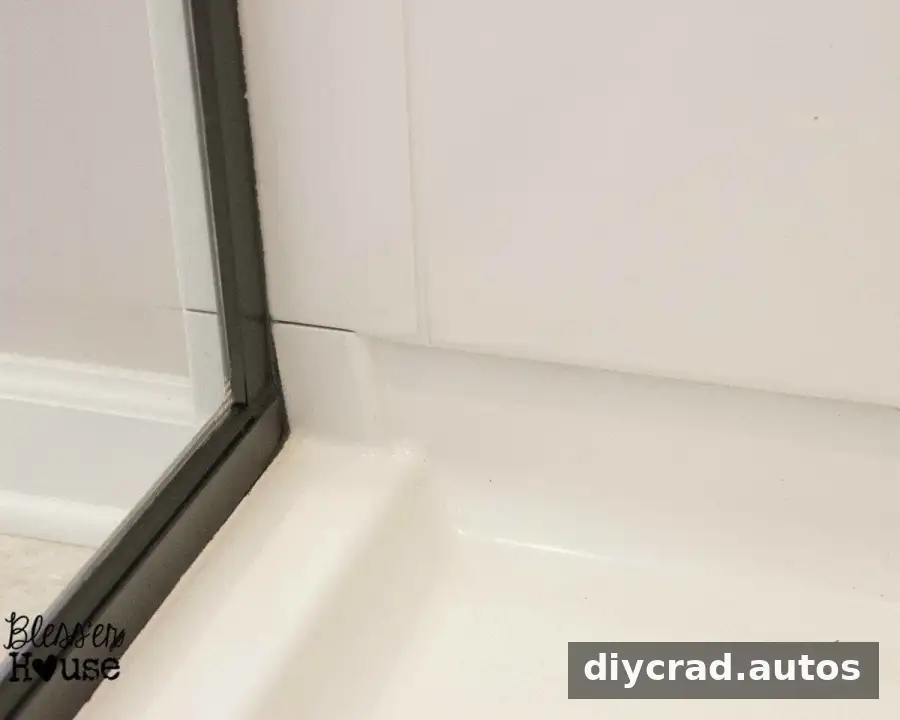
Painter’s tape does not always prevent paint from seeping beneath its edge. For a cleaner line, carefully score along the tape edge with a utility knife before removing it. Use light pressure and take care not to scratch the glass, tile, or frame.
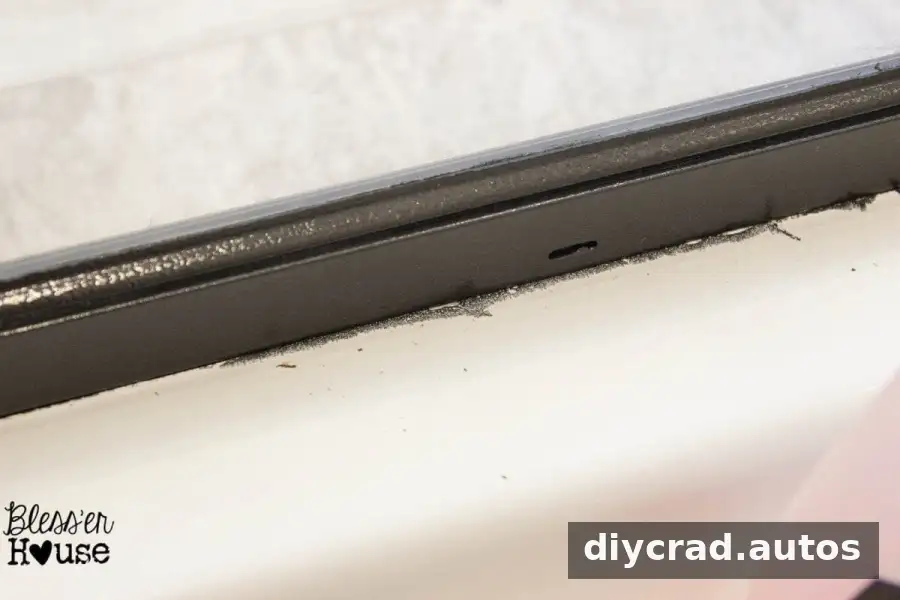
To address small smudges, a cotton swab dampened with nail polish remover can help lift paint that has leaked under the tape, provided the surface is compatible. Work along the line gently and test first in an inconspicuous place.
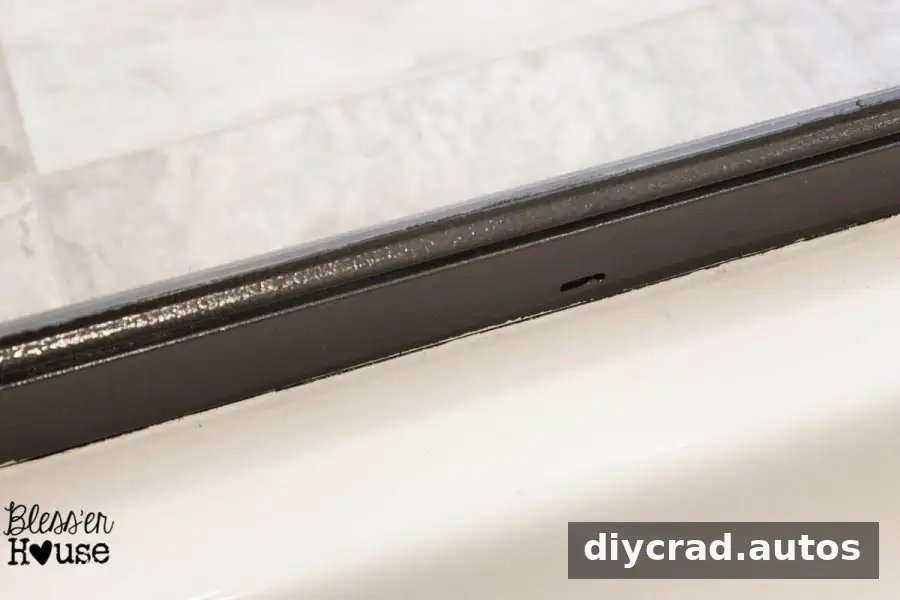
If paint remains after cleaning, carefully lift it with a fingernail or a razor blade only where it is safe to do so. Keep the blade flat and use caution around glass, coated surfaces, and edges; a blade can scratch or damage them.
Final tips for a better result
- Clean away soap residue and let the frame dry before painting.
- Seal every opening between drop cloths to contain overspray.
- Apply thin coats and give the paint the full recommended drying time.
- Test cleaning solvents on a hidden area before using them on tile or plastic.
A spray paint shower door project can take an unexpected turn, but many small problems are manageable with careful touch-ups and cleanup. Treat each mistake as a reason to adjust the process: prepare thoroughly, protect nearby surfaces, and let the finish dry before removing tape or masking.