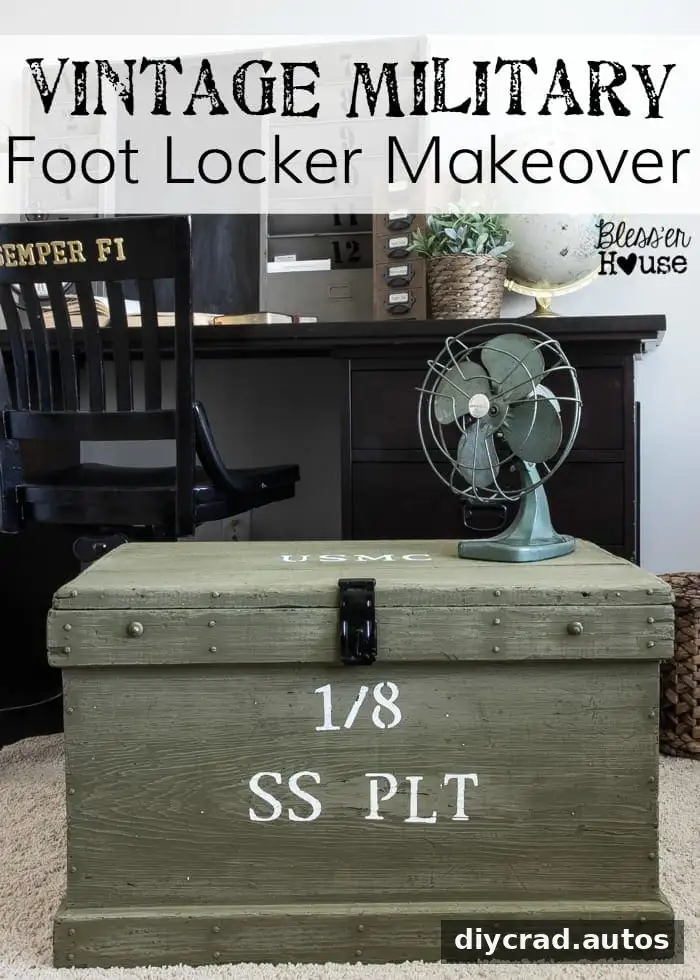
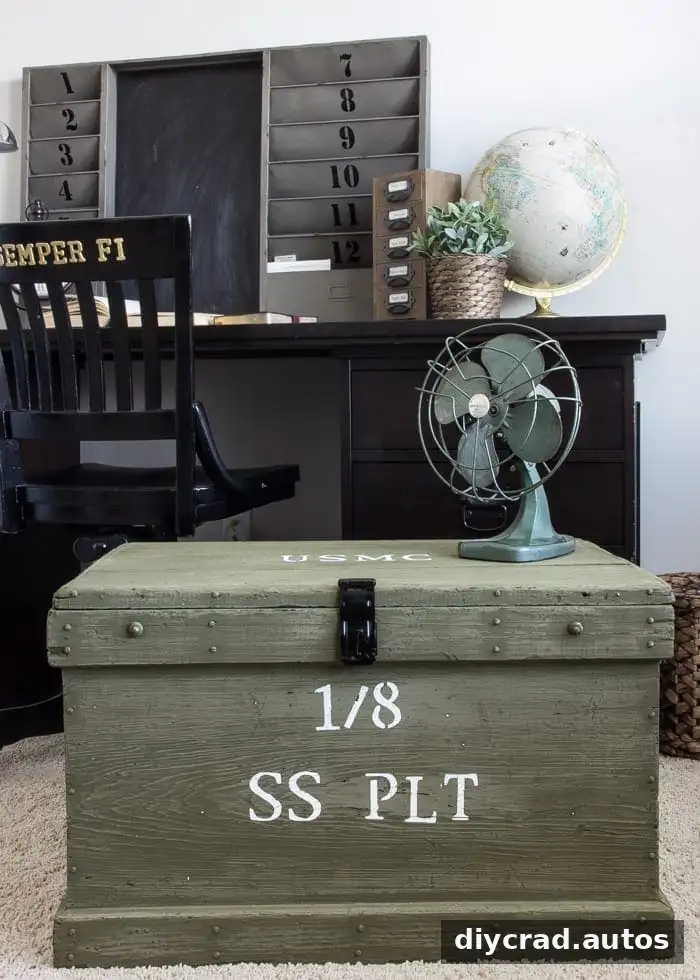
A vintage military foot locker can turn an ordinary secondhand trunk into useful storage with a distinctive, timeworn look. This makeover uses olive chalk paint, stenciled lettering, and a replacement hasp to give a $5 thrift-store find a new role in a military-inspired home office. The finished trunk also provides an organized place to keep books, equipment, and memorabilia.

Planning a Vintage Military Foot Locker Makeover
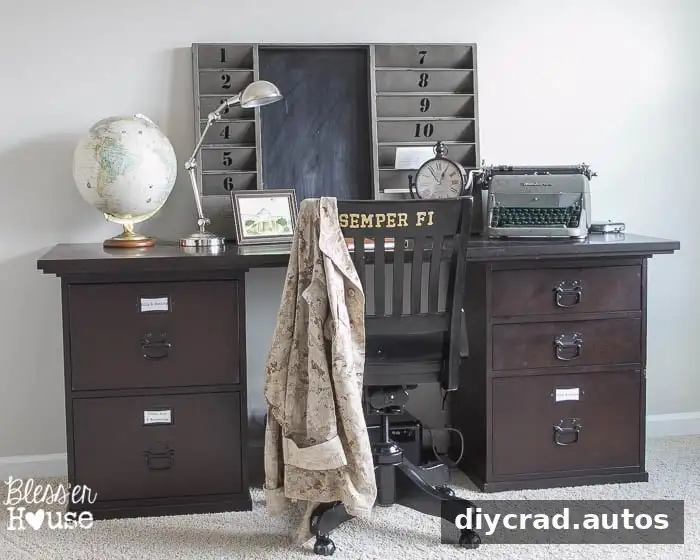
Before starting, decide where the trunk will be used and what it needs to store. That helps guide practical choices such as the lettering, hardware, and paint finish. In this project, the trunk was intended for a home office and to hold military memorabilia.
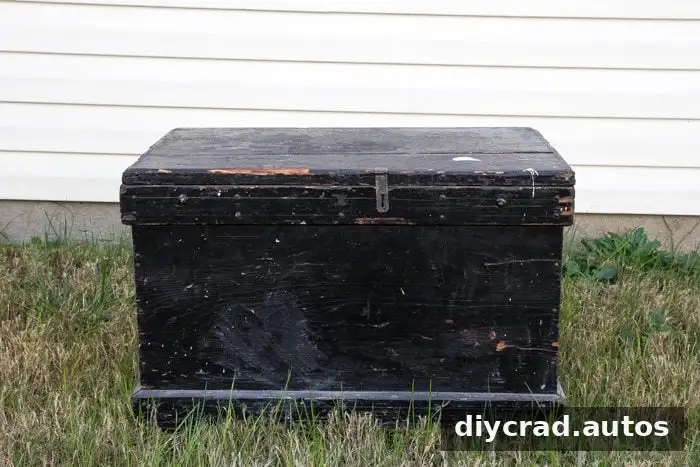
An older trunk can often be refreshed without hiding every sign of age. Keeping some of the original finish and wood grain visible gives the piece a vintage character. Check the trunk for loose parts, sharp edges, damage, or signs of pests before bringing it indoors or beginning work.
Materials and supplies
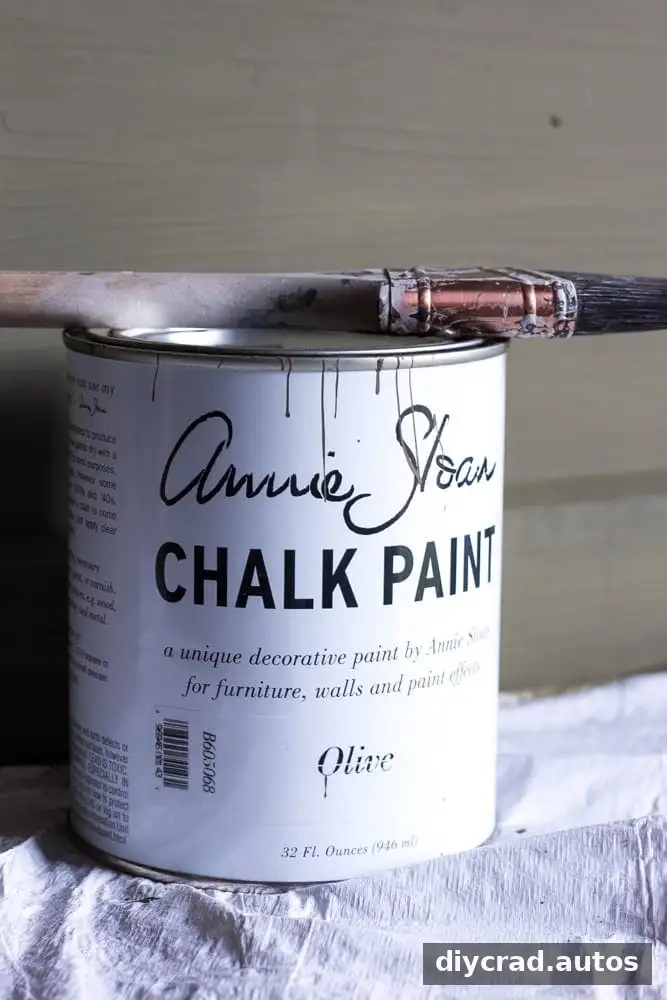
- Olive chalk paint
- 1.5-inch angled paint brush
- Black steel hasp
- Letter and number stencils
- White craft paint
- Sponge brush
- Medium-grit sandpaper
How to Refresh the Trunk
1. Clean and prepare the surface
Start by vacuuming dust and debris from the trunk, including its corners and interior. Clean the surface with a suitable household disinfectant, following the product label, and allow the trunk to dry completely. Avoid mixing cleaning products, especially bleach-based products with other cleaners.
Sand rough areas on the original black finish, then wipe away the sanding dust with a clean cloth. A smooth, dust-free surface helps paint go on more evenly. If the trunk has an unknown old coating, test the paint and sanding approach on a small, inconspicuous area first.
2. Apply the olive paint
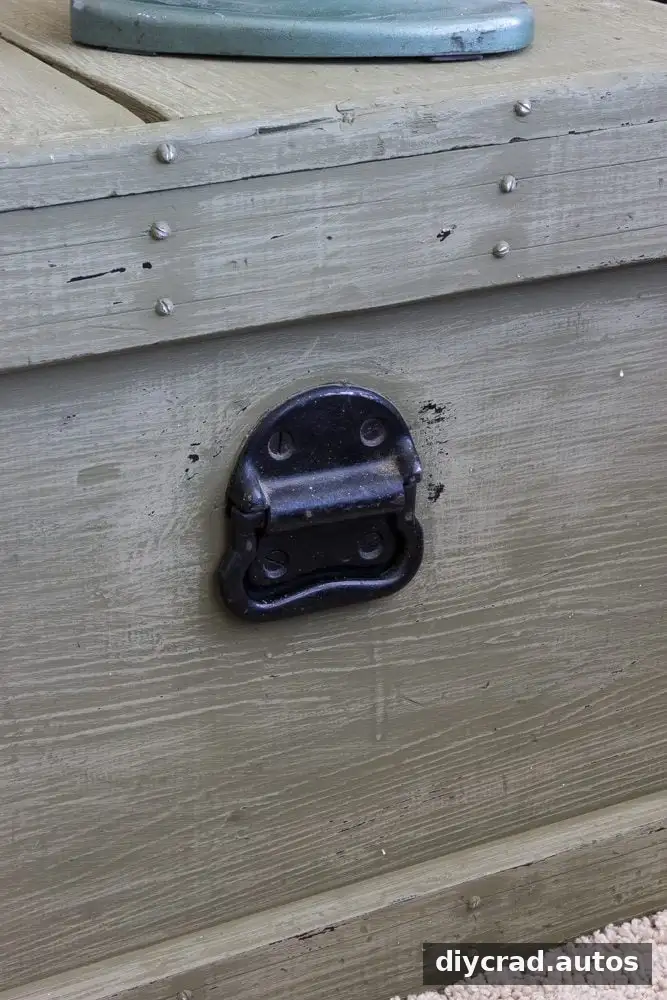
Use an angled brush to apply two coats of olive chalk paint, allowing the first coat to dry before adding the second. Follow the paint’s directions for drying time. Work in a well-ventilated area and use steady strokes, taking care around hinges and other hardware.
Once the paint is dry, lightly sand the entire piece with medium-grit sandpaper. This softens the painted surface and can reveal parts of the raised wood grain beneath it. Sand gradually so you can control how much of the underlying finish shows through. Wipe away any dust before moving on.
3. Add stenciled lettering
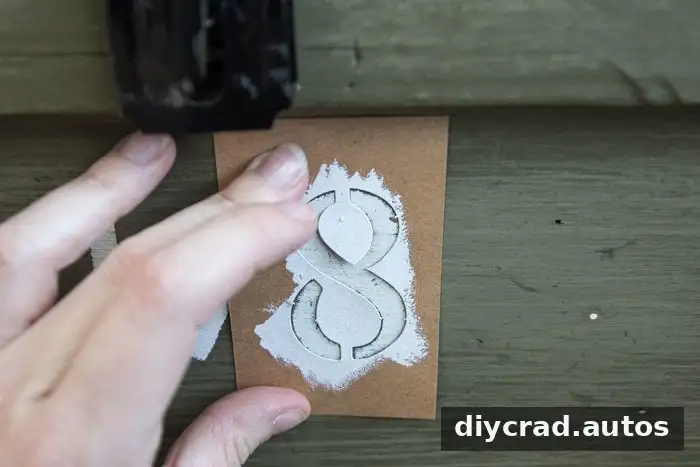
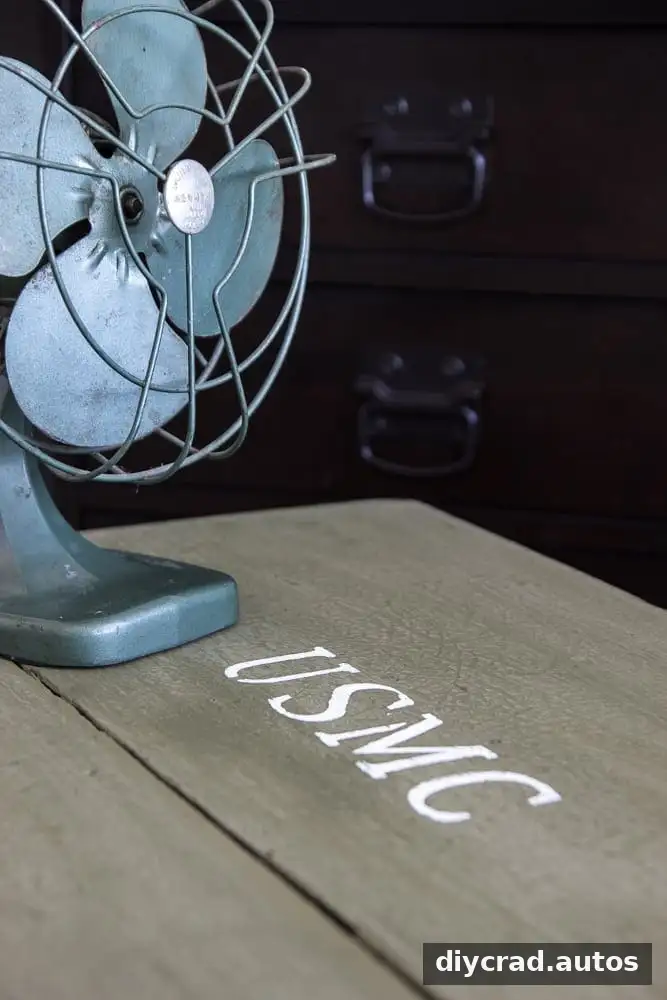
Position the letter and number stencils where they can be read easily, then secure them so they do not shift. Use white craft paint and a sponge brush, dabbing rather than sweeping across the stencil. Dabbing helps limit paint bleeding beneath the edges and creates a sharper outline. Apply a small amount of paint at a time; a test mark on scrap material can help check the coverage.
4. Replace damaged hardware
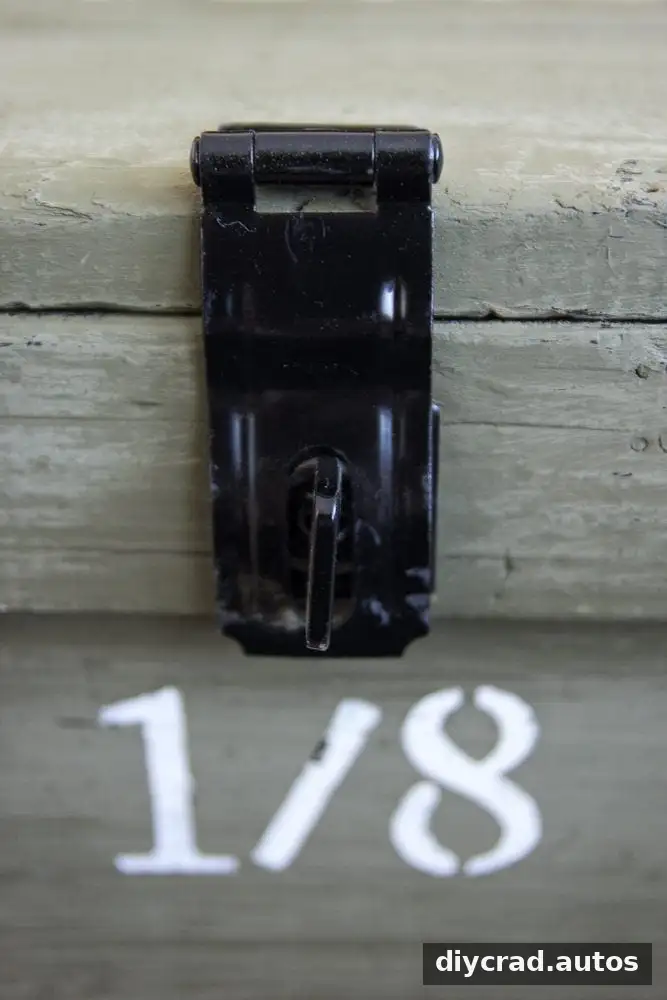
The original hasp was broken and rusted, so it was replaced with a black steel hasp. Choose hardware that fits the existing attachment area and check that the lid opens and closes freely after installation. Wear eye protection when drilling or removing fasteners, and take care around older metal edges.
Using the Finished Foot Locker
The refreshed trunk combines practical storage with a vintage finish. In this makeover, it was placed in a home office, where it could hold military books and gear that had previously been stored out of sight. Before loading any older trunk, check that its base and hinges are sturdy enough for the intended contents.
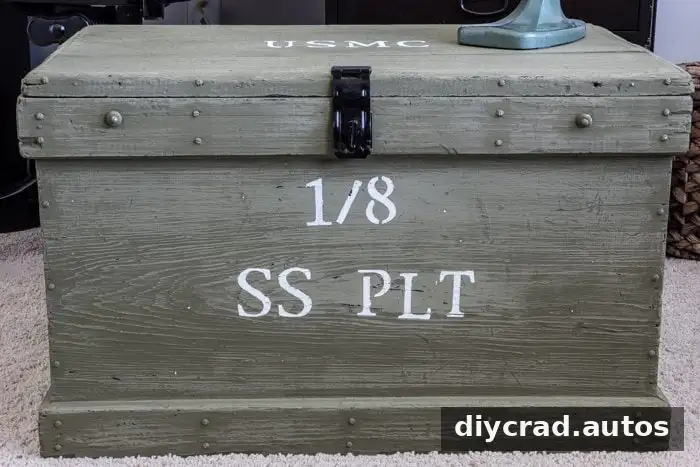
The olive paint, exposed wood grain, white markings, and dark hardware work together to create a military-inspired look without requiring a complicated set of materials. The same approach can suit a den, entryway, or other room where extra storage is useful. Keep the stenciled details simple if the trunk already has prominent grain or decorative features.
Final Thoughts on This Vintage Military Foot Locker
This vintage military foot locker makeover shows how cleaning, light sanding, two coats of paint, and a few carefully chosen details can give an old trunk a fresh purpose. The $5 find became a useful place for storing memorabilia while retaining a weathered, vintage appearance. For a durable result, prepare the surface thoroughly, let each layer dry, and make sure the replacement hardware is secure.
An olive-drab trunk can also work beyond a military-themed office. Its storage function and aged finish make it a flexible accent piece, provided its size and condition suit the room.
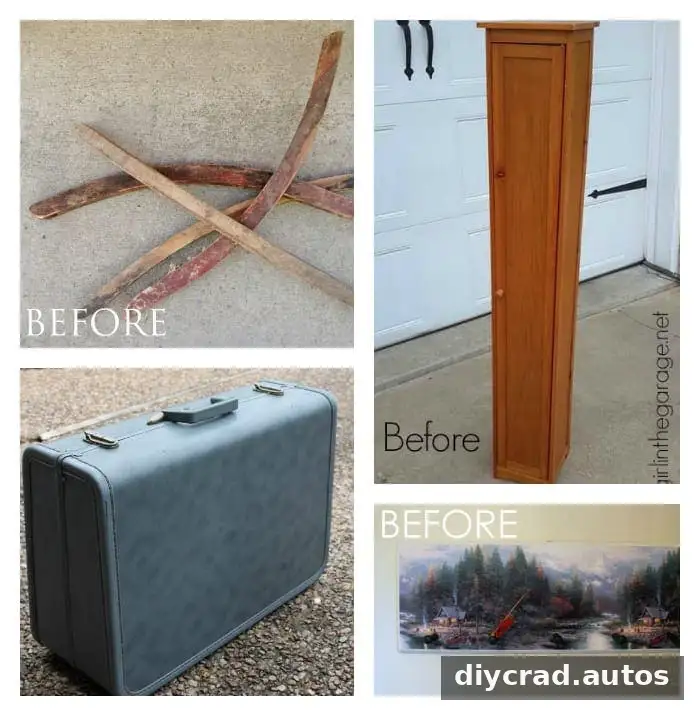
Clockwise from top left: Prodigal Pieces, Girl in the Garage, Artsy Chicks Rule, and Confessions of a Serial Do-It-Yourselfer.