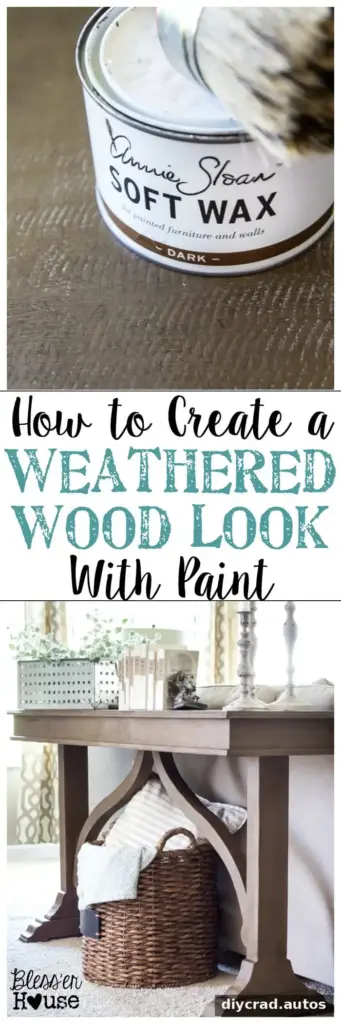
A simple way to create a weathered wood look with paint
A weathered wood look with paint and dark wax can refresh a piece of furniture without stripping its existing finish. This approach was used to update a black table with a polished appearance and a few dents and dings. The table cost $160 at a consignment shop, and its shape made it a good candidate for an aged, softer finish.
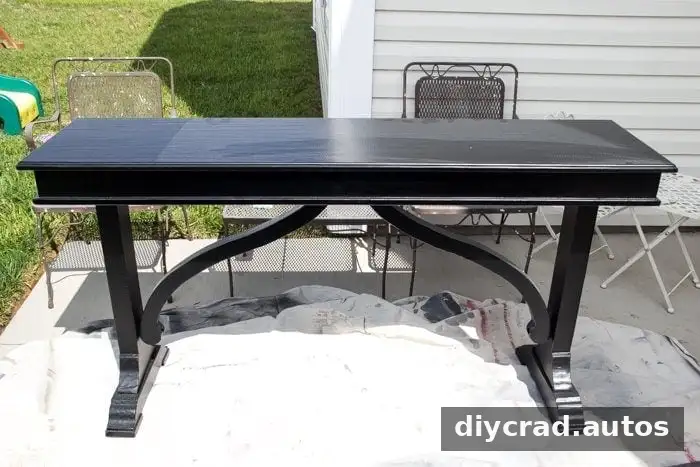
Rather than remove the original coating, the surface was covered with Coco-colored chalk paint, then dark wax was applied to create depth and emphasize the furniture’s details. The method is straightforward, but careful preparation and working in small sections help produce a more even result.
Materials for a weathered wood look with paint
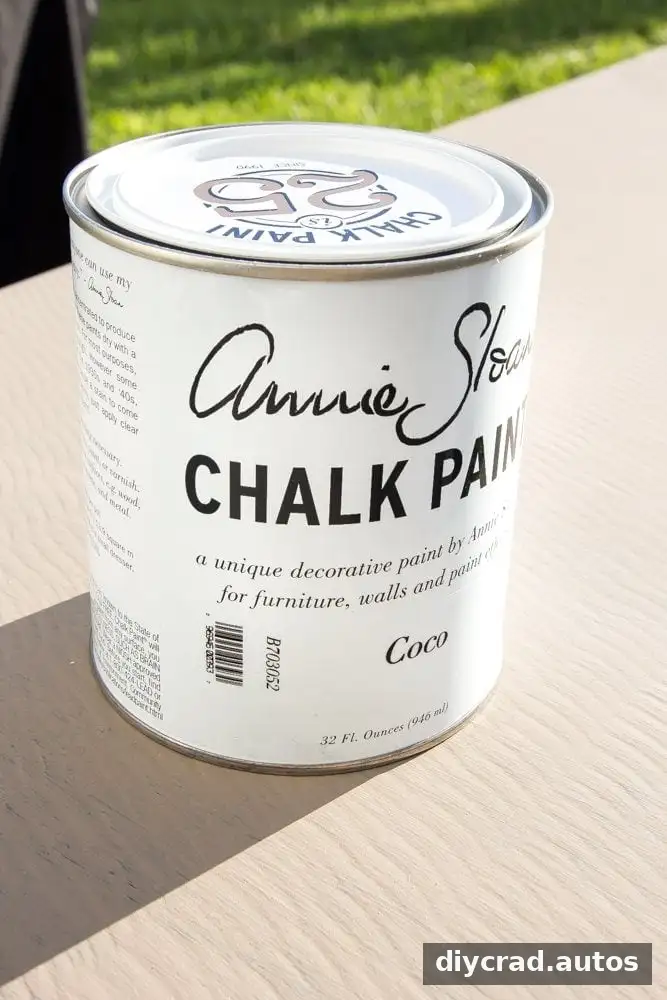
- Chalk paint in Coco or a similar shade
- Dark soft wax, or another dark furniture wax suitable for the paint
- A 1.5-inch angled paintbrush
- A wax brush or another suitable applicator
- Fine-grit sandpaper
Before starting, check the paint and wax labels for preparation and application guidance. Clean the furniture and let it dry completely. If you are unsure how the products will look or adhere, test them on a small, inconspicuous area first.
How to paint and age the furniture
1. Apply the first coat of paint
Brush on one coat of Coco chalk paint, covering the surface as evenly as possible. Let it dry according to the product directions. The original black finish may show through in places after this first coat; a second coat can help build more consistent coverage.
2. Sand lightly between coats
Once the first coat is dry, lightly sand the surface with fine-grit sandpaper. This helps smooth rough areas before the next coat. Remove sanding dust before continuing so it does not become trapped beneath the paint.
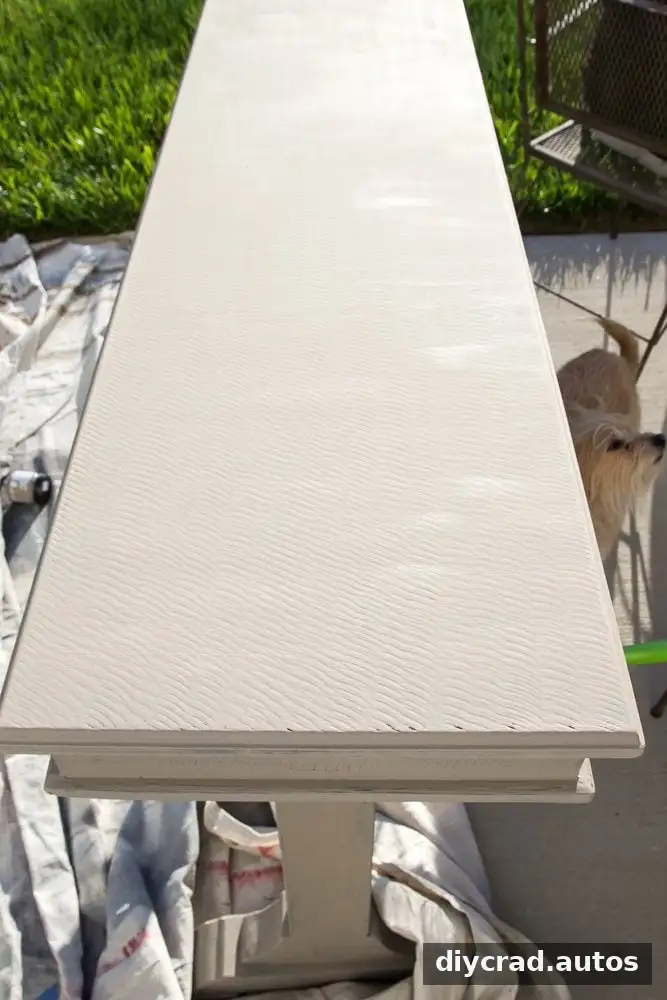
3. Add a second coat
Apply a second coat of paint and allow it to dry fully. The original finish may still peek through subtly, depending on the furniture and coverage. If you prefer a more uniform base, assess the surface when dry before deciding whether another coat is needed.
4. Work dark wax into the details
Apply dark wax over the painted surface, working in small sections because wax can dry quickly. A wax brush can help reach grooves and shaped details. Brush the wax into those areas, then smooth it out so the finish looks even rather than heavily patchy.
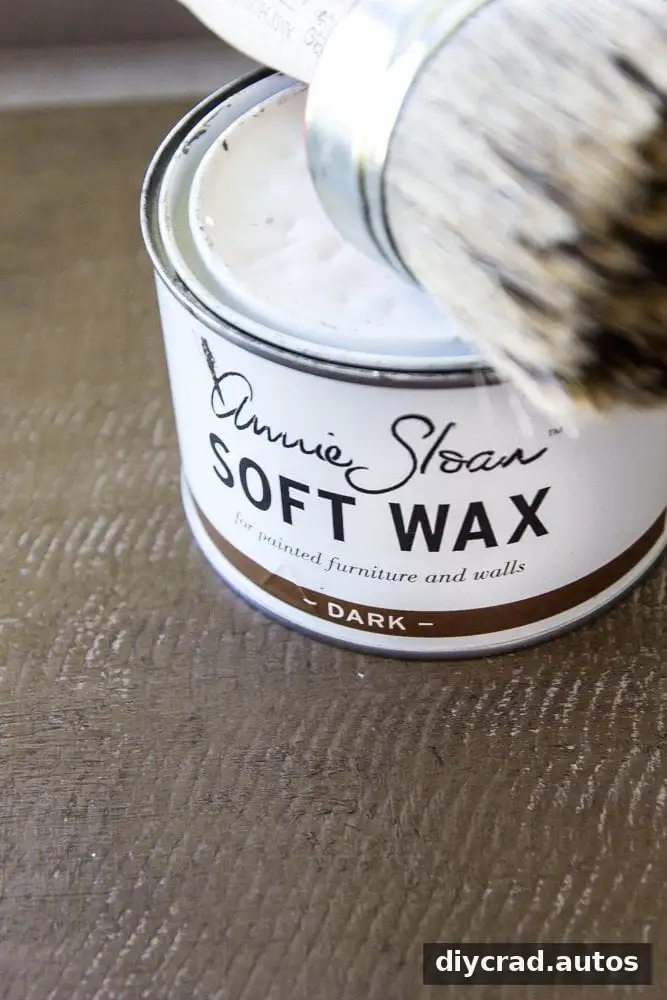
Dark wax applied directly over chalk paint can appear darker than it would over a clear-wax layer. For that reason, begin with a modest amount in a test area and check the color before treating the entire piece. Add more gradually if you want a deeper aged effect.
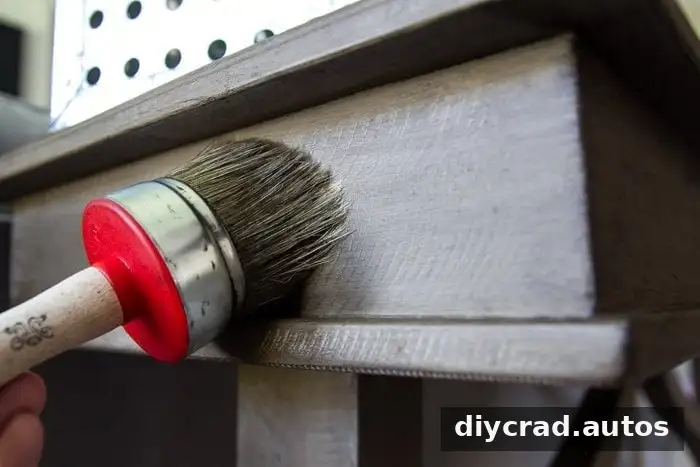
Take your time around corners, edges, and carved sections, where wax may collect. Follow the wax manufacturer’s instructions for application, drying, and curing, and allow the finish to set before placing objects on the furniture.
Check the finish and style the piece
Once the wax has been applied and the finish has had time to set, inspect the table in different lighting. The dark wax gives the painted surface an aged quality and highlights the furniture’s shape. In this makeover, the finished table was placed behind a couch, where it added visual interest and helped define the living area while keeping the room open to the kitchen.
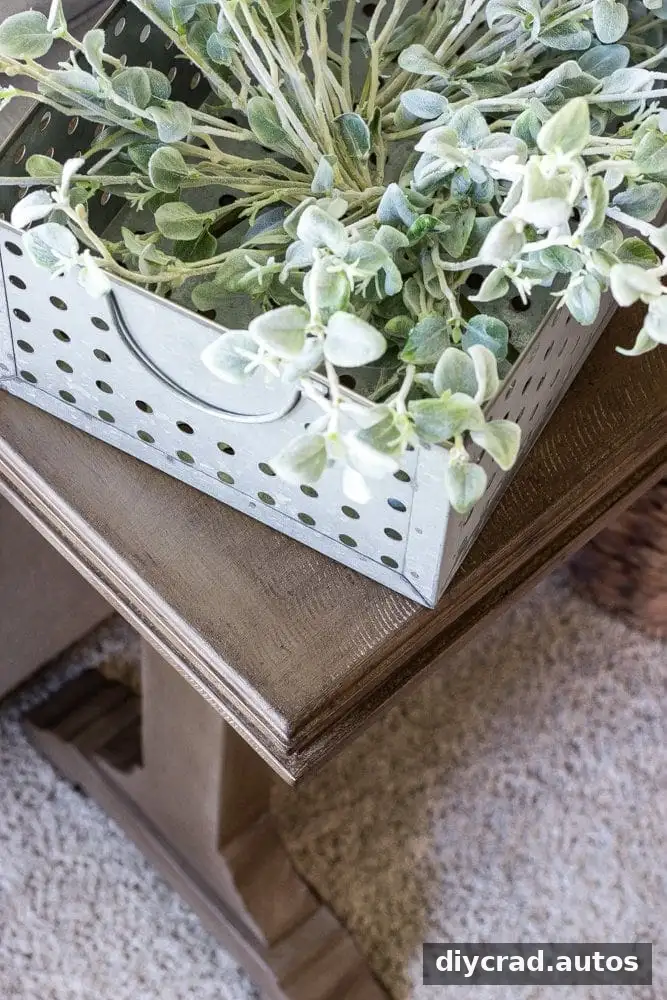
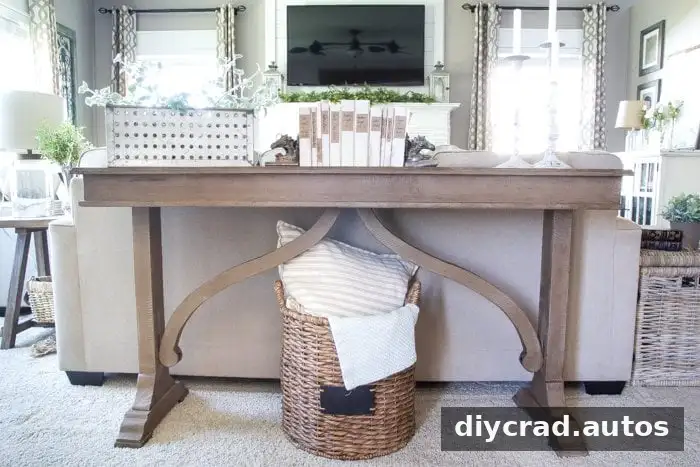
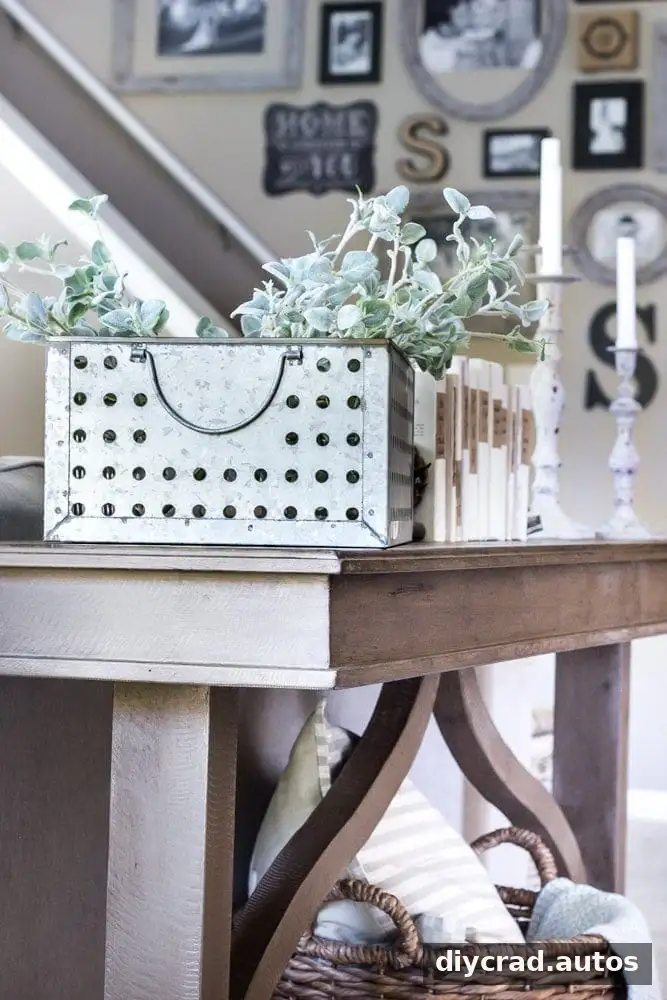
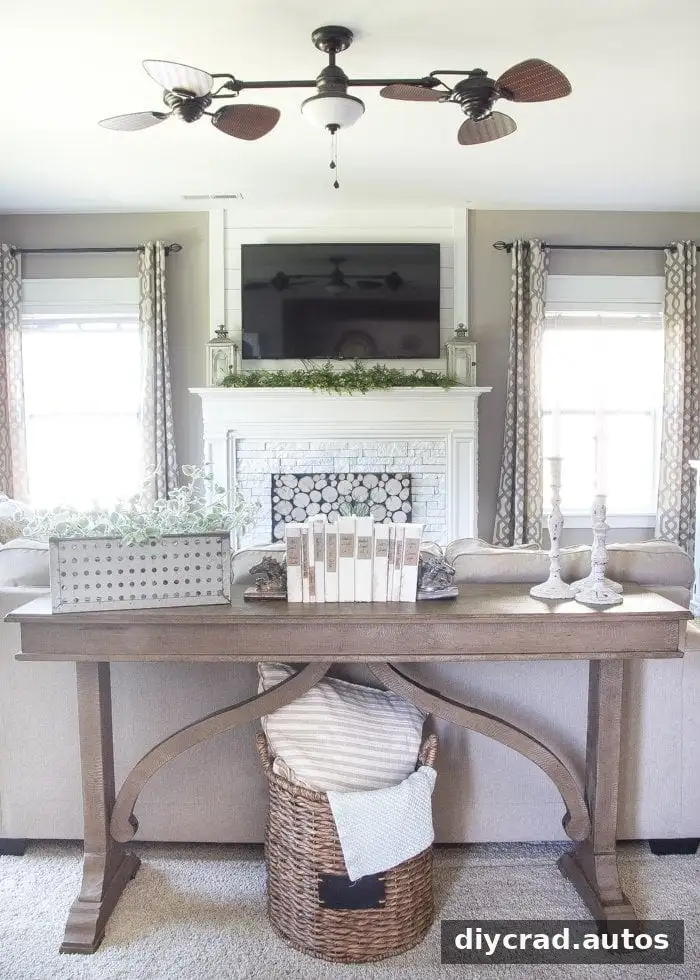
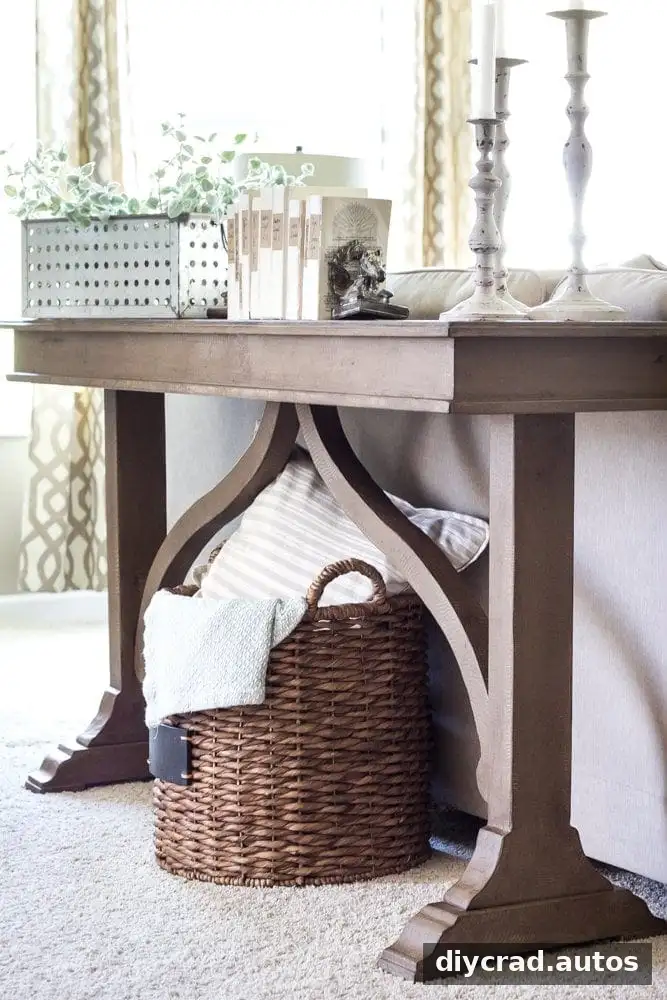
This paint-and-wax technique is useful when you want to change the appearance of furniture without spending time stripping its existing finish. Results can vary with the original surface, paint coverage, and amount of wax, so a small test patch is a practical first step. For a lighter aged effect, use less dark wax; for more pronounced depth, apply it carefully in the grooves and details.
Conclusion: create a weathered wood look with paint
A weathered wood look with paint is achievable with a few basic materials: chalk paint, dark wax, brushes, and fine-grit sandpaper. Apply one or two coats of paint, lightly smooth the dry surface between coats, and finish with wax in manageable sections. Testing the color first and following product instructions can help you get a more controlled, durable-looking furniture finish.