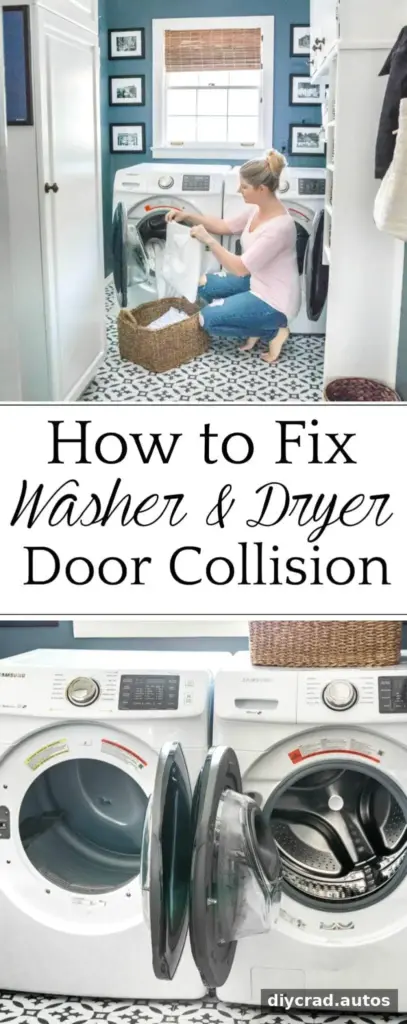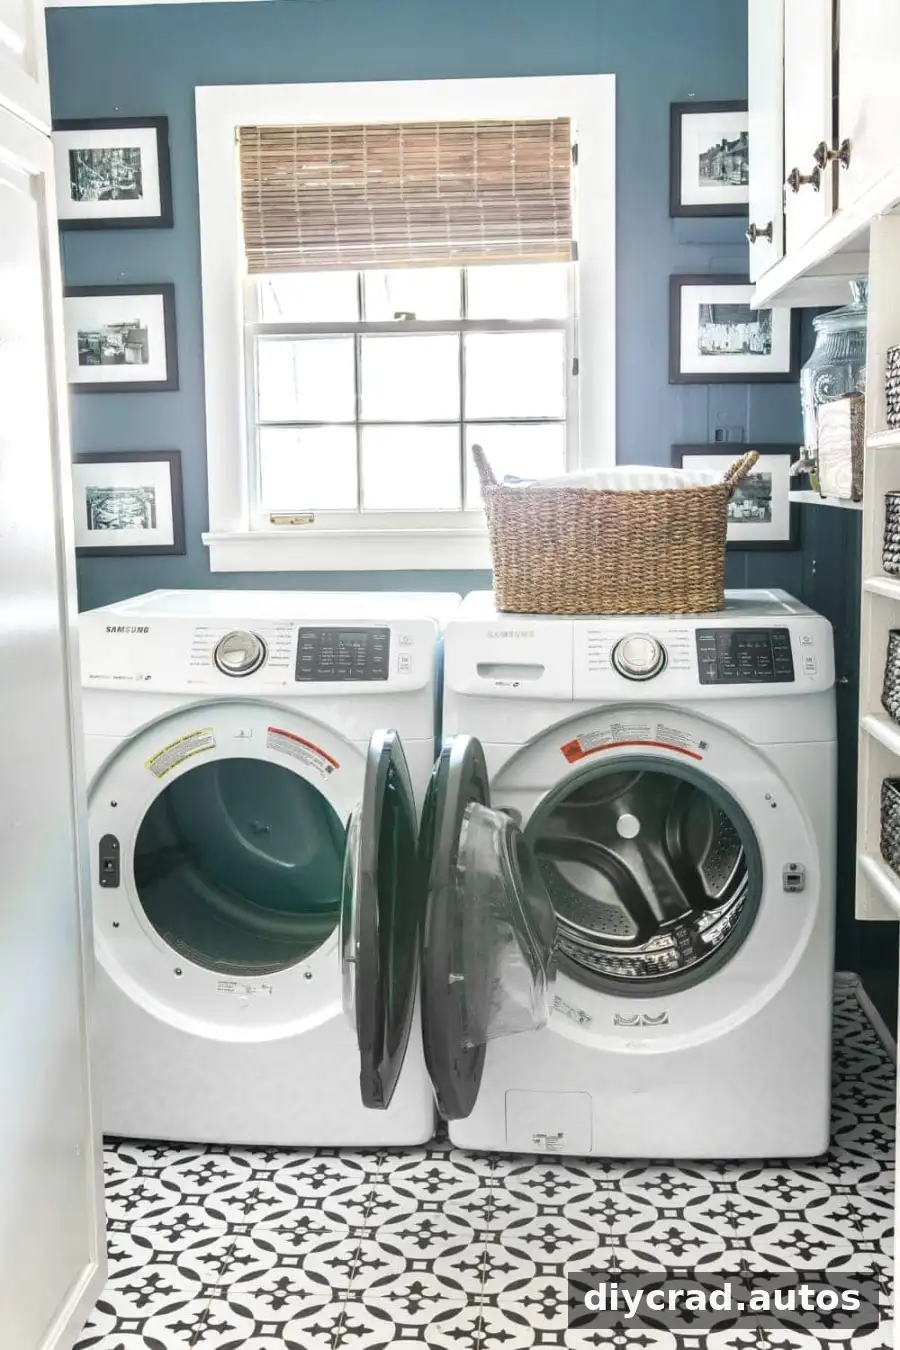
When washer and dryer doors swing into each other, moving the appliances may be a simpler solution than changing the door hinges. In some laundry rooms, you can cross washer and dryer connections by swapping the machines’ positions and carefully routing the hoses and dryer vent to suit the new layout. Before starting, check that both appliances can safely reach their hookups and that the new arrangement follows the manufacturers’ instructions.
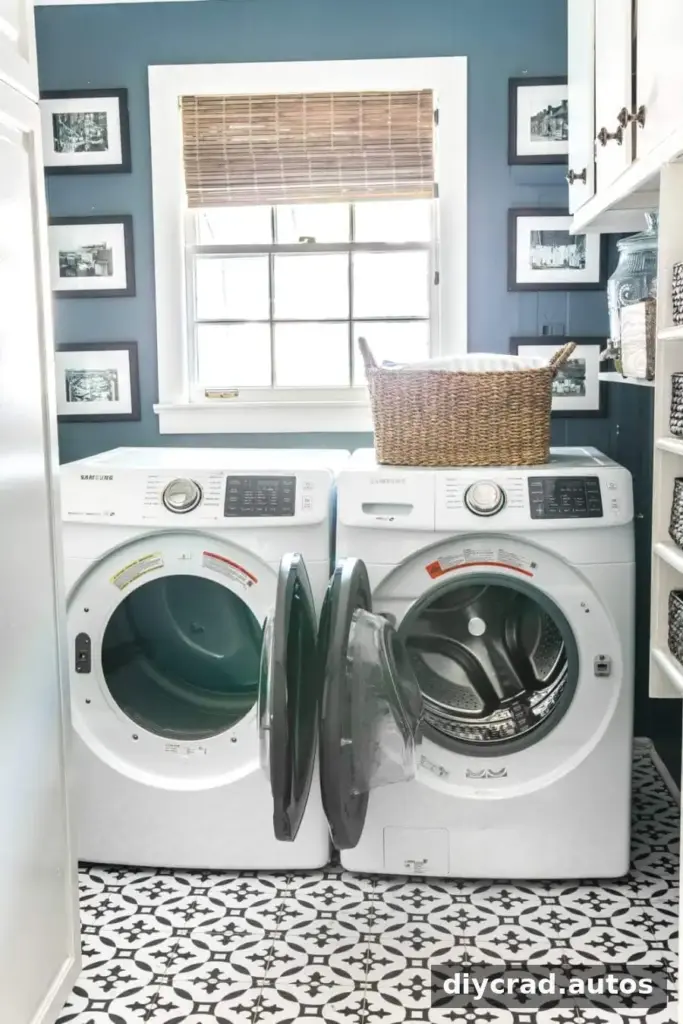
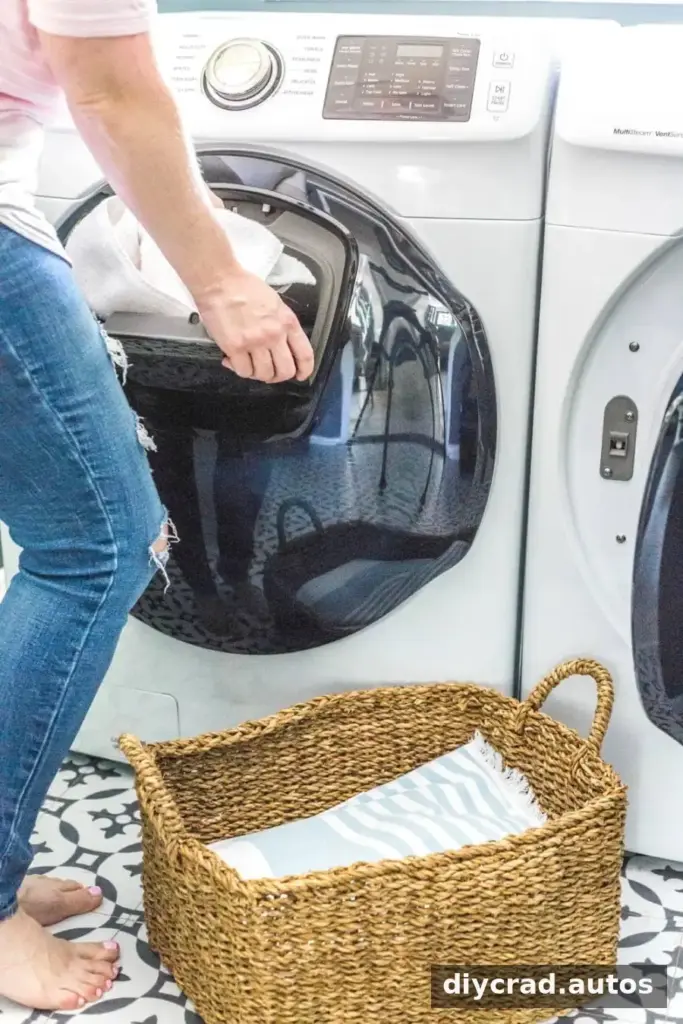
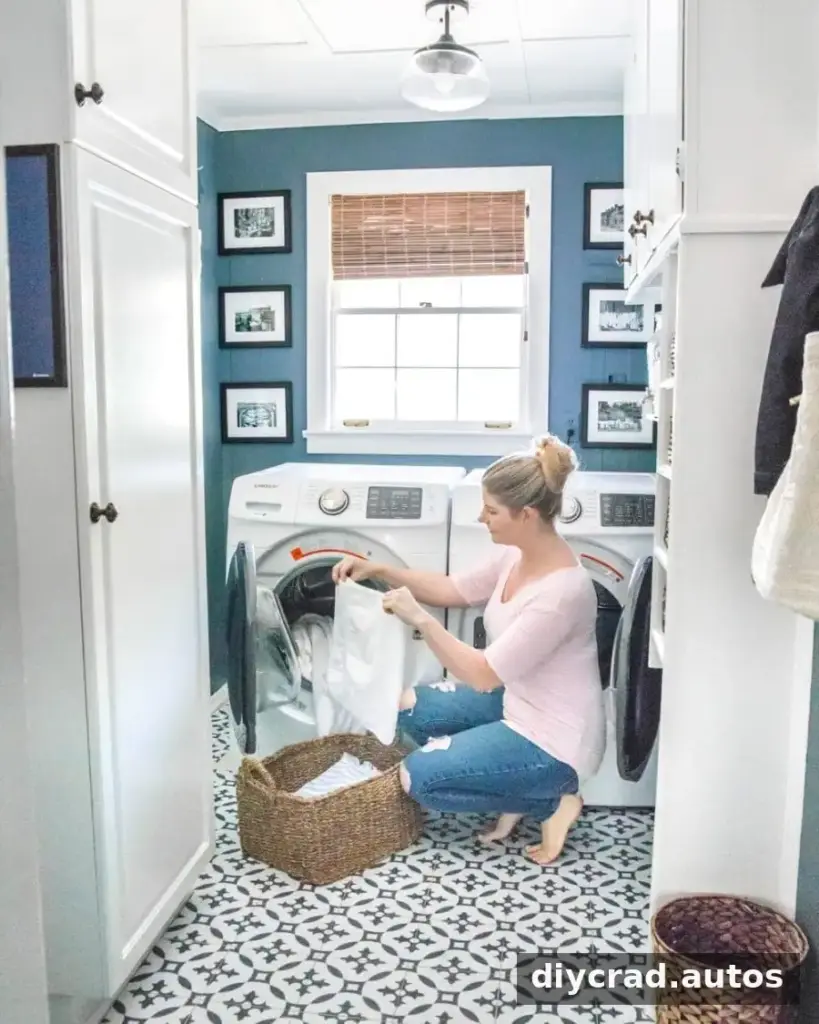
Front-load machines can be convenient because their tops provide a useful surface for folding clothes. Some washers also have a small add-item hatch for forgotten garments. If a hatch or other design feature prevents reversing a door, changing the appliance positions may help avoid repeated door collisions.
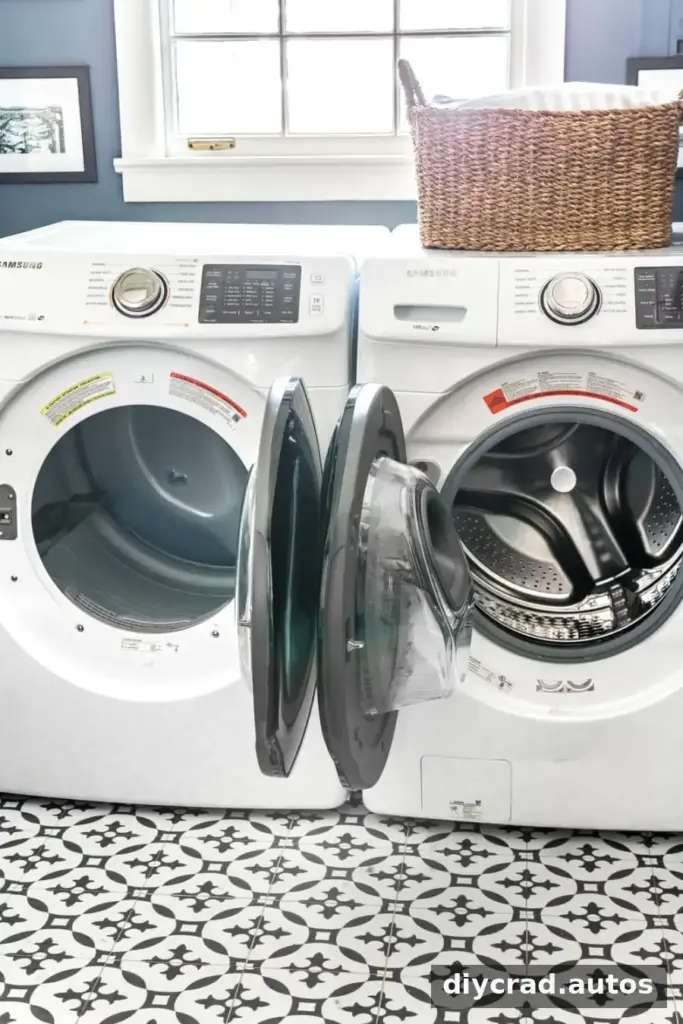
Allow enough time to move the appliances without rushing. The steps below describe a setup where the washer hoses can remain connected. Your room, appliance type, and connector locations may differ, so pause if anything is too short, strained, or difficult to reach.
How to Cross Washer and Dryer Connections
Before moving either machine, check the appliance manuals and make sure the new positions provide the required clearance. If you have a gas dryer, do not move or disconnect its gas line yourself; contact a qualified professional. For an electric dryer, switch it off and disconnect power safely before moving it. Keep the floor dry and ask someone to help with heavy appliances.
Steps for Swapping the Appliances
- Make sure both appliances are off. Confirm that neither machine is running before you begin.
- Move the dryer away from the wall. The dryer may be easier to shift than the washer, but use care and avoid pulling on its power cord or vent duct.
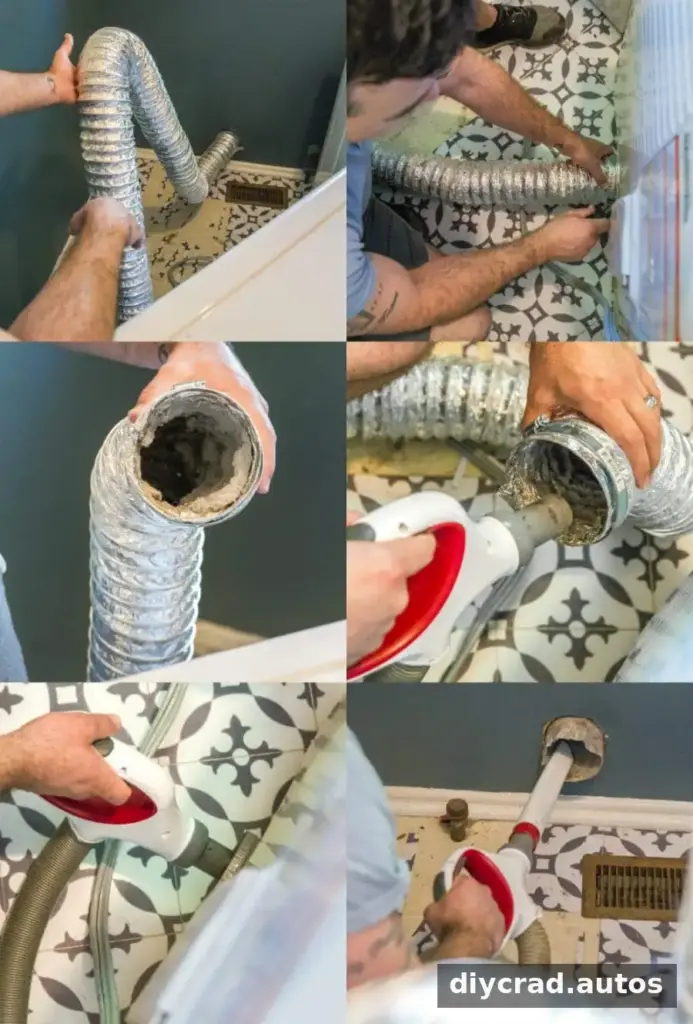
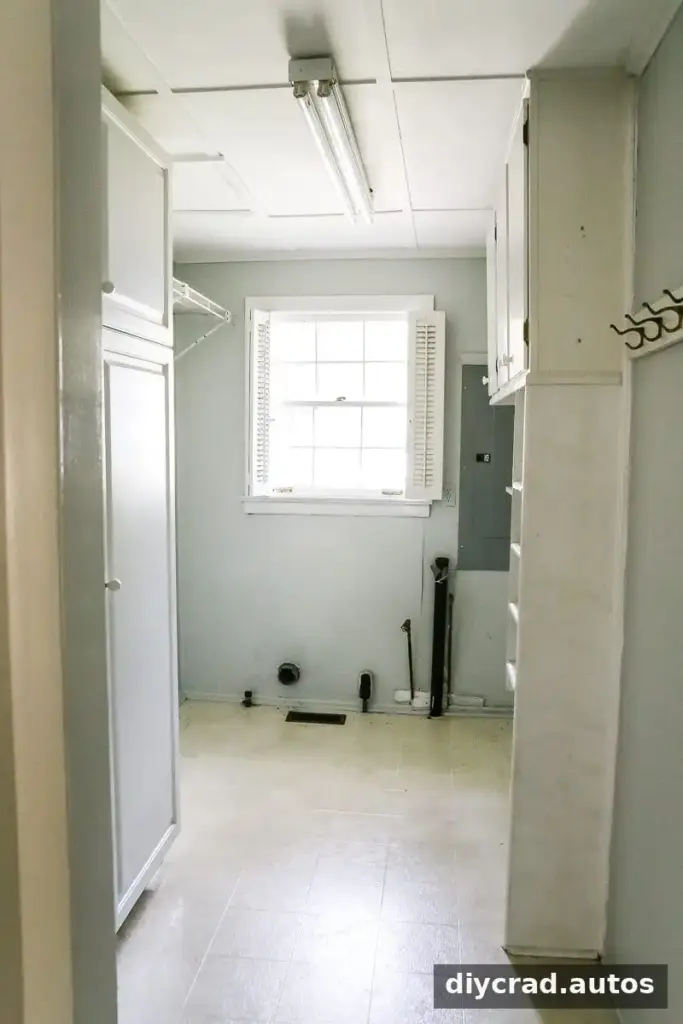
- Detach the dryer vent duct. Disconnect it from the dryer and the wall vent only if you can do so safely. A short duct may not reach the vent from the dryer’s new position; do not stretch or crush it.
- Remove lint and dust. Vacuum lint from the accessible duct, the back of the dryer, and the wall vent. Make sure the vent path is clear before reconnecting it.
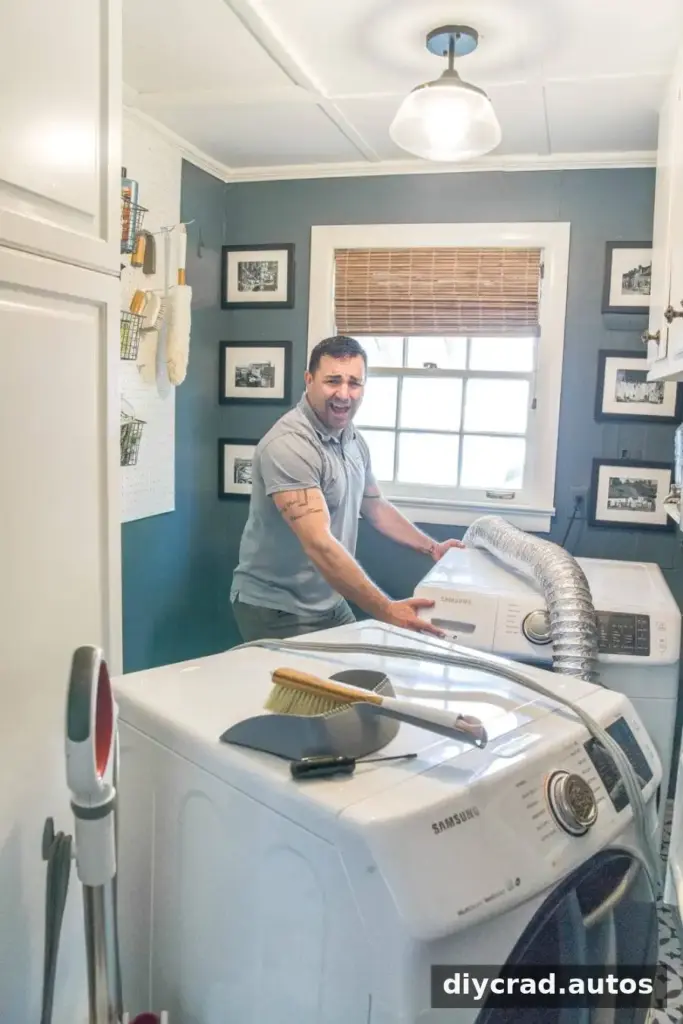
- Move the washer into the dryer’s former space. In the described arrangement, the washer hoses did not need to be detached from the wall. Do not pull the machine by its hoses, and stop if they become taut.
- Arrange the washer hoses carefully. Check that they are not kinked, pinched, or trapped behind the appliance. Smooth hose routing helps water flow and reduces strain on the connections.
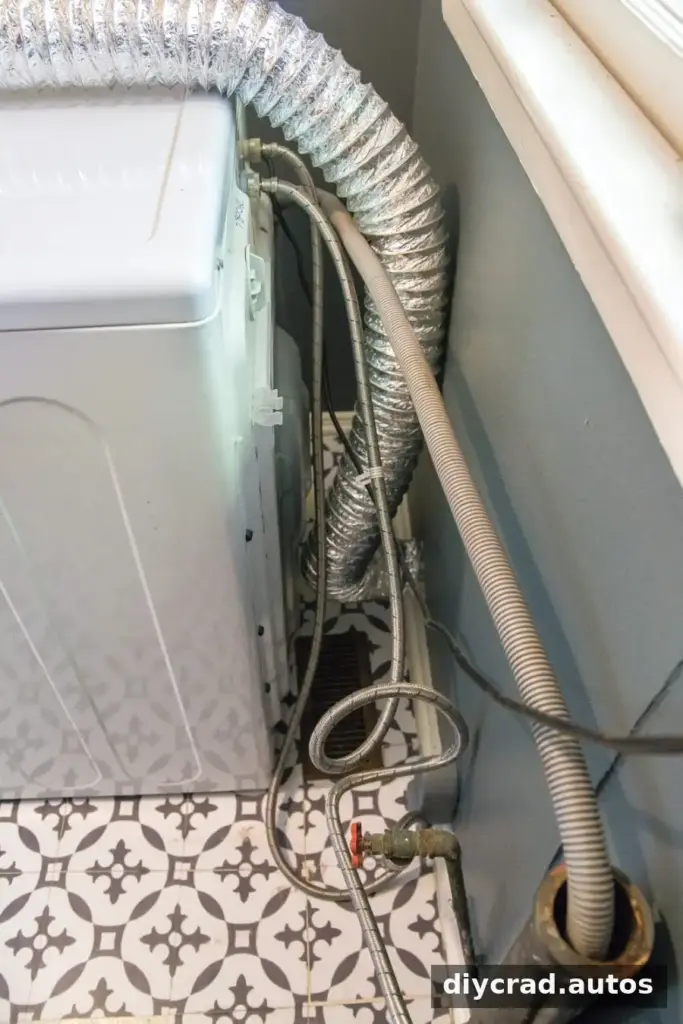
- Place the dryer in the washer’s former position. Reconnect the vent duct and check that it is secure, unobstructed, and free of sharp bends or kinks.
- Check the finished layout. Ensure that the machines sit level, doors can open without colliding, and cords, hoses, and the vent are not trapped. Once everything is connected, run a short cycle and check for leaks or unusual movement.
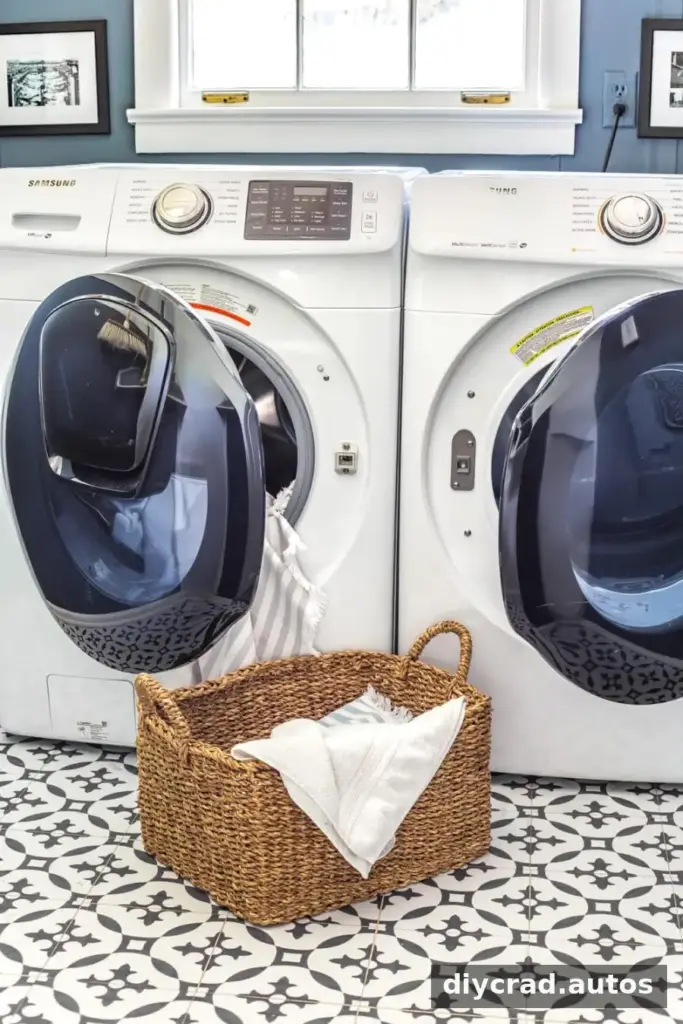
In the original setup, switching the appliance positions took about 30 minutes. The actual time can vary depending on the room, how easily the machines move, and whether the vent or hoses need attention. Do not force an appliance into place if its connections cannot reach comfortably.
Changing the layout can make transferring laundry easier while preserving features such as a washer’s add-item hatch. The key is to keep every connection safely routed and to follow the instructions for the specific appliances.
A quick dryer-vent check is also useful when working behind the machines. Regularly clearing lint from the lint filter and keeping the vent unobstructed supports proper airflow. If the duct is damaged or the vent cannot be cleaned safely, arrange professional service.
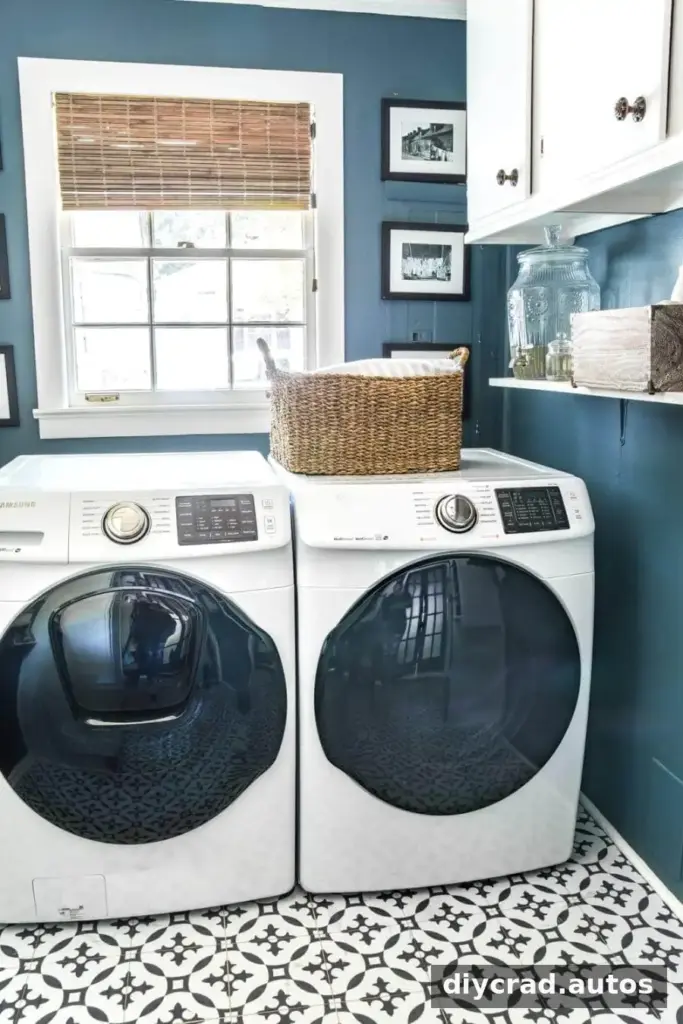
After repositioning the machines, leave enough room for routine cleaning and future access to the shutoff valves, outlet, and vent. A neat laundry area is easier to use, but safe clearance and accessible connections should come first.
Before each use, pay attention to signs that something is not right, such as a water leak, a crushed vent duct, or excessive appliance movement. Stop the machines and address the issue rather than continuing with a strained connection.
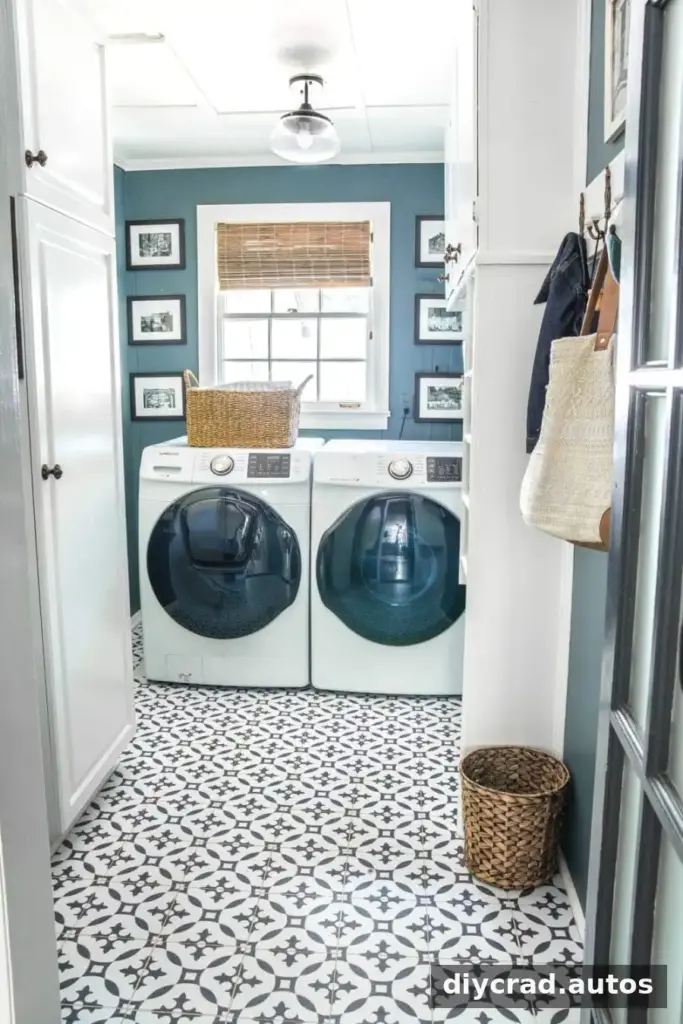
With the doors no longer competing for space, laundry transfers can be more straightforward. If your room and appliance manuals allow the arrangement, cross washer and dryer connections by swapping their positions and checking every hose and vent for safe, unrestricted routing.