

Learning how to convert closets to built-in shelves can make a small room feel more open while adding useful storage. This project reworks existing closet openings rather than removing the entire structure, then adds a finished frame, adjustable shelf supports, and custom-cut shelves. The result can suit a home office, living room, or other space where closed closets are not making the best use of the wall.
Before starting, measure the closet and plan how the shelves will be used. Books, baskets, and decorative objects may need different shelf spacing and support. Also check for electrical wiring, plumbing, and structural framing before cutting into walls or trim. If you are unsure whether any part of the opening is load-bearing, consult a qualified professional before making changes.
How to Convert Closets to Built-In Shelves
The steps below describe a project that reuses the existing closet structure. The exact dimensions will depend on your opening, so measure each closet individually rather than assuming two openings are identical.
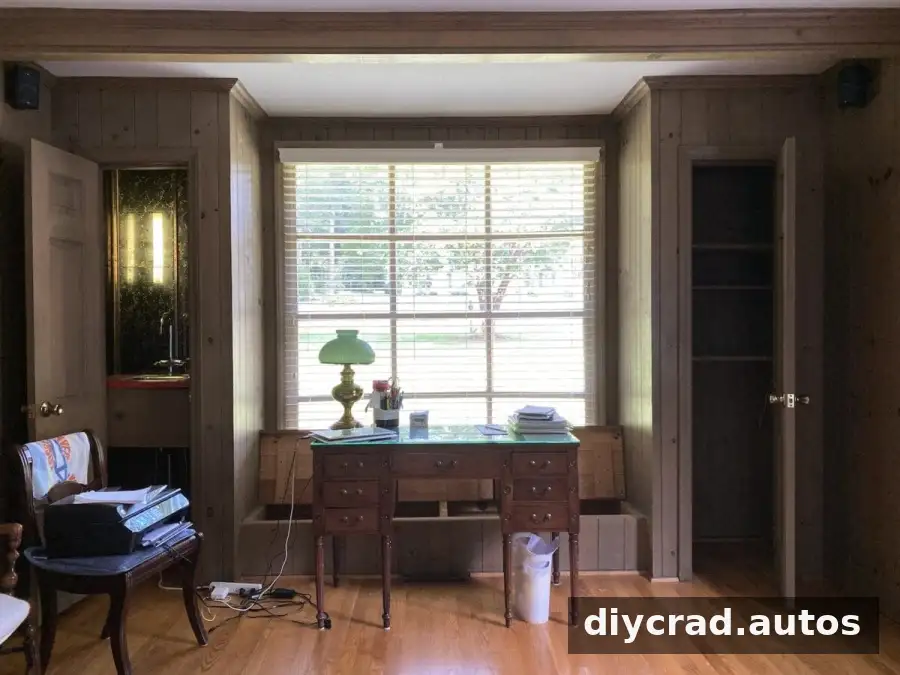
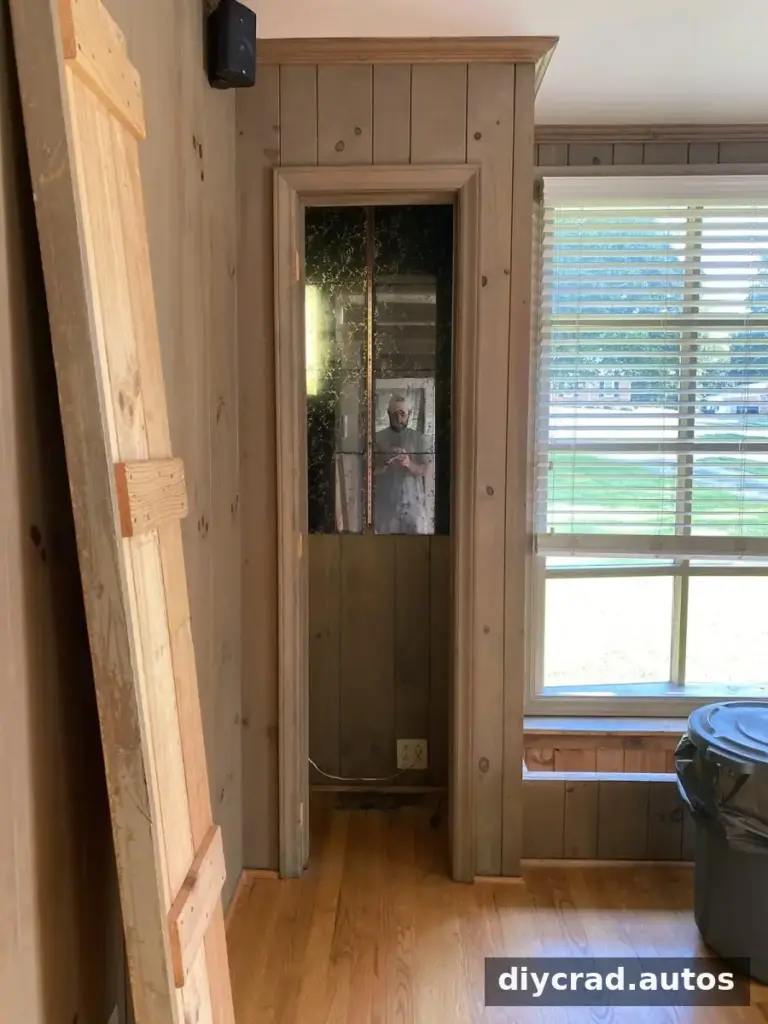
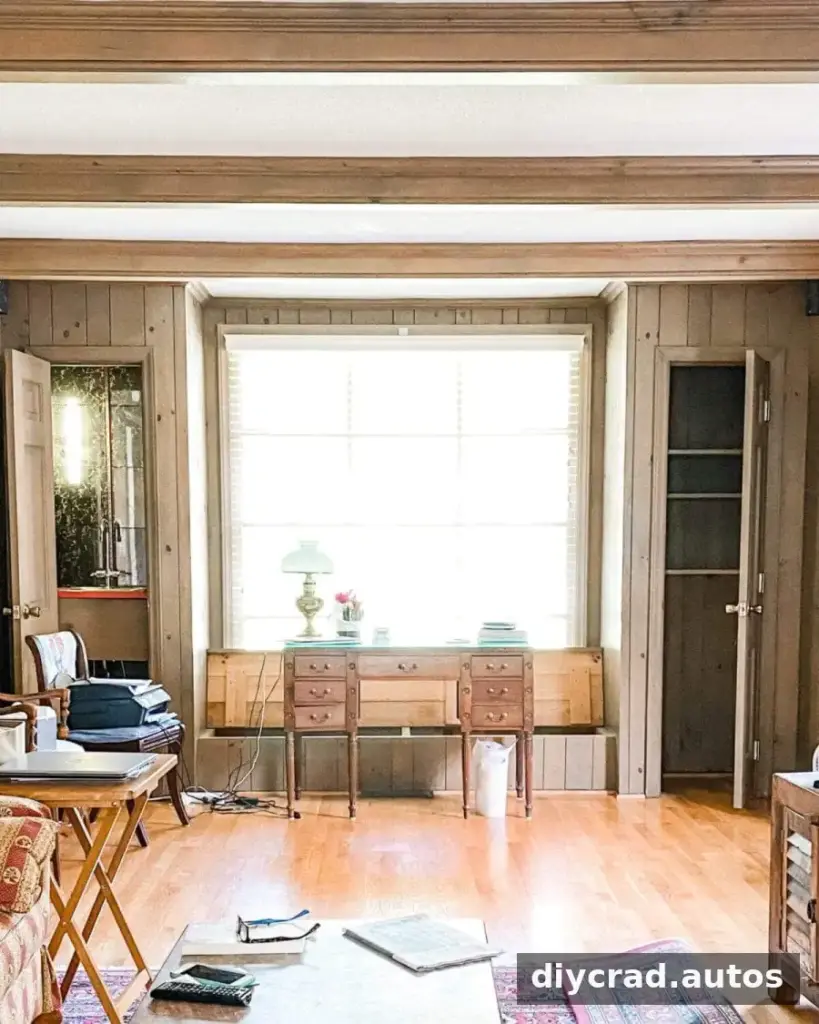
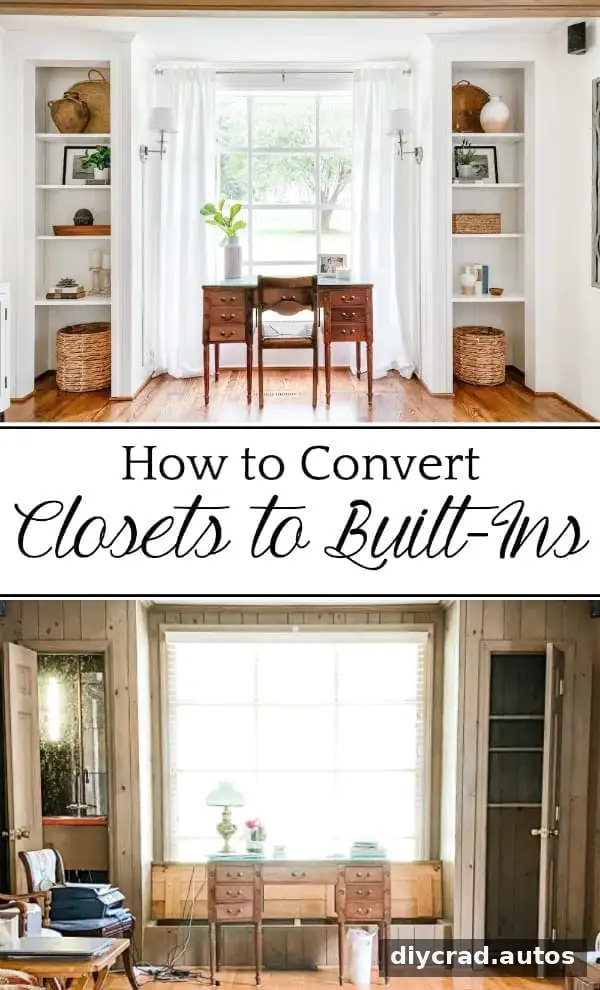
The original room included narrow closet doors and a 1960s wet bar in one closet. Retaining the closet structure and widening the finished opening offered an alternative to removing everything and starting from scratch.
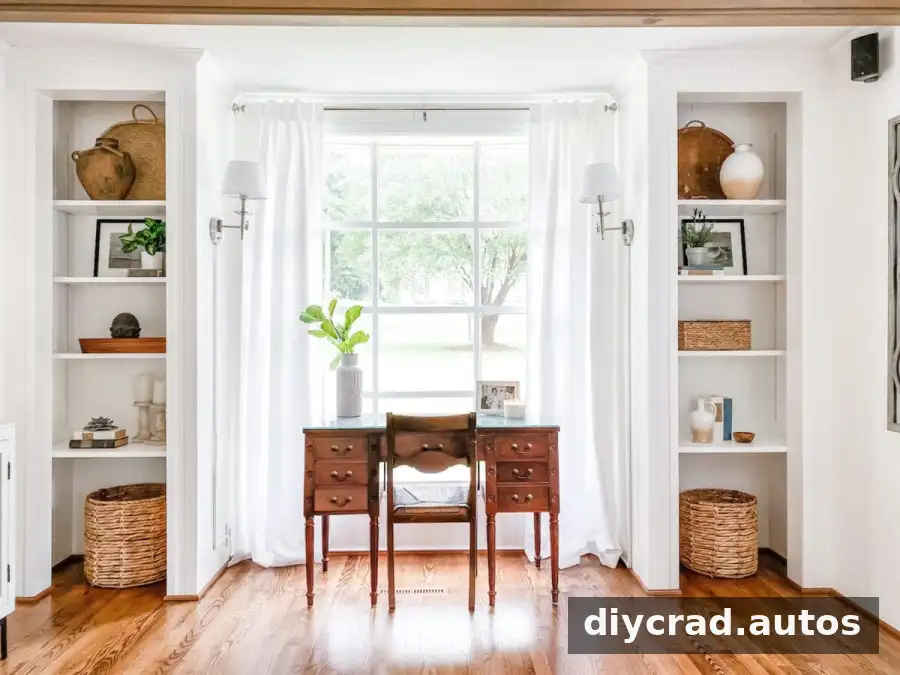
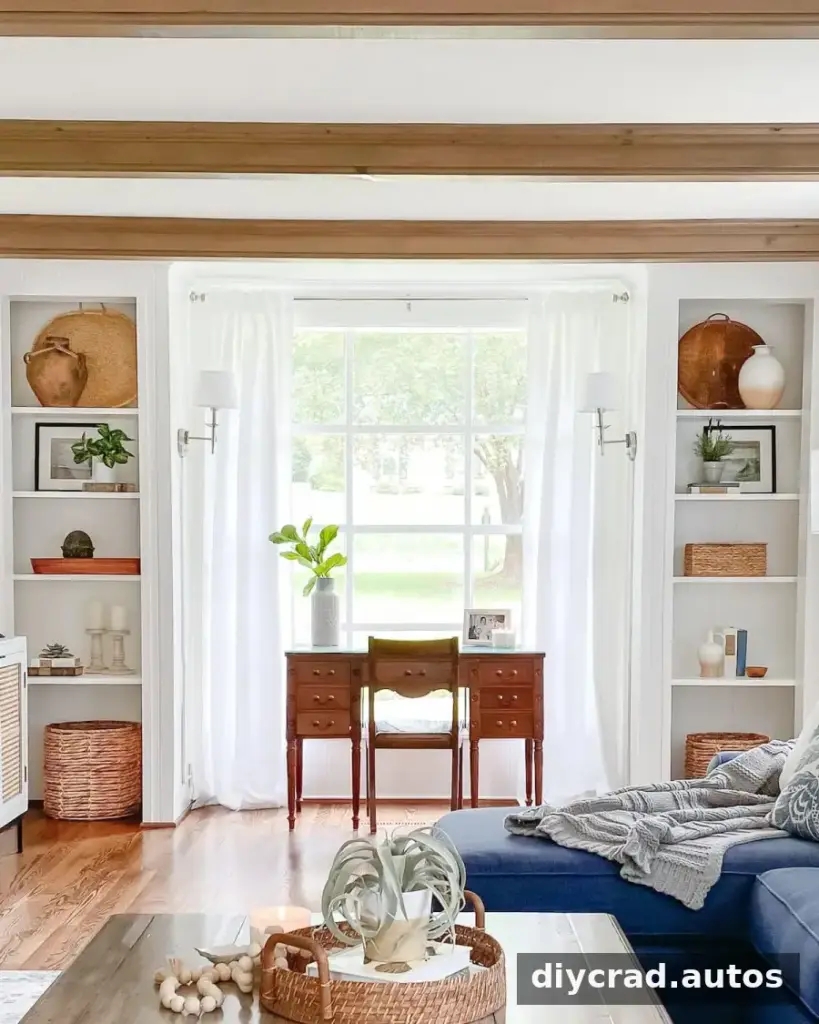
After the conversion, the openings can function as built-in shelving areas. Plan the finished width and height first, and remember that the trim and frame will reduce the usable interior space slightly.
Tools and Materials
- Circular saw with a clean, fine-cut wood blade
- Oscillating multi-tool
- Cordless finishing nailer
- Mouse sander
- Framing level
- Pencil and tape measure
- 2-inch finishing nails
- 3 pre-primed 1-inch × 6-inch × 8-foot boards per closet
- 1 2-inch × 4-inch × 8-foot board per closet
- 3/4-inch MDF panel
- Wood filler and putty knife
- Caulk
- Medium-grit sanding pads
- Shims and hammer
- Pry bar
- Pilaster strips and compatible brackets
- Saw guide (optional, but helpful for straight circular-saw cuts)
Wear appropriate eye and hearing protection when cutting or sanding. Use a saw guide where possible, and follow the tool manufacturers’ safety instructions.
Prepare and Frame the Closet Opening
- Remove the closet doors. Use a hammer and pry bar to carefully take off the door frame and trim. Work gradually to limit damage to the surrounding wall.
- Use a tape measure and framing level to mark the intended opening with a pencil. Check the measurements and confirm that the planned cuts will not contact hidden wiring or plumbing.
- Cut along the marked line with a circular saw, keeping the tool stable and using a suitable blade and saw guide.
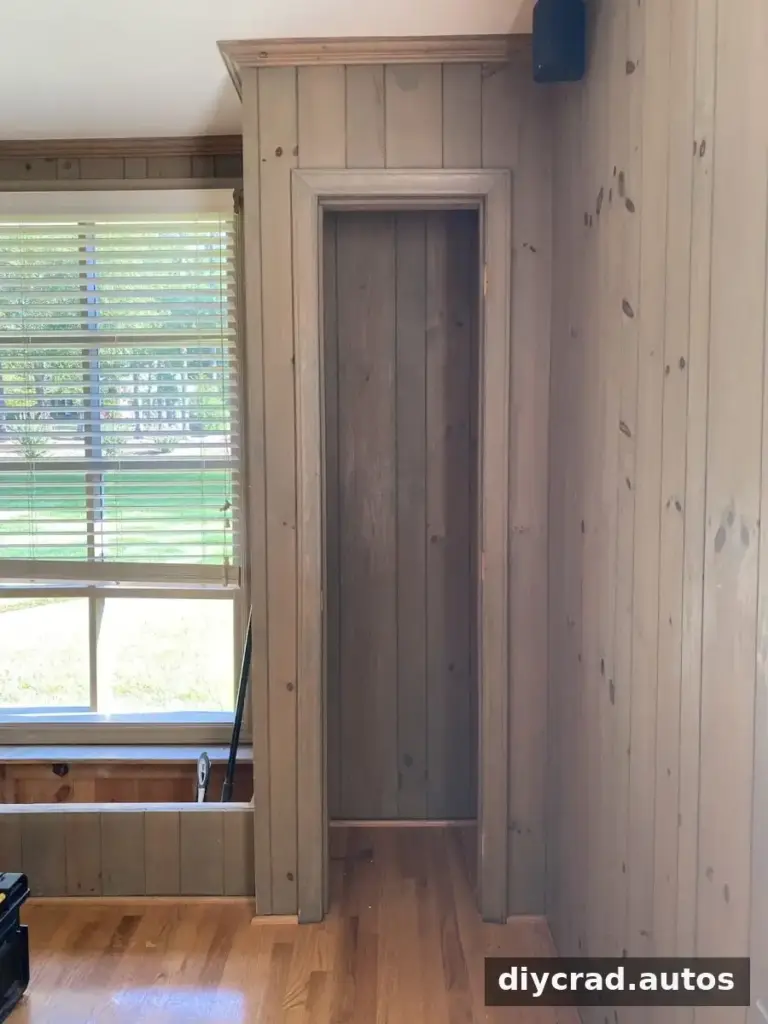
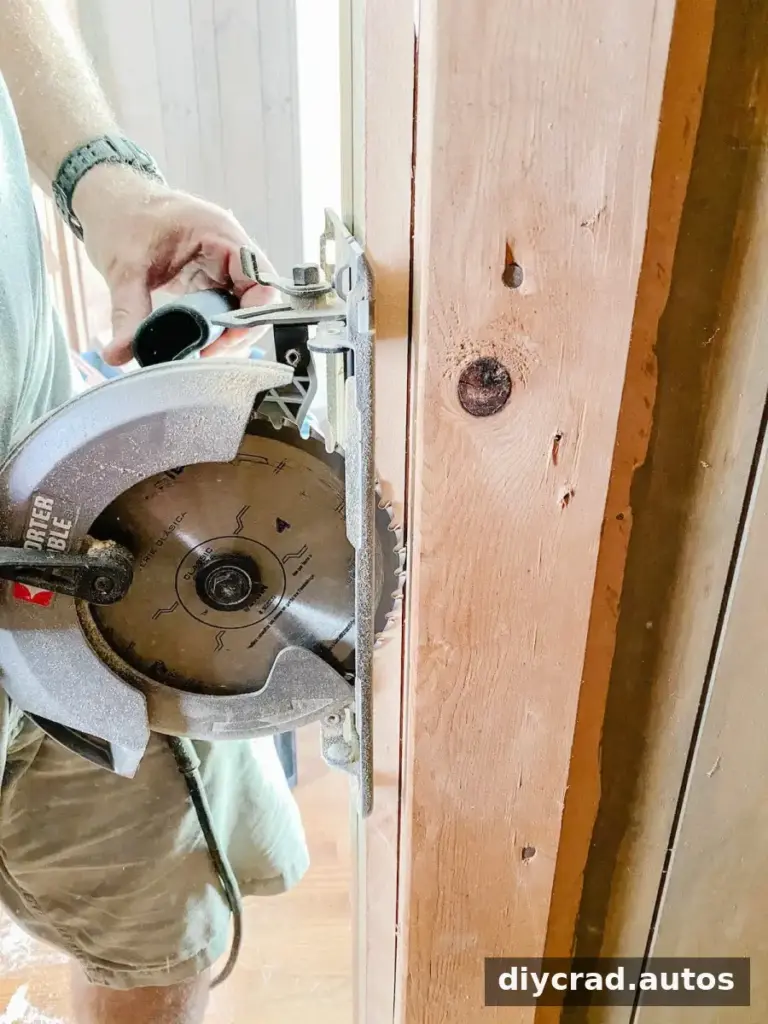
- Use an oscillating multi-tool to trim wood at corners and edges where the circular saw cannot make a clean cut.

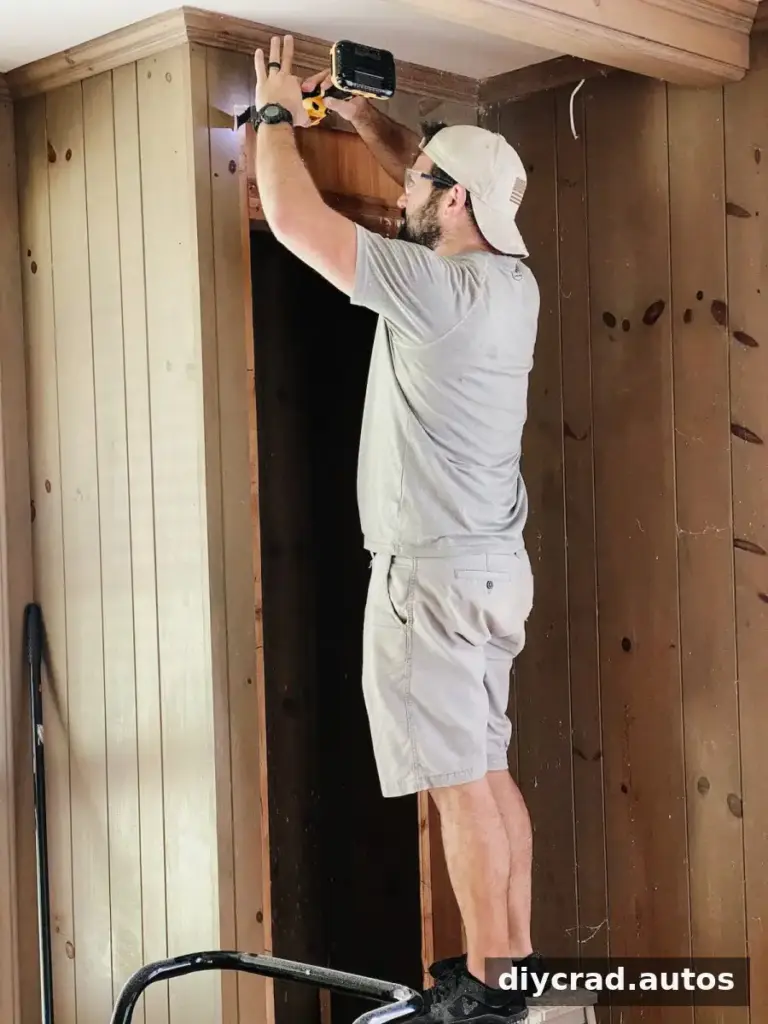
- Measure the new opening and cut a 2-inch × 4-inch board to the required length, using a saw guide for a straight cut.
- Position the 2×4 flush with the top of the opening and nail it in place to form the new header. Do not assume this piece is suitable to carry structural loads; get professional guidance if the wall or opening may be structural.
- Cut a 1×6 board to the opening’s width, using the same measured dimension.
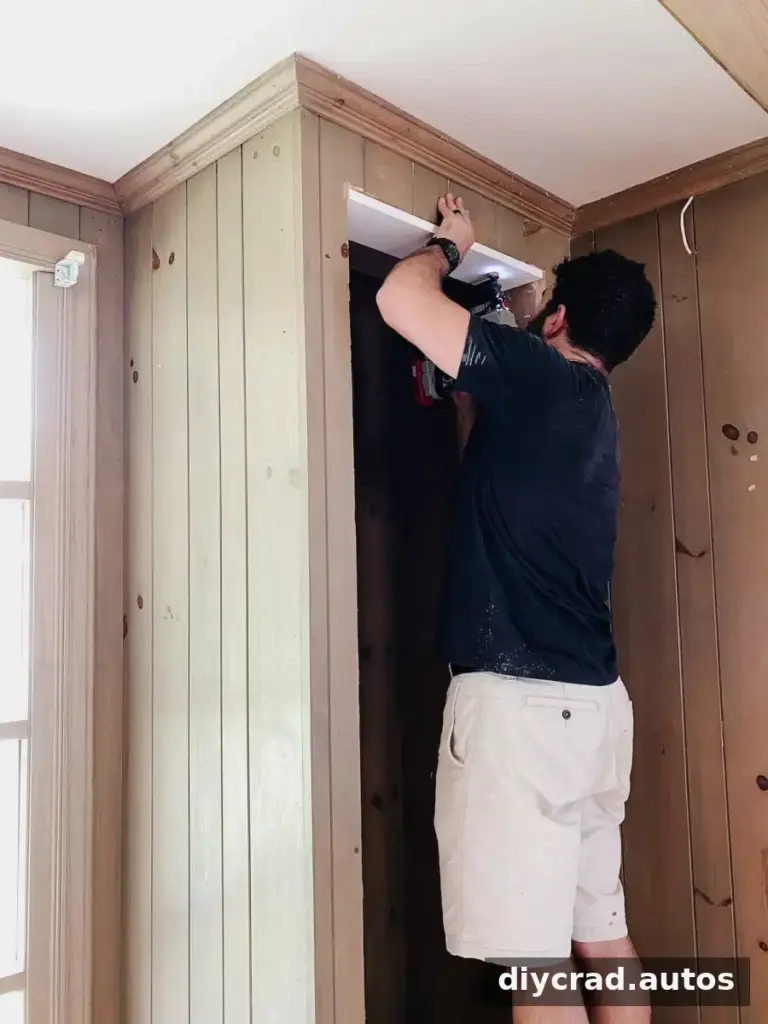
- Measure the sides of the opening and cut 1×6 boards to fit.
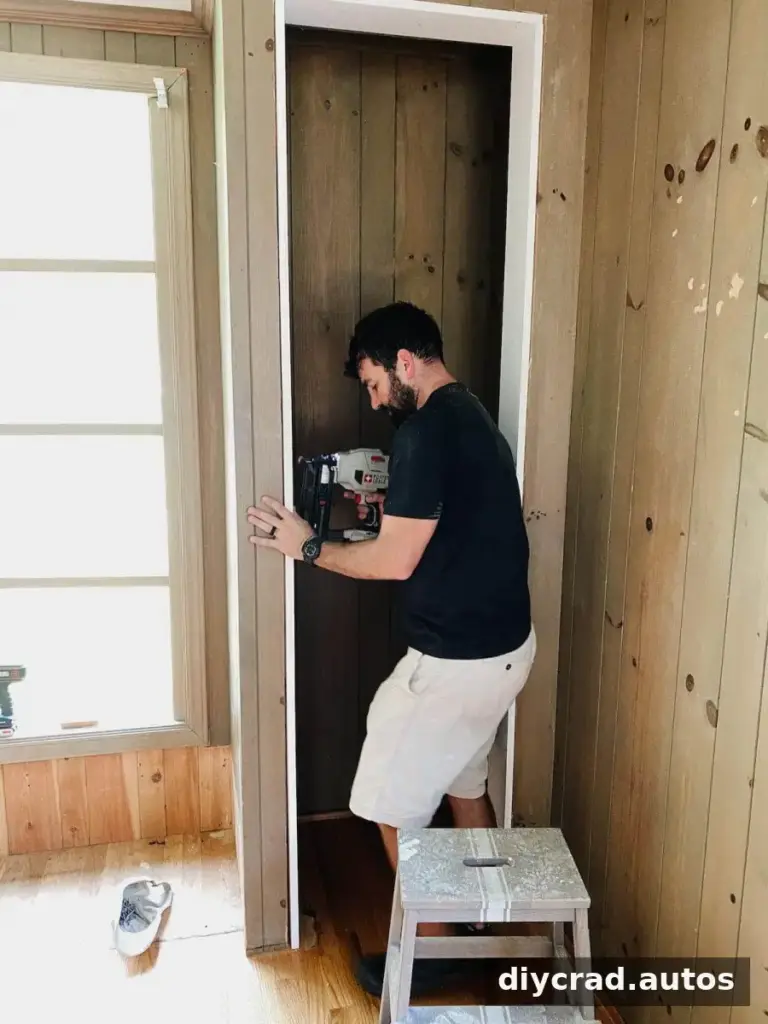
- Nail the 1×6 boards in place along the sides, checking that the frame is even and aligned.
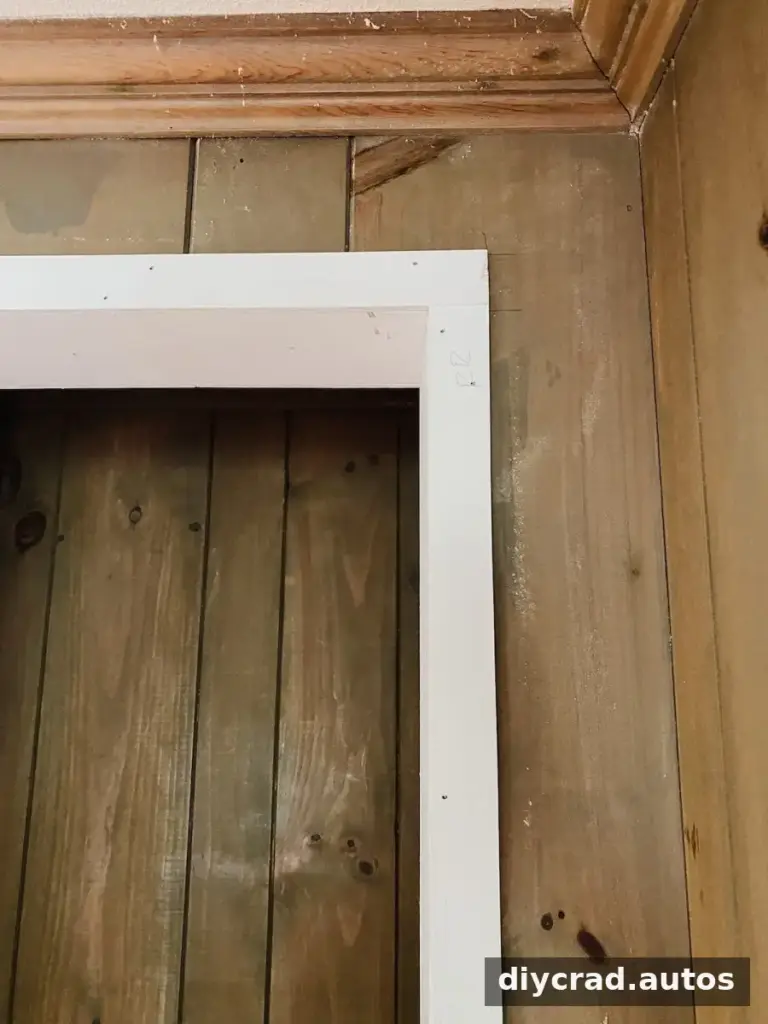
Finish the Frame and Install the Shelves
- Apply caulk along visible edges and gaps. Fill nail holes and knots with wood filler, following the product’s drying instructions.
- Once the filler is dry, sand it smooth with a mouse sander and medium-grit sandpaper. Remove dust before painting.
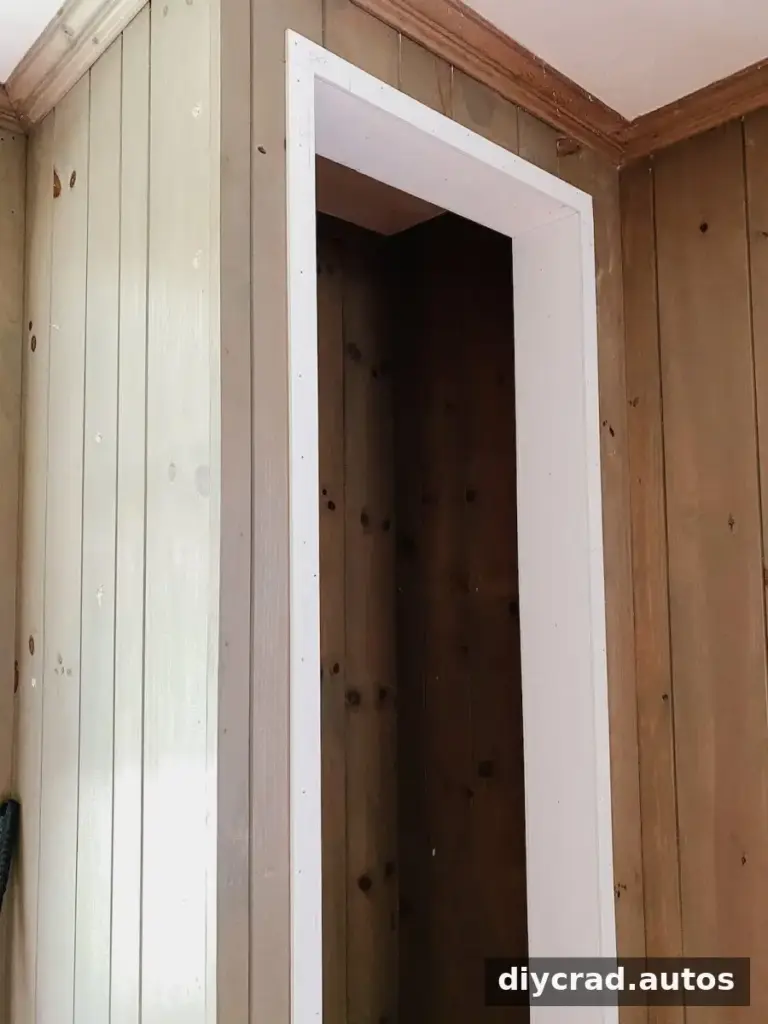
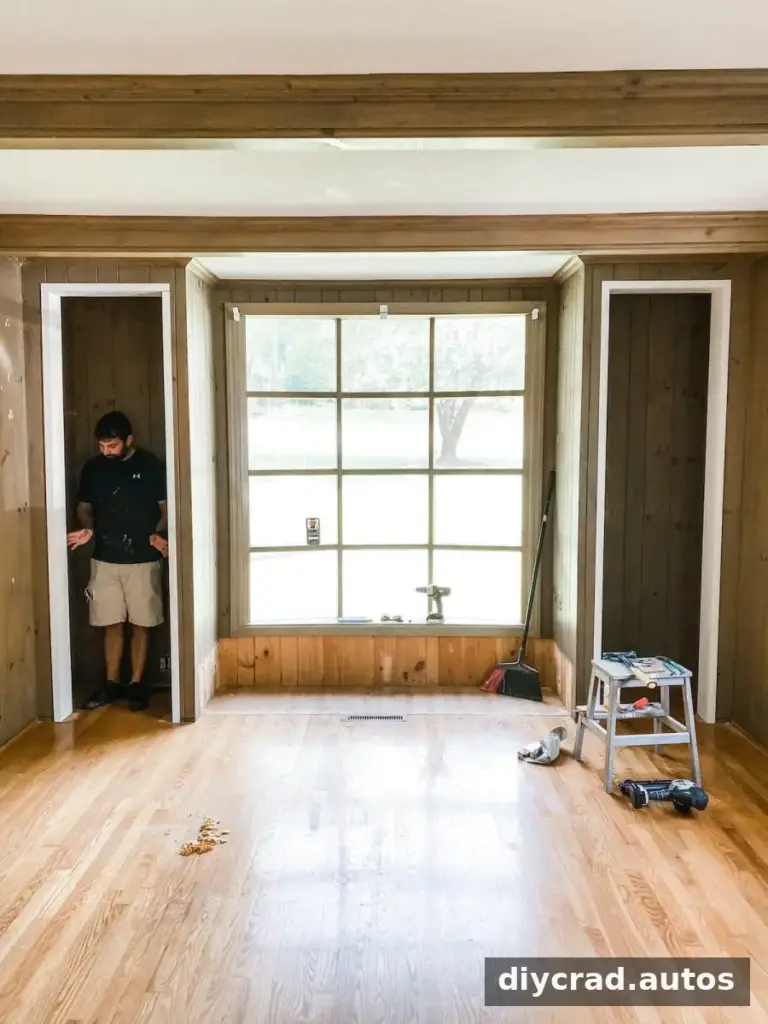
- Prime and paint the frame. The project used a satin finish in Polar Bear. Let the finish dry fully before installing shelf hardware.
- Screw pilaster strips to the closet walls and attach compatible brackets at the desired heights. Use fasteners suited to the wall material and expected shelf load.
- Measure the interior and cut 3/4-inch MDF panels to fit. Check each shelf in place before loading it; use suitable support and avoid exceeding the capacity of the brackets or shelves.
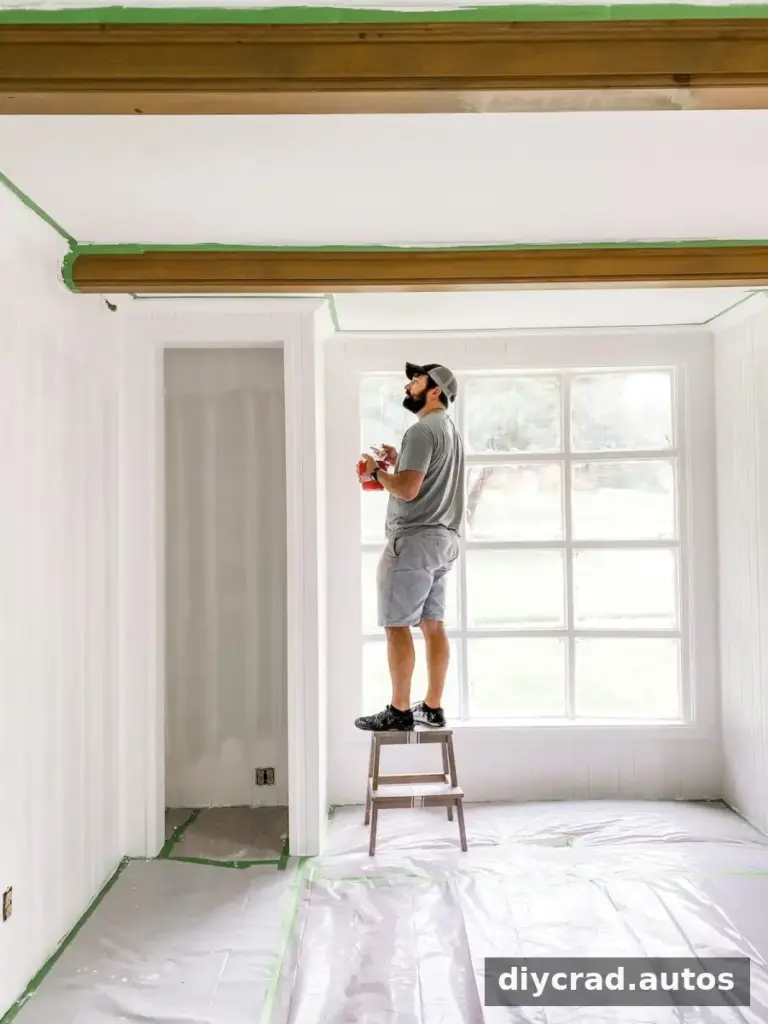
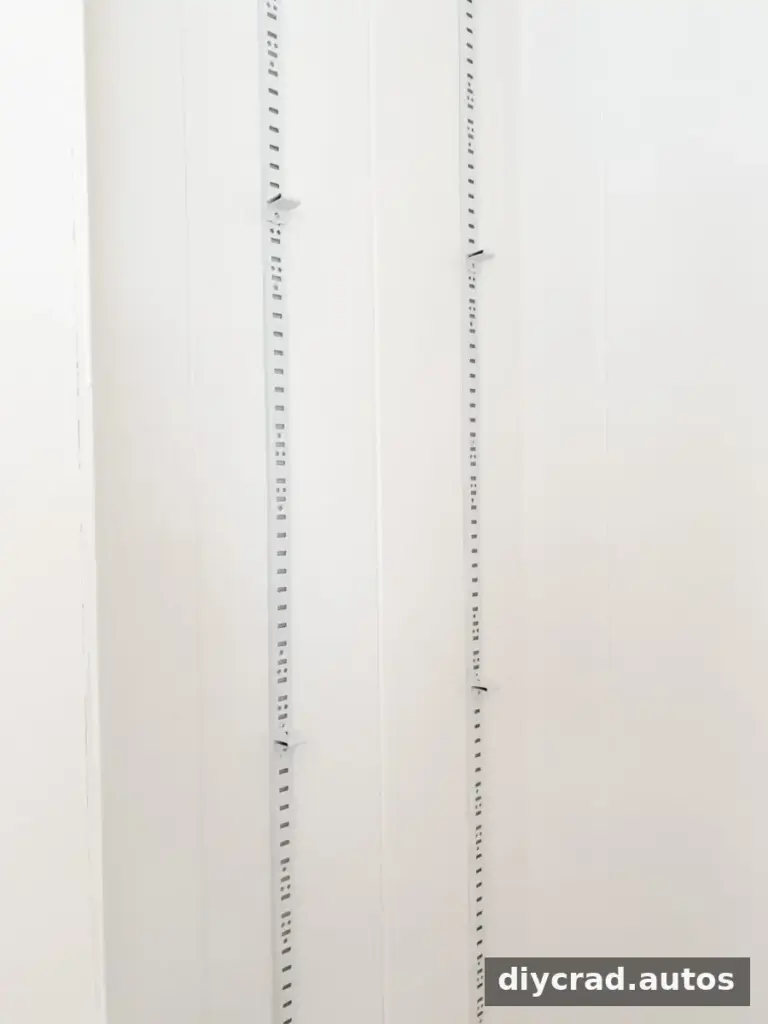
With the shelves installed, arrange items according to how the space will be used. Keep frequently accessed items within easy reach and place heavier objects on lower shelves where practical.
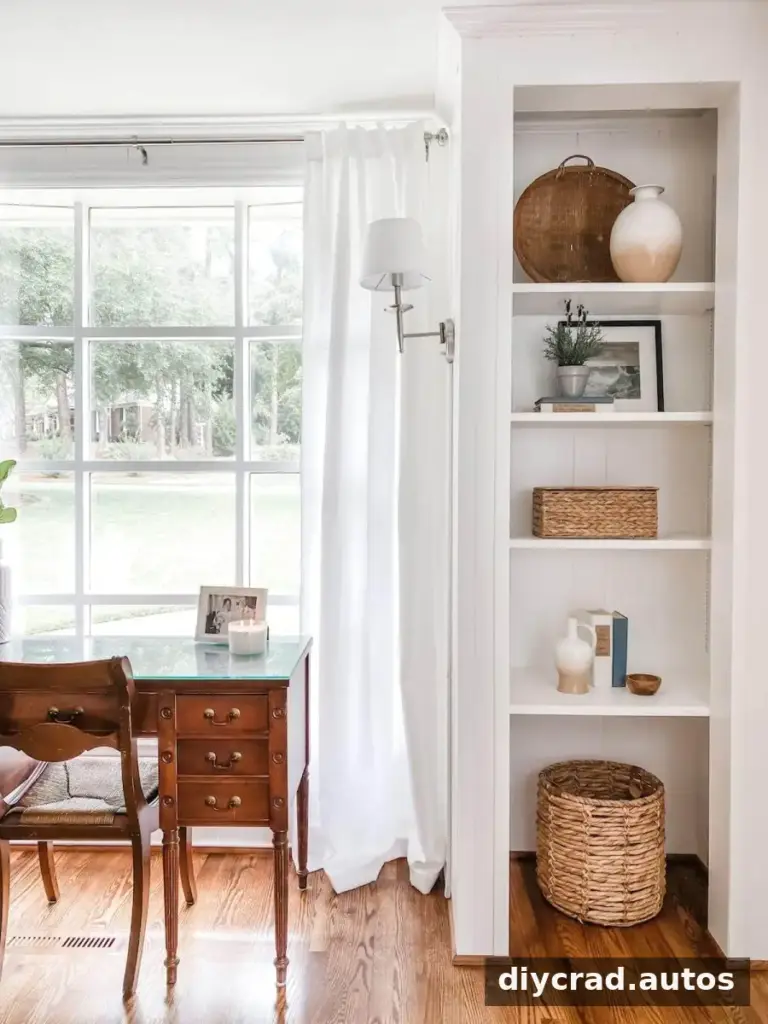
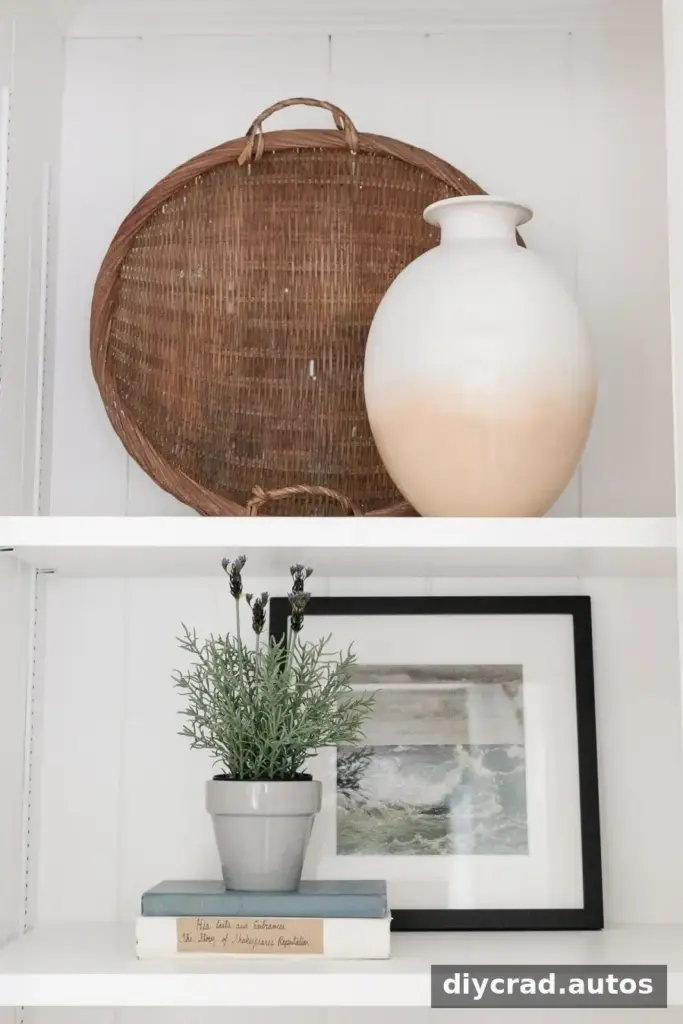
Decorative pieces, baskets, and books can add texture while keeping smaller items organized. Leave some open space so the shelves remain functional and do not feel crowded.

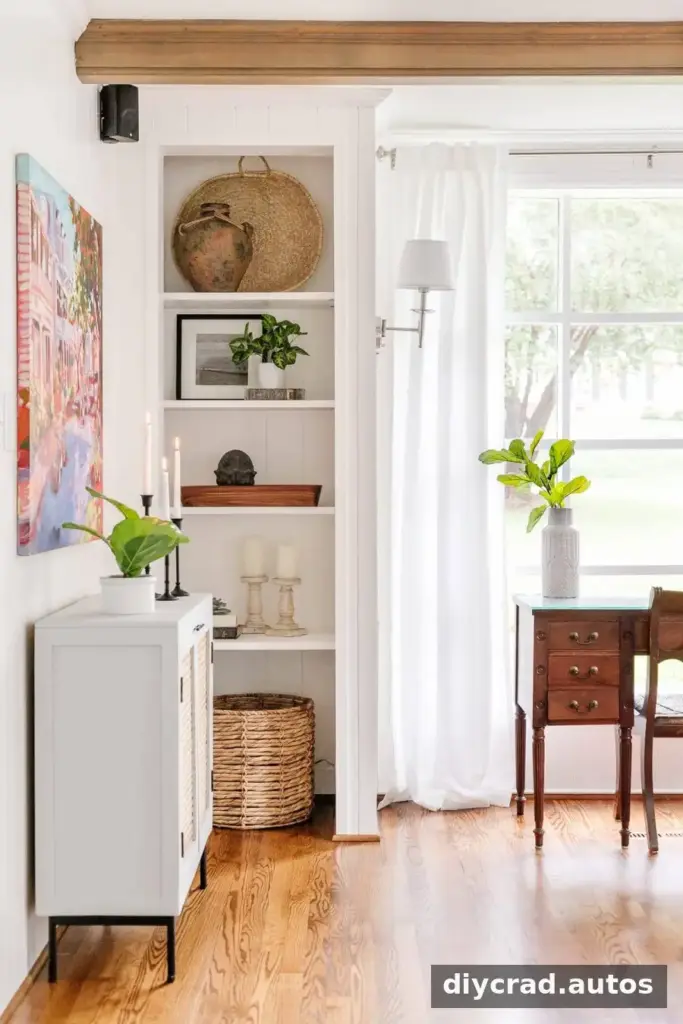
Take a moment to compare the finished shelving with the original closet layout and make any small adjustments to shelf spacing or styling.

Tips for Using Built-In Shelves
- Make deep shelves easier to use: Layer artwork behind shorter objects, group books together, and use labeled bins to keep items accessible.
- Keep the display balanced: There is no need to fill every space. A mix of open areas and stored items can make the shelving easier to navigate.
- Plan for changing needs: Adjustable pilaster strips make it possible to change shelf heights later without rebuilding the entire unit.
Frequently Asked Questions
What can you do with deep built-in shelves?
Deep shelves can hold layered displays, artwork, book stacks, and baskets. Labeled bins are useful for organizing smaller items, especially when objects stored at the back would otherwise be difficult to find. Measure the shelf depth and choose containers that can be pulled out easily.
How can you update old built-ins?
A fresh coat of paint or stain can change the appearance without replacing the whole unit. You can also simplify dated molding, update hardware, add suitable lighting, or replace cabinet doors and fronts. Before painting or changing fixtures, check that the surface is prepared correctly and that any electrical work is handled safely.
Are built-in shelves outdated?
Built-in shelves remain a practical storage option. Their appearance depends on details such as trim, finish, and styling, all of which can be updated. Choose a finish and shelf arrangement that work with the room and the items you plan to store.
Conclusion
To convert closets to built-in shelves, begin with careful measurements and a safety check, then create a clean opening, finish the frame, and install properly supported shelves. Reusing the existing closet structure can simplify the transformation, while adjustable supports make the storage easier to adapt over time.

