

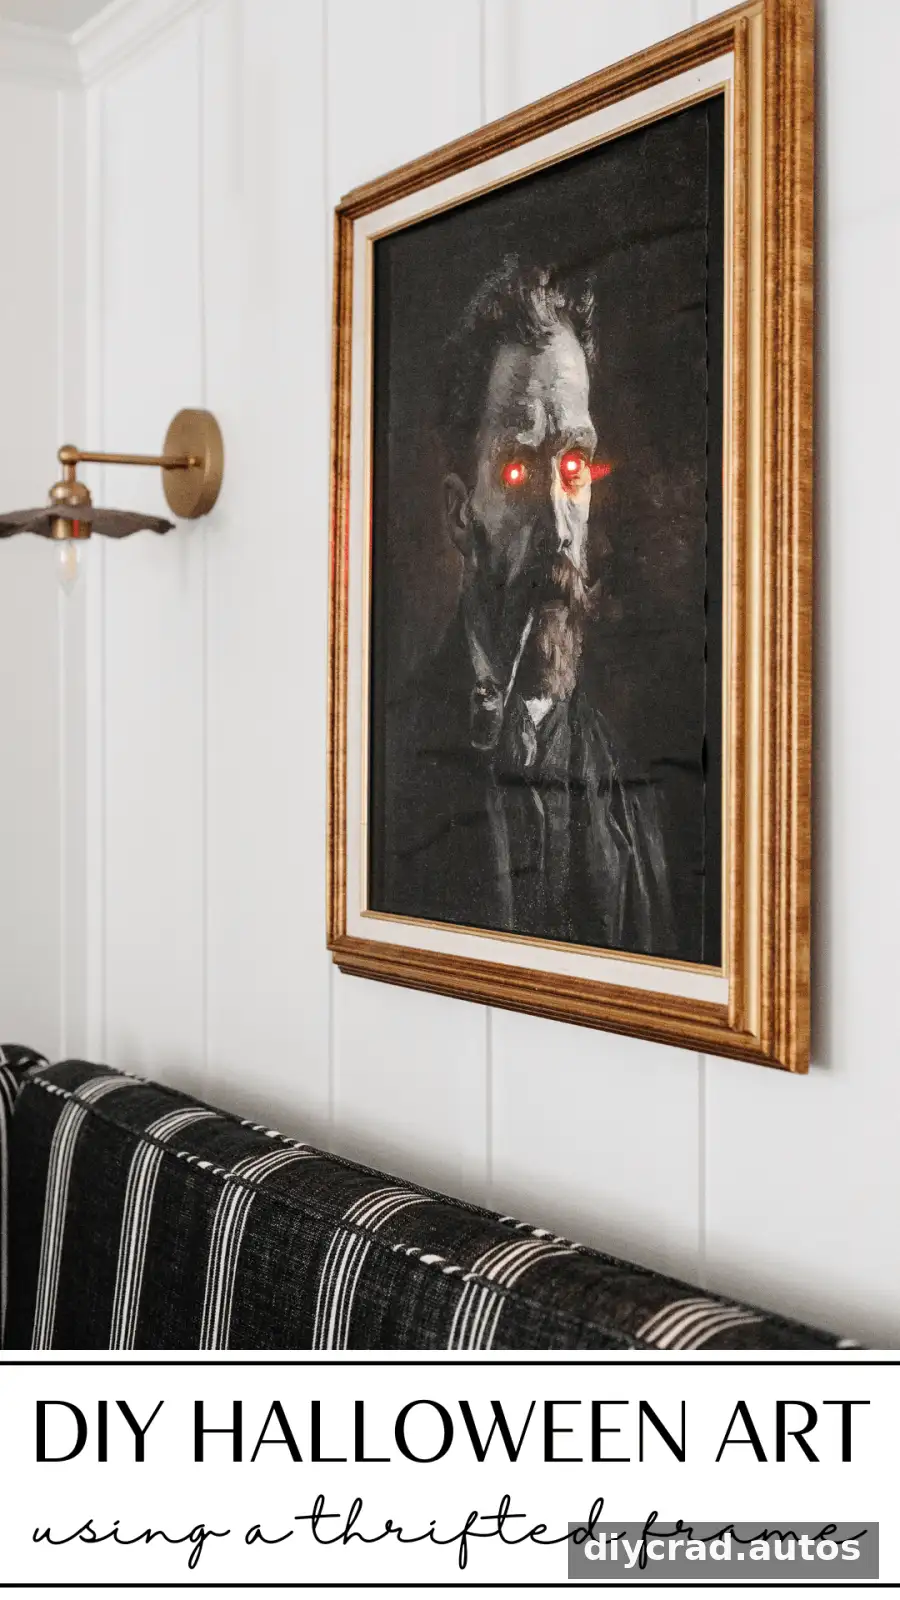
DIY creepy Halloween art can turn a secondhand picture frame into an eye-catching seasonal decoration. With a portrait print, a few basic craft materials, and small battery-powered red lights, you can create a spooky wall display for a Halloween party or an entryway. The project uses a 20×24-inch frame purchased for $5, though other frame sizes can work too.
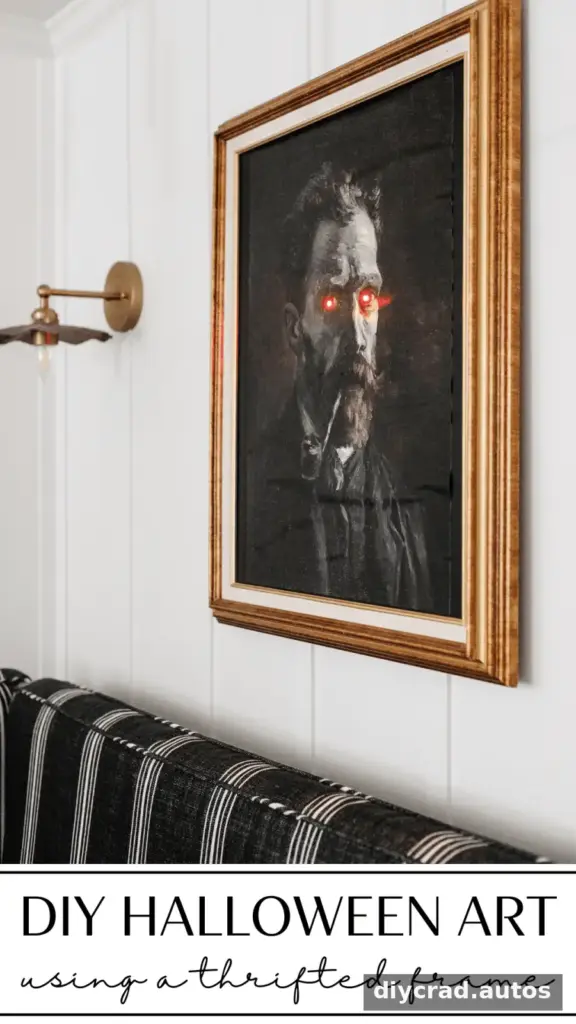
A thrifted frame does not need to be in perfect condition for this craft. Check that it is sturdy and that the print and backing can fit inside. A frame without clips or a backing can still be used, but you will need tape to secure the artwork.
The idea takes inspiration from eerie painted portraits with glowing eyes. The lights can be switched off when you want the picture to look like an ordinary portrait, making the decoration easy to reuse during the Halloween season.
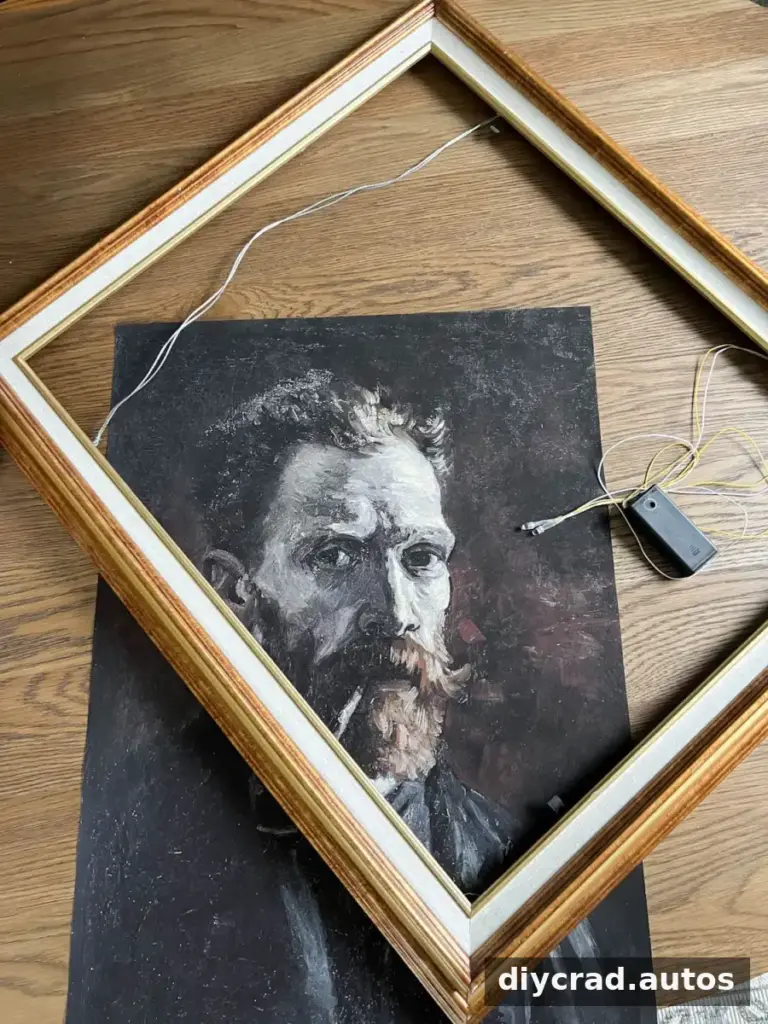
DIY Creepy Halloween Art with Glowing Eyes
Supplies
- A picture frame in any size; the example uses a 20×24-inch frame bought for $5.
- An old portrait image printed on blueprint or poster paper. The example print cost $20 using a same-day print service.
- Black foam poster board, or a piece of cardboard for the backing.
- Spray adhesive.
- A utility knife.
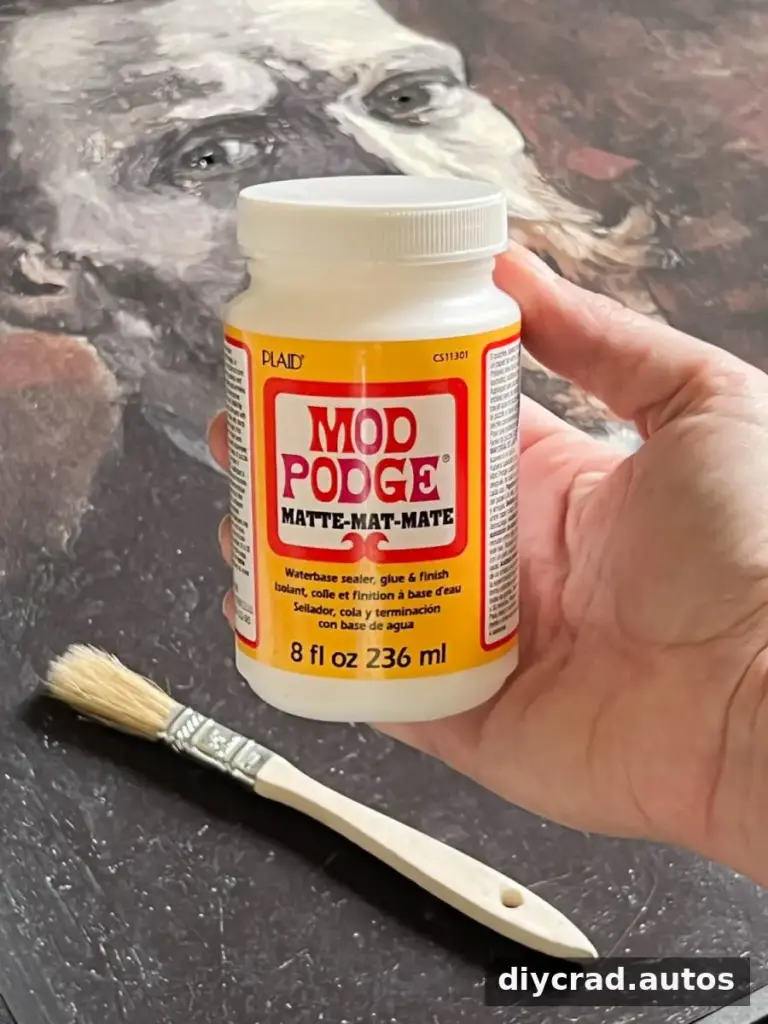
- Matte decoupage medium.
- A chip brush.
- Masking tape or painter’s tape; duct tape can also be used.
- Battery-powered red lights.
- Removable picture-hanging strips.
Before starting, compare the print, backing board, and frame dimensions. If the print is smaller than the opening, a dark backing can help conceal exposed edges.
Choose and Prepare the Portrait
Use a portrait image that suits the tone of your Halloween display, and make sure you have permission to print and use it. Print it on paper large enough to cover the visible area of the frame. Keep the battery lights beside the image before assembly so you can check that their bulbs will fit behind the eye area.

How to Make the Halloween Portrait
Step 1: Attach the Print to the Backing
If needed, trim the foam board to fit inside the frame. Cover your work surface with newspaper or a drop cloth, then apply spray adhesive to the board according to its package directions. Place the print carefully on top and smooth it from the center outward to reduce air bubbles. Allow it to dry for at least 15 minutes, or follow the adhesive’s instructions if they specify a longer time.
A black board can help disguise gaps if the print is slightly smaller than the frame opening. Take care to position the image before pressing it down, since repositioning may wrinkle the paper.
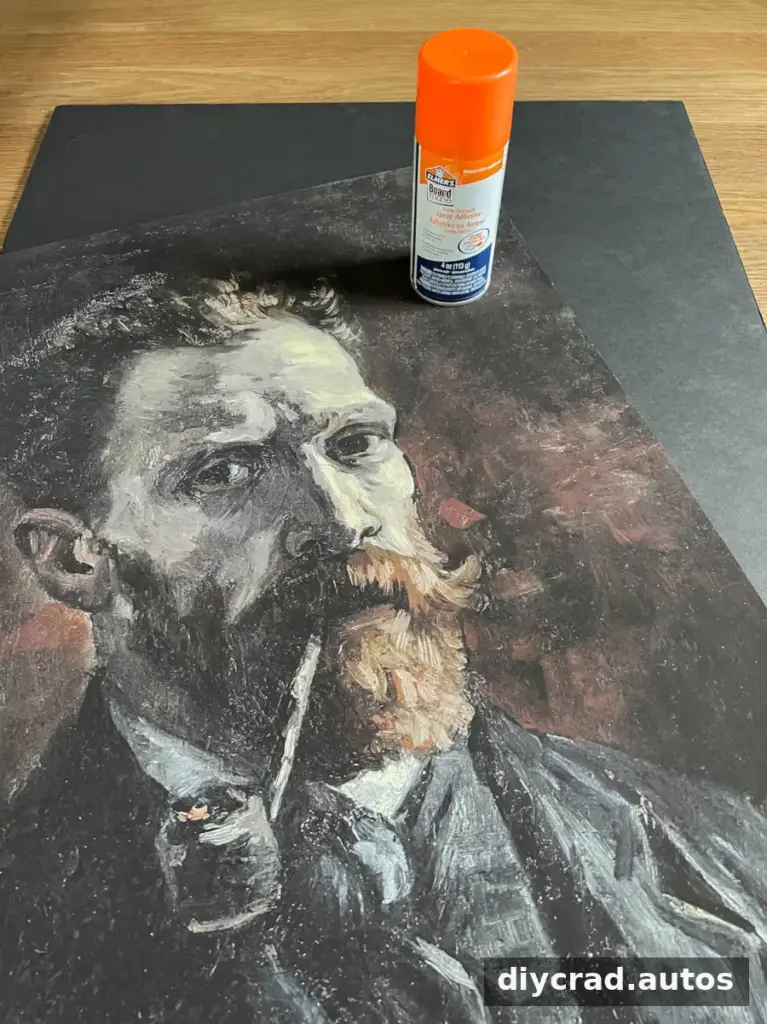
Step 2: Cut Small Openings for the Eyes
Put a piece of scrap cardboard under the artwork to protect your work surface. Use the light bulbs as a size guide, then carefully cut a small opening in each eye with a utility knife. Make the holes only as large as needed for the bulbs to show through; smaller openings help keep the cuts less noticeable.
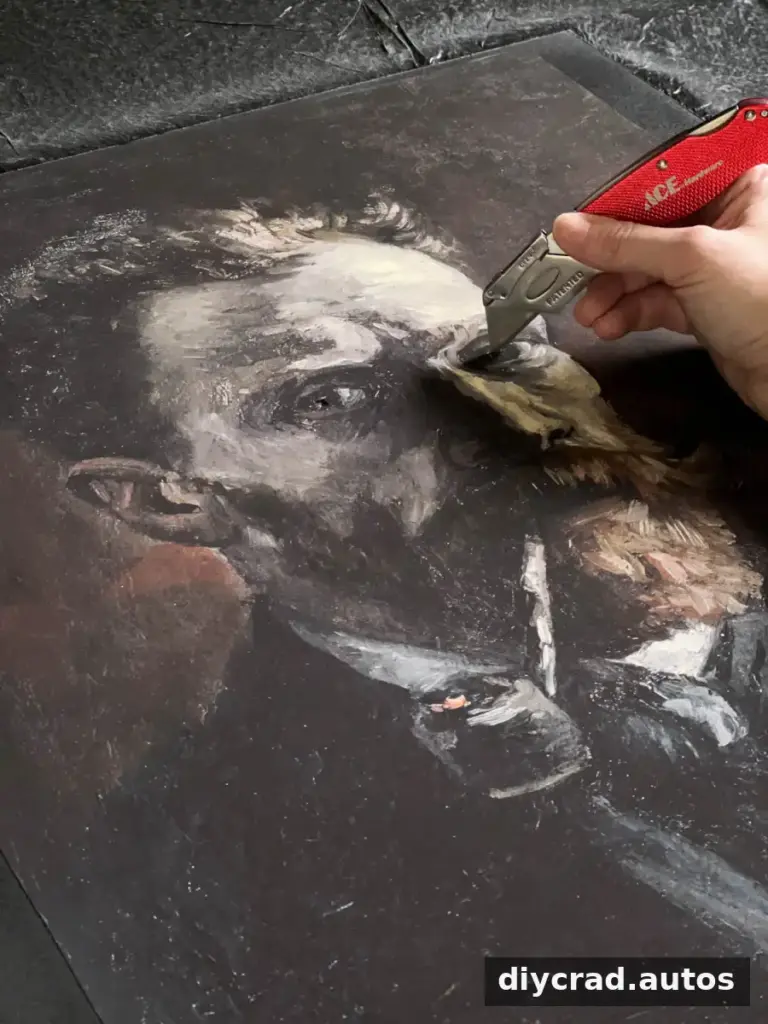
Step 3: Add a Painted Texture
Once the spray adhesive has dried completely, brush a coat of matte decoupage medium over the print using irregular strokes. This creates a textured finish that resembles brushwork on a painted portrait. Let the coating dry fully before moving on.
Applying the finish before the adhesive is dry can cause the print to wrinkle. If that happens, the uneven surface may suit a distressed Halloween look, but allowing the adhesive to dry first gives you more control over the result.
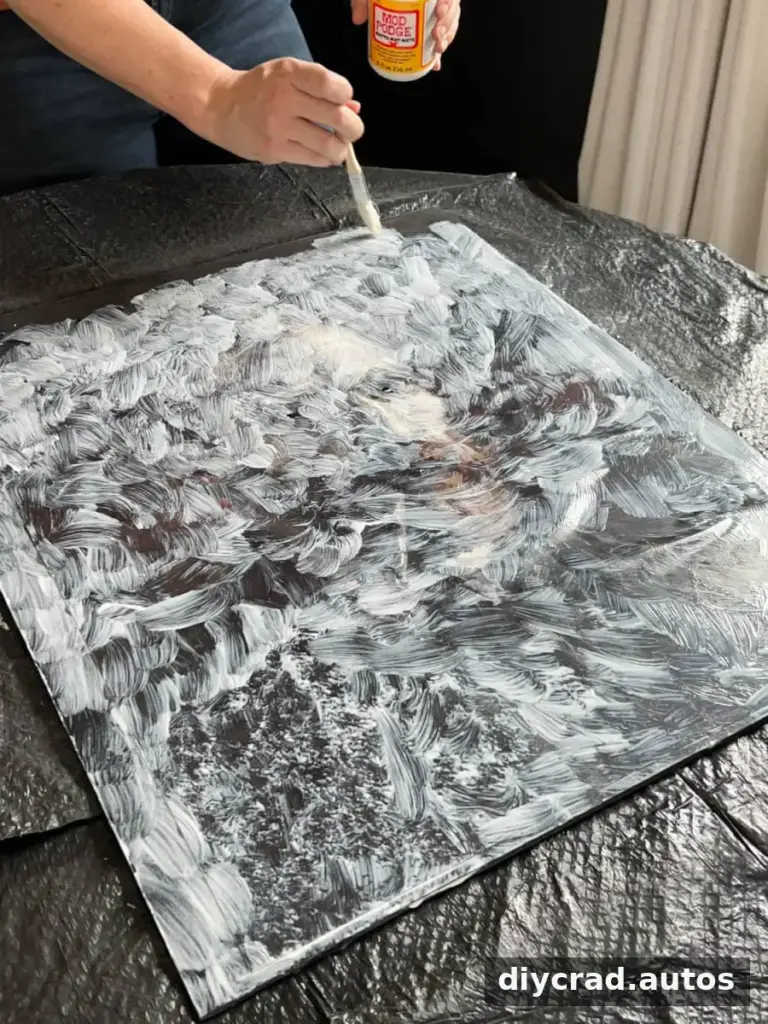
Step 4: Secure the Board in the Frame
After the artwork is completely dry, place the board inside the frame and secure it with tape. Frames with built-in clips may hold the board without extra tape. Check that the artwork sits flat and that the eye openings are in the correct position.
Step 5: Attach the Lights
From the back of the frame, place one battery light in each eye opening and tape the lights in place. Secure the battery pack to the frame as well, but leave its switch accessible. Test the lights before hanging the picture so you can adjust the bulbs if they do not line up with the openings.
Use battery-powered lights, and follow the light manufacturer’s instructions. Keep the battery pack accessible for switching the display off and replacing batteries when needed.
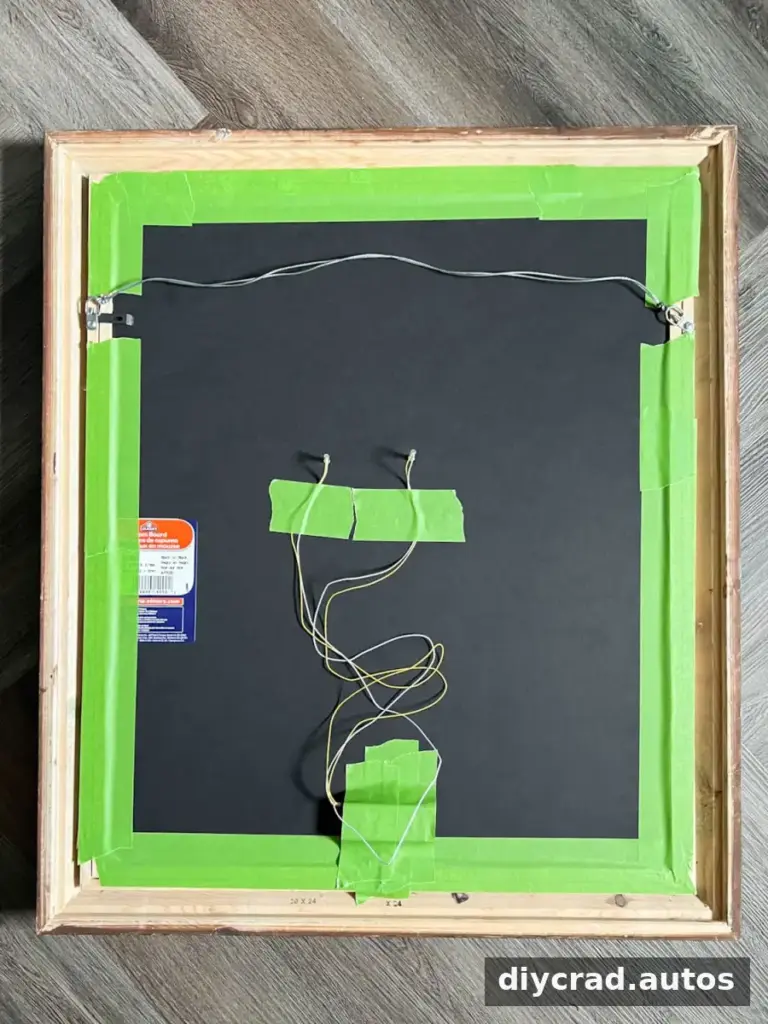
Step 6: Hang the Frame
Removable picture-hanging strips can make this a temporary wall decoration. Check the package for its weight limit and installation instructions, and make sure the wall surface is suitable. In the example, each strip was pressed in place for 30 seconds, followed by an hour of setting time before the frame was hung.
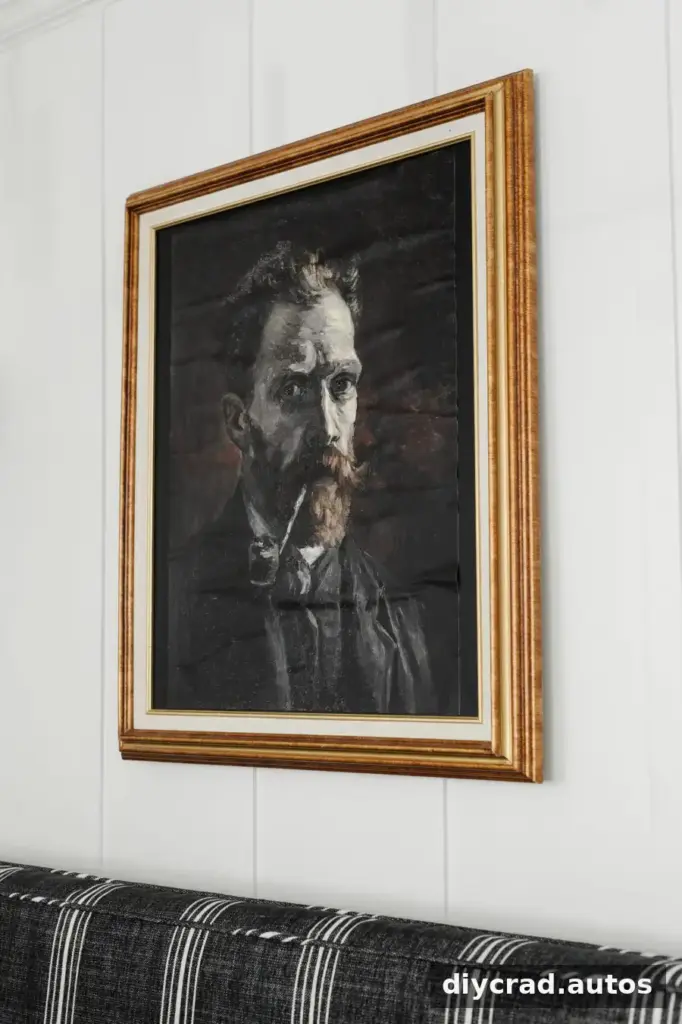
Display Your DIY Creepy Halloween Art
Once the frame is on the wall, switch on the red lights to give the portrait a spooky effect. Turn them off whenever you prefer a regular picture, or use the artwork as Halloween party decor near an entryway. Choose a spot where the frame is secure and the battery switch remains easy to reach.
The portrait in the example is a self-portrait by Vincent van Gogh, recognizable by the artist’s missing ear and the famous starry night painting. The red-lit eyes give the familiar image a playful, eerie twist.
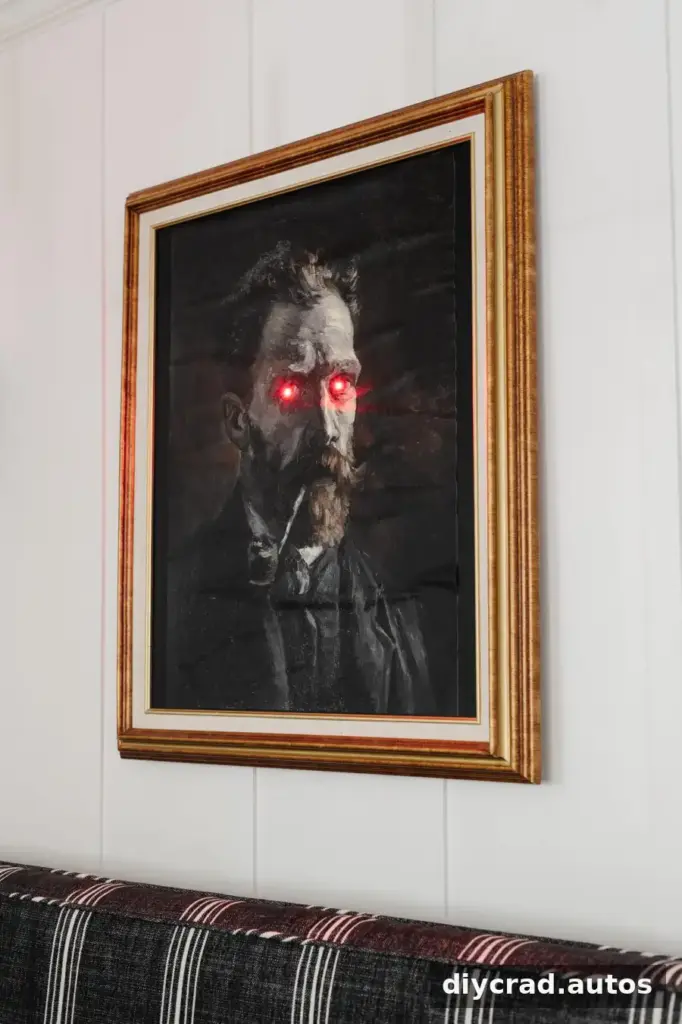
After Halloween, the frame can be reused for another seasonal display. For example, you could remove the temporary artwork and replace it with a different print for a winter or Christmas decoration. Store the lights and frame materials together so they are easy to find next year.
With a thrifted frame, a carefully fitted print, and battery-powered lights, DIY creepy Halloween art is a flexible way to create seasonal wall decor. Take time to let each adhesive layer dry, test the lights before hanging, and follow the hanging-strip weight guidance for a safer display.

