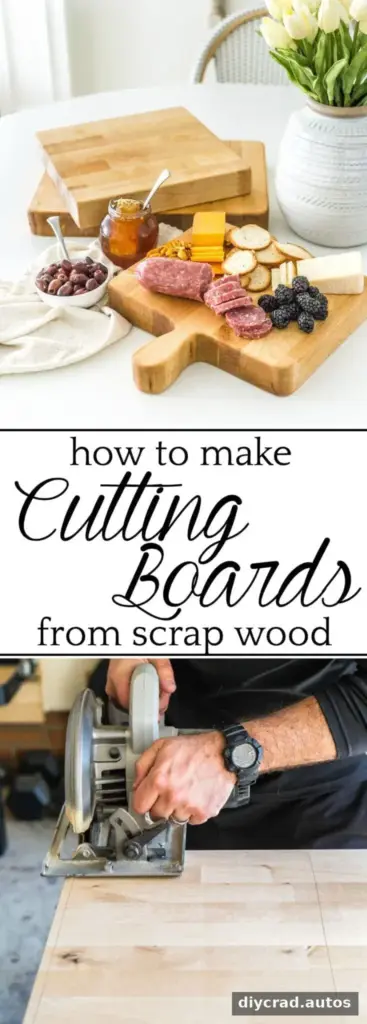
DIY cutting boards from scrap wood are a practical way to reuse suitable hardwood while making a useful kitchen item or a thoughtful homemade gift. With a simple template, a few basic tools, and a food-safe finish, you can shape leftover wood into a board for food preparation or serving. Choose clean, untreated wood, and take time to sand the surface thoroughly before applying mineral oil.
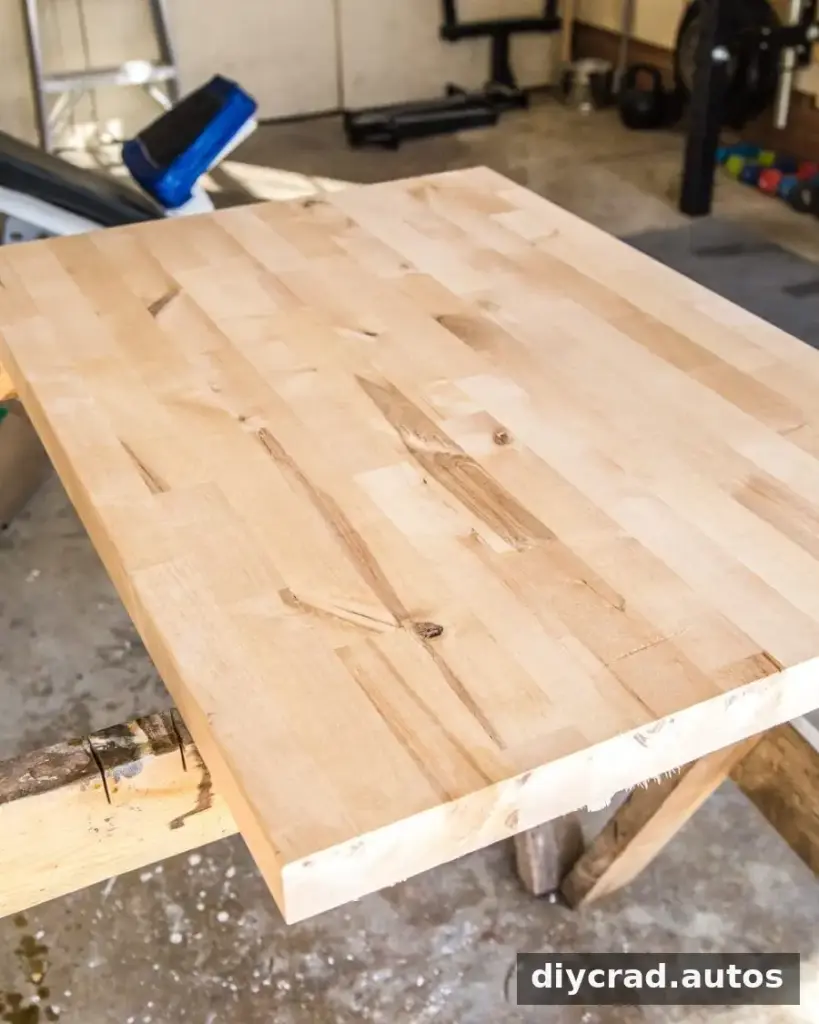
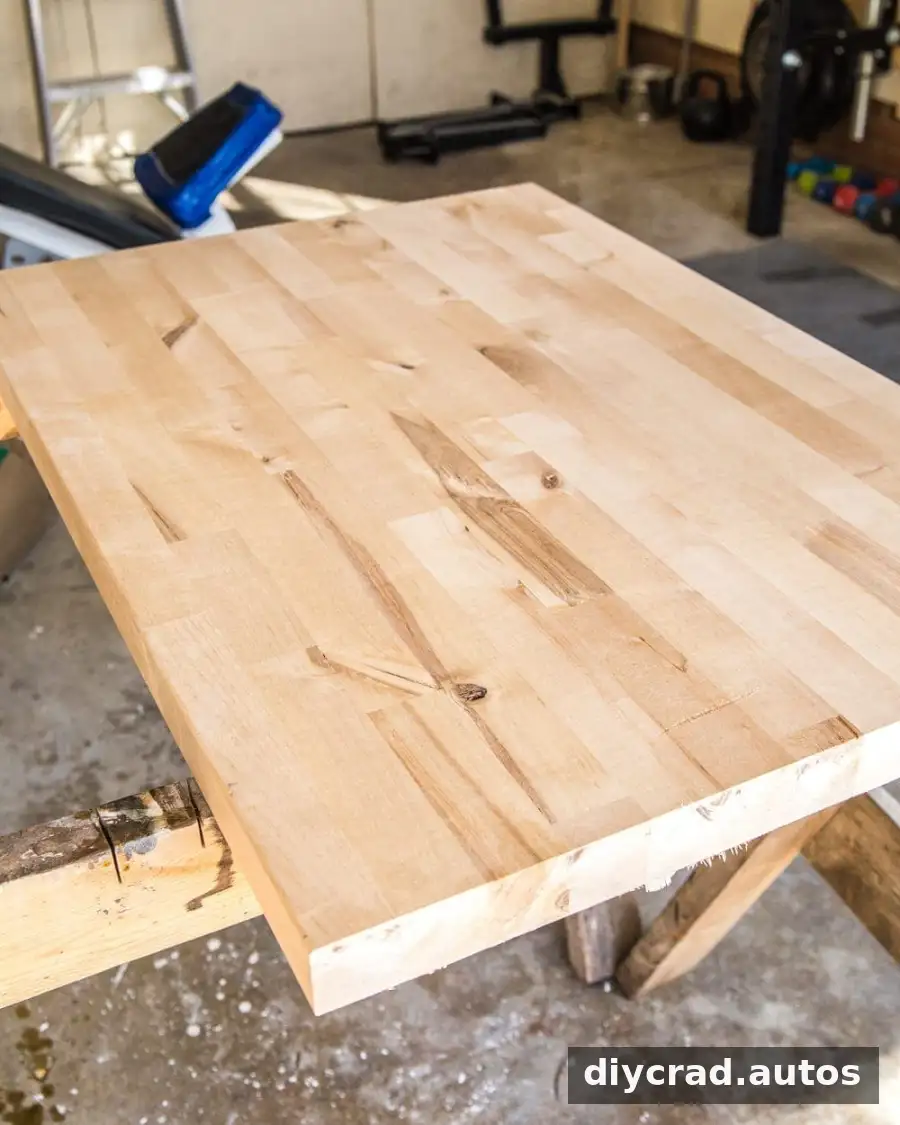
This beginner-friendly project can be adapted to the size and outline of the wood you have available. Leftover butcher block can work well, as can other solid hardwood offcuts. Before starting, check that the piece is free from paint, stains, chemical treatments, or damage, and make sure its thickness and dimensions will suit the board you want to make.
DIY Cutting Boards from Scrap Wood: Materials and Tools
Gather everything before you begin so you can work steadily and safely. For a basic board, you will need:
- Scrap hardwood, such as maple, pecan, walnut, teak, or cherry
- A circular saw for straight cuts
- A jigsaw, optional, for rounded corners or a handle
- Medium-, fine-, and ultra-fine-grit sandpaper
- A mouse or palm sander and sanding pads, optional
- Mineral oil and a clean, dry cloth
- A template made from poster board or cardboard, or an existing cutting board to use as a guide
Use only wood that is suitable for food-contact surfaces. Avoid pieces with unknown coatings or treatments. A template also helps you plan around knots, cracks, and uneven edges before cutting.
How to Make a Cutting Board from Scrap Wood
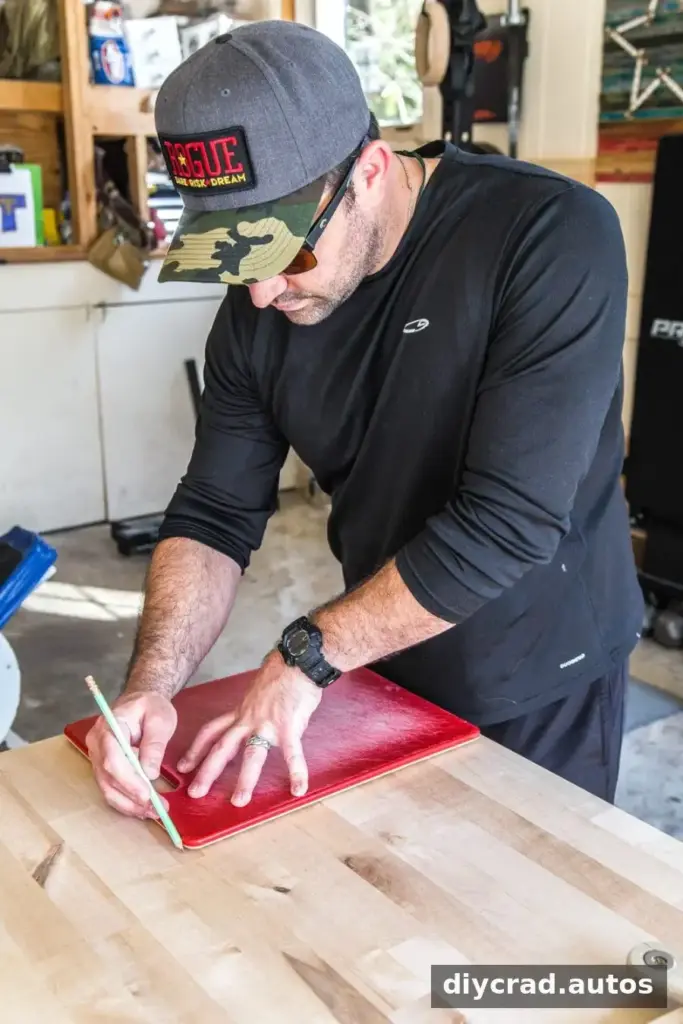
1. Trace the shape
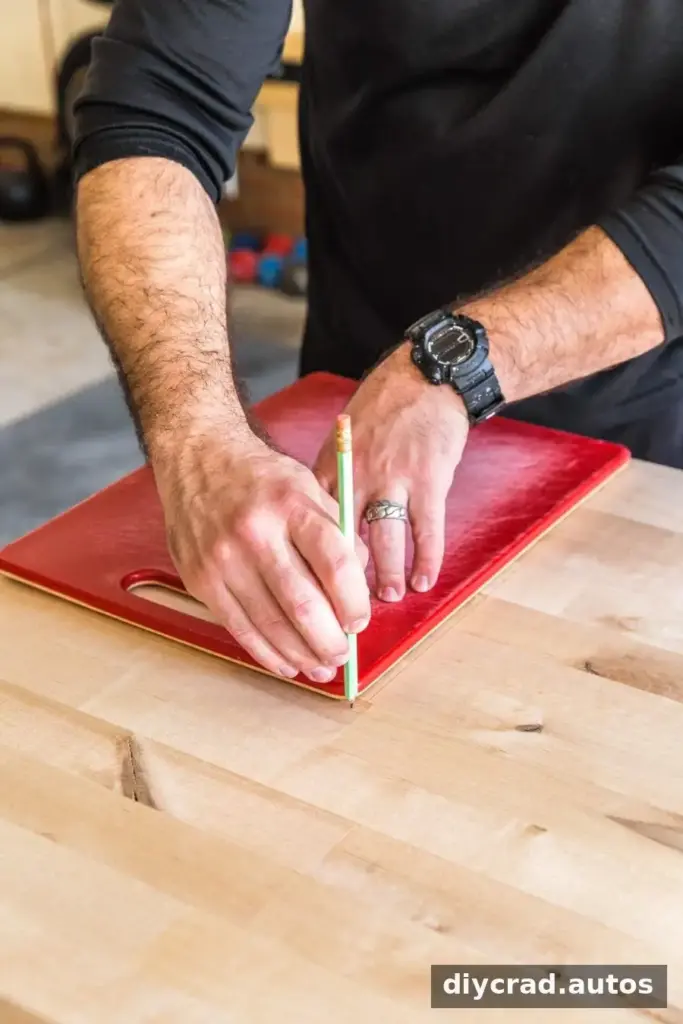
Place your template on the wood and trace around it with a pencil. Check that the outline fits comfortably within the scrap and that you have enough room for the saw to follow the cutting line.
2. Cut the board
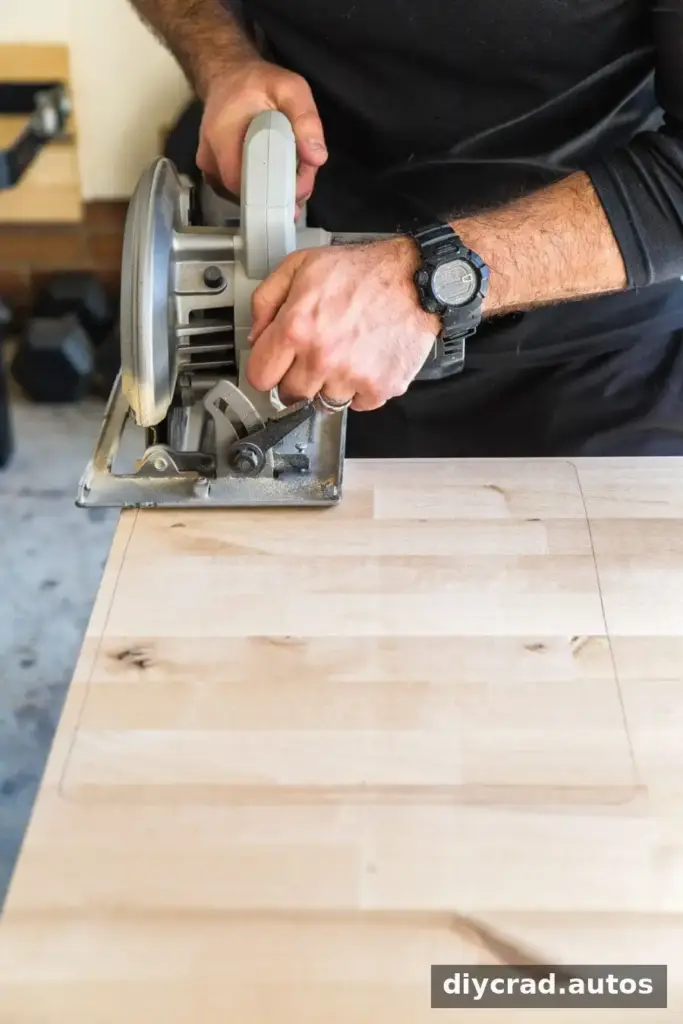
Use a circular saw to cut along the straight sections of the pencil outline. Secure the wood on a stable work surface and keep your hands clear of the blade. Follow the saw manufacturer’s instructions and wear appropriate eye and hearing protection.
3. Shape corners or add a handle
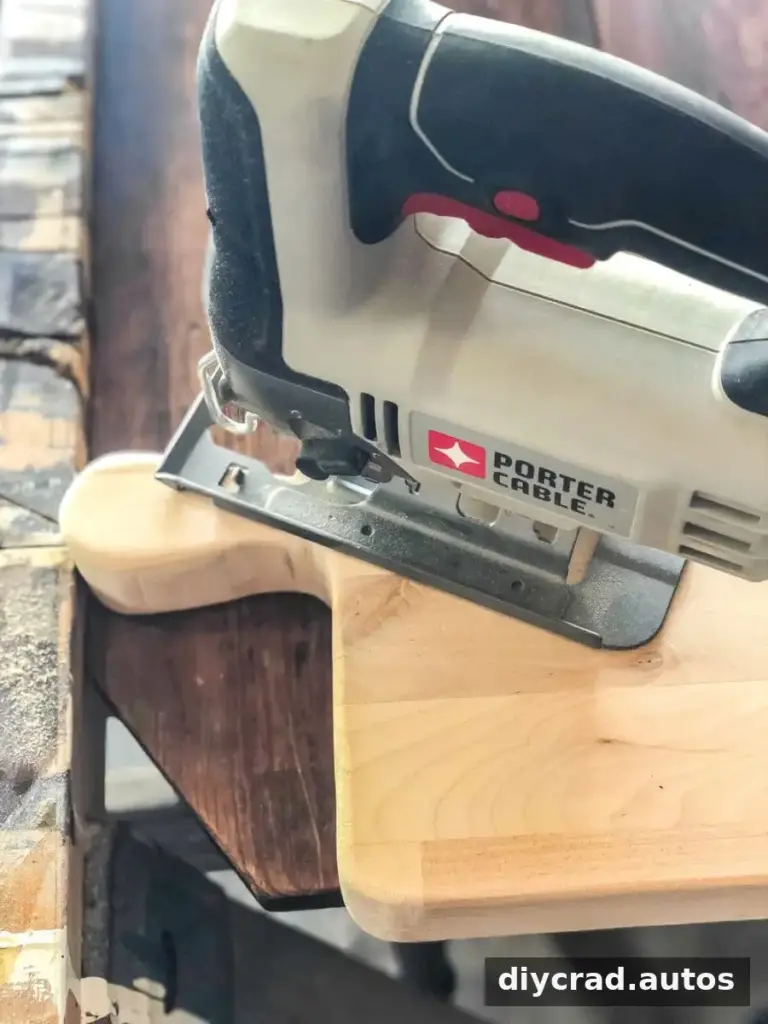
If you want rounded corners or a handle, use a jigsaw to follow the marked lines. A handle is optional; a simple rectangular board is often the easiest shape for a first project. Move slowly around curves to help keep the edge even.
4. Sand until smooth
Sand the board in stages, beginning with medium-grit paper, then moving to fine and ultra-fine grits. A palm sander can speed up the process, but hand sanding also works. Pay close attention to the edges and both faces, removing splinters and rough spots. Wipe away dust between grits so coarser particles do not scratch the smoother surface.
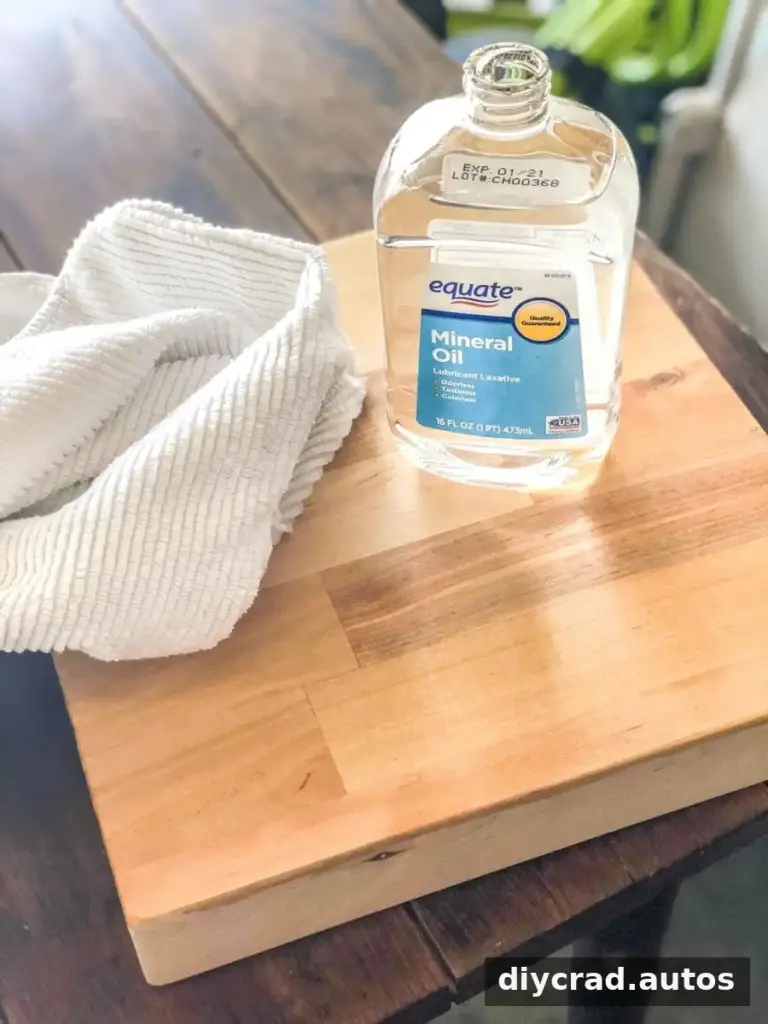
5. Apply mineral oil
Remove all sanding dust with a brush or tack cloth. Apply mineral oil generously with a clean, dry cloth and allow it to soak into the wood. The oil deepens the wood’s appearance and brings out variations in the grain. Add more if the surface absorbs it quickly, then wipe away any excess.
Do not use stain or polyurethane on a surface intended for cutting food. Use mineral oil labeled as food-safe, and follow its product directions. Reapply oil when the board looks dry or begins to lose its sheen. Wash the board by hand and dry it promptly; do not leave it soaking in water.

Using and Caring for Your Finished Board
Once the finish has soaked in and the board is dry, it can be used for food preparation or serving. For serving, it can hold items such as cheeses, cured meats, crackers, fruit, nuts, olives, mustard, and honey. If you use the same board for different foods, clean it thoroughly between uses and follow safe food-handling practices.

A homemade board can also make a useful gift. Keep the design simple if you are new to woodworking, and make sure the final surface is smooth, clean, and treated only with a suitable food-safe product.

Final Tips for DIY Cutting Boards from Scrap Wood
DIY cutting boards from scrap wood make good use of leftover hardwood while keeping the project accessible for beginners. The most important details are choosing suitable untreated wood, cutting carefully, sanding every surface thoroughly, and using food-safe mineral oil rather than a decorative coating. With those steps in mind, a piece of scrap can become a durable kitchen board made to fit your needs.